Introduction
My name is Victor Hermosa, I’m currently working at Ubisoft Barcelona as a Junior Texture Artist.
I have always been passionate about the work that textures involved in the video game industry, that’s why in my free time I work on expanding my material library and learning new techniques.


Goals
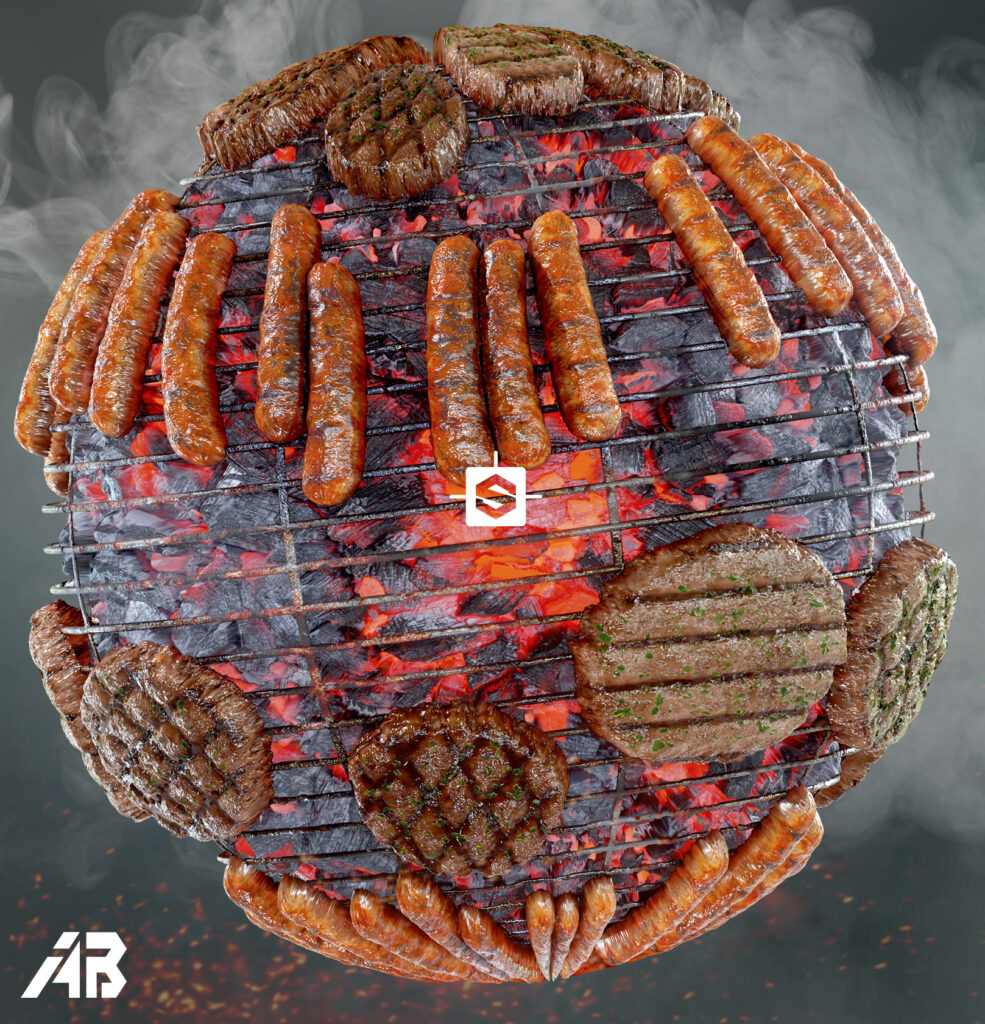
We will be creating a Rocky Floor Material, step by step, that can come in handy for environments such as jungles or temple-like scenes, focusing on blending with different materials.
Creating the first rocks
To start with the material, create a Tile Sampler set as (X=20/Y=20), with pattern Square, with position random at 10 and color random at 1.
After that, connect to a Distance node set up to 5000, that will help the Edge Detect with the base shape of the rock, use a Flood Fill to create the first grey variation just changing Angle Variation to 1.

For the first noise and deformation, connected it to a Slope Blur Grayscale with a Perlin Noise it needs to be set up a 64 Scale, the Slope Blur Grayscale needs to be set up at 32 Samples, Intensity at 0.05 and in Min Mode, after you need to blend it with a crystal 1 in Min Darken to start with some little variation in the grayscale, after that I usually use a level to make it whiter.
For the little rocks you only need to make the same nodes as the first ones; the only thing that will change is the amount of X/Y in the tile sampler. I usually use the mask of the first step so the little rocks can work better with the big shapes.

Here is when I started to use more deformation in the rocks with a stronger node like Directional Warp with clouds 2, not too high in 0.16 and a warped angle, after that and auto-level so I can use a Slope Blur Grayscale with a clouds 2 for a bigger break on the big shape with a 0.35 intensity, you can connect a blend with the Auto Levels and Slope Blur Grayscales (Min Darken 0.33)

The second phase of noise
After adding noise, I’m going to use some of it as Moisture noise, Fractal Sum Base and Dirt 5 using soft light and max lighten for it, all this extra noise will prove useful for the preparation of the Dirt Node, I tend to create 2 of them variating the parameters and the normal map connected, for a better result use a curvature connected with the last part of the blend with min darken.

Furthermore, to add some dirt that will be used in Albedo as a mask color, with a slope blur grayscale connected with the last blend, slope blur grayscale. Blend it with the previous mask, using a height to the normal world, curvature smooth and levels as a mask for the blend, with an Add Linear Doge (0.41)

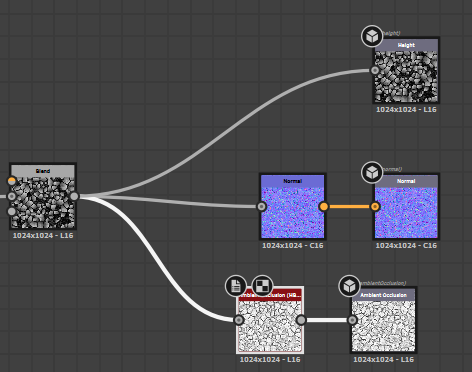
With that final touch, the height part map will be done, and use a blend-on copy for the normal map and the ambient occlusion.
Albedo
The first pass for the Albedo is the creation of a histogram scan connected from the first shape, after that a flood fill and a random grayscale, so we can start having some variation of grays in our gradient map.

Next, to add more proper color I will create a Fractal Sum Base with a level and use a mask for the gradient map using brown colors and blending it with the previous gradient map Copy.

Dirt Mask
The dirt mask that I have created before in the height pass can be used to add some color variation on the Albedo with clouds 2 (scale to 4), with a gradient map and a Hsl set to high lightness, the blend will be on copy (0.08), with the dirt connected to opacity.

Setup for Height, Normal Map and AO
Finally, we must set the normal map to (Intensity 4.5), Ambient Occlusion to (Height Depth 0.03 and Radius to 0.16), and use the mask for the height map as well.

Marmoset
For the render, I have just a plan with tessellation and a spotlight using the sky Forest Path for it set up like this.

Thank you for reading the articles, if you have any questions feel free to reach me on my Artstation.
Read more articles
You might also like these articles.