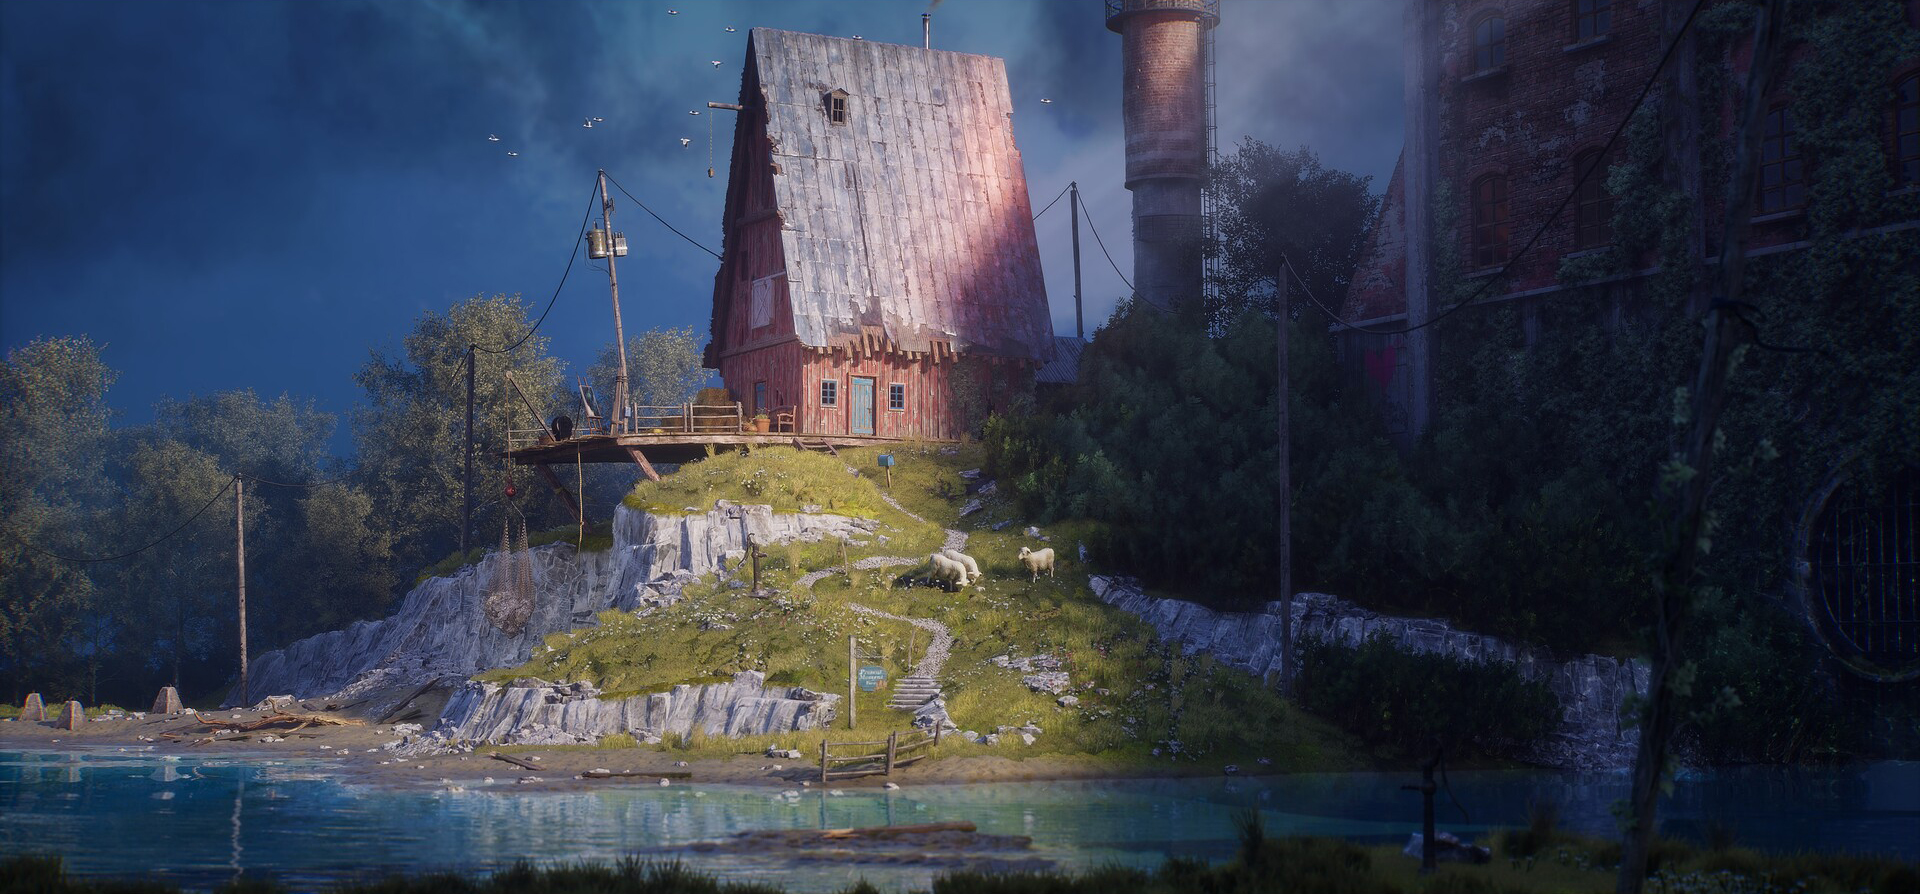
Present Moment Farm

Introduction
Hi! My name is Martin Martschenko. I am a self-taught 3D Environment Artist from Germany.
My journey into 3D art began with a passion for video games that started at a young age. This grew into a deep curiosity about how these virtual worlds were created, which I have been focusing on for the last couple of years.
Goals
My primary goal for this project was to create an environment with a ton of opportunities to create foliage, so I could practice my skills in that area since I hadn’t done much foliage before.
This was definitely an interesting challenge, and this project was perfect for this goal.
Tools & Software
The environment was created with a bunch of different tools:
-
Blender was the main DCC for the modeling of all assets.
-
ZBrush for organic assets as well as sculpting damage, details, etc.
-
Substance Painter for the texturing and baking of assets, as well as creating masks.
-
Marvelous Designer for cloth meshes.
-
Gaea for landscape generation and texturing.
-
Photoshop.
-
Unreal Engine 5.
-
Marmoset Toolbag 4 for presentation.
-
PureRef for reference gathering.
References
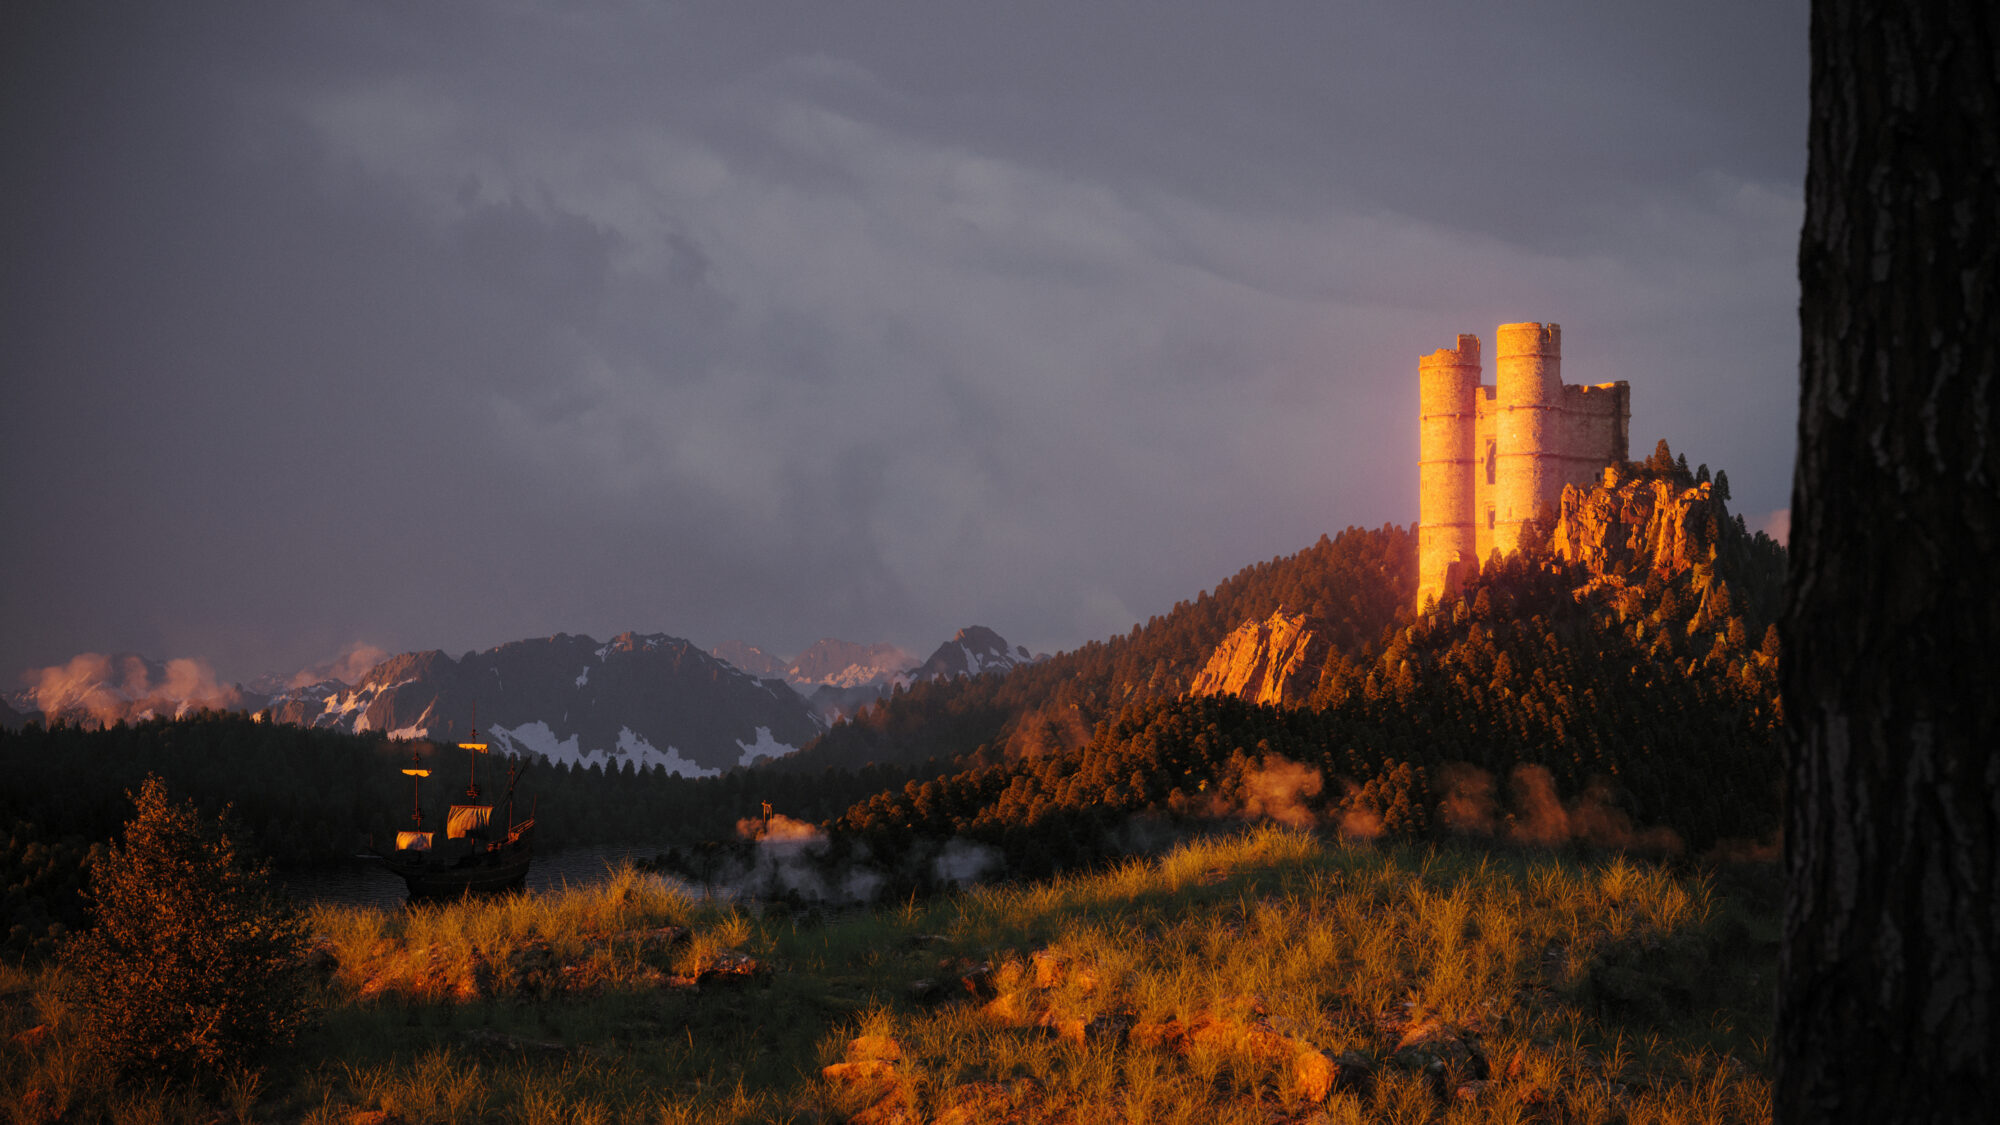
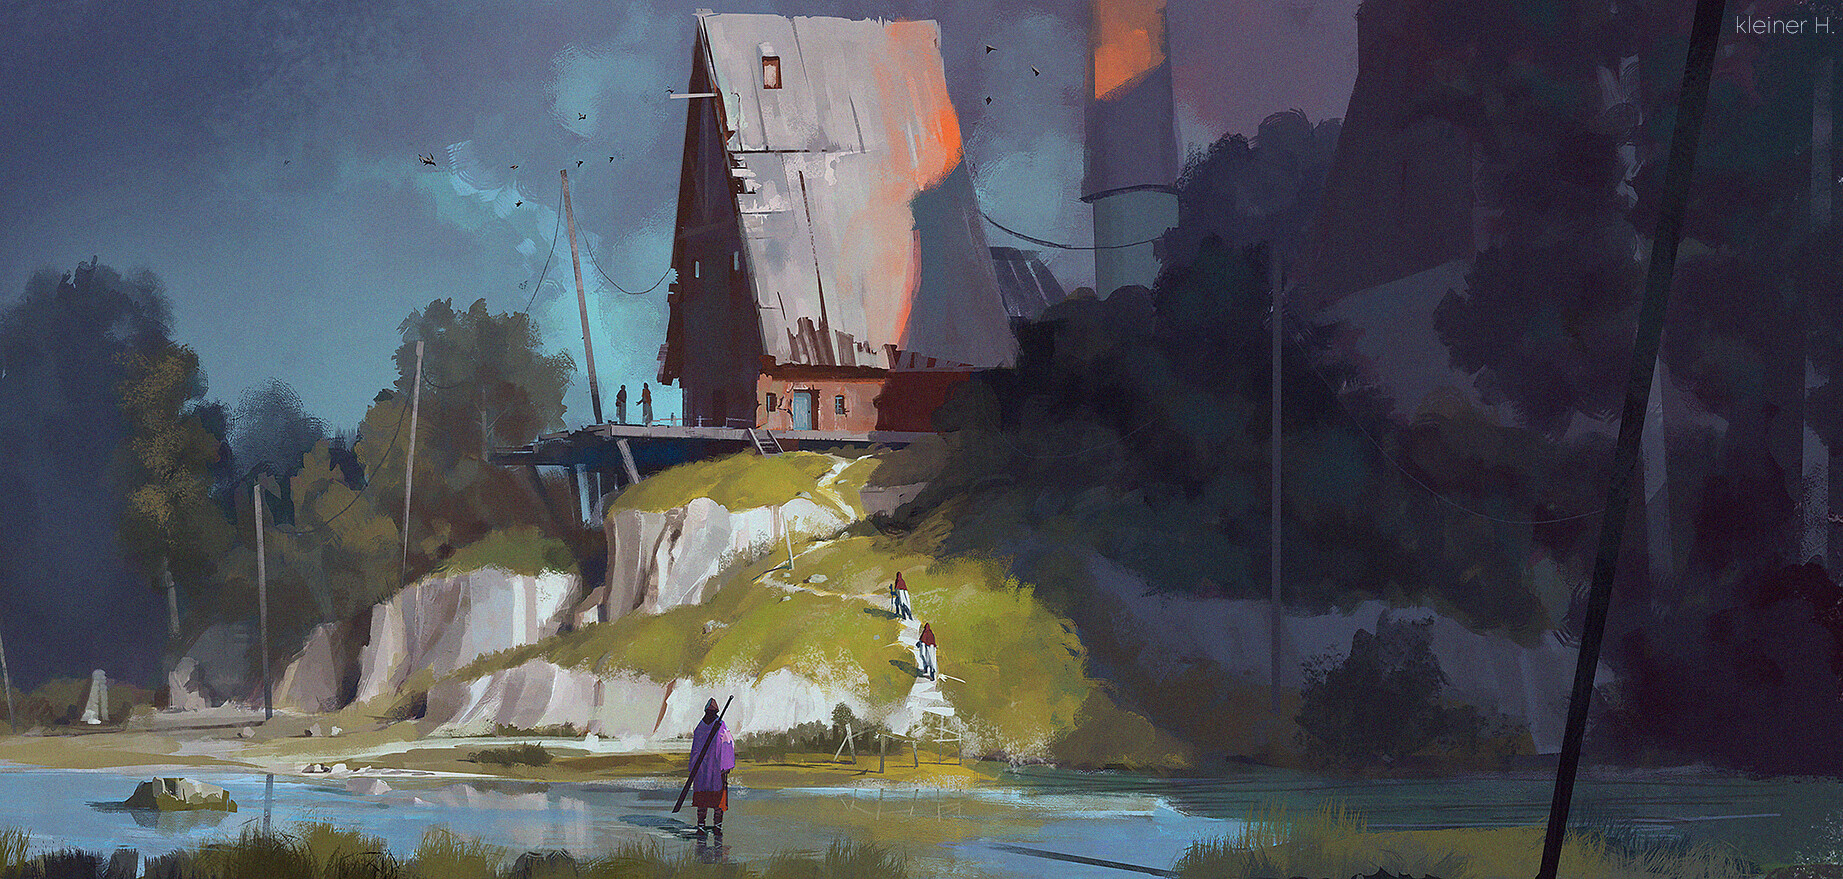
The main inspiration for this environment came from an amazing concept art created by kleinerHai.
I’ve known this concept for a long time and had it saved for future projects, and I finally got to create it!
The concept itself is fairly stylized, and since I specialize in realism, it was an interesting challenge to take a stylized concept and recreate it in a realistic style.
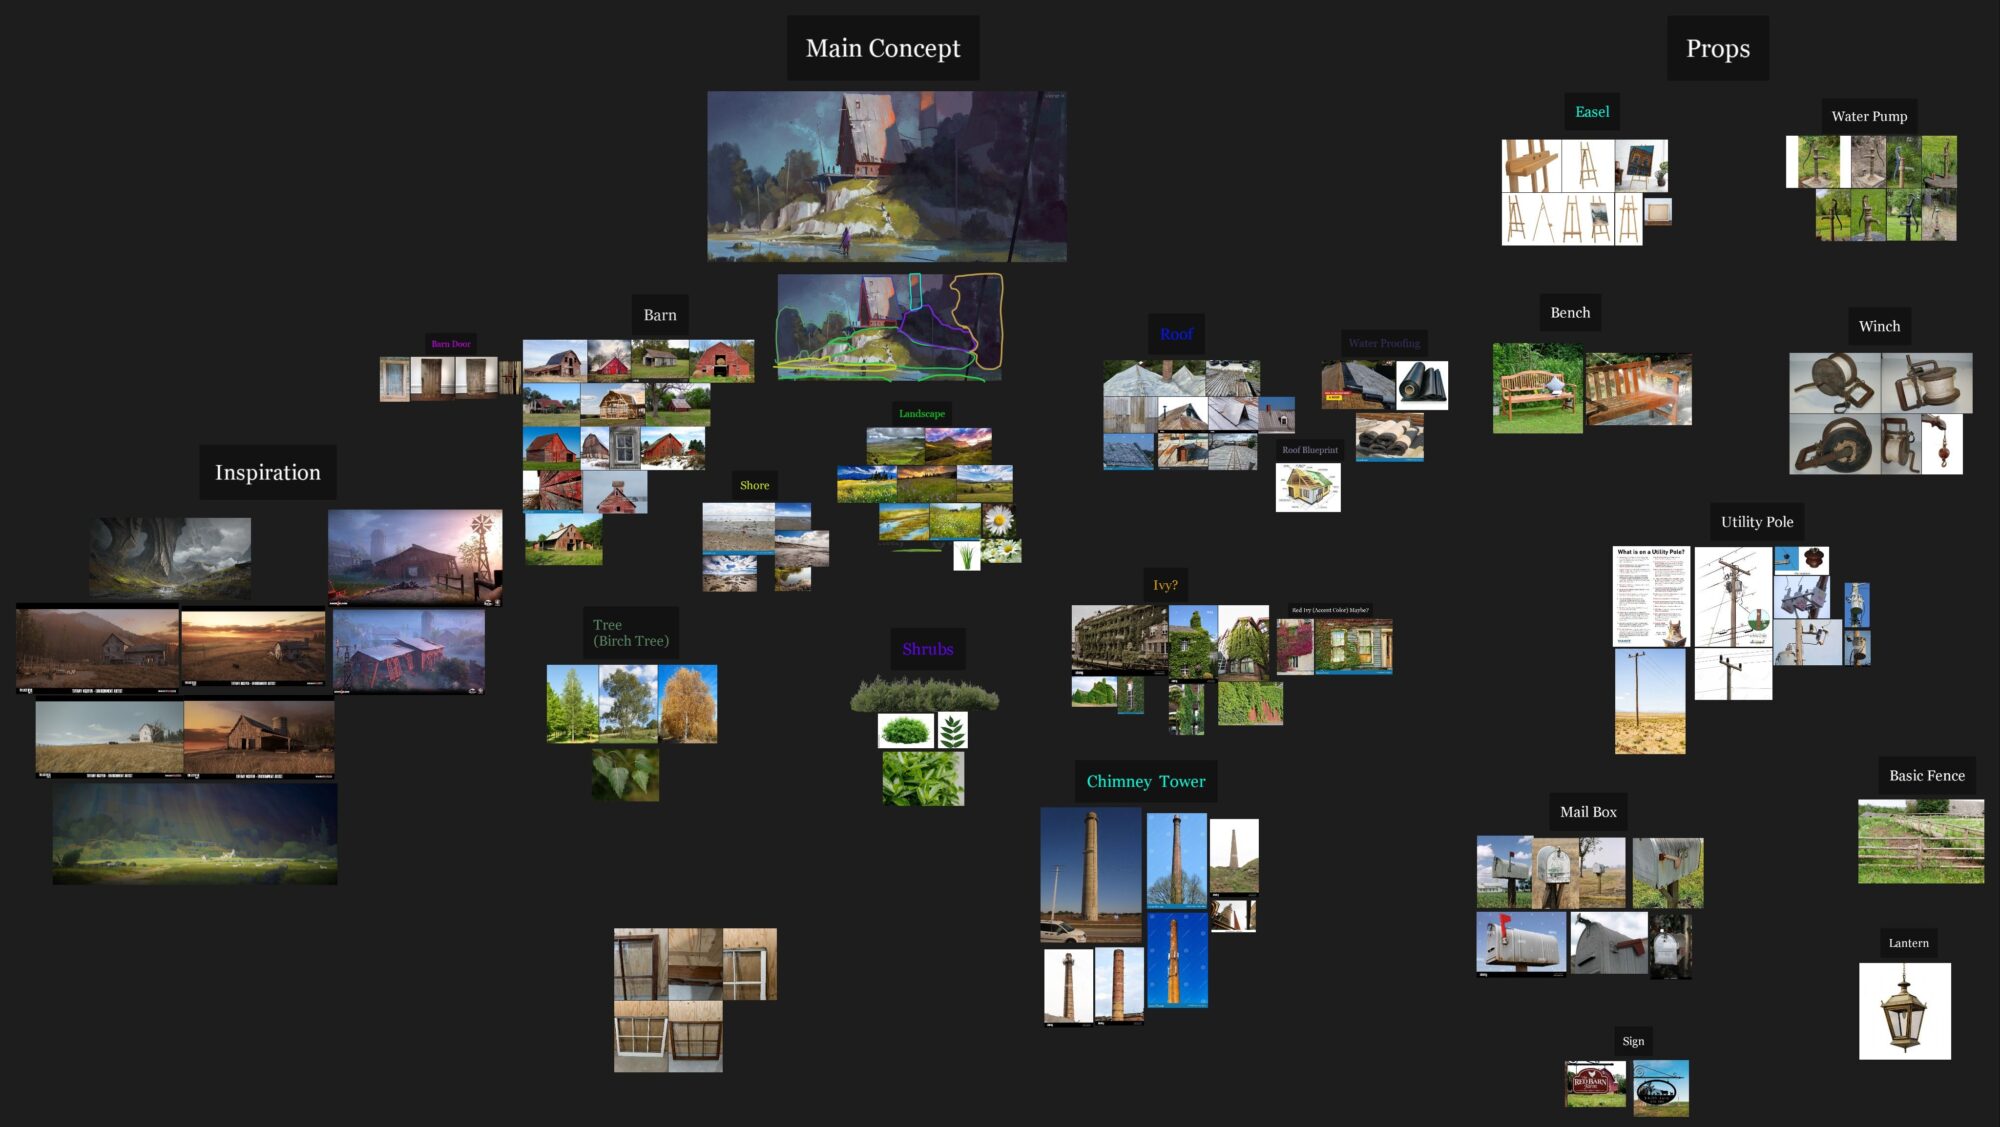
To do this, I took each element of the concept art and interpreted what it could be in the real world. I thought the main building of the concept sort of looked like a barn, and that’s where the idea of the “Present Moment Farm” came from.
Blockout
When working from a concept, my workflow is pretty much trial and error.
I know that some artists like to use software like fSpy, from which you can pretty much perfectly match the perspective from the concept, but that method doesn’t always work, especially if the concept had no 3D base and was drawn completely by hand.
In that case, there will naturally be some distortion in the concept, which you can’t match without weirdly scaling your meshes, which will then affect realism.
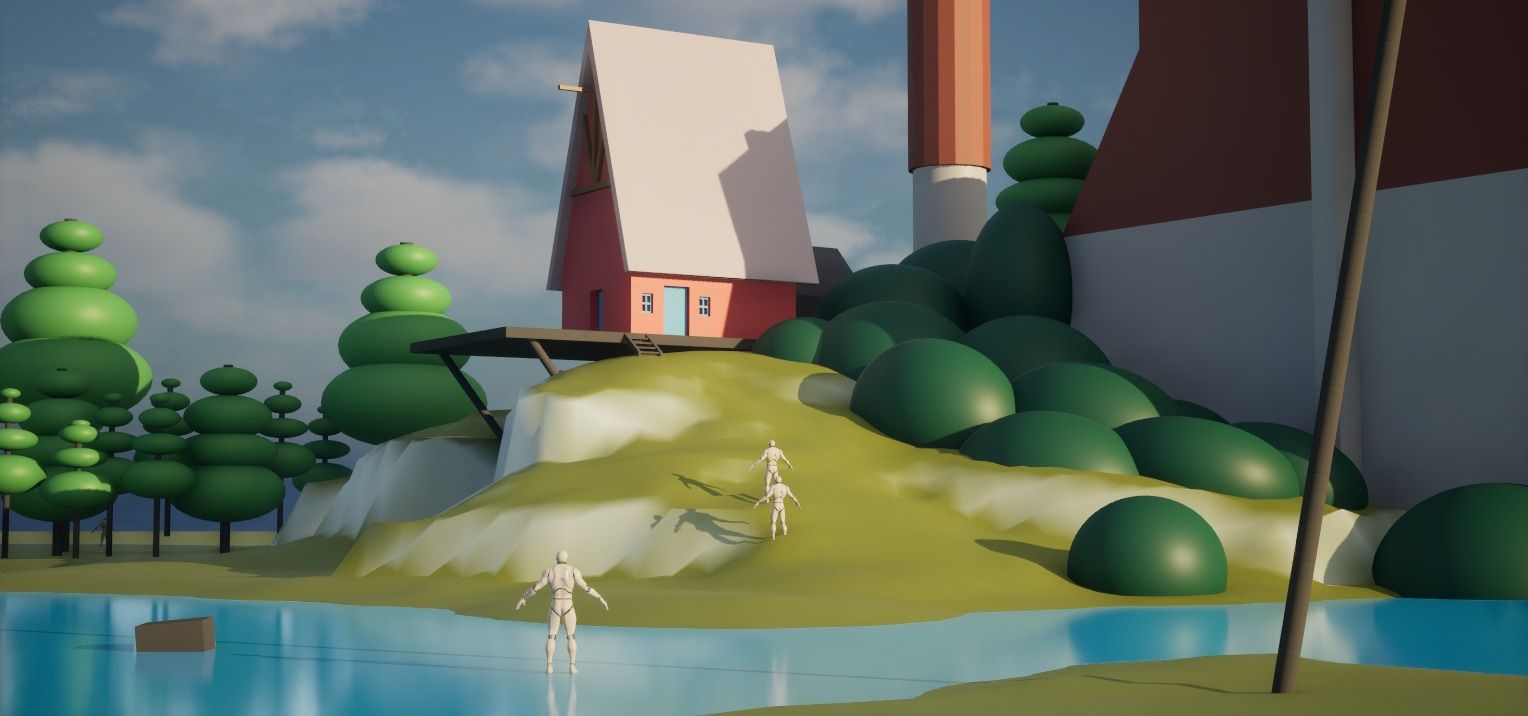
That being said, all I did was have the concept on my second screen and eyeball it in Unreal. I started by creating a landscape and roughly placing the camera at human height, then sculpting the landscape until I had something that matched the concept.
The blockout for the barn was created in Blender. When I saw that the roof was too short or too tall, I readjusted it in Blender and then reimported it until it matched the concept.
Even though there is a modeling tool in Unreal and I do use it for really basic stuff, for blockouts with more complex shapes I still like to use Blender because, for me, it’s much faster.
Modularity
Modularity and general reusability of assets are the best ways to save time during a project, so I tried to reuse as much as possible.
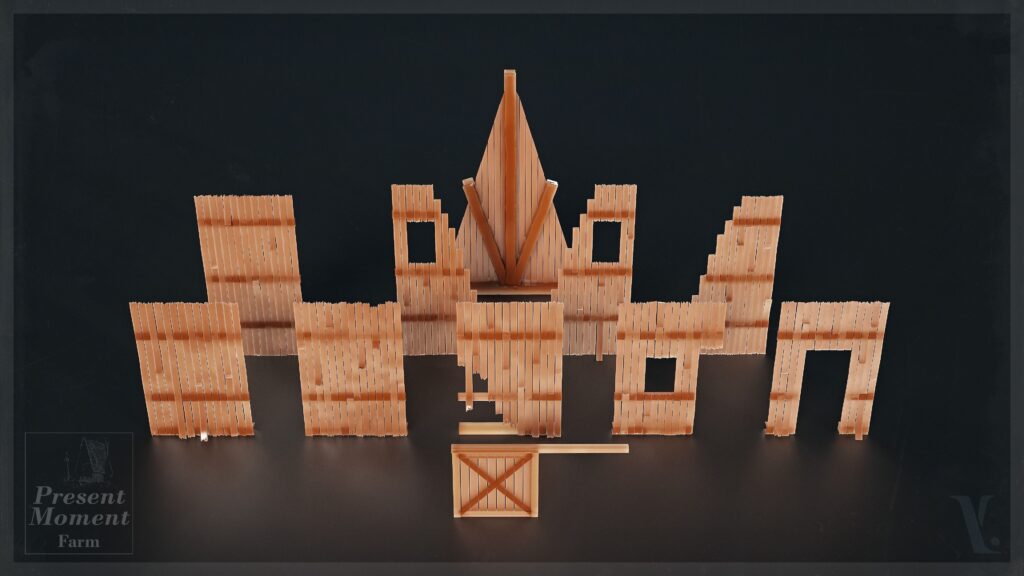
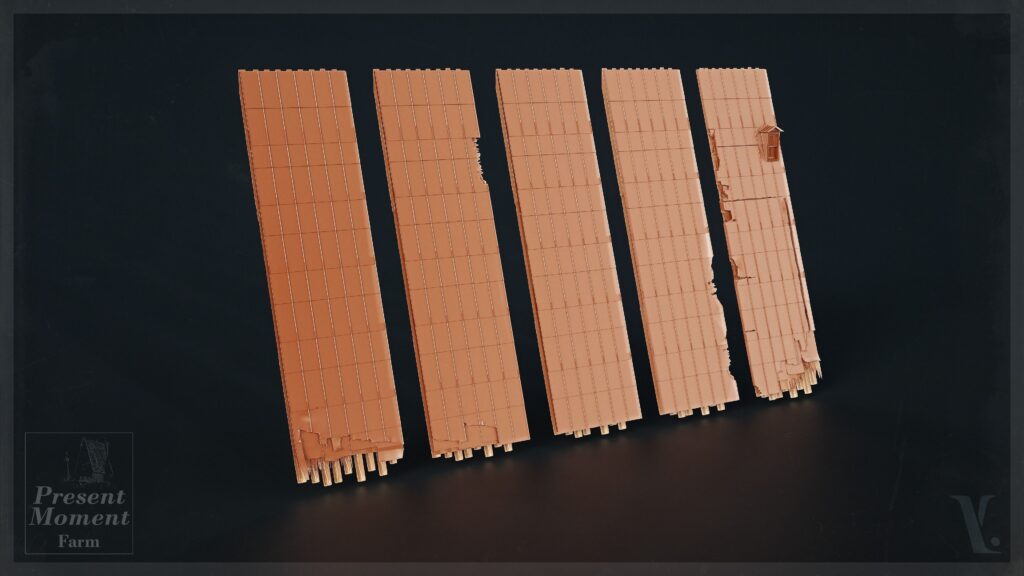
After the blockout, I started working on the barn, for which I created a kit made of walls and roof pieces.
I think the biggest difficulty when creating buildings or a house is making sure they don’t look too perfect, especially older ones. So I made sure to avoid as many straight edges as possible while still preserving the overall shapes and silhouette.
Modular Barn
As a goal, and also to practice, I wanted to keep the number of pieces to a minimum but still enough to avoid repetition, kind of inspired by the absolutely insane kit for Insurgency Sandstorm.
Something worth mentioning is that when creating modular pieces, you should almost always stick to the power of 2, since that makes it so much easier to work with, especially when working with UVs and staying on grid. Creating walls outside of the power of 2, for example, 3x3m or 5x5m, can be really painful to deal with.
In my case, the modular walls were made of individual wood plank meshes, which meant I didn’t really have to worry about the UVs lining up except for the horizontal wood planks, for which the walls are kept to 2 meters in width for that reason.
The barn has 2 floors, the upper floor being slightly taller than the bottom one.
I got away with making the walls for the first floor 2x3m and the second floor 2x4m. I also decided against creating corner pieces for the walls, since even though there naturally was some clipping, it wasn’t very visible on the exterior from that angle.
The dividers that separate the first and second floors do have corner pieces, though.
I initially tried doing it completely with the power of 2, but this changed the look of the barn, and I wanted to keep it similar to the concept, so the 2x3m fixed that.
If these walls were not made of separated wood plank meshes but were actually solid walls and the texture had to repeat horizontally and vertically, make sure to just stick to the power of 2 and keep your pieces in that range (2x2m, 4x4m, 2x4m, etc.).
In that case, you won’t have to worry about any seams, and working on a grid is a lot easier.
Modular Cliffs
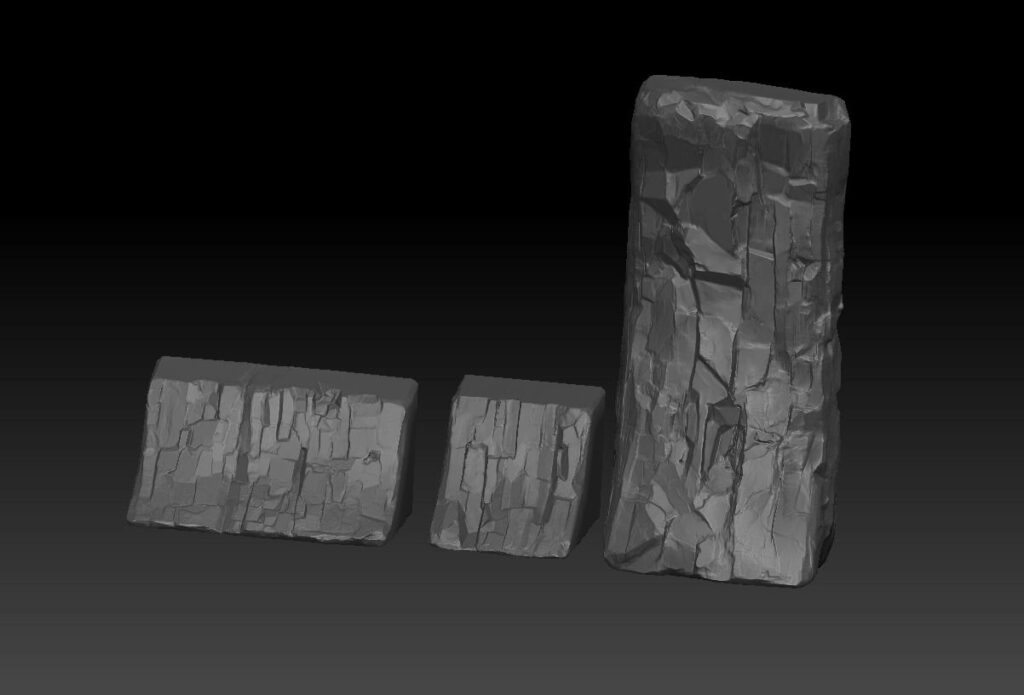
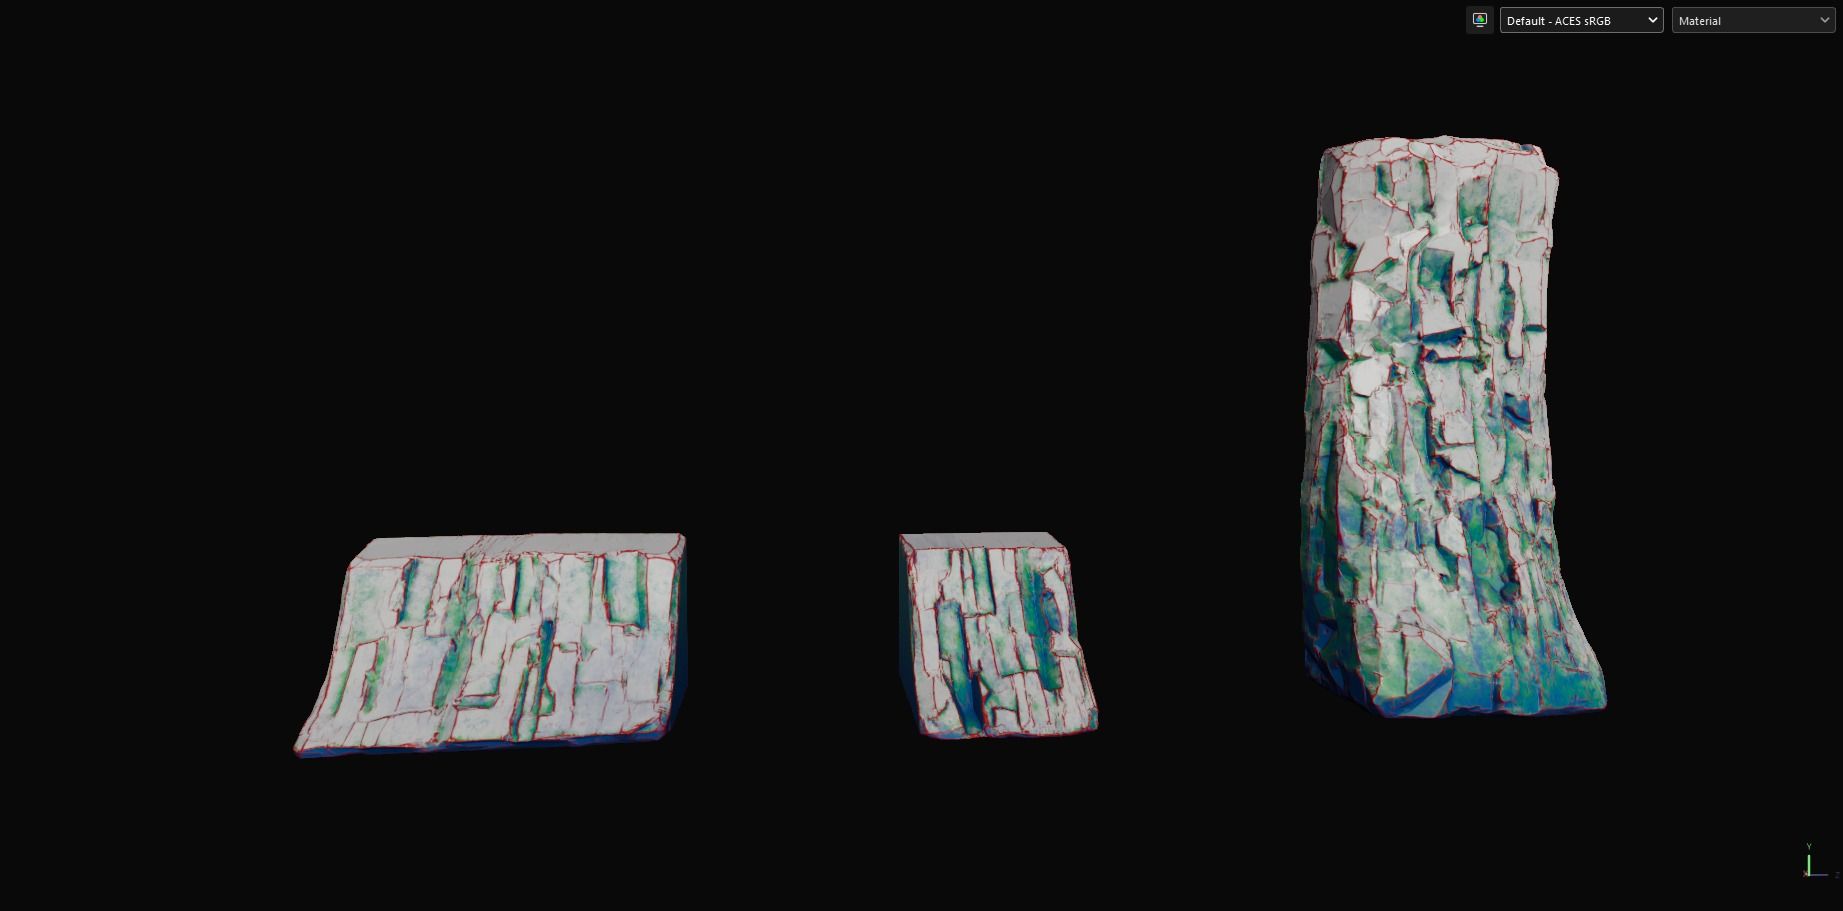
Cliffs were also created with modularity in mind. I sculpted 3 cliff meshes, decimated them for a low poly, and kitbashed them into each other later in the scene to form the cliffs.
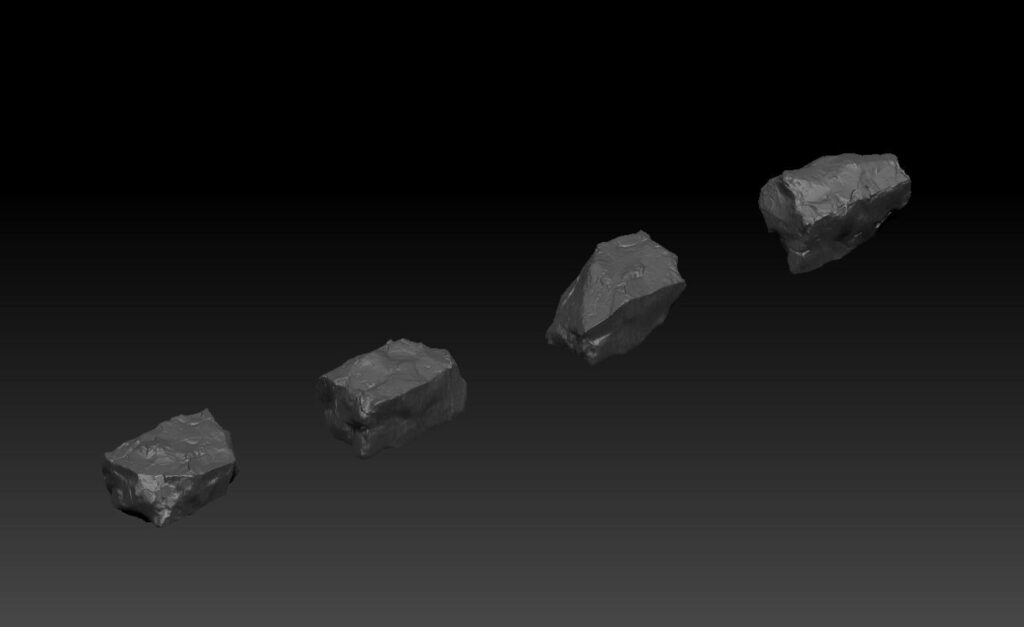
To avoid repetition, I also made some smaller rocks to add smaller shapes to these cliffs, and I distributed these smaller rocks across the whole scene.
Landscape
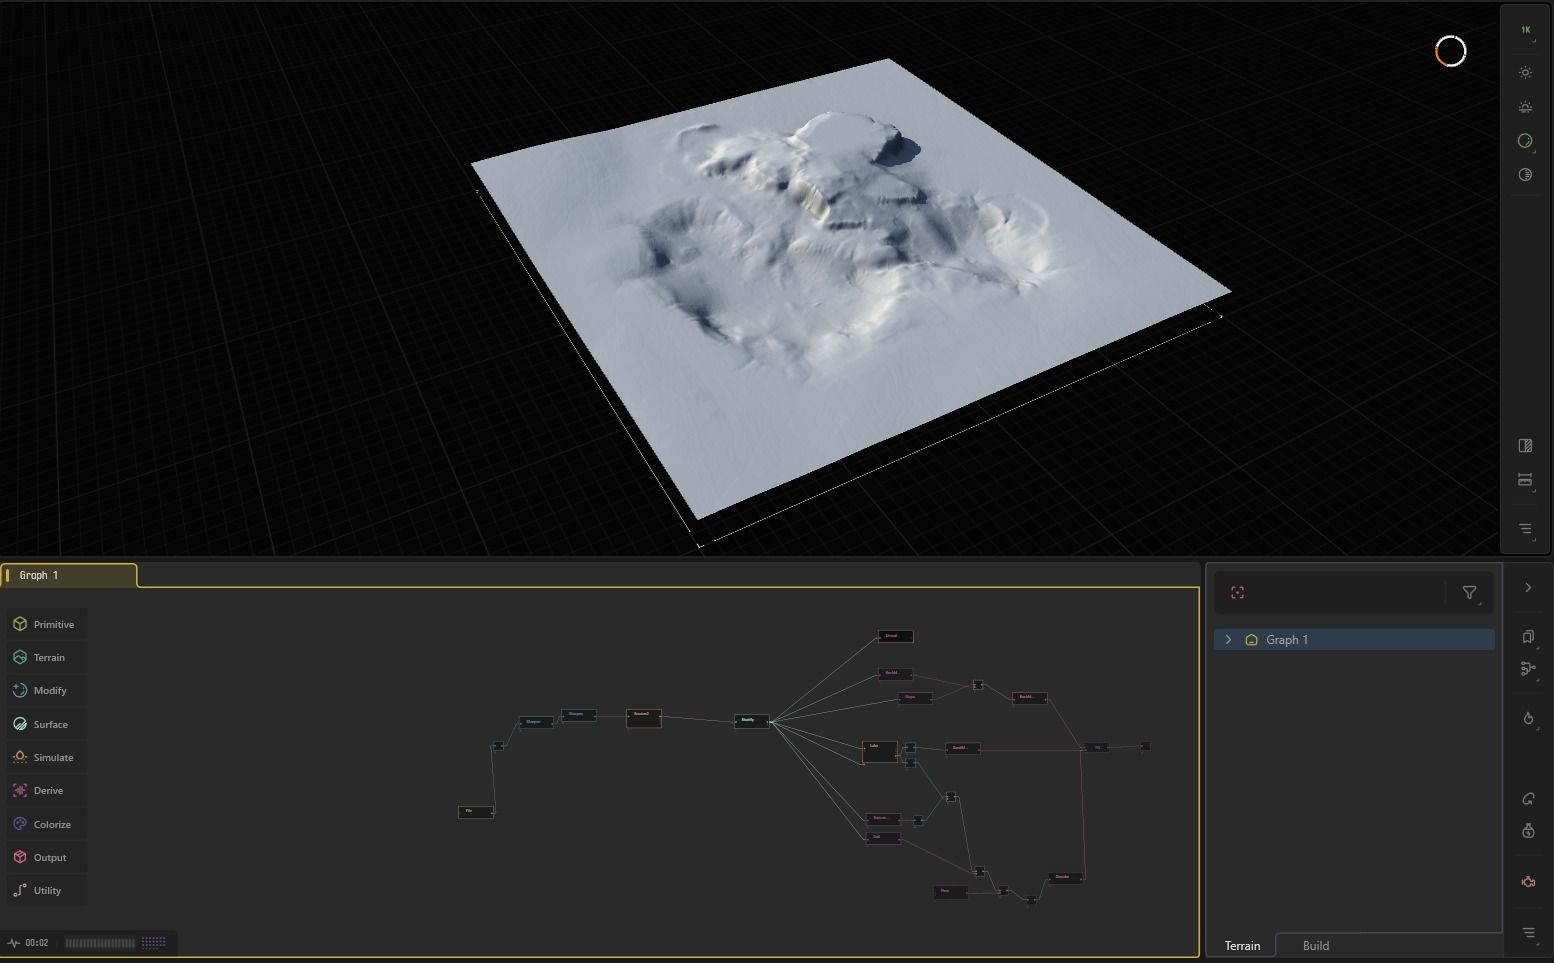
The landscape was created with a mixture of the standard Unreal landscape sculpting tools and Gaea. What I don’t like about Gaea is the lack of control, which is why I used a hybrid workflow between both tools.
Basically, I sculpted the large shapes in Unreal to match the concept, exported the height map from Unreal, and only used Gaea for the details, as well as creating a mask for the landscape material.
Also, a small trick in case you only have the Community Edition of Gaea, like I do:
If you delete all the space you don’t need in the landscape in Unreal, you can have a higher resolution in the exported file to work with later in Gaea, since the landscape you want to focus on is bigger in the height map.
Texturing
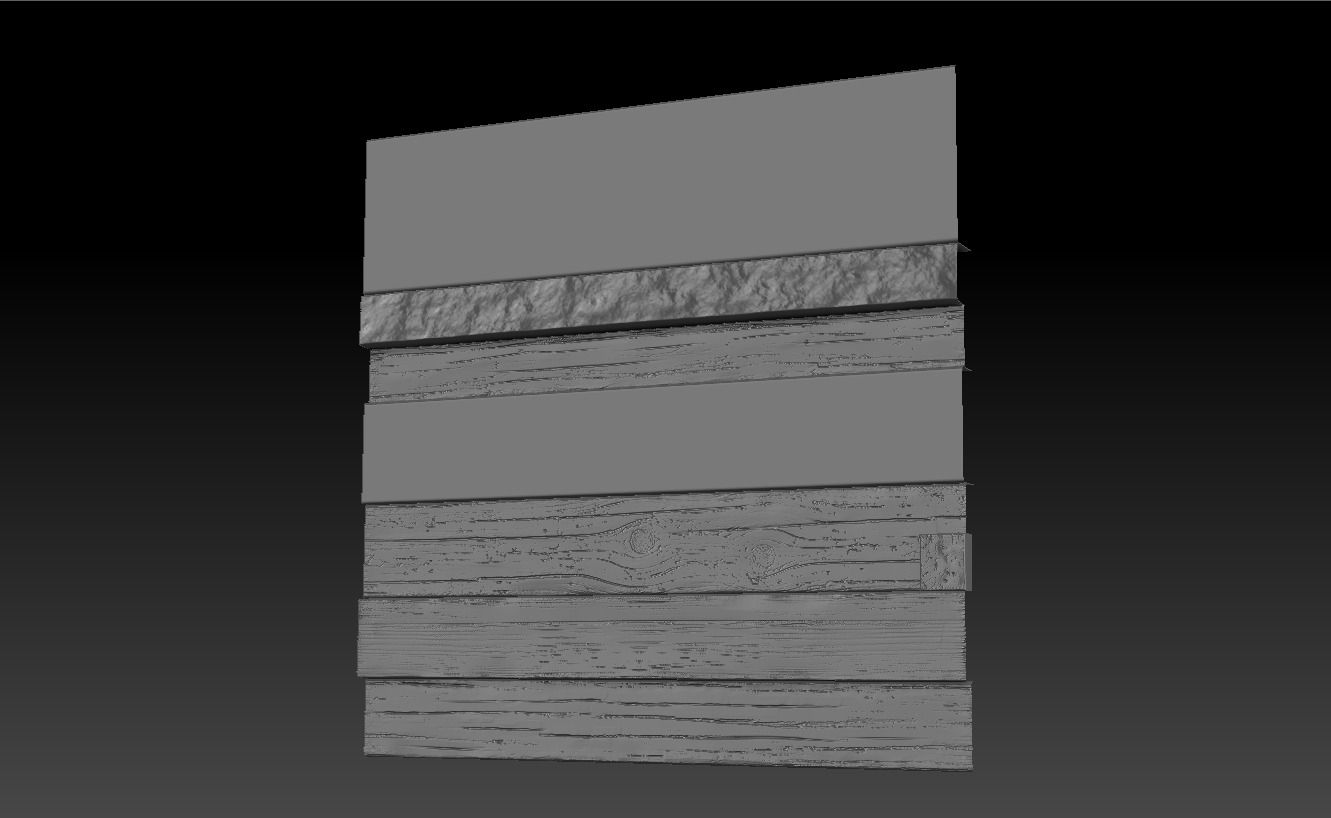
Most of the assets were textured using a trim sheet. The trim sheet itself isn’t that special.
I just divided a plane a couple of times, made sure the size was correct so each piece fit onto it with some extra space and with the target TD of 10.24px/m.
After that, it was just sculpting some details onto it in ZBrush, which were then baked and textured later on in Substance Painter.
Something worth mentioning when sculpting on a trim sheet is being careful with the details you add and making sure they tile. The way I did this was by activating symmetry so the beginning and end of the trim sheet are the same and repeat.
Apart from that, assets that use tileable materials were mostly taken from the Megascans Library.
Vertex Painting
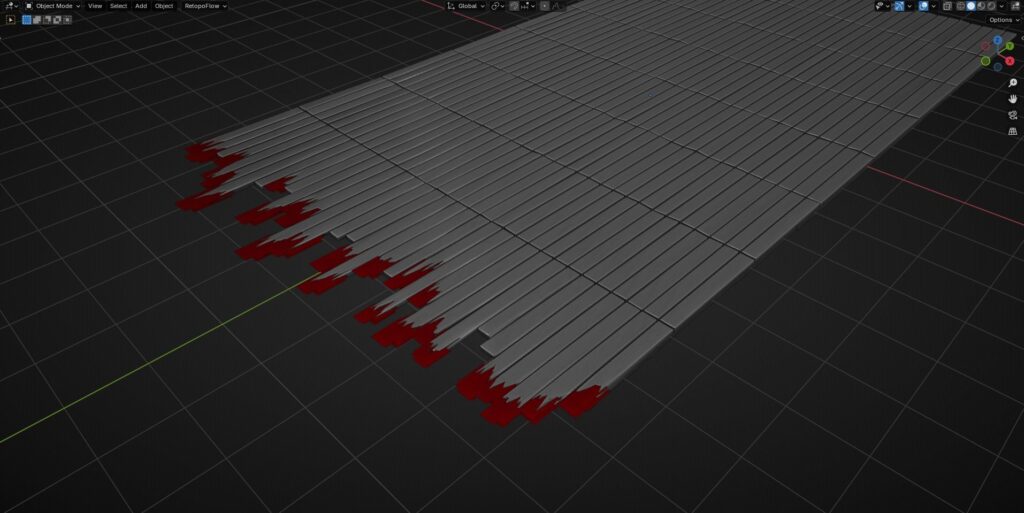
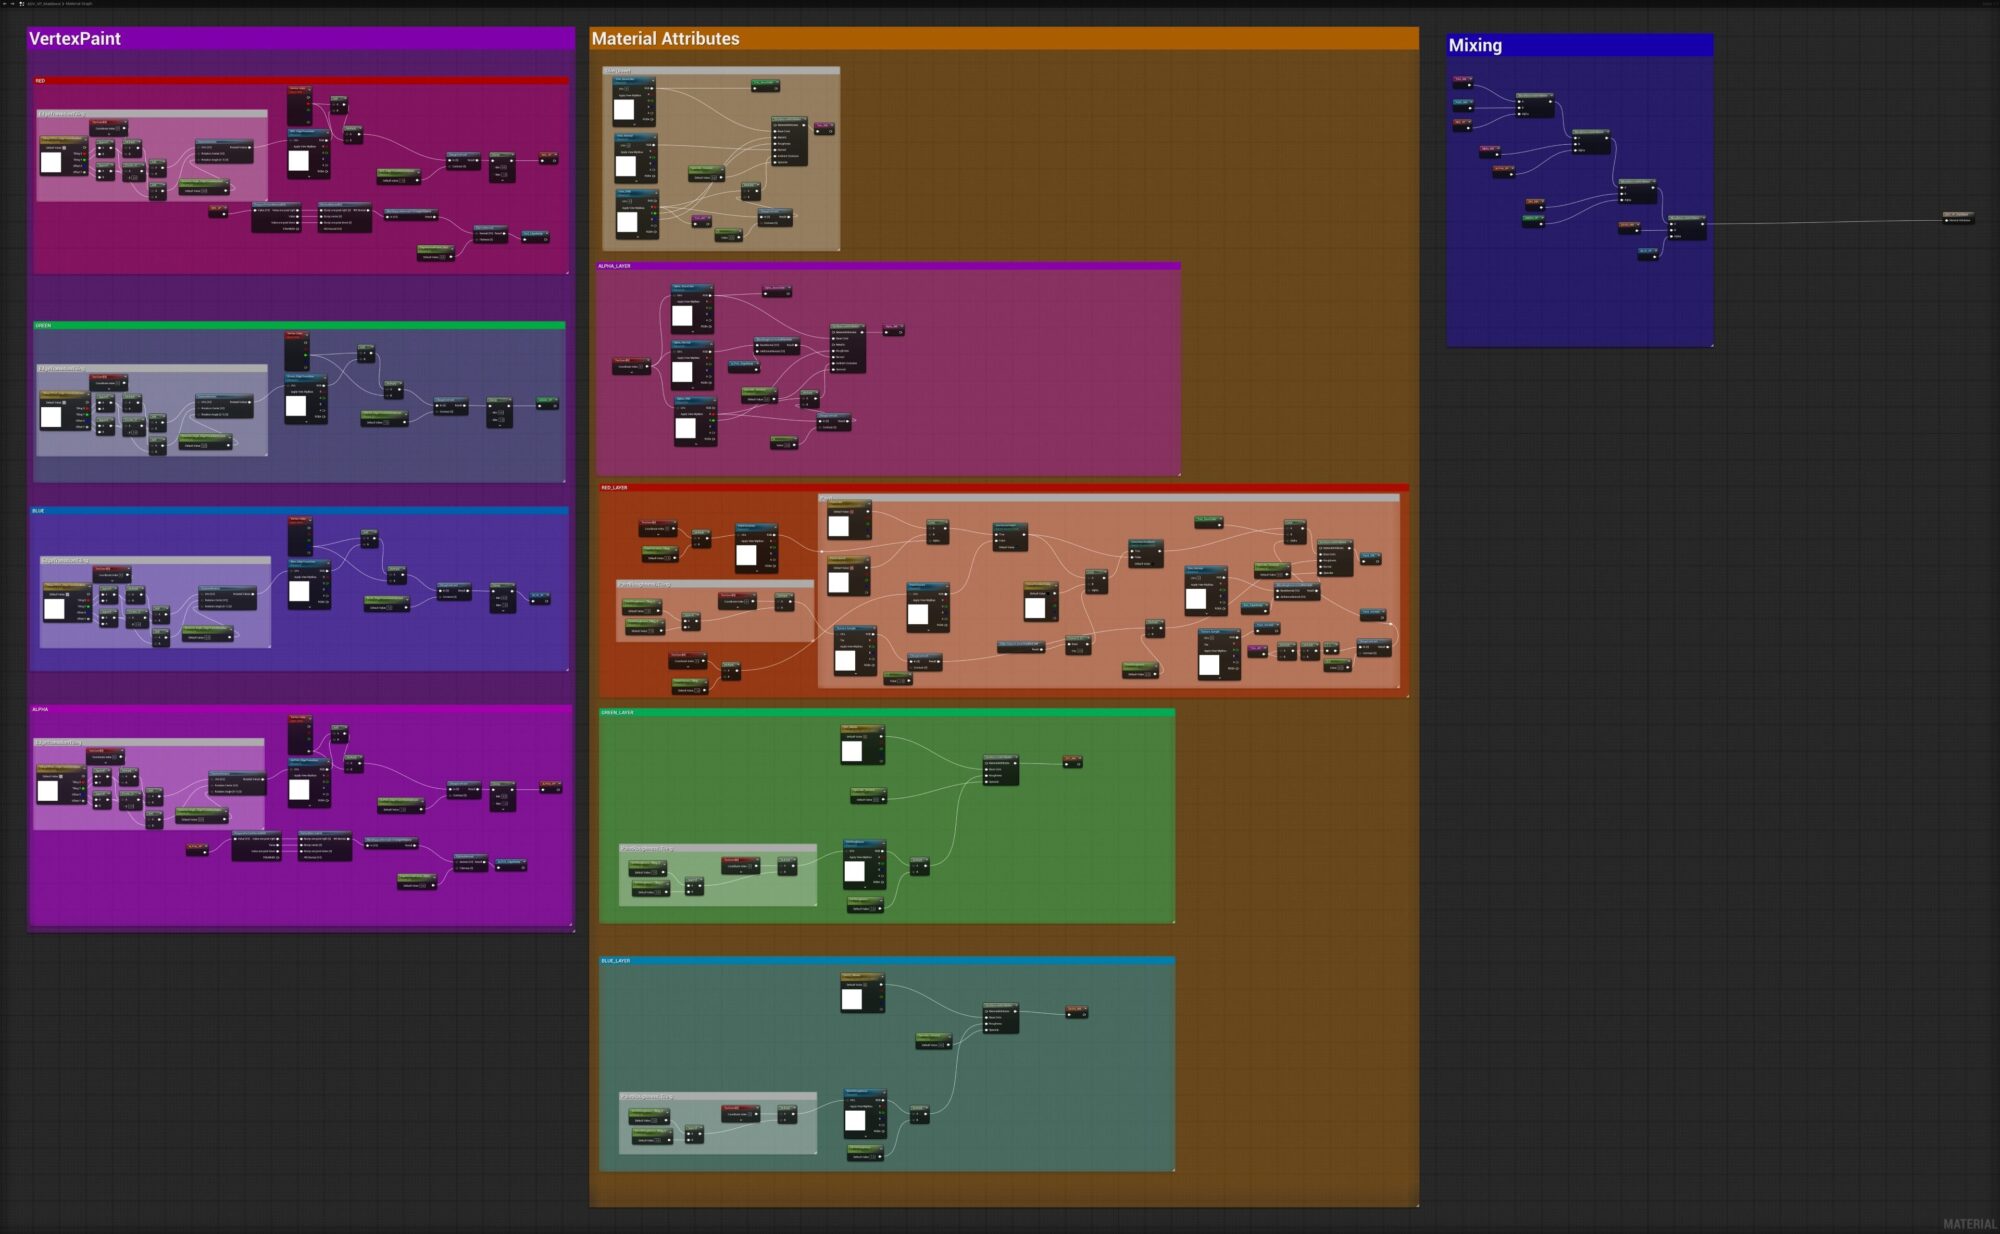
The modular walls for the barn were textured using the trim sheet and vertex painting.
The vertex paint shader has 4 layers:
-
A = Broken Wood
-
R = Paint
-
G = Dirt (Dark)
-
B = Dust (Bright)
I try to have as much variation and contrast in a surface as possible, since that makes it look interesting.
Comparing it to your reference and trying to identify where this type of damage or dirt builds up makes a surface look realistic, with nothing feeling out of place.
I also made sure to add some extra edge loops in my mesh so I could have a bit more freedom when it comes to where I can paint it.
RGB Masks
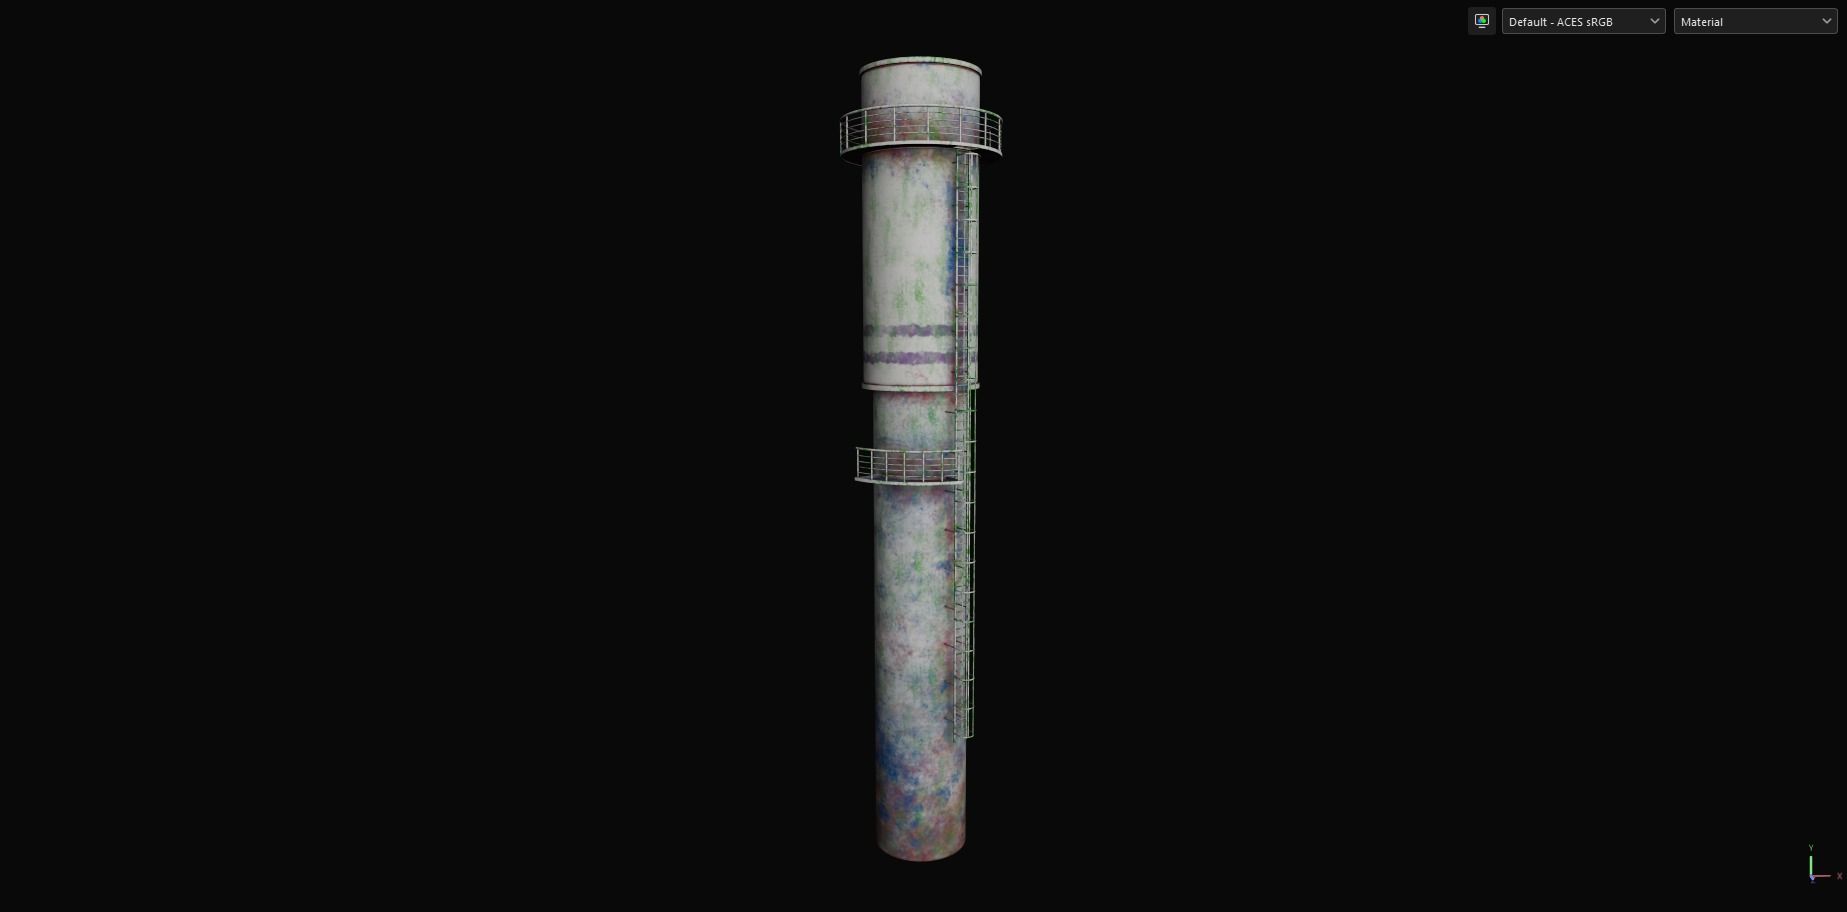
Some assets in my scene also use RGB masks. RGB masks usually produce a nicer result because you have all the tools in Substance Painter to create the mask, and you’re not limited to the number of vertices in your mesh.
Generally, at the cost of flexibility, since if you want to make changes, you would have to change it in Painter and then reimport it, instead of doing it all in the engine, like you can do with, for example, vertex painting.
You also need an extra texture for it all to work, instead of utilizing the vertices.
One of the assets using an RGB mask is the Chimney Tower, which is mostly textured using tileables and just 1 RGB mask texture created in Substance Painter.
The modular cliffs also use an RGB mask.
Wooden Platform & Broken Wood
When creating broken wood or wood planks, there are many methods that work.
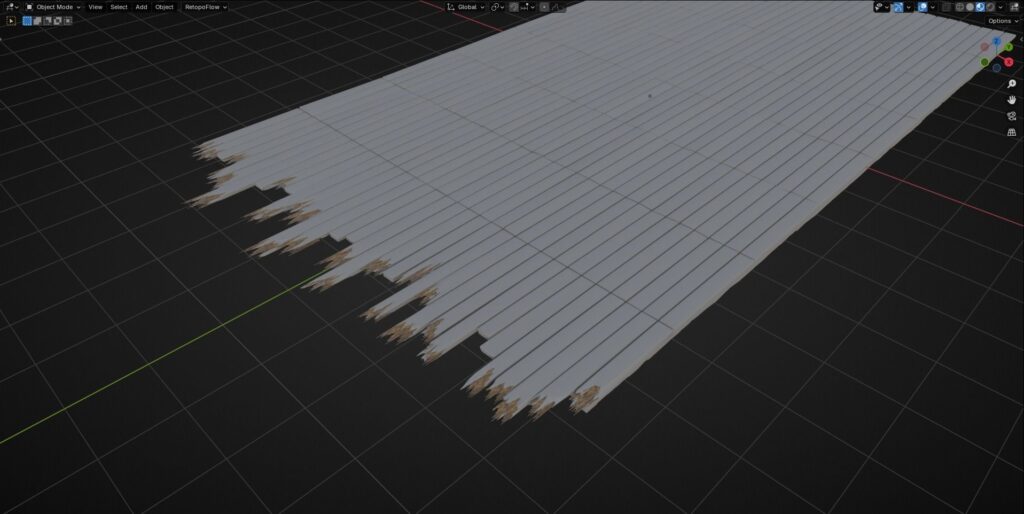
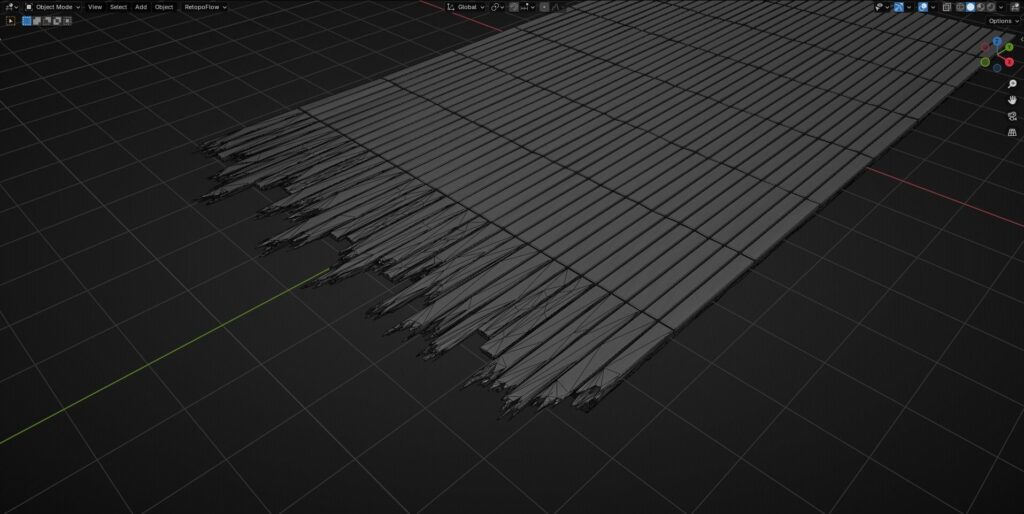
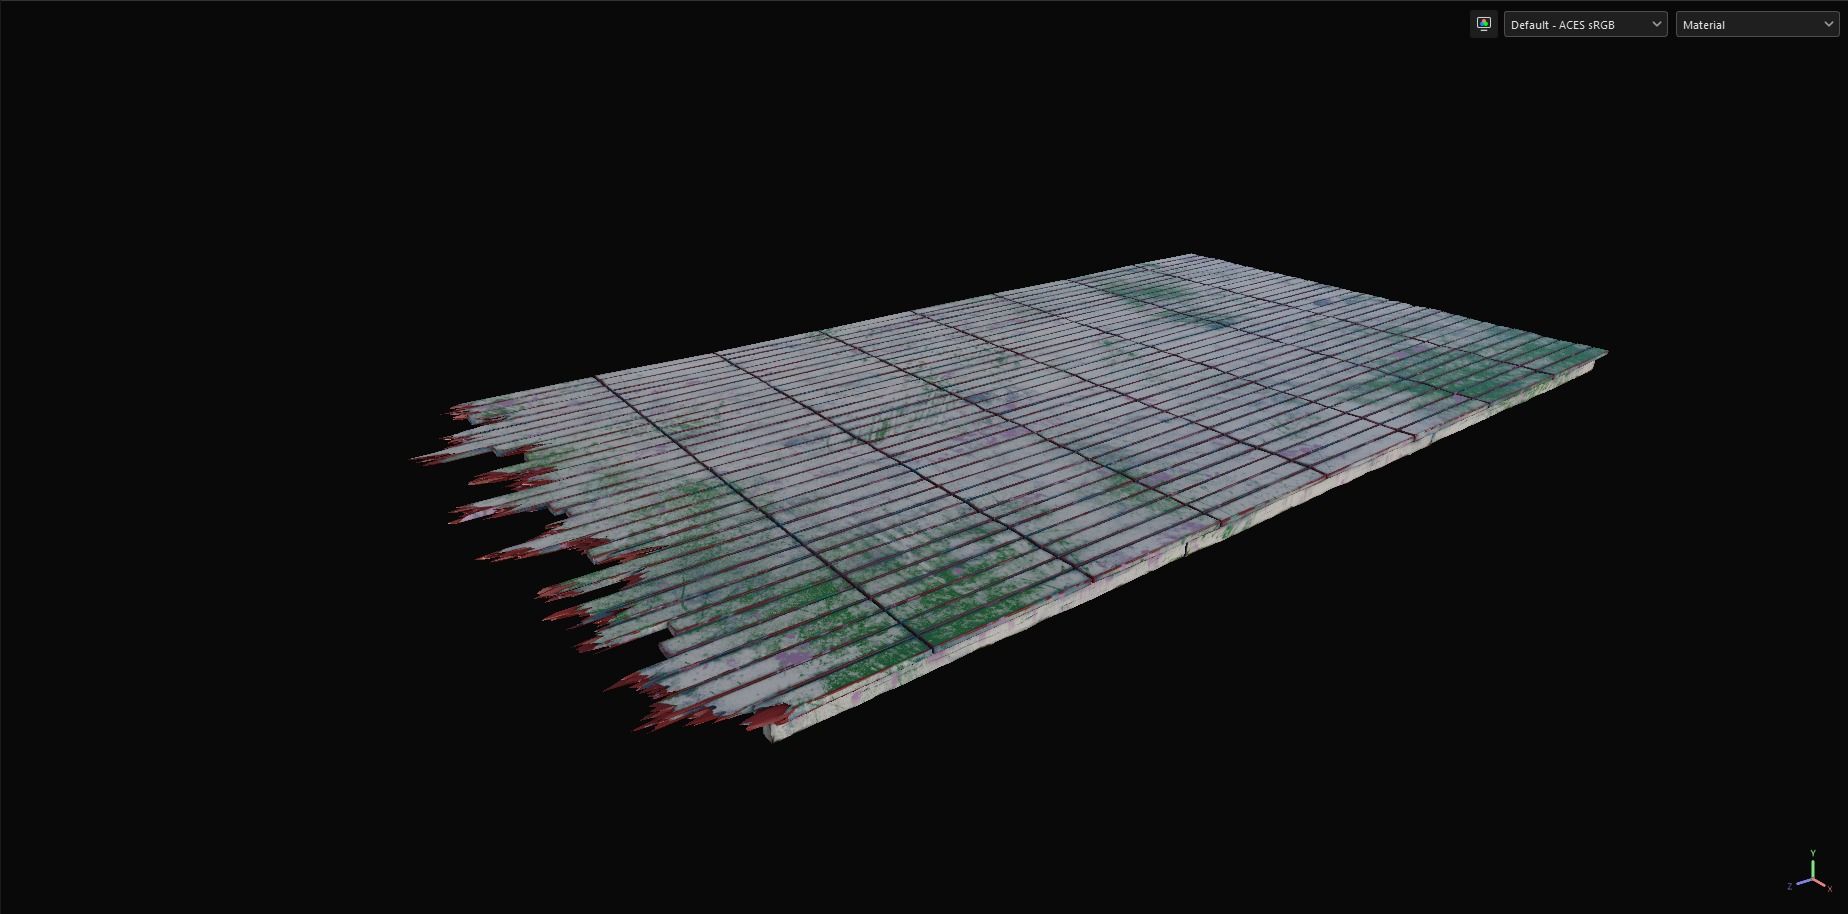
What I did for this project was create the large broken shapes in Blender and then rely on alpha cards for the smaller details, which worked quite well.
A small trick and really quick way to create these large broken shapes in Blender is using Proportional Editing set to Randomized:
I used this method for many assets, such as the wooden platform and the farm sign.
But because this method alone didn’t give me the details I wanted, and I didn’t want to add more polygons, I decided to also add some cards that use a broken wood end texture you can find anywhere on the internet, and just place them at the end of the wood plank for finer details.
The wooden platform itself was textured with 1 tileable wood material and also an RGB mask to add variation.
Foliage
I have done some foliage in the past for my environments, but not to the extent I did for this project.
The foliage was completely hand-modeled and placed, which was pretty time-consuming, but I wasn’t happy with the results when I tried to automate it, so I just did everything by hand.
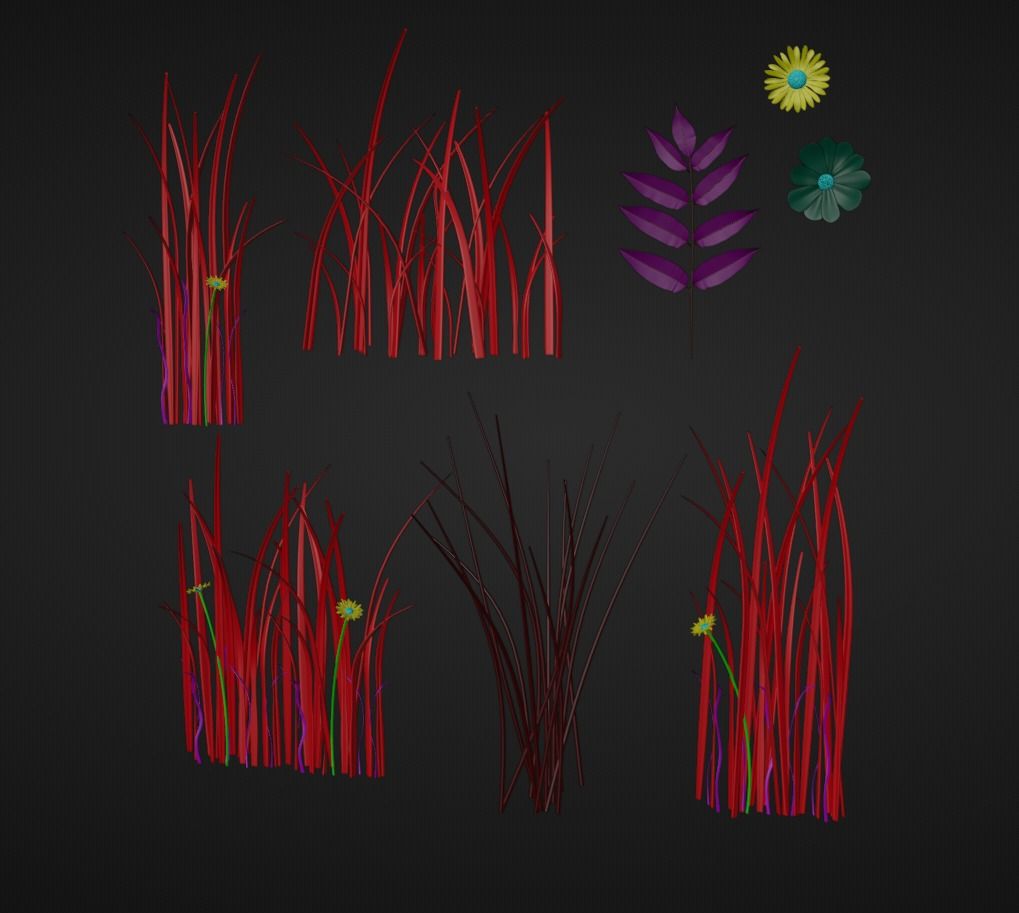
First, I modeled all the high-poly plants. I didn’t use ZBrush, just Blender alone. The workflow for these is pretty repetitive: model one grass blade, duplicate it, change scale, bend it, and repeat until I have an interesting-looking shape that I could later use on a card.
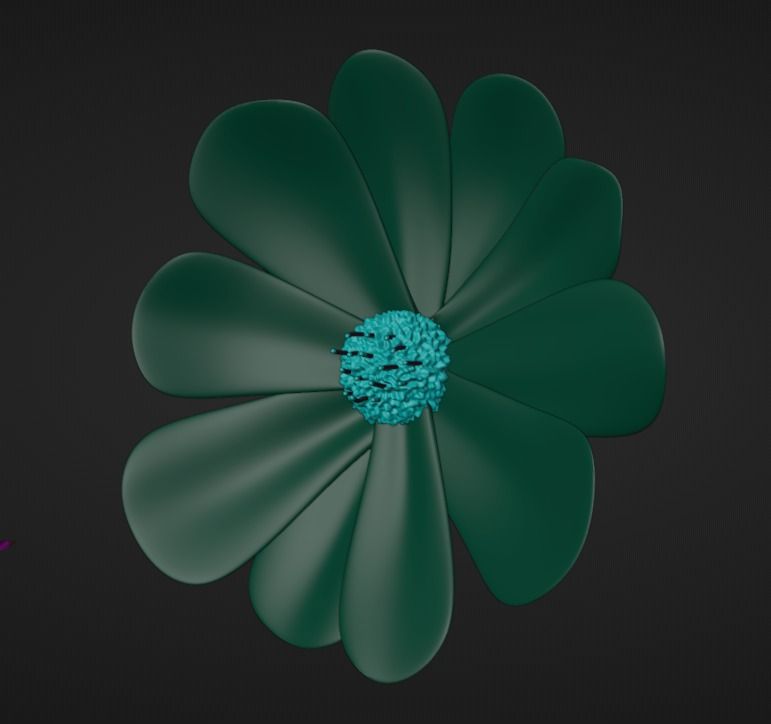
The flowers were done pretty much the same, except for the disk florets, for which I used a displacement modifier with a cloud noise to get those smaller details.
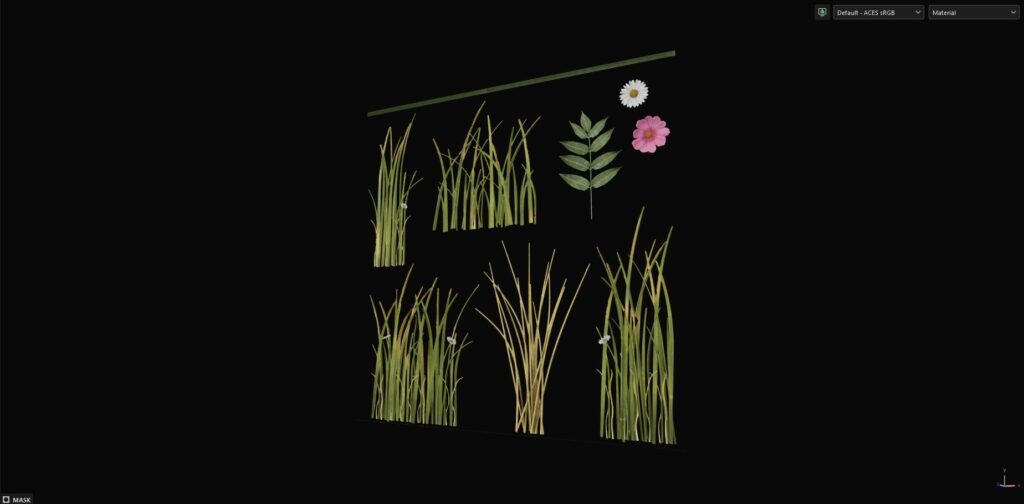
After I finished the high poly models, I made sure to give them all an ID color so I would have an easier time later in the texturing when I baked them on a plane.
The texturing of this atlas was basically a bunch of fill layers and noise until I got something that looked similar to my reference.
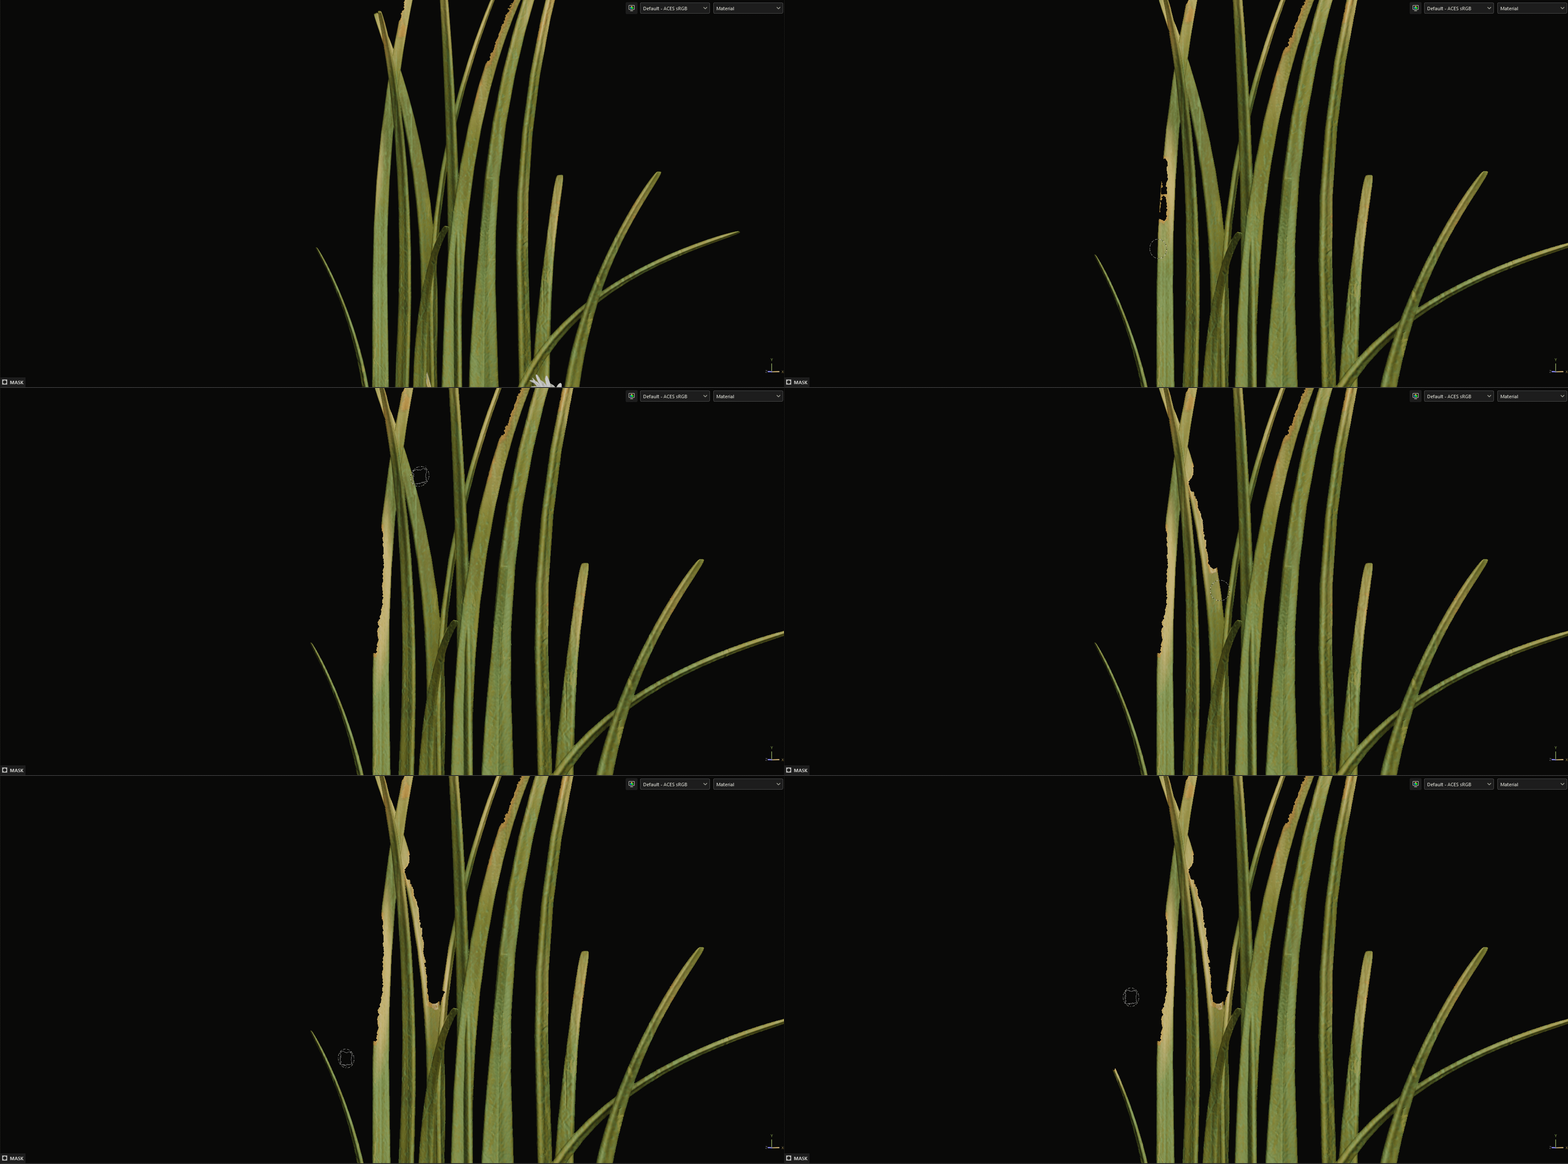
I also used anchor points so that when I chipped away some of the grass, it had a yellowish or brownish color. In addition, I added a fill layer across the whole atlas, which was used for the stems of the flowers.
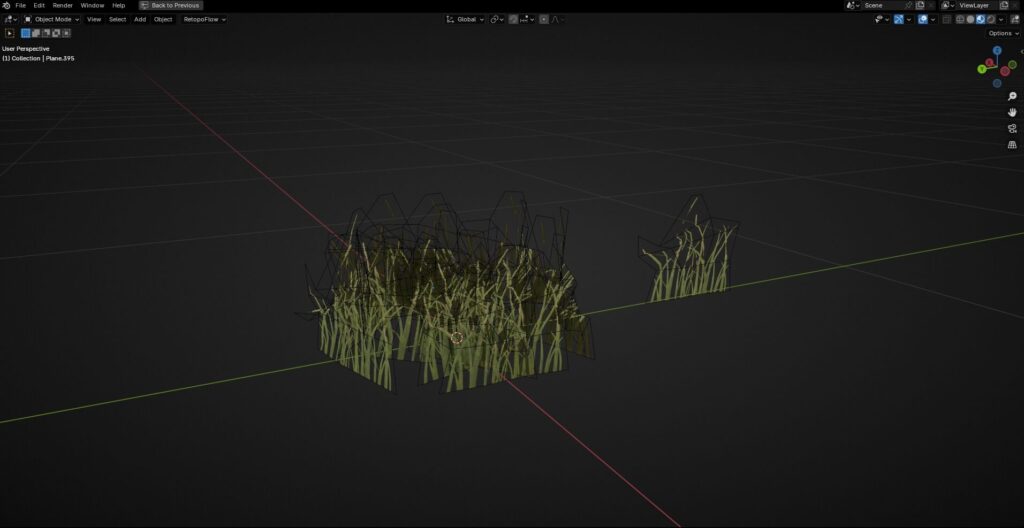
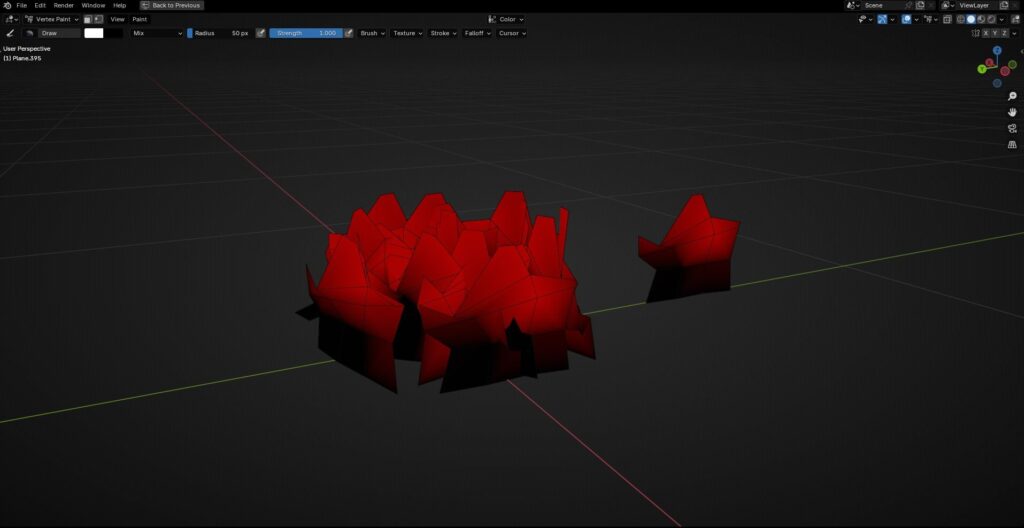
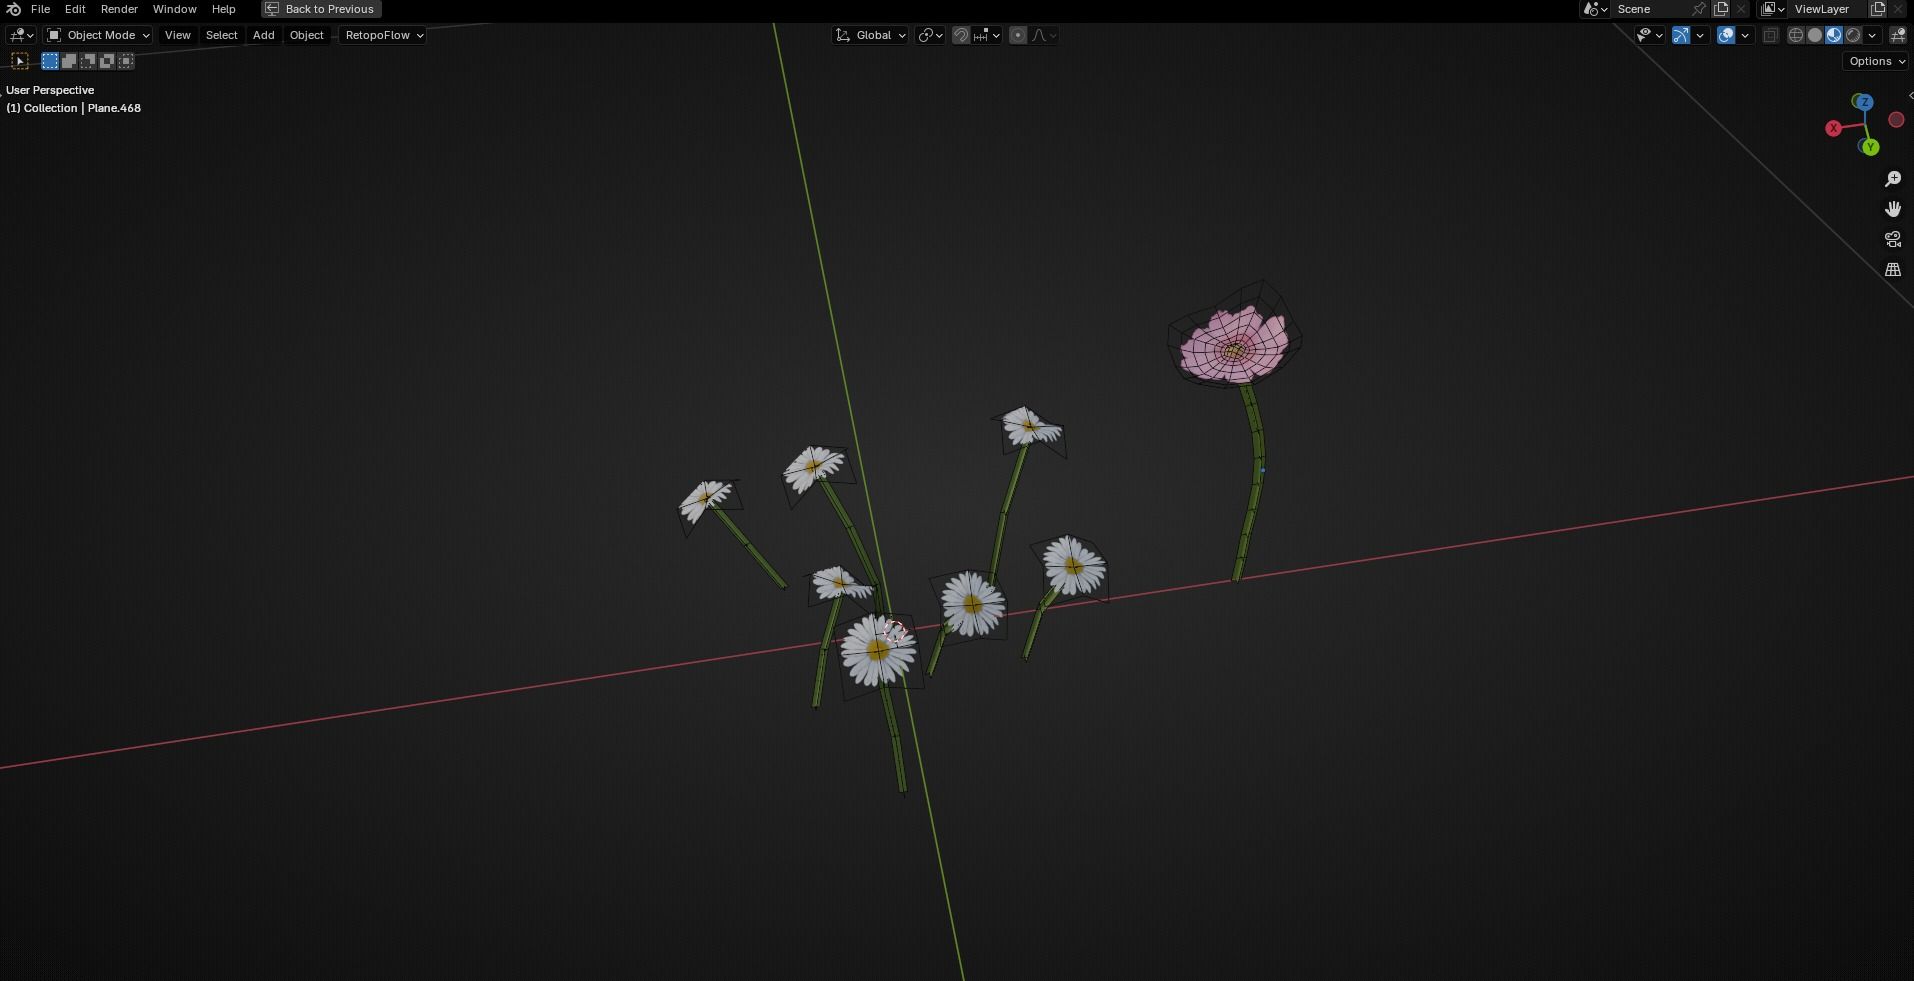
The low poly for these was just traditional cards. I also made sure to vertex paint the upper area of the cards in the Red Channel so that later, when setting up the wind in the shader, I could limit it only to the upper area, so the base of the foliage doesn’t move.
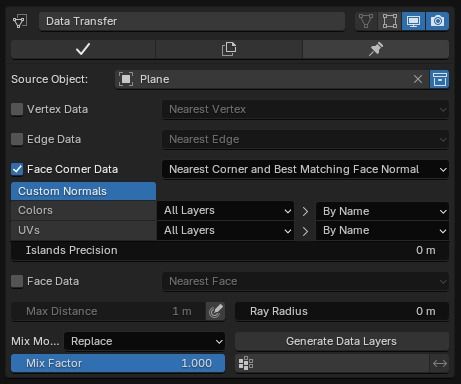
The key to really soft and nice-looking foliage is the normals. For this grass, I literally just pointed the normals up.
You can do this in Blender by placing a plane over your foliage, then adding a Data Transfer modifier to your foliage and setting the source to the plane, checking Face Corner Data, and selecting Custom Normals.
The smaller flowers were also pretty optimized, basically completely made out of planes. Bigger ones, like the pink flower, had a bit more detail because they stood out more.
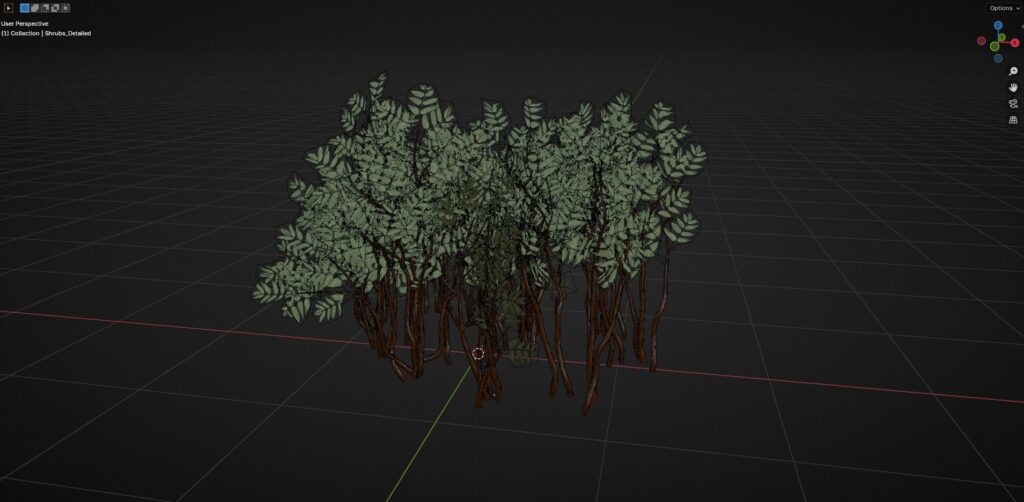
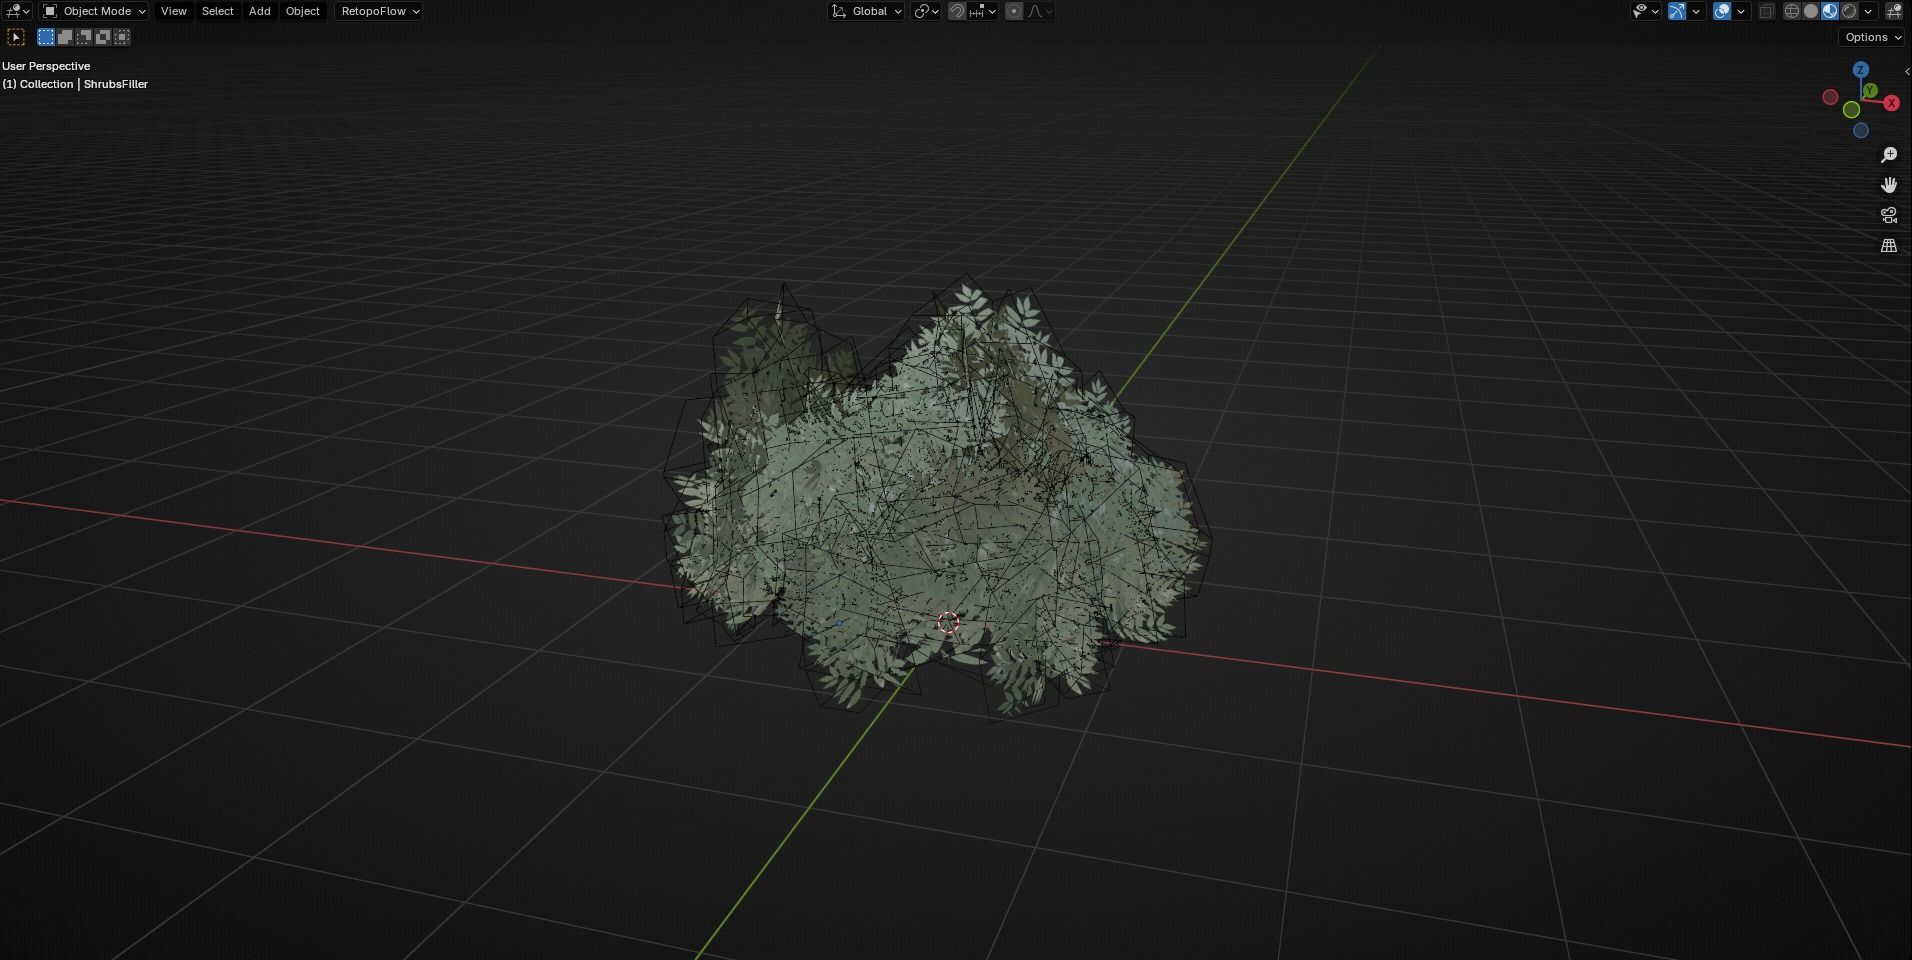
For the shrubs, I started by creating the branches, for which I used a hybrid approach of polygons and curves as shown below:
-
Create a single vertex.
-
Extrude it until you have a nice branch shape.
-
Add and apply a SubD modifier to smooth out the edges.
-
Convert to Curve.
-
Add some Geo in the Curve’s Tab (also enable caps).
-
You will see some weird geometry because it’s sometimes merged wrong. In that case, separate them and join them all together again.
-
To have the branches become thinner, select the last points of the branch and activate Proportional Editing (Smooth). After that, press Alt + S.
-
Lastly, add a Remesh modifier to have a watertight mesh and decimate it.
I repeated this until I had a good base. After that, I just placed all the leaves manually by hand.
The leaves use the same atlas as the grass and flowers, and the wood branches use a tileable material from Quixel.
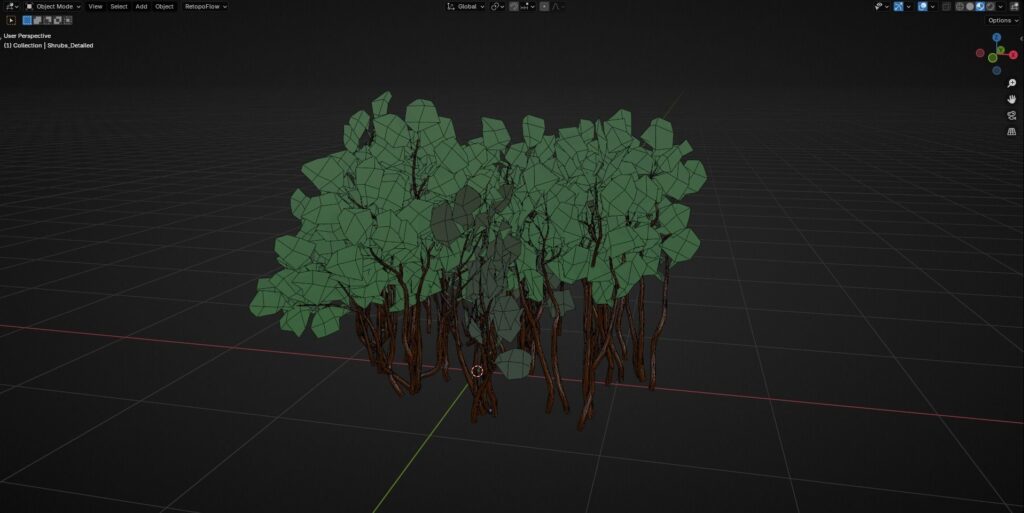
Because these shrubs alone didn’t give me the softness and fluffiness like in the concept.
I created another atlas with the same leaves, but it allowed me to have them on bigger cards and stack them on top of the actual detailed shrubs to add more volume.
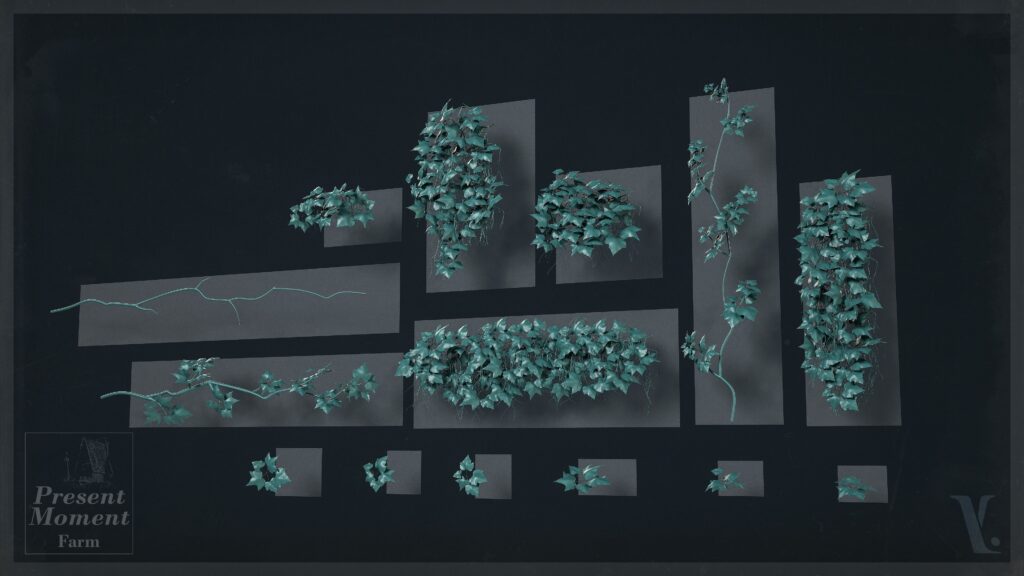
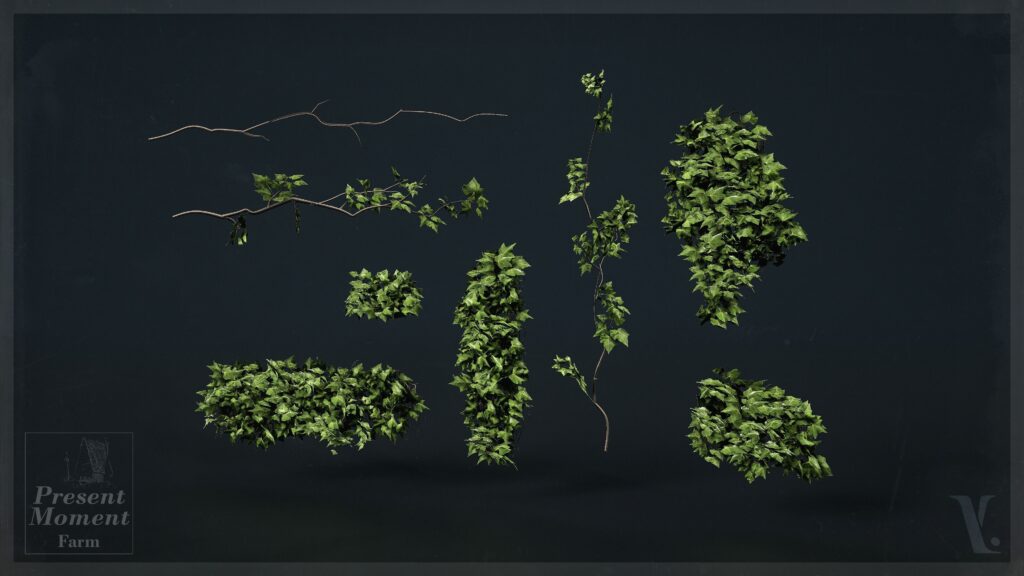
In terms of the ivy, I haven’t done much ivy in the past, so I came across a tutorial from Anton Syrvachev and really liked his workflow and the amazing results from it.
Make sure to check out his amazing work. It basically explains in detail what I did.
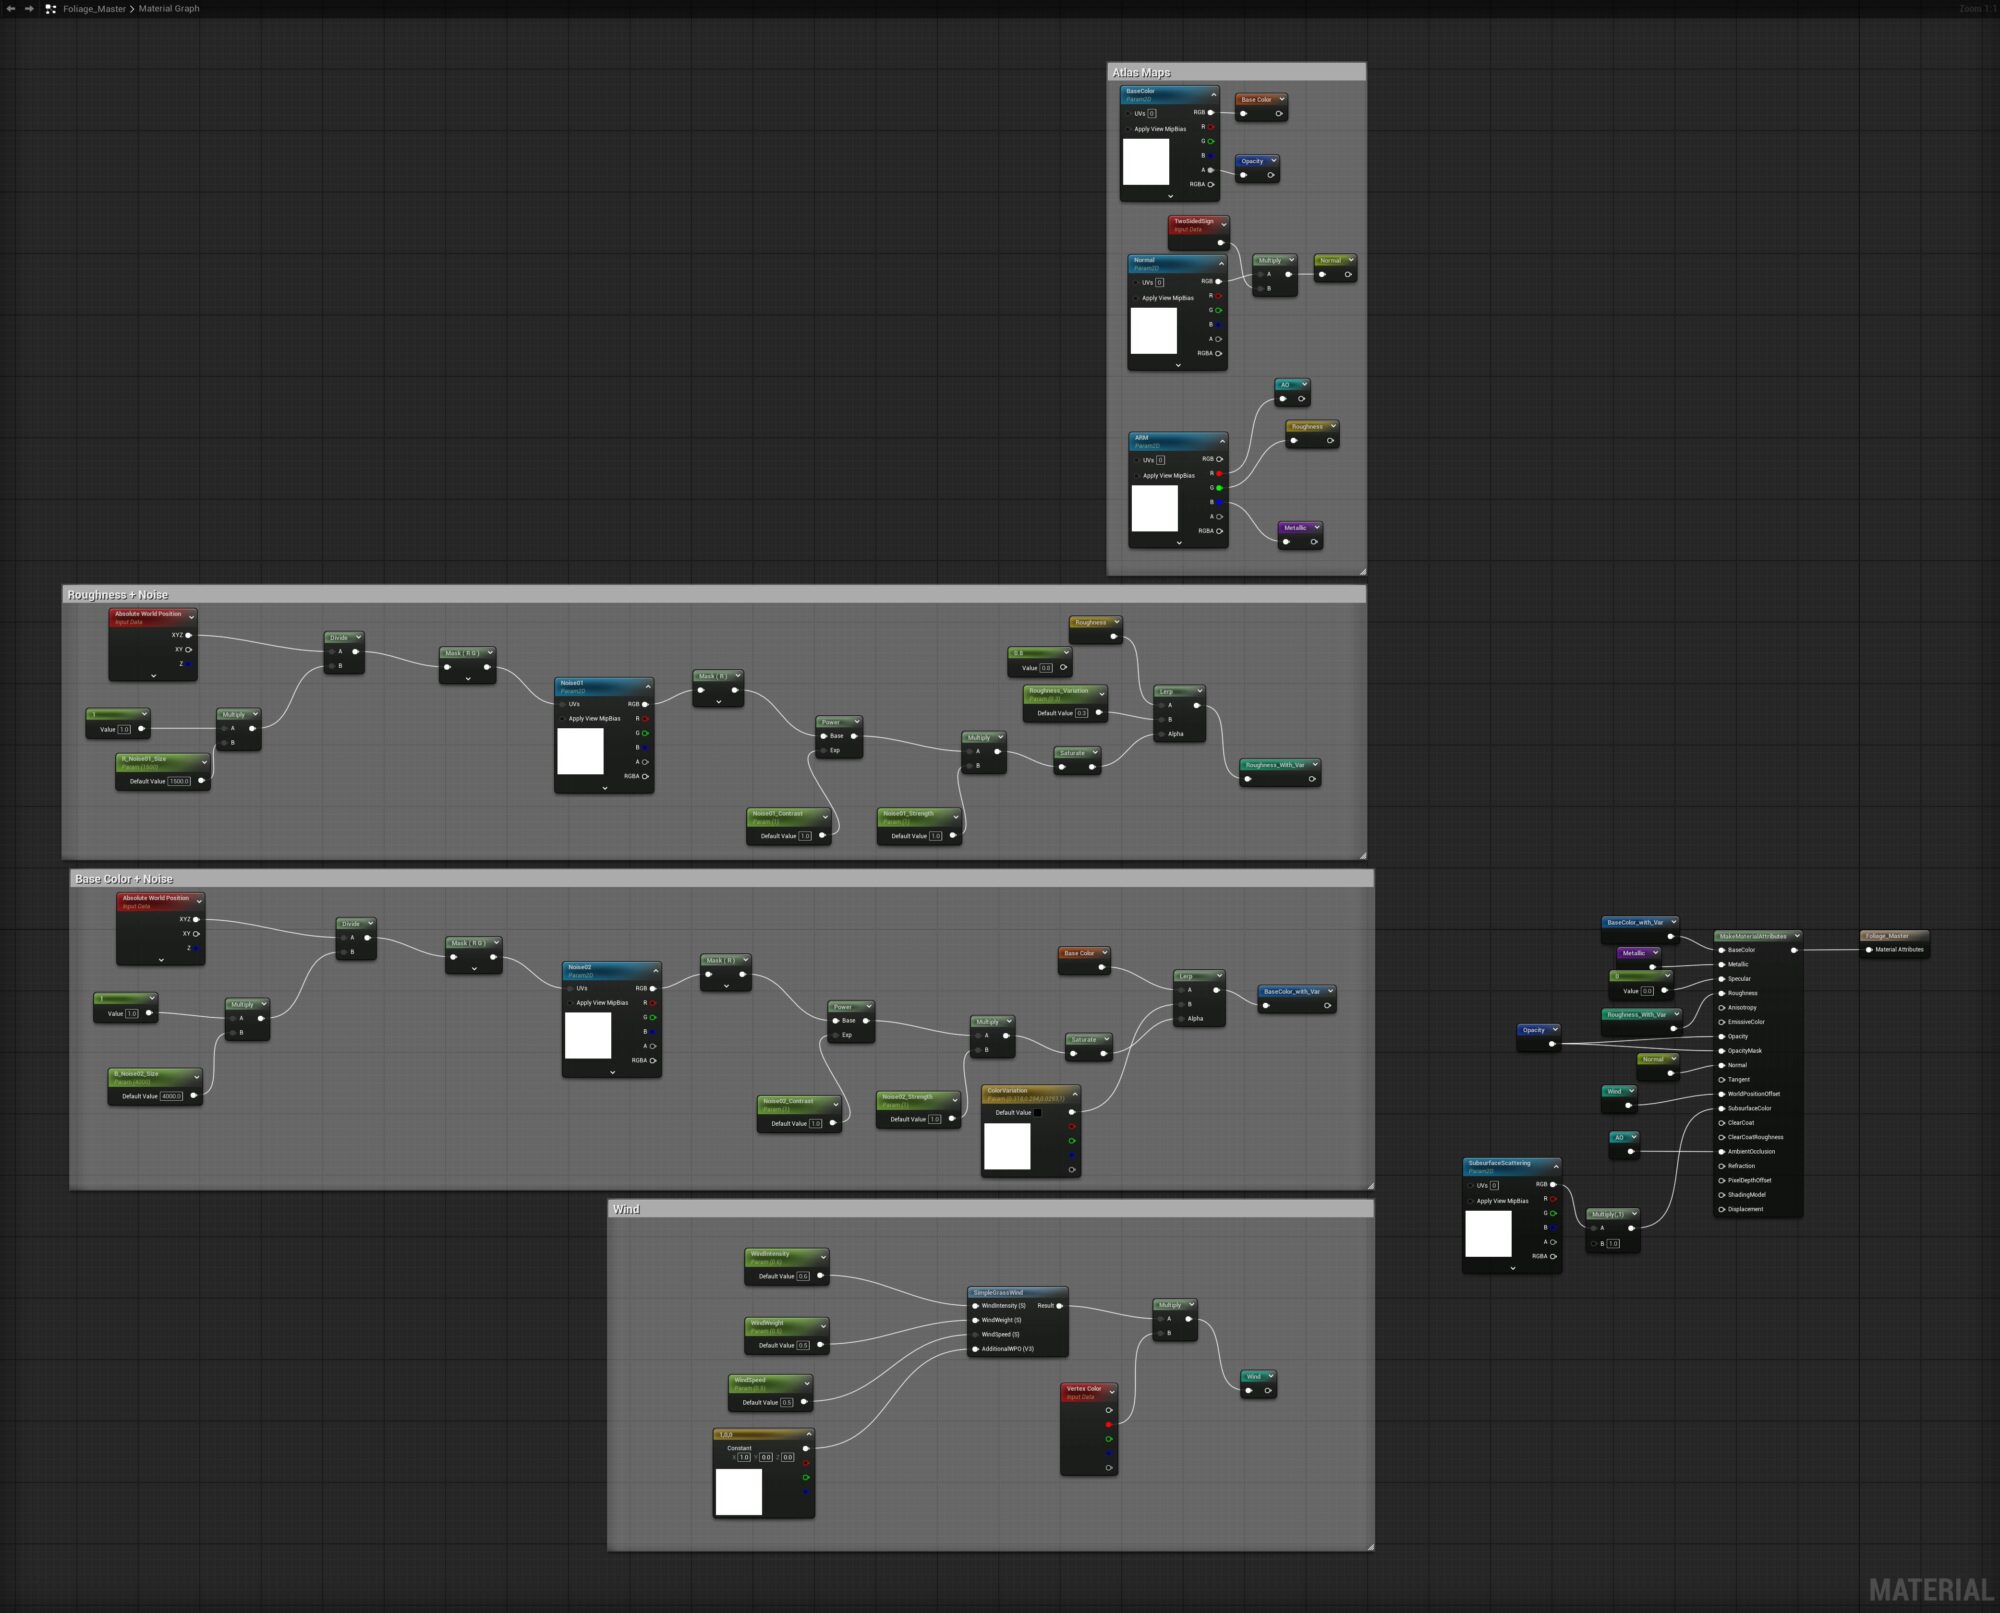
The material in Unreal for the foliage isn’t really special. What I did was add some variation in the Base Color and in the Roughness using the Absolute World Position.
The wind is literally just the SimpleGrassWind node multiplied by the Red Vertex Color to, like I mentioned earlier, only limit that effect to the upper area.
Props
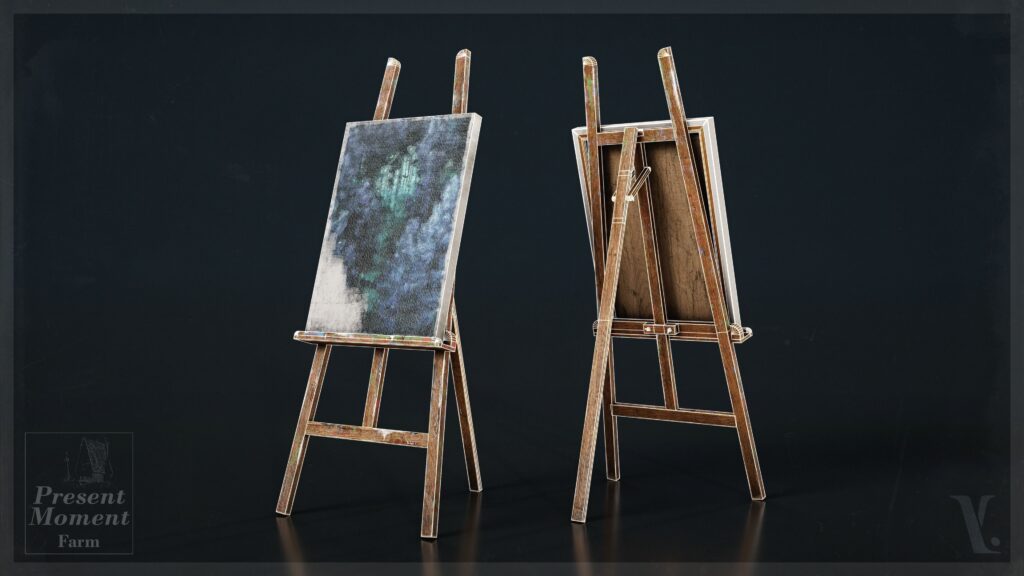
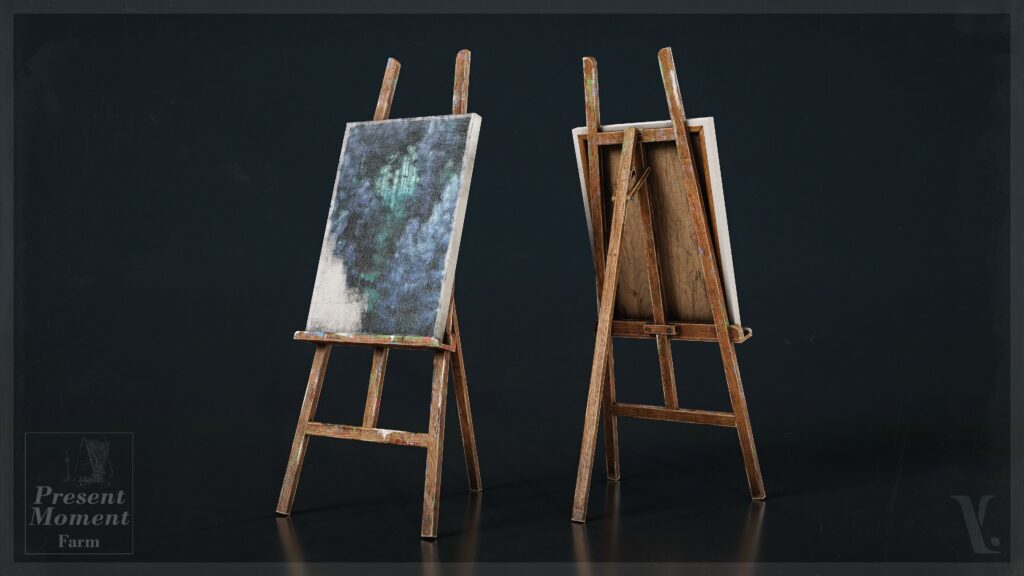
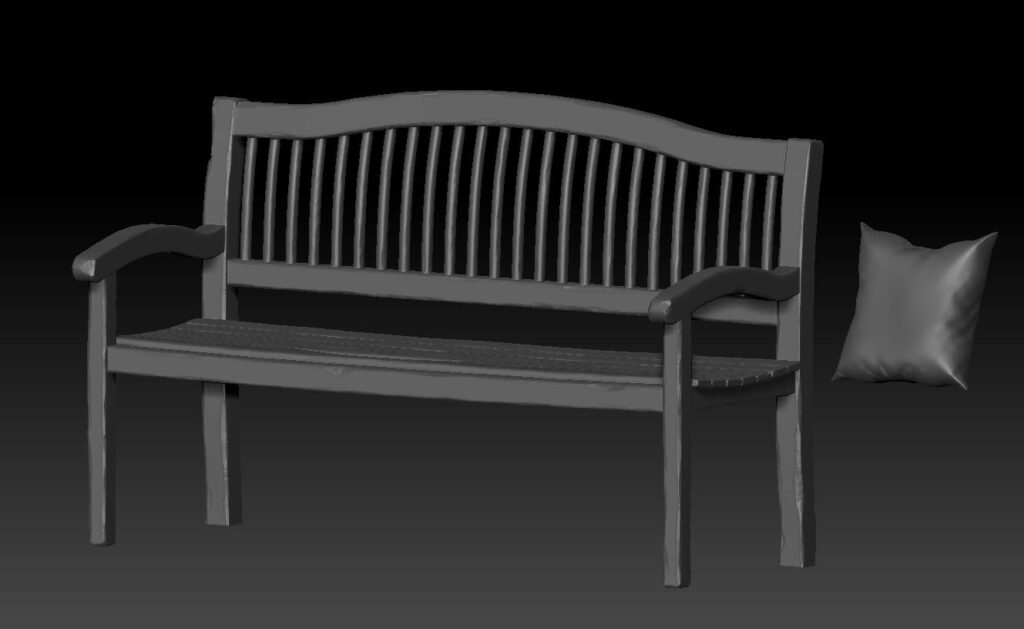
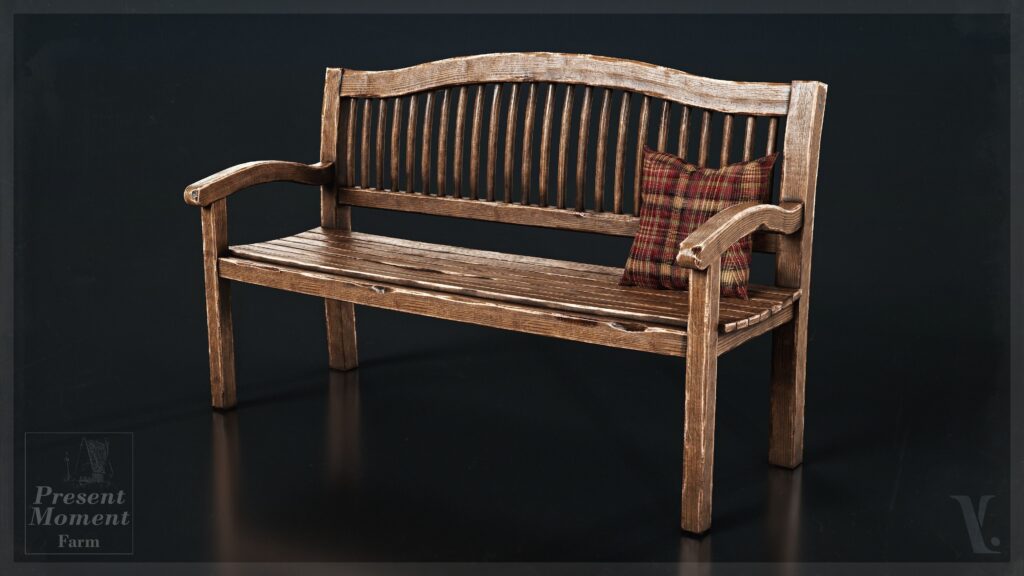
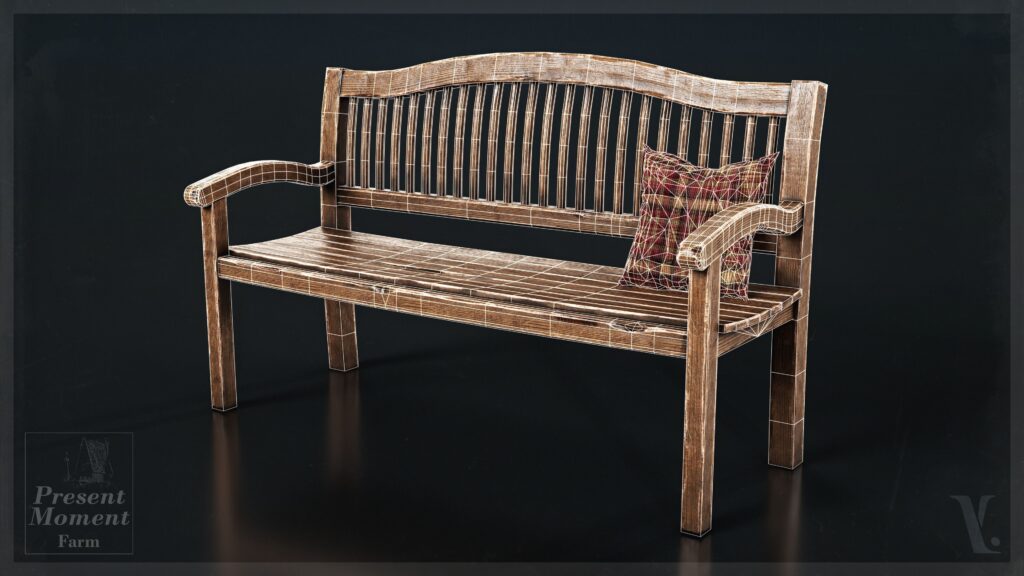
There weren’t that many props in this environment, but when creating them, my workflow was pretty much blockout and low poly in Blender, high poly in ZBrush and baking, texturing in Substance Painter.
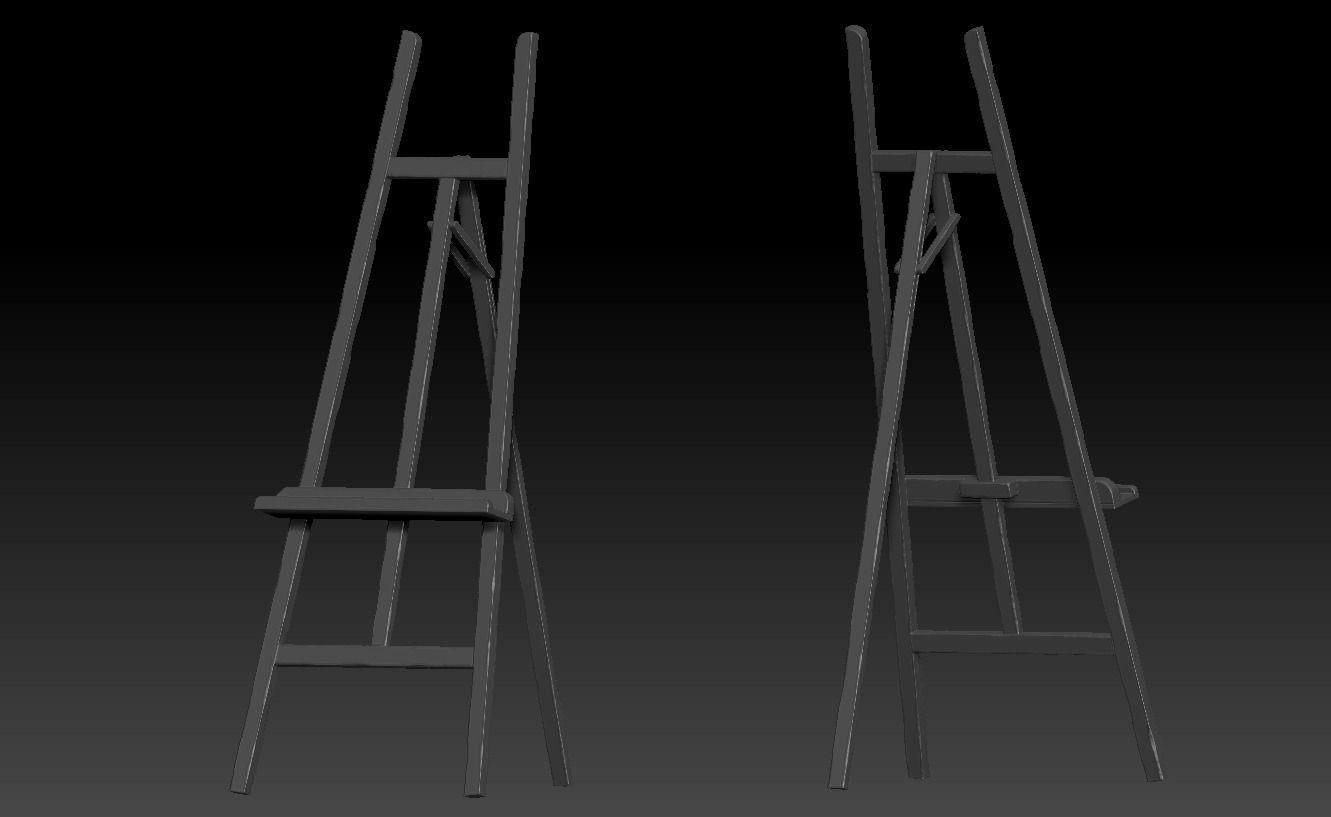
Below you can see a small breakdown of the high poly, texturing, and the final result of the easel and the wooden bench:
Lighting
For the lighting, I tried to keep it as simple as possible.
For the sky, I am just using an HDRI which I got from Poly Haven. The directional light does most of the work, and for darker areas and to match the concept better, I used some spotlights to get some fake light in.
I also used a bunch of fog cards and light beams to separate the foreground, midground, and background better, as well as add more atmosphere.
Conclusion
First of all, I would like to thank Games Artist again for allowing me to do another article. I hope this one has some helpful information!
If you want to check out my last article about my Rocketdyne F1 Prop.
I would also like to thank the artists who gave me feedback on this environment while working on it, most notably the Dinusty Empire and the Sierra Division Discord Server.
In conclusion, this project was a really amazing learning experience. I can’t emphasize enough that getting feedback on your work is one of the best ways not only to improve the project you are currently working on, but also to improve as an artist as a whole, which is why I think it’s really important to ask for it.
Thank you for reading!

