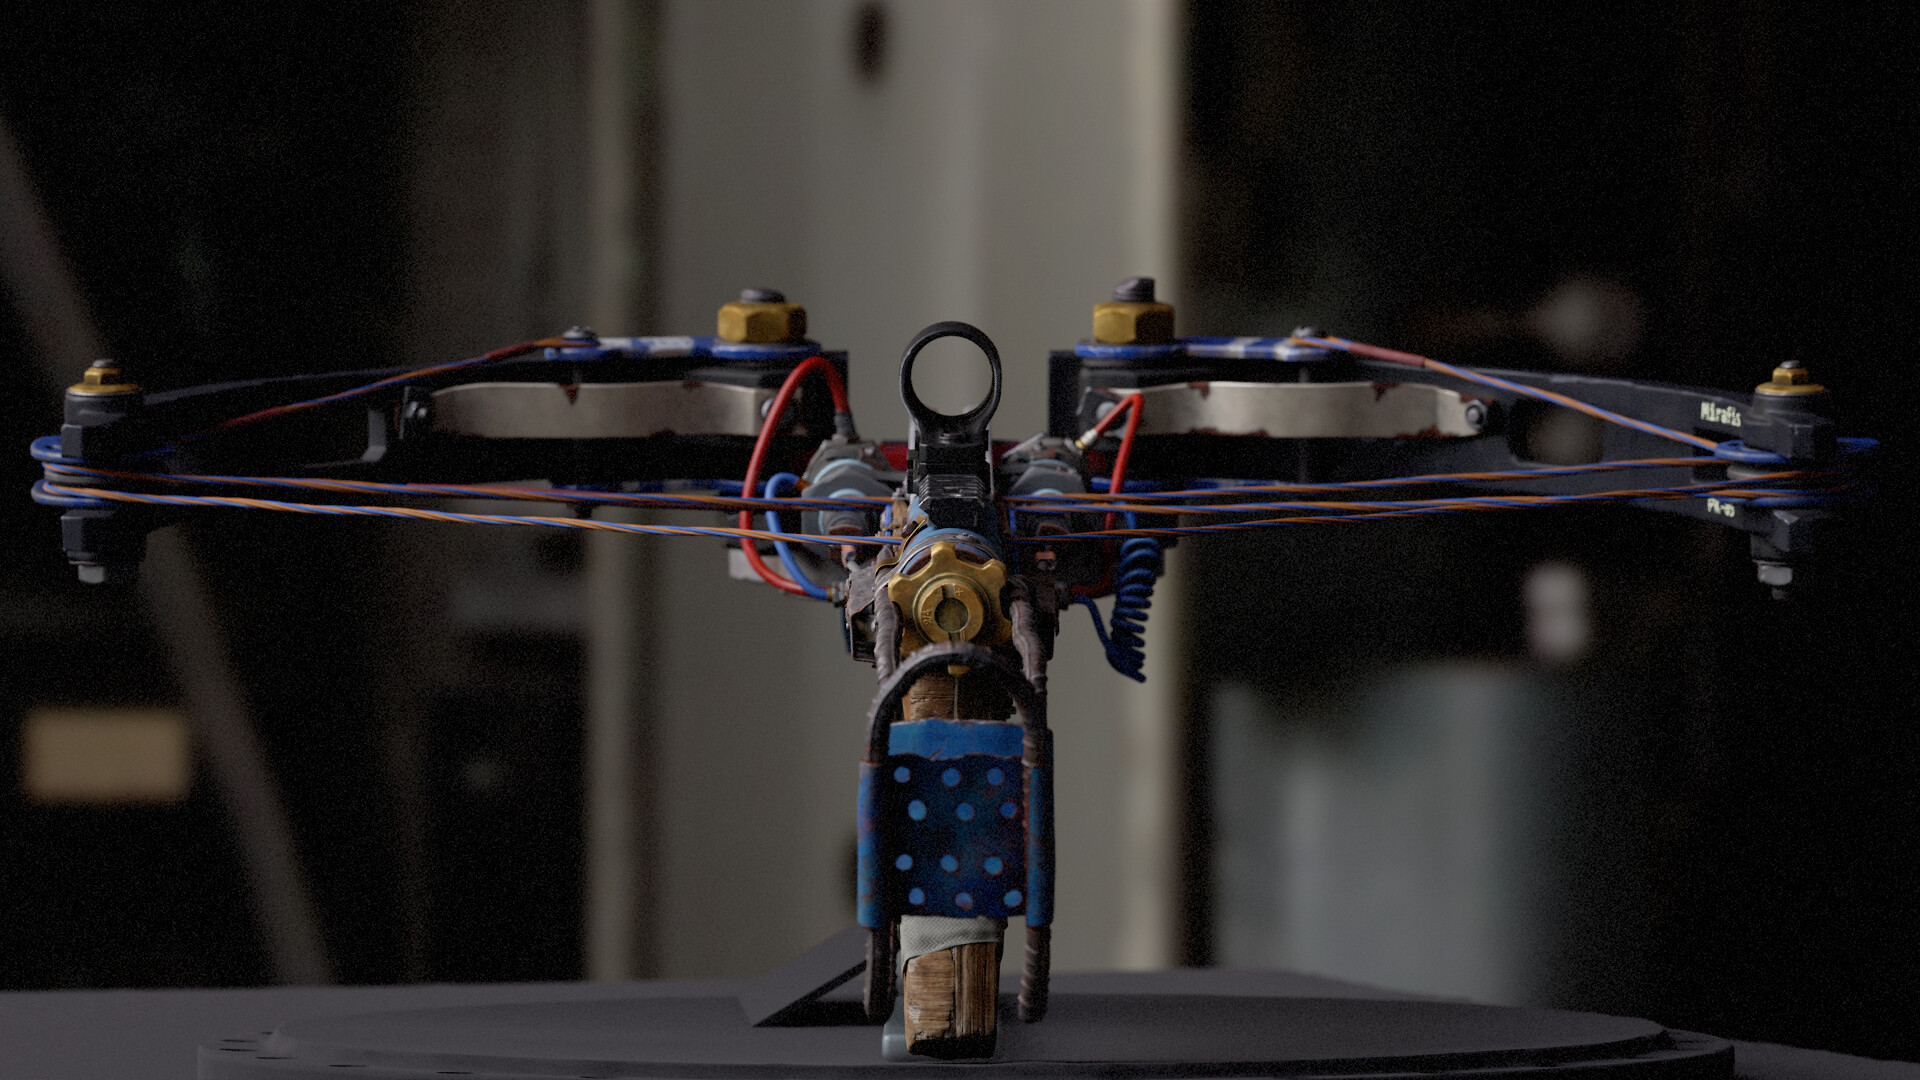
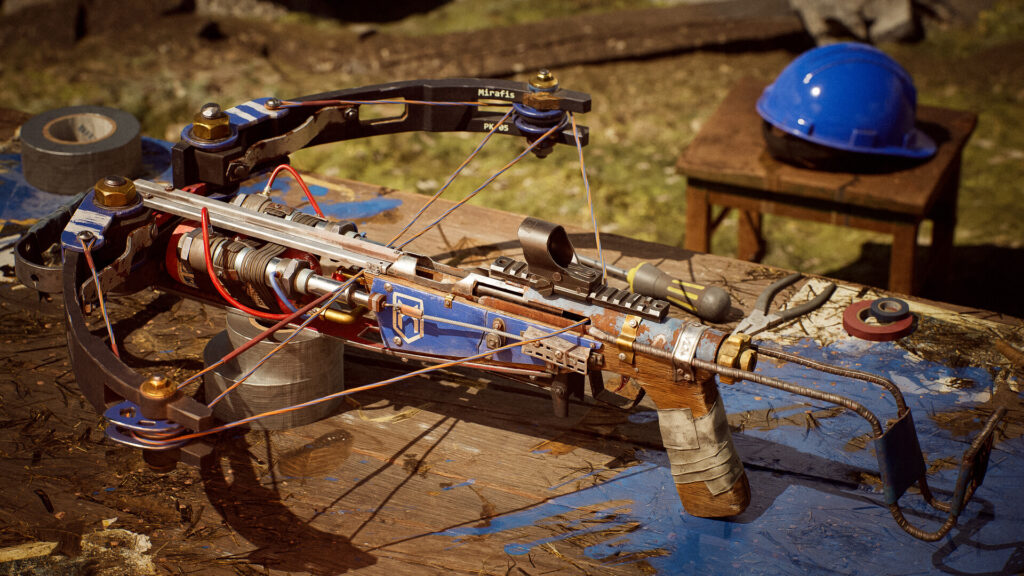
PK Crossbow
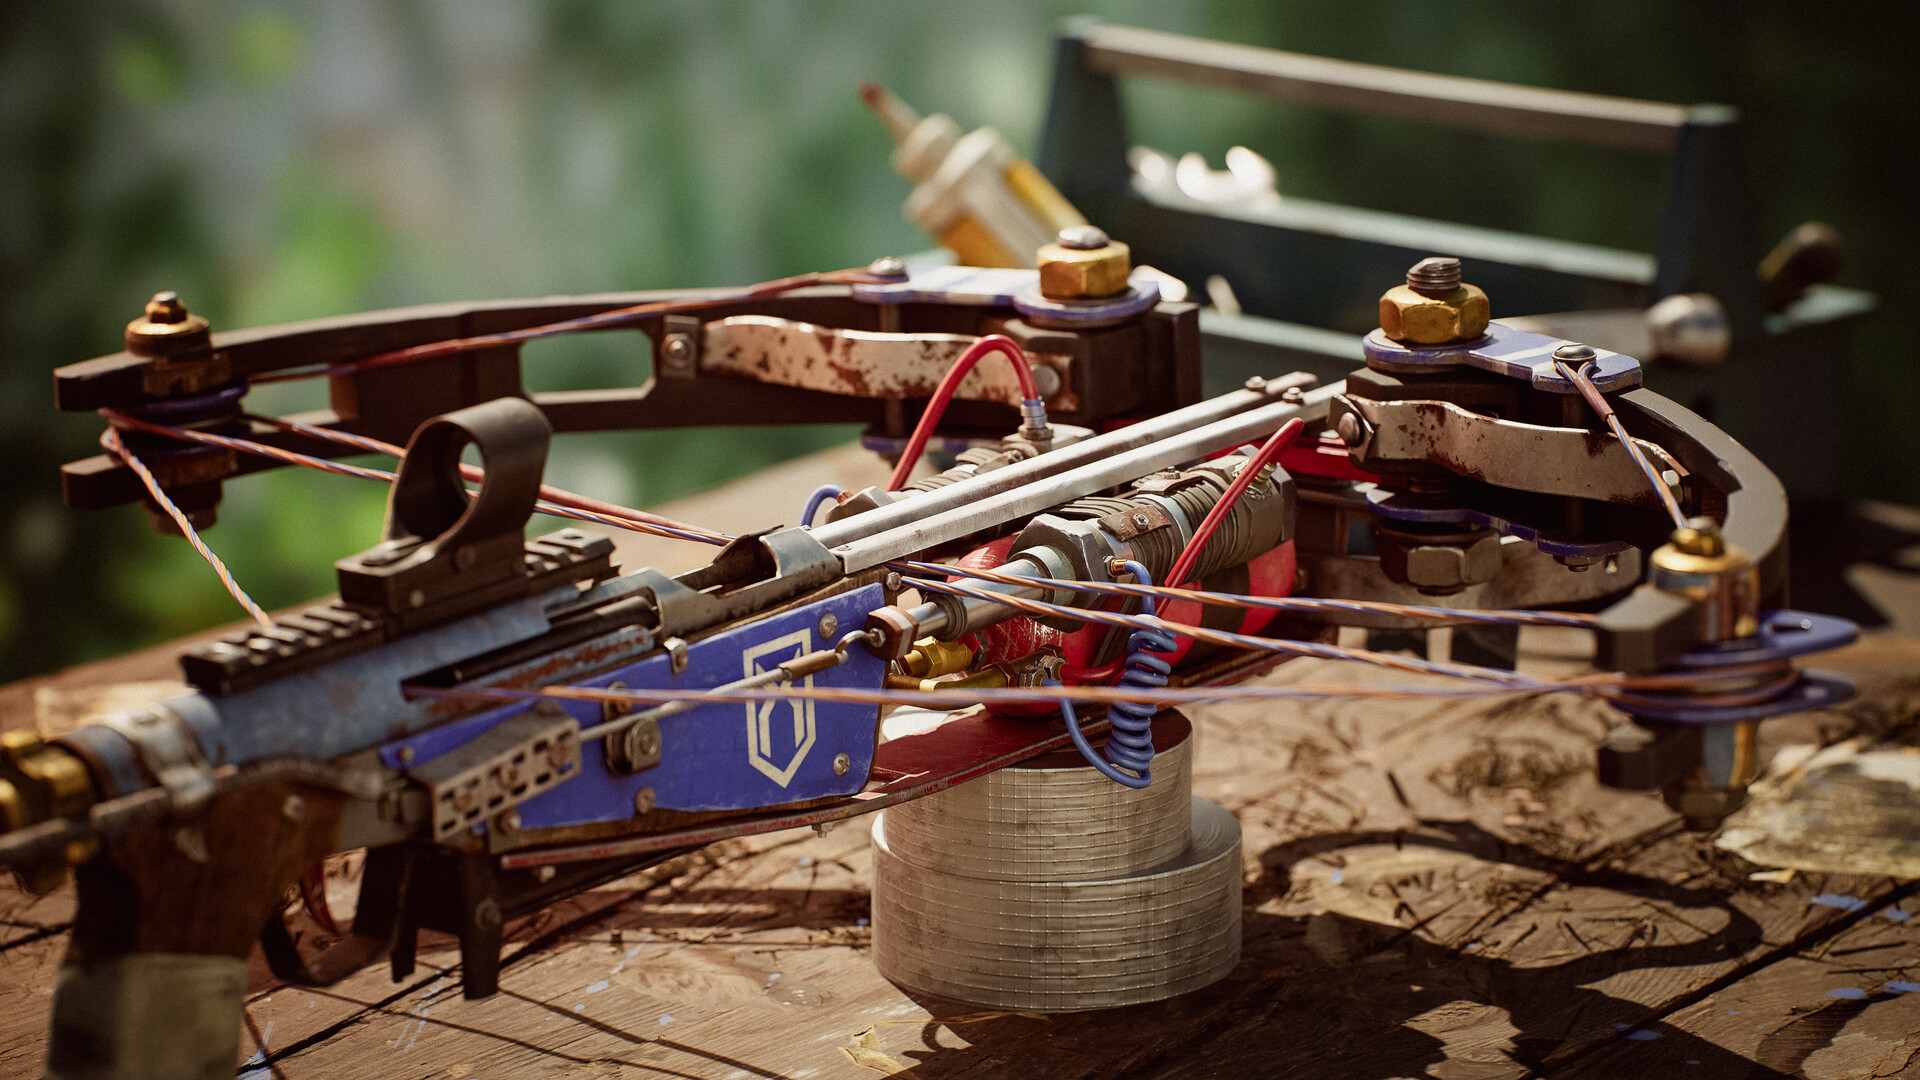

Introduction
Hi! My name is Oleksandr Vasylenko. I am a 3D Artist. I started my training at the beginning of 2022.
I enjoy understanding complex things and Architecture.
Currently, I am learning how to make things look beautiful.
Inspiration and Reference
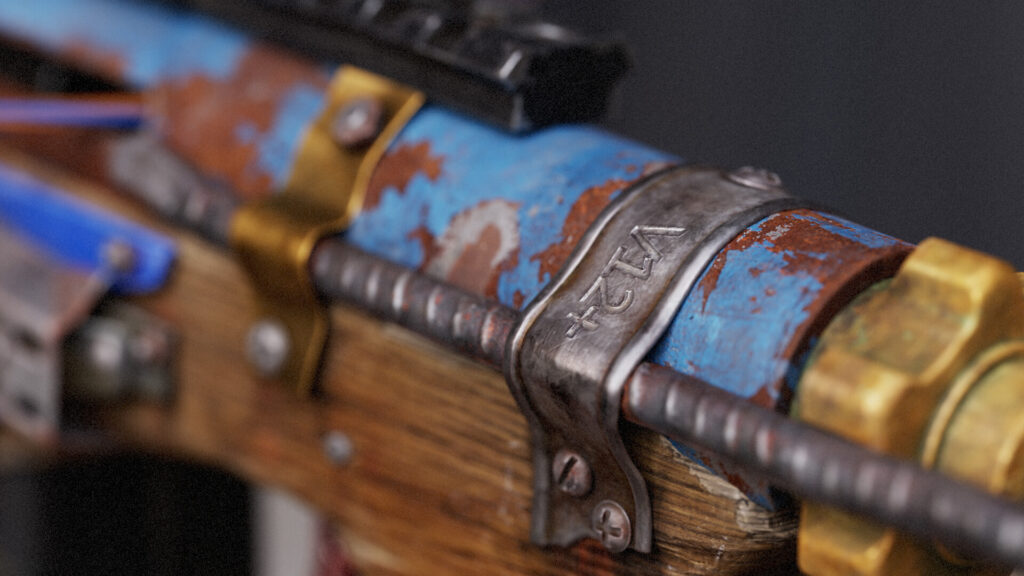
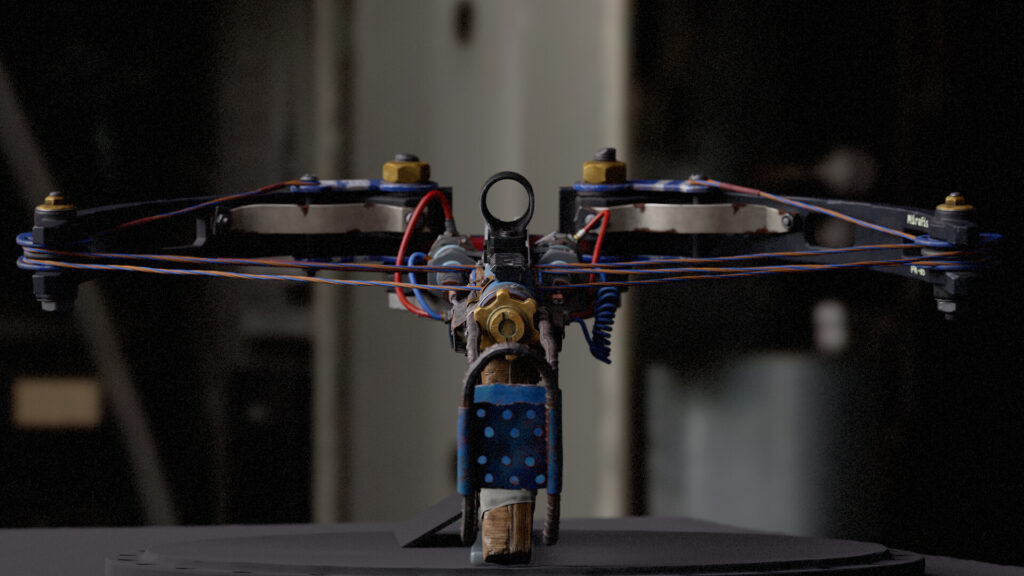
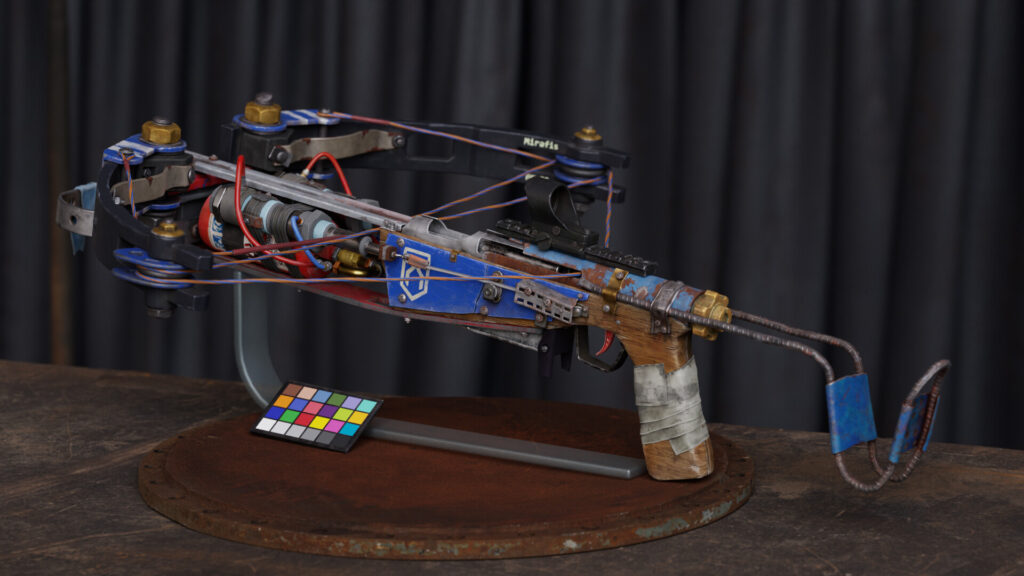
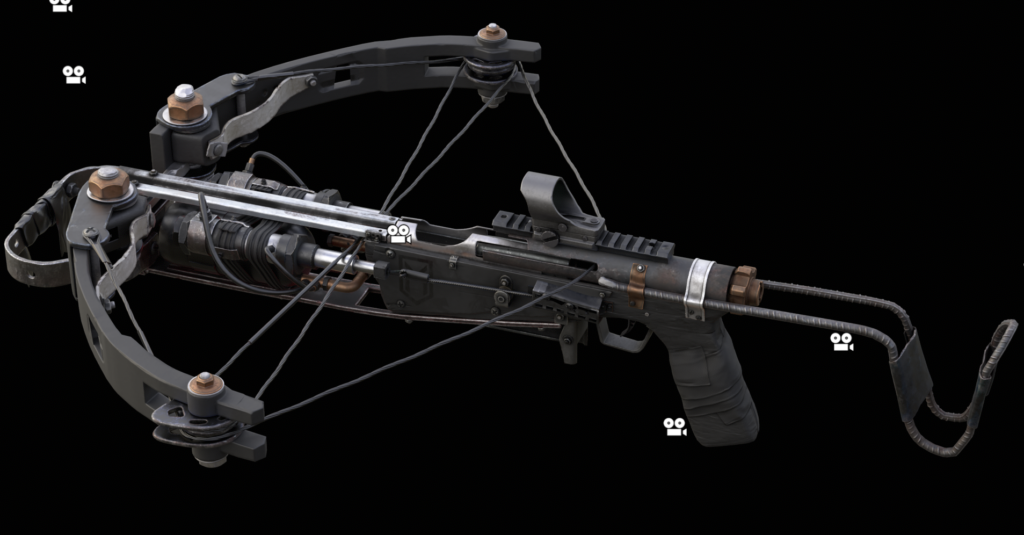
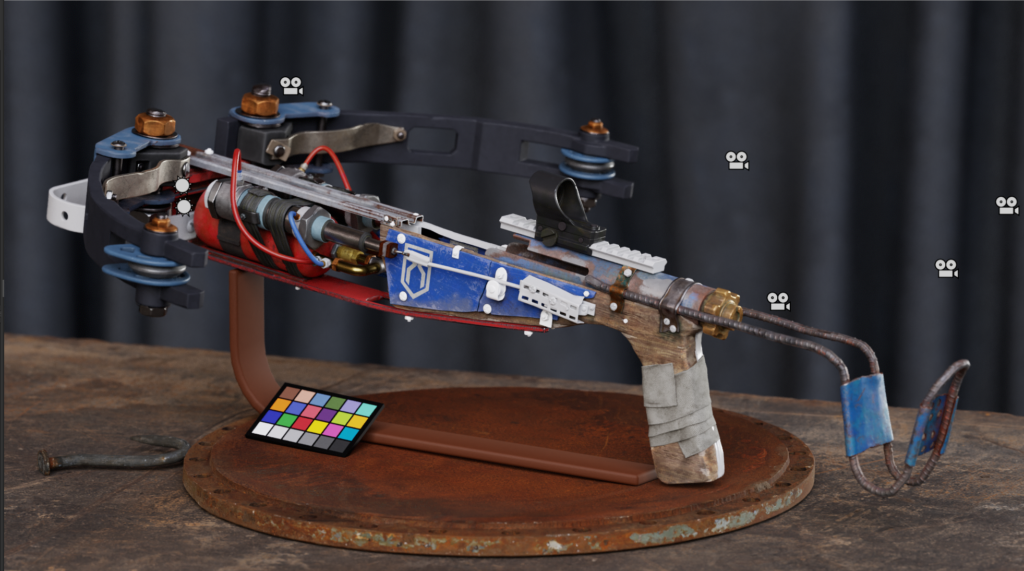
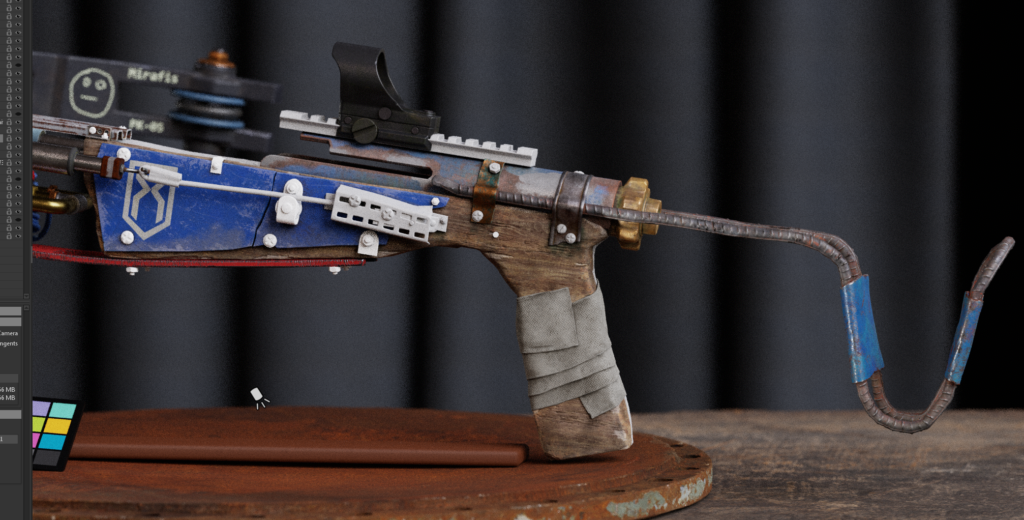
Browsing through ArtStation, I came across a concept of a crossbow from Dying Light 2. Later, after I had found the 3D art and played the game, I felt inspired to create my own version of this crossbow.
Preparation
The goals I set for this project included:
- Creating a large and complex prop (which I later learned falls into the category of weapons)
- Learning to work with a concept and refine it as needed
- Practicing sculpting
- Learning texturing
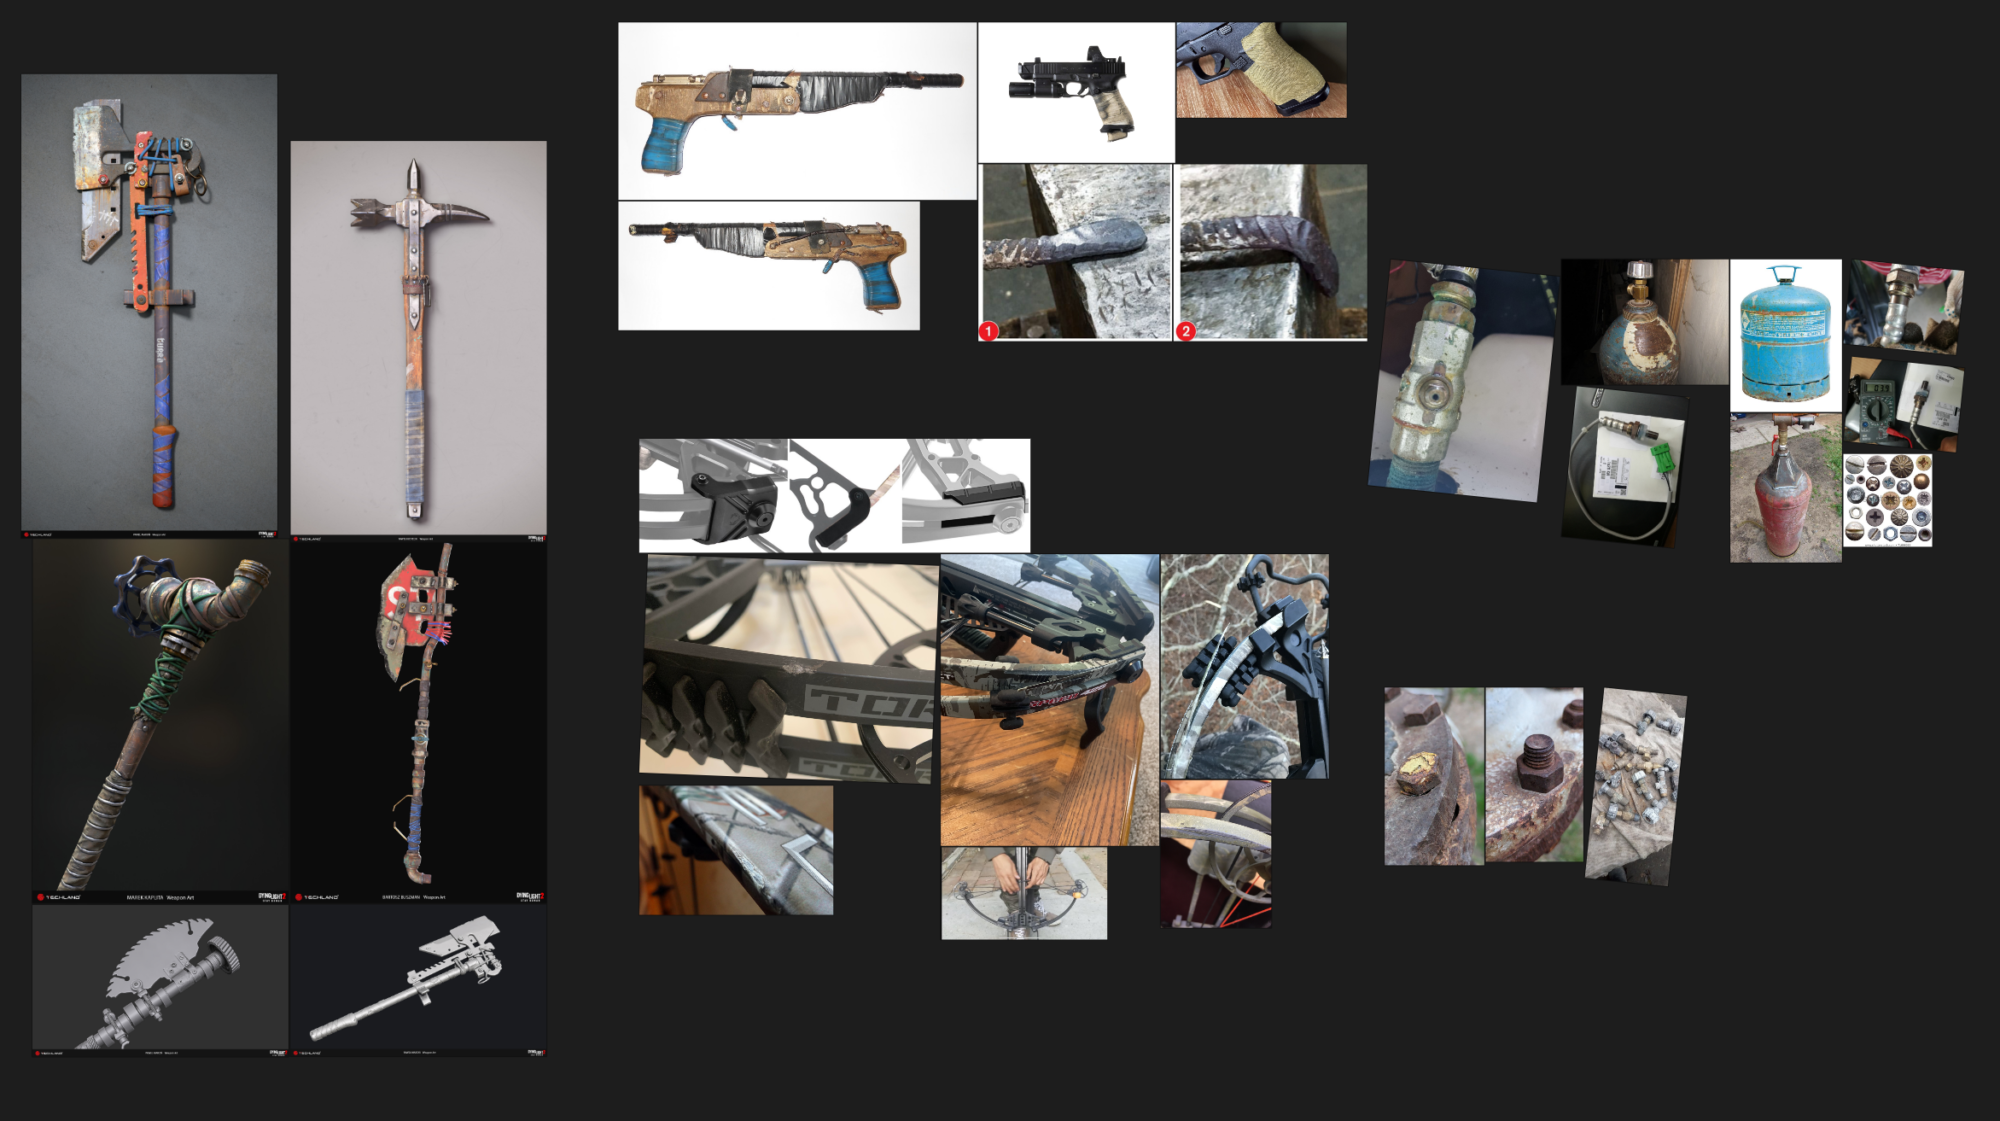
I understood from the beginning that I couldn’t simply recreate the original 3D model, so I needed to create a unique version. For this, I used the concept art, photos, and 3D work as inspiration.
Additionally, I gathered renders of other weapons from Dying Light 2 to get more ideas.
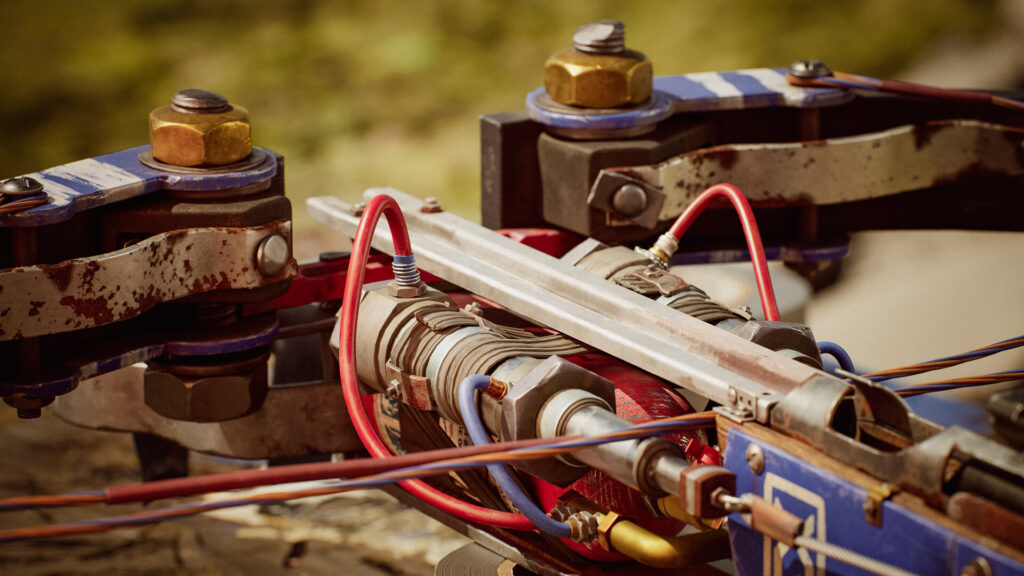
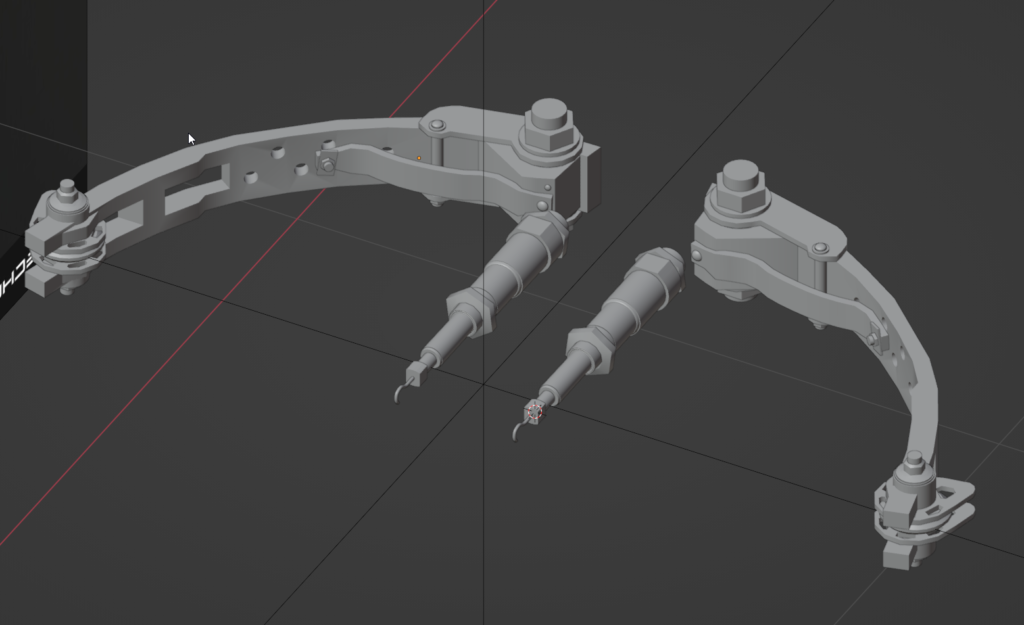
I paid particular attention to studying the design of compound crossbows, as this could provide useful technical details.
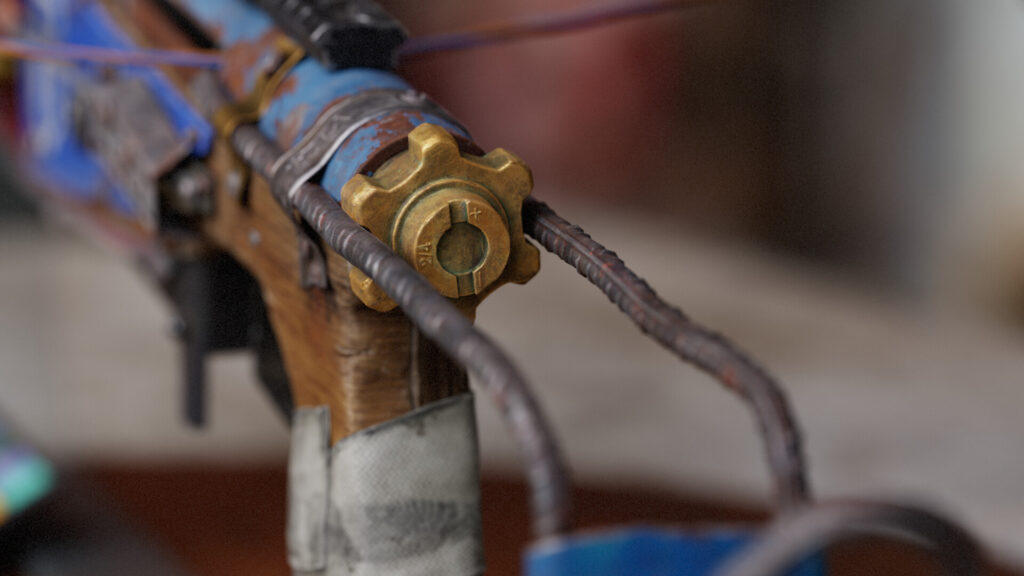
It was also important to understand how a pneumatic system works, as the weapon needed to look and function credibly.
With all the necessary references gathered, I could begin modeling.
Modelling
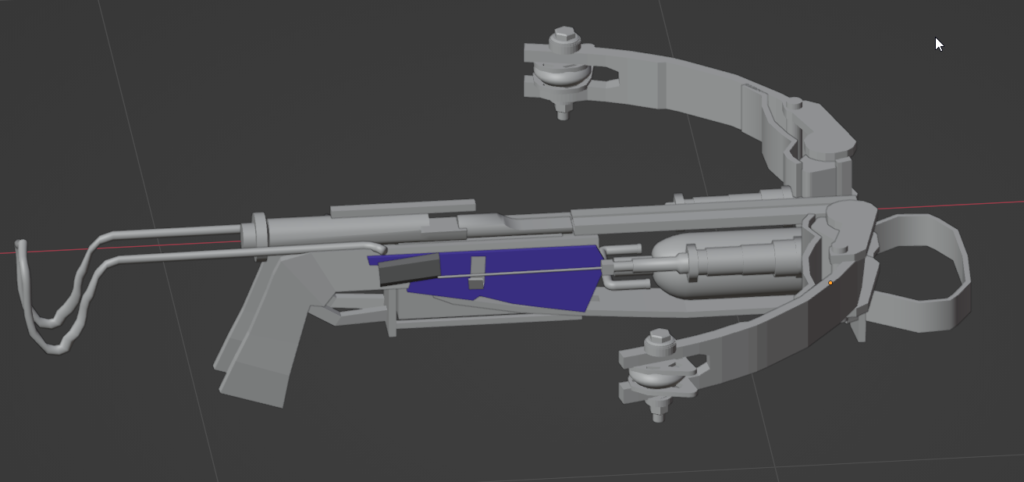
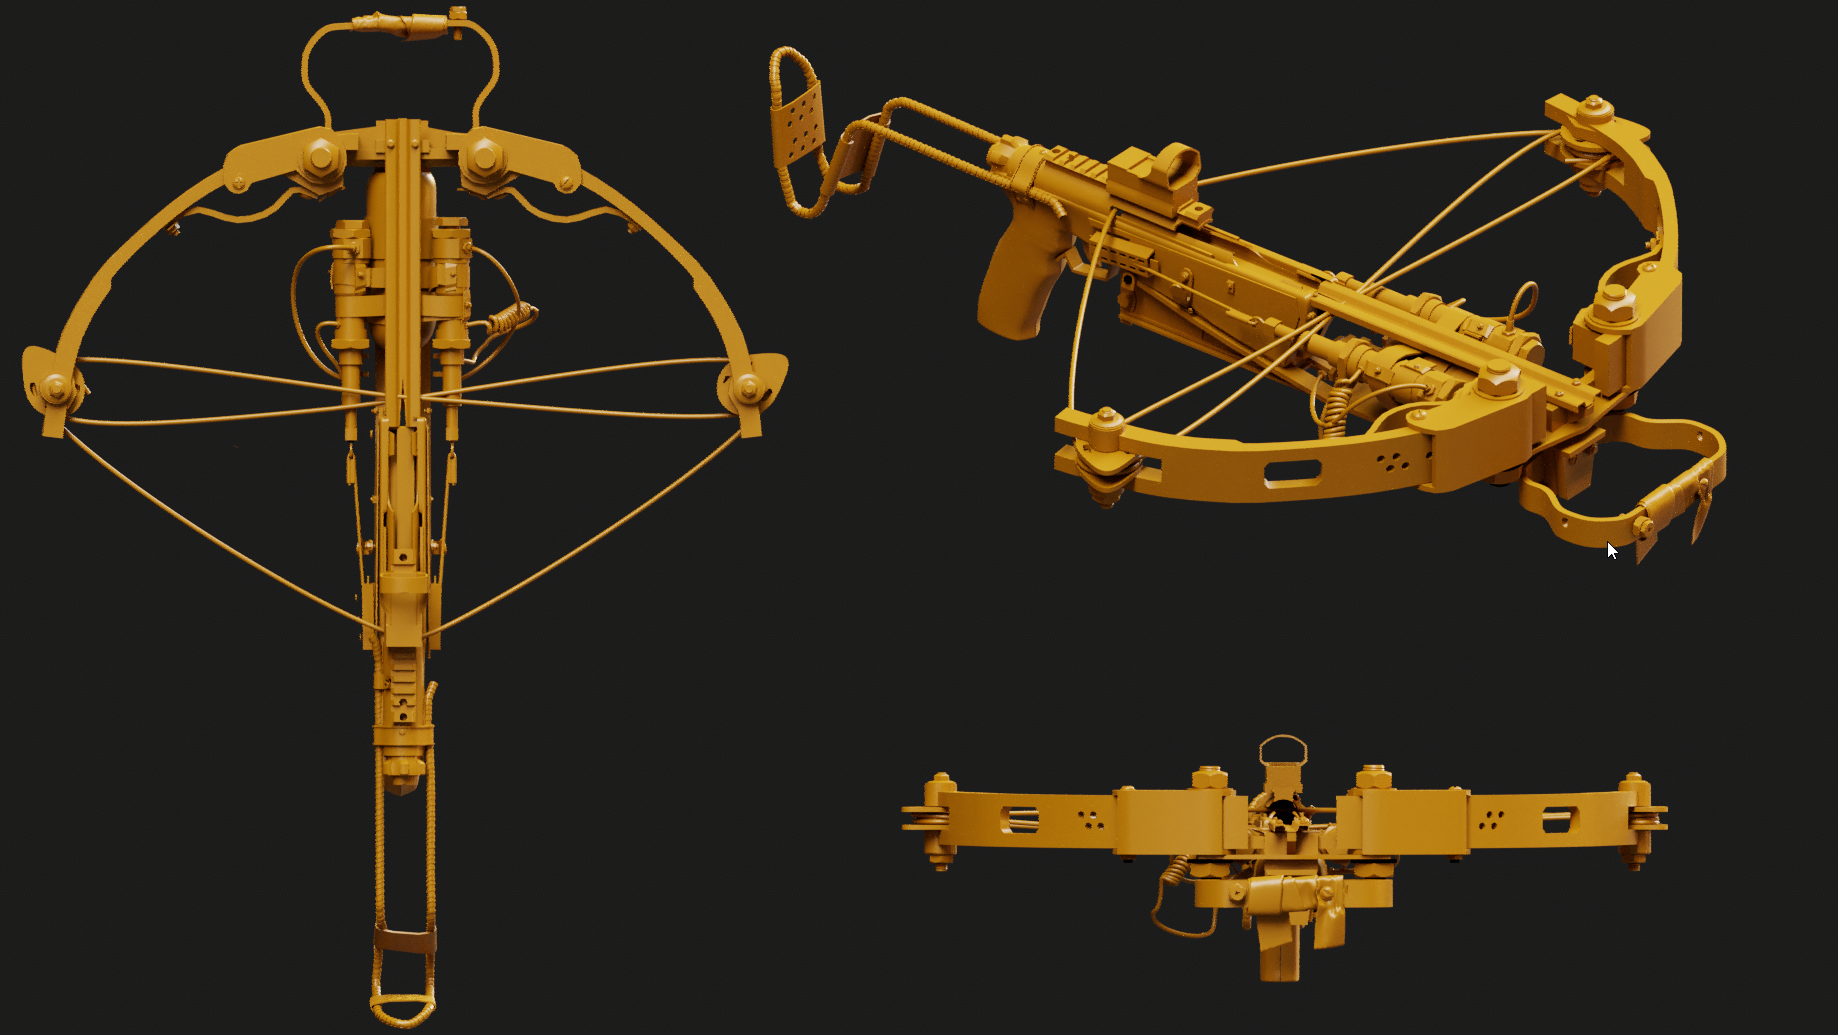
I started the modeling process with a rough draft to establish the general shapes and get the proportions right. After that, I gradually refined and detailed the model.
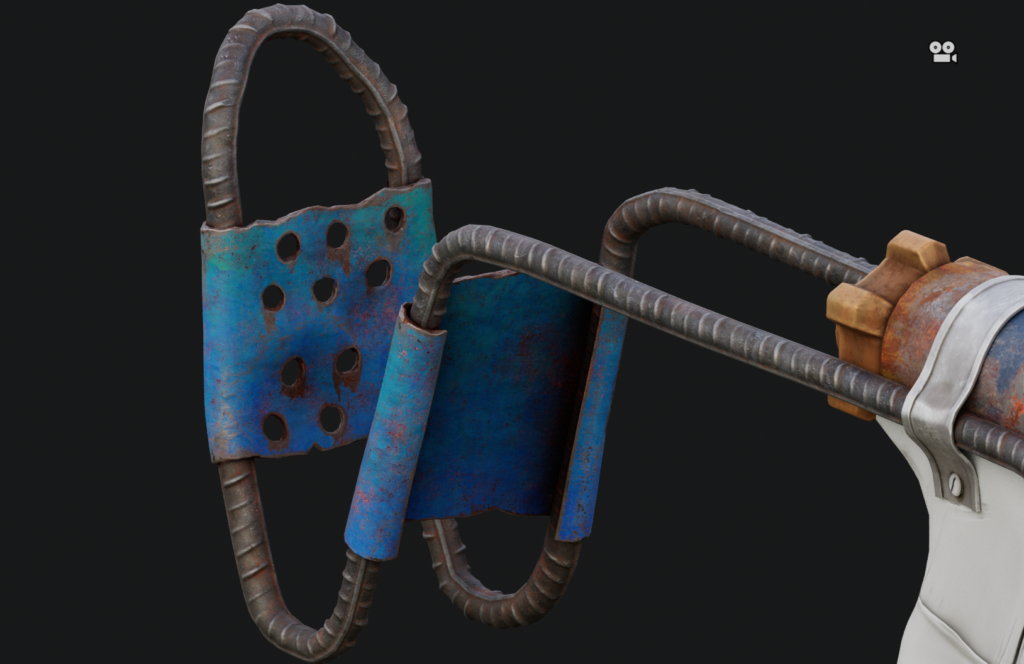
I used only Blender and polygonal modeling for the entire process, except for the wires, frame, and string, which were created using curves.
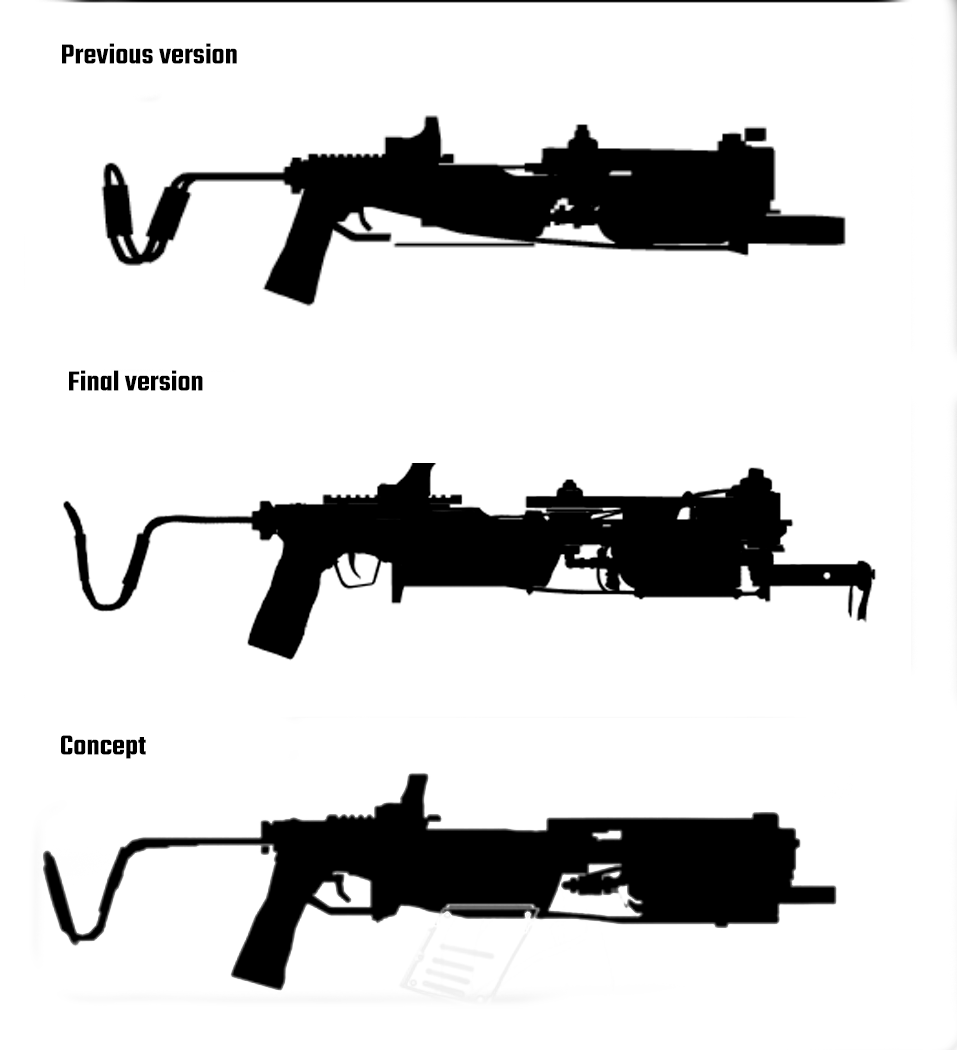
It’s important to pay attention to the silhouette of the model, analyze how the original creator approached shaping it, and correct your own mistakes.
This approach not only helps to achieve realism but also enhances the visual appeal of the model.
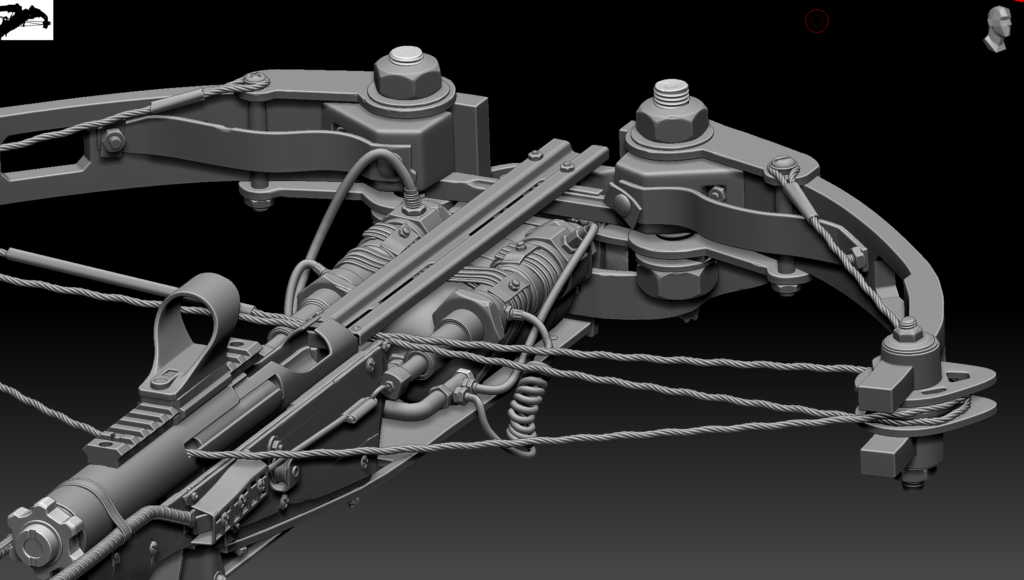
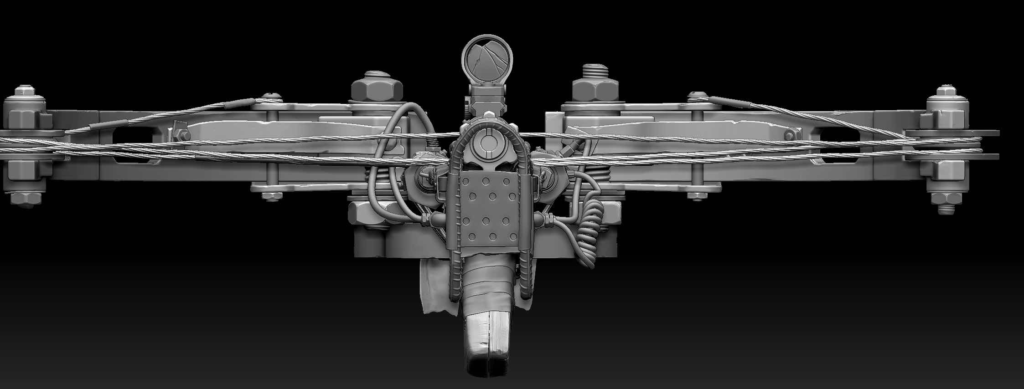
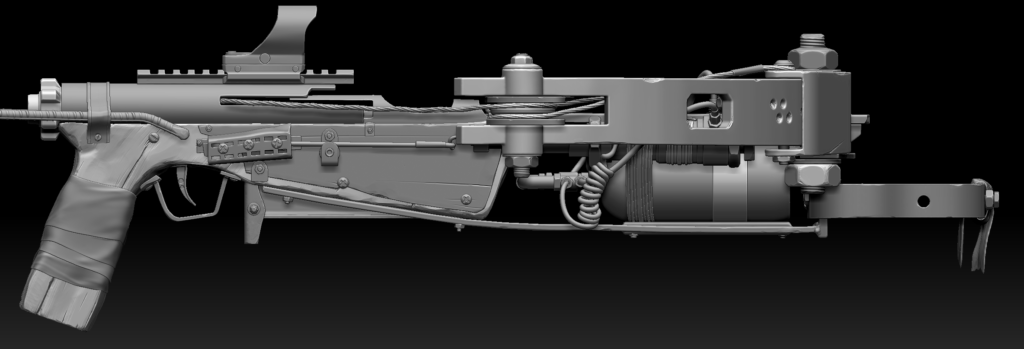
Once the main details were modeled, it was time to move on to ZBrush.
High Poly
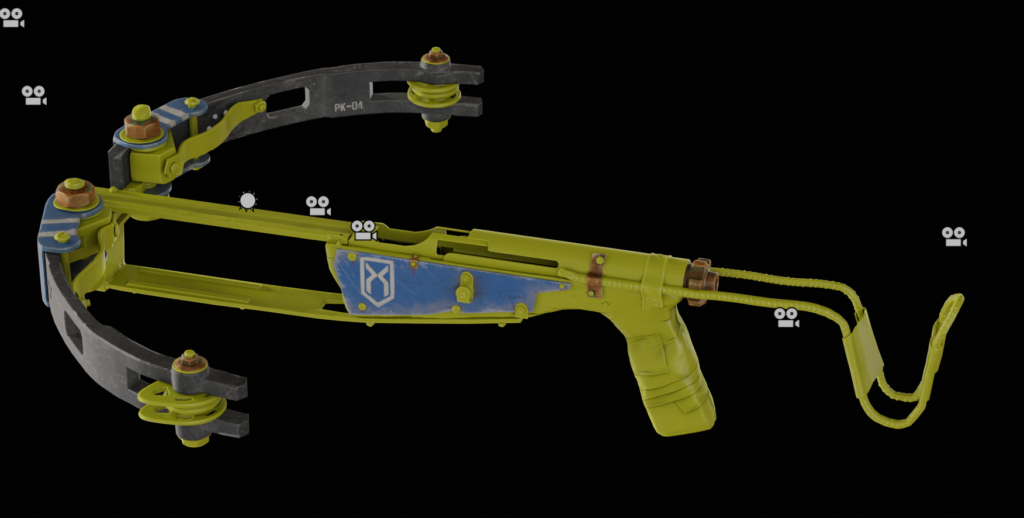
Before starting the high-poly modeling phase, it’s essential to prepare the base model by dividing it into poly-groups for subsequent processing. Denis provided detailed guidance on this method, and I followed his recommendations.
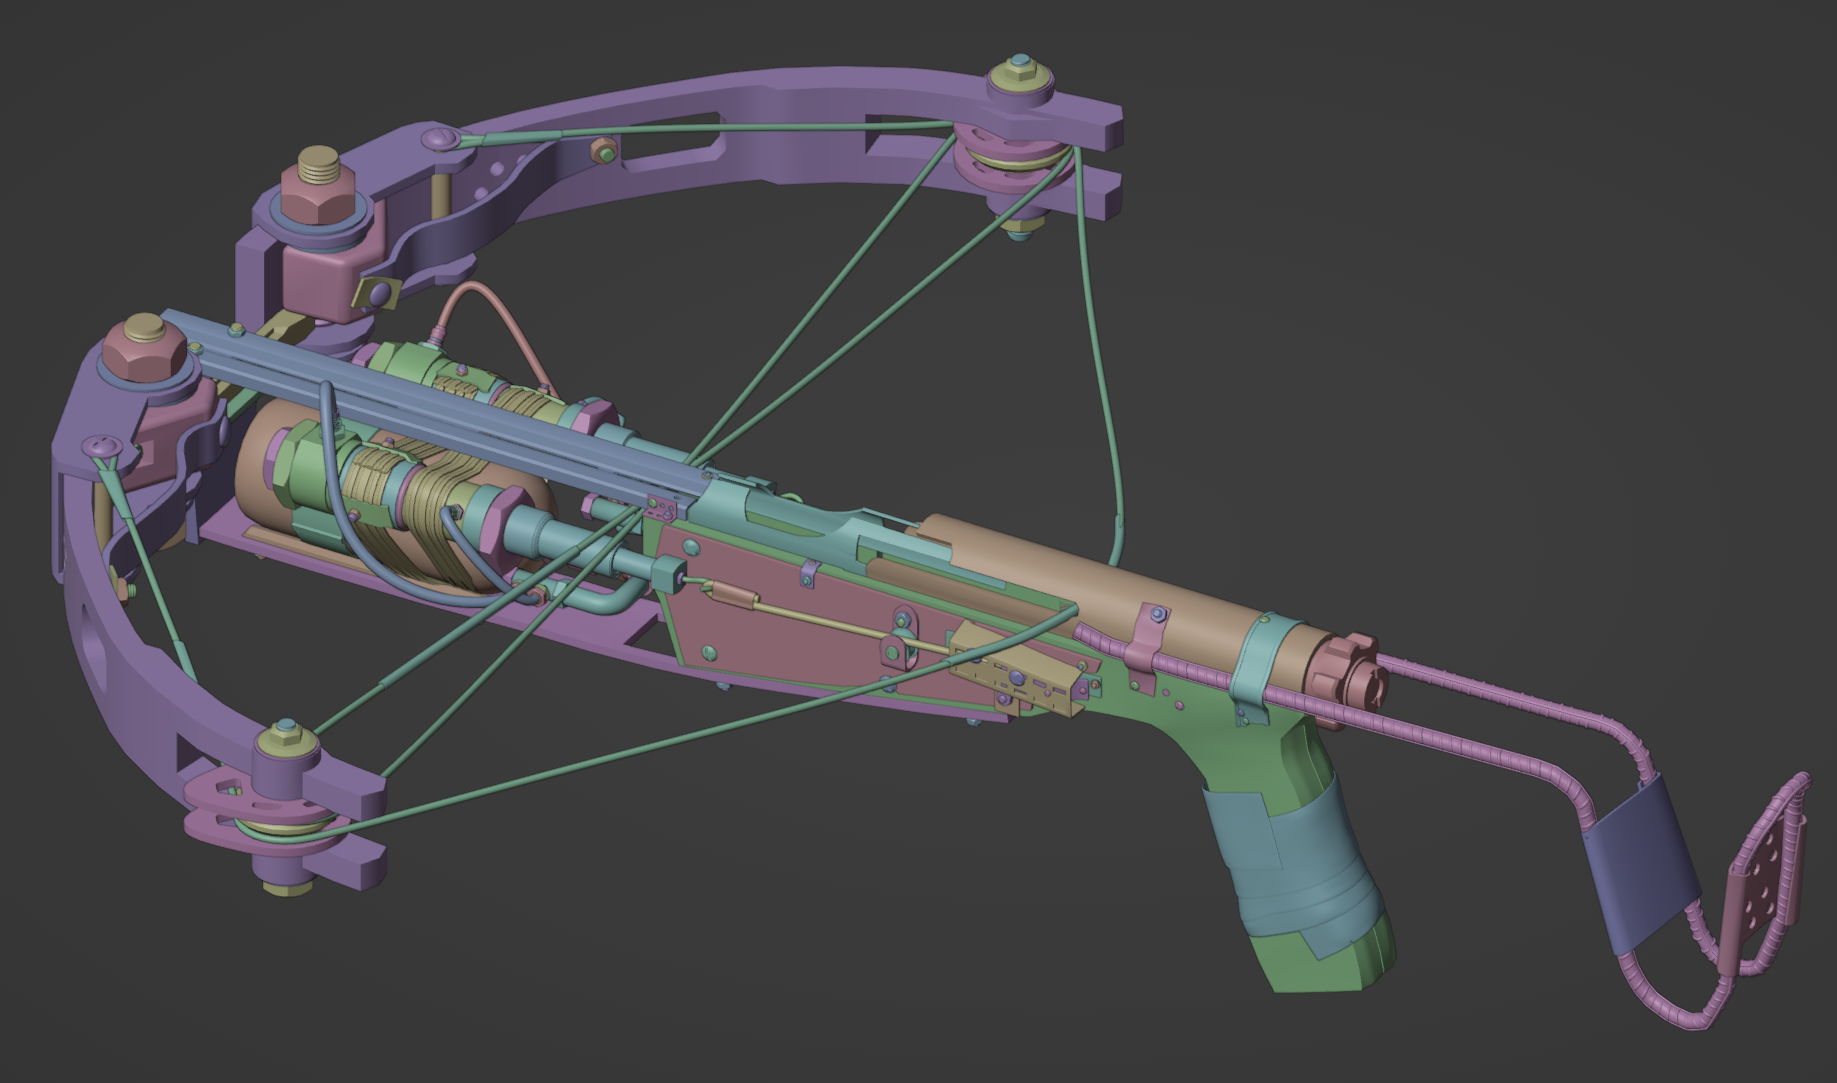
Once the model was ready, I exported it and began polishing, preparing it for the sculpting phase.
In a post-apocalyptic setting, weapons inevitably show signs of wear and damage, so this step was particularly important.
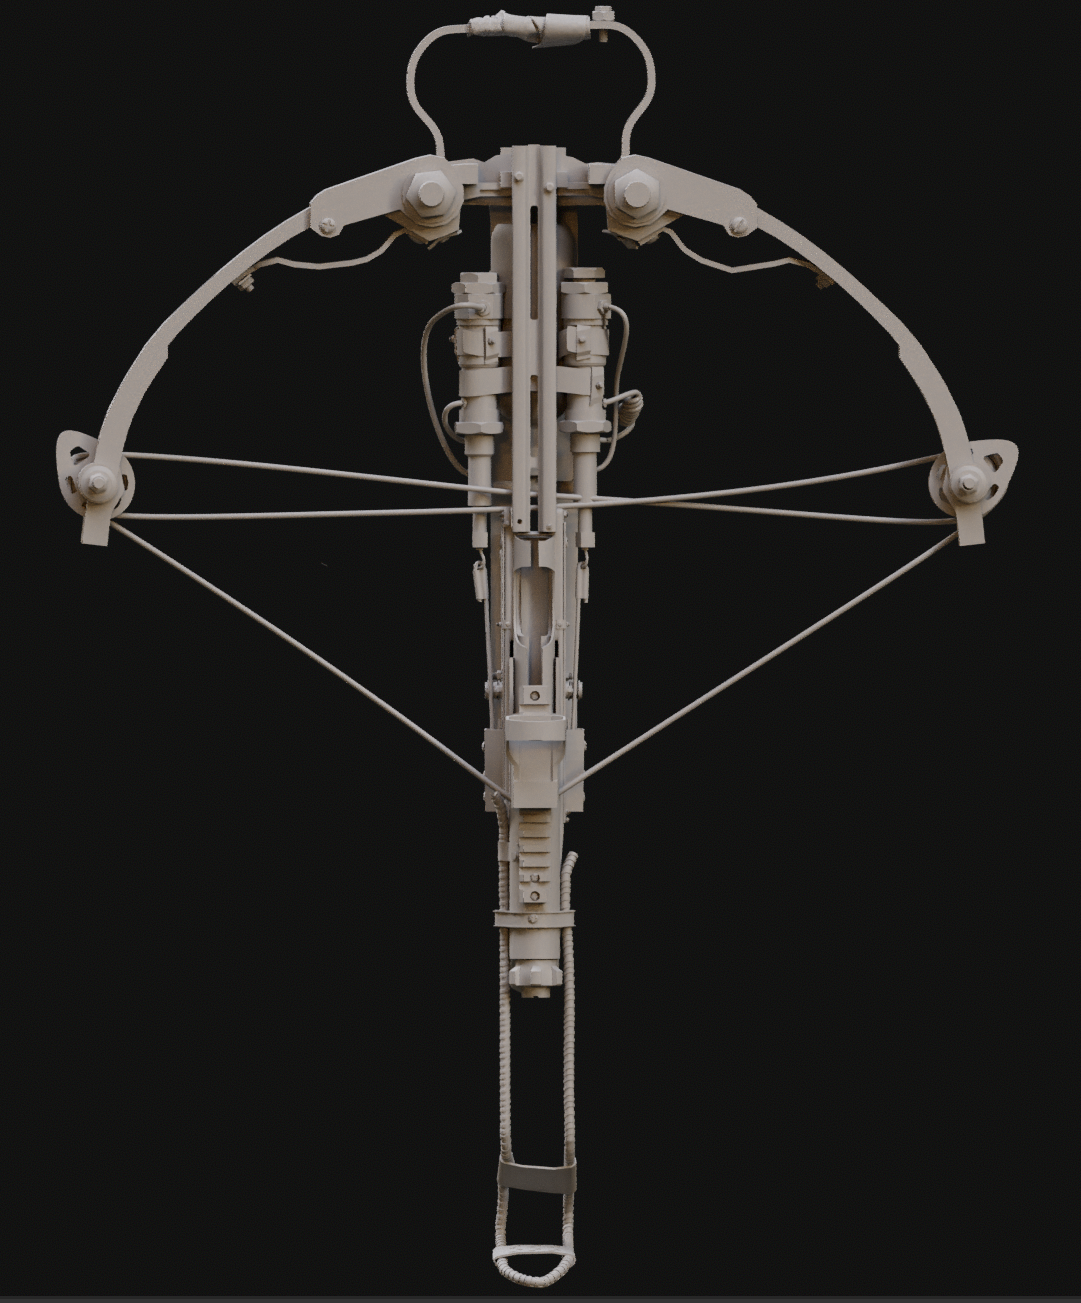
To do this, I studied references of various types of damage relevant to the material and usage conditions, and I tried to recreate them on the model.
It’s important to understand how the material deforms or wears over time, under pressure, or due to external factors.
After each iteration, I analyzed the results to assess how the damage could be improved or enhanced for greater realism and visual appeal.
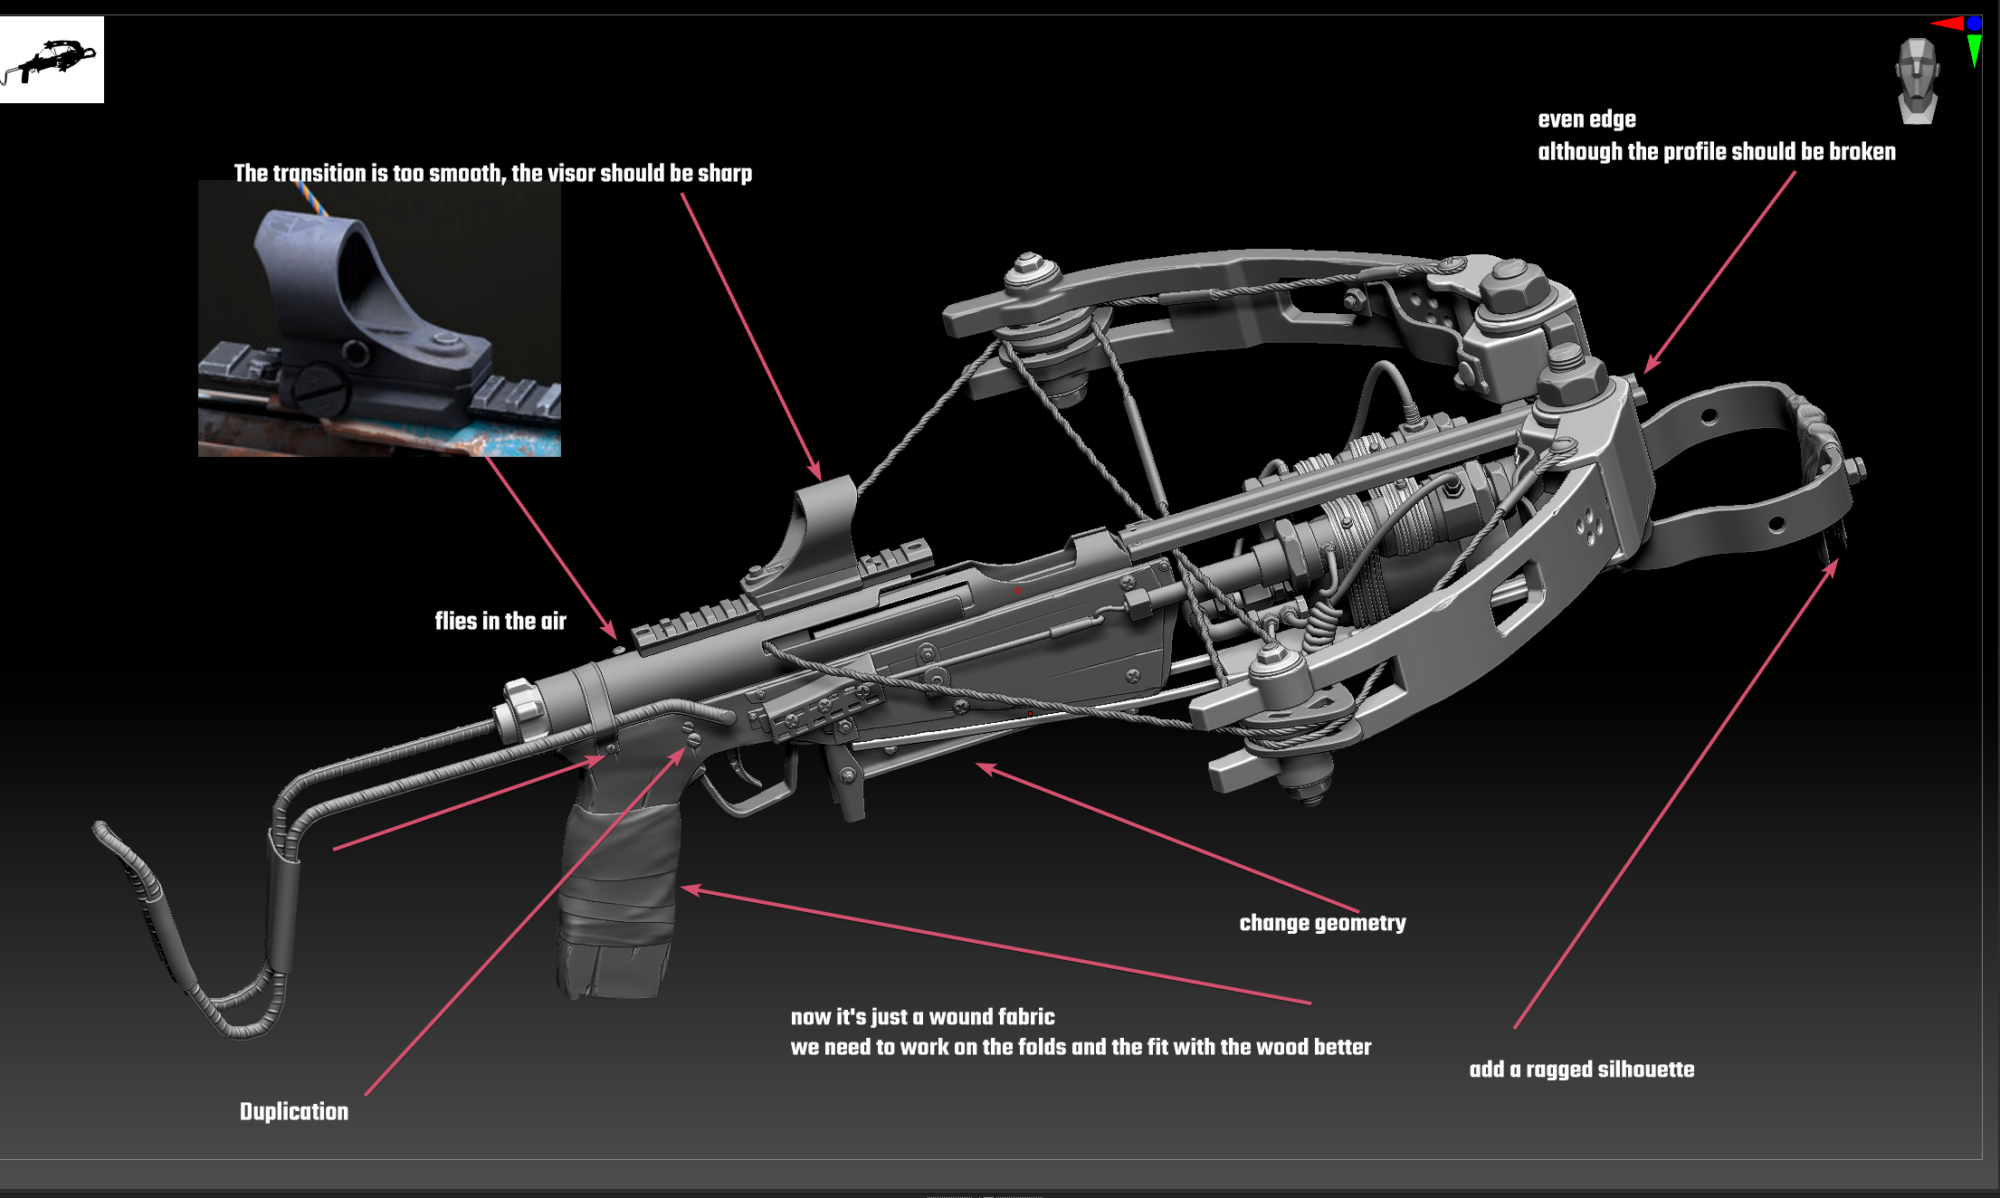
UVing
Since the model had already been divided into poly-groups during the preparation for the high-poly stage, the main focus at this point was on optimization and UV mapping.
For this, I used Blender along with various add-ons.
Baking
The baking process was complex and extensive due to the large number of details in the model.
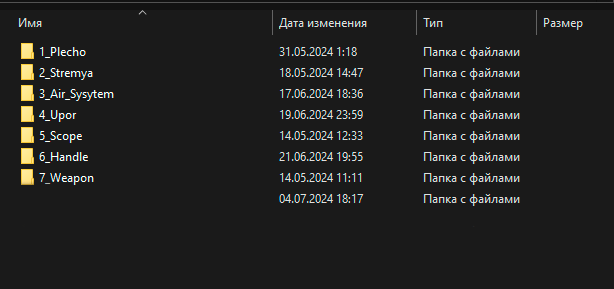
To avoid confusion and maintain order, it’s crucial to keep the project organized, structure the object hierarchies, and carefully understand each step of the process.
During the baking process, the main task is to achieve a high-quality result, which includes checking the model for artifacts.
To minimize artifacts and errors, follow this checklist:
- Model Alignment: Ensure that the high-poly and low-poly models match in shape and size.
- UV Mapping: Check the UV mapping for artifacts.
- Triangulation: Make sure the model is triangulated to avoid unexpected changes in geometry during baking.
- Cage: Use the correct cage settings to avoid missing details or creating artifacts.
- Geometry: Verify that the model’s geometry is correct, with no intersecting or overlapping surfaces.
Texturing
Texturing turned out to be the most time-consuming stage, as I had the least experience in this area, and the initial results were too stylized.
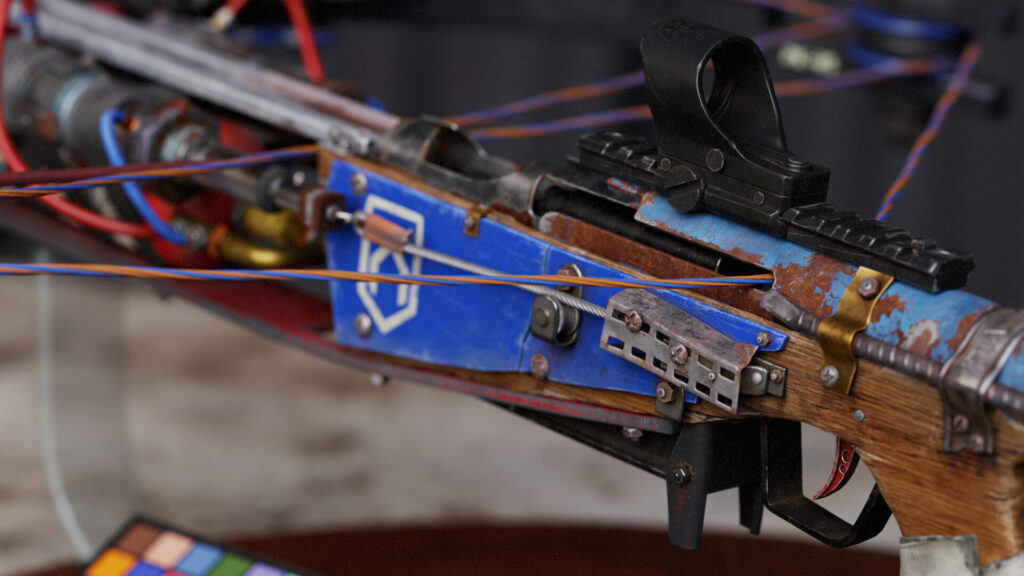
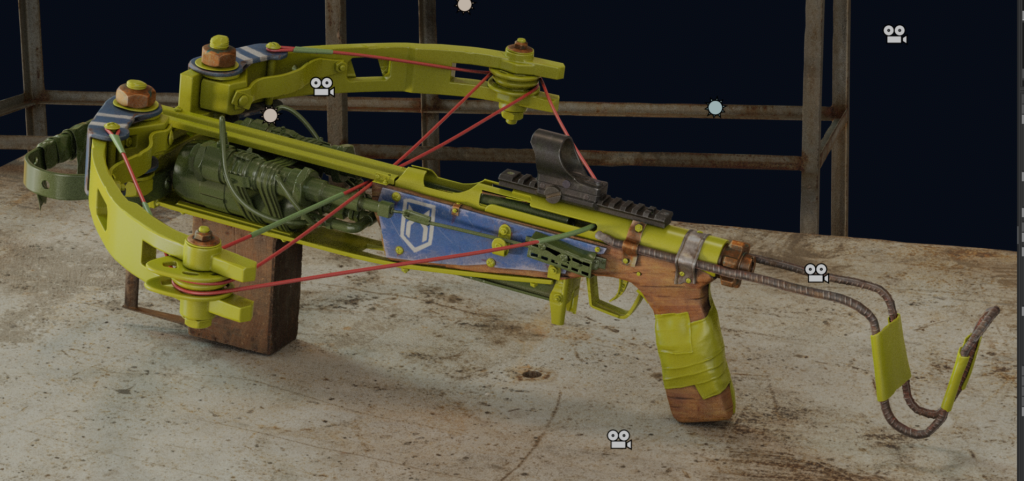
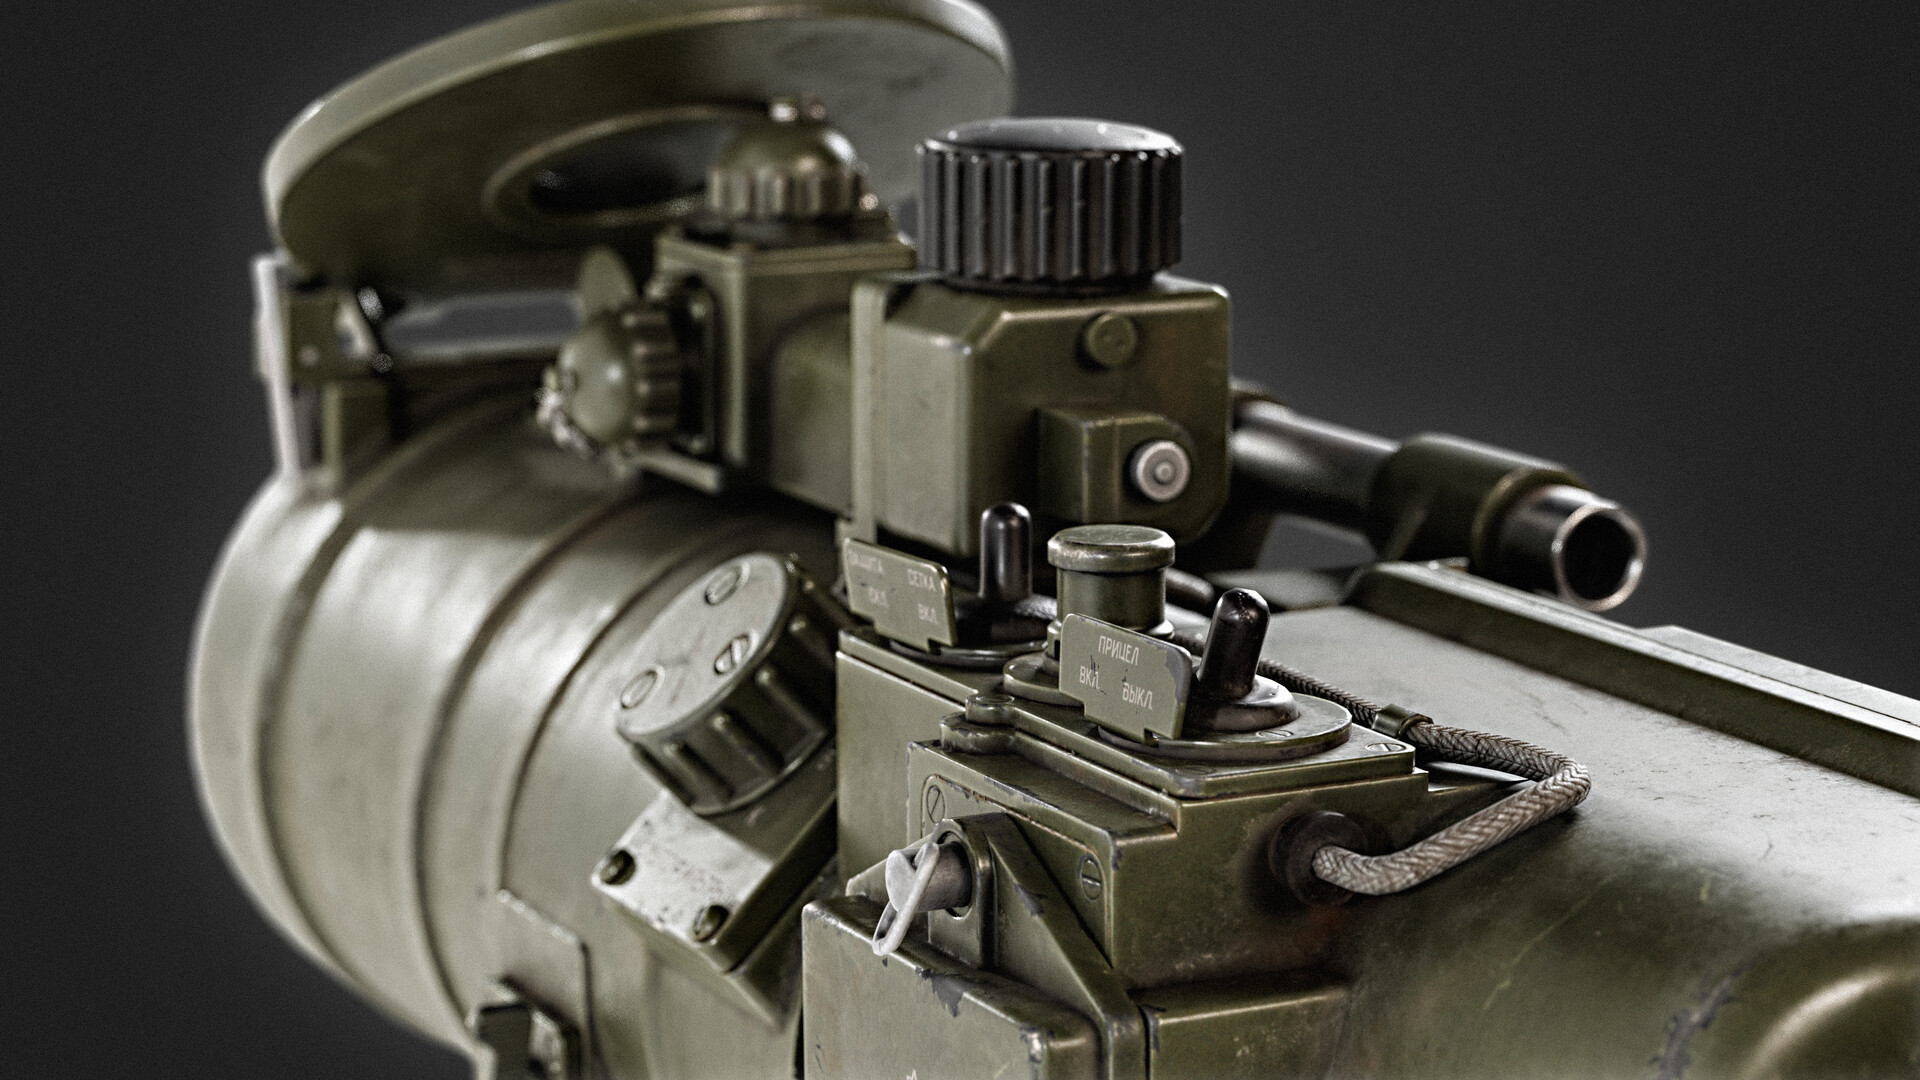
However, through the process, I developed an approach involving several stages, which can be seen in the example of the scope:
- Base Layer: Applying the base color and primary materials such as metal, plastic, or wood to set the overall tone and material of the model.
- Decals: Adding small details like inscriptions, logos, or patterns that give the model uniqueness and realism.
- Color Variation: Creating color variations on the model’s surface to increase visual interest and diversity.
- Height Variation: Working with texture height to add small details such as scratches, dents, or irregularities.
- Major Color Variations: Larger color variations that help to highlight and diversify large surfaces of the model.
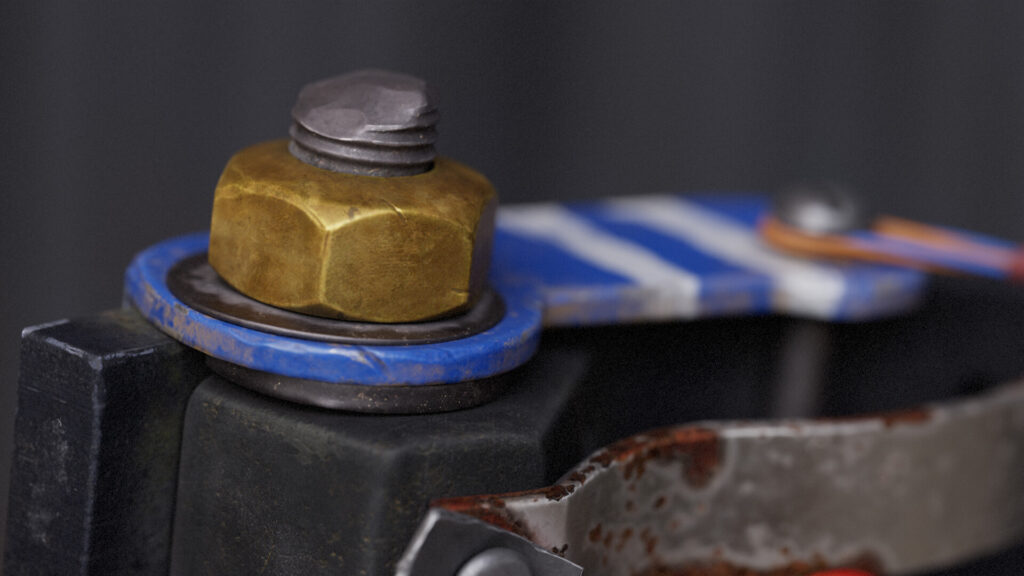
- Wear and Tear: Adding wear effects to create a sense of use and aging, which is especially important for post-apocalyptic scenes.
- Dust: Applying layers of dust to give the model more realism and show environmental impact.
- Dirt: Completing the texturing with dirt and stains to make the model more lifelike and fitting to the setting.
Following these stages allowed me to create textures that look realistic and match the overall style of the project.
Render
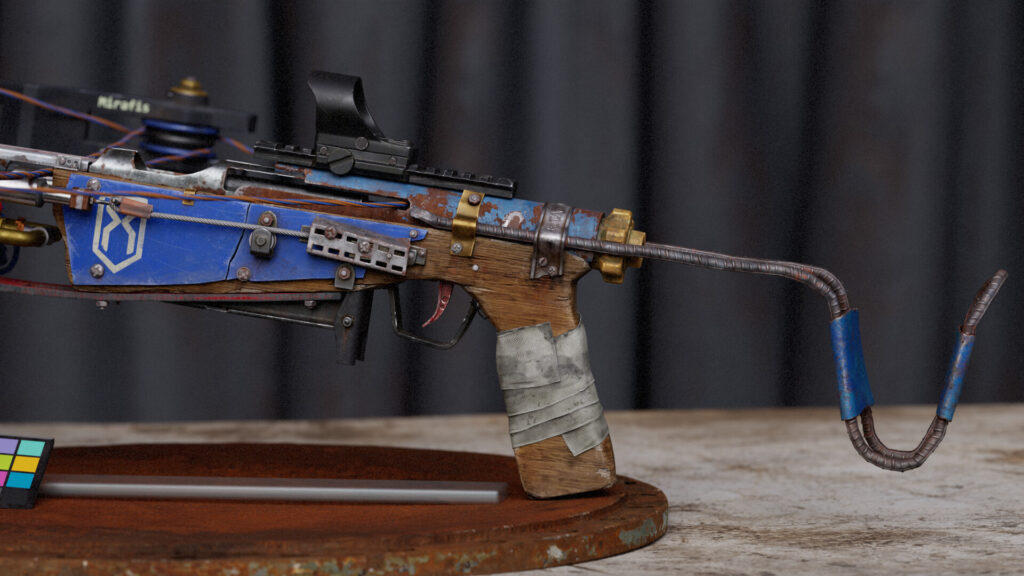
For studio renders, I used Marmoset. The main lighting was created using an HDRI map, which provided realistic and even lighting for the scene.
Additionally, I added several light sources to create rim lighting, which helped highlight the model’s contours and give it more depth.
Final
Don’t drag out projects; focus on doing them well, and learn from mistakes when things don’t turn out right.
Thank you for your attention!
