Pirate Captain
Introduction
Hi! My name is Stapan, I’m Character Artist for cinematics and movies.
I have experience as a freelance artist and character artist in an animation studio.
Right now I'm working on a short film with the ODEE team, led by Artem Gansior .
Project & Studio
This character was made for ODEE studio as part of the development of one of the internal cinematic short films called “ECHOES” using Unreal Engine 5.
ODEE is an outsourcing studio focusing on creating concept art, characters and props for the film and game dev industry.
Additionally, I wanted to share our concept art team who worked on these spectacular designs.
ECHOES has two goals:
The first is to create a public portfolio for a young studio and grow its own expertise in character production for UE 5 using Metahuman as a base for the rig system.
The second is to transfer VFX industry quality to real-time which will allow studios to be more efficient and productive in every step of production, not only the rendering stage. And Unreal Engine infrastructure allows us to achieve it already.
Rig and dynamic simulation is another huge chunk of asset production so I’m not going to share the details but our pipeline is entirely based on the Metahuman rig system and ML system for cloth and muscles simulations. Stay tuned for more updates with our team
References
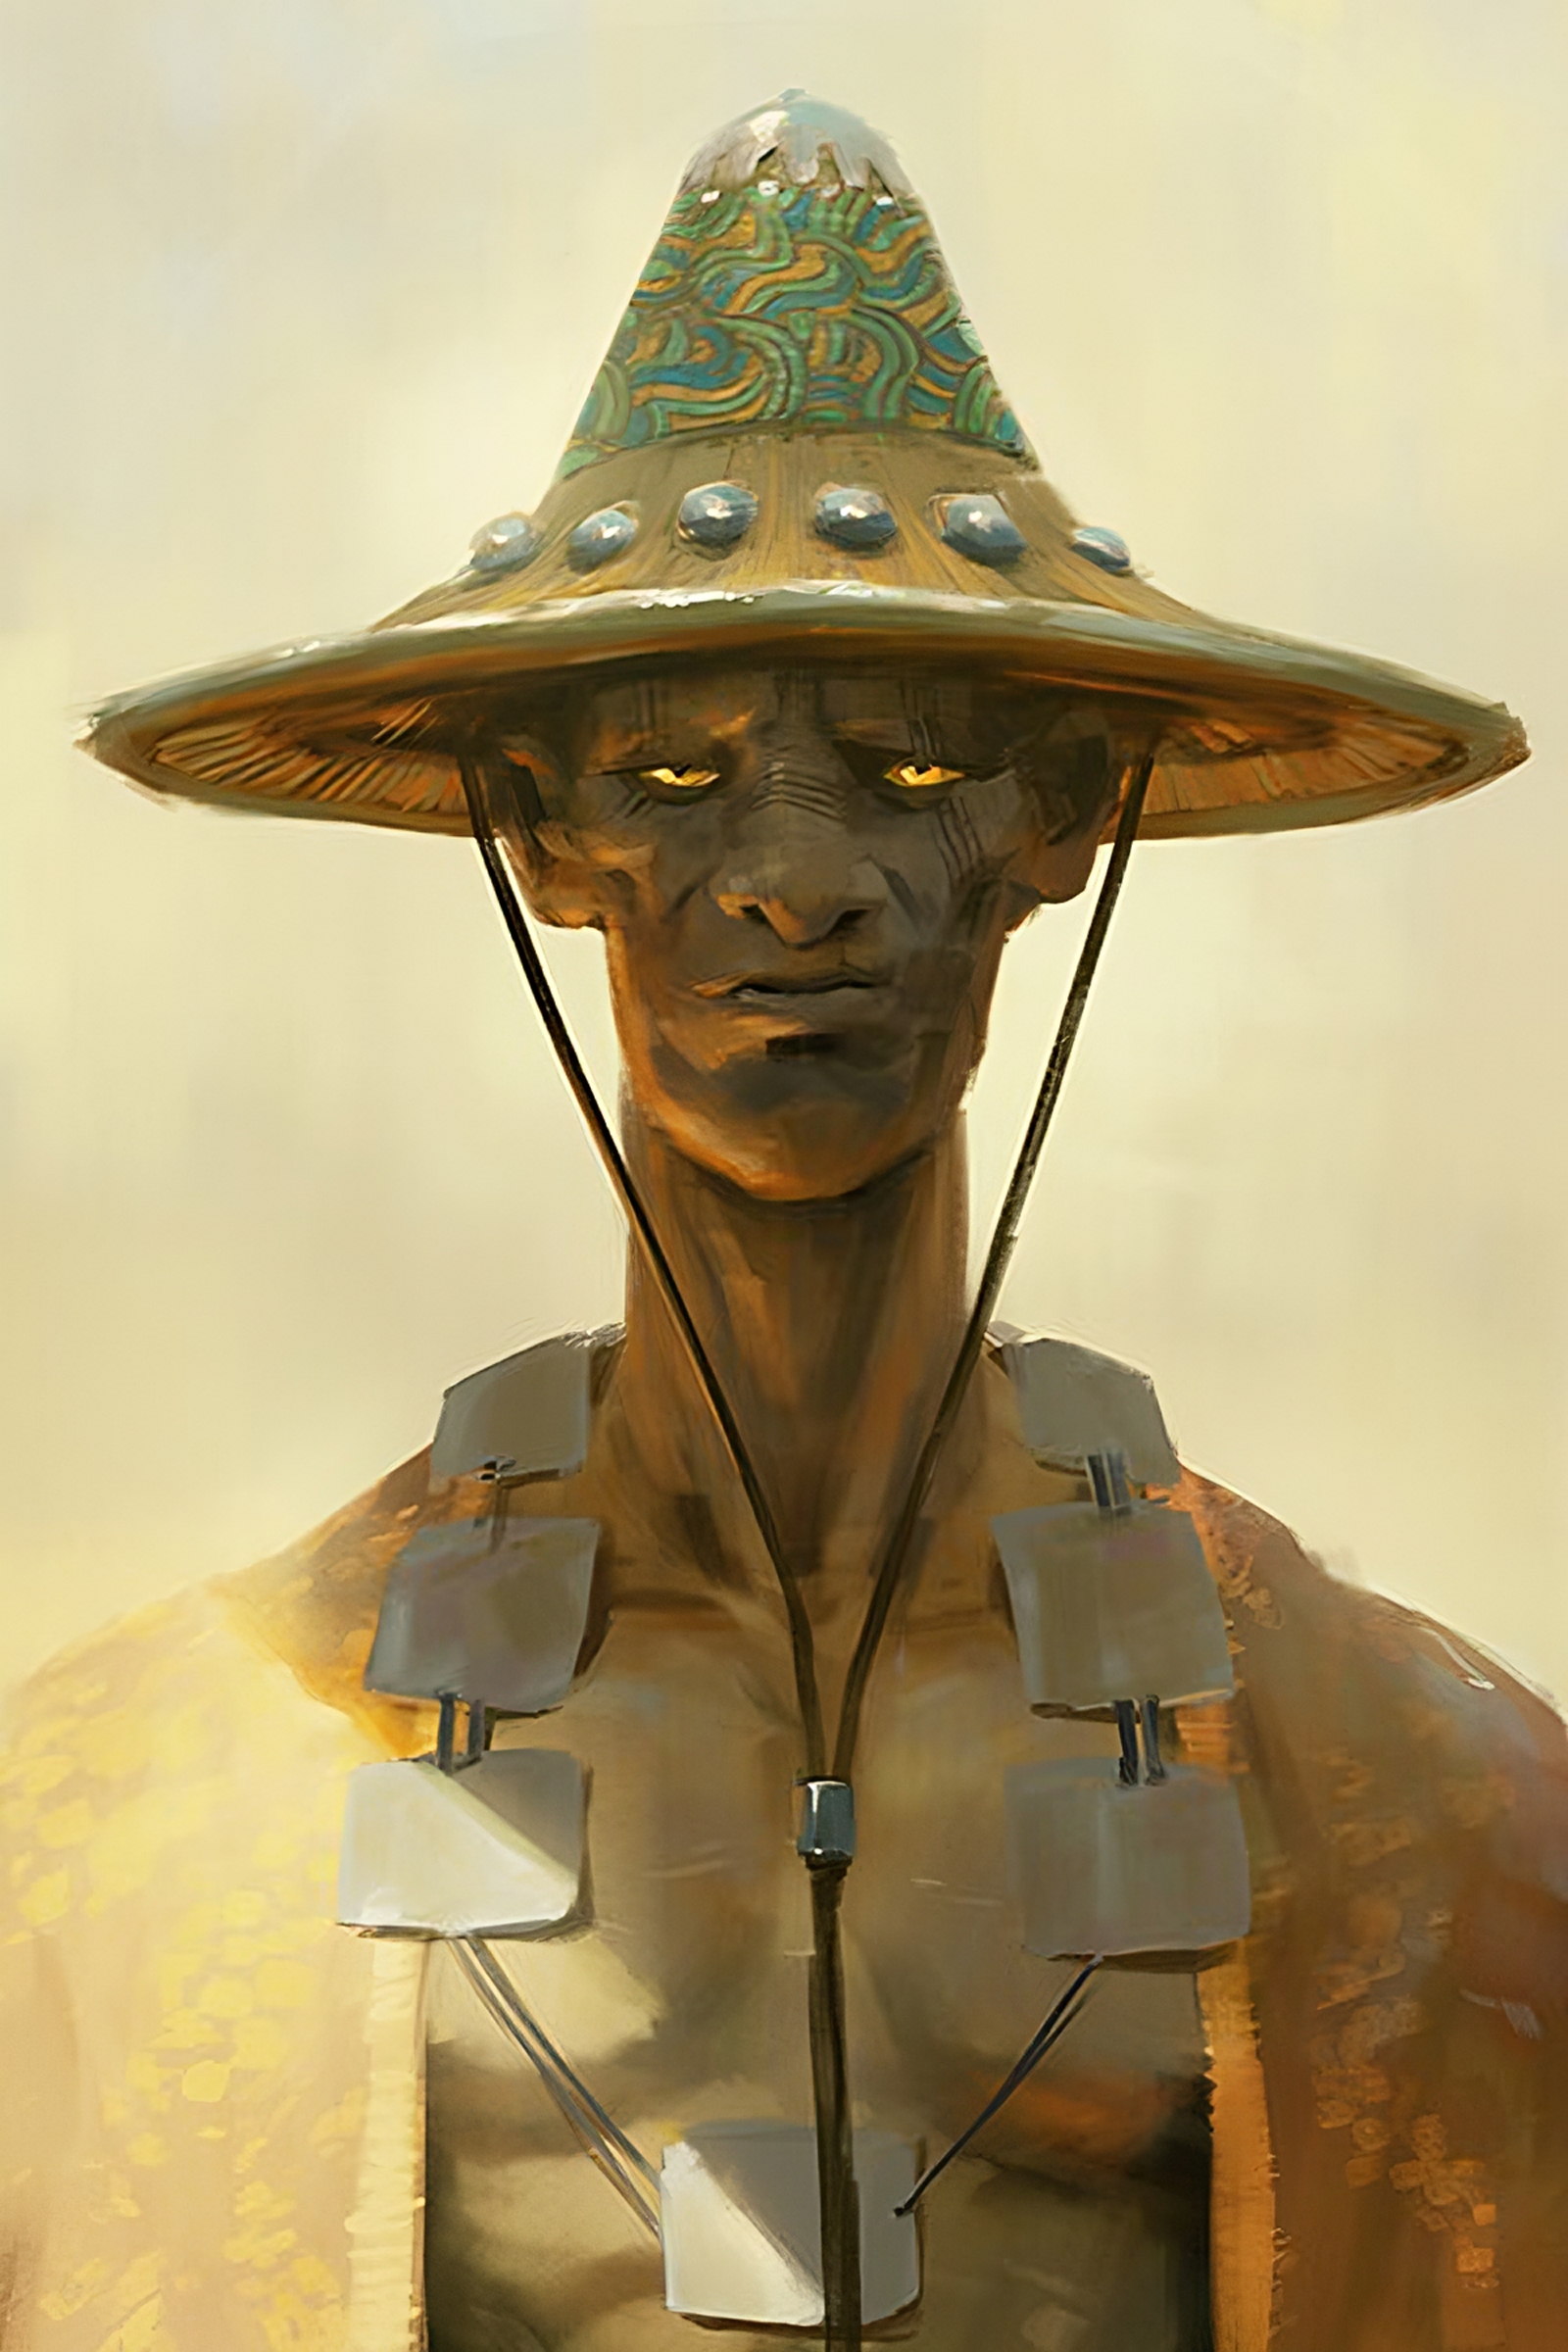
For this project, the original character concepts were made by super-talented artist Eugenia Firs, feel free to follow all social).
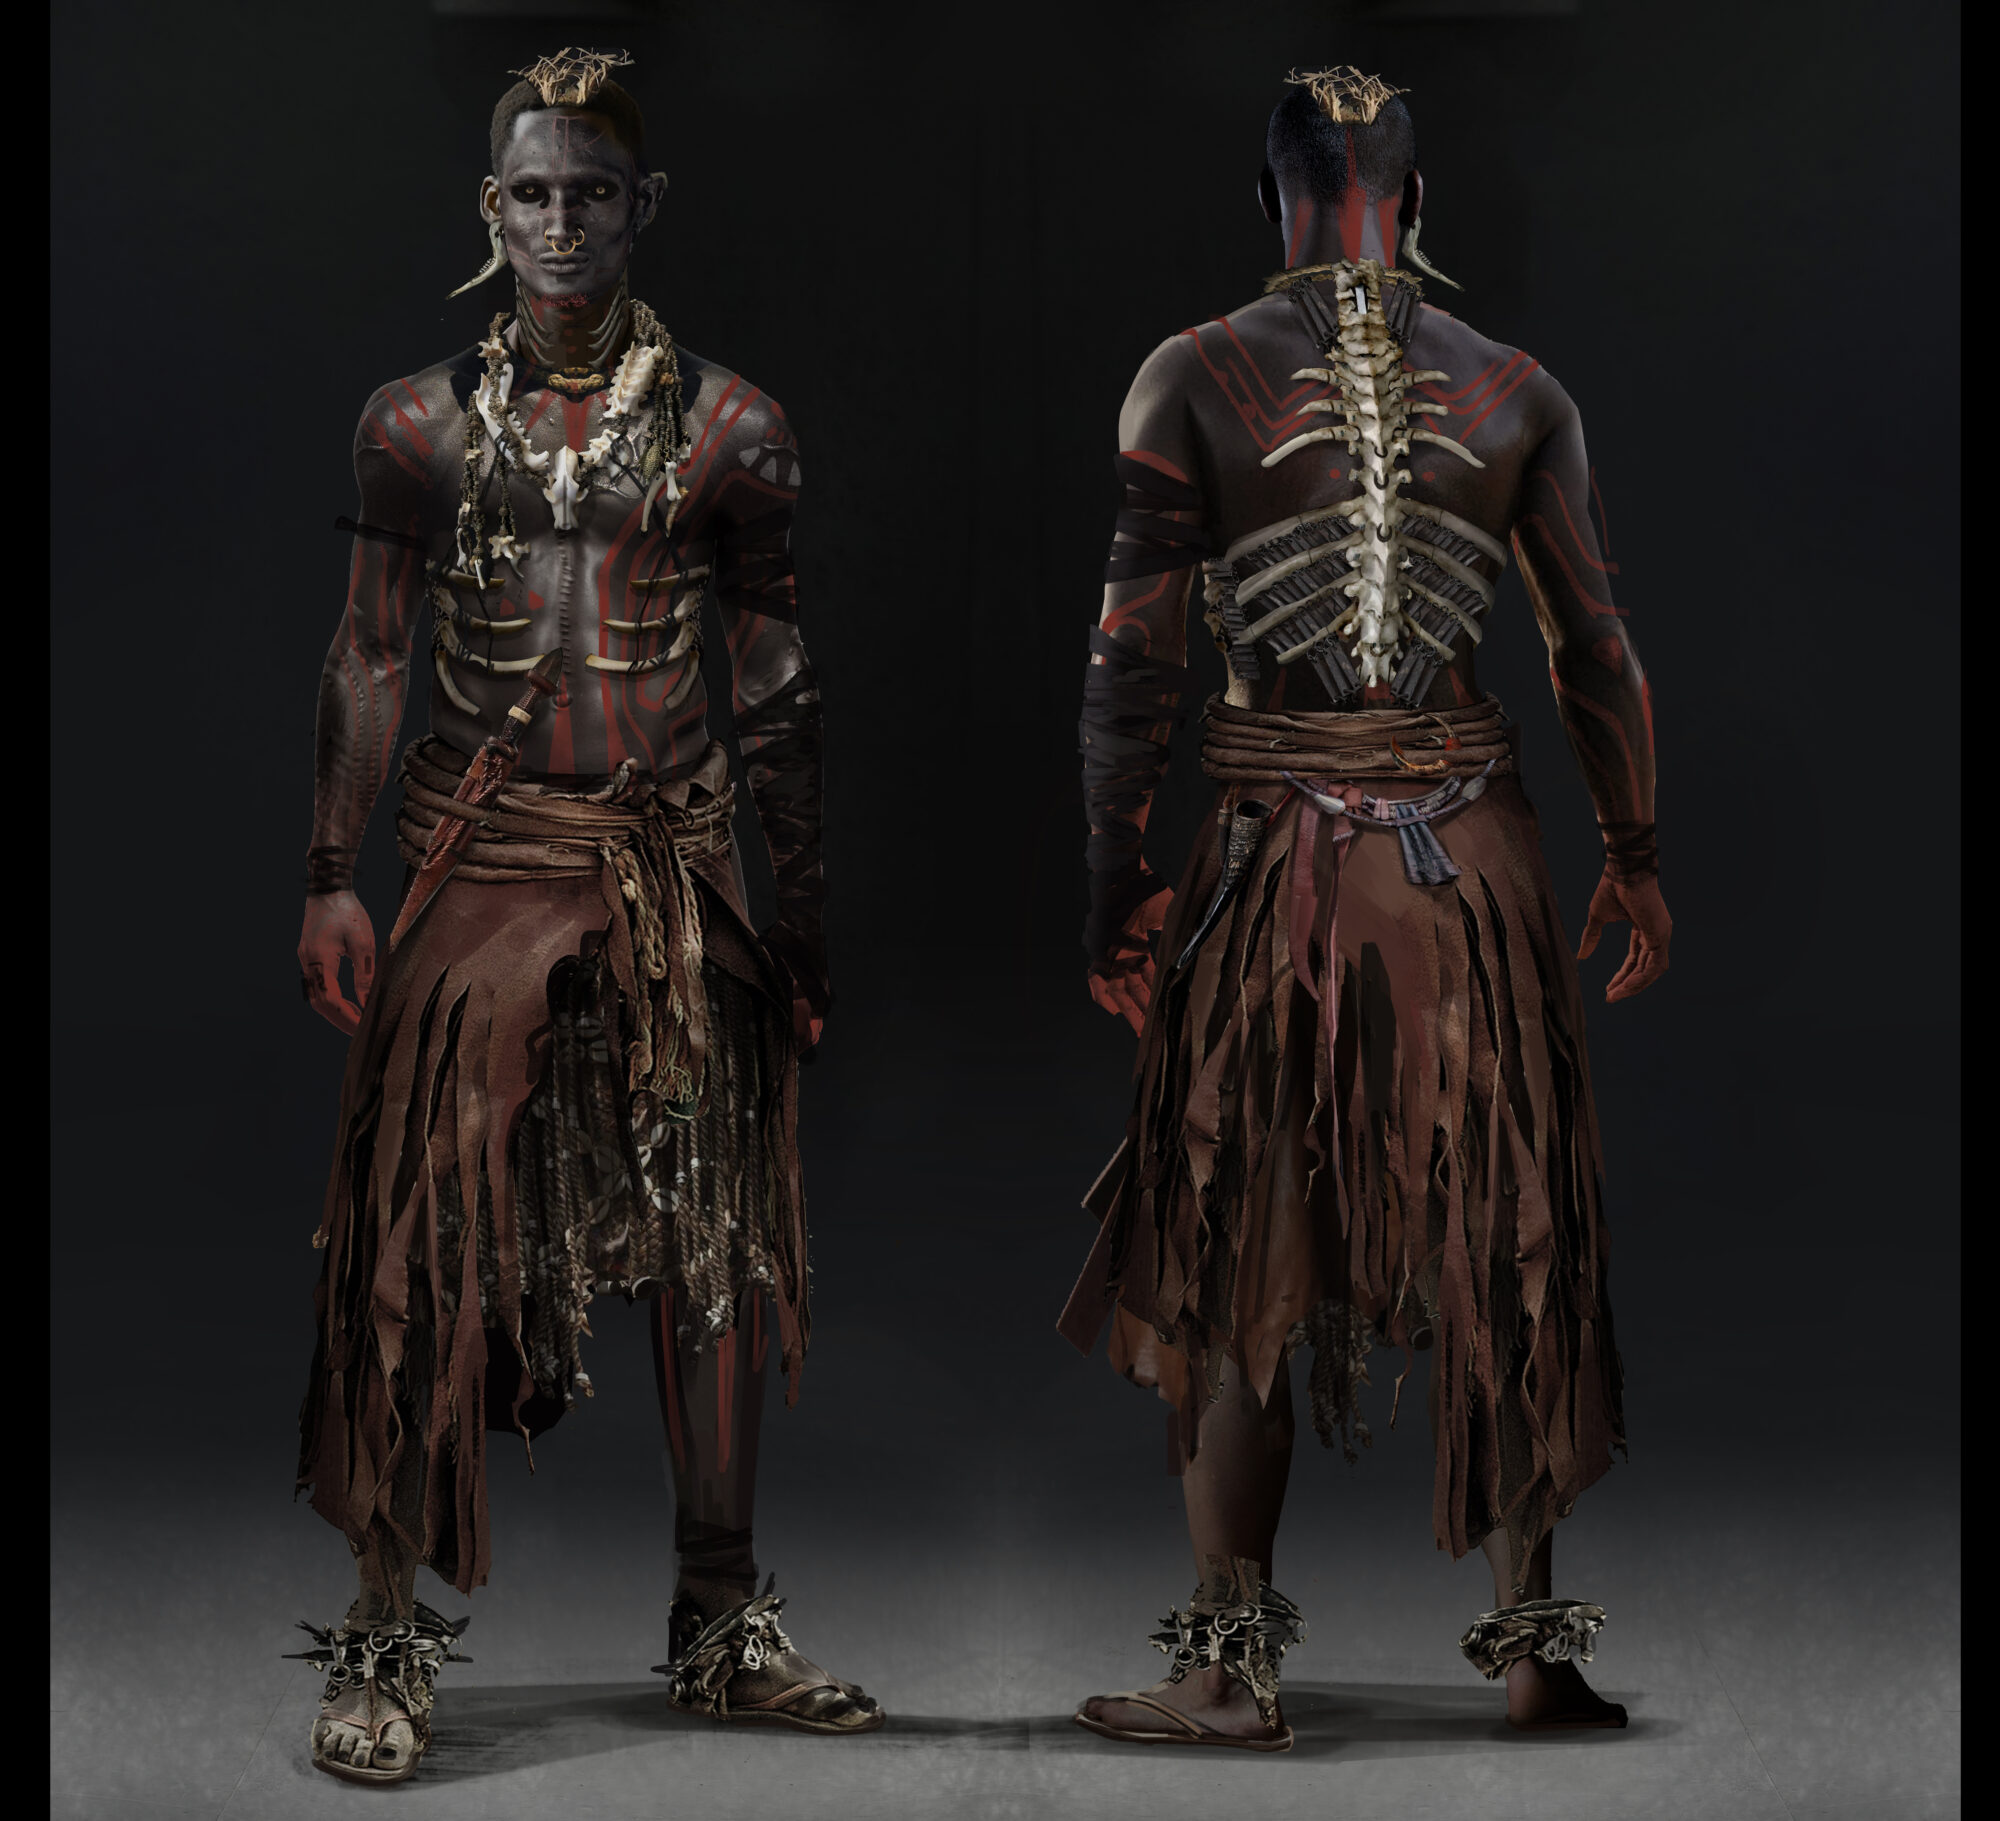
As we can see, the concept was done in realism, but in the process, we decided to make more stylized shapes in the anatomy, however, keep realistic material shaders, in accordance with the overall vision of the project.
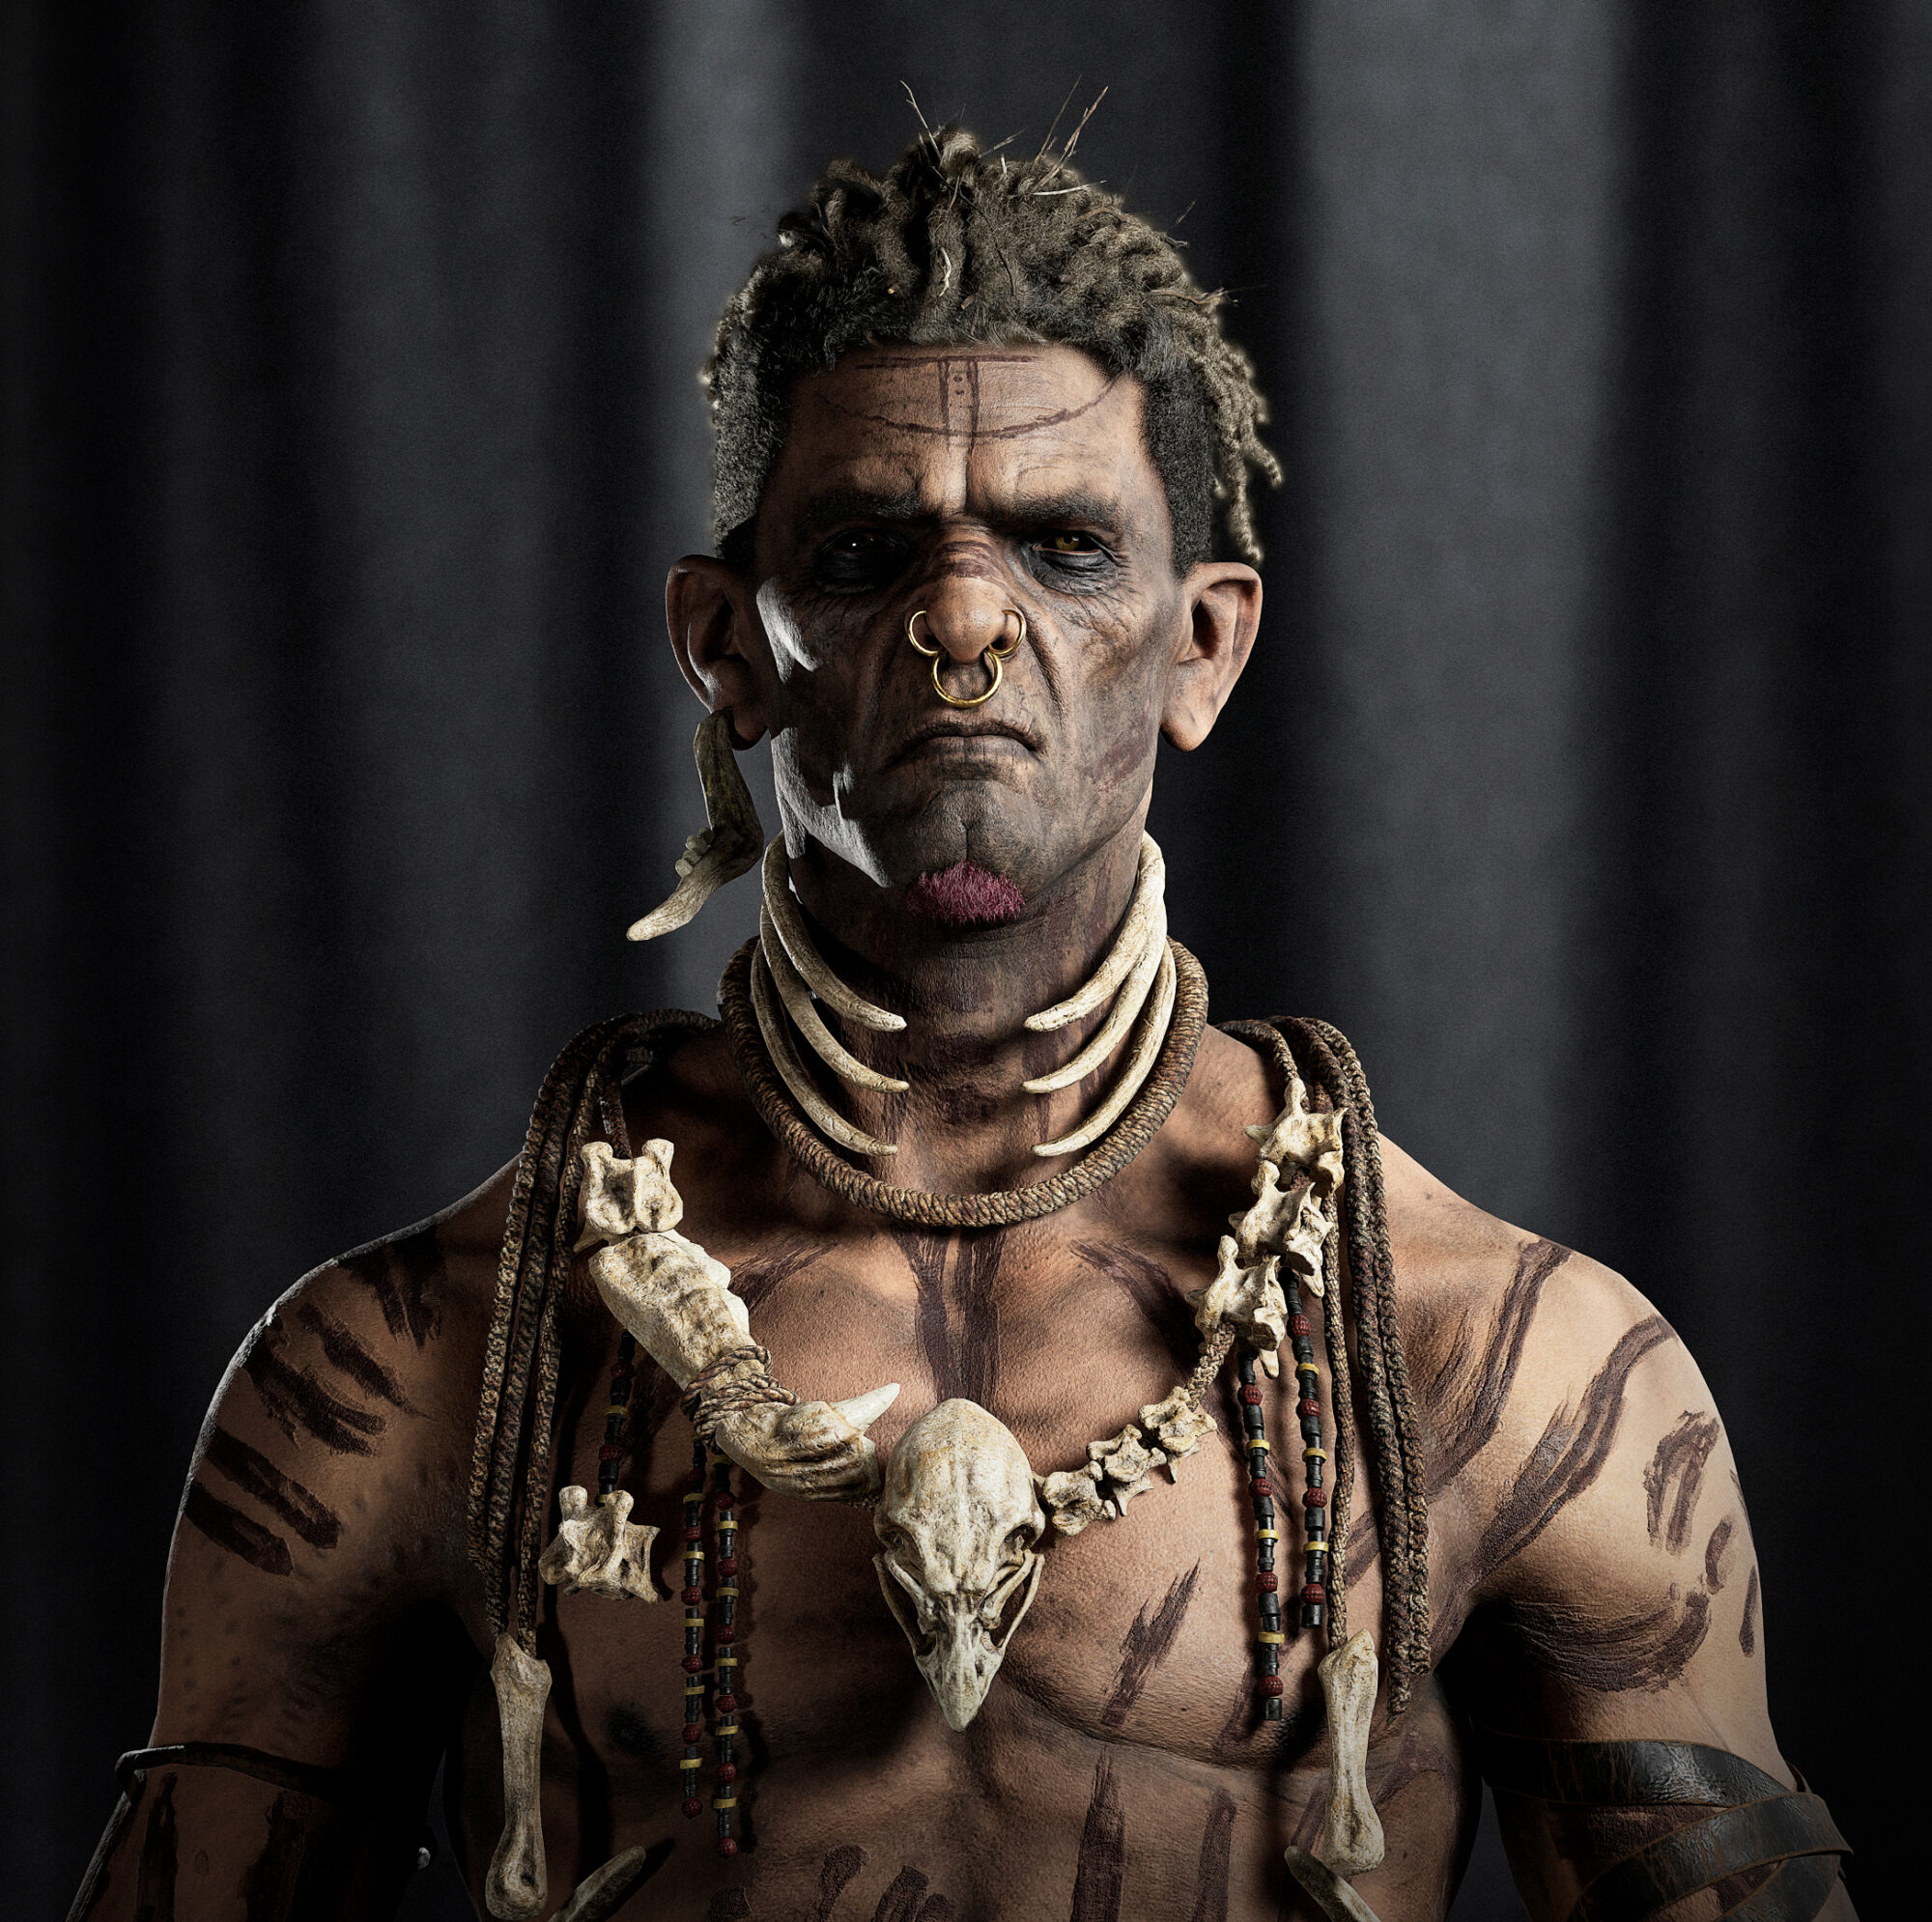
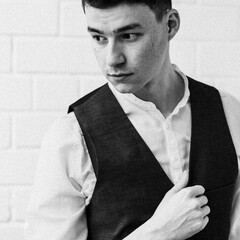
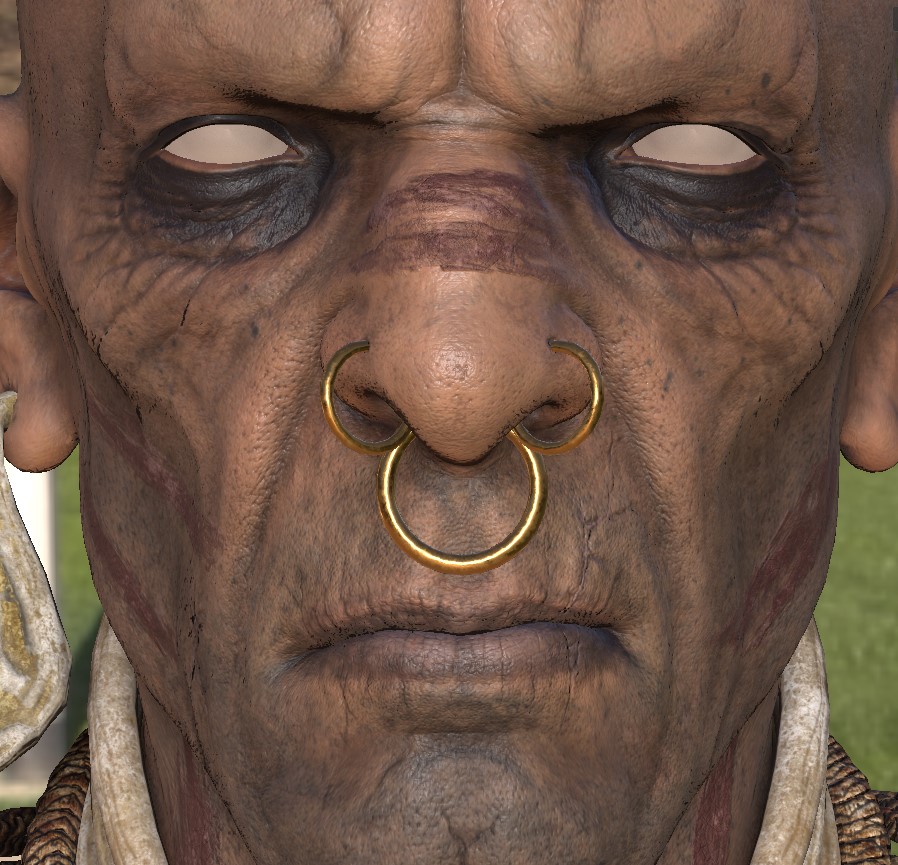
For me, a character’s face always sets the direction for the whole character, including his or her appearance. We chose as our main portrait reference a really charismatic character created by Arthur Sadlos.
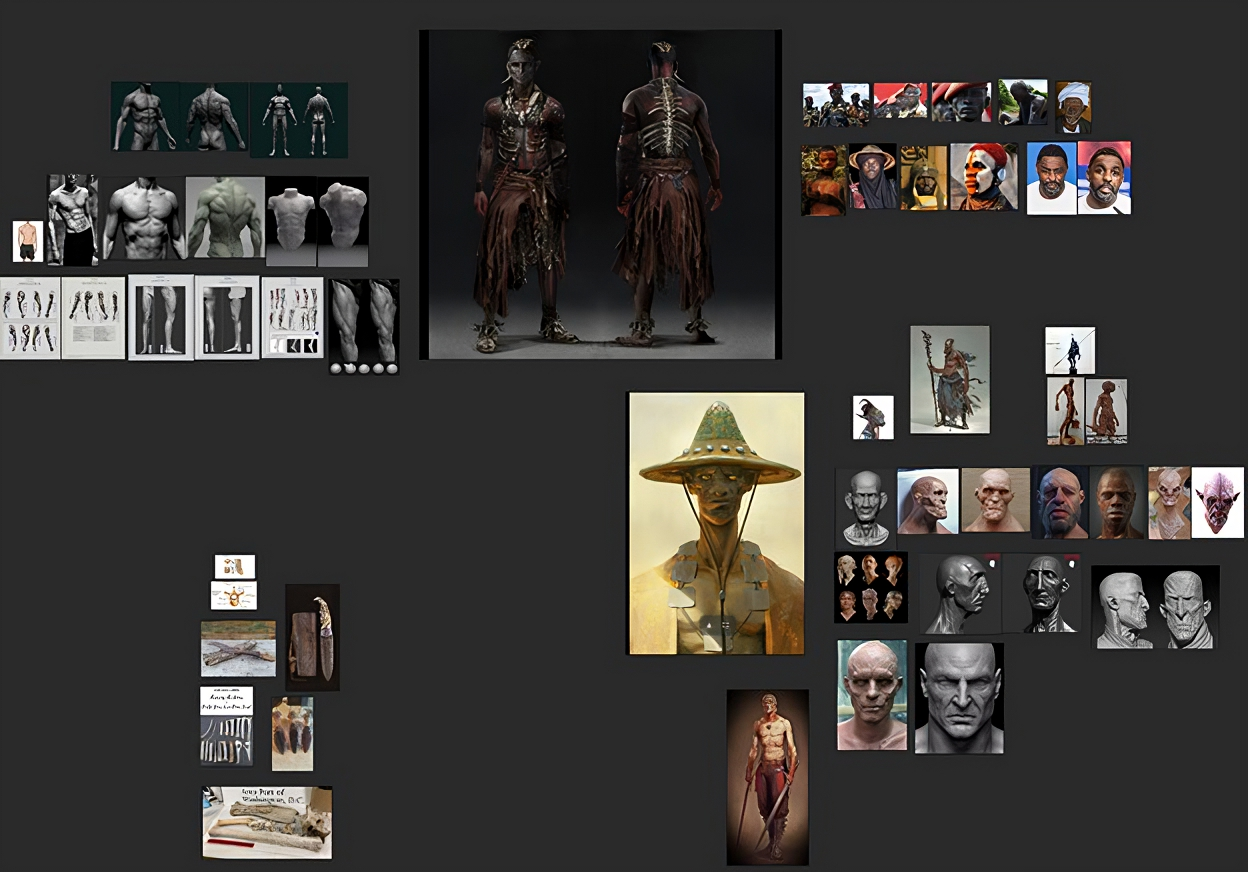
After determining the main direction, I start looking for references in anatomy, clothes, props and some art references, but I never dive too deep to preserve my own vision as an artist.
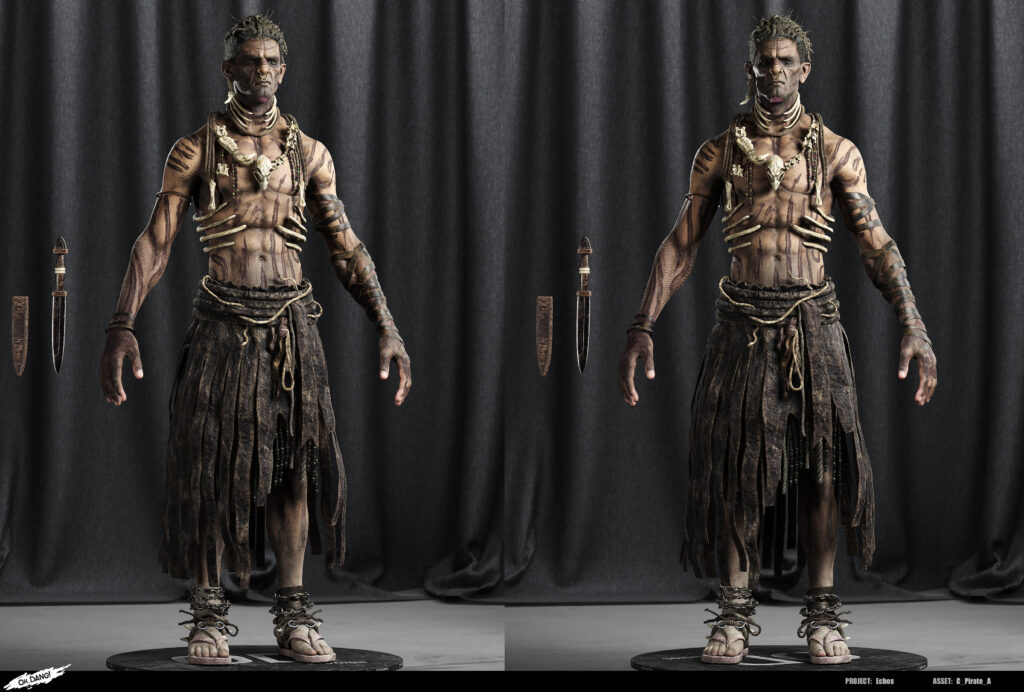
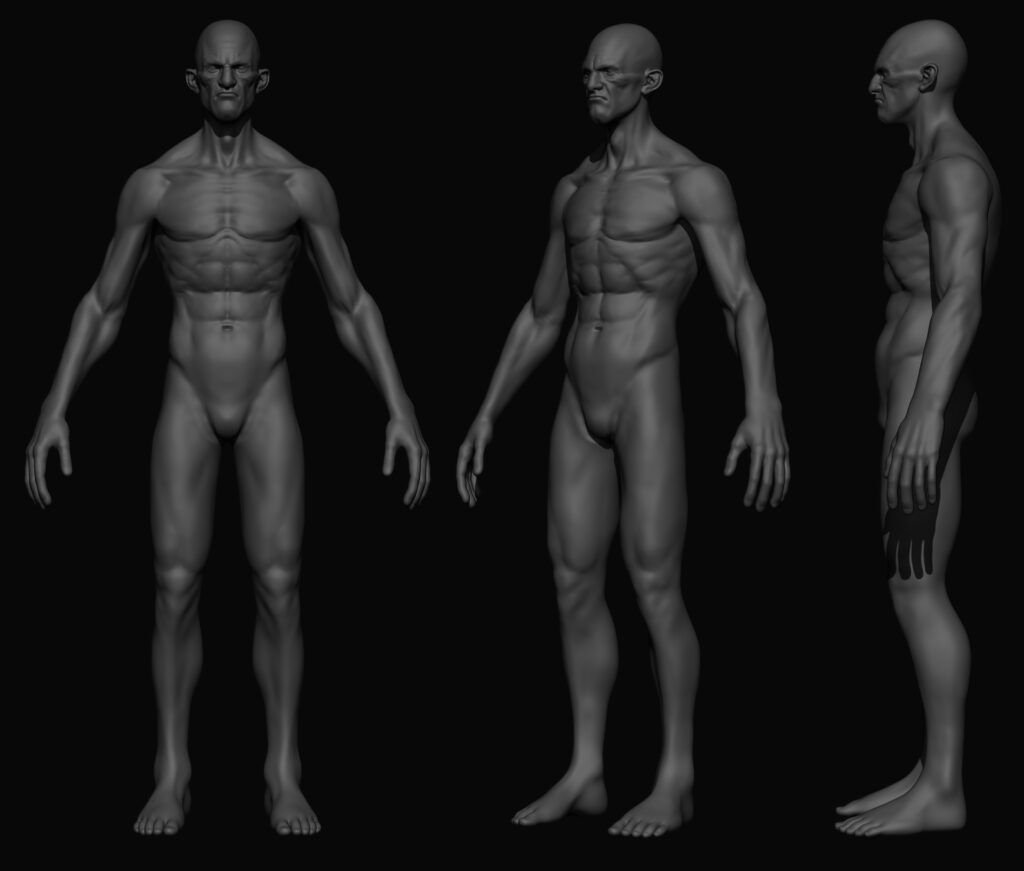
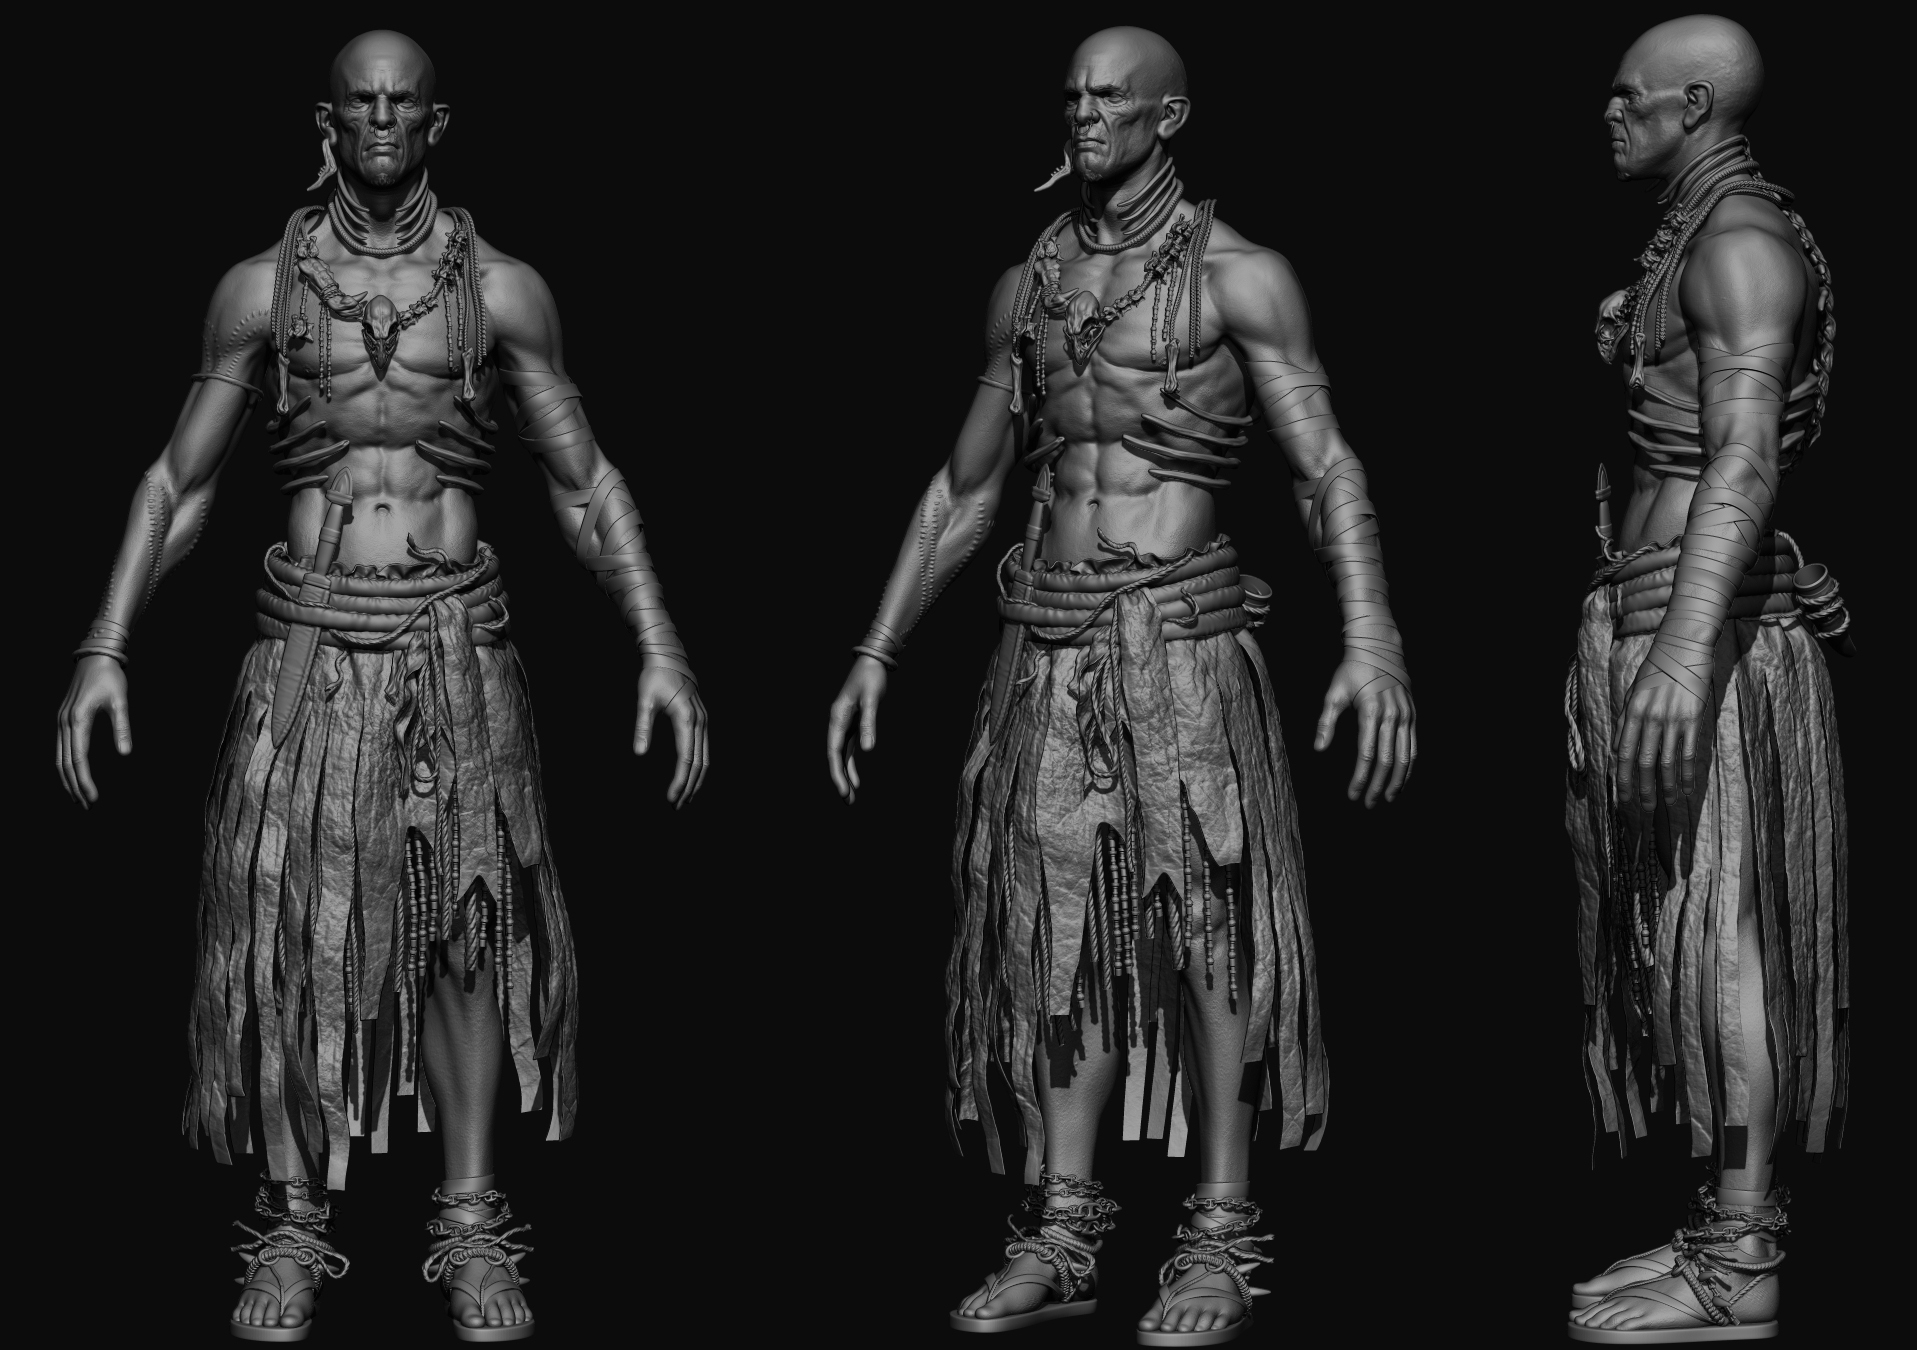
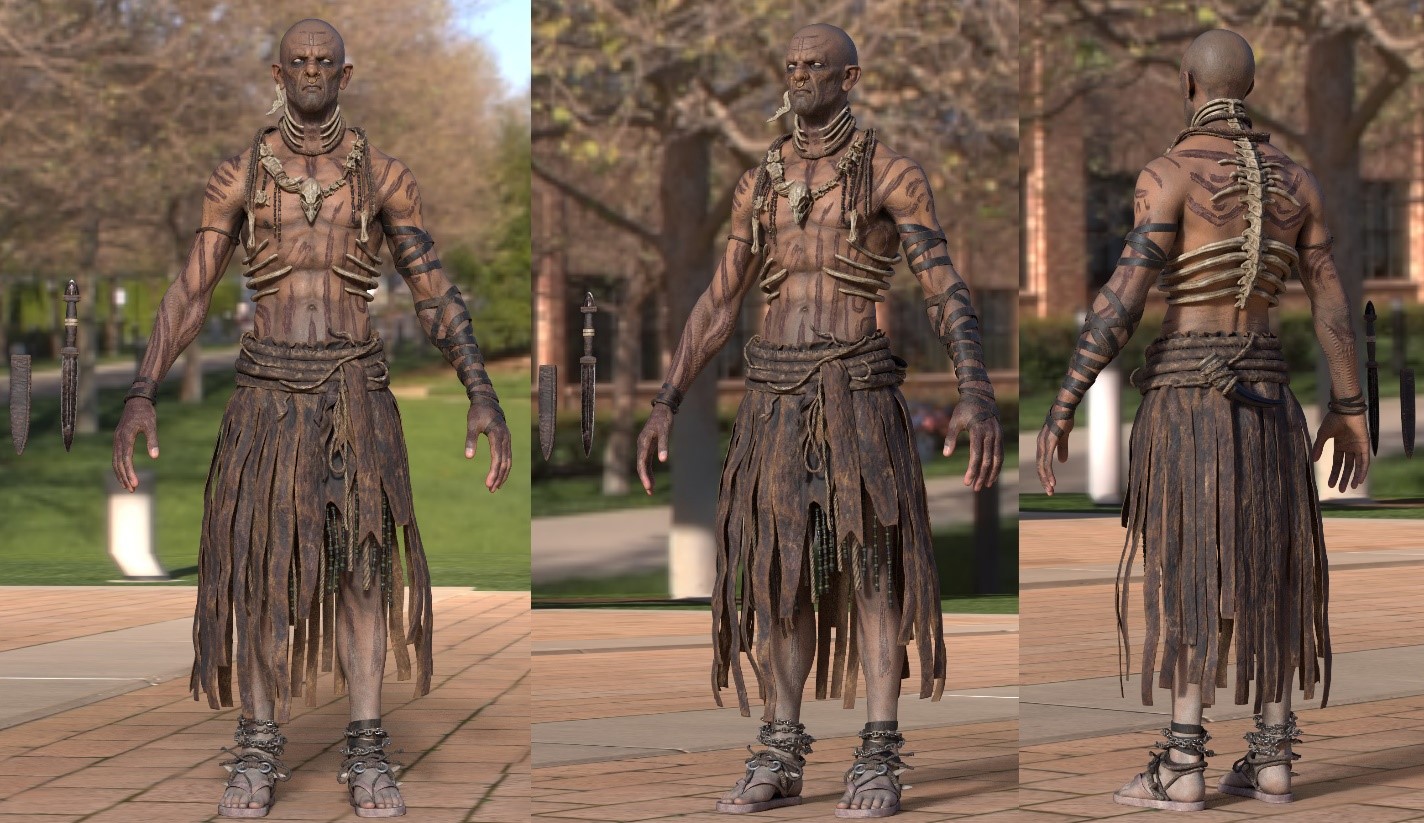
Blockout
Starting with the blockout, I started looking for proportions that would match the style of the project, emphasizing the character and his line of work. Here I was inspired by the characters of the Arcane Studio projects, and as a big fan of the Love Death and Robots series, I often turned to references of these projects in my work.
Anyway, in looking for the right shapes I wanted to find a unique stylization that would look fresh and not hackneyed.
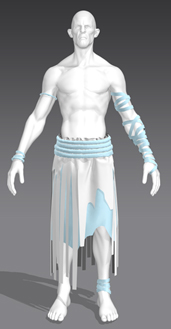
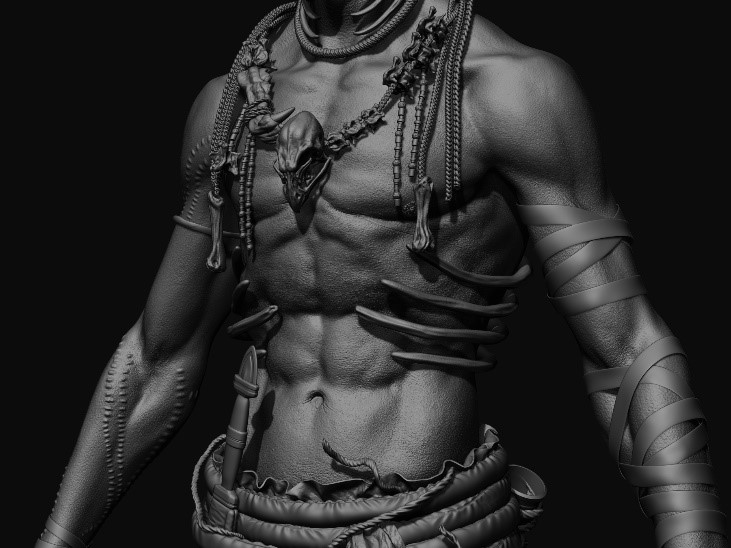
Once I’m happy with the body shape, I start sewing the basic clothes forms in Marvelous Designer, and then export the draft version back into Zbrush and look for the desired silhouette created by the garment.
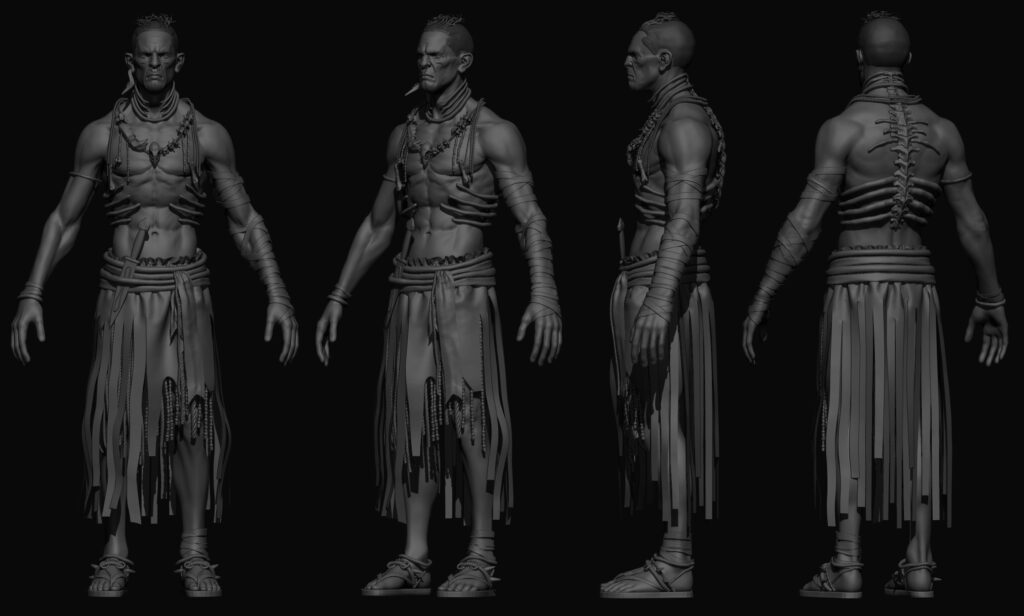
Modeling
This character was created for a cinematic short film on Unreal Engine 5, so there is no limit to the polycount, but it must be made with consistent topology and reasonable polycount to proper clothes simulation and facial animation, making sure that the edges at the bending points for different meshes are as close as possible.
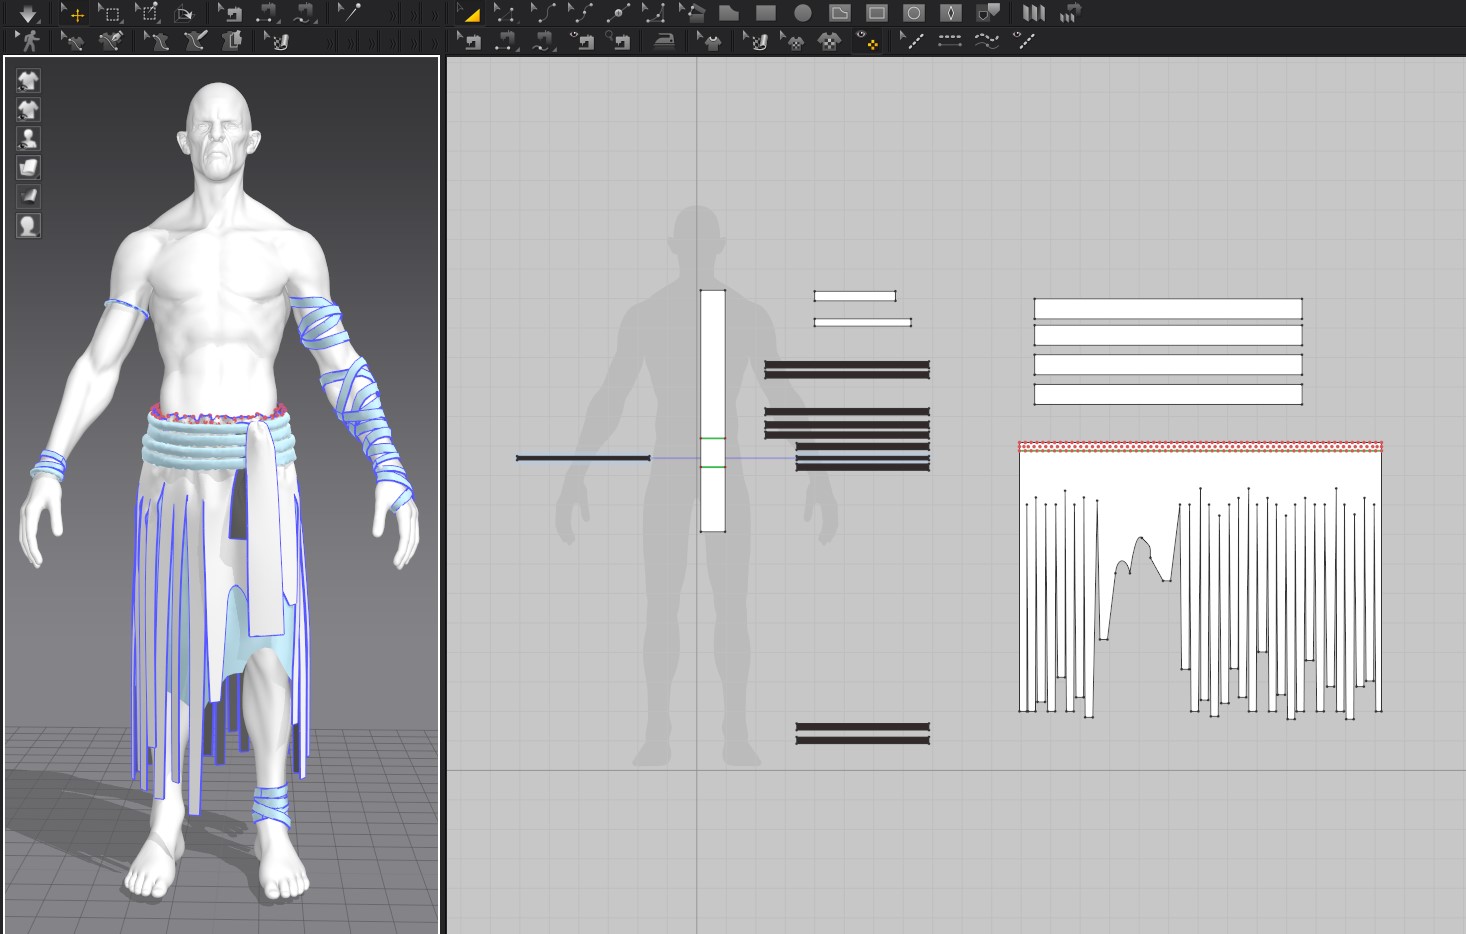
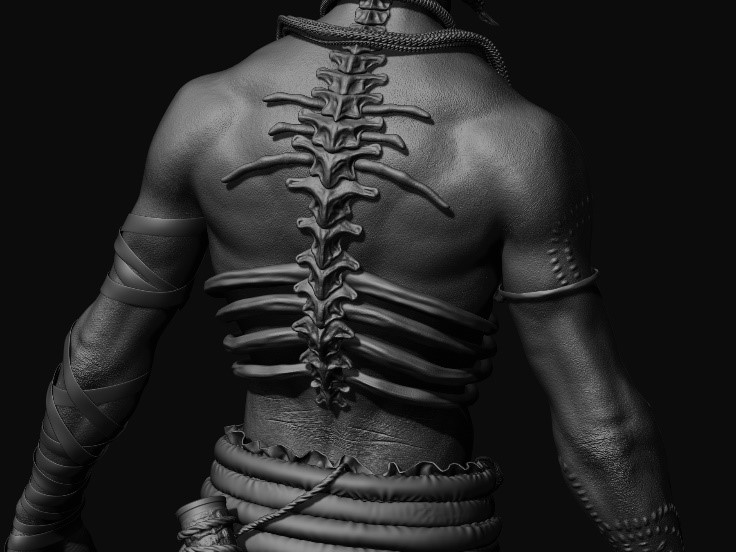
For the ropes I modeled simple strips of fabric in Marvelous, simulated their correct position and used them as a base for the IMM brushes in Zbrush, then I created a mesh of tubes and projected the high poly ropes on it. I increased the ropes polycount for the animation mesh to keep the silhouette.
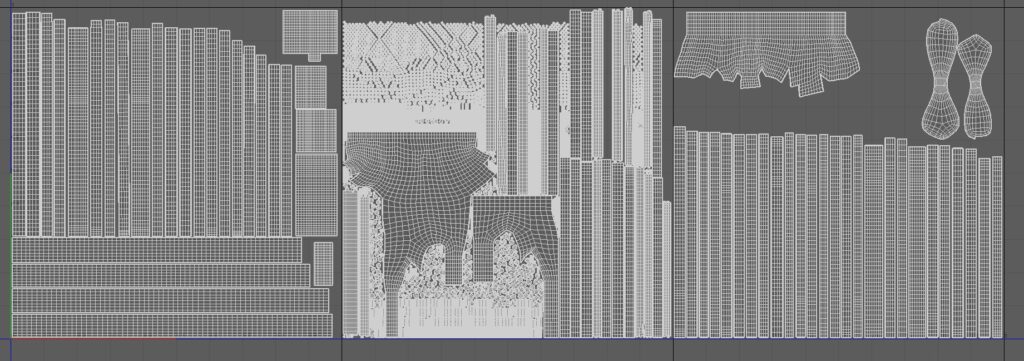
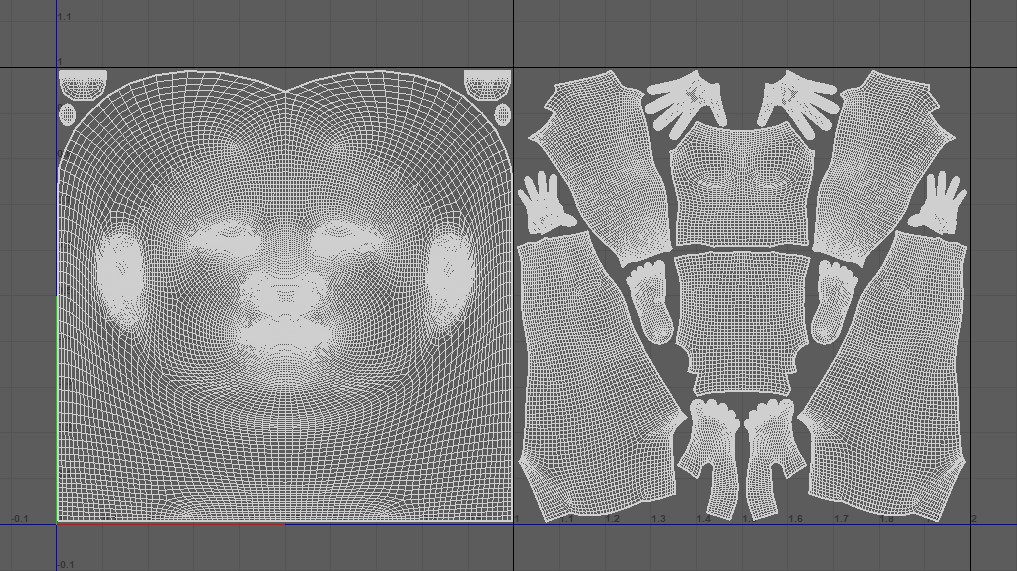
UV
Using the UDIM pipeline, the entire character has been divided by simple logic for easy texturing and look dev. The skirt, for example, has 3 UDIMs with all the assets associated with it. For the body, we have MH topology, which is needed for the MH rig system for future animation.
After retopo is done, I’m replacing meshes in Zbrush with meshes with the right UV’s as a morph target, to keep the correct silhouette for the animation model.
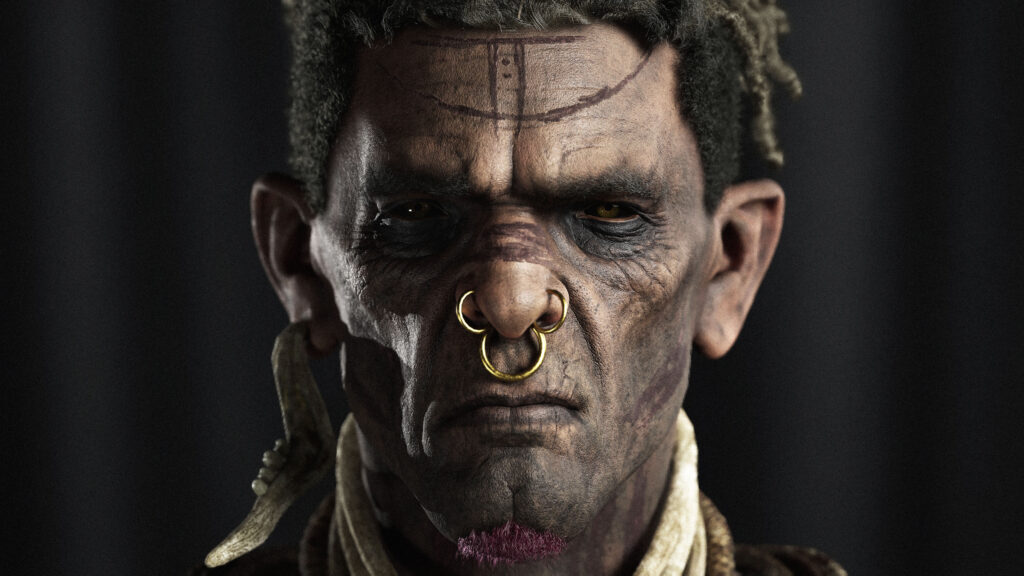
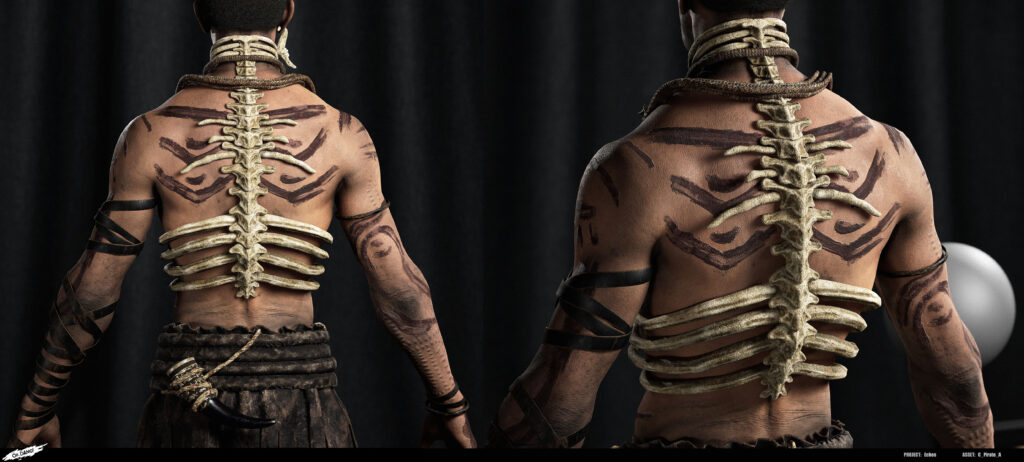
Sculpting
After the basic shapes and proportions look good, starting with the portrait, I spend a lot of time working on the mid-shapes, I think this part works on realism as much as it gives micro details to the model.
Realistic fat spots, muscles and wrinkles can make even a super-stylized character with funky proportions look believable.
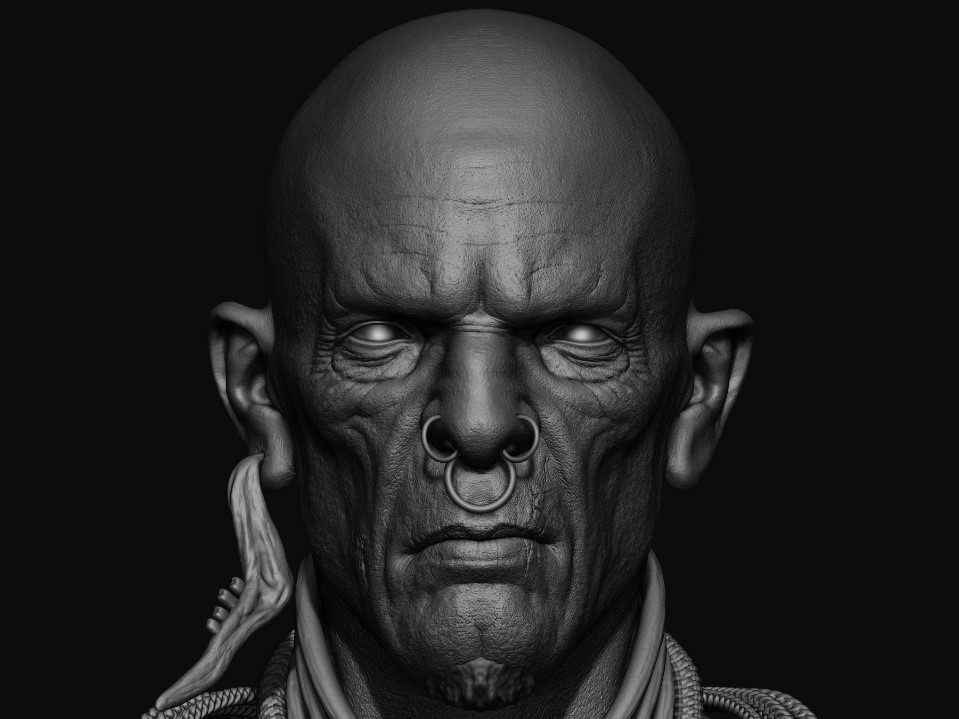
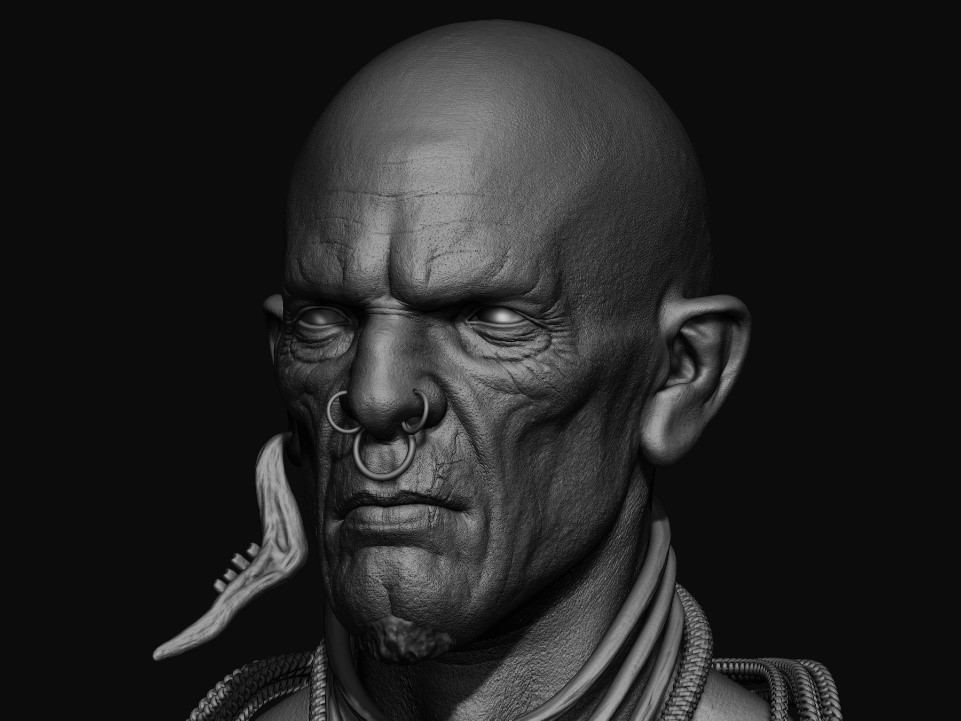
I’m using body scans to create a base for details by transferring it using Zwrap after I am improving it with custom pore brushes and wrinkles in high lights and trying to avoid using alphas, to keep as much control as it is possible.
For props, I’m sculpting mid-shapes for the correct silhouette and always keeping in mind, that micro details will be done on look dev with tile bump texture.
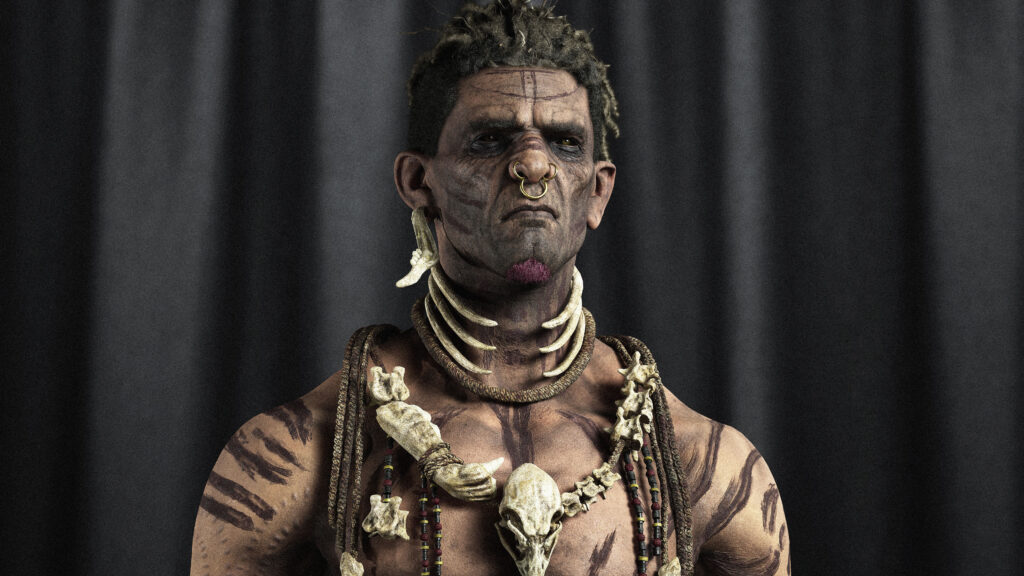
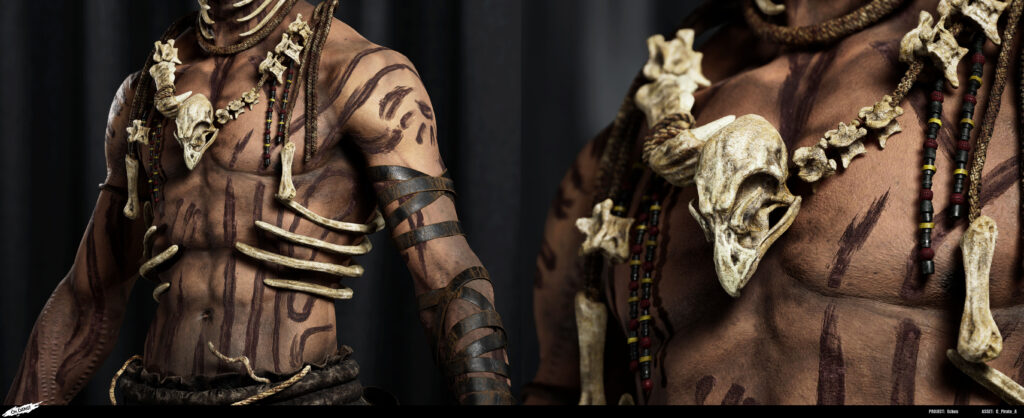
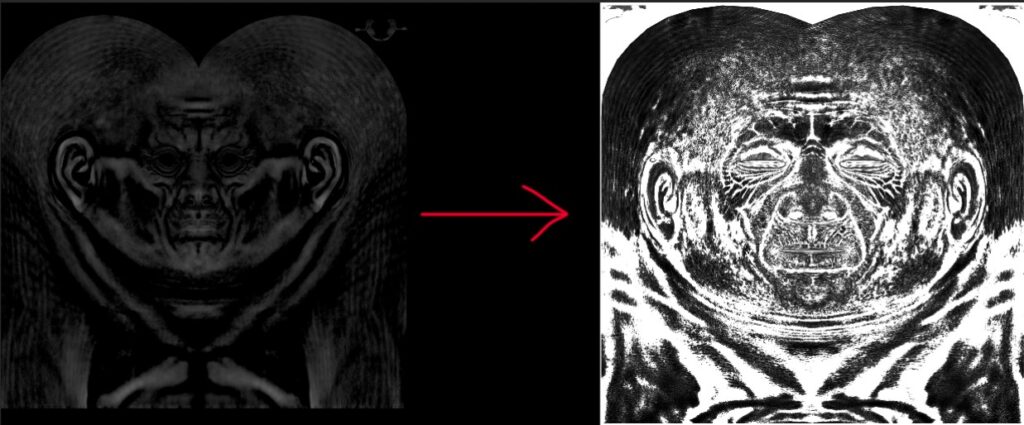
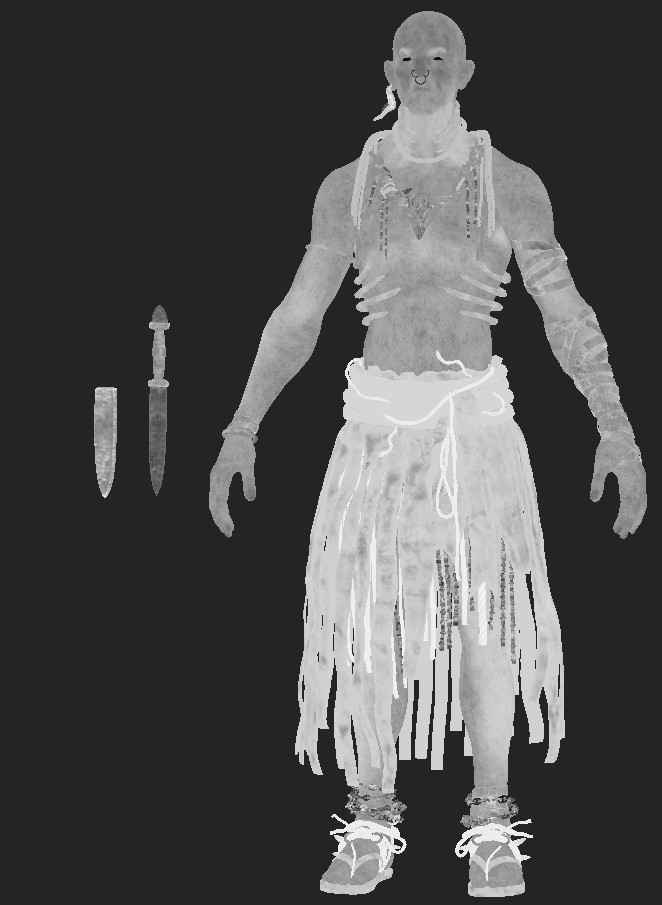
Texturing
For texturing, I export Albedo from the body scan, normal and displacement maps.
I use displacement to create cavity maps, a technique shown in detail by Chris Costa in his youtube video. A very simple way to create a Cavity with great control potential.
For offline rendering, I use SSS to highlight pores and wrinkles, but in UE I have to create maps to control the color and visibility of microdetails, so I find this method very useful for props as well.
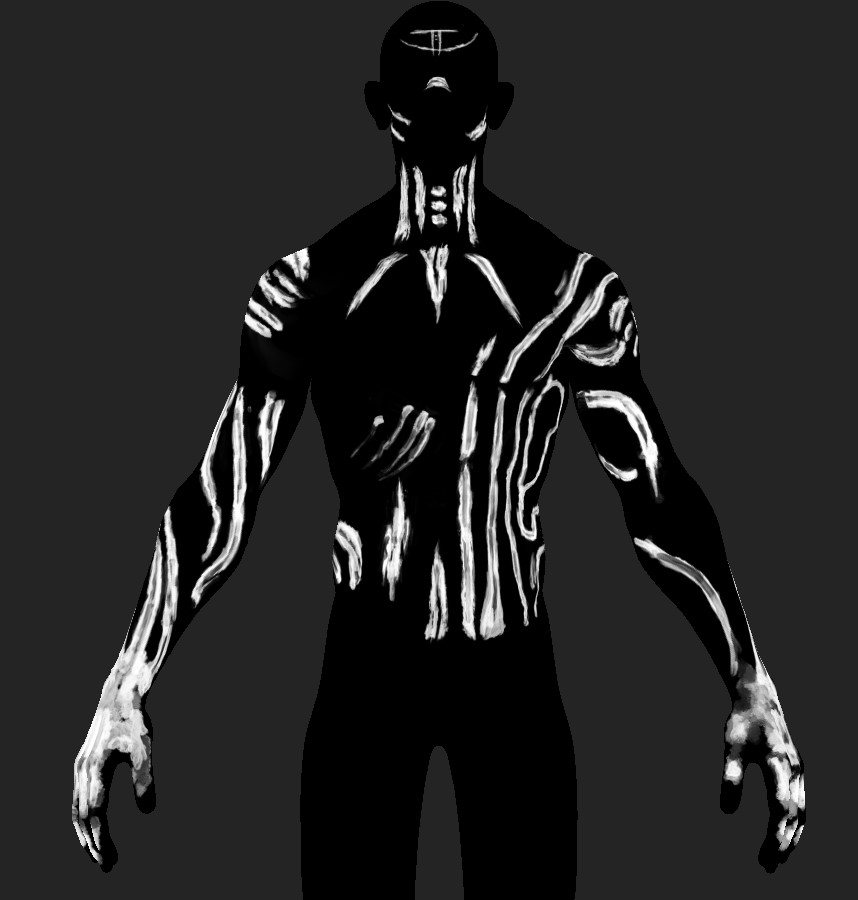
For body paint, I create RGB masks for the future Lookdev, these masks are also created for Bones and Skin.
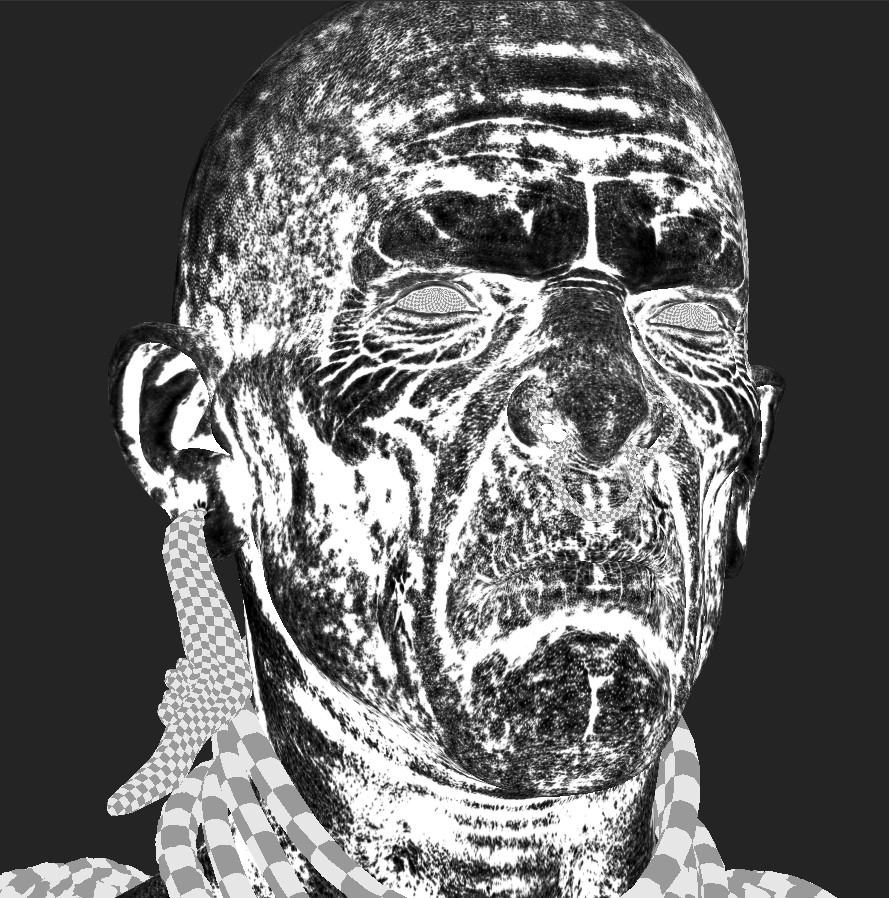
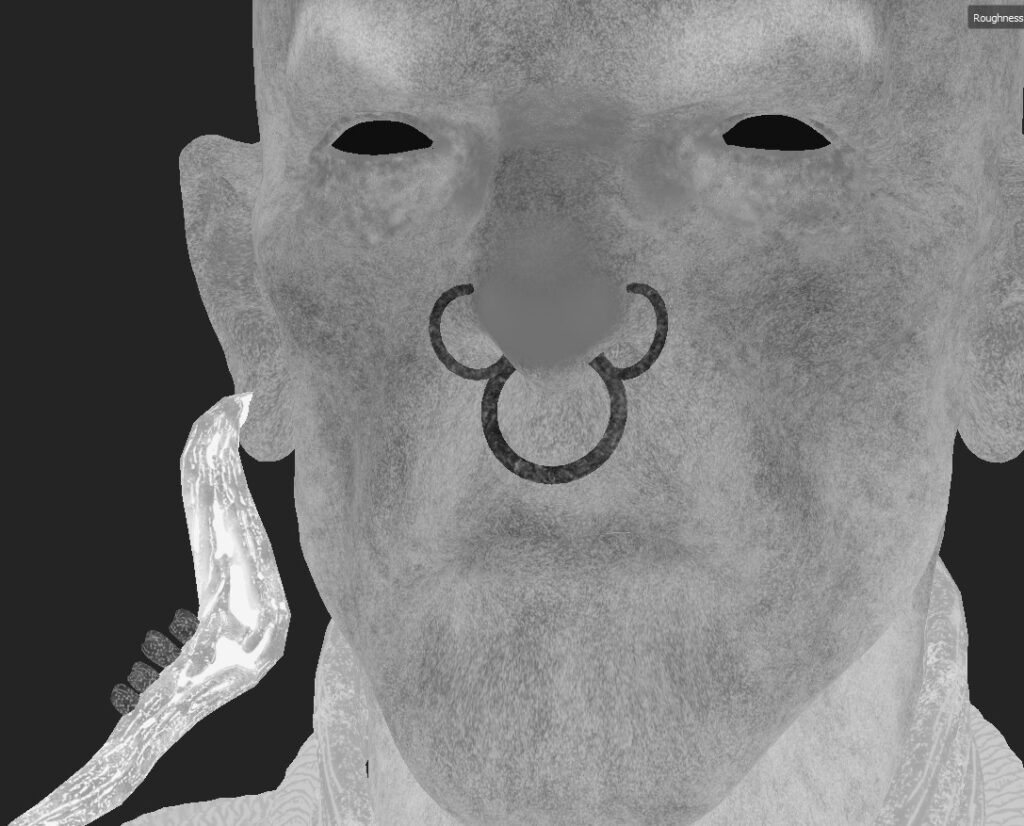
Roughness
The roughness maps for the skin are made using 3 layers (Base, Middle, Micro) with high contrast for the microlayer.
Here I also use my cavity maps to get more control and maintain logic in the distribution of moisture on the skin.
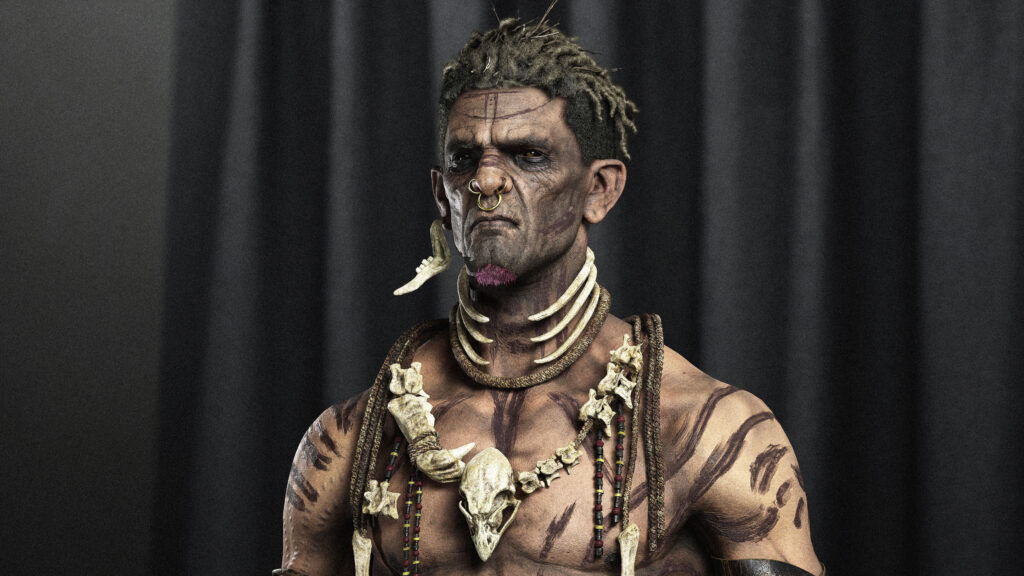
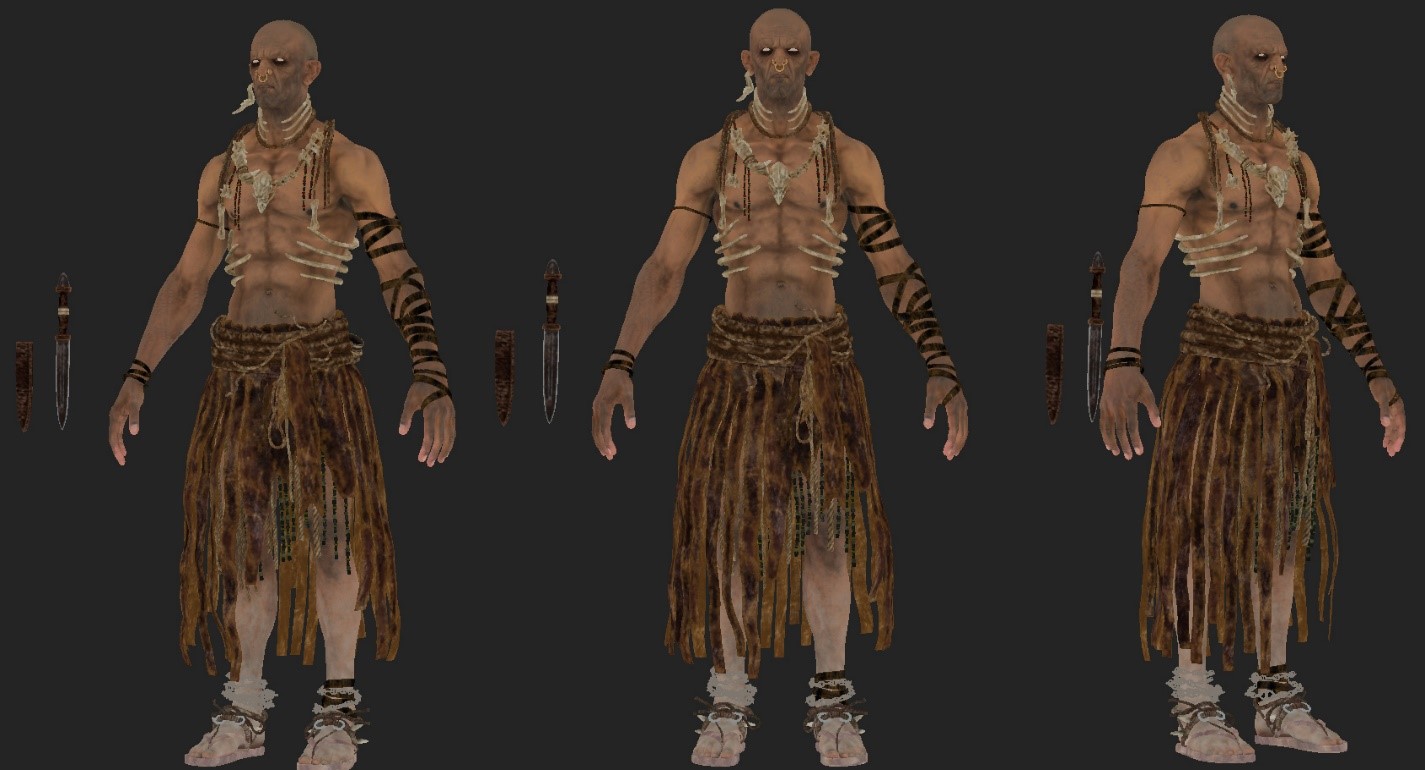
Lookdev
OD team has its own Lightrig system which was based on Cave Academy setup and lately was improved for studio needs.
Briefly, we have a plugin for UE 5. After enabling it every artist simply get access to different lighting scenarios with pre-built lights, sequencer, cameras and rendering presets.
UE5 shading system based on instances. Basically, it means that you`ll have to create a few master materials with specific parameters and then simply change the parameters for each material. Use different textures. But all of them are based on a few shaders only.
This method allows us to decrease the pressure on my virtual memory and ram. For instance, in Arnold or Vray this is a tricky thing and you always create a bunch of shaders.
I have only a few master shaders. For cloth, for Plastic and metals, for glass.

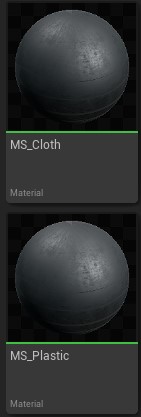
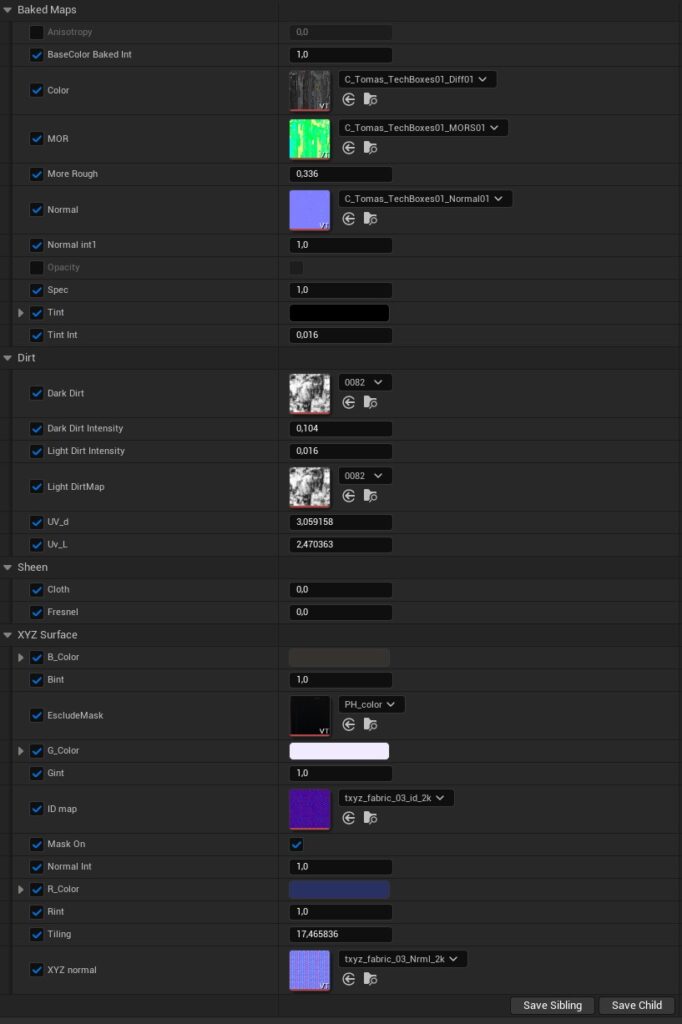
Cloth shader
The cloth shader is based on XYZ Fabrics maps as an additional procedural detail. Of course, we have multiple settings for adding procedural dirt, vanished spots and color of each channel XYZ Fabrics ID maps.
This method allows me to achieve hyper-tiny details of each surface
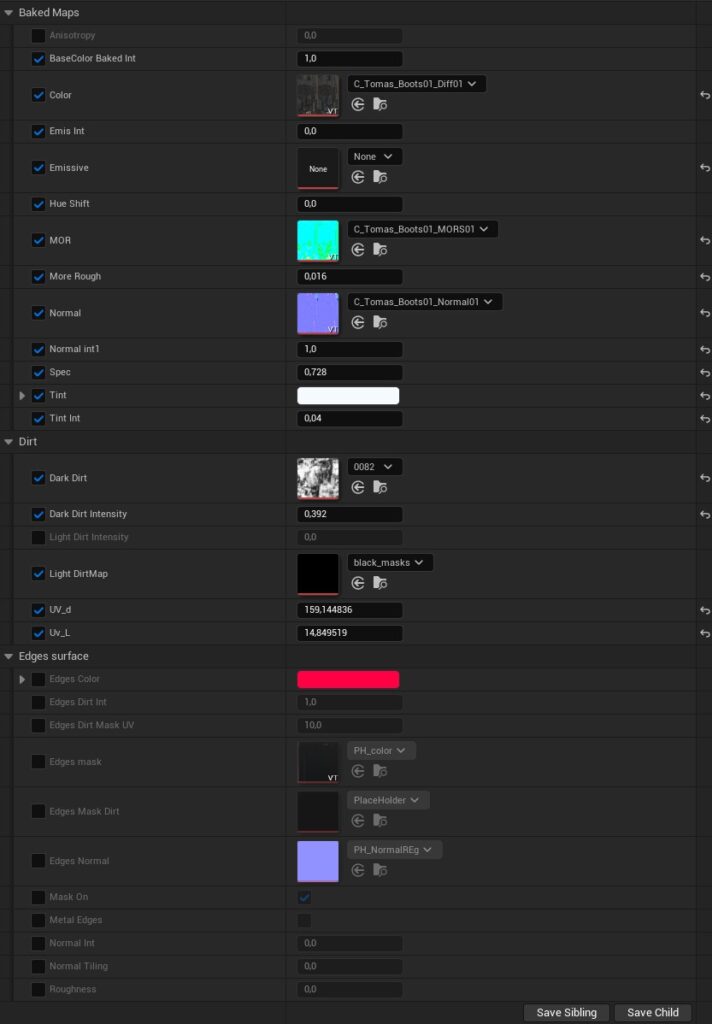
Metal Shader
The metal shader is pretty much similar to cloth, but we have edge control here. So if I want to adjust edges I can simply export masks from SP and put them here. Then override or blend different parameters with baked textures.
Overall, look dev is the 20% of details to my textures. Simple math – a few tileable textures are cheaper for GPU than 10 more UDIMS with tons of maps.
Metahuman Shader for the face and body is a must-have for our pipeline. MH rig and shading system are hardly connected. Different normal maps for different emotions, base color blood flowing and many more things are interactively changing with a controller.
I don’t use any of the makeup features in the case when I do 90 % of the texturing stage. But sometimes we add some extra parameters to the MH shader. For example – base color tint or contrast.
MH shader based on SSS profile and this is the trickiest part of look dev but pretty straightforward. We haven’t changed the shader network here, just played with parameters.
Make sure you don`t increase SSS too much. The easiest way to check it is to add one hard light by the angle. If you see the thin red line between light and shadow – it means SSS is here. Just make sure to keep it very thin.
Hairs are made in Xgen core.
Then converted to interactive groom and exported as alembic cache. If you Enable UE Alembicgroom Importer, UE simply imports the alembic cache as hairs.

The trick to achieving better shadows is to use Ray tracing geometry shadows parameter before render. It will dramatically downgrade performance, but we don’t need 60 fps here if it’s okay for us.
UE hair toolset allows to decrease or increase hair details, root and tip scale. So if your Xgen Cache is very heavy – simply optimize it inside UE.
Another Trick for simulation longer hairs – make sure you have enough guides in your Xgen. UE is based on these guides and connects actual hairs to guides. The fewer guides you have, the cheaper your simulation will be.
For hairs I use MetahumanShader as well so it gives a chance to play with melanin and white hairs on the fly.
Conclusion
Unreal Engine infrastructure allows us to transfer VFX industry quality to real-time which will allow studios to be more efficient and productive at every step of production.
This character is only one of many, which will be in our short film, stay tuned to see more.
Thank you for reading!
Read more articles
You might also like these articles.