Painters Box
Introduction
I’m Akshat, a 3D Artist specializing in props, environments, and hard surface. My journey into 3D art started with a deep passion for video games and a fascination with how virtual worlds are created.
I began by exploring 3D software on my own, gradually developing my skills through online tutorials, industry resources, and hands-on practice.
Over time, I expanded my expertise in modeling, sculpting, texturing, and rendering, focusing on creating high-quality, game-ready assets. I learned to pay attention to details, and feedback from other artists and professionals in the field has been invaluable as well, helping me refine my techniques and learn new ones.
I continuously push my skills to new levels by tackling challenging projects, experimenting with different styles and techniques, and staying updated with industry trends.
Goals
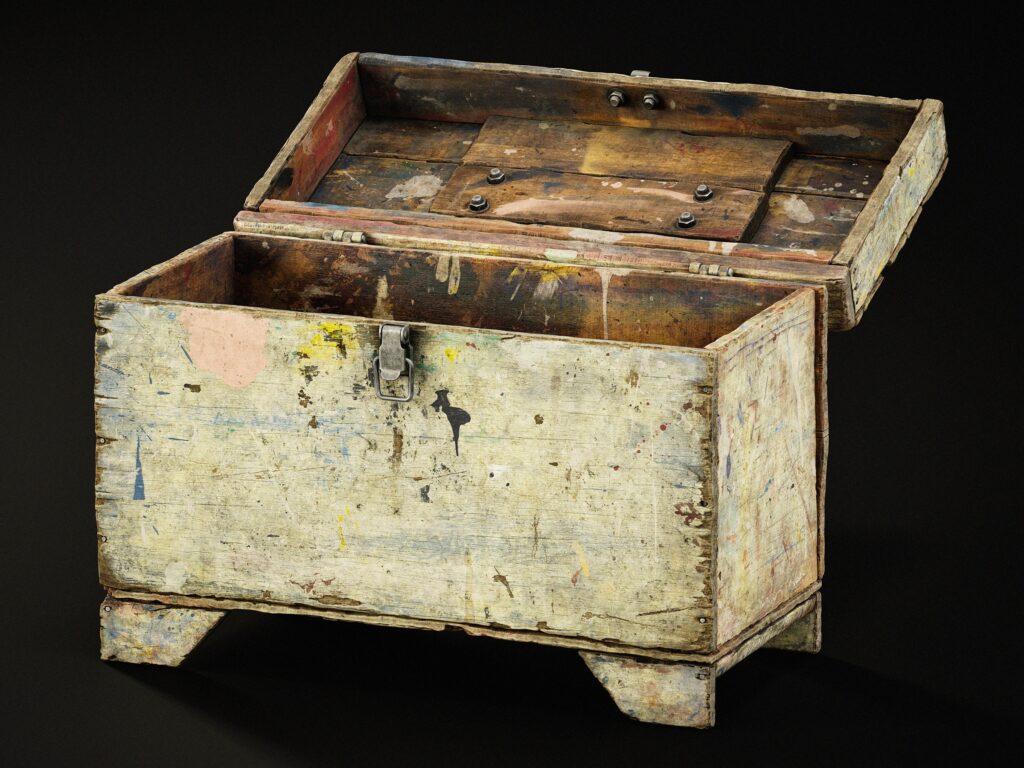
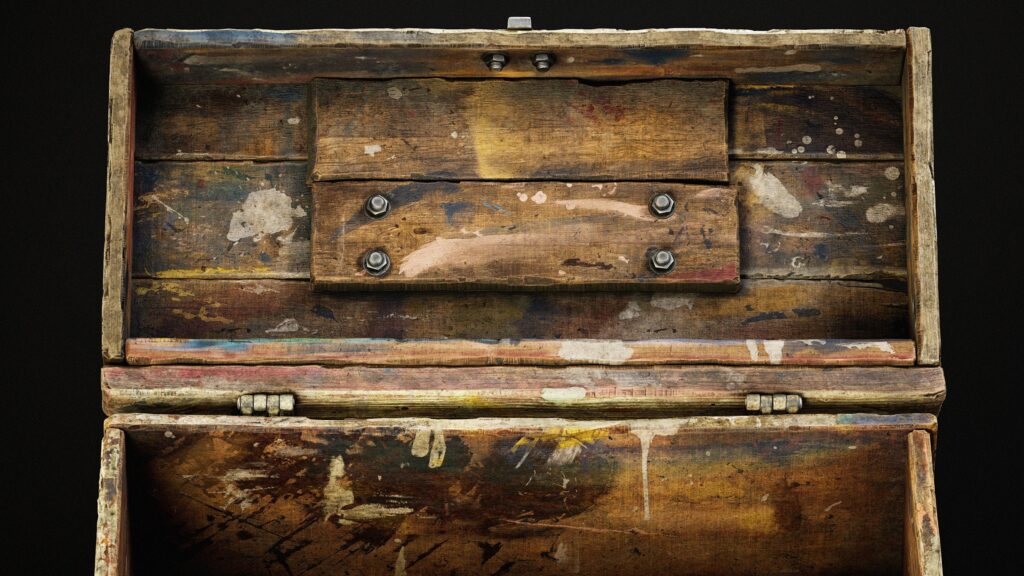
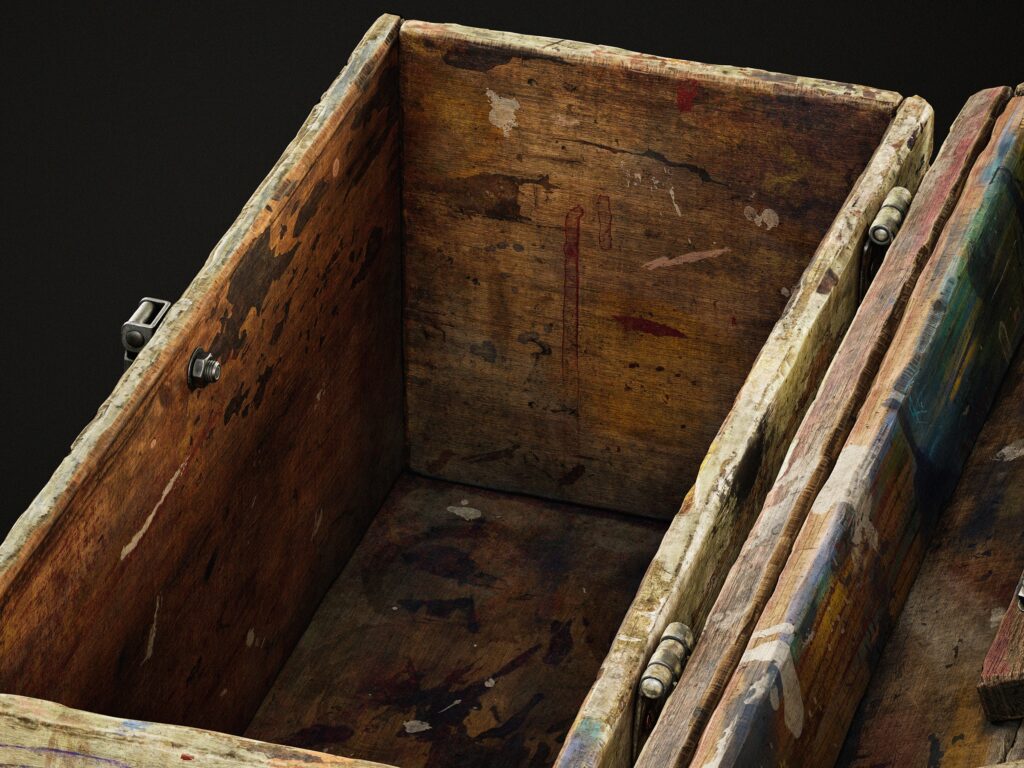
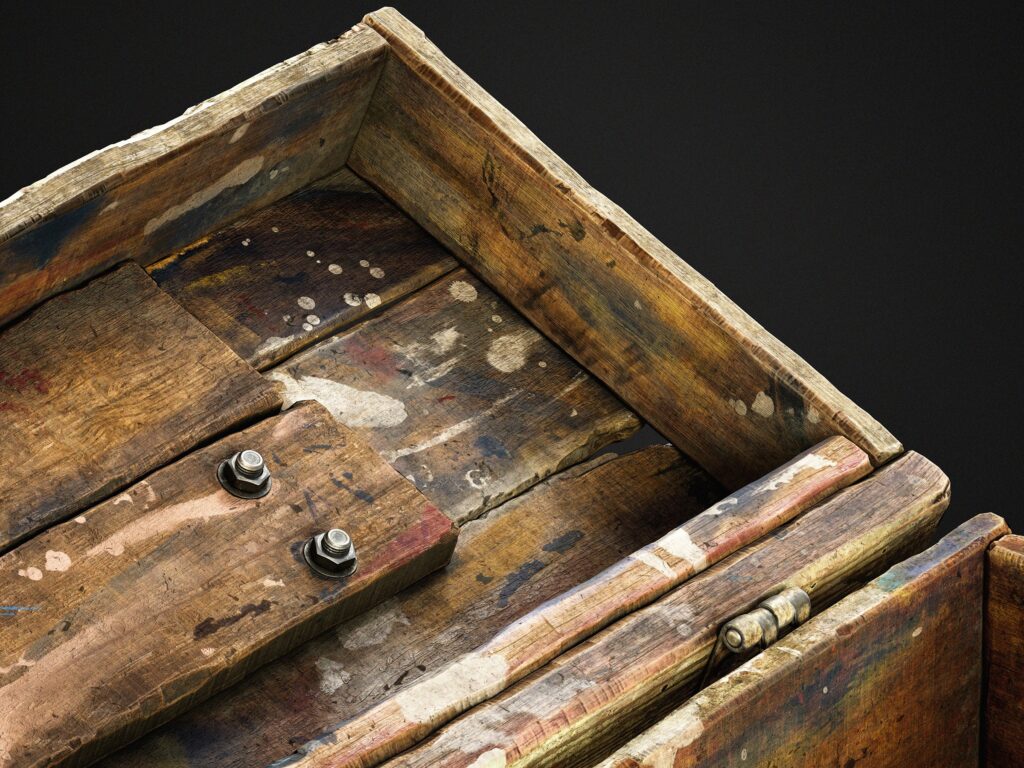
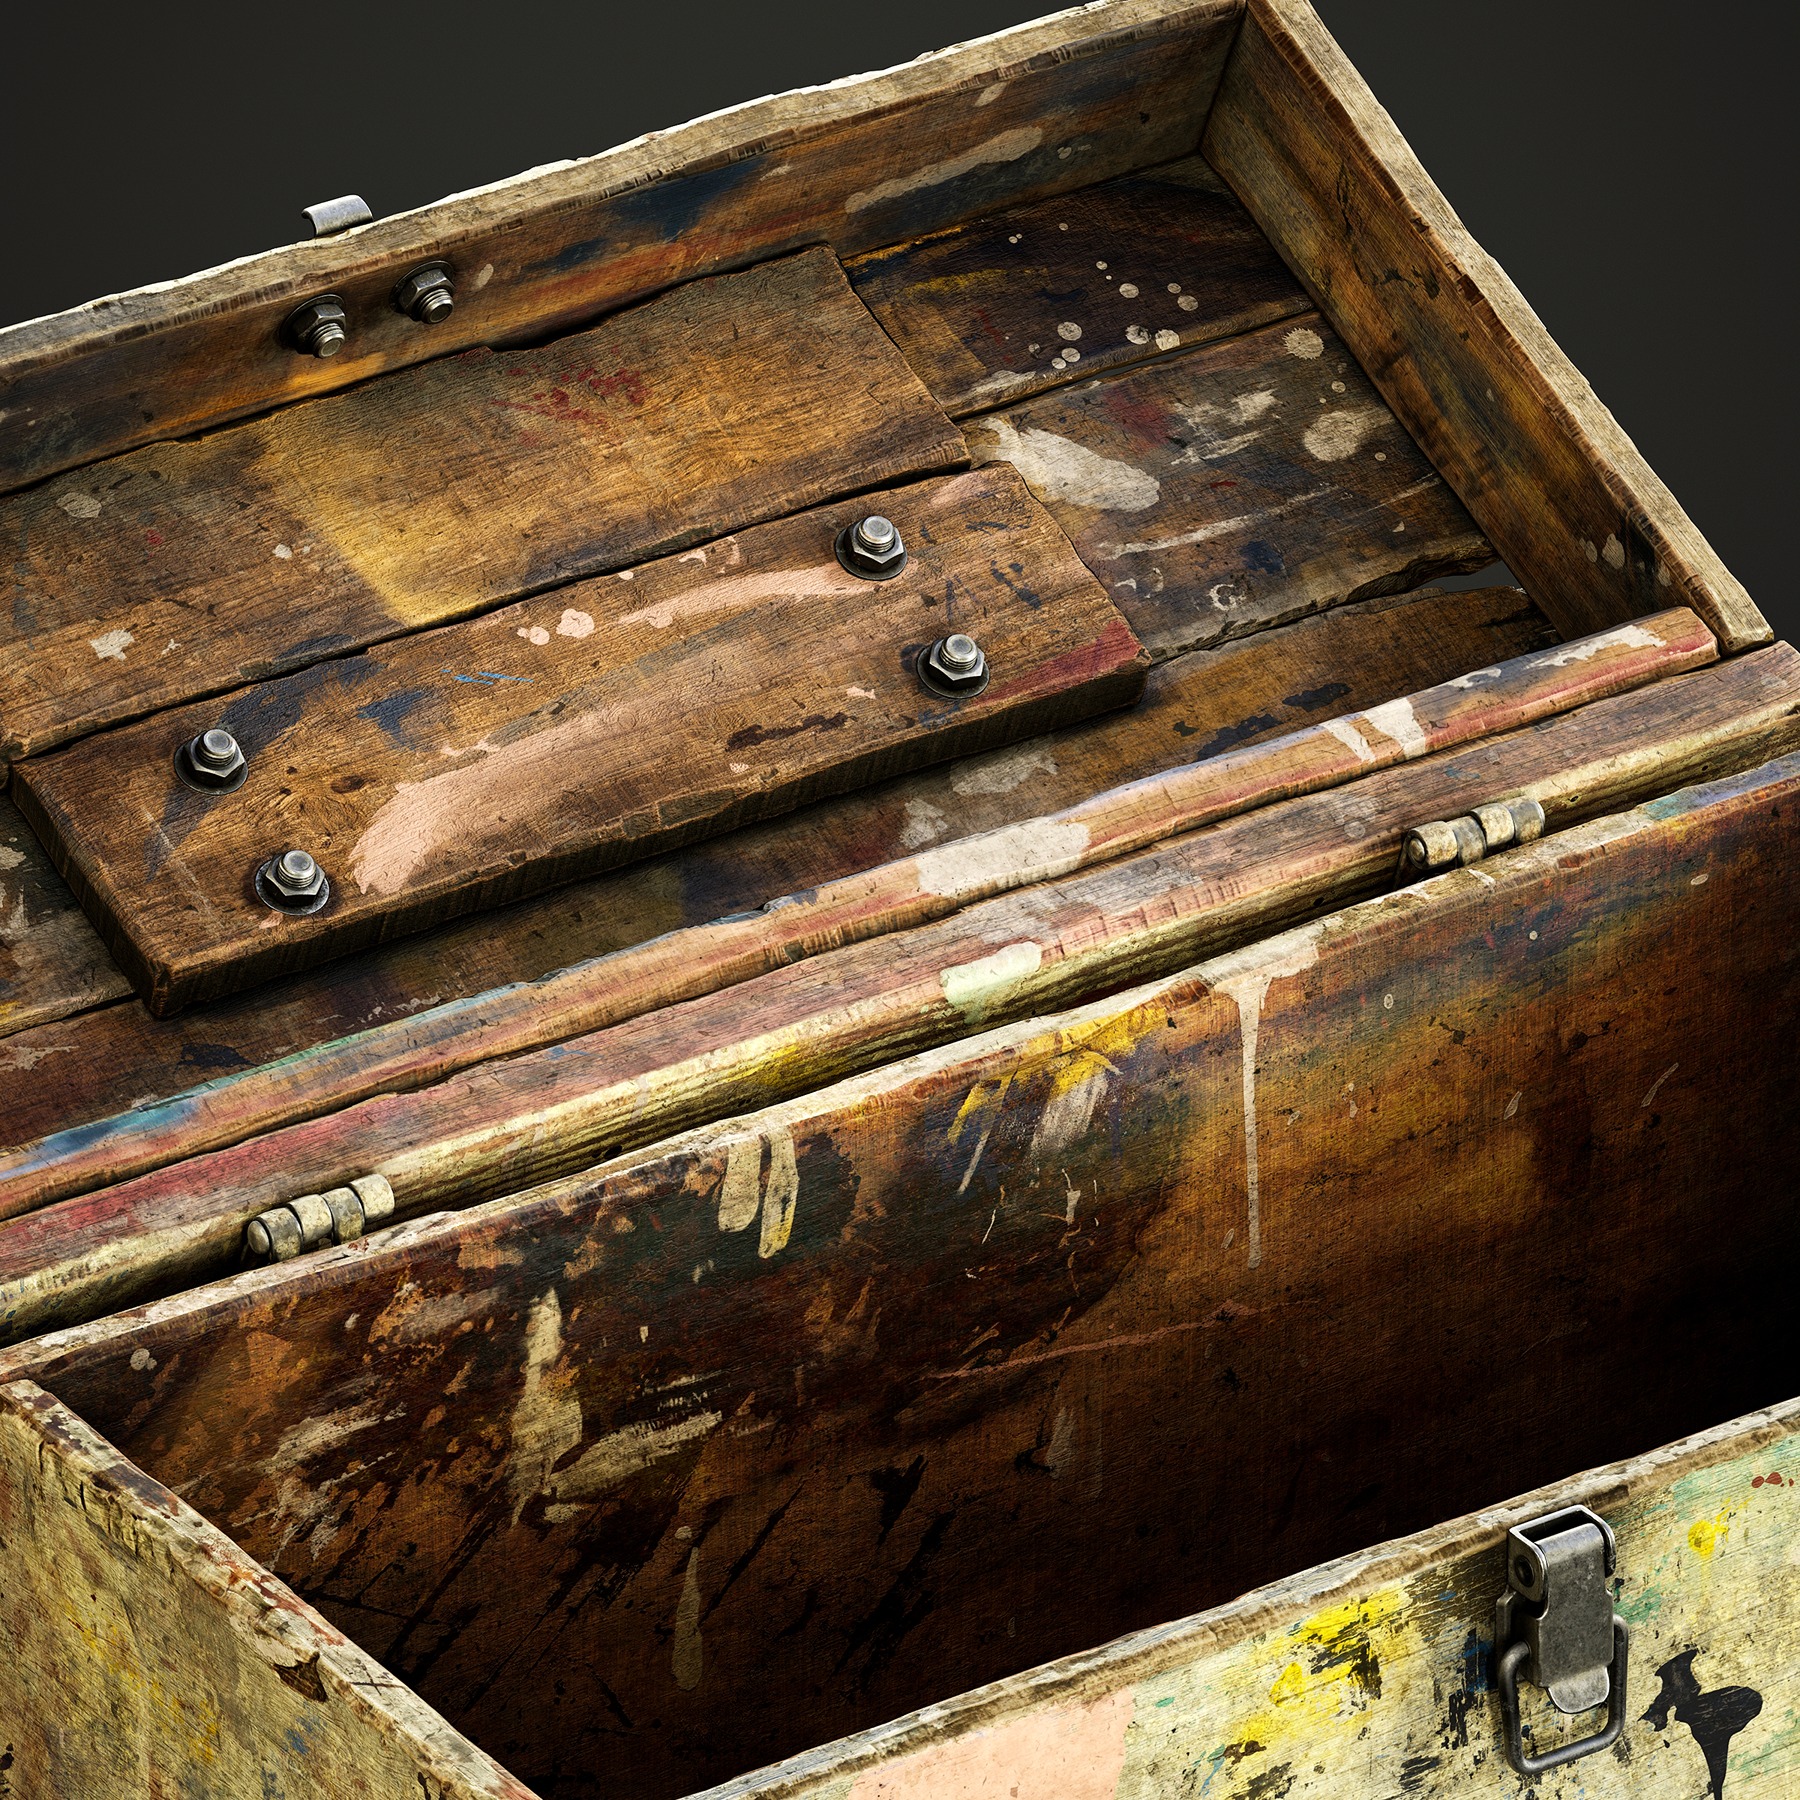
With this project, my goal was to achieve photorealism by creating a prop with an incredibly realistic look and feel. I focused on both sculpting and texturing, incorporating multiple layers of detail to enhance its authenticity.
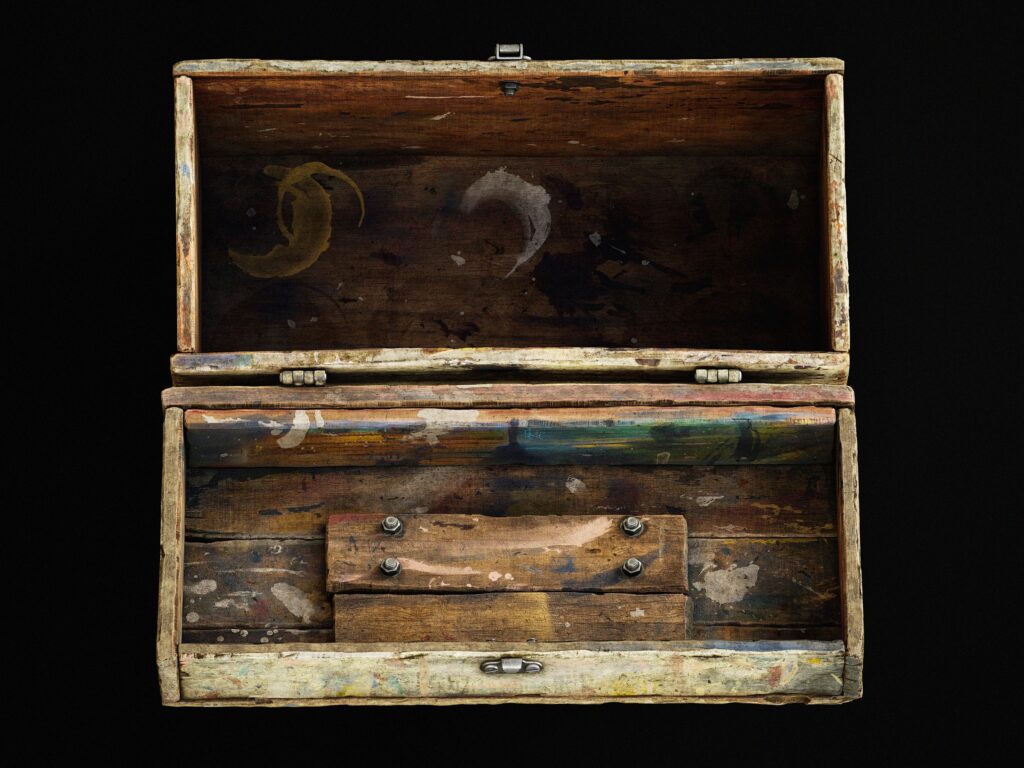
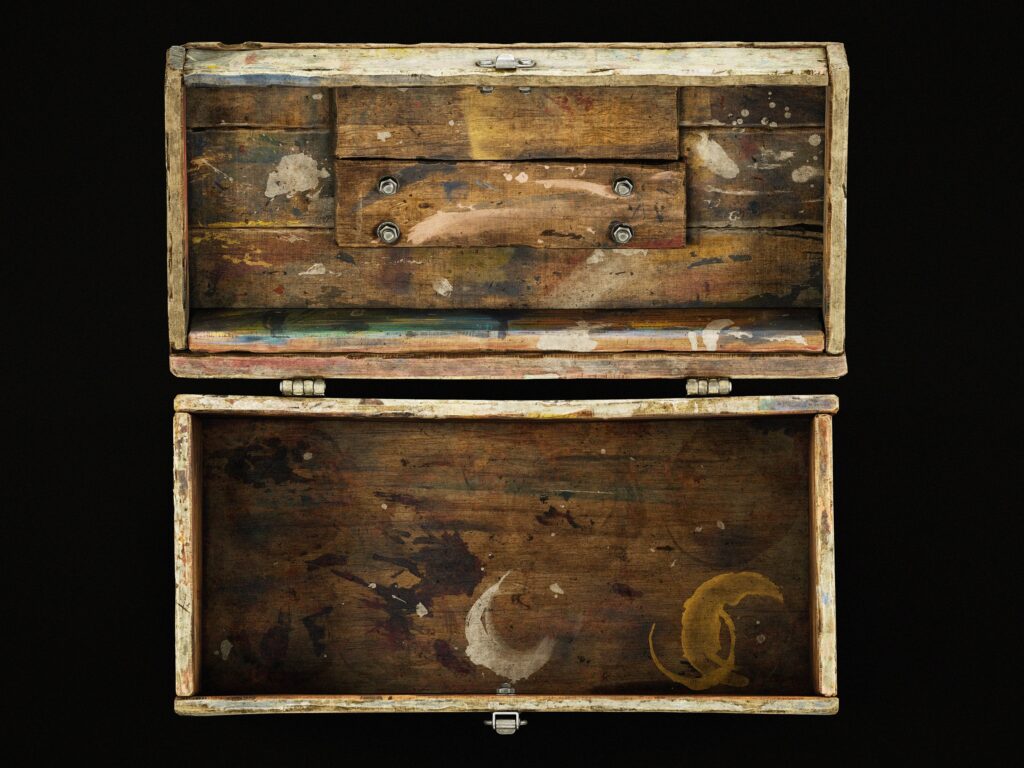
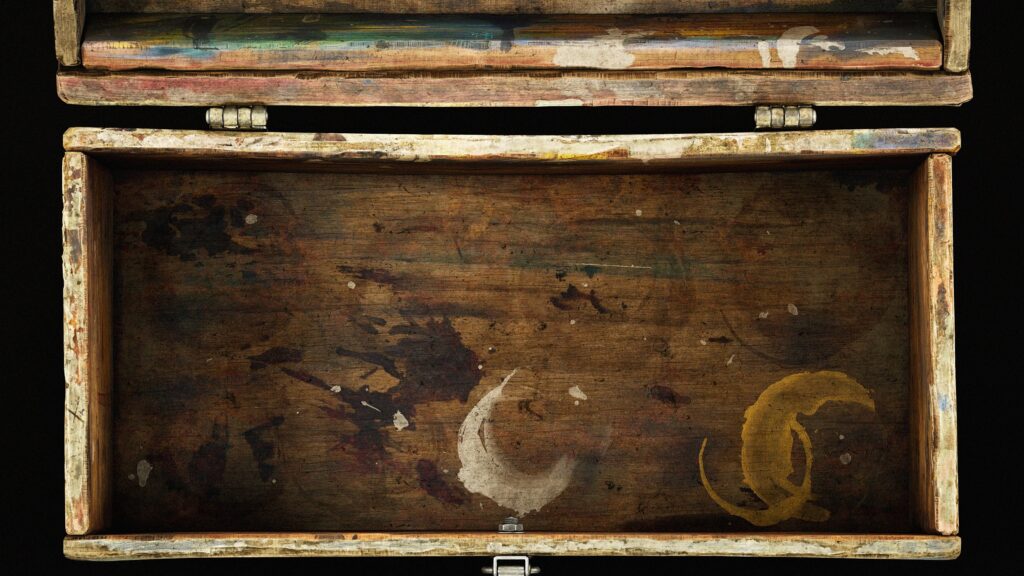
The aim was for the prop to immediately evoke the impression of a real-world object at first glance. In my mind, I had the image of an old, messy painter who carries his paint box everywhere, using it as a mixing palette and resting place for his brushes.
This guided my approach, ensuring the textures and details reflected years of use, spills, and creative chaos, bringing the prop to life with authenticity.
References
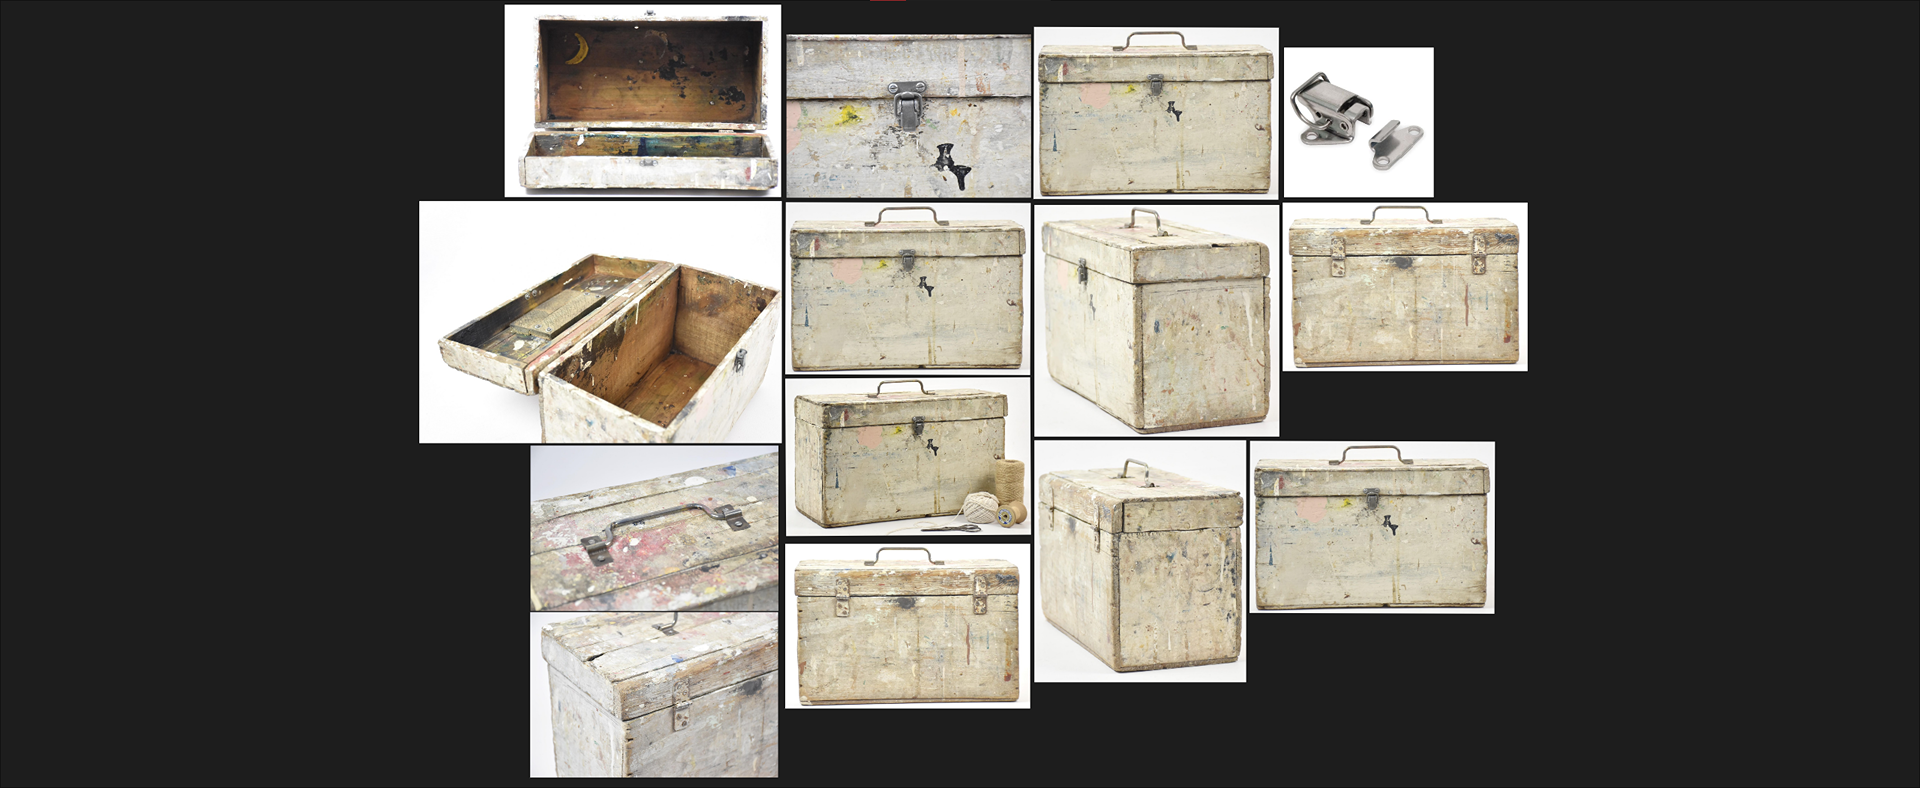
I gathered a variety of real-world references, including old painters’ boxes on sale from websites like Etsy and eBay, worn wooden surfaces, and paint stains, to understand the materials, paint mixing, and aging process.
By closely studying these details, I ensured the sculpting details, textures, wear, and overall look felt authentic and grounded in reality.
Blockout
I used Maya for modeling the blockout and low poly, ZBrush for high-frequency and surface detail and RizomUV for efficient UV unwrap and layout.
Marmoset Toolbag 5 is used to bake the high-resolution model details for the low-resolution game model, and Unreal Engine 5 is used for the final presentation of the model.
Modelling
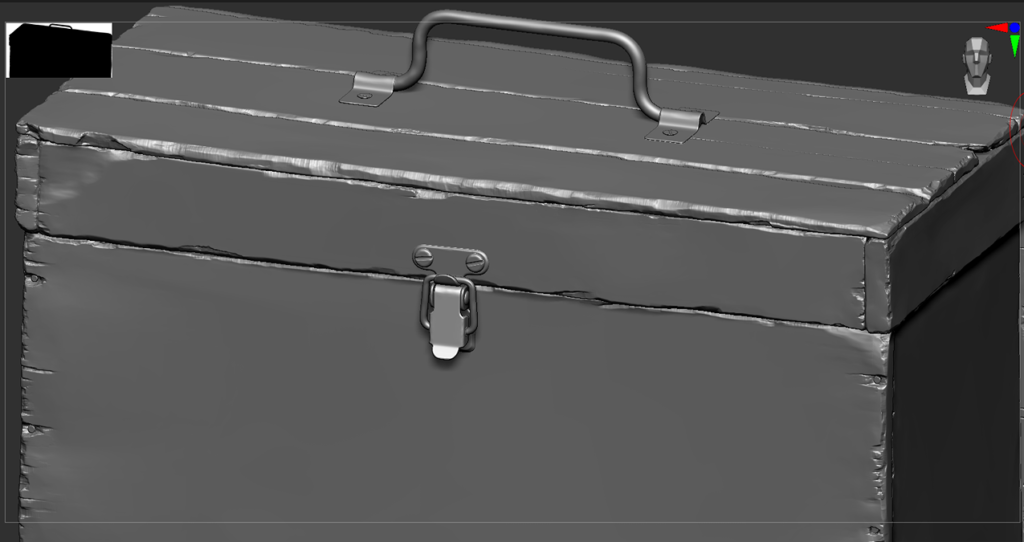
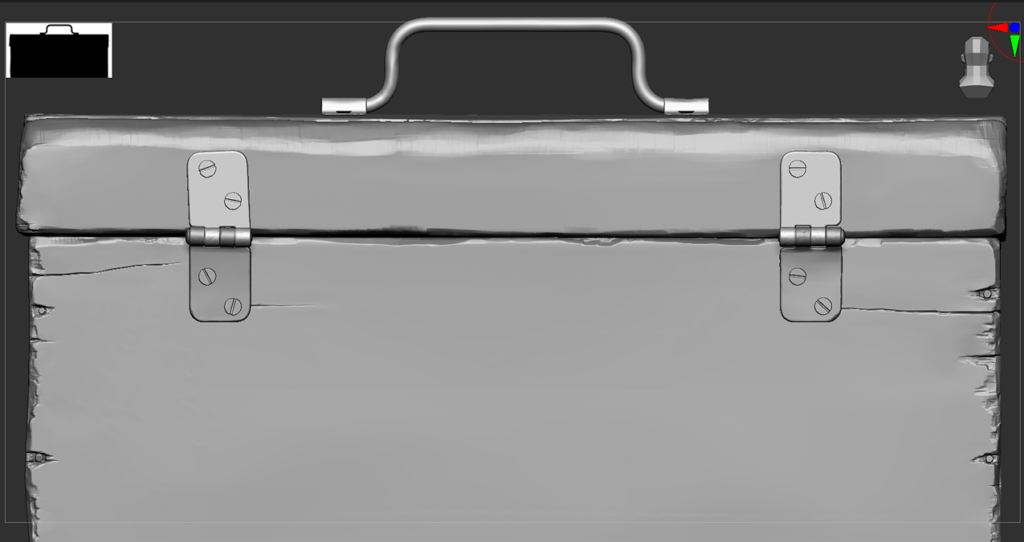
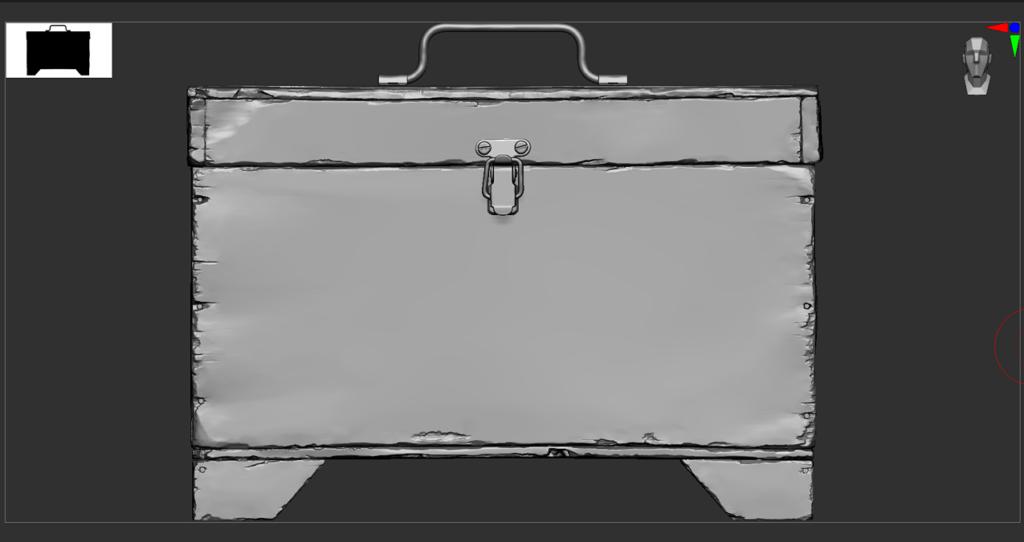
I wanted to ensure that even the modeling and sculpting captured the natural imperfections of aged wood.
I started with a clean blockout in Maya, maintaining even topology for sculpting, then moved to ZBrush for a detailed sculpting pass.
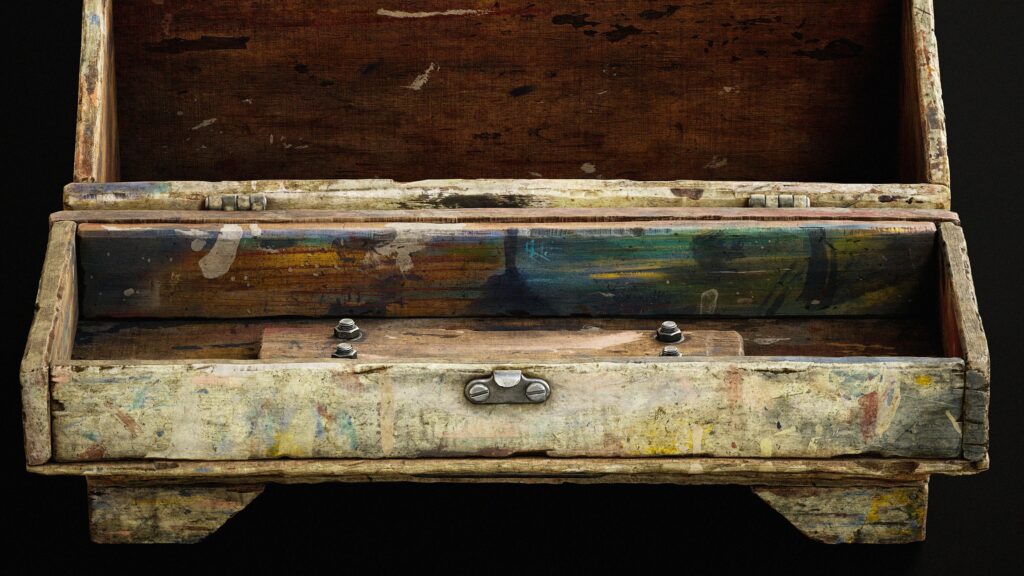
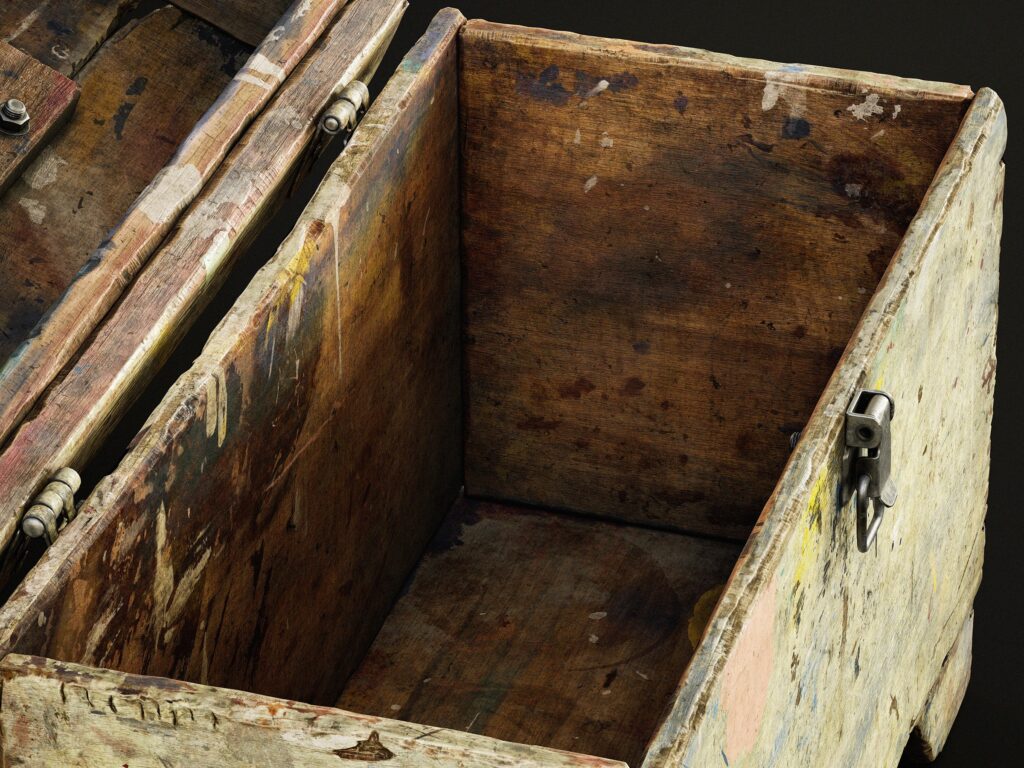
I focused on breaking up the edges of the wood planks, adding chipped areas and splinters to reflect natural wear from frequent use and impact.
I studied the locking mechanism carefully and wanted it to be practical in my model, so I gathered separate references for that and modeled it accordingly.
For the screws, nuts, and bolts, I analyzed real-life references and started with a cylinder for the nuts and bolts, while using a helix for the screw threads to ensure they are accurate and practical in my model.
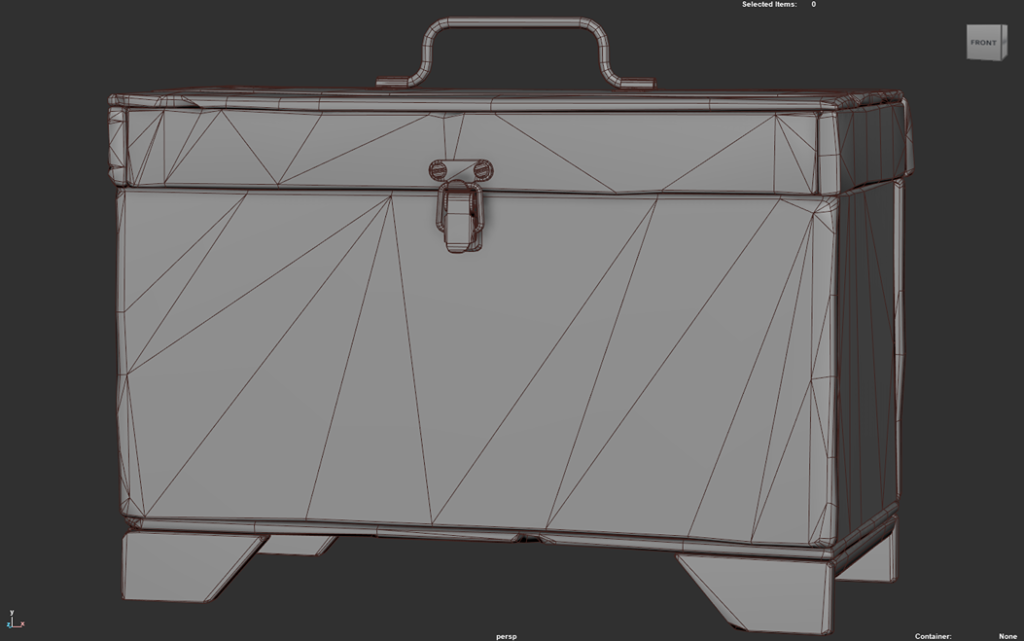
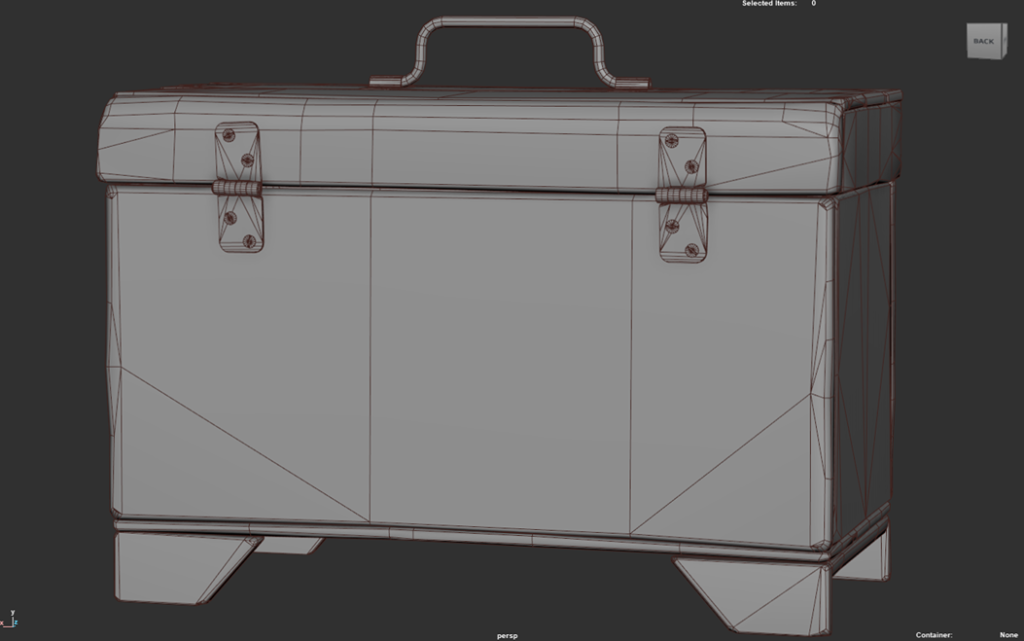
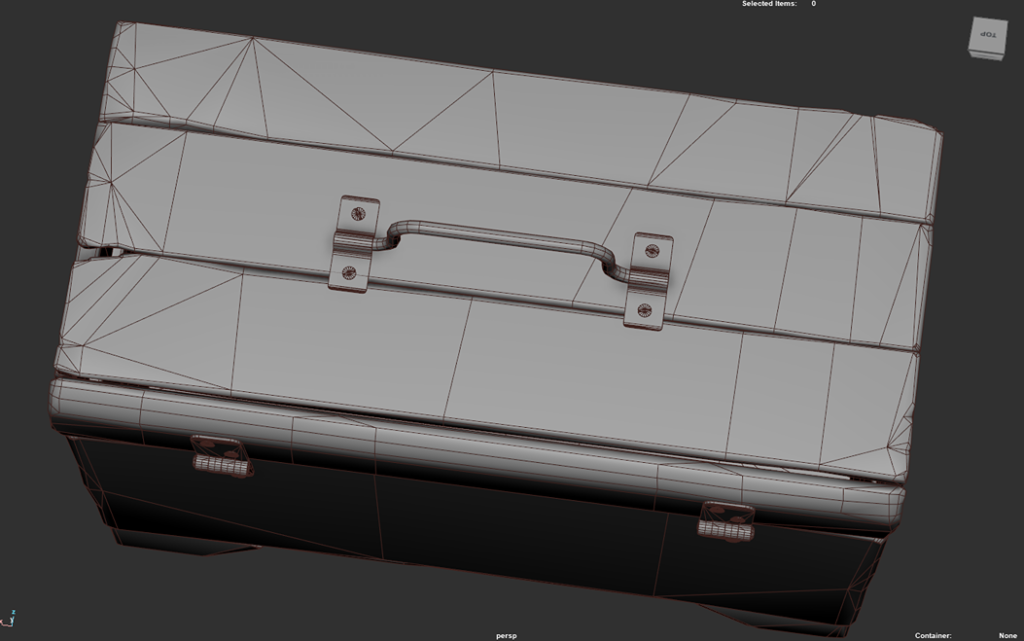
For the low-poly game-resolution model, I first decimated the high-poly in ZBrush and brought it into Maya. Then, I took my blockout mesh, removed unnecessary edges, and used Maya’s conform tool to project it onto the high-poly model.
After conforming and some manual adjustments, I added bevels to the wood parts to avoid relying solely on hard edges and to properly capture the high and low points of the silhouette.
For the metal parts, I used hard edges without bevels and carefully conformed the low-poly geometry to the high-poly, ensuring the silhouette was well-preserved.
UVing
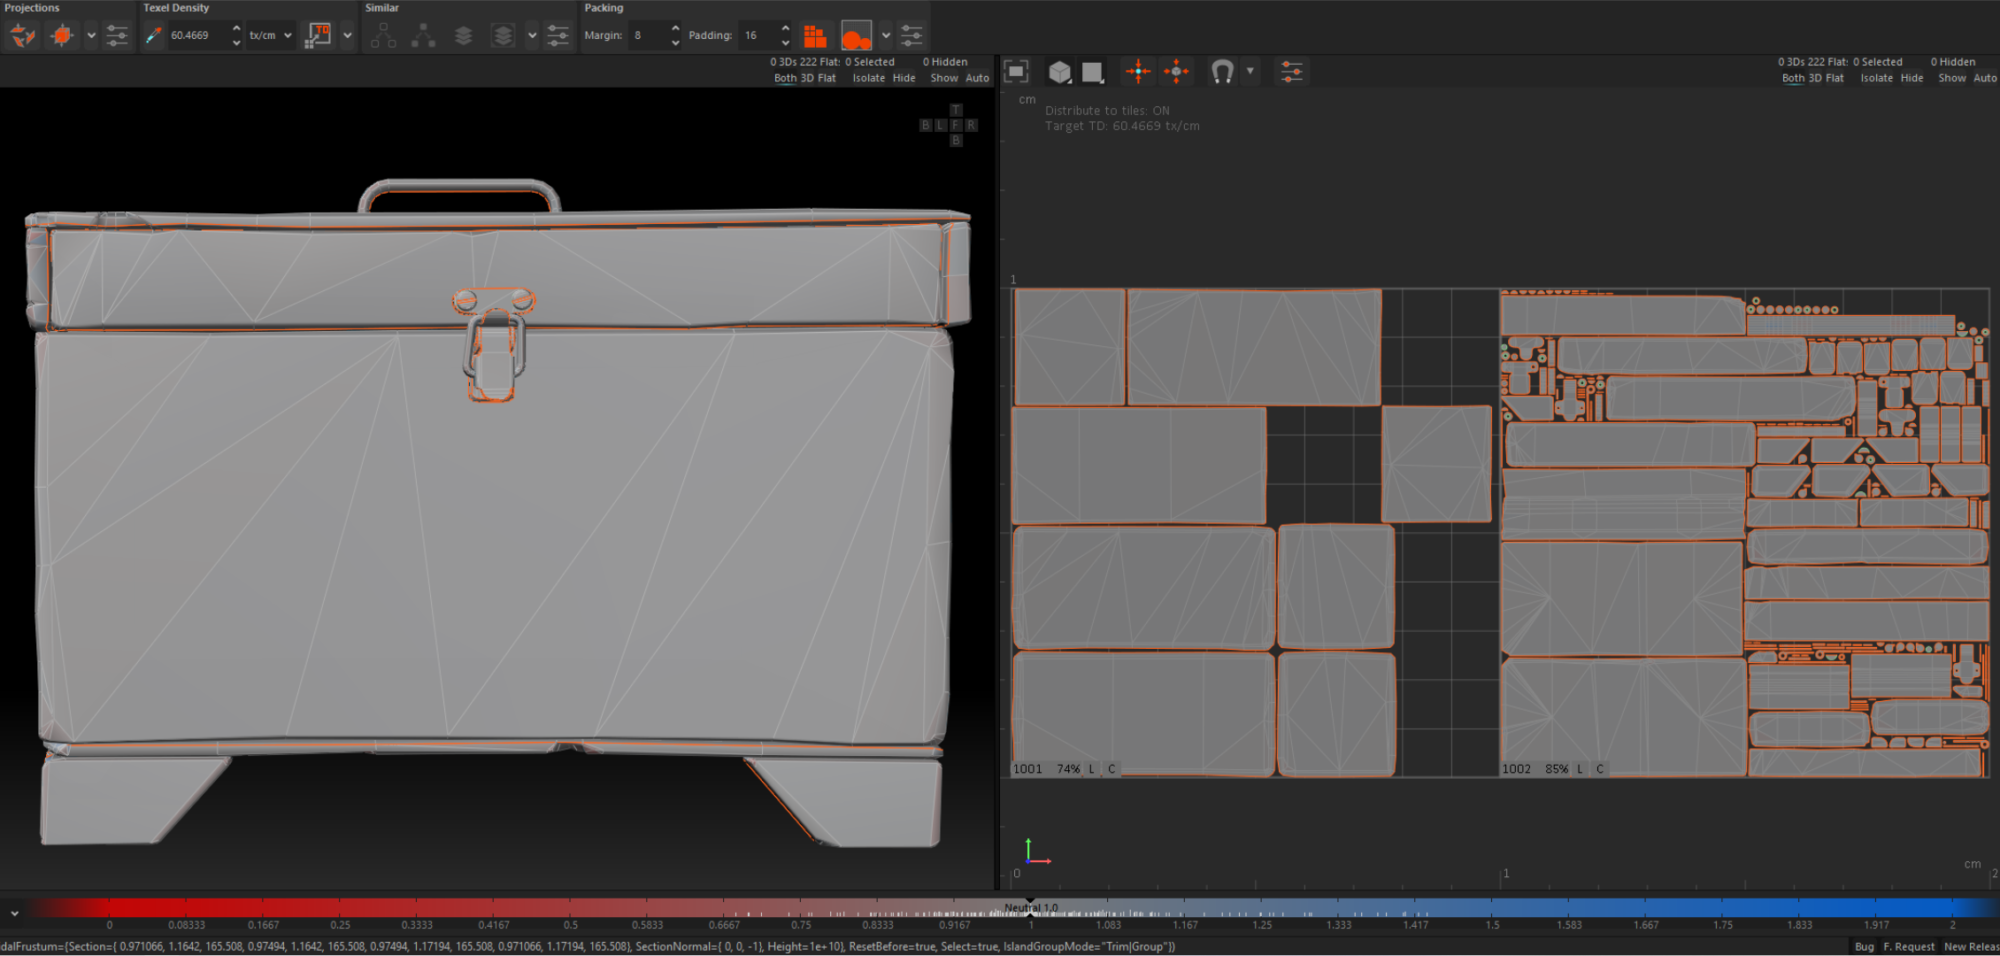
For the unwrapping, I used two texture sets to maintain consistent quality on both the inside and outside of the model. It is normally overkill for a single game asset, but I wanted enough resolution to paint for really close-up renders.
I carefully placed seams in less visible areas wherever possible and organized the UV layout efficiently, distributing different parts of the model across both sets evenly.
This approach allowed me to achieve a texel density of 60 px/cm for a 4K map, ensuring high detail across all surfaces.
Baking
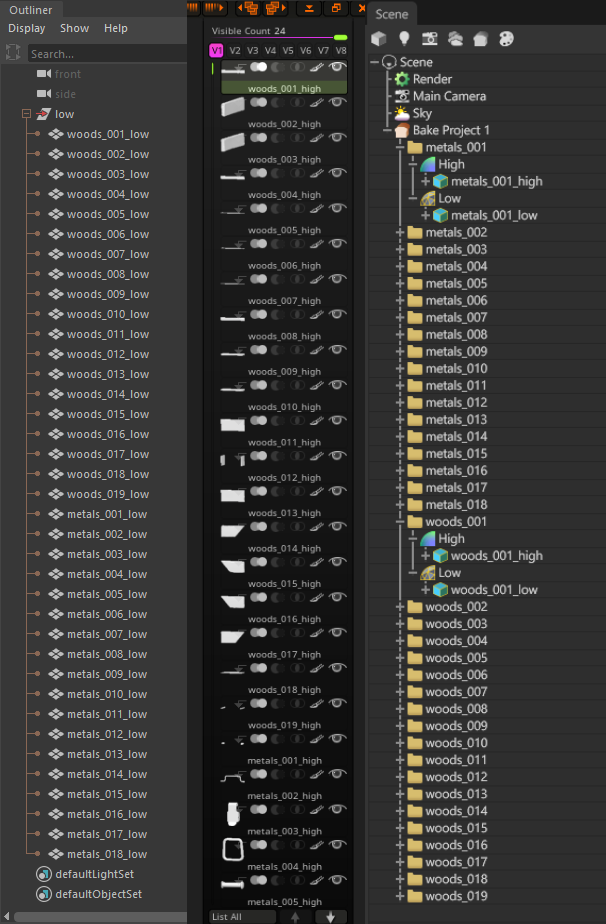
For the baking, I had already set up correct naming for all the meshes, and I loaded the high and low polys into Marmoset’s quick loader to get automatic groups by name.
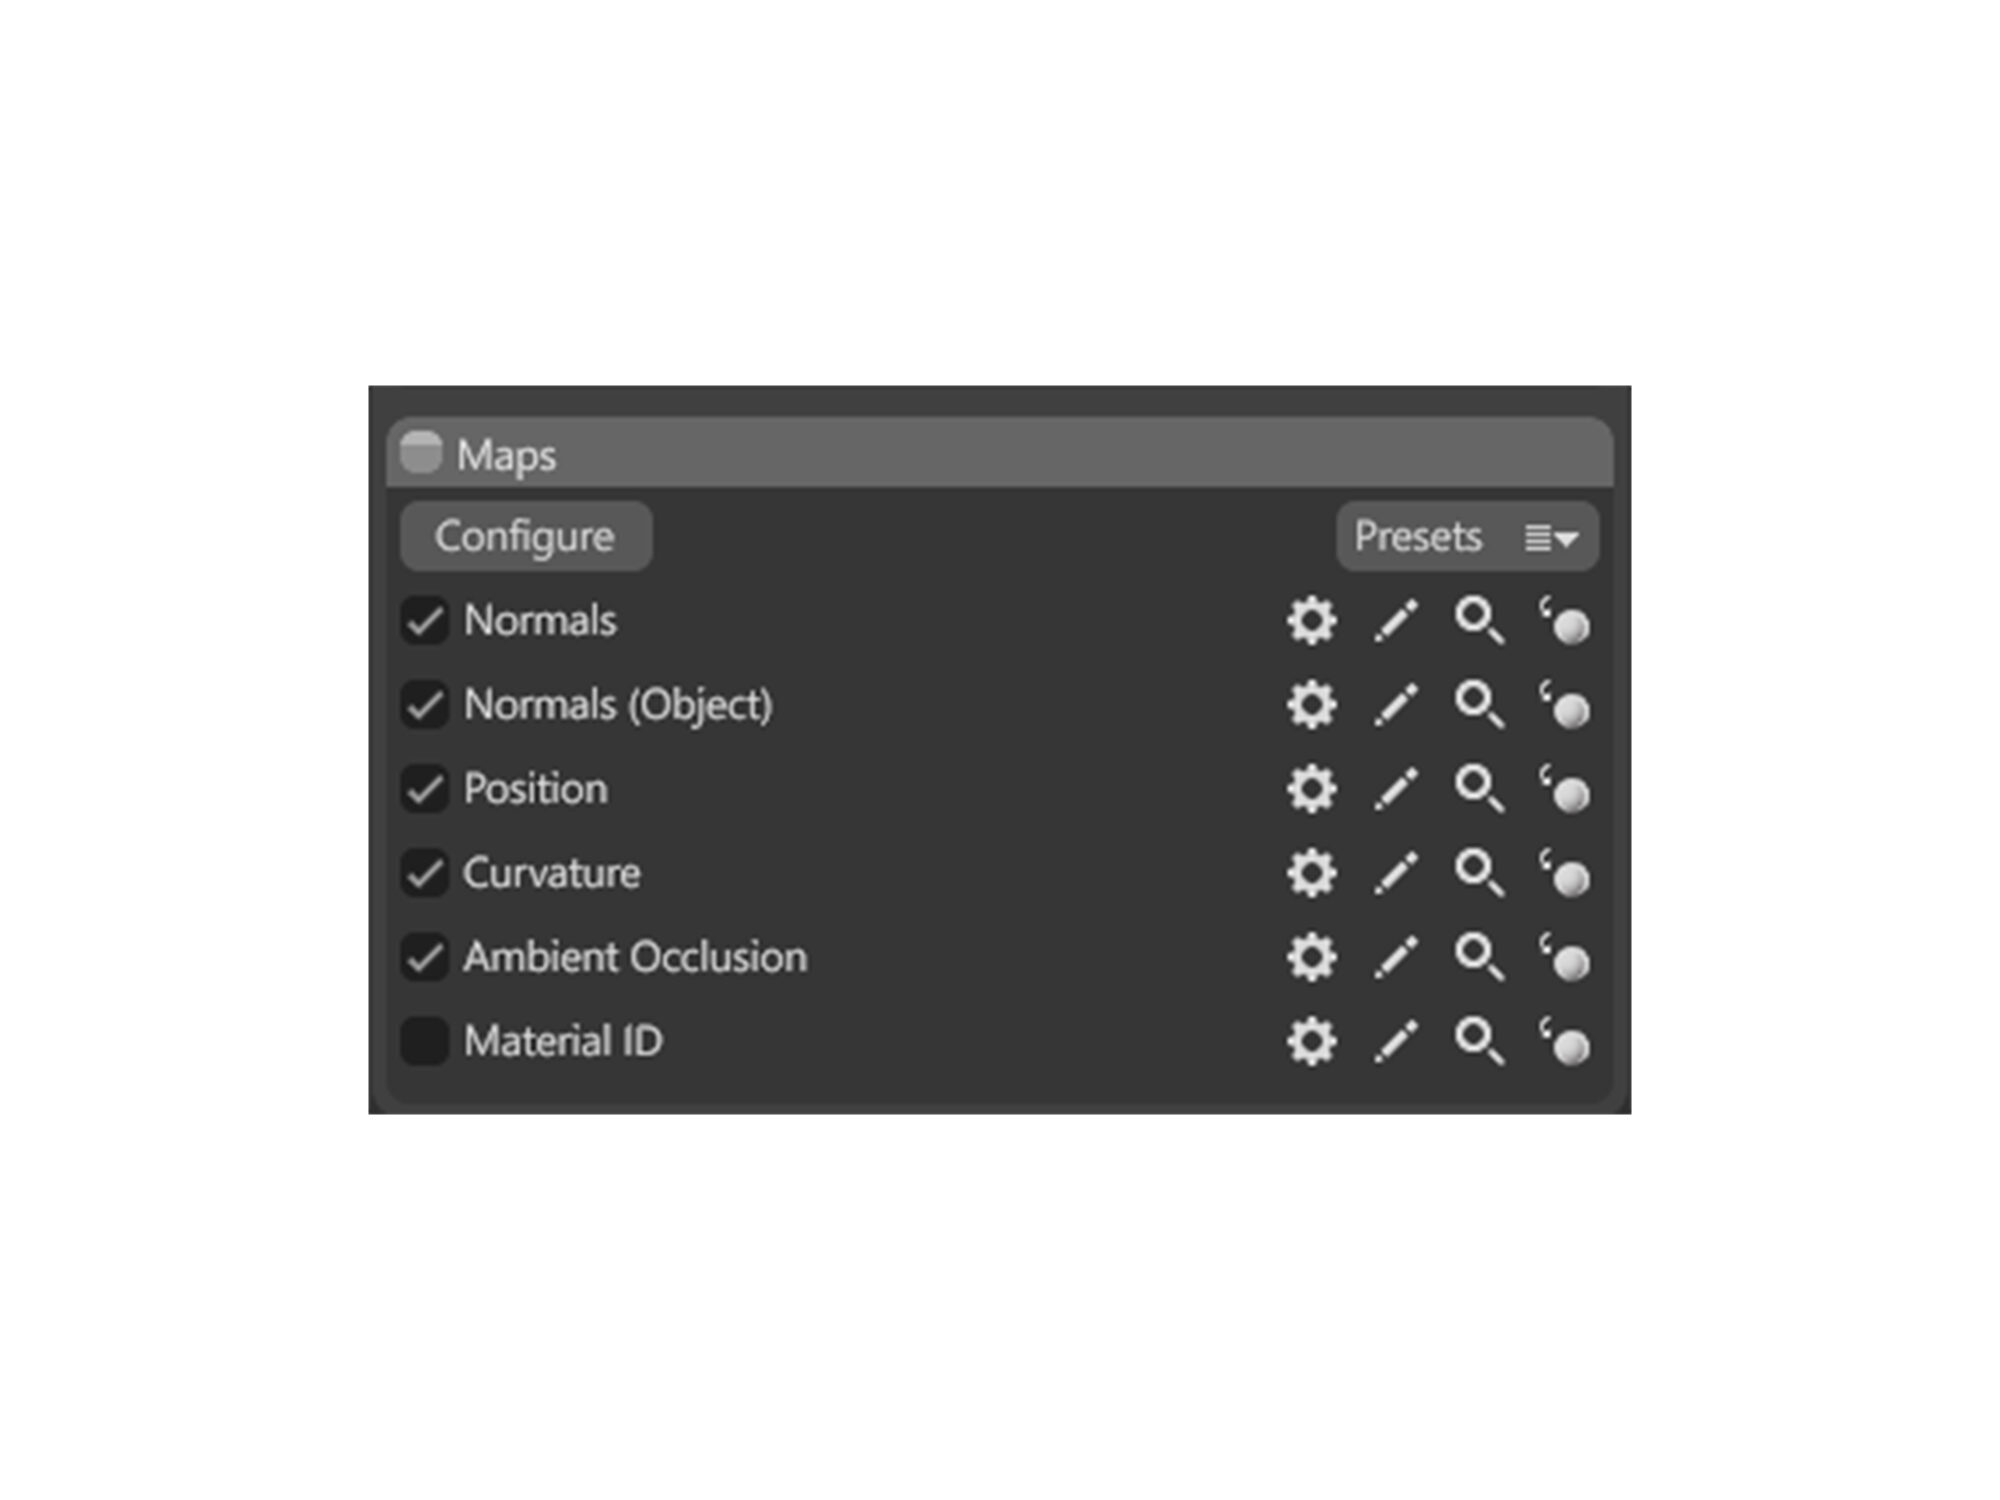
I then baked the necessary maps like Normals, AO, Curvature, and the utility Position and Normals (Object) for use in Substance Painter.
Texturing
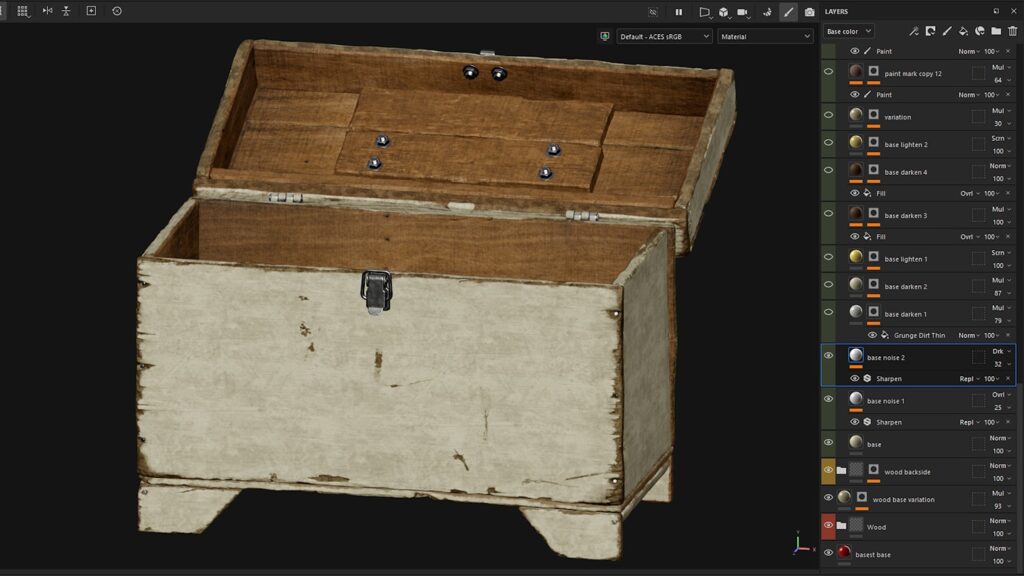
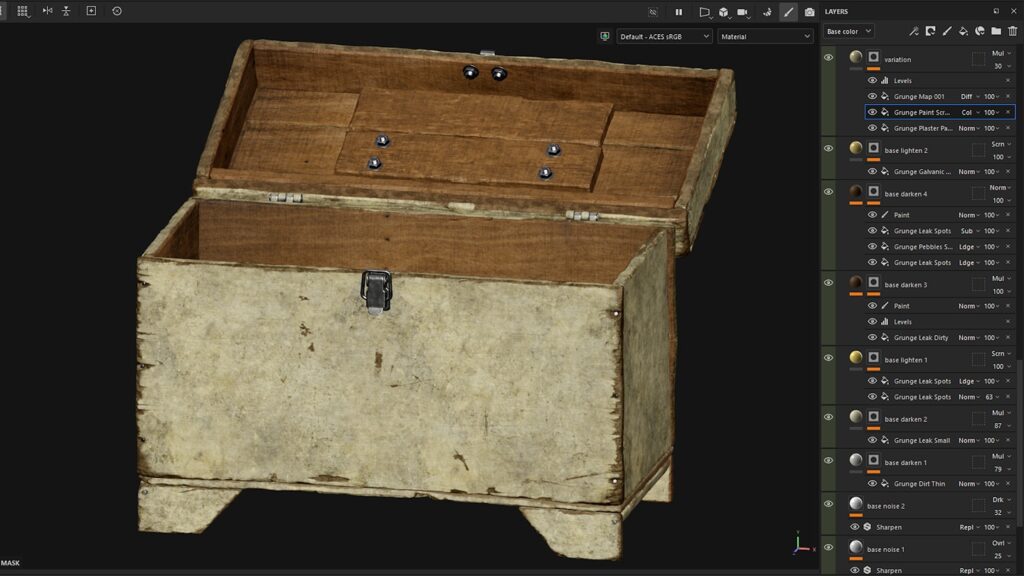
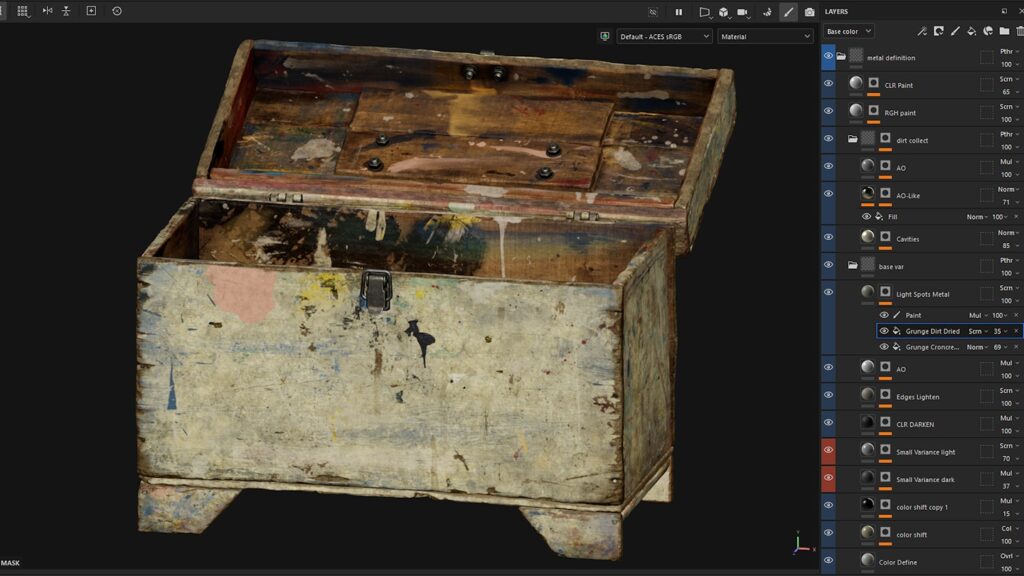
For texturing, I took a very detailed approach using Substance Painter. I started by creating a base wood material with color, height, and roughness information using some real-world wood images.
I sourced mixed with noises from Substance Painter, stretched in a single axis.
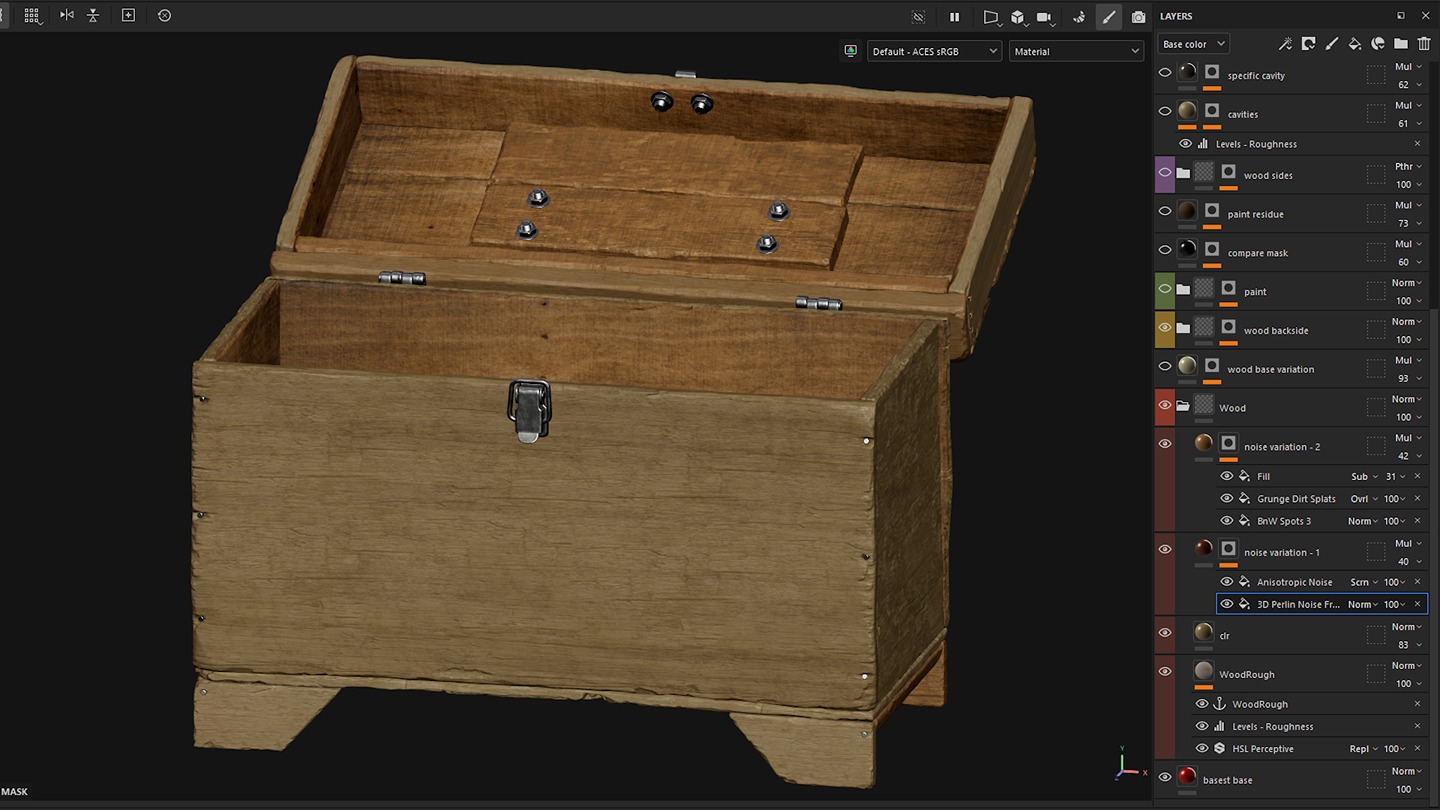
Then, I added a variation layer with subtle light and dark tones and some roughness variation.
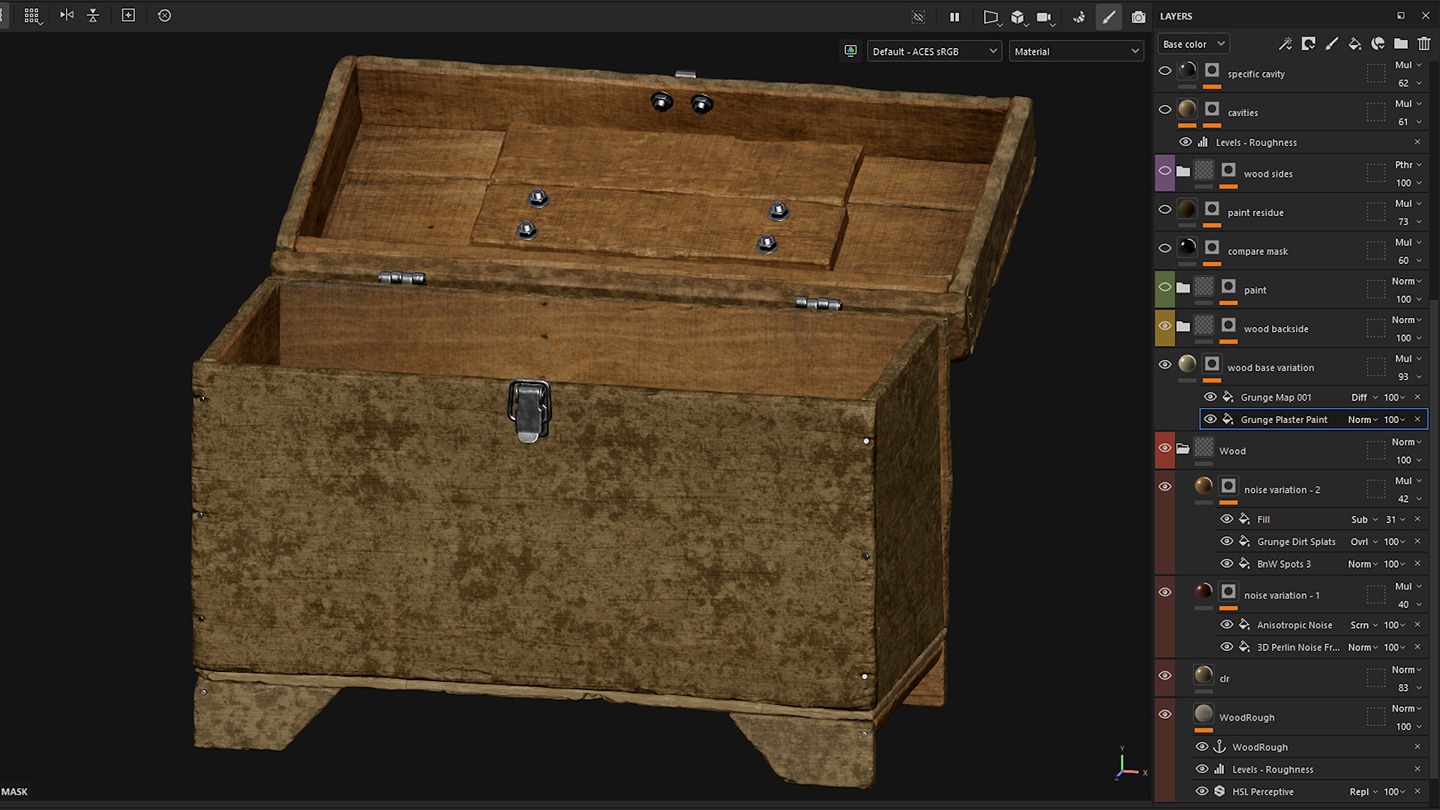
Next, I built a base paint material using Substance Painter’s grunge maps and manually masked areas where I wanted the wood to show through, using the curvature map for assistance.
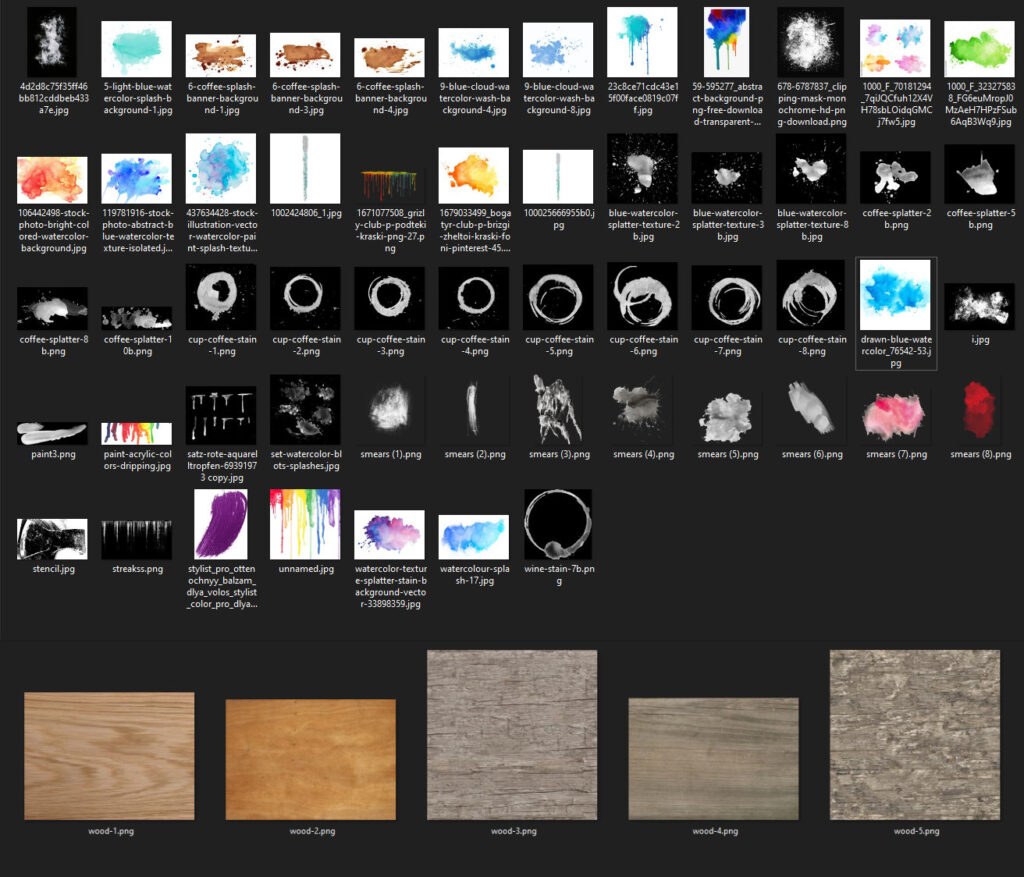
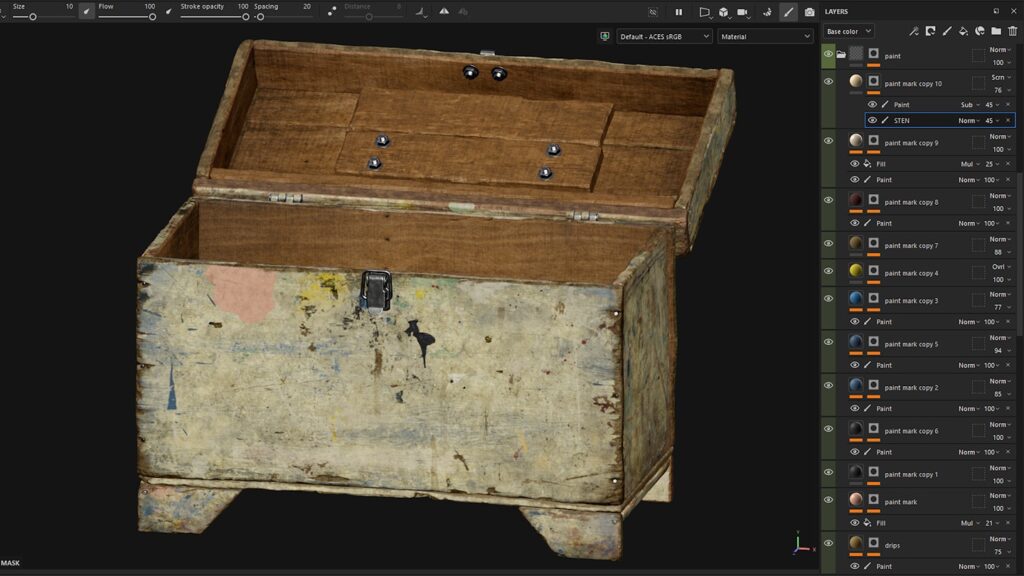
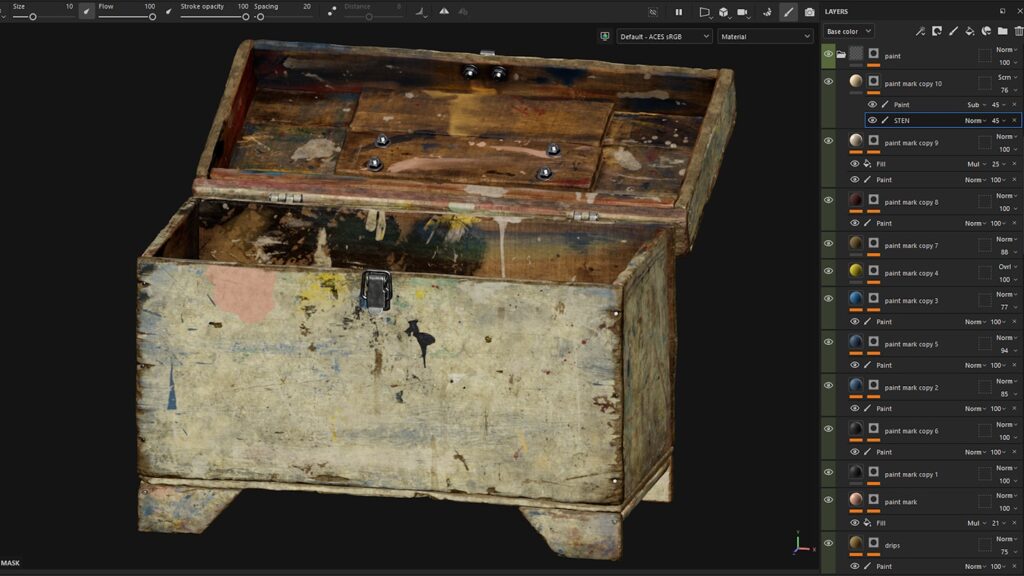
Once the foundation was set, I started adding paint strokes, drips, spills, and stains.
I sourced real-world images via image searches and Pinterest, edited them into stencils, and manually applied each detail while keeping the messy painter’s story in mind.
I also used some specific Substance Painter brushes for additional details.
To enhance depth, I used the compare mask feature to darken cavity areas based on the height information of the texture and anchor points to add subtle paint residue.
The sides of the wood received unique treatment to reflect natural wear and tear.
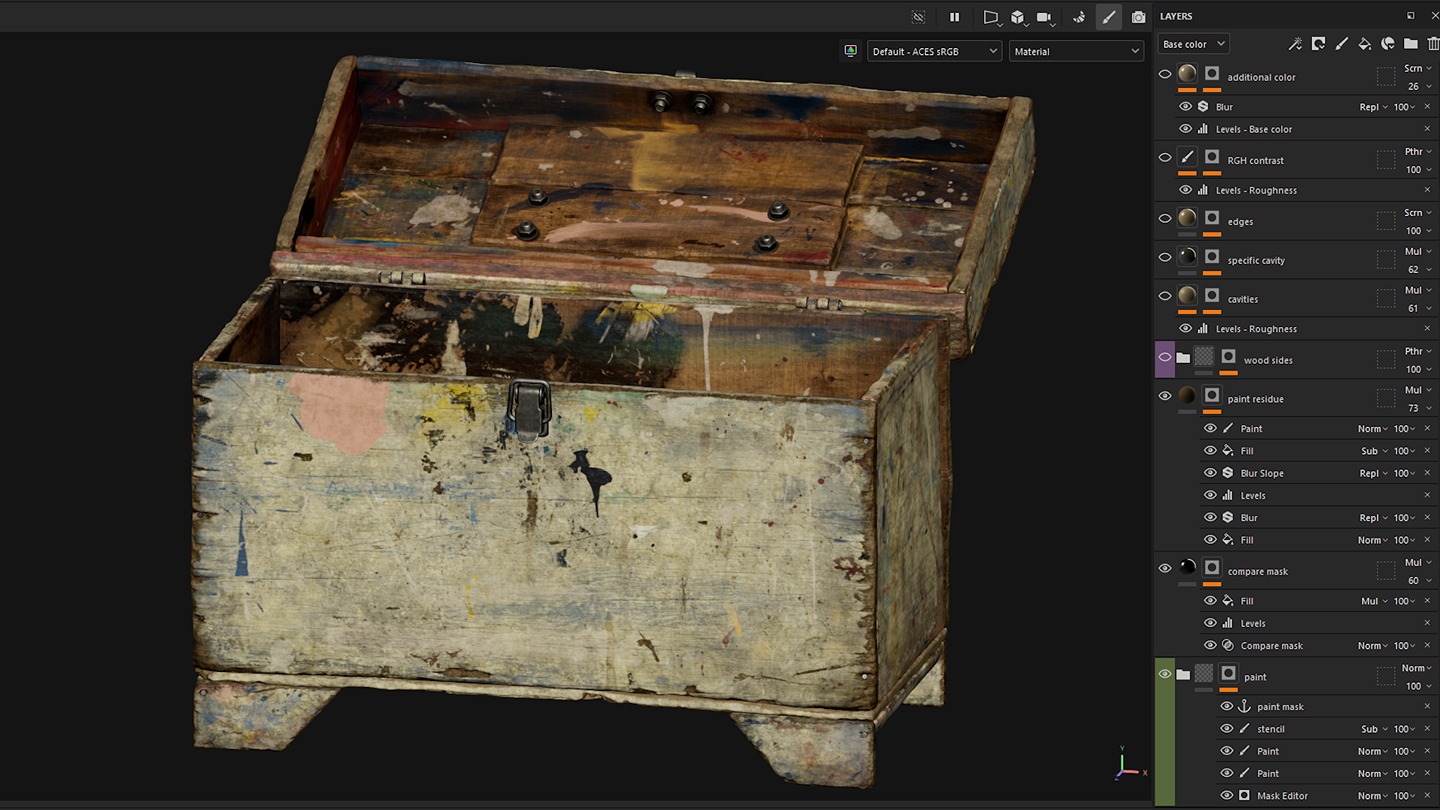
To define form, I added a layer that darkened the cavities while increasing the roughness and another that lightened the edges while decreasing the roughness.
These layers defined the high and low points of the model, preventing it from looking flat and even.
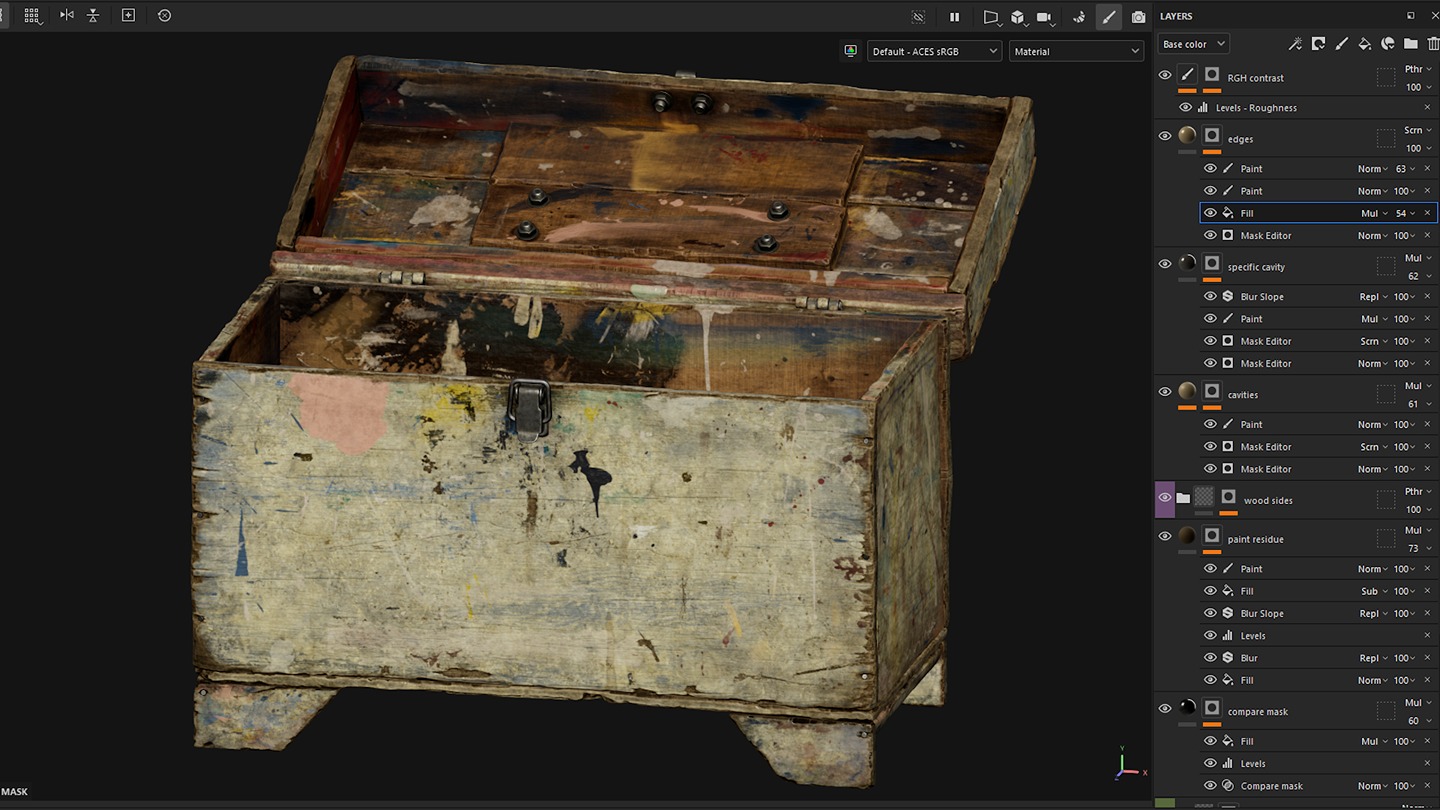
Then I applied a dust layer in occluded areas where dust would naturally collect, adding subtle variation to break uniformity.
Finally, I introduced a couple layers of tiling noises to remove the CG look, ensuring that any remaining plain areas had texture, making the final result more natural and believable.

Lastly, I applied the PBR Validate filter to ensure my color and metallic values adhere to the PBR standards and nothing is getting too dark or too bright.
Rendering
The final model was set up in Unreal Engine using two materials. I avoided UDIMs since they are not yet widely used in game production and wanted to follow a proper game pipeline.
I created a master material for all my assets and conducted basic look development in Unreal, testing with various HDRIs to ensure the color and roughness values remained consistent across different lighting scenarios.
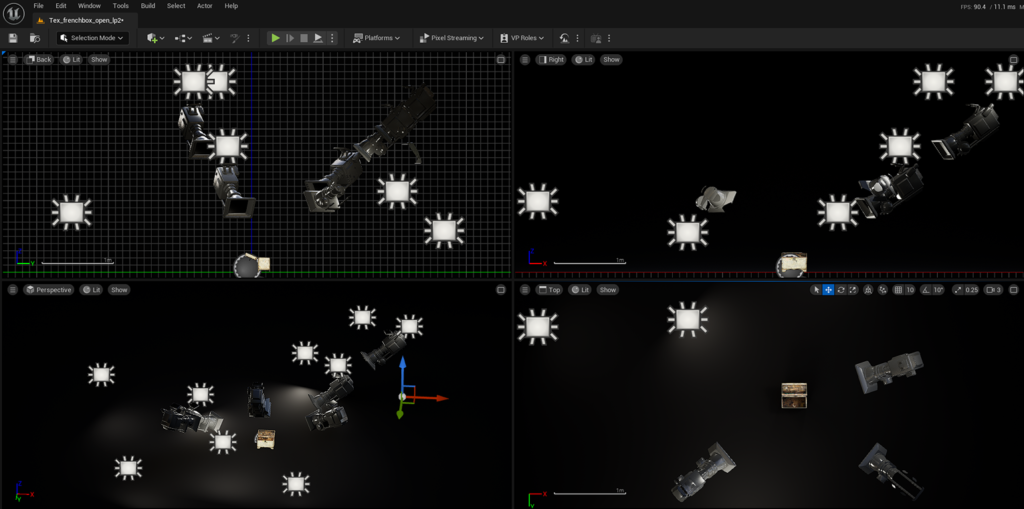
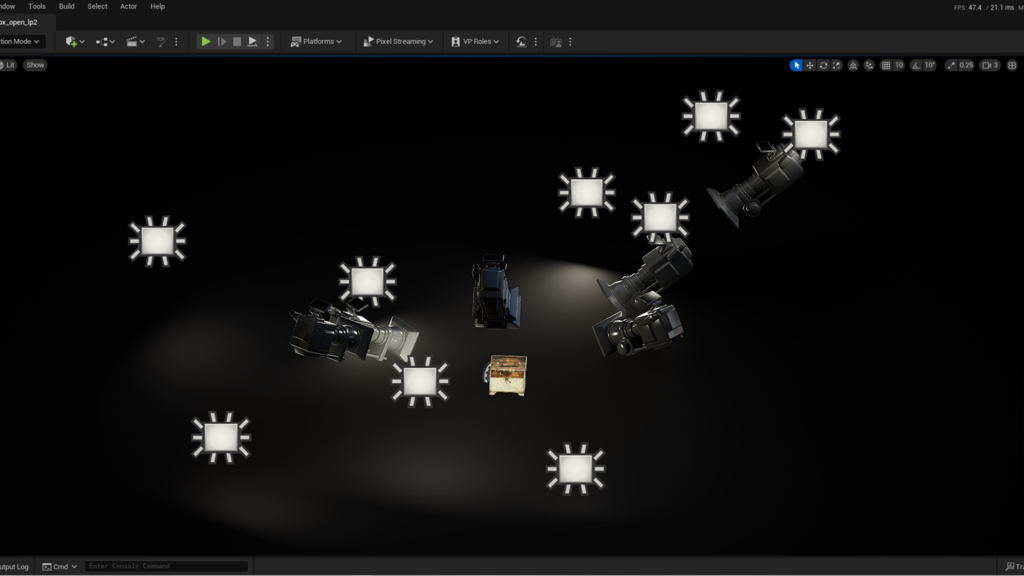
HDRIs were only used for material testing; for the final render, I used a mix of area and point lights to create lighting that emphasized the key details of the asset.
To showcase all the work put into the model, I carefully selected camera angles after finalizing the lighting. I carefully positioned the lights to highlight key details, ensuring that important features like the paint strokes, wood texture, and metal elements were well-lit and visible.
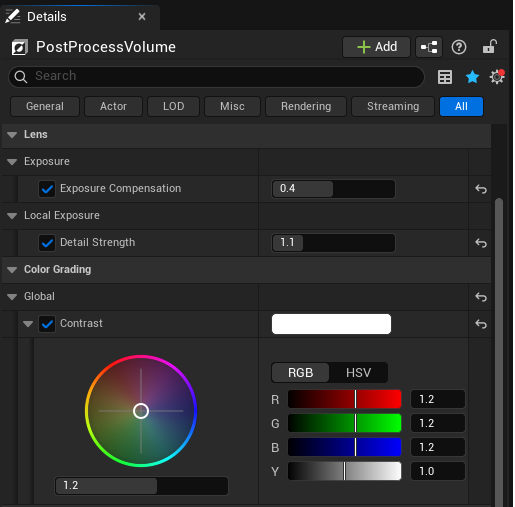
In the post-process volume, I slightly increased global contrast to counter Unreal Engine’s default flat look and slightly increased local exposure to enhance the overall readability of materials and forms without overexposing any part of the model.
These subtle tweaks are something I do in every project and they help refine the final presentation.
Finally, I rendered the images using Unreal’s Movie Render Queue for high-quality output.
Final thoughts
The key to creating appealing props lies in strong storytelling, attention to detail, and a balance between realism and artistic intent. A prop should tell a story – that’s what makes it unique and stand out.
Having a story in the back of your mind helps guide the treatment in the high-poly and texturing stages, ensuring that every detail, from wear and dirt to imperfections, feels intentional and authentic, and tells something about the prop.
Using various real-world references to study material buildup and high-poly impacts is essential for creating believable props.

Observing how materials wear over time, how surfaces accumulate dirt, and how different textures interact helps in making informed artistic decisions. This approach ensures that details like edge wear, scratches, and surface variations feel natural and add to the prop’s authenticity.
Good silhouette breakage in the prop, variation in your textures, and clearly defining separate materials contribute to making the prop visually compelling and believable.
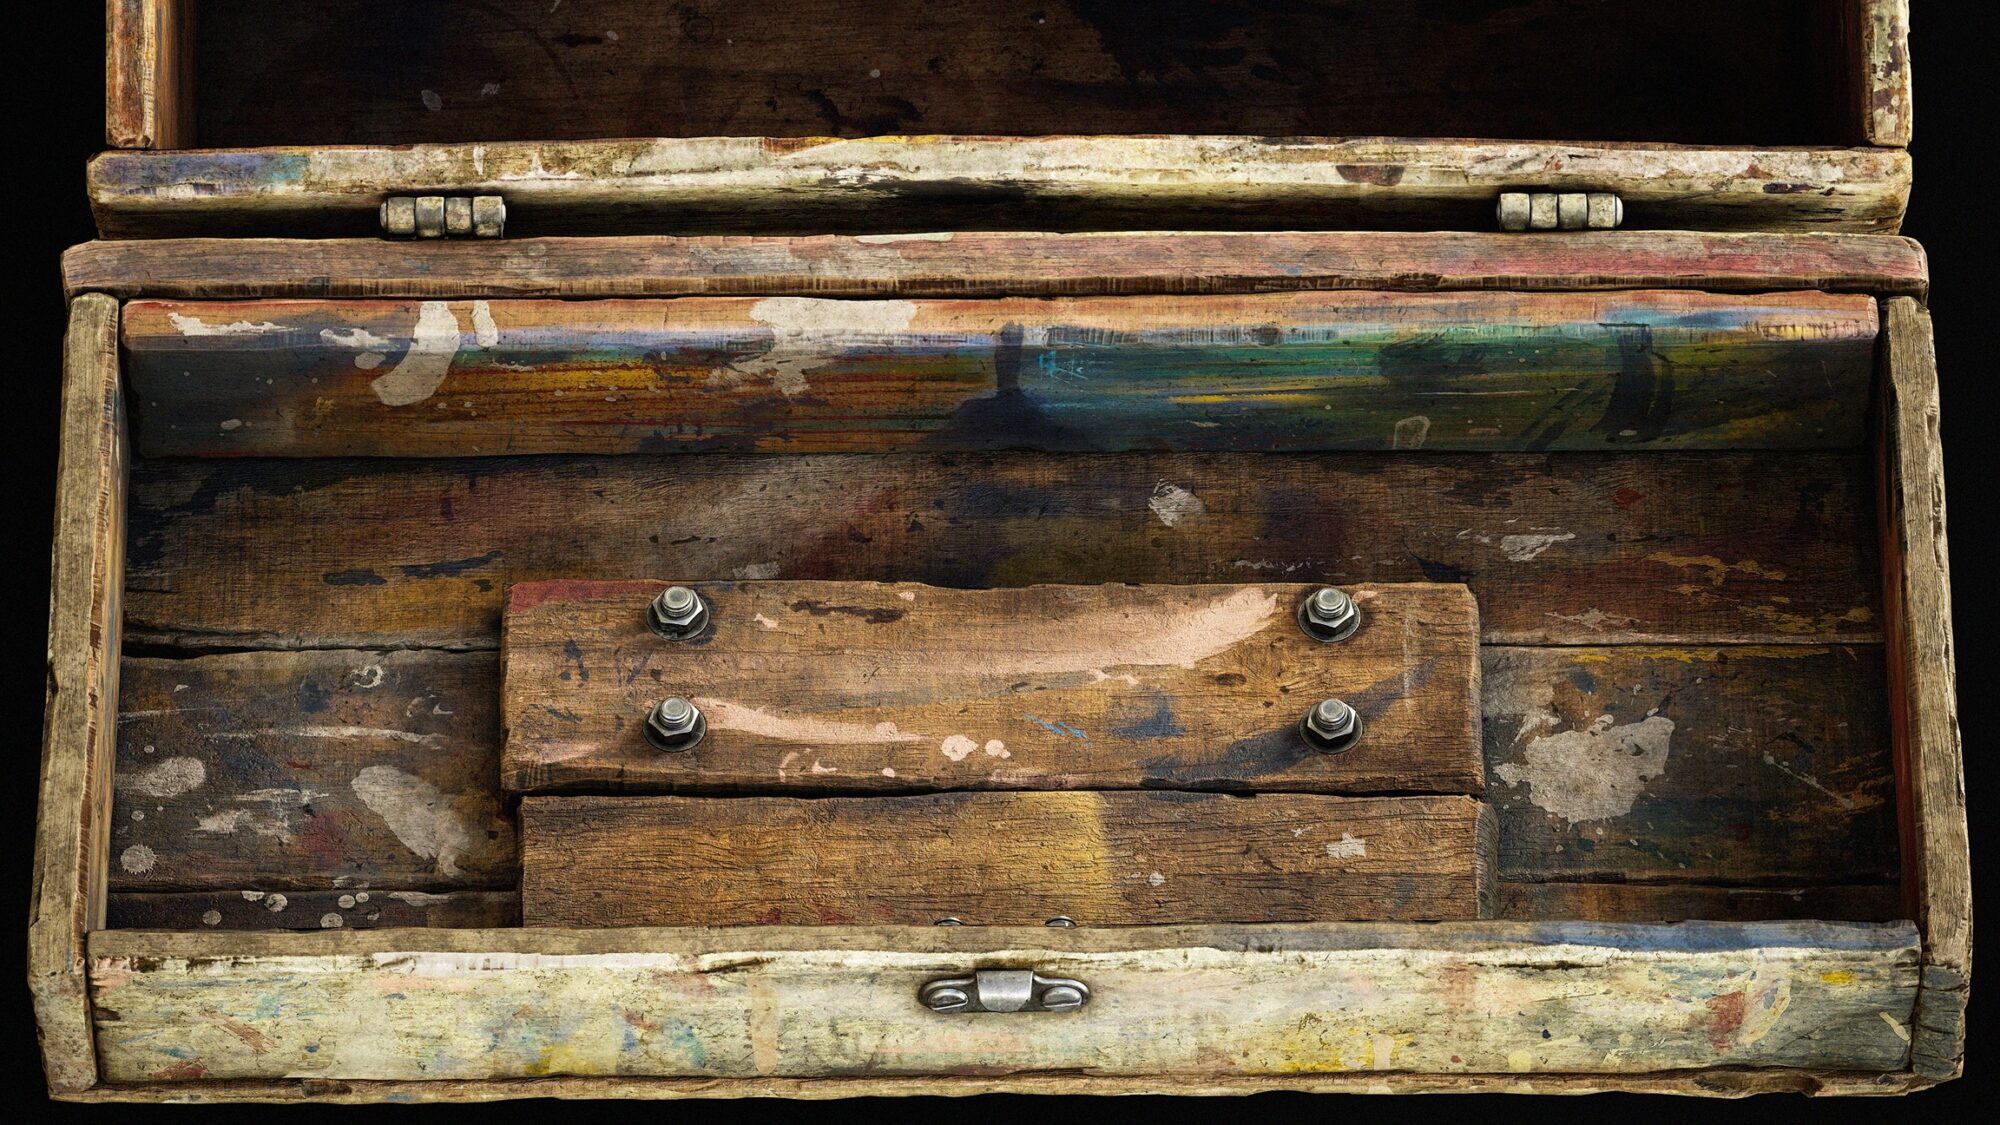
One of the main challenges was achieving a truly realistic look. Balancing high detail in sculpting and texturing without making the model too noisy or visually overwhelming required careful decision-making and extensive experimentation.
Another challenge was ensuring that the materials behaved correctly under different lighting conditions, so I had to test and tweak roughness, color, and surface details extensively between Substance Painter and Unreal Engine.
Lastly, maintaining a strong narrative within the prop while ensuring all the details felt natural and purposeful was a challenge.
Every paint stroke, stain, and chipped edge needed to contribute to the story without feeling random or excessive. Balancing this storytelling aspect with artistic intent and technical efficiency for real-time rendering required careful planning and iteration.
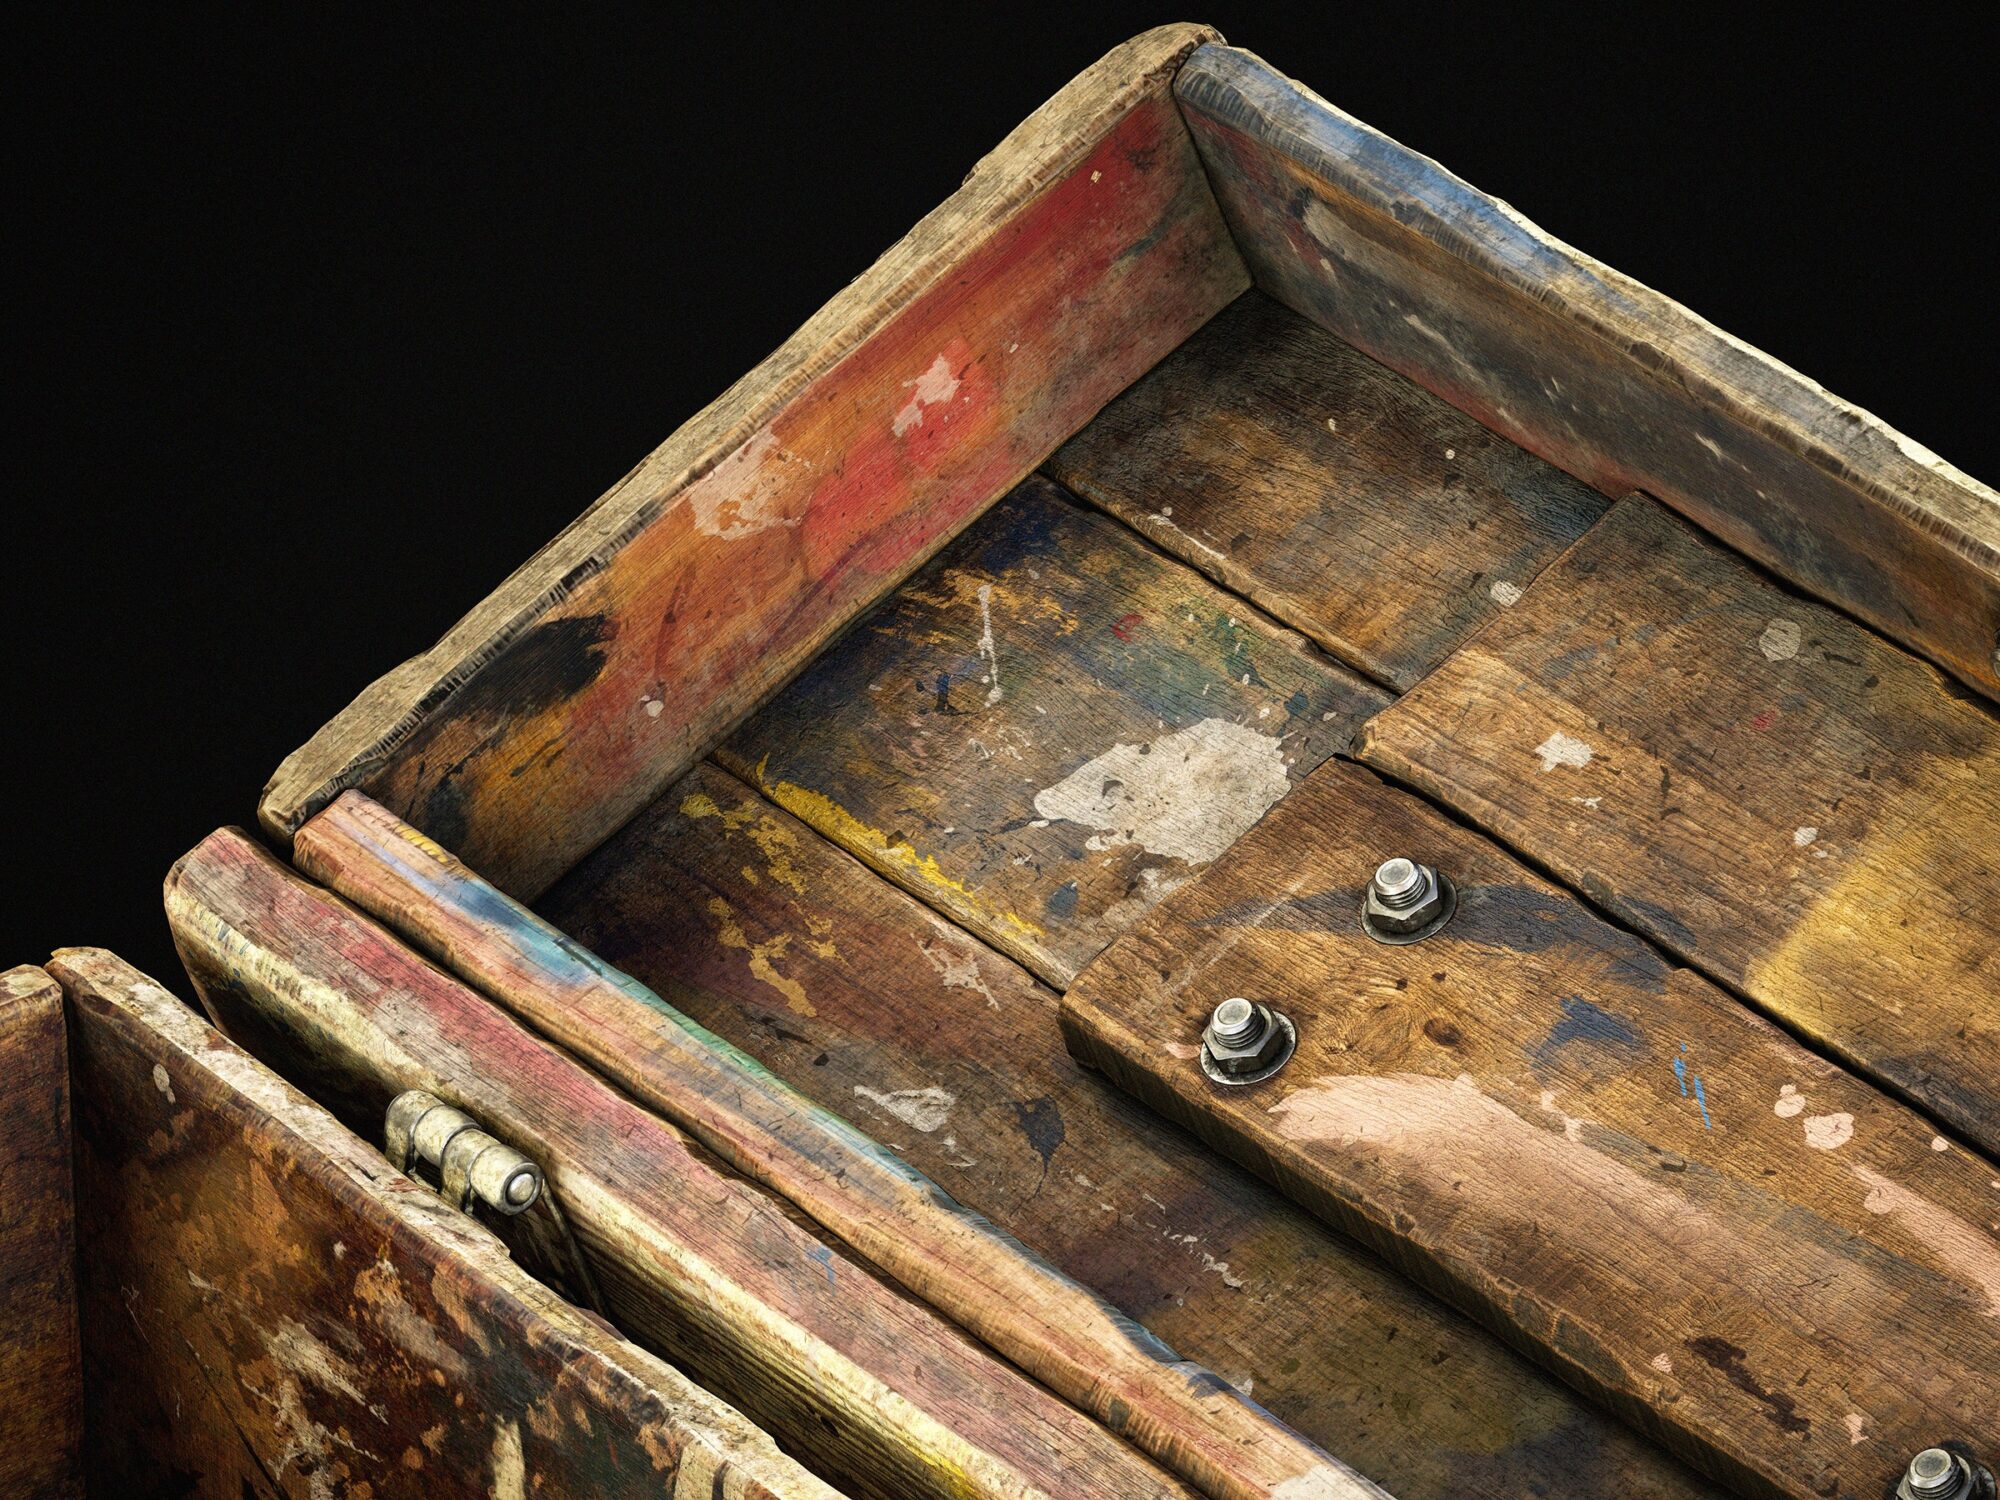
From this project, I learned the importance of storytelling in prop creation and how every detail should have a purpose. Balancing realism with artistic intent and properly studying the real references made a huge difference in achieving a believable result.
For beginners, my advice would be to always start with a strong reference board of real-world references and have a clear story in mind for your asset.
Focus on large shapes and silhouette first before diving into details, and don’t rush the texturing process — layering subtle variations can take your work to the next level.
Also, make sure to do good lighting and rendering of your prop, as proper presentation can make a huge impact on how your work is perceived. Lastly, always seek feedback and iterate to improve!

