Cash Register


Introduction
Hi, my name is Yuri, I am 27 years old and I am a 3D artist. I've always been attracted to games, stylized visuals and fantastic worlds.
In April 2021, I began to immerse myself in 3D and independently studied the software I needed.
References
I spent a lot of time scrolling through Pinterest in search of the perfect concept, collecting texture references along the way, in the end I found the concept to my liking, thanks to Tanta V. Since I was trying to translate the concept into 3D, there weren’t many specific links that I could work with, compared to realistic props, for example. To facilitate the texturing process, I tried to find images of assets with materials similar to the one I was going to create. I’ve also put together a few links to specific details that will come in handy later. Given that brass and wood make up the bulk of the props, I was particularly focused on finding good references for this material.
highly recommend using PureRef to collect your images. This is a great tool that allows you to have all your links in one place. It also allows you to place them on top of your 3D application or texturing software.

Blockout/Modelling
The cash register was made to be completely ready to play. Trying to keep a clean topology and a small number of polygons was never an obstacle for me, but rather a fun task. I’m modeling in Blender.
During the modeling process, I got carried away and made an almost ready-made low-poly model, but left all the hidden polygons in place, for ZBrush.

High Poly
In ZBrush, I set Crease on all meshes to level 2 and added a Dynamic Subdiv to level 5 to get smooth chamfers.
In creating the cash register, I used standard brushes and brushes by Michael Vicentes “Orb Brushes”
The wood was redone from scratch many times and each time, it looked different. I discovered a new feature of the Orb_Cracks brush, you can use it by inverting it with “alt” to add volume, and then go over it with a TrimDynamic or hPolish brush. The sculpture went through five stages of acceptance:


Once I finished sculpting I made a Dynamation and loaded High Poly into Blender to make a low poly model.
Low Poly
I decided not to save on polygons, since the work goes into a portfolio, and not into a real game, I also didn’t make checks and a note through alpha. I added money, moved the polygons a little, because at the draft stage I did most of the work and removed all unnecessary polygons.
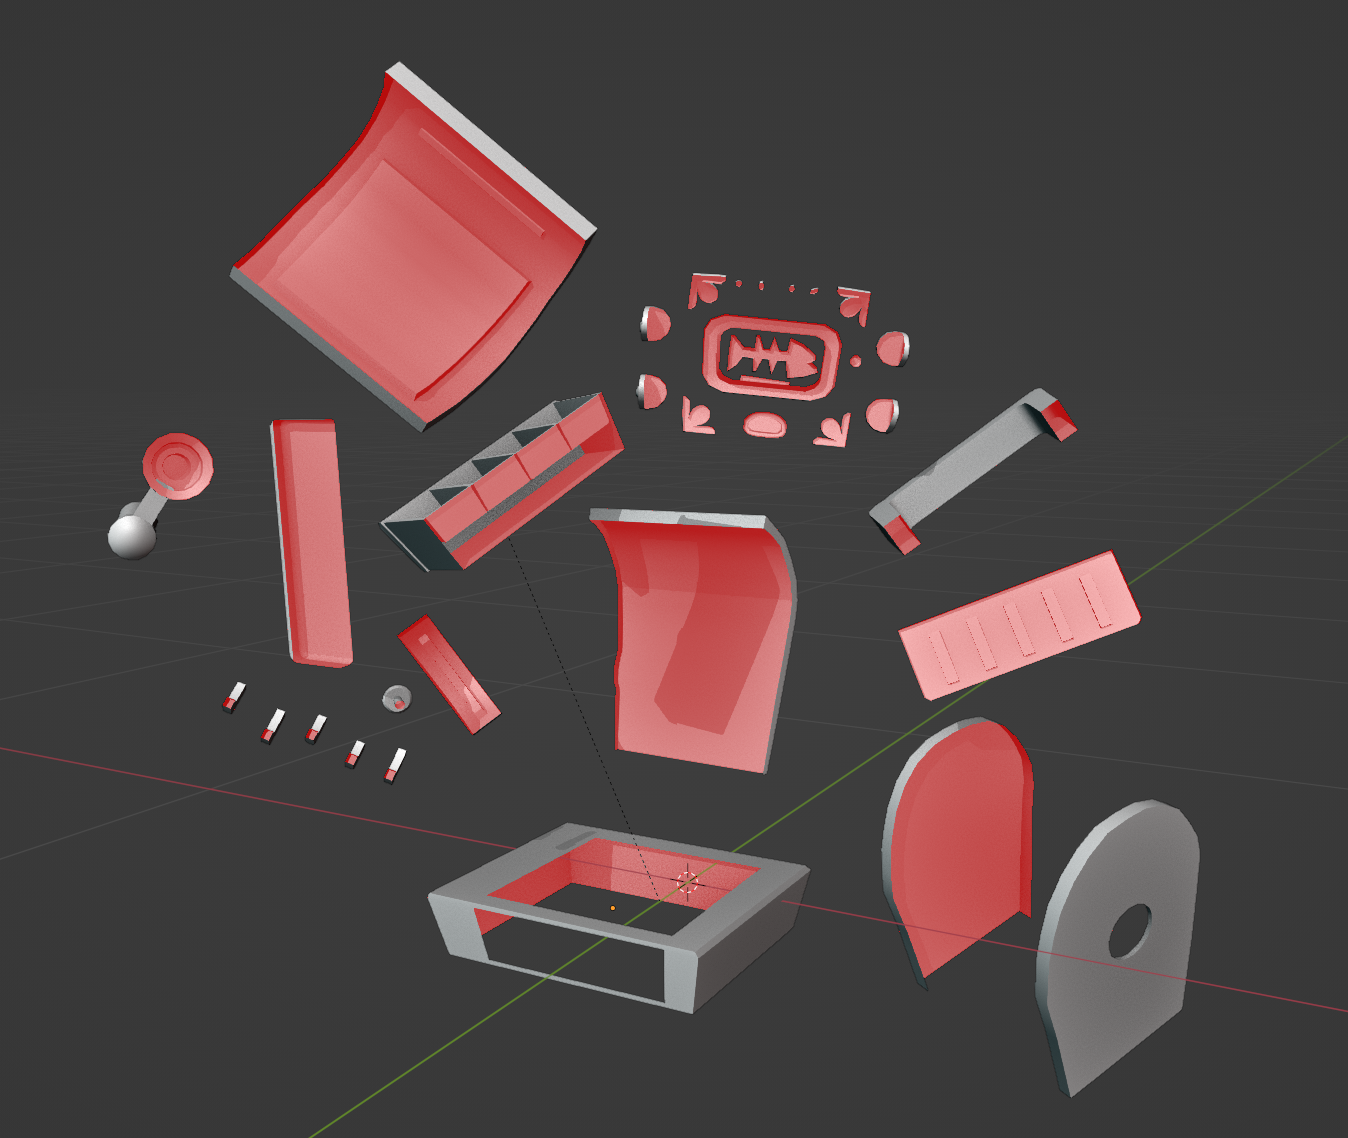
I deployed according to the principle every sharp edge = seam, but not every seam= sharp edge.
Following the unwrapping process, I used an add-on called “UVPackmaster”. It allows you to pack your UV Islands with the click of a button and covers a lot more space than a manual UV layout could. I highly recommend using it, given it saves a lot of time and makes baking easier if you have to adjust your UVs later on.

Baking
Once I started working at Marmoset Toolbag, it became my favourite tool in terms of card baking. It also offers the option to adjust the baking cage directly and has a painting tool that accounts for skewing. Therefore you don’t need to jump back and forth between applications or change the geometry for most fixes. I baked textures in 2K.

Texturing
At this stage, I tried to get one Albedo card, so I worked exclusively in the Base color layer.
Initially, I applied the base color to all materials. Next, I made several variations of grunge with the Blur Slope filter and used them to achieve the appearance of handpaint textures, but the chips and scuffs themselves were achieved using a tablet and a pen, but added to them a small effect of the same Blue Slope filter. And in general, I finished everything with a brush.

To achieve the final result, I had to go a long way through folders, and I also had to pay special attention to working with highlights and shadows in Base color, for this I used the Bake light stylized filter, which I assigned to different meshes through a black mask so that highlights and shadows were logical.
When I uploaded the Base color and Normal map, I wanted to slightly modify some places on the Base color in Photoshop (just a little bit).
Rendering
Rendered in Marmoset Toolbag, added Shadow Cather and Turntable. I put on Hdri “Mountains Roadside” and took some shots. Looking at other people’s artworks on Artstation can also help get some inspiration on how to best present your assets.

Polishing
To improve the quality of the image, I made one last pass in Photoshop. The pictures I export from marmoset tend to be a little less saturated. Using an adjustment layer in Photoshop, I increased the saturation again. Just slightly increased the texture and definition values. Most importantly, don’t go overboard with the values, as they should only support your image. If you apply strong settings, your final product may not end up looking its best. I also made a preview for Artstation and checked how it will look among others through Photoshop.

Afterword
Many thanks to GamesArtist for approaching me about writing this article and for the opportunity to share my art with the community. If you are interested in specific parts of my workflow or have any questions, please do not hesitate to contact me. I am always happy to help you!
You can find me on Arstation, Linkedin.
Thank you for reading to the end. I hope that this article was useful to you, or at least interesting!
P.S: Special thanks to Anastasiya, Anton Kudryashov, Kirill Danilchenko and of course my wife for feedback and support at every stage of work <3
Yuri Bancov, Environment Artist.
Read more articles
You might also like these articles.