Old Wooden Chair

Introduction
Hello everyone! My name is Vitalii Lukianchuk. I’m 26 years old.
I’m a Senior 3D Photoreal Environment & Props Artist with 7 years of experience. My focus is the creation of photorealistic props and environments for games.
Goals
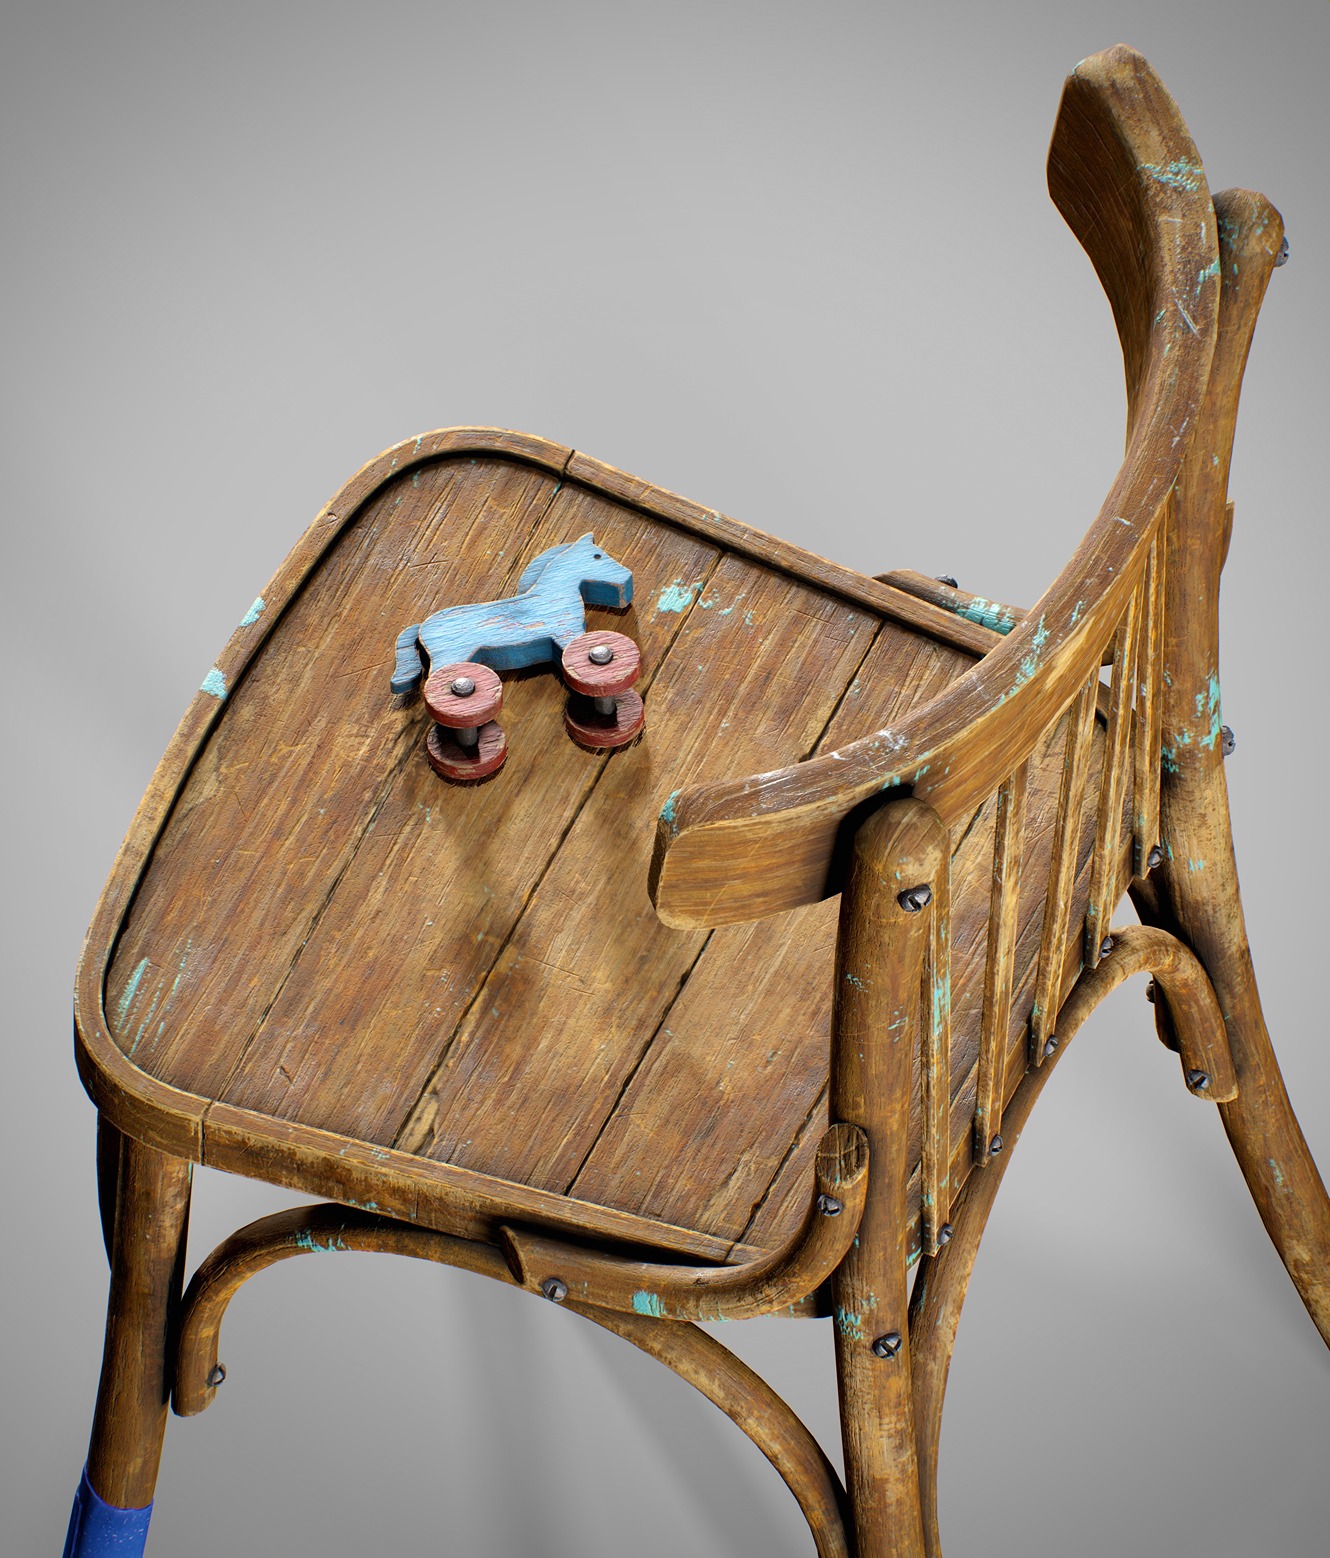
My prop is an Old Wooden Chair with a child’s toy. During the creation of this prop, my goal was to convey a sense of age and the personal story behind the object.
This chair is a pretty simple asset.


But added details like worn paint, chips, cracks, dirt, aged varnish on wood, tape holding the structure together, and the forgotten toy make it visually engaging and invite you to imagine your own story for it.
I also created this asset to improve my photorealistic texturing skills.


Software
- Modeling in 3ds Max.
- Sculpting High-Poly in ZBrush.
- UVs in Rizom UV.
- Bake and Textures in Substance Painter (2K/4K PBR).
- Rendered in Marmoset Toolbag 4.
References
As usual, I use PureRef. It’s very useful software to create a collection of different references for assets. Google or Pinterest helps a lot with it. That’s usually enough.

High Poly Modelling
I created the blockout and high-poly in 3ds Max using a standard subdivision surface workflow.
After the creation of the high-poly model, I just import the mesh into ZBrush.


In ZBrush I work only with unique parts of the object, which later will be mirrored. I sculpted only the corners of the objects and big cracks. In this case, I didn’t add any micro details or noise, because they will be added later during the texturing stage in Substance Painter.
After finishing the high-poly model in ZBrush, I decimate it using Decimation Master, choose the needed polycount, and then export it back into 3ds Max.


Low Poly Modelling
I create the low-poly by optimizing the high-poly.
I used my high-poly mesh with “Turbosmooth” as a base mesh, and then just remove unneeded edges and so on. On the seat, I decided to keep the gaps between the planks as geometry. This provides better shadows on my asset.
In the end, it consists of approximately 10,000 triangles.


UV
I started with the creation of UVs in 3ds Max, then straightened the shells and packed them in RizomUV. In this case, I made all shells straightened to pack the UV tightly and without any gaps.
It is also important that wooden shells are aligned in the same direction, along one axis. This makes life easier when texturing the wooden pattern during texturing in Substance Painter.


Baking
For the baking stage, I used Substance Painter to bake all maps at 4K resolution. I split my model into several bake groups to avoid problems of intersection between different parts of the mesh.

Texturing
For texturing, I used my references to transfer all details from real photos to make it more realistic. To achieve this result, I applied masks and anchors to get the realistic look I wanted.


Focus points on this asset are the seat part, corners, and chair back, because these spots have the strongest effects of worn wood or worn varnish.


Rendering
I did renders in Marmoset Toolbag 4. It was quite simple to do it there and it gave me the best results. I set up the environment, photo resolution, and lighting the way I needed.
These several light sources highlight roughness on the mesh to focus your view on details.

Conclusion
Thanks a lot to Games Artist for giving me an opportunity to share my skills.
I enjoy looking for inspiration in something unusual and finding unique props and creating them! Huge thanks to everyone for the attention and support!
Read more articles
You might also like these articles.