Introduction
Hey there, my name is Ekant Verma and I'm a 27 years old self-taught environment and props artist. I started my way in 3D back in 2019. Now I'm working as a Freelance 3D Artist.

Goals
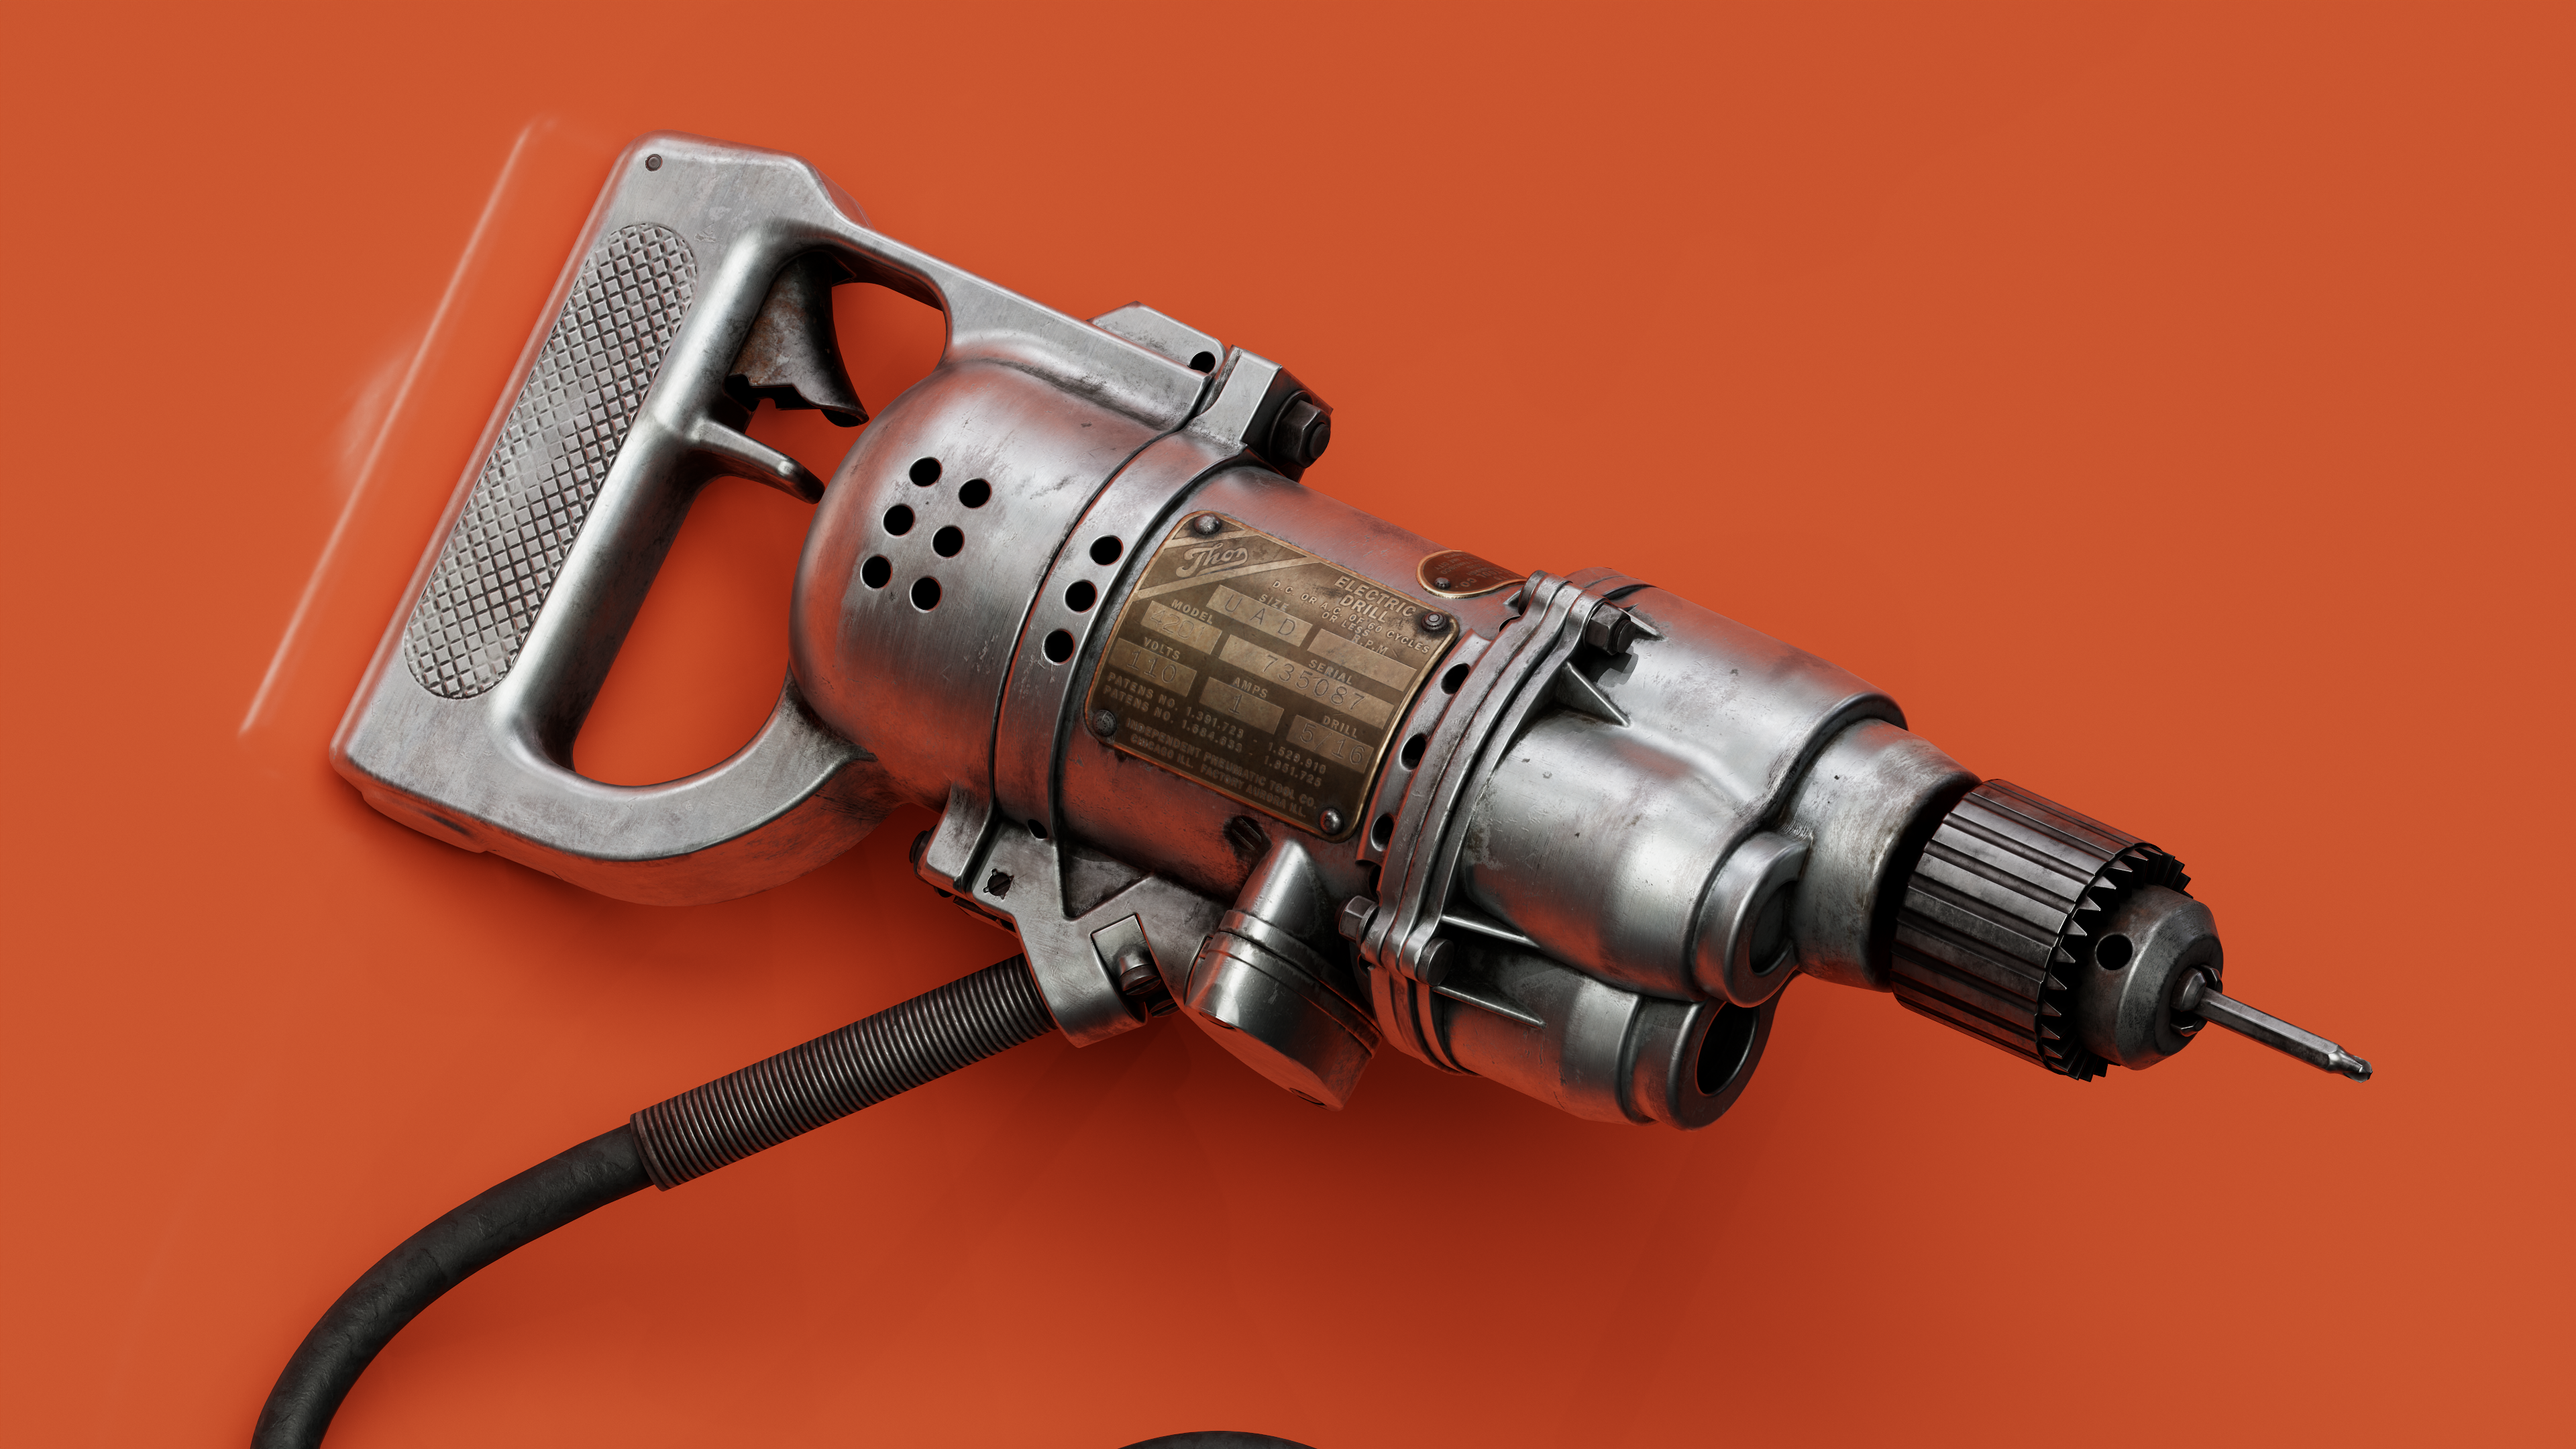
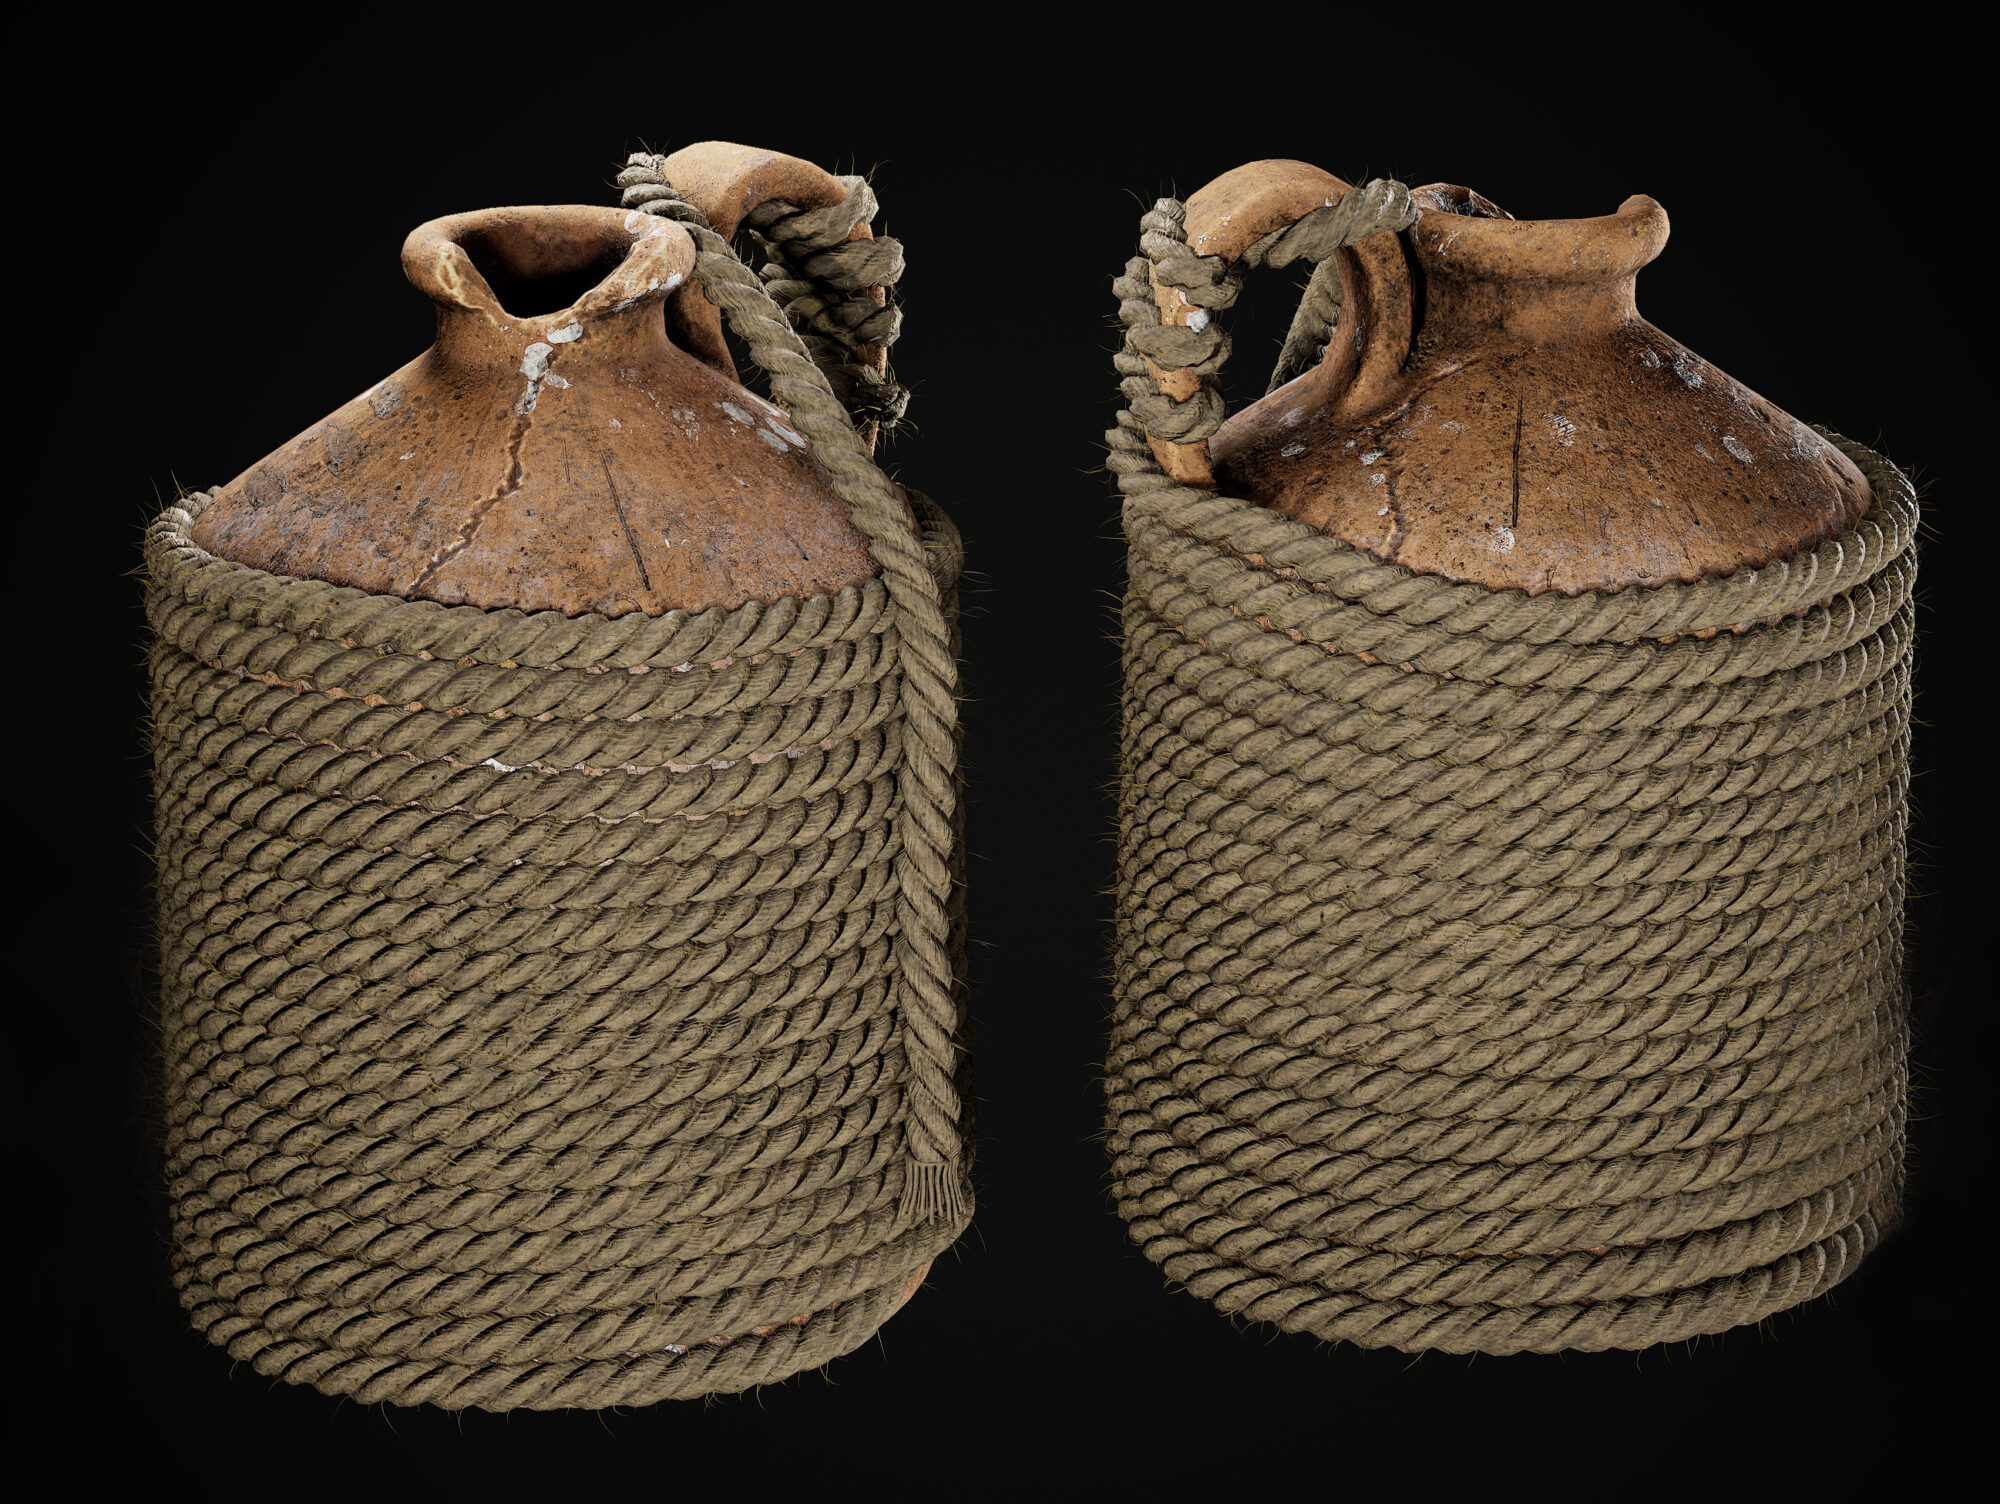
My main goal was to create something in a photorealistic style because I wanted to improve my skills in photorealistic art.
For this, I mainly focused on high-poly detailed and texturing. Another goal is to create a high-quality prop in a photorealistic way. I work on every asset separately. because I want to achieve good
Software
For this artwork, I used the following software:
● 3DS Max – Blockout.
● ZBrush – High-poly, Low-poly.
● Rizom UV – UVs packing.
● Substance Painter – Baking and texturing.
● Marmoset Toolbag – Rendering.
References
It is extremely important to identify good references for your project.
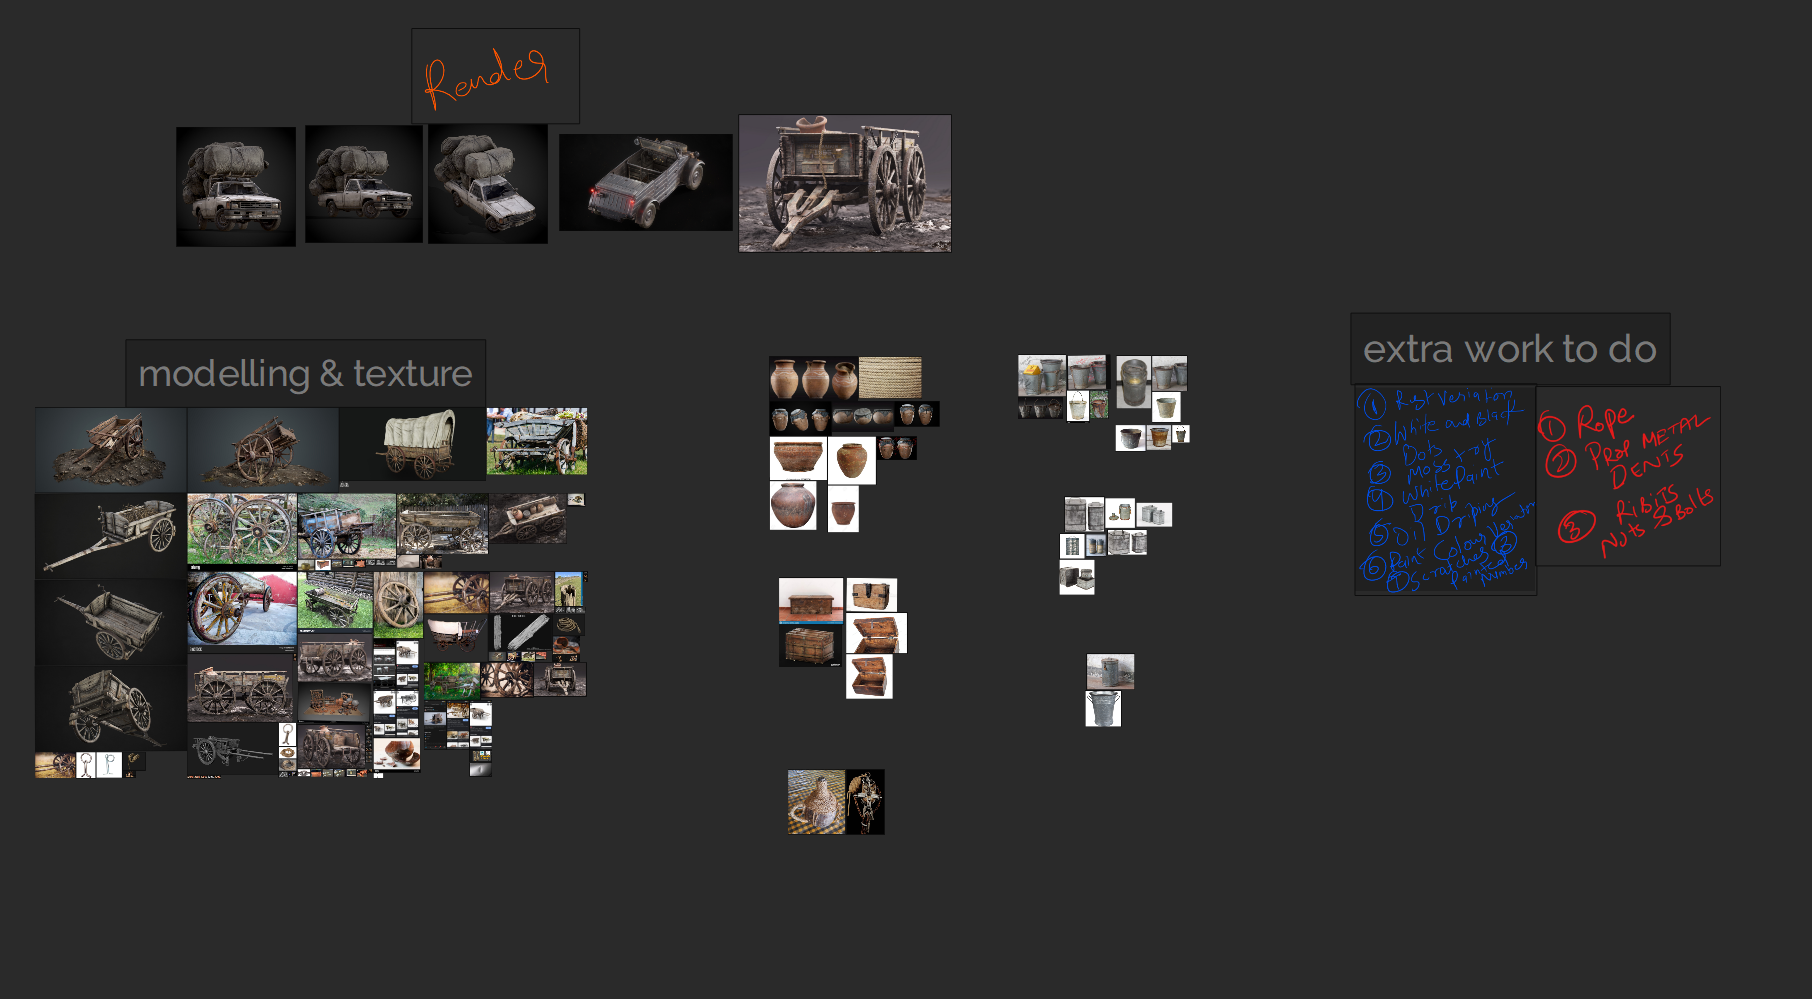
However, I didn’t find any references for my scenes here, just a few pictures that inspired me, and I decided to combine all the ref in a single frame.
So I collected images from google and Pinterest that matched the look and feel and age of the assets and props, and I started my imagination on this basis.
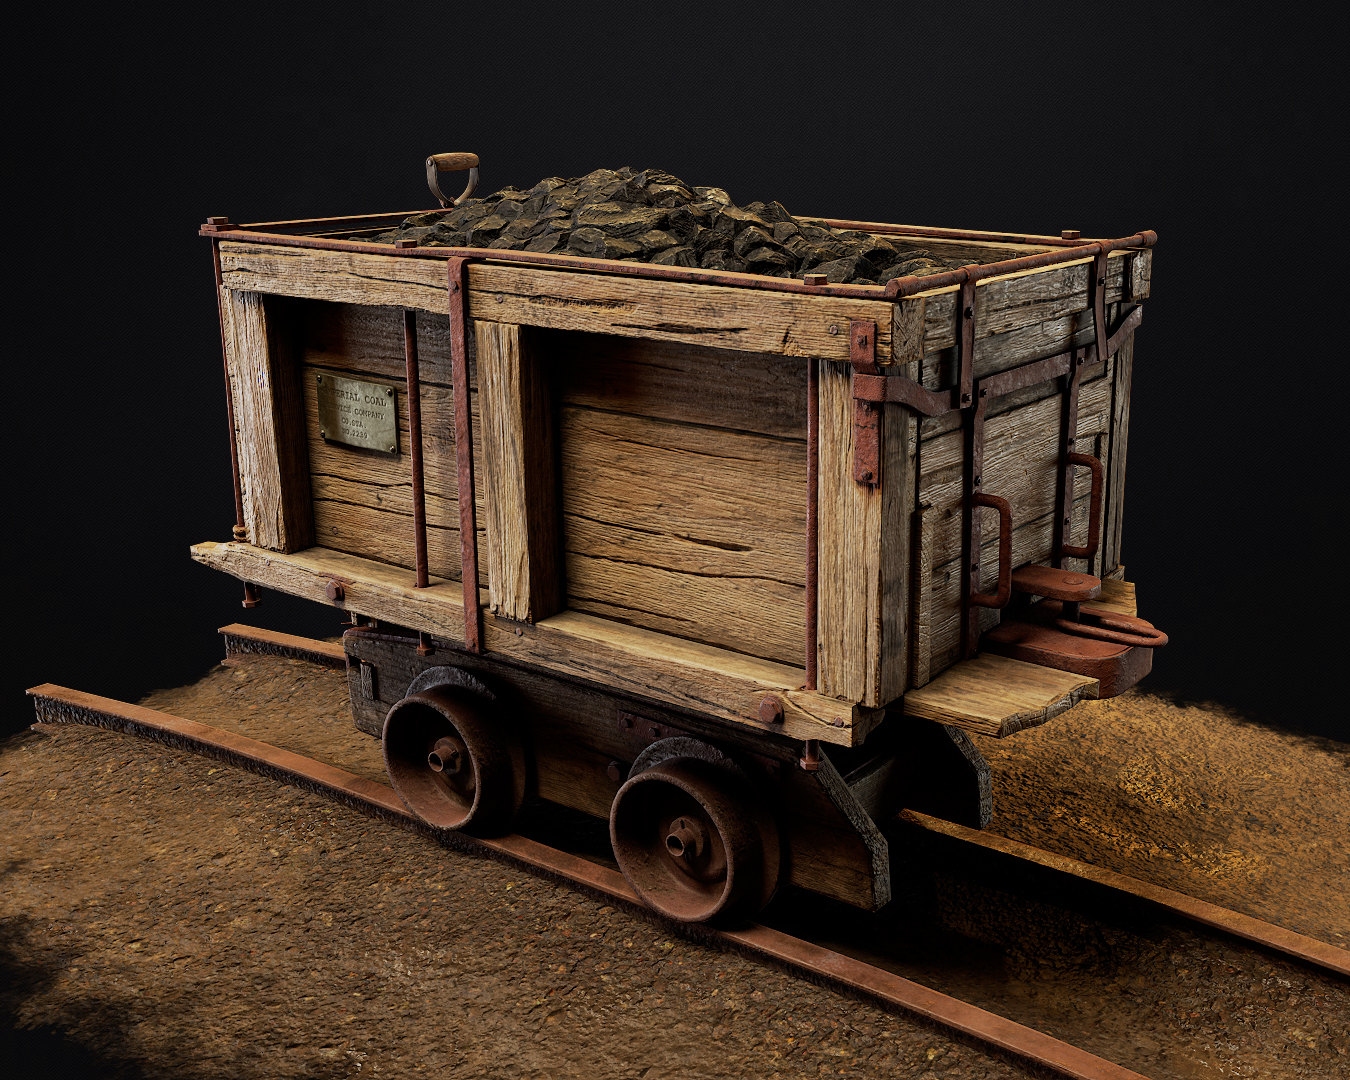
Blockout & Modelling
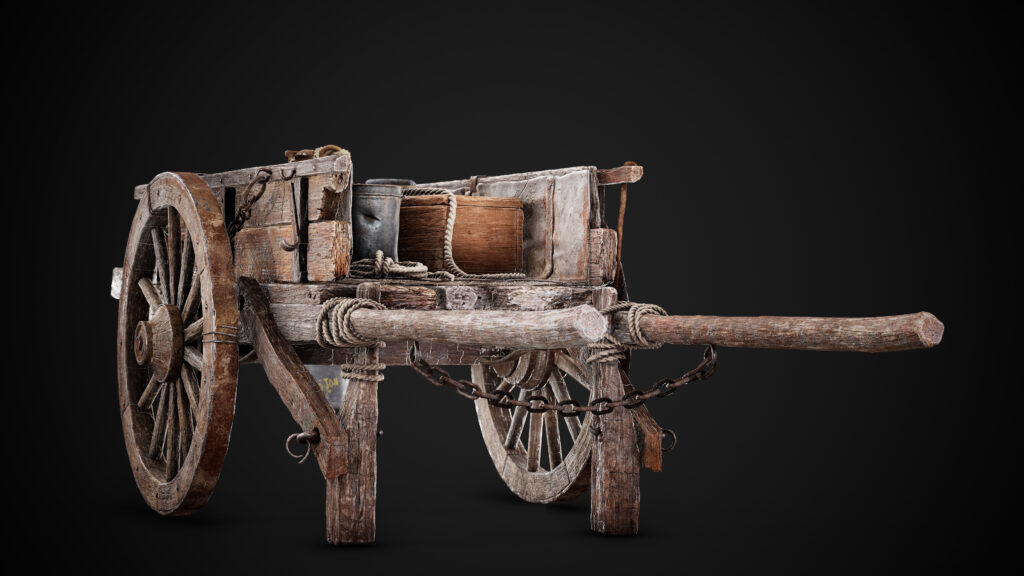
Based on many references, I started blocking out in 3ds max and just checked with the proportions that match with the real world.
After that, I add more information to the objects to load them into the ZBrush, starting with the main shapes, and gradually moving on to smaller ones.
Also, I decided at the start of the project, that the low res will be decimated. So I freely on all the shapes and modify them as I want to.
Sculpting
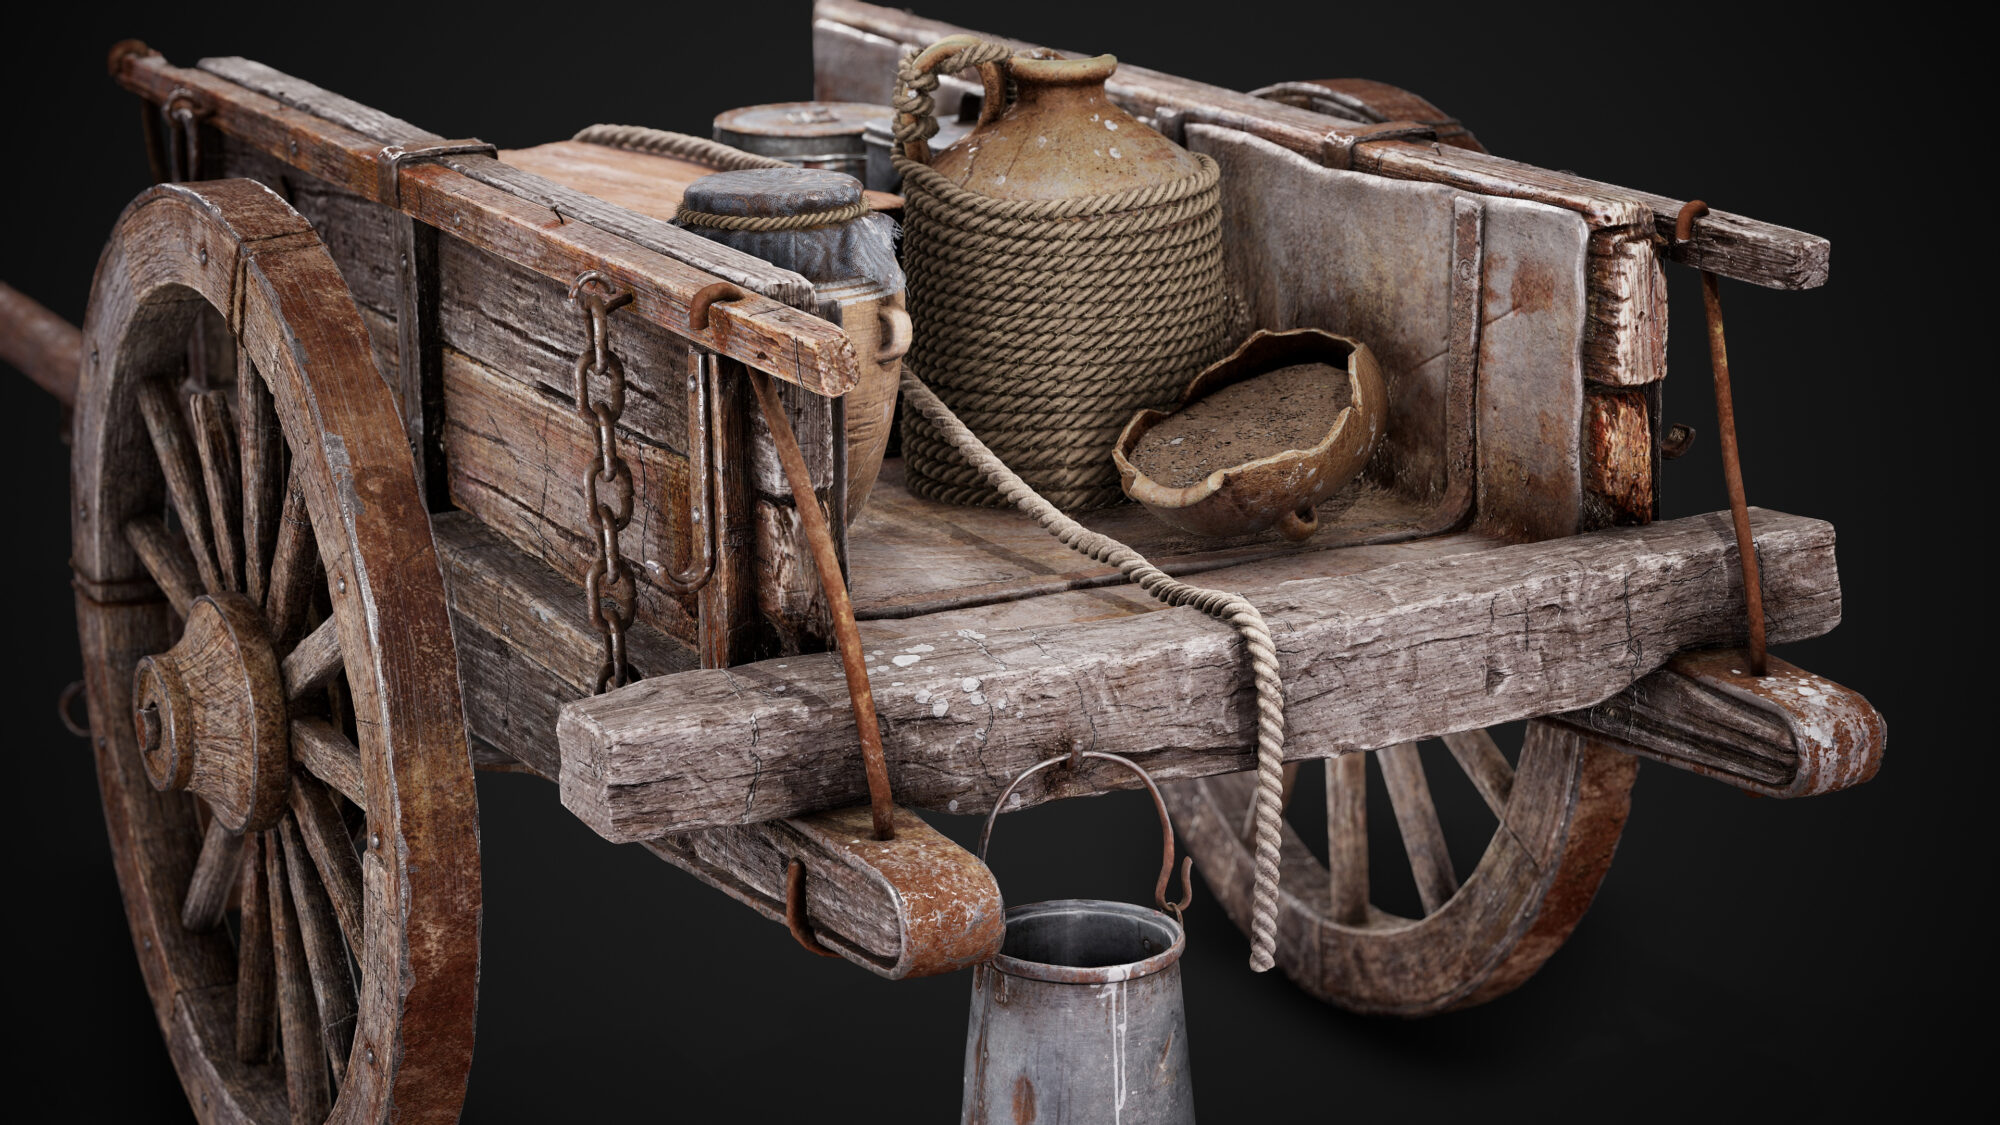
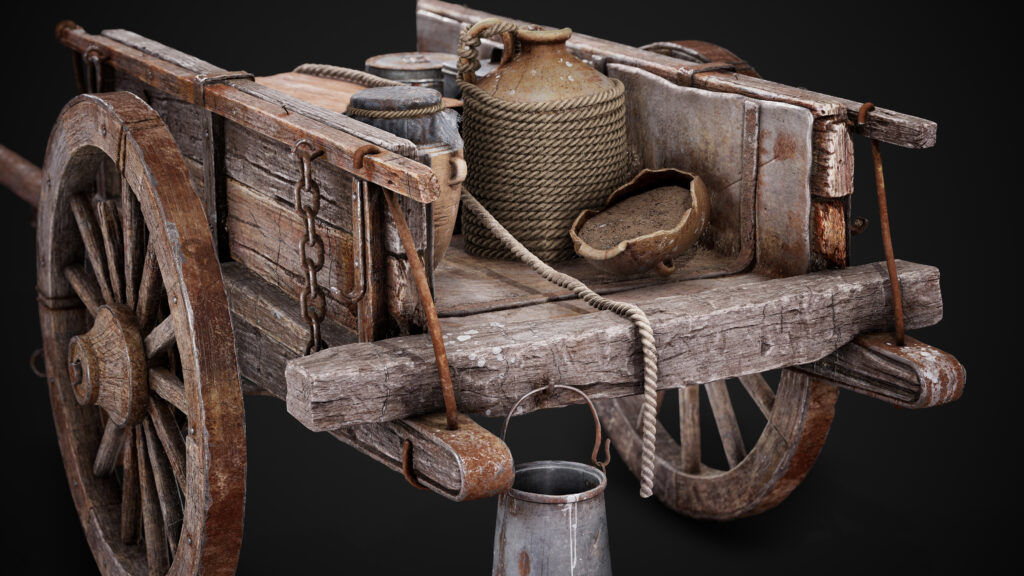
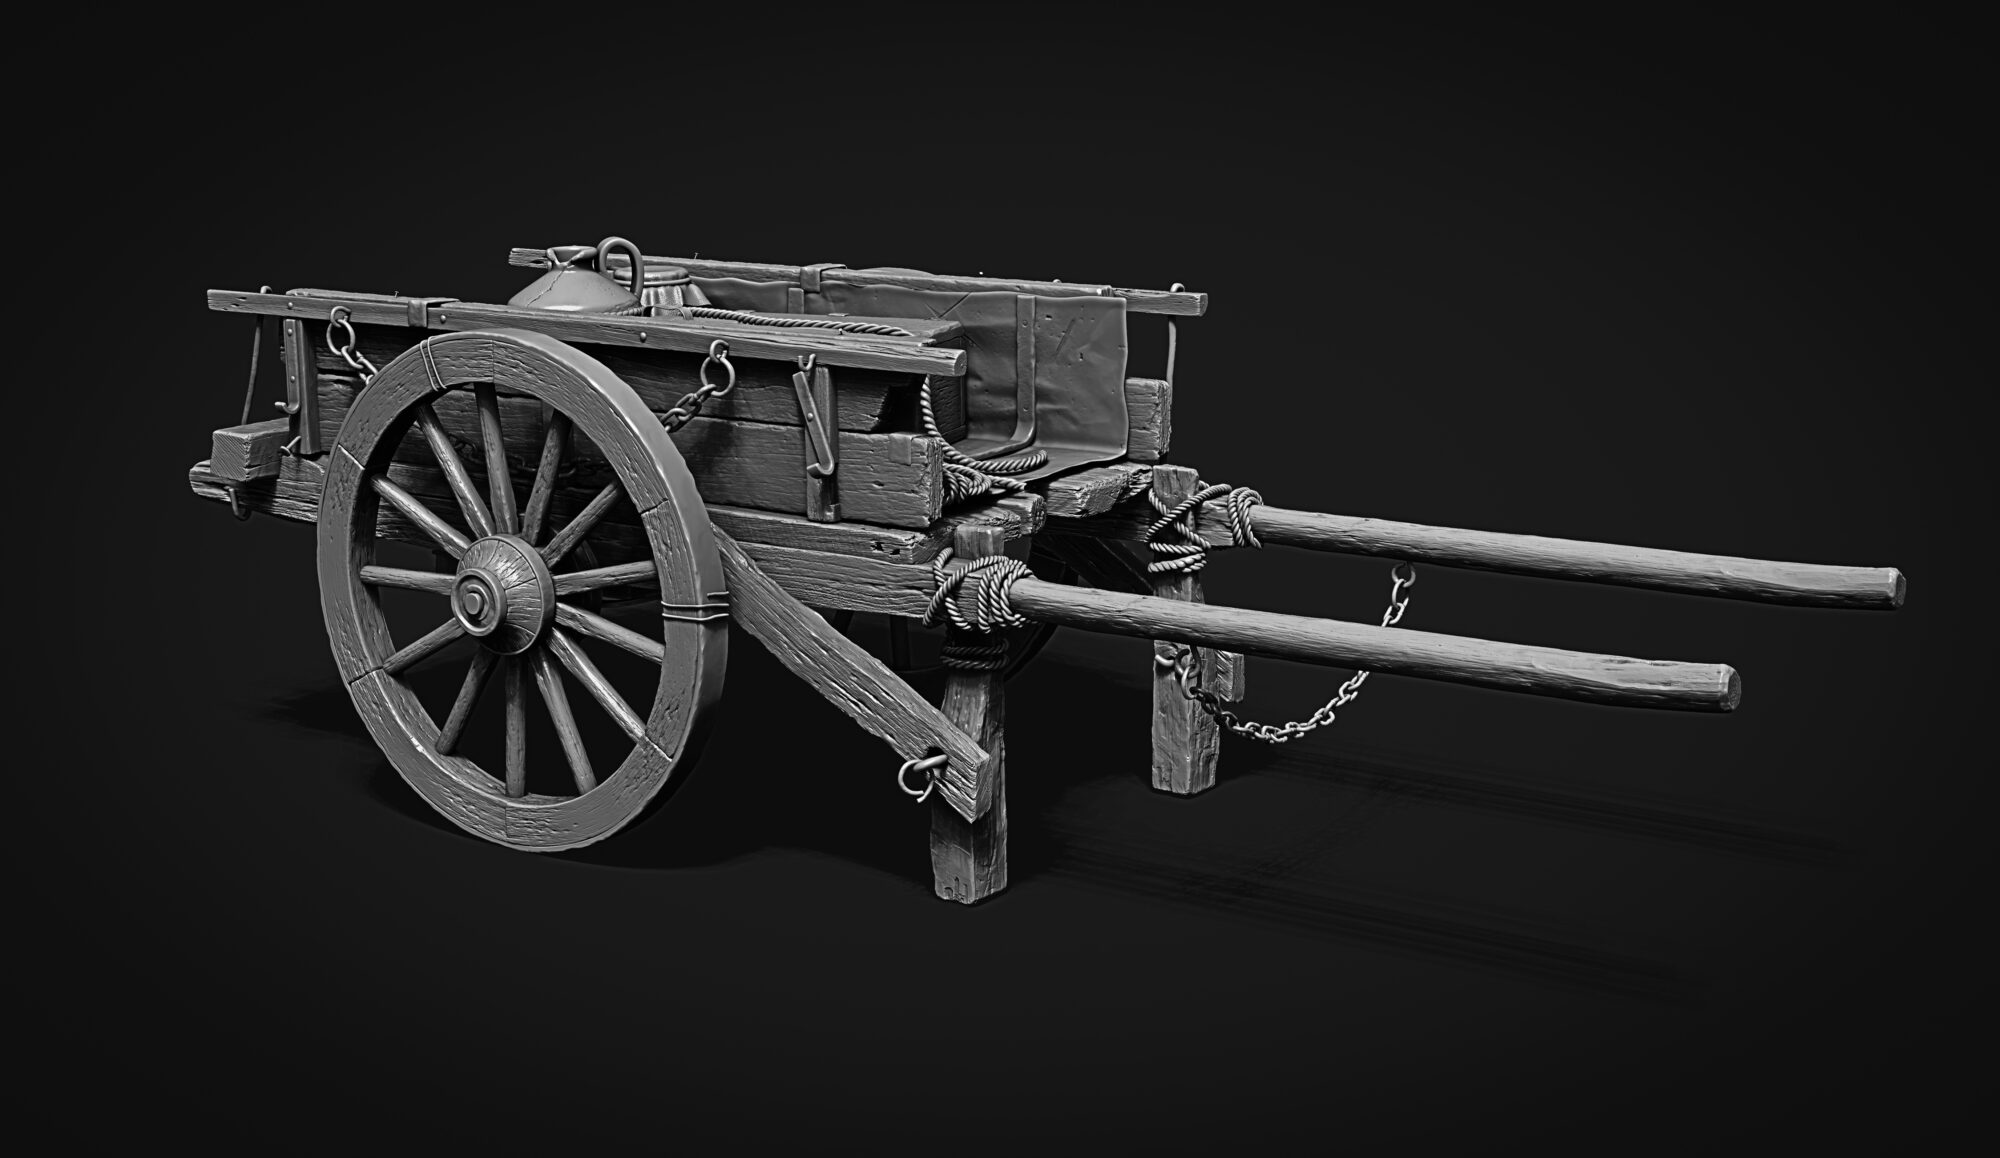
For the sculpting, ZBrush is always my primary choice, I started with the wagon, then one by one moved on to making the other Highpoly assets.
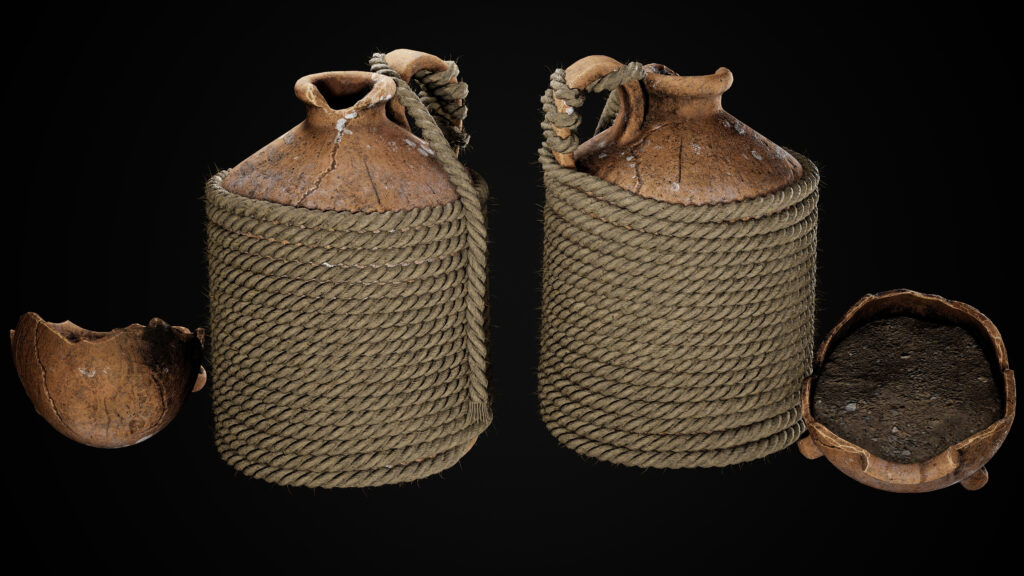
For the rope part, one of my Senior friends Chetan Sharma helps me by providing some rope brushes that allows me to create realistic rope with height details and also I get low res by reconstructing of the highres mesh in ZBrush.
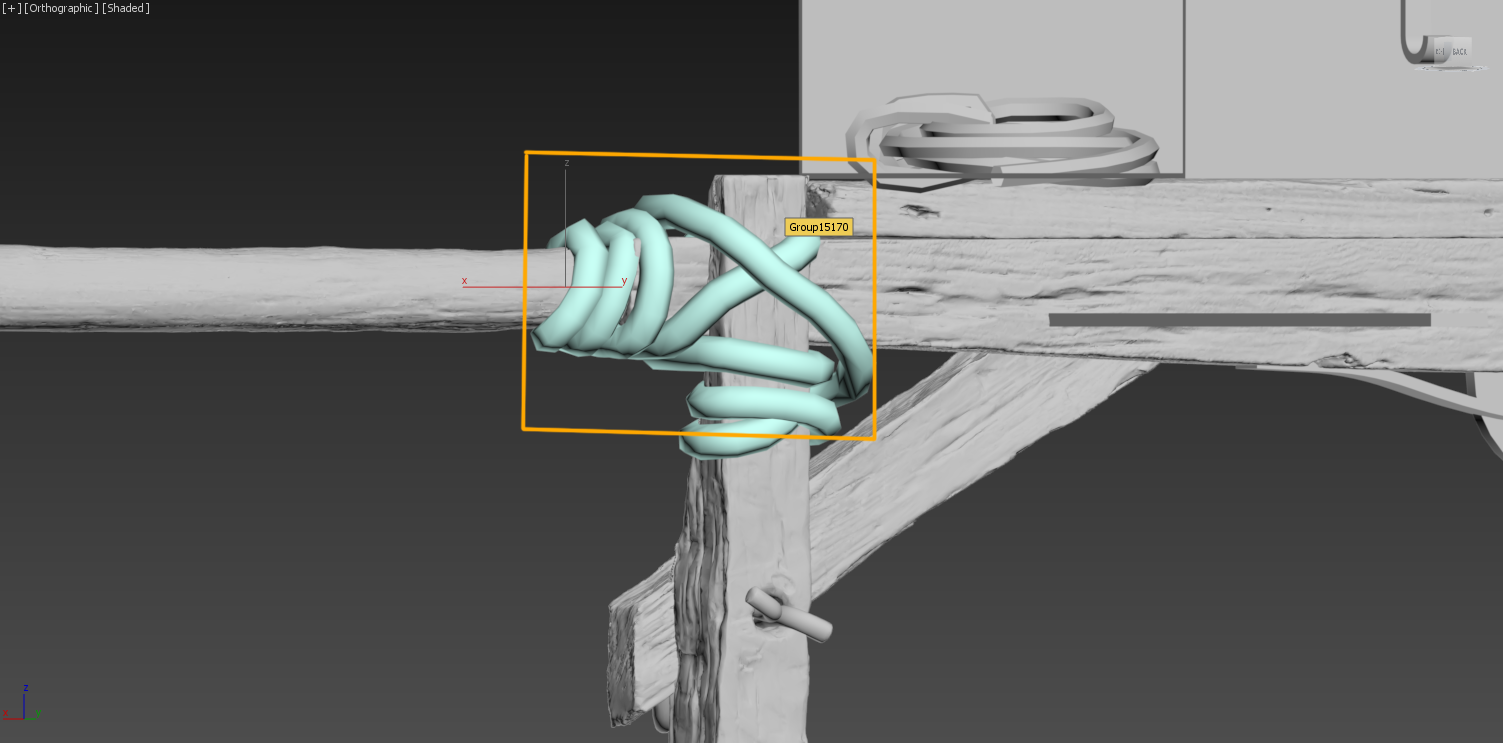
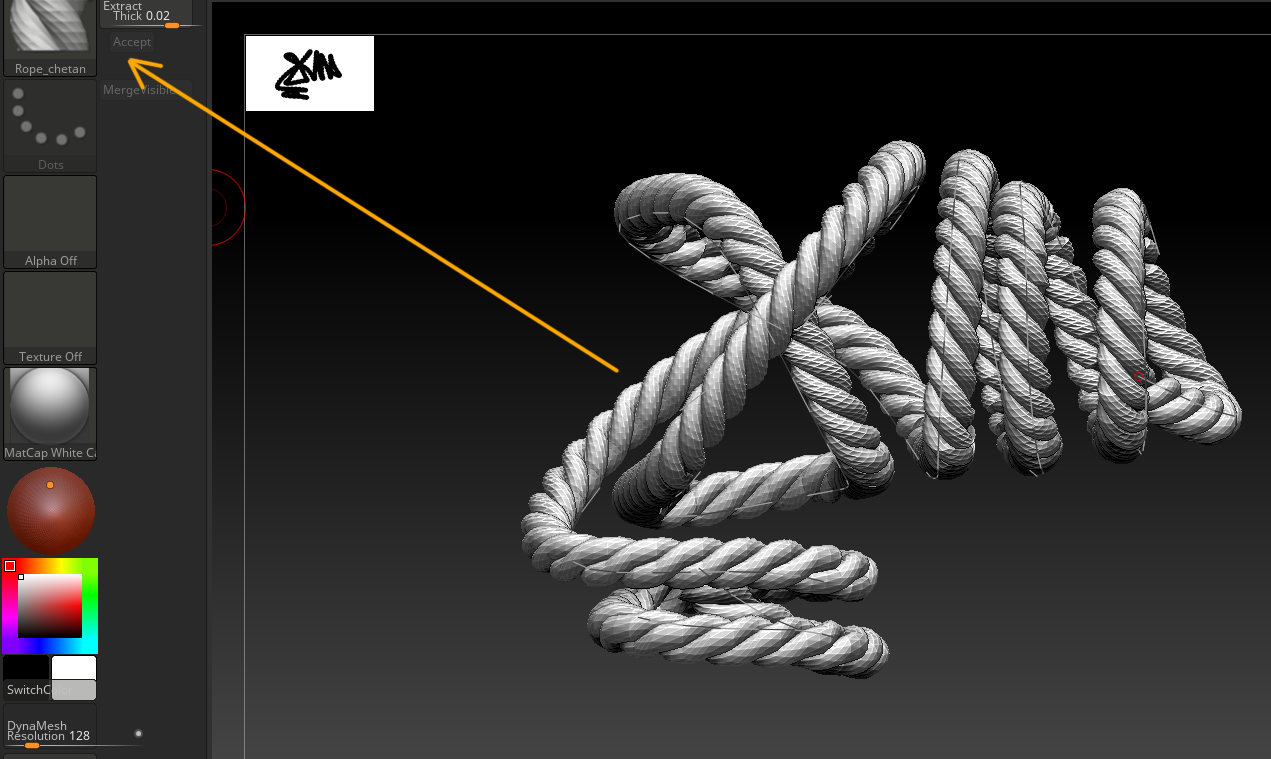
Rope Creation
1) Created a spline in 3ds max and imported it in ZBrush.
2) Here in ZBrush by using Z-Modular, add crease on single edge loop and with curve function add frame mesh on the creased edge loop.
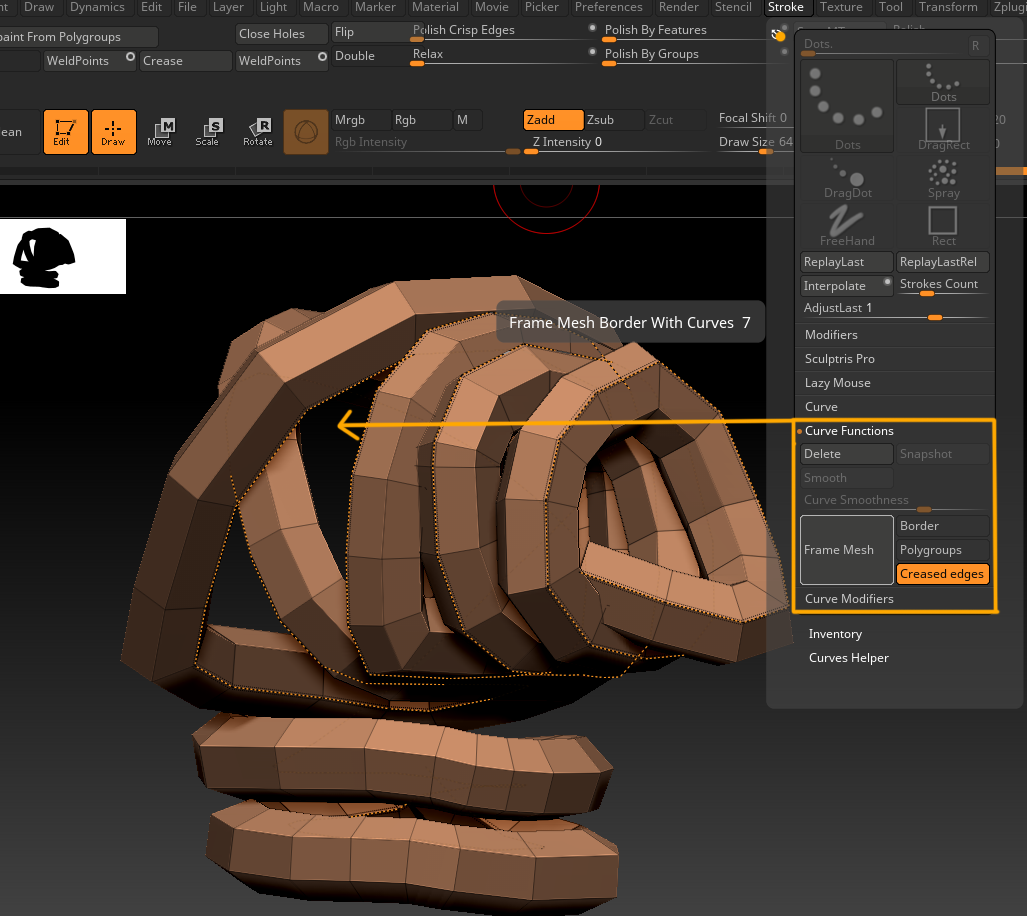
3) The last thing is just to use the brush on the frame mesh my clicking and the brush follows the spline path.
Also, another cool thing about the rope is the fibers of rope many people ask me about it.
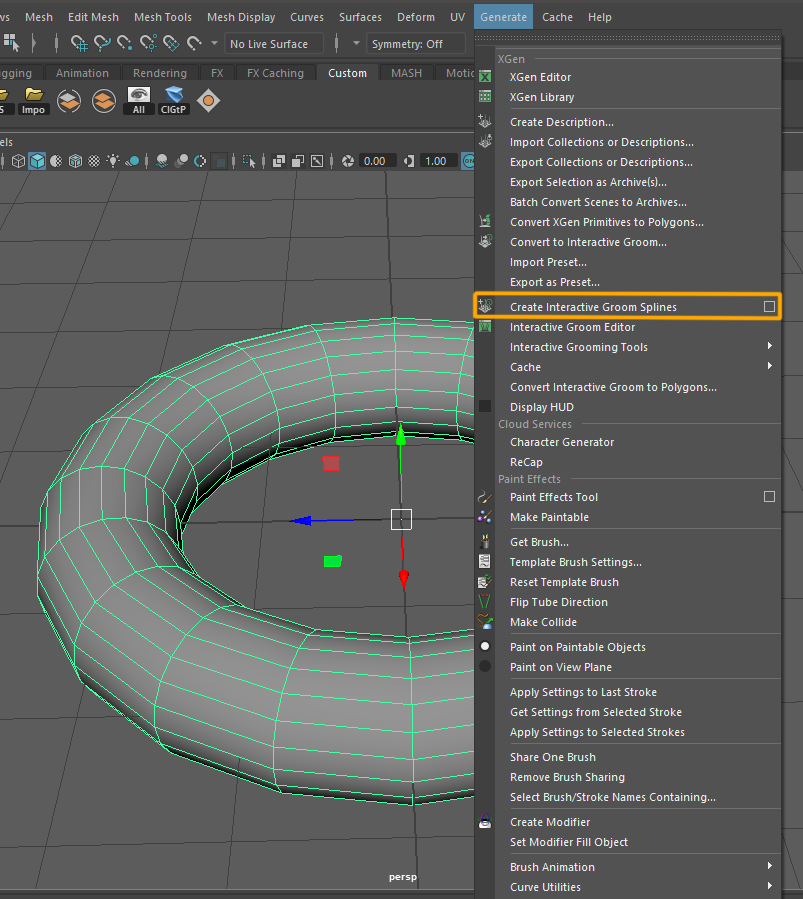
Steps for creating the fibers
1) Create interactive groom splines on the rope and adjust the attributes of the interactive groom editor, like scale, taper and noise, etc.

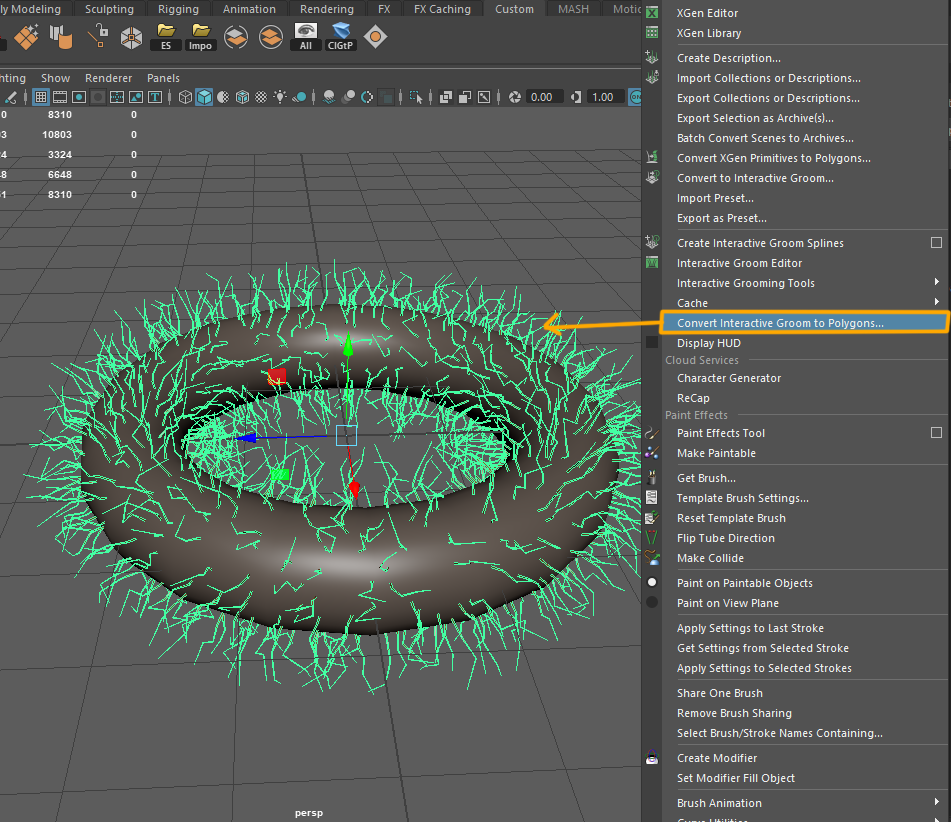
2) Convert interactive groom to polygon and use single 256pix res separate material and import them into Marmoset and apply any color you want.
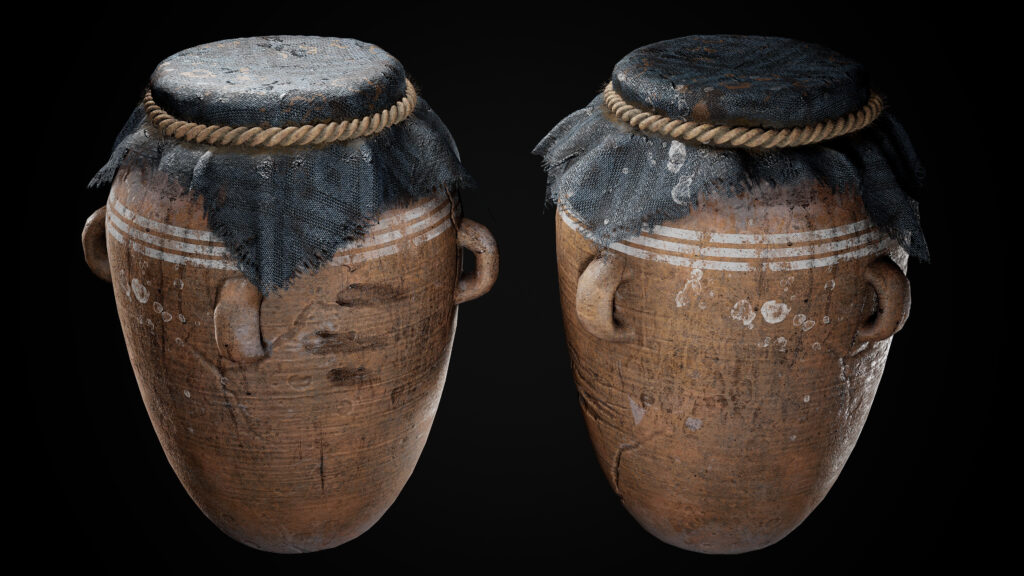
And for all the other high-res I use the basic sculpting techniques not so fancy things.
For the LP, I just decimated it and used Ryzom UV for UVing because Ryzom is very easy and helpful for decimated UVs.
UVing
For UVs, I use Ryzom since it’s an excellent software for UV dense, triangulated meshes – for instance, a decimated mesh. It is a must-have tool for an artist I would say.
Texturing
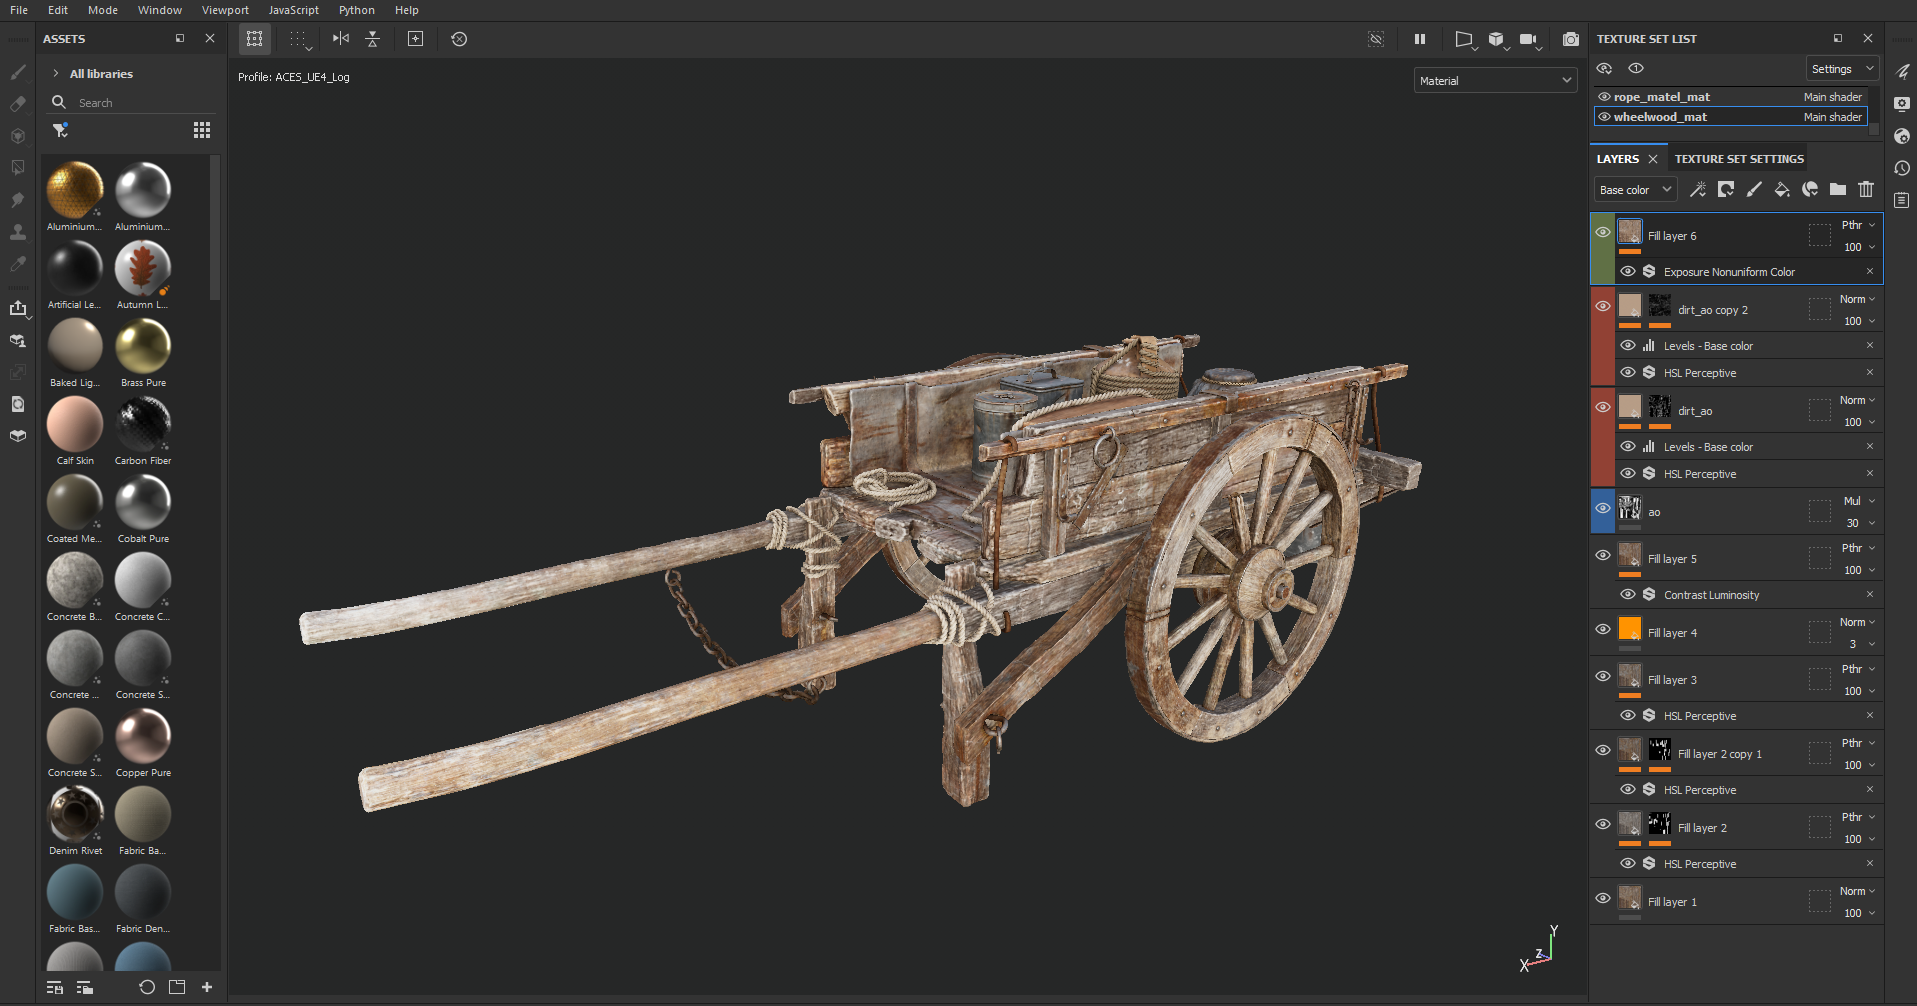
Here the most exciting part for me is texturing, For my materials, I had my other, ready-made smart materials that I created for my practice purpose so I used those and adjusted them as per the look I want, also, I use Megascan material for the base of the materials and for variation I use texture.com images, where you can find many real-life textures that can help you a lot.
With the texture.com images, I use masks and generators, they are very powerful so I get real-life variations from them and then paint manually to break up the repeating patterns, always don’t depend on the generators and fills. I also use some grunge fills on the generators then substrate and multiplay to break the repetition.
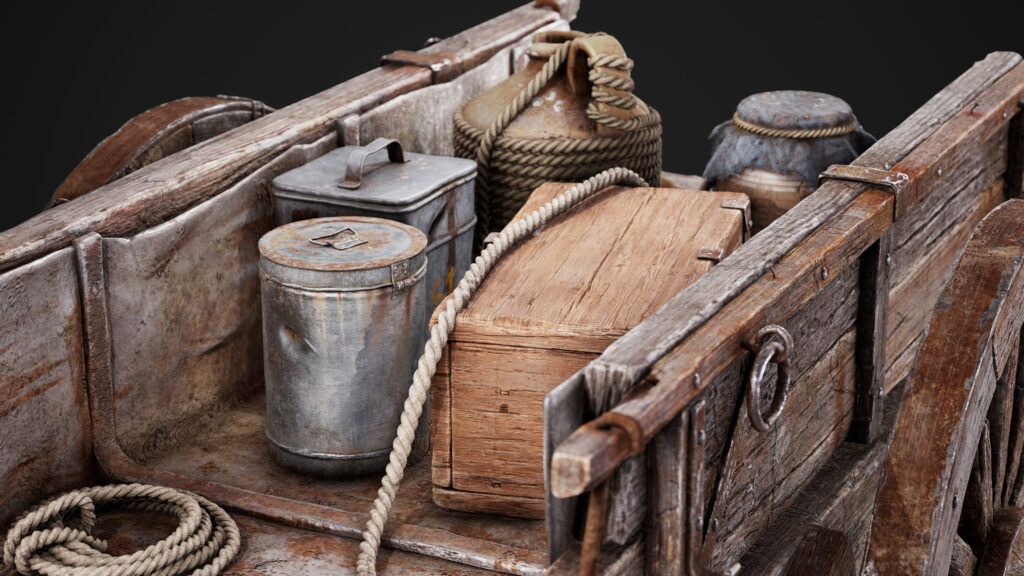
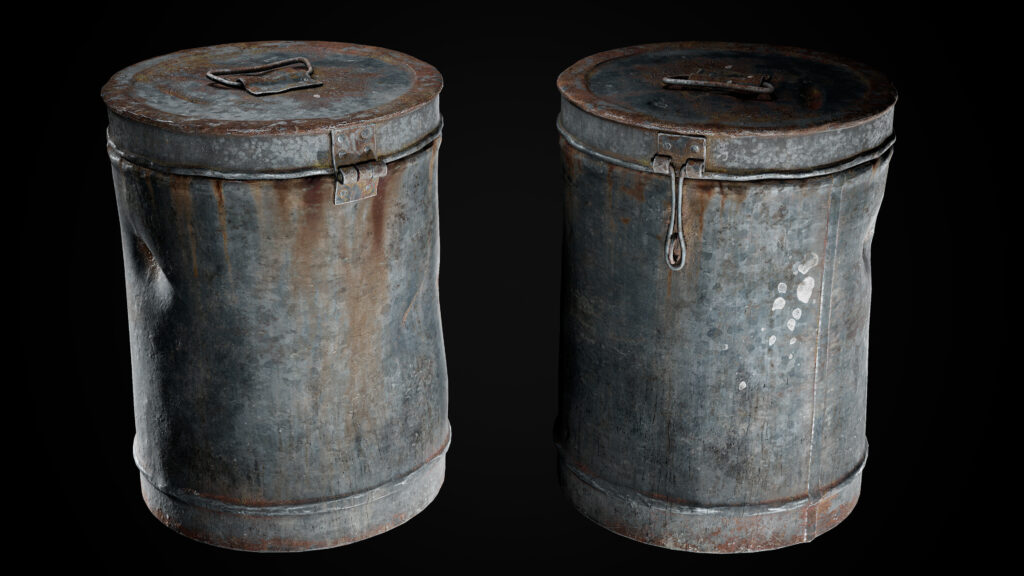
While texturing, I try to give some story to the assets with the help of color tone, dust and damage effects, which help your asset a fine look and feel.
I always set up my painter file with ACES_UE4_log Color filter, I work separately on every asset. And then compile in a single file for the use of contact AO. the contact ao helps you to add connected dirt between all the assets in the scene.
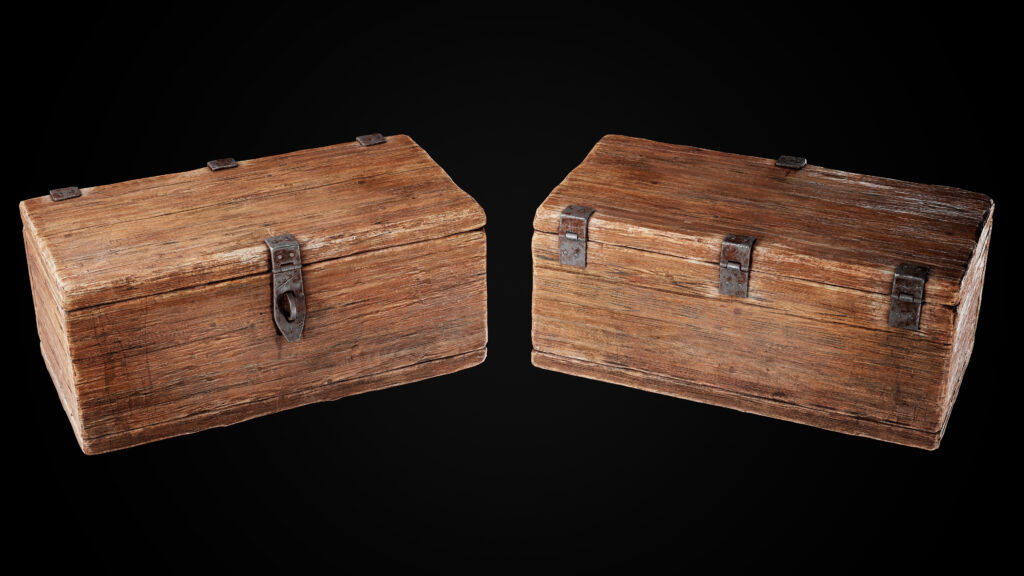
Also while texturing I check the layers and the real-life references on regular basis. Also, I spend most of the time texturing the wood and it was a fun part for me.
I suggest that while doing work on a project don’t jump on the other project, because that gives you a lack of attention on your current project. and that gives a bad impact on your project.
Rendering & Lighting

For lighting, I used a bunch of point lights. I usually try to use different lighting scenarios to see how the mesh would look in different environments.
For the best effect, I set the Tone Mapping to ACES because I use the same in substance painter and I increased the contrast just a bit to give it more highlight, also for the rest of the post effects, I just randomly adjusted the Sharpen and the Vignette.
Also for the background, I use dark gray with a black Vignette, this helps to focus on the main asset and also highlight the main asset as well.
Conclusion
It was so much fun project for me and I learned a lot in this project. also, I get many like on this project on artstation as well as on LinkedIn.
also after finishing the project. make a list of where you can improve yourself in your future projects. that helps you a lot.
I hope this article gives you knowledge.
Thank you very much!
Read more articles
You might also like these articles.