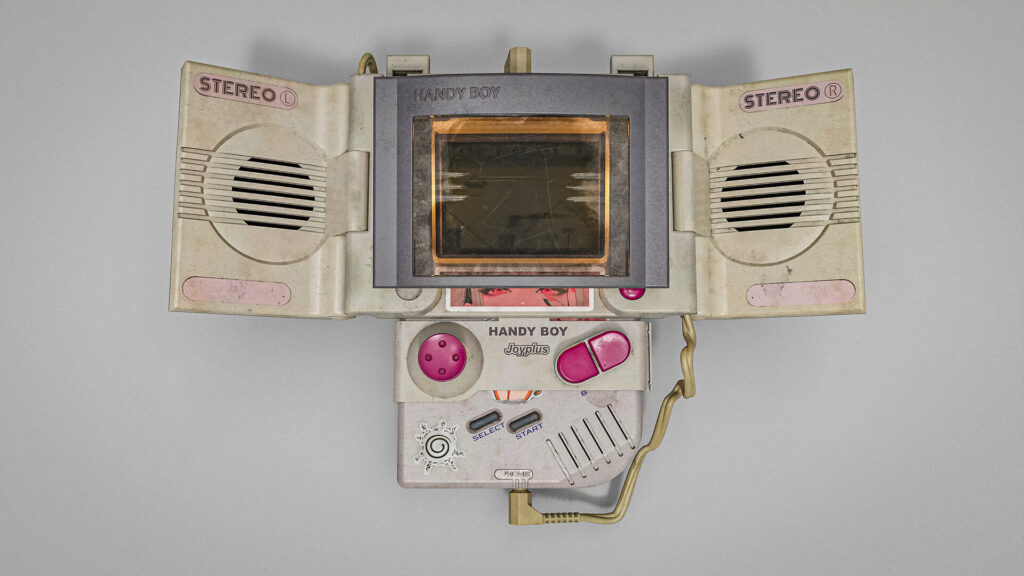
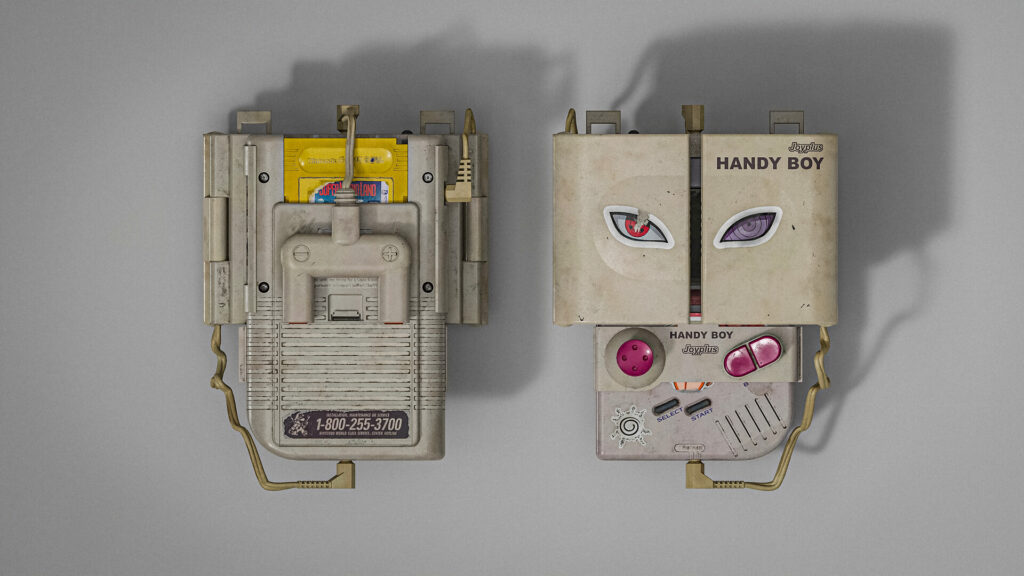
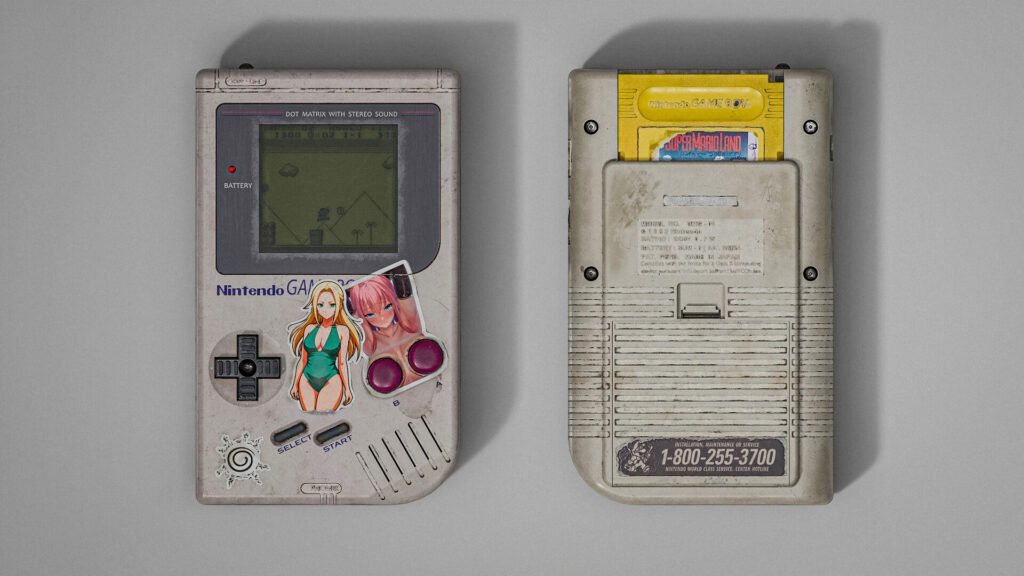
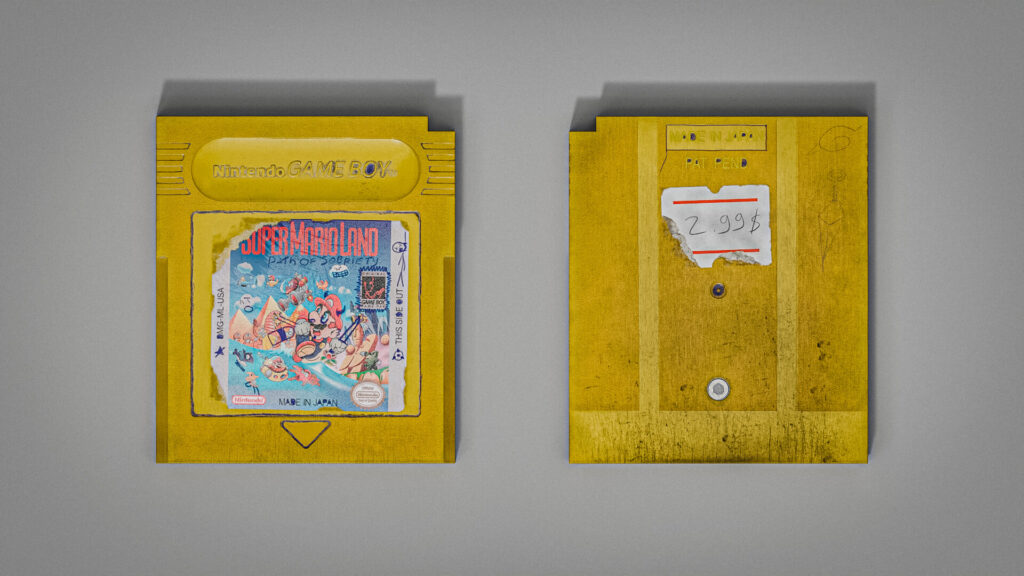
Nintendo GAME BOY 1989
Introduction
Hi everyone!
I'm Maksym Danko, a 29-year-old 3D Game Props and Environment Artist from Kyiv.
I started learning 3D modelling a year ago at ArtCraft School, where I gained the foundational skills needed to kickstart my journey.
Project & Goals
After completing the courses, I met Dmytro Androsovych, who shared his personal experience and taught me essential aspects of 3D modeling.
His mentorship helped me greatly expand my skills and knowledge in creating game-ready models.
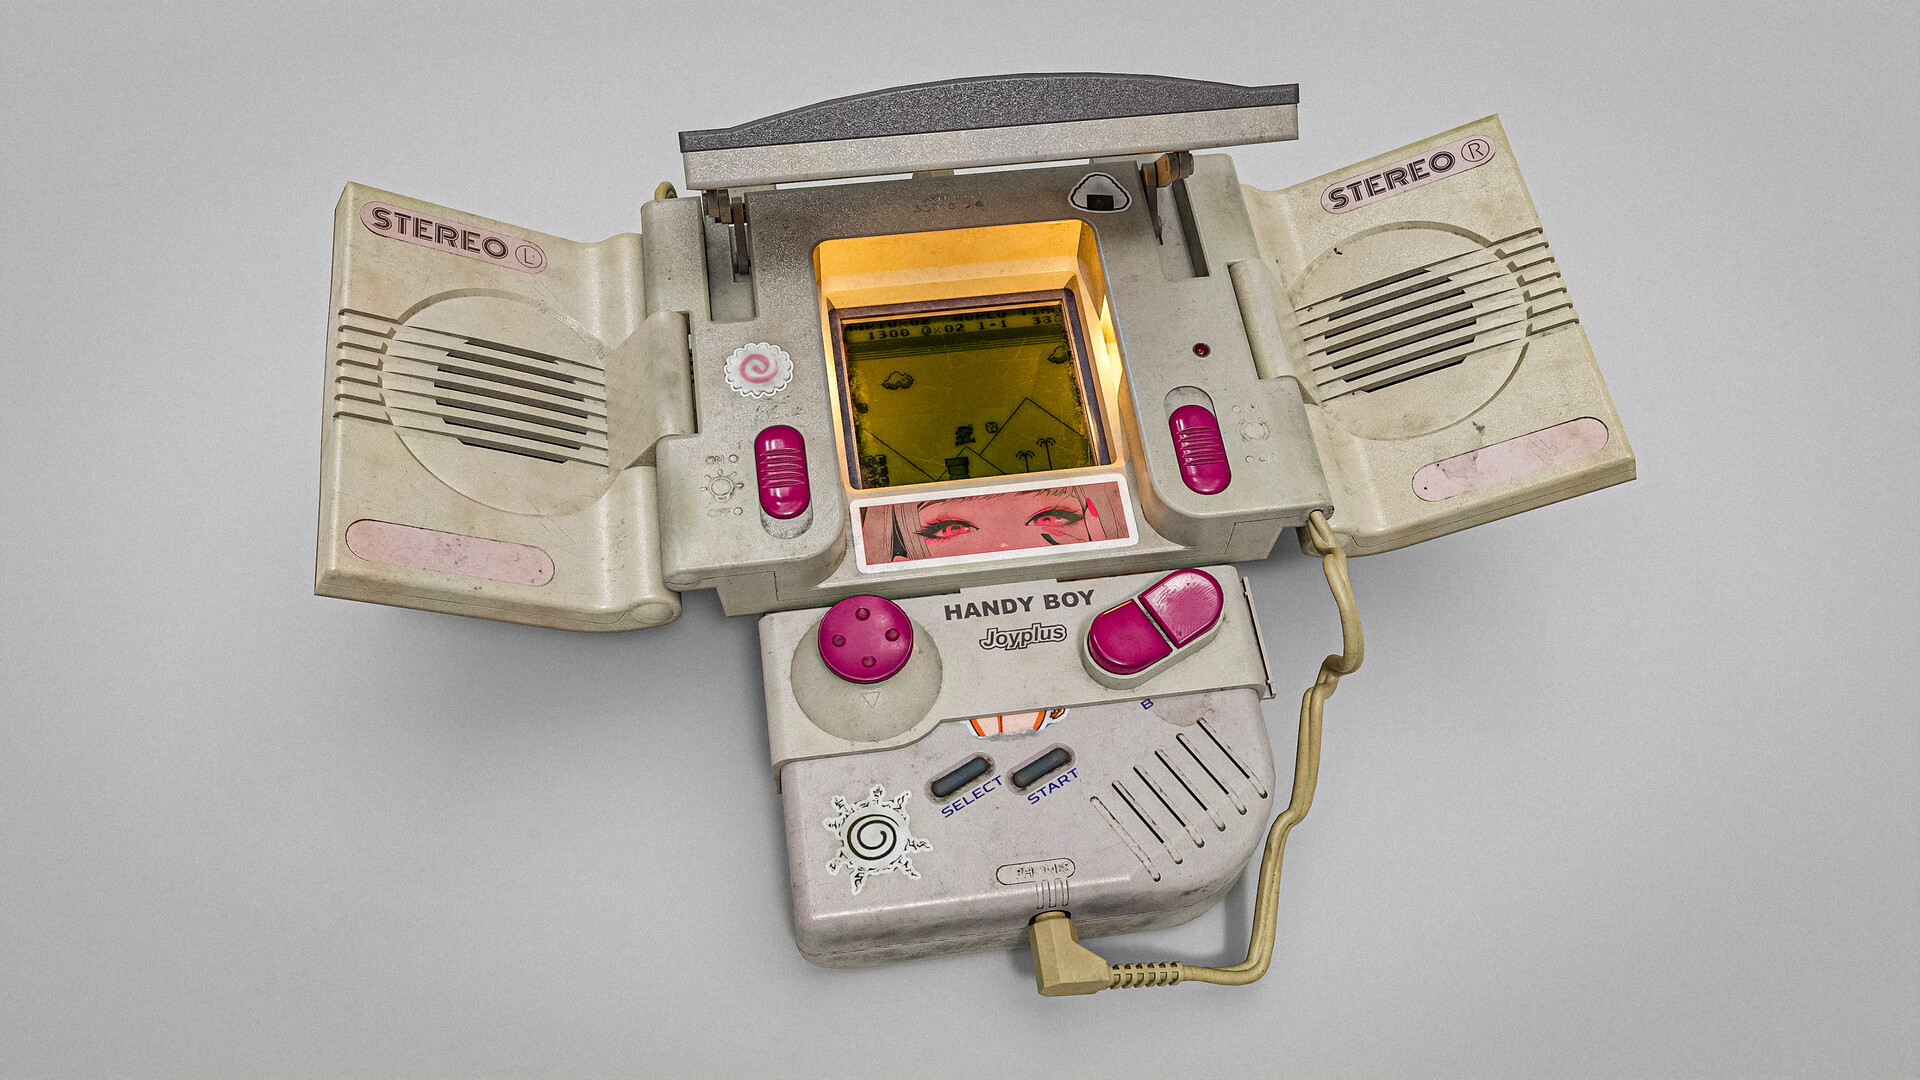
The goals of this project are to demonstrate my skills and apply them through a console model. I believe that remaking one of my previous works is the perfect approach, but I didn’t want it to feel repetitive, as there are already many similar consoles and interpretations on ArtStation.
That’s why I decided to create a console with a unique and interesting accessory that adds a fresh perspective.
Tools
- PureRef – References
- Plasticity – High-poly and low-poly modeling
- Blender – Low-poly optimization and preliminary UV unwrapping
- RizomUV – UV unwrapping
- Marmoset Toolbag 4 & 5 – Baking and Rendering
- Adobe Substance 3D Painter – Texturing
- Adobe Photoshop – Sticker creation
- Adobe Lightroom – Post-processing
References & Inspiration
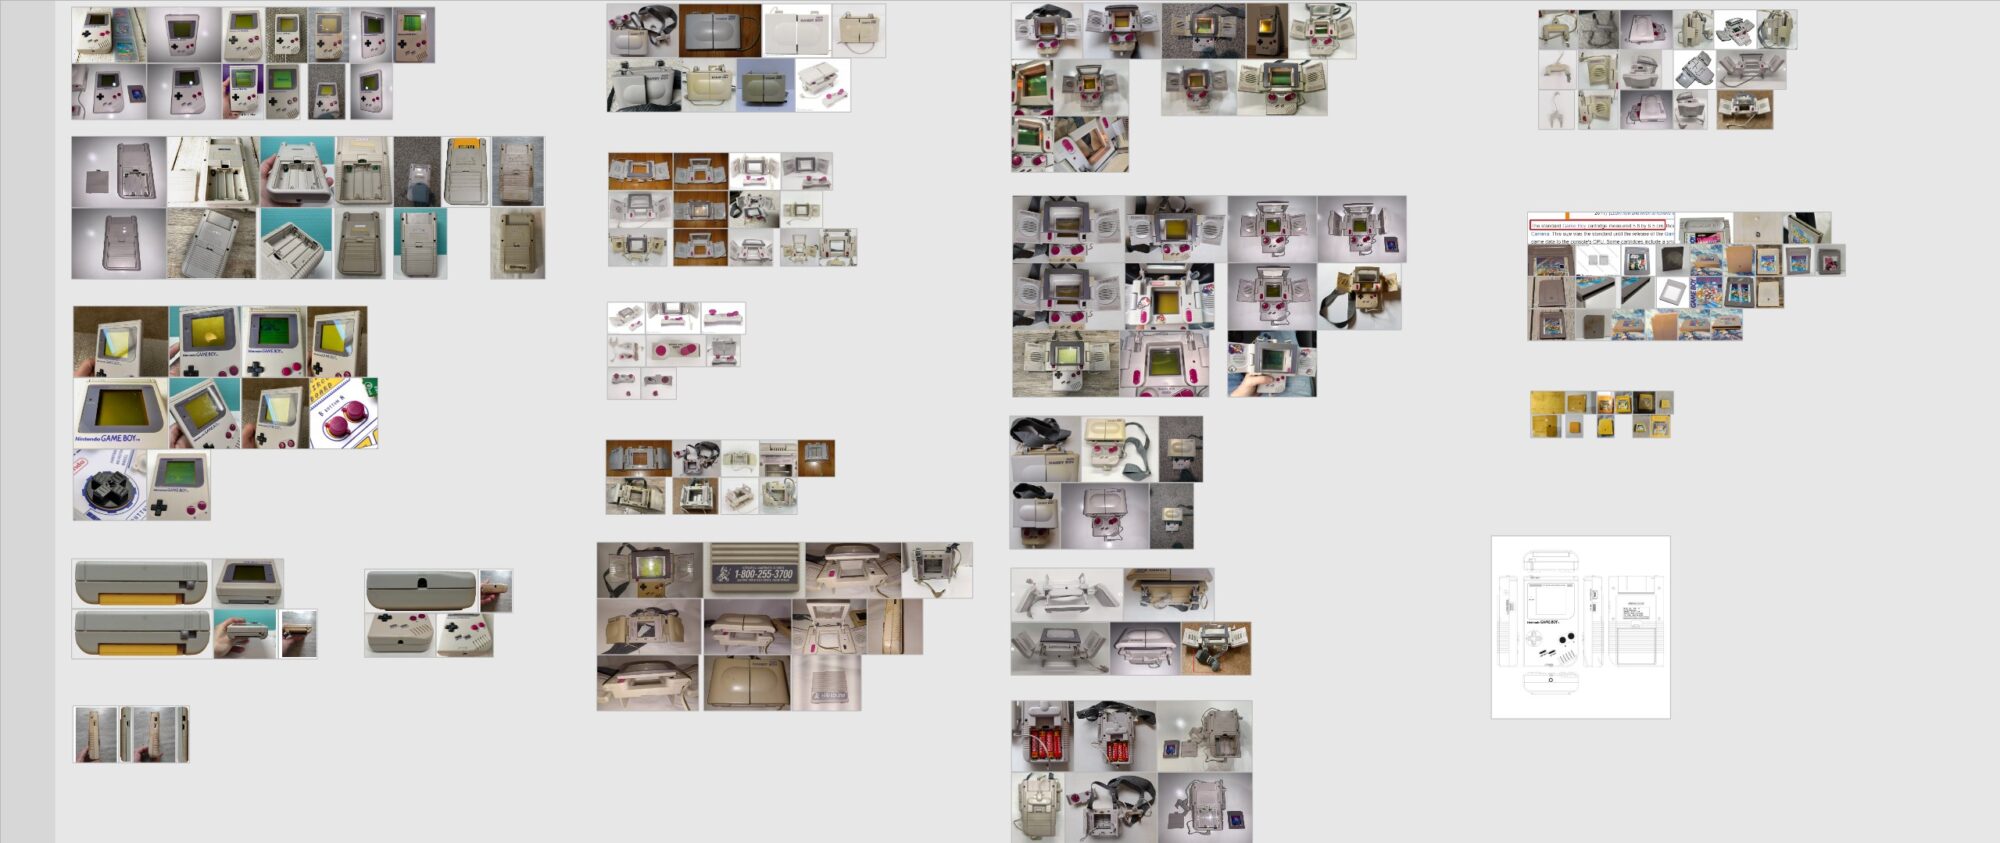
When it comes to inspiration, I would definitely highlight two people: Diana Davydiants with her “Dendy” and Anatolii Kenc with his “Old Phone”.
I was so impressed by their works and the way they handled plastic textures that it inspired me to create something similar.
As for references, I carefully selected them, focusing on clear images of the console’s form and texture, as well as signs of natural wear. My main sources were eBay and auction websites.
High & Low-Poly Modelling
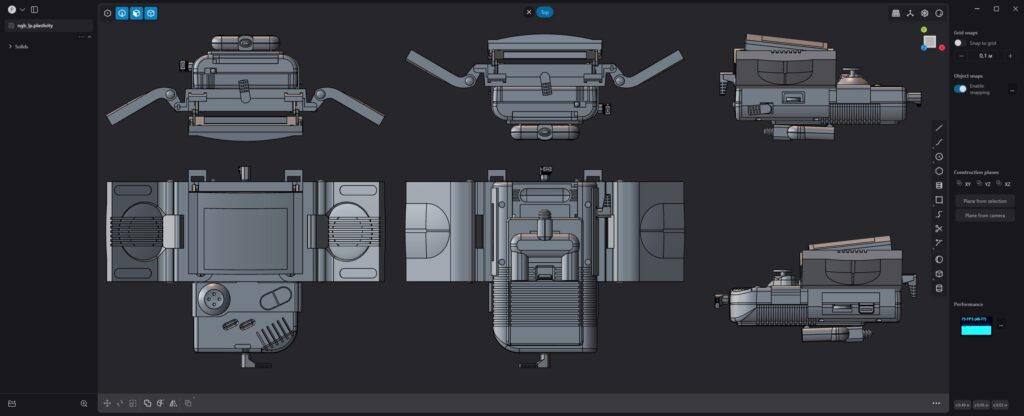
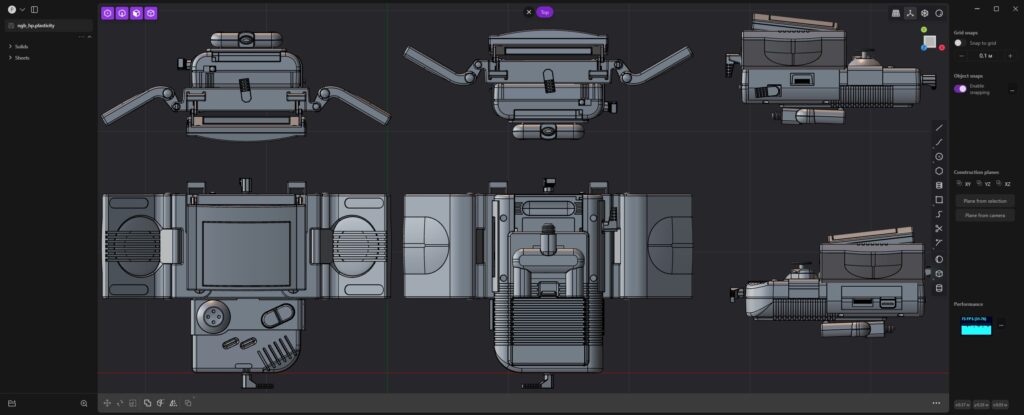
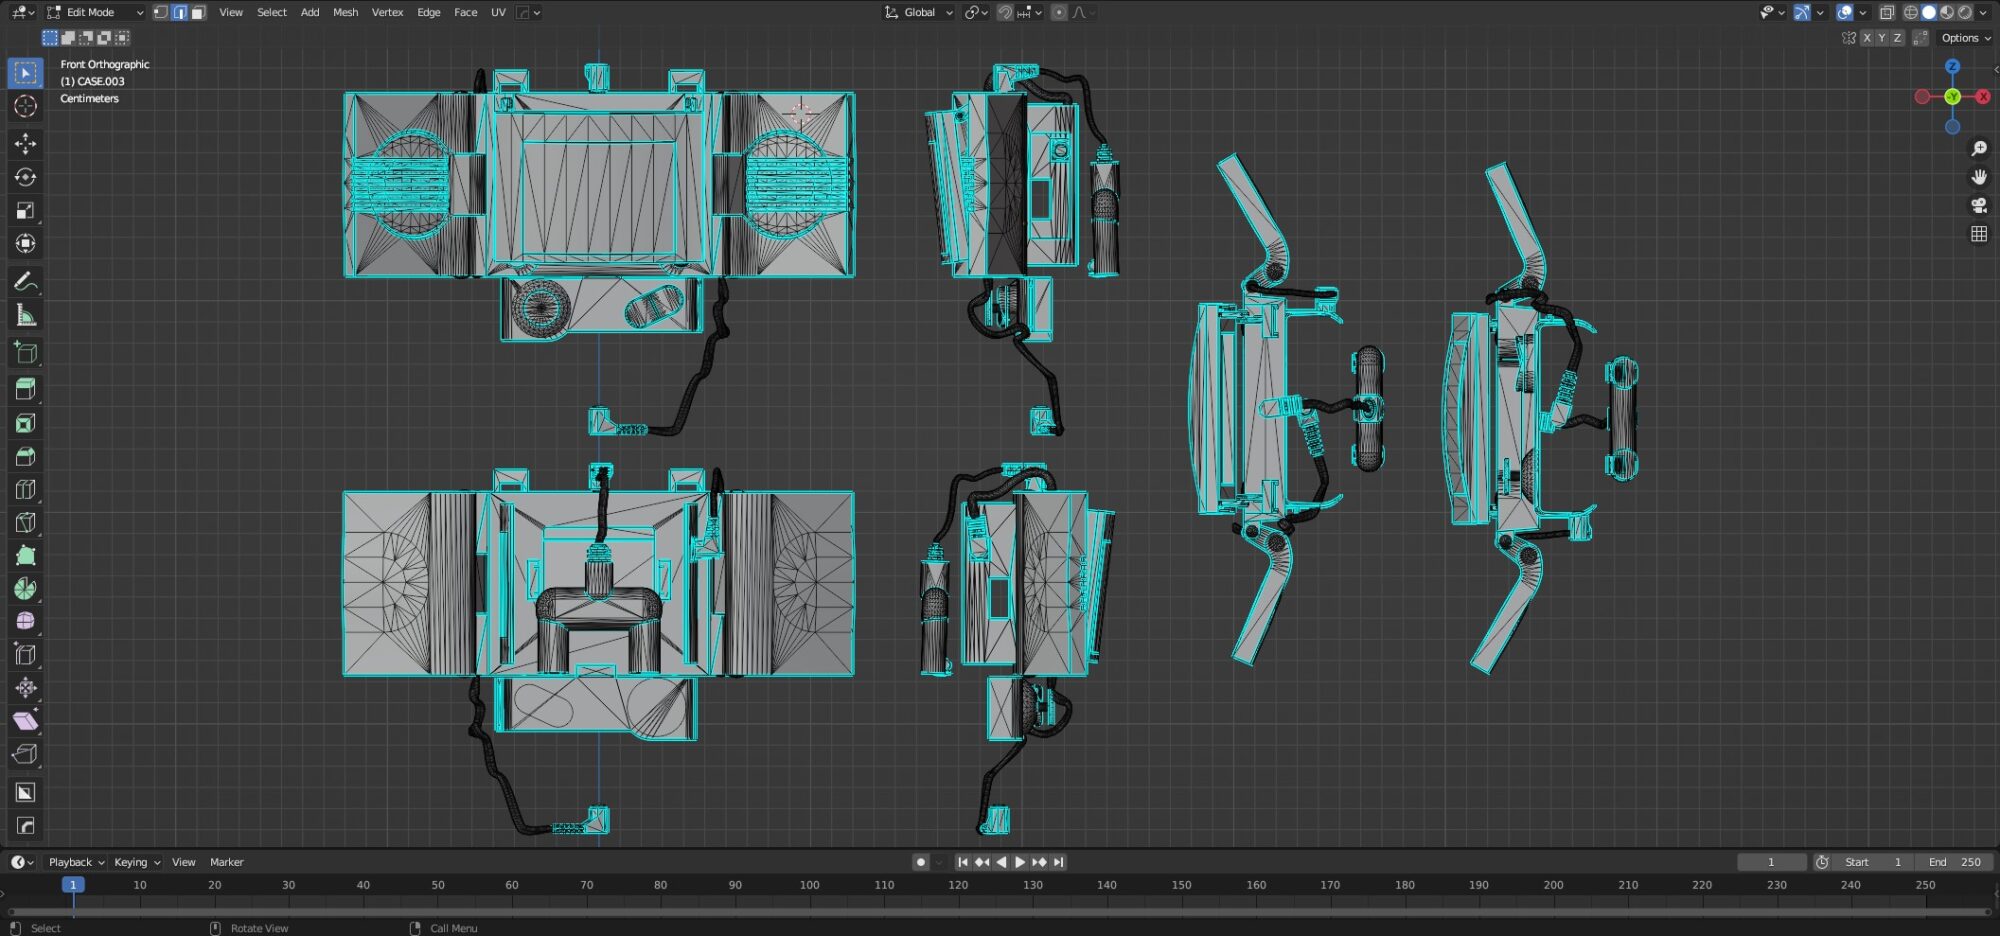
The primary software I used for creating both high-poly and low-poly models was Plasticity.
My first task there was to create a CAD model, from which I then developed the high-poly version.
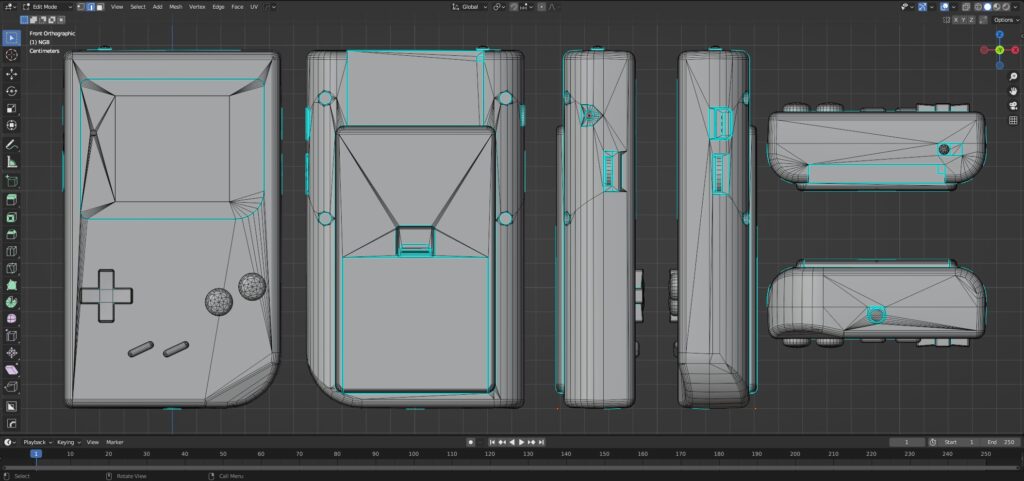
In Plasticity, I prepared two models: one simplified low-poly and one high-poly with bevels.
I then exported the models to Blender, where I focused on refining the high-poly model by adding wires and text in the required font, as well as optimizing the low-poly model and preparing it for UV unwrapping.
UV Unwrapping
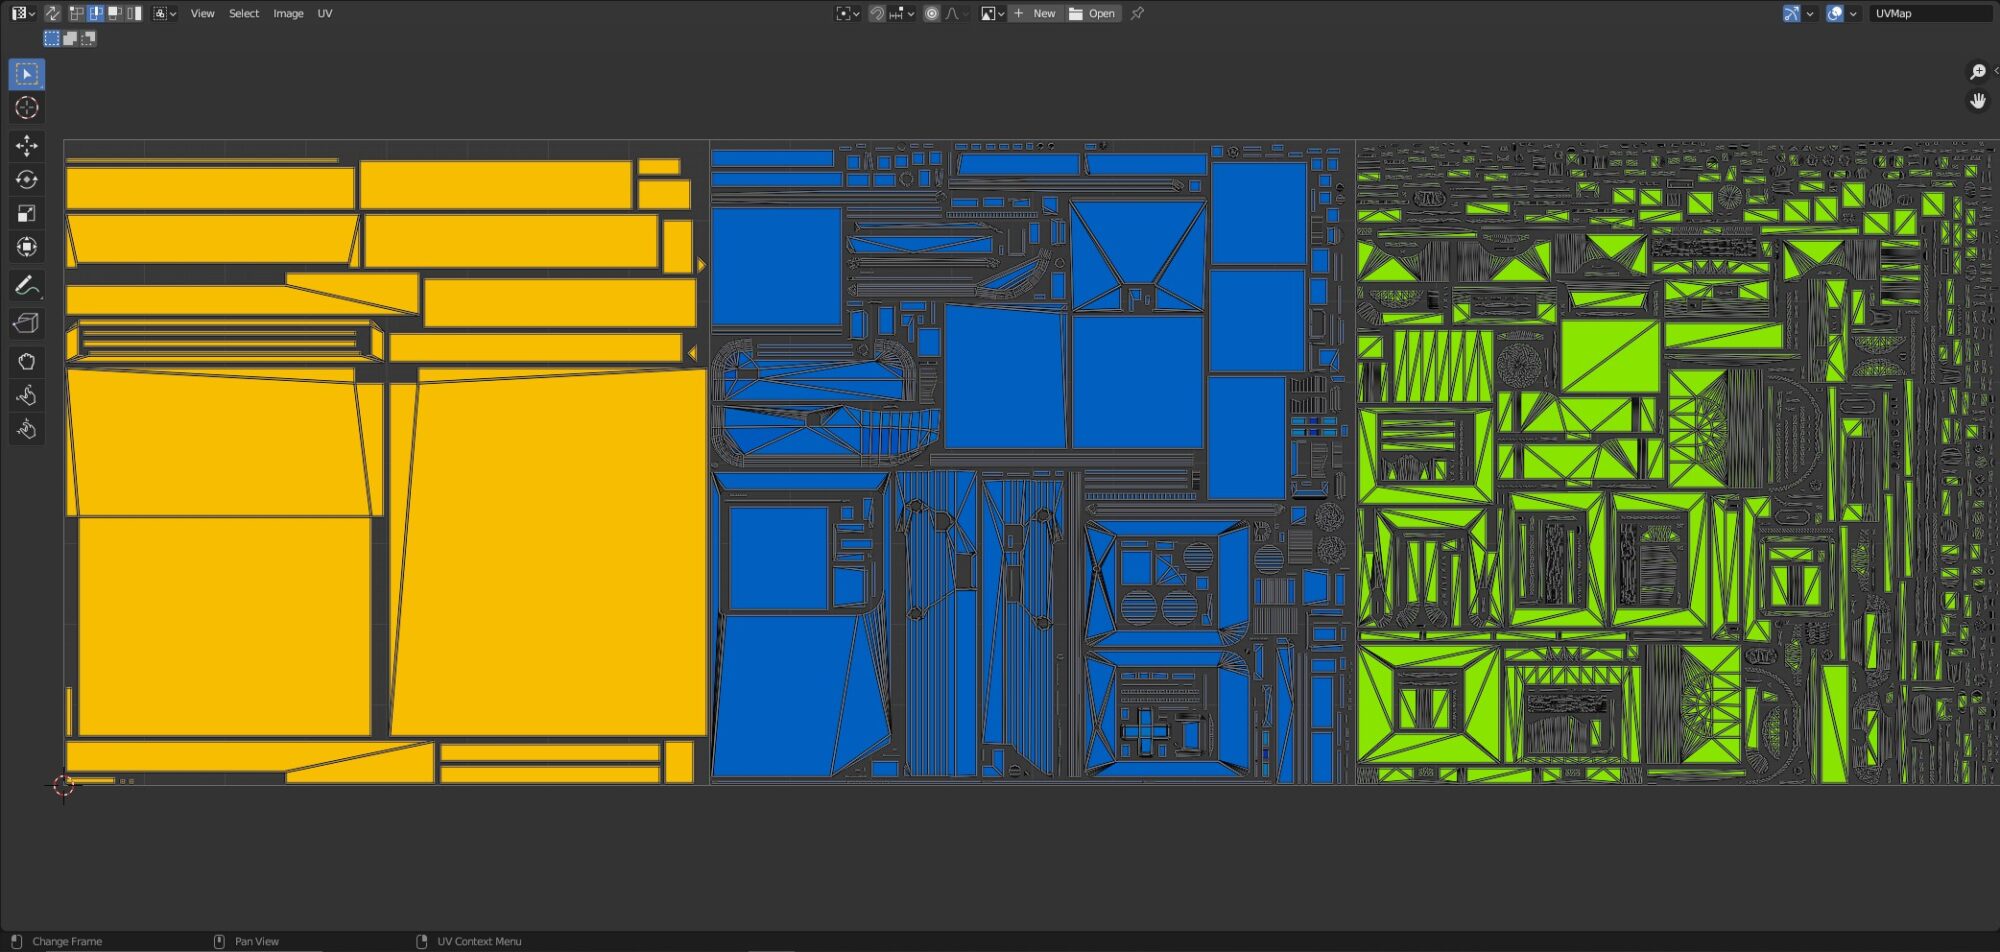
The main UV unwrapping for each object was done in Rizom and then exported back to Blender, where the UDIM format was created.
Each of these objects has its own UV map and textures, which allows for high-quality detailing and resolution.
Texturing
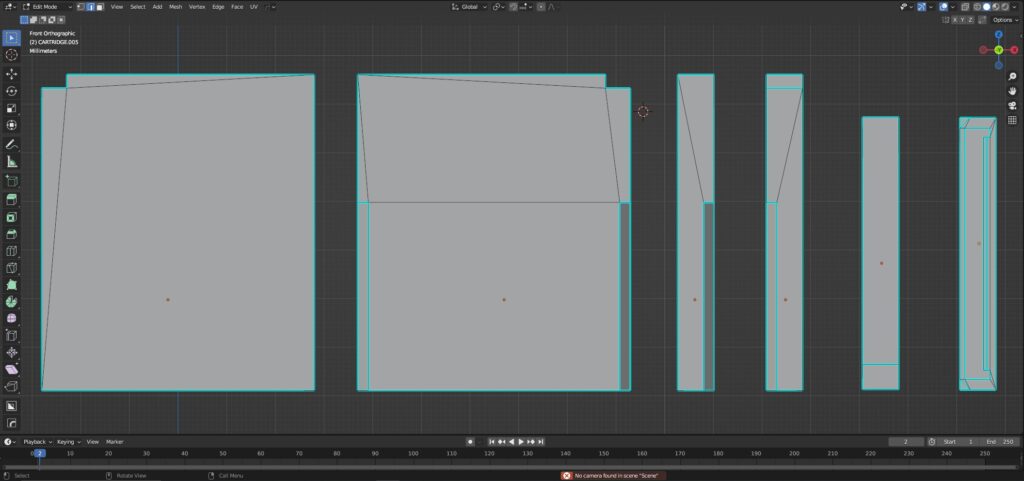
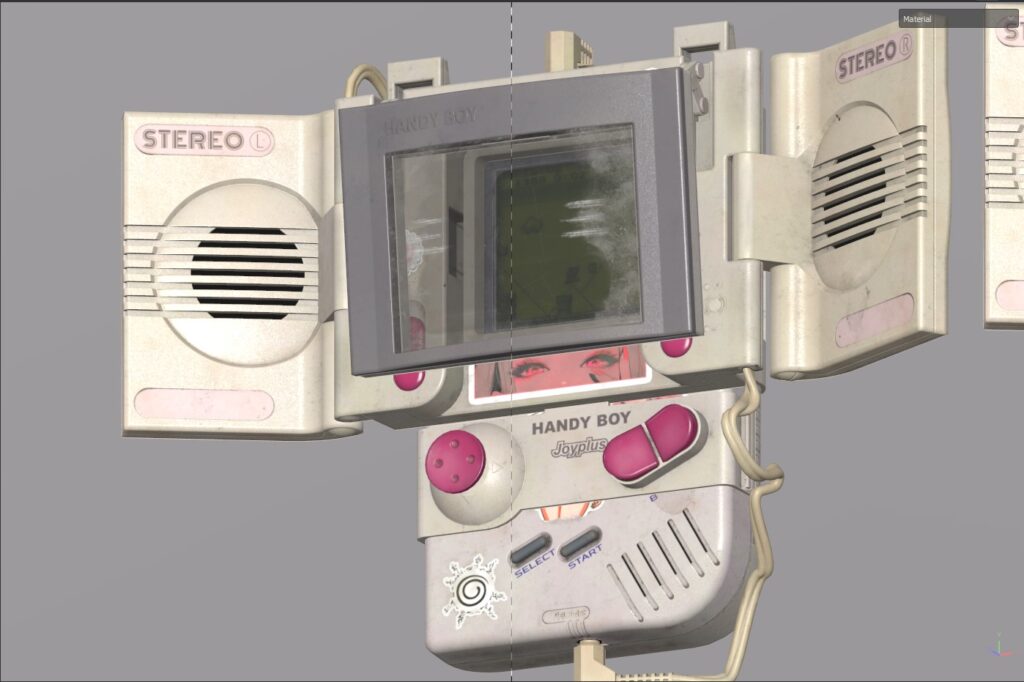
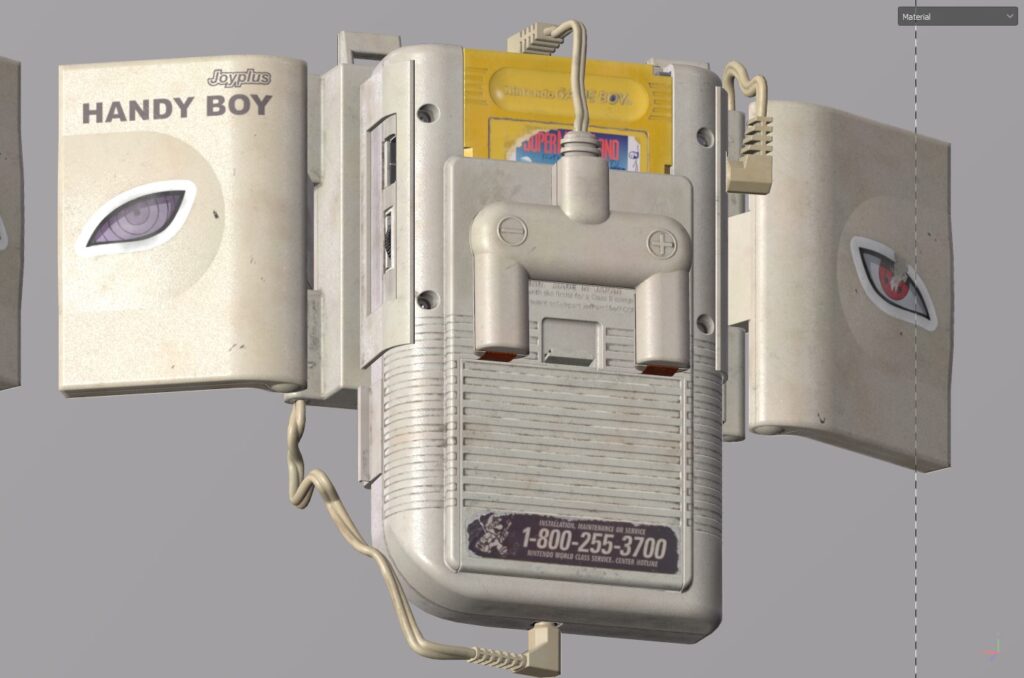
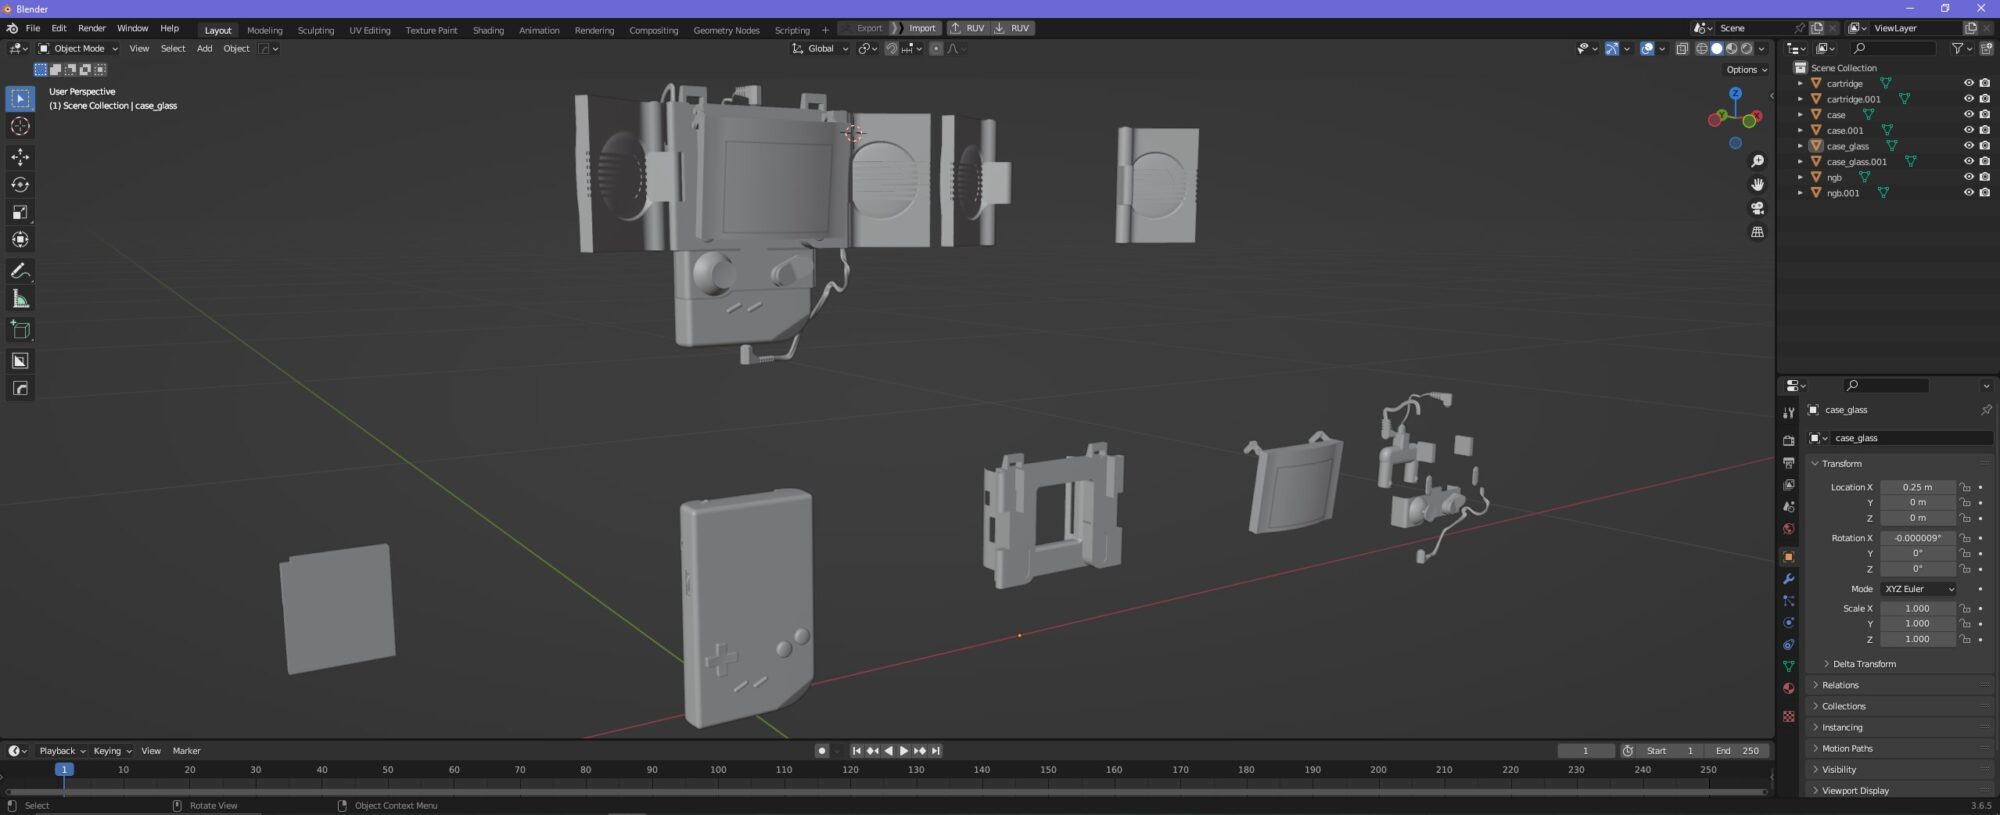
Before starting the texturing process, I organized the console so that I had both the main model and the model broken down into separate components:
The cartridge, the console itself, and the accessory.
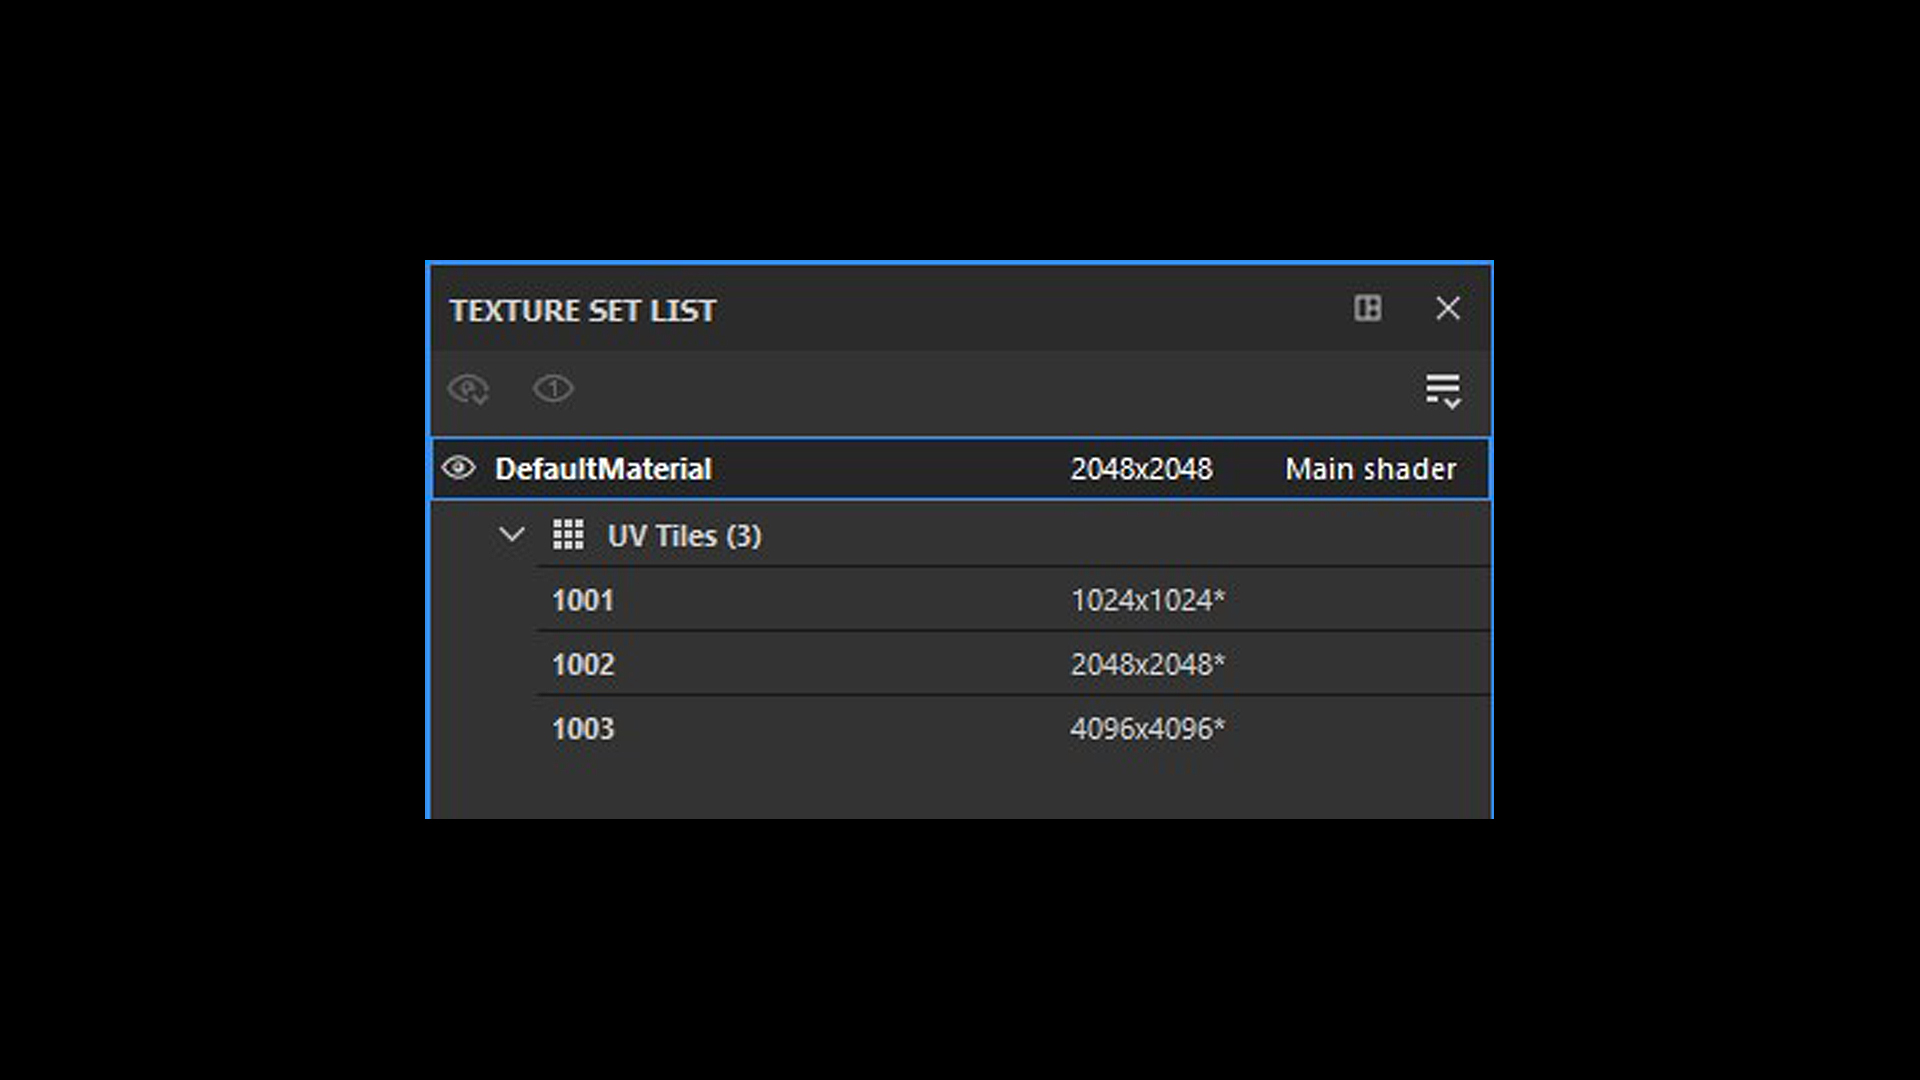
An important step was setting the appropriate texture resolution for the console.
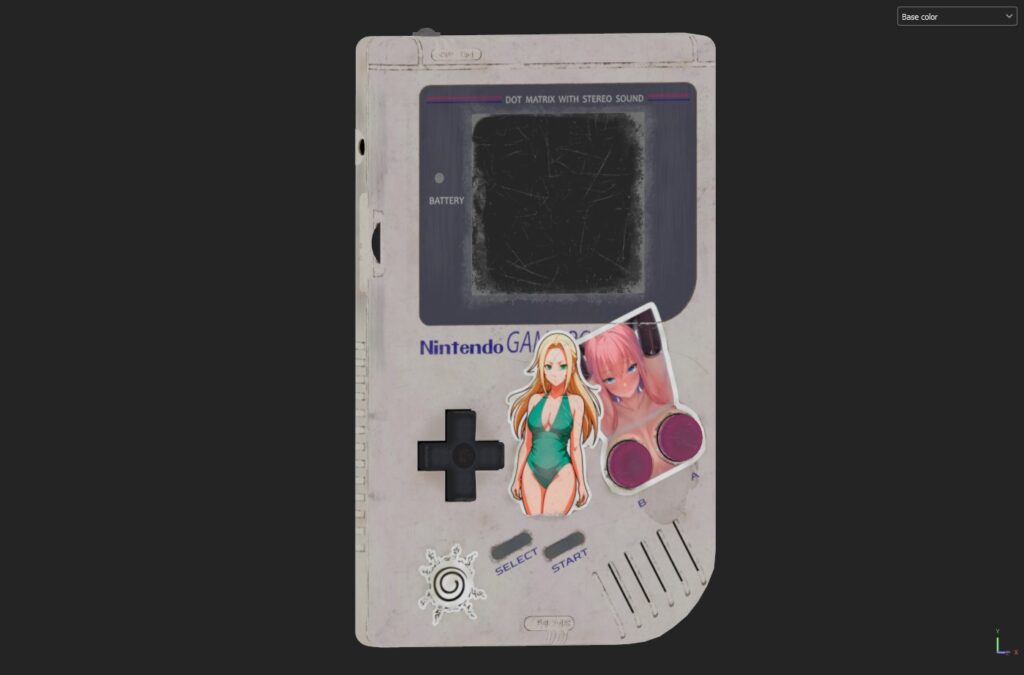
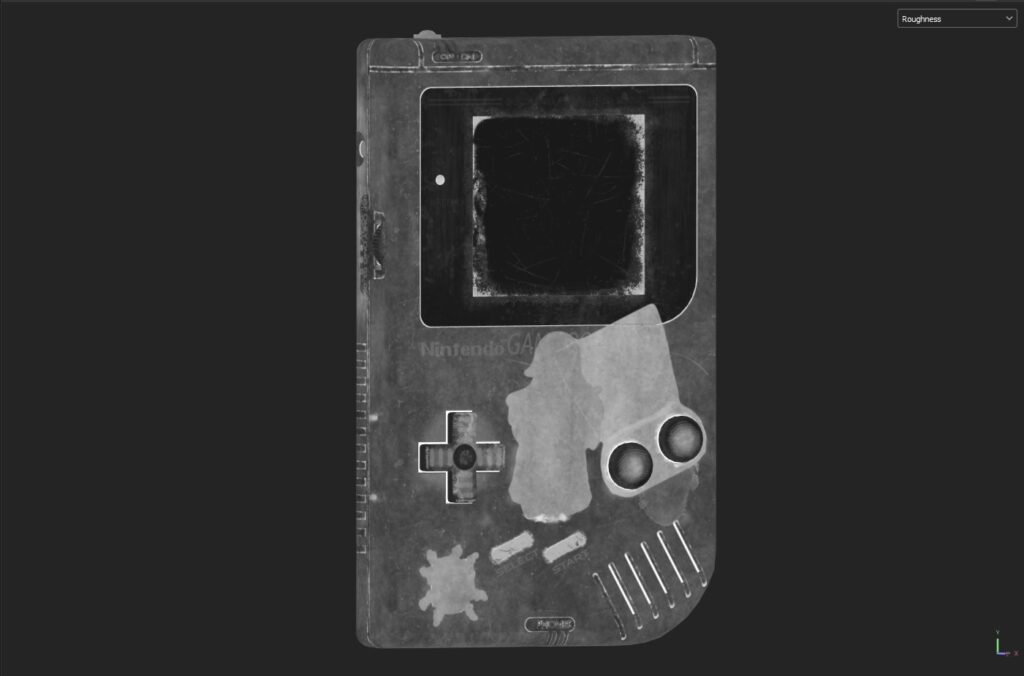
I began texturing by creating a completely custom smart material for plastic, as I knew it would be used extensively.
The layer hierarchy was set up so that the base color and its variations come first, followed by a layer for dirt, dust, and so on, and finally, the wear layer consisting of both large and small scratches.
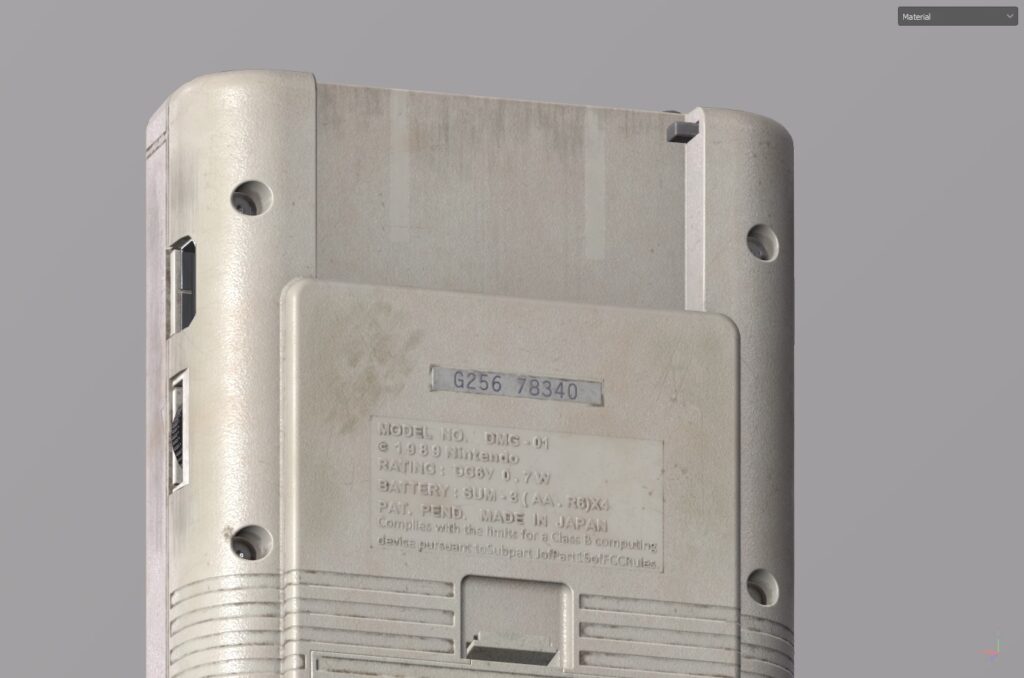
During the creation of the console, I followed the concept of texturing each part separately.
I believe this is the right approach because each individual component’s uniqueness tells a story—showing uneven wear, characteristic usage, and the marks of years of storage and use.
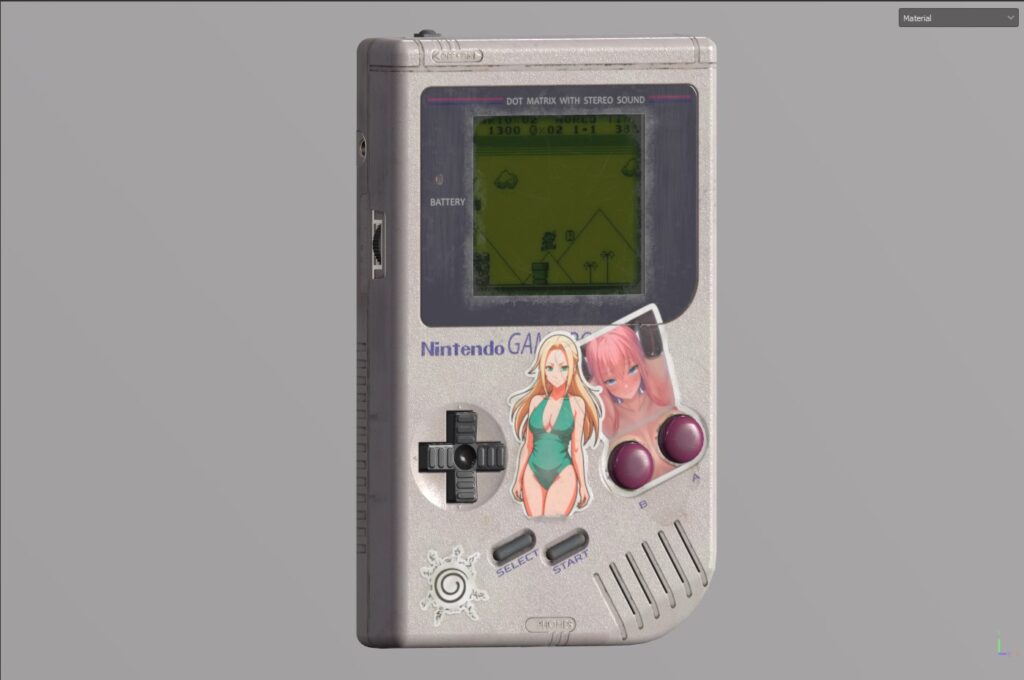
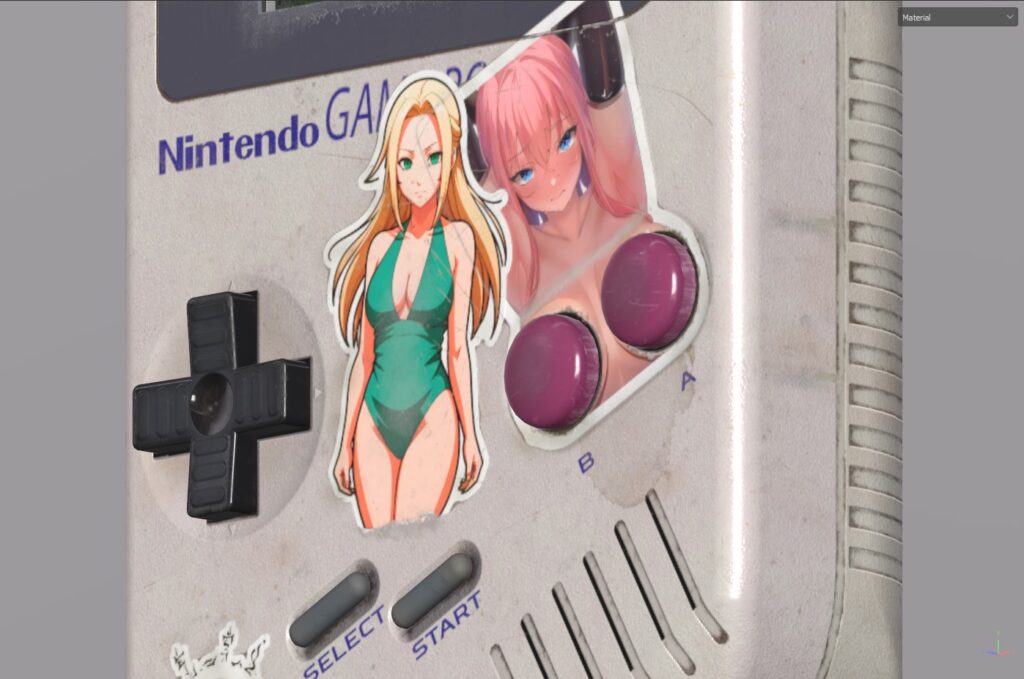
When creating the plastic texture, it was important for me to show wear in logical places. I focused on dust and dirt accumulation, stains on the console and side scuffs from the accessory, as if it had been taken off and put on in real life, and emphasized the scratches on the buttons and the rear power element.
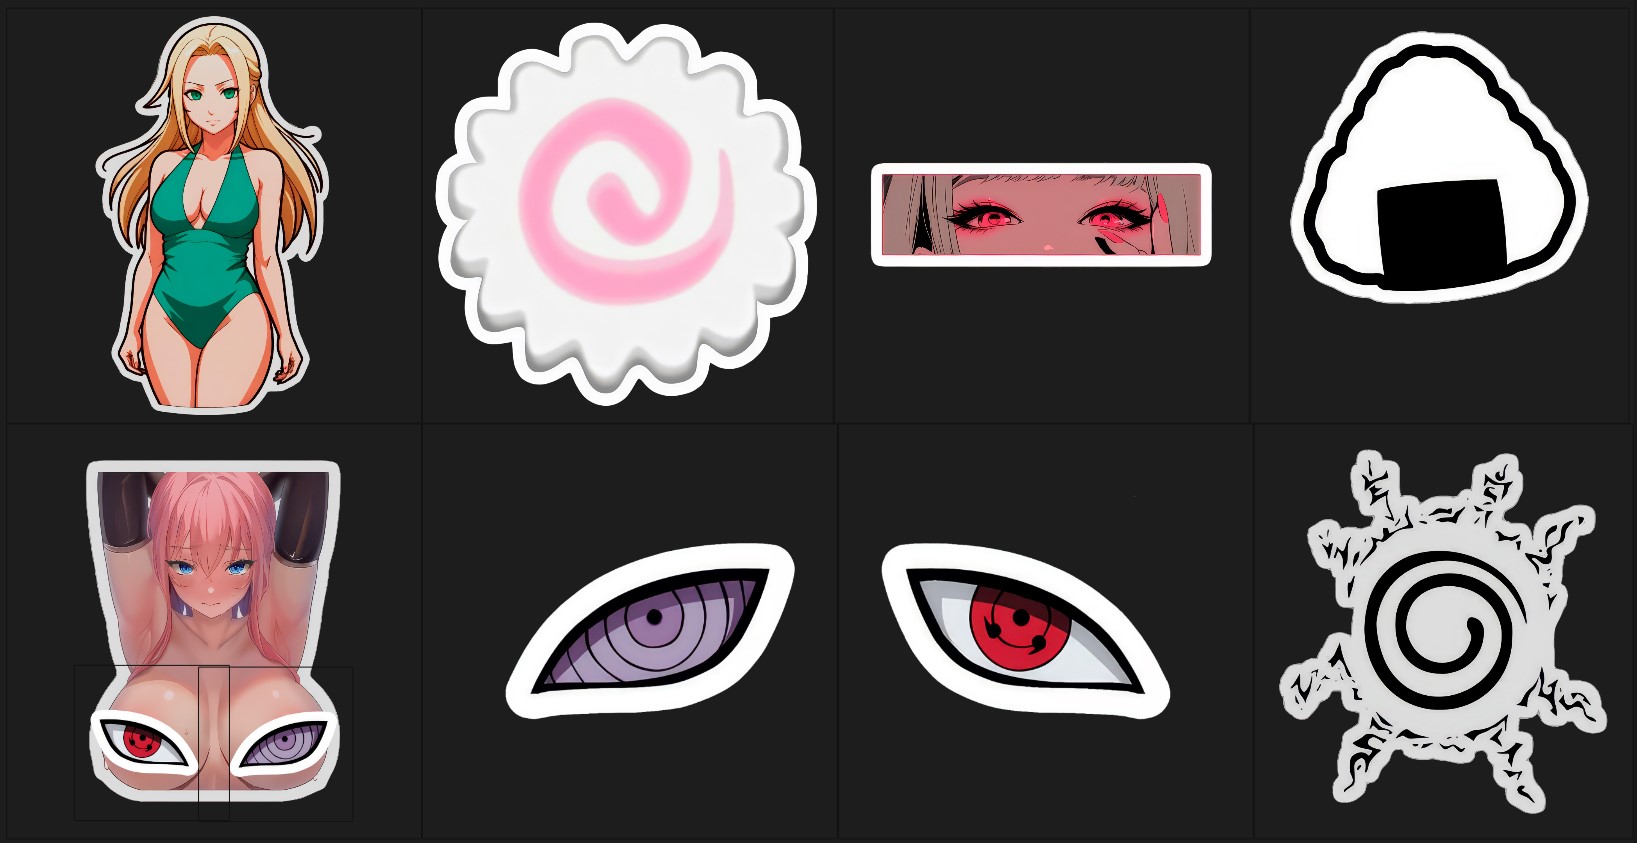
For the stickers, I used the pre-made smart material Sticker Creator. As you can see, the stickers are a key detail of the console, highlighting both its individuality and the owner’s interests.
Lighting & Rendering
To set up the final model, I used Marmoset Toolbag 5. I utilized multiple light sources in the render, including key light, fill light, and a light highlighting the corners, in order to achieve realistic lighting and emphasize the model’s details.
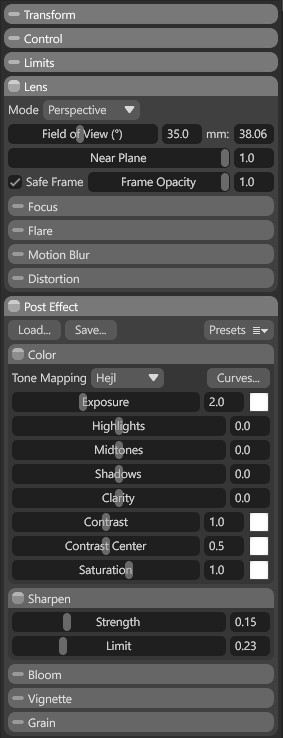
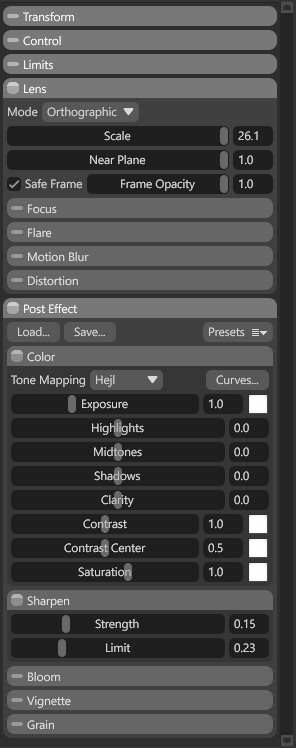
For this model, I also wanted to experiment with the camera settings, without focusing on post-processing effects, as I planned to do that in Adobe Lightroom.
The camera settings were generally as follows:
To enhance the realism of the model, I also adjusted the reflection and refraction of the glass on the accessory, making it appear lifelike and realistic, with a magnifying effect like a lens.
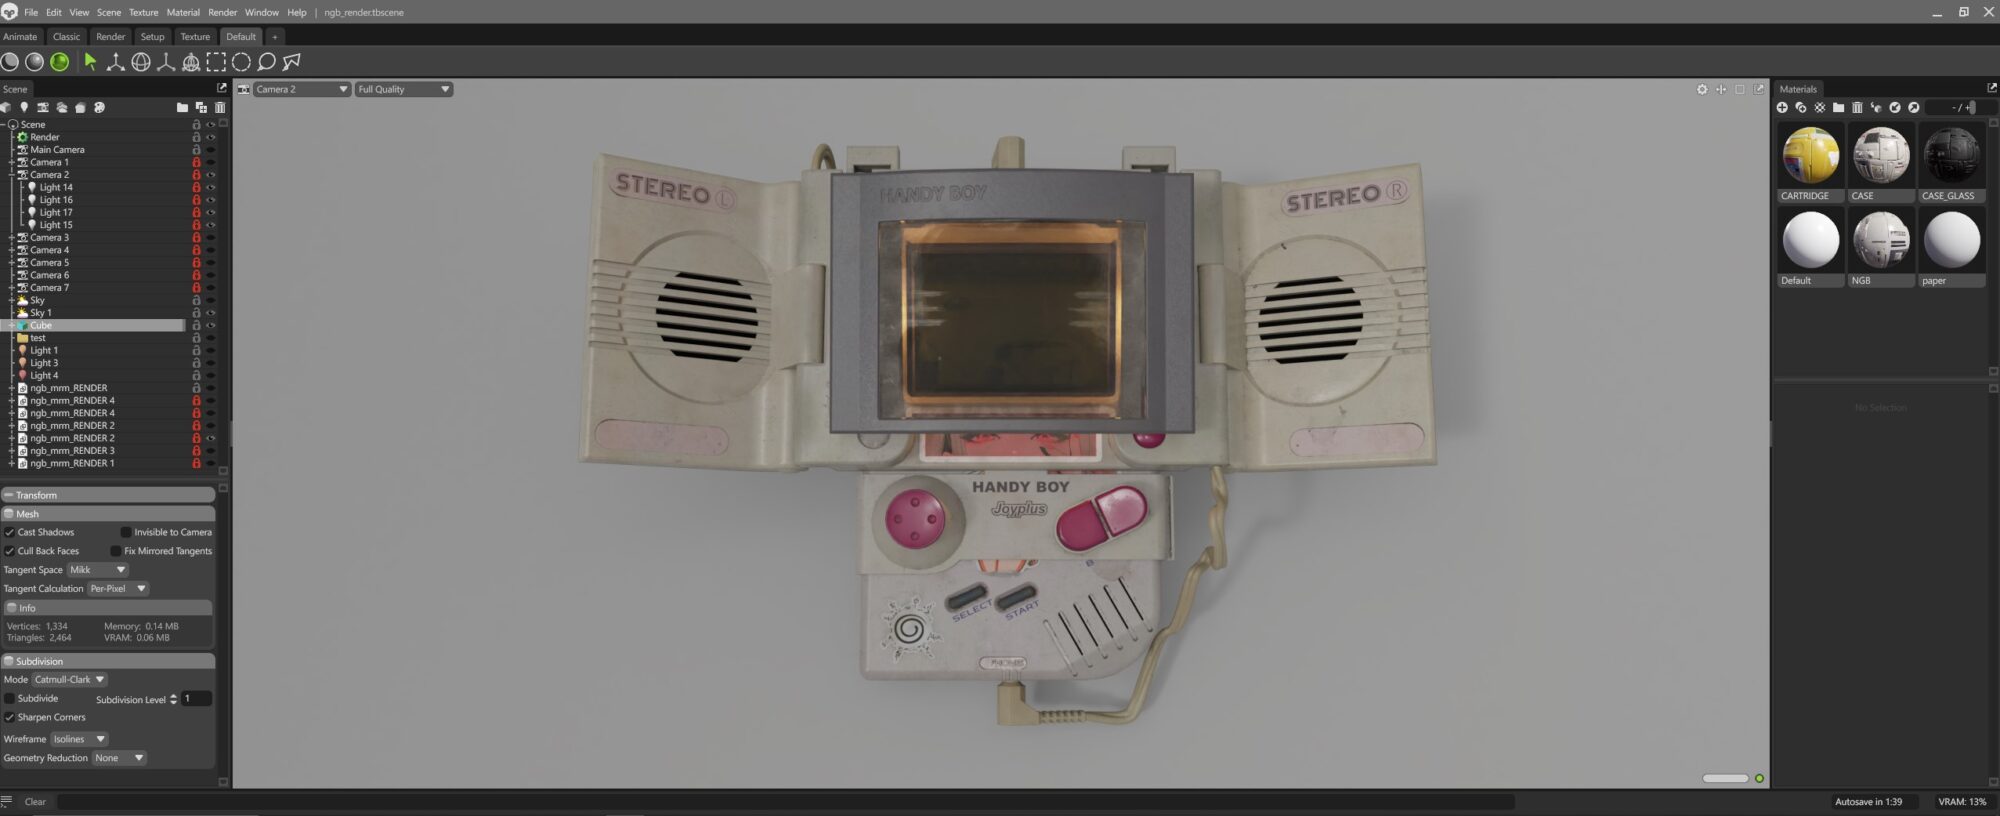
The main post-processing was done in Adobe Lightroom, where I applied a custom filter, I created specifically for the console.
This allowed me to adjust the contrast and saturation effects, achieving a more expressive image.
I also paid attention to the lighting and shadows, softening them to make the scene feel more natural. This helped emphasize the details and made the model more visually appealing.
Conclusion
From my personal experience, here’s some advice I’d give to future 3D artists:
Keep practicing, experimenting, and learning new things. 3D is always evolving, and new techniques and tools are constantly being developed. Who knows, you might come up with something that future artists will use!
Pay close attention to every stage of the modeling process. The final result of your work depends on it.
Don’t hesitate to ask experienced 3D artists for advice. They know their craft and can help you optimize your workflow and share some useful tricks. You might even be lucky enough to find a mentor who will guide you and become a friend.
A big thank you to GamesArtist for giving me the opportunity to share my project. For any 3D artist, especially someone just starting out, it’s a great honor.

