New Earth Vista


Introduction
Hello everyone. I'm Geng Yinxiao, you can also call me Soap. I am from Shanghai, China, I specialize in the production of 3D Environments.
Project
This time, I’ll be discussing the full workflow for creating ecological assets.
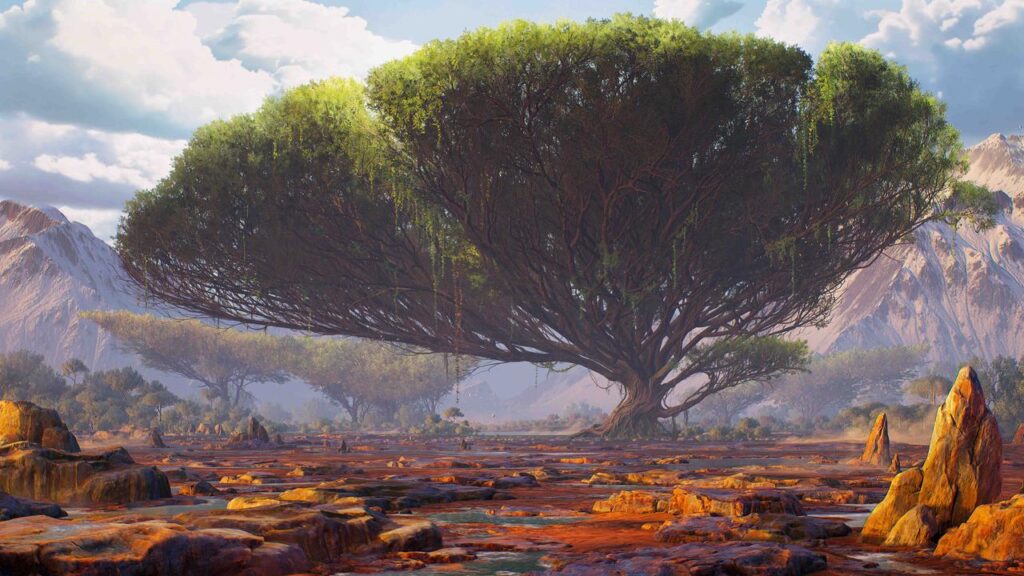
The concept artist is Sung Choi. His personal ArtStation link: https://www.artstation.com/sungchoi.
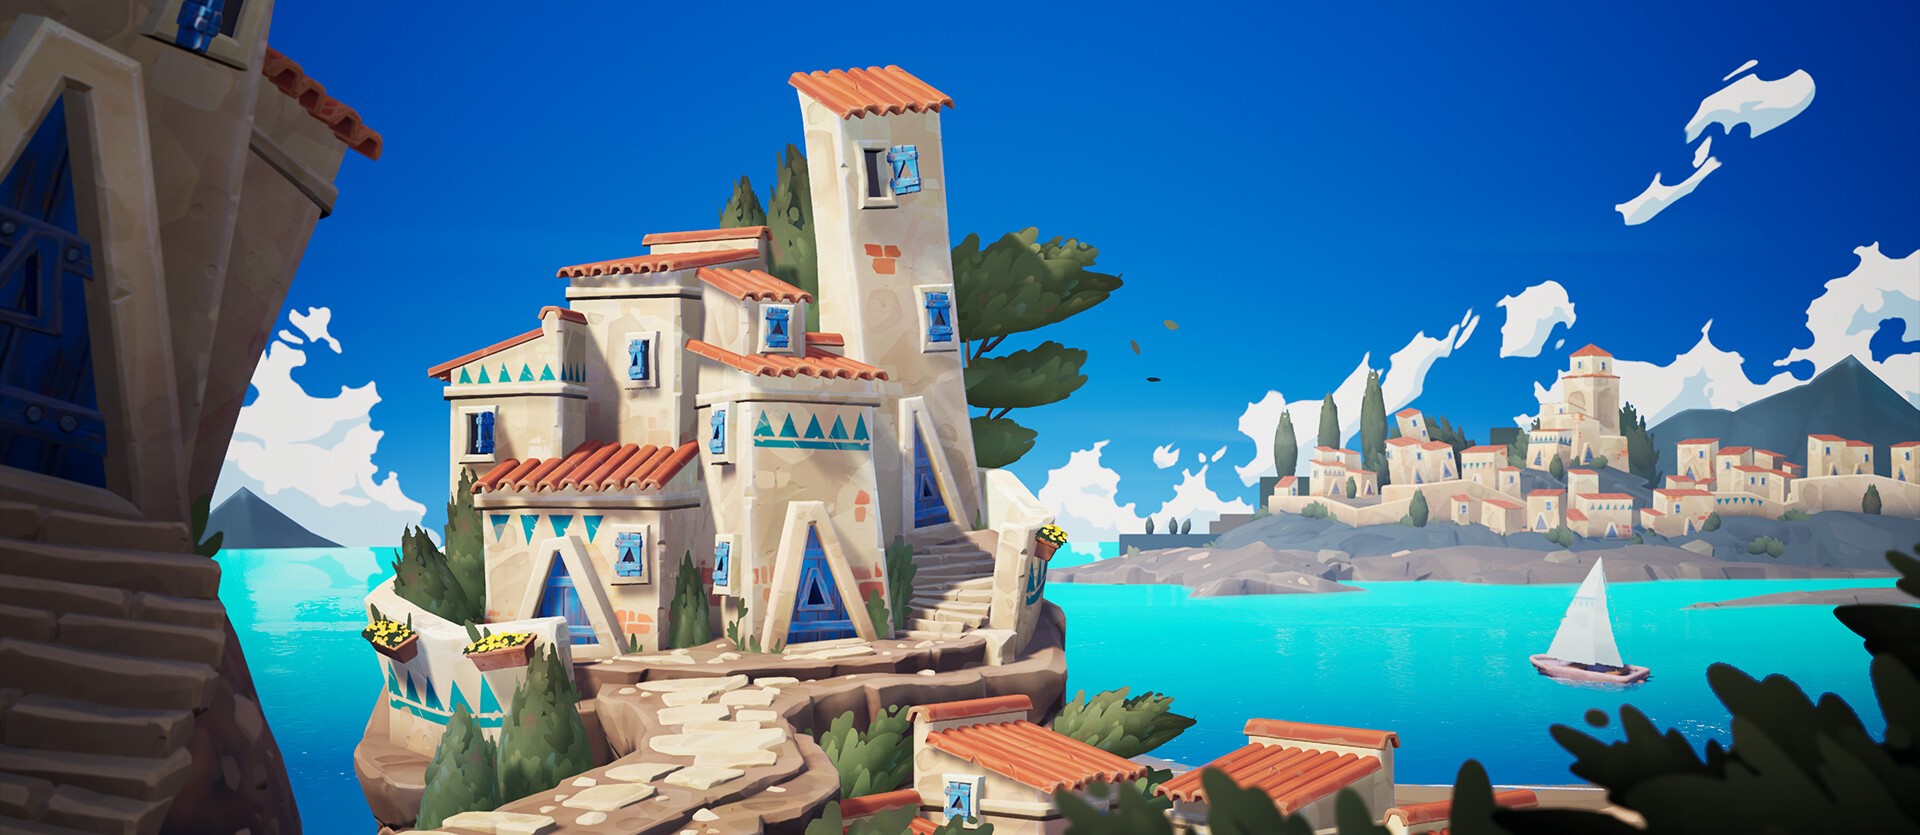
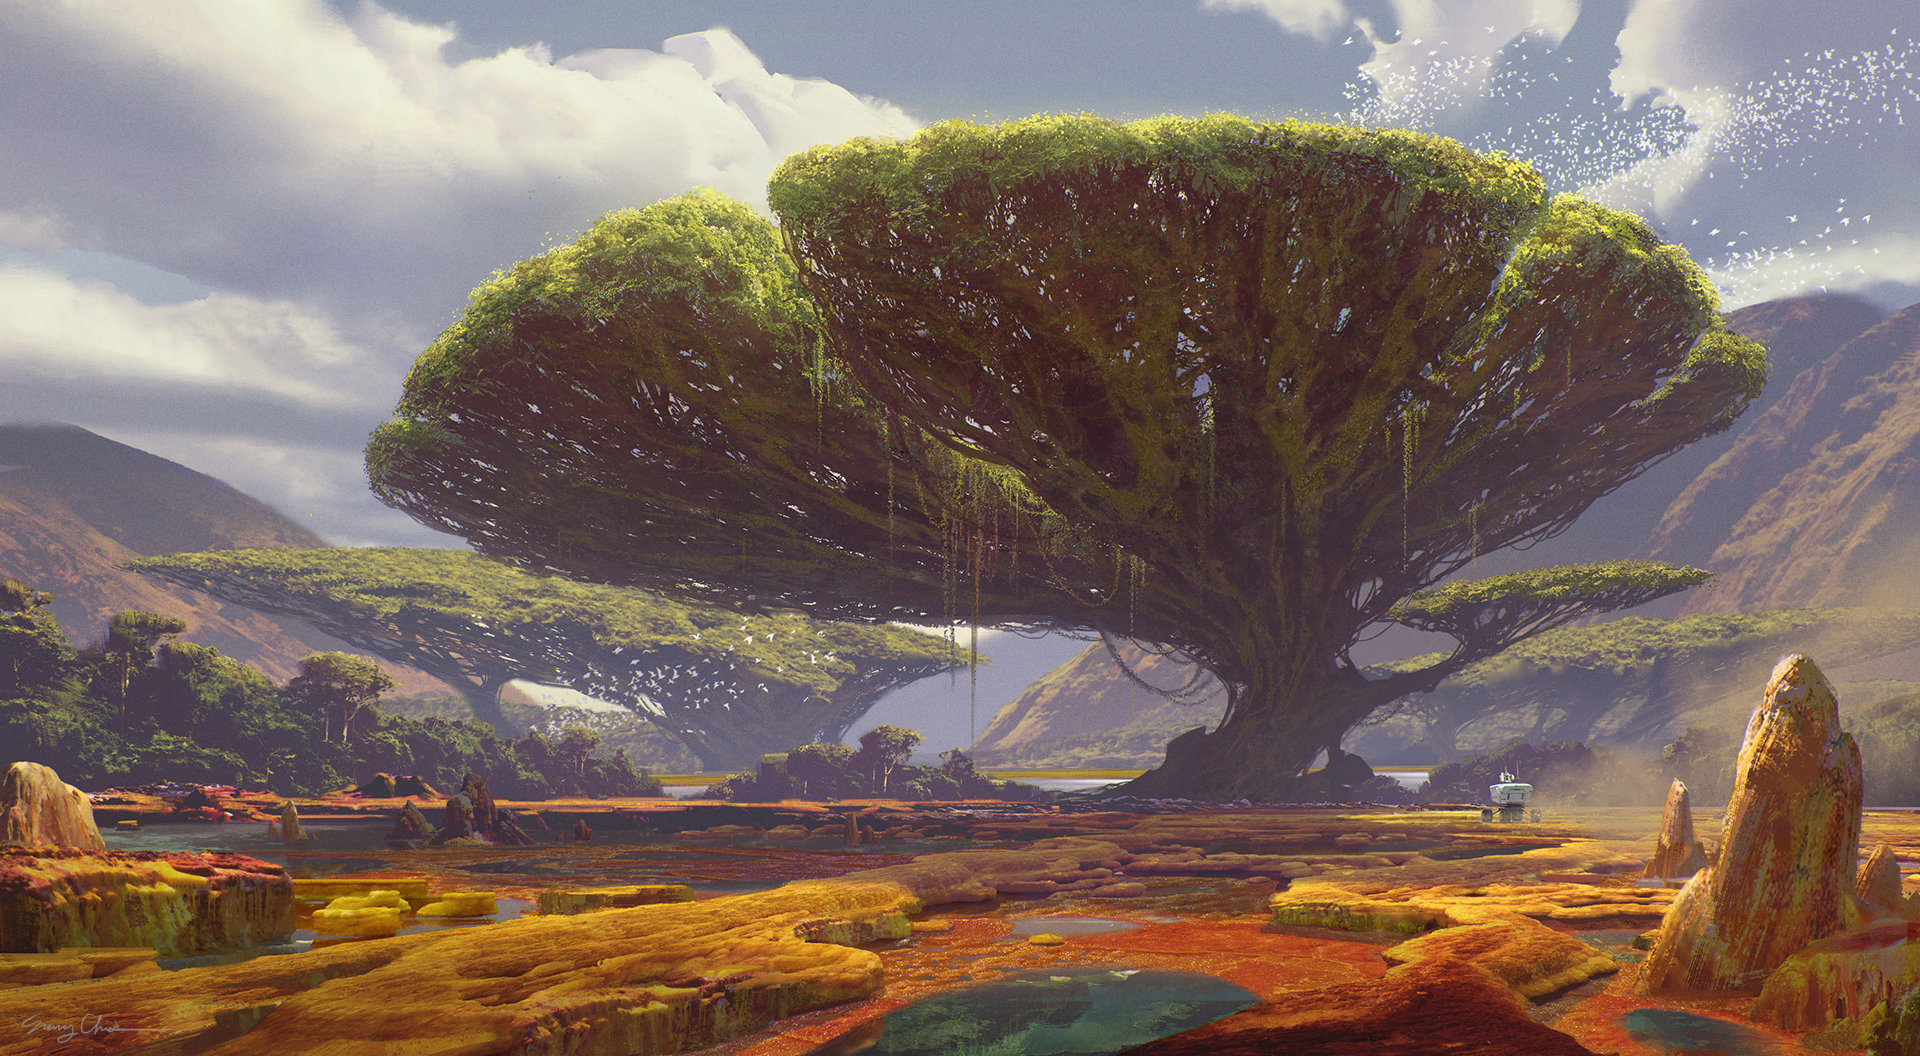
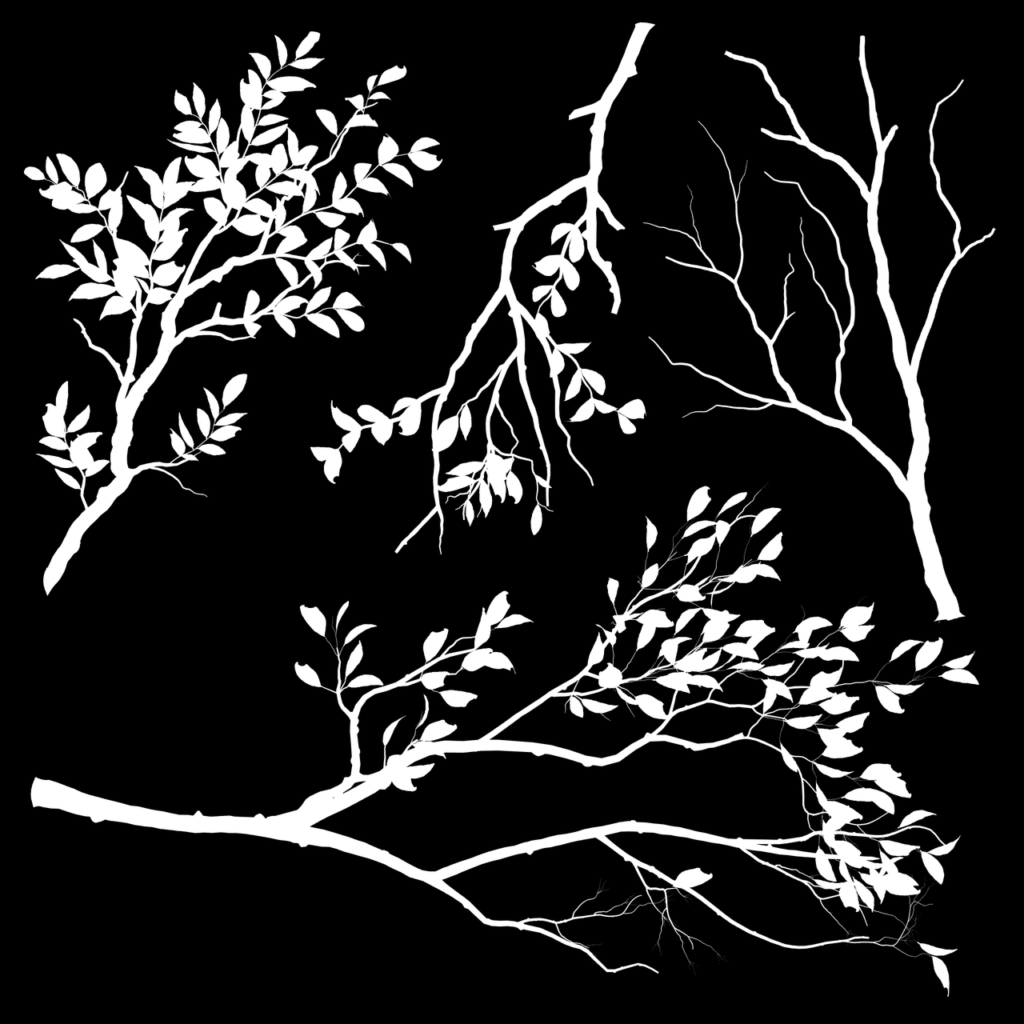
Below is the concept art that needs to be recreated in 3D.
Software Used
- Maya: Low-poly modeling, UV mapping, and modular assembly.
- Zbrush: High-poly model sculpting.
- Marmoset Toolbag: Baking textures.
- Substance 3D Painter: Texturing.
- Speed Tree: Generating branches and leaves.
- Gaea: Generating mountain models.
- Unreal Engine: Final composition and lighting.
Reference Collection
Before starting, we need to analyze the climate zone and terrain of the concept art to identify a real-world geographic location that can be used as a reference.
We then collect reference images and apply artistic enhancements.
Based on the vegetation distribution in the concept art and my desire to turn the mountains in the background into snow-capped peaks.
I found that Mount Kilimanjaro in Africa (between 1000-2000m is subtropical evergreen broadleaf forest, 3000-4000m is alpine meadow, and above 5200m is snow and glacier) could be a fitting reference.
After determining the primary ecological environment, I analyzed the assets.
I discovered that the main vegetation resembles the dragon blood tree from Socotra Island (Socotra’s terrain is mainly mountainous and hilly, with an average elevation of 500m).
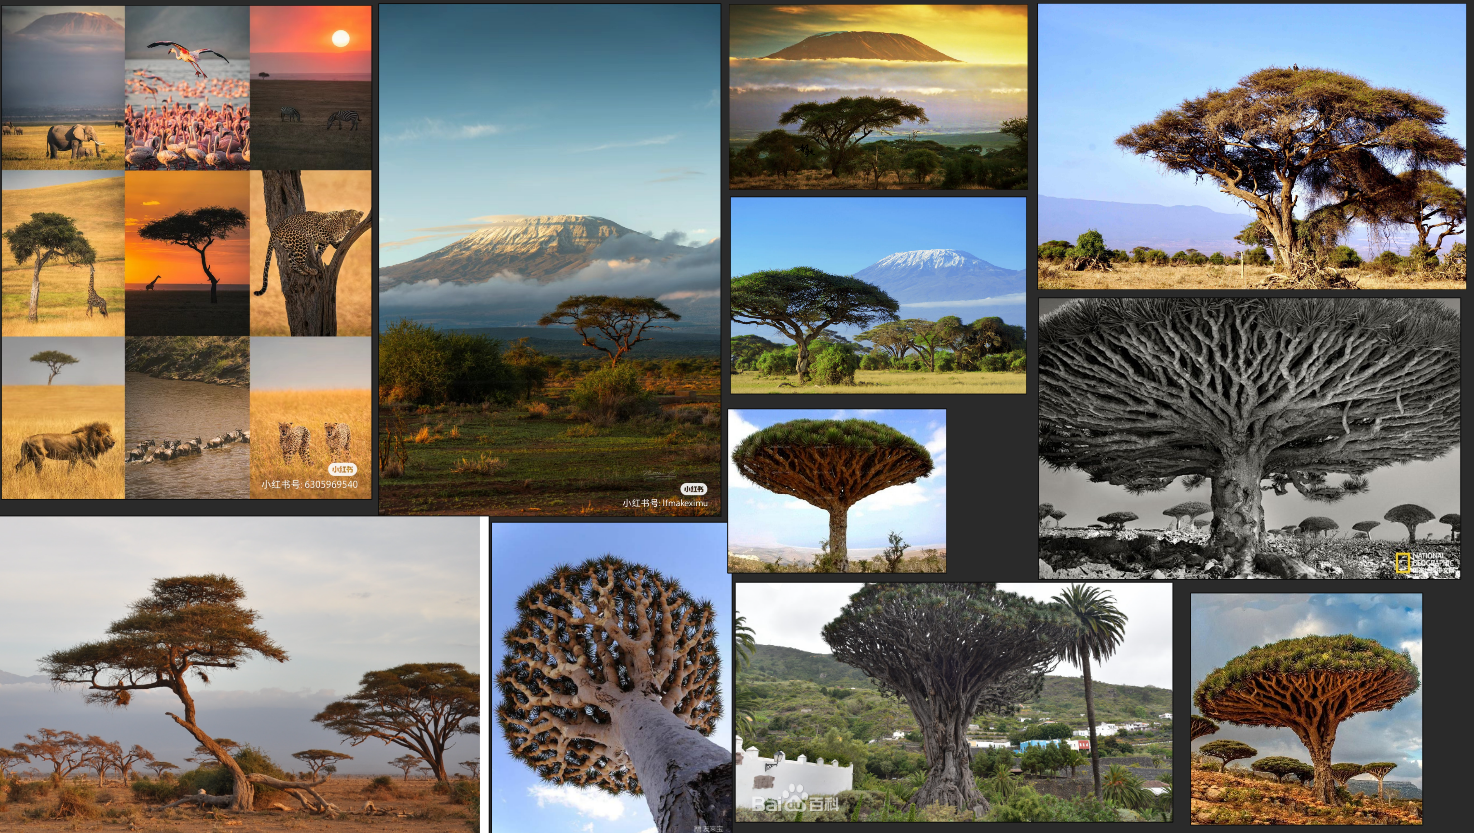
Since this is a fantasy world, certain ecological elements can be reassembled and combined.
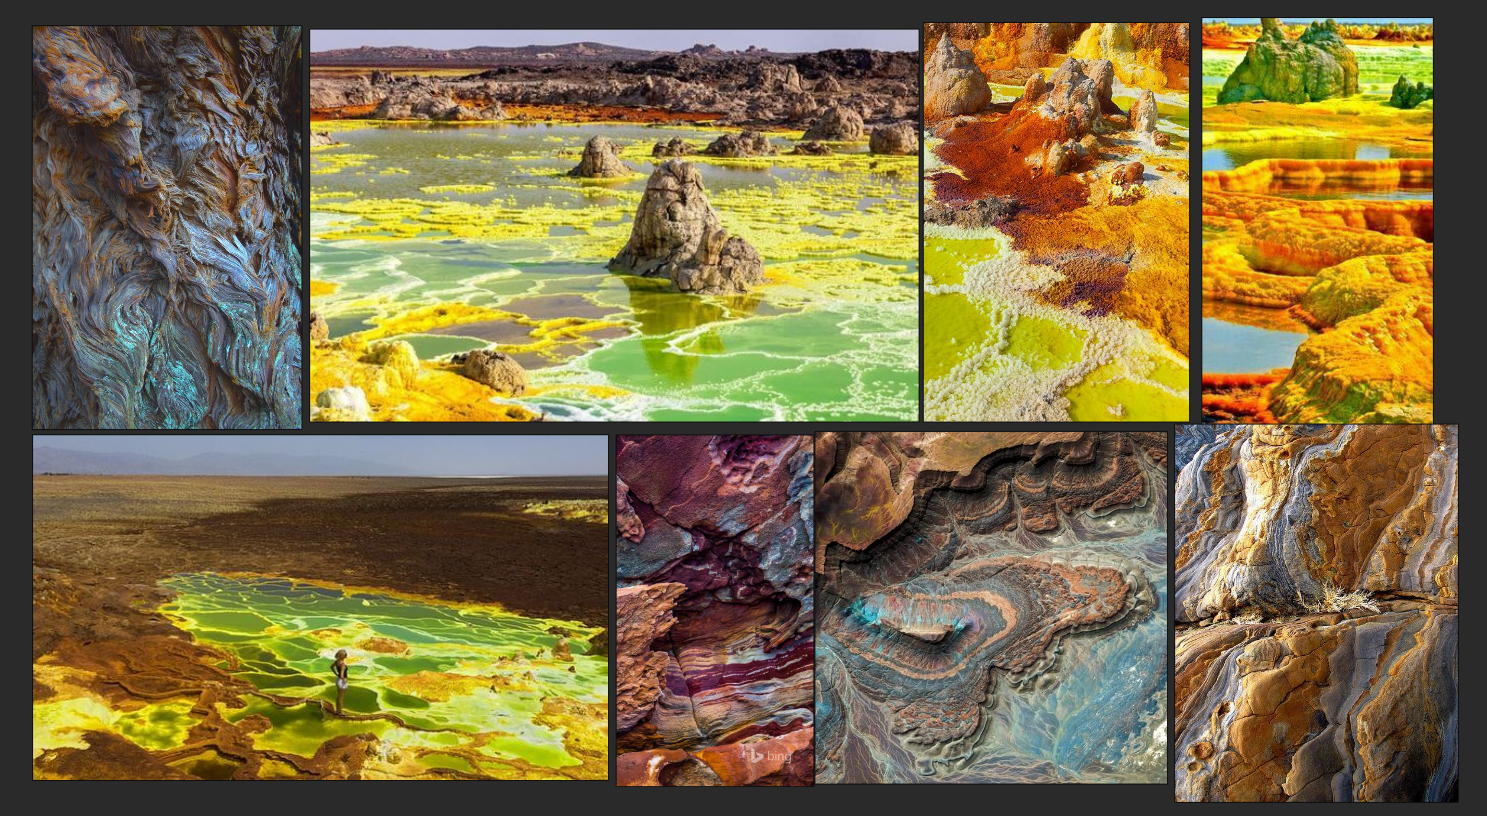
For the rocky foreground terrain, I referred to the Danakil Depression (where surface water is scarce, and the land is mostly desert with dry valleys and salt flats; it’s rich in alkali and salt resources, and the Afar people live there, engaging in nomadic life and salt mining).
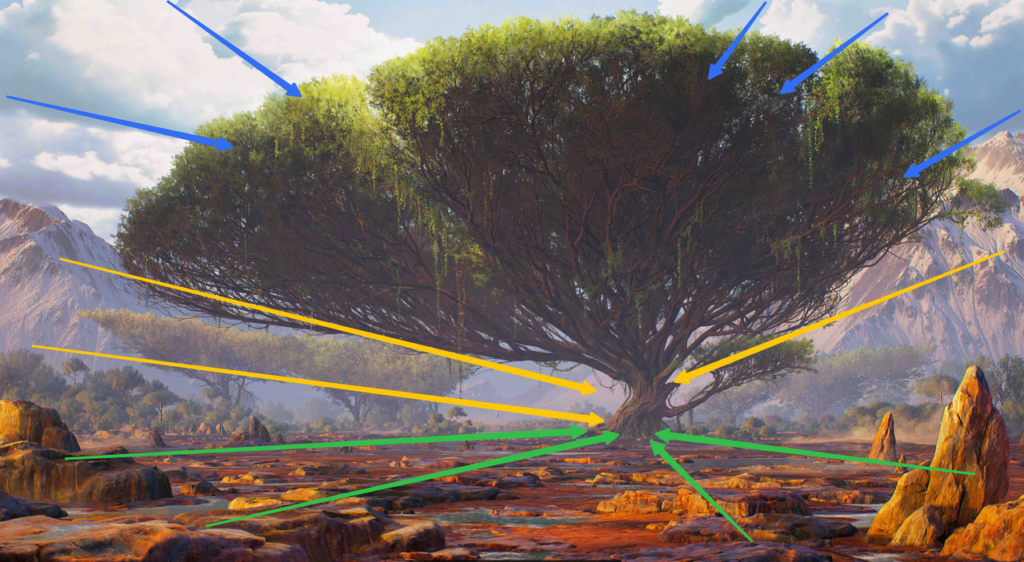
After gathering these references, the next step is to split the concept into assets.
In production, creating every asset is impractical, so we must selectively break them down and reassemble them in the engine.
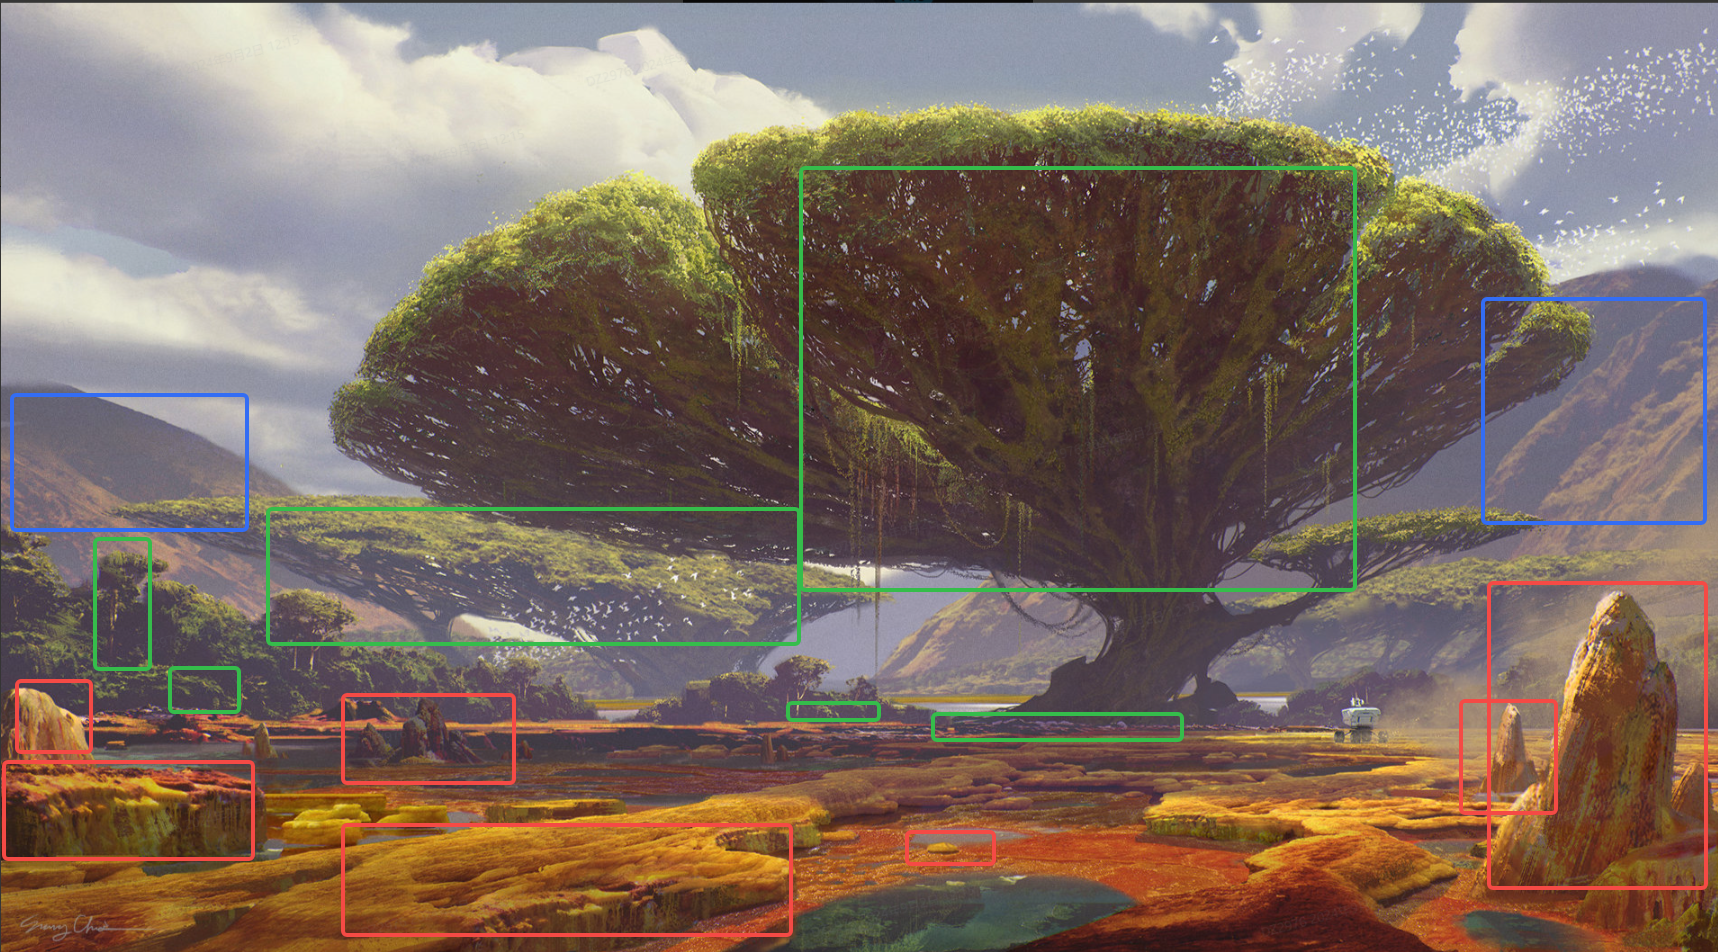
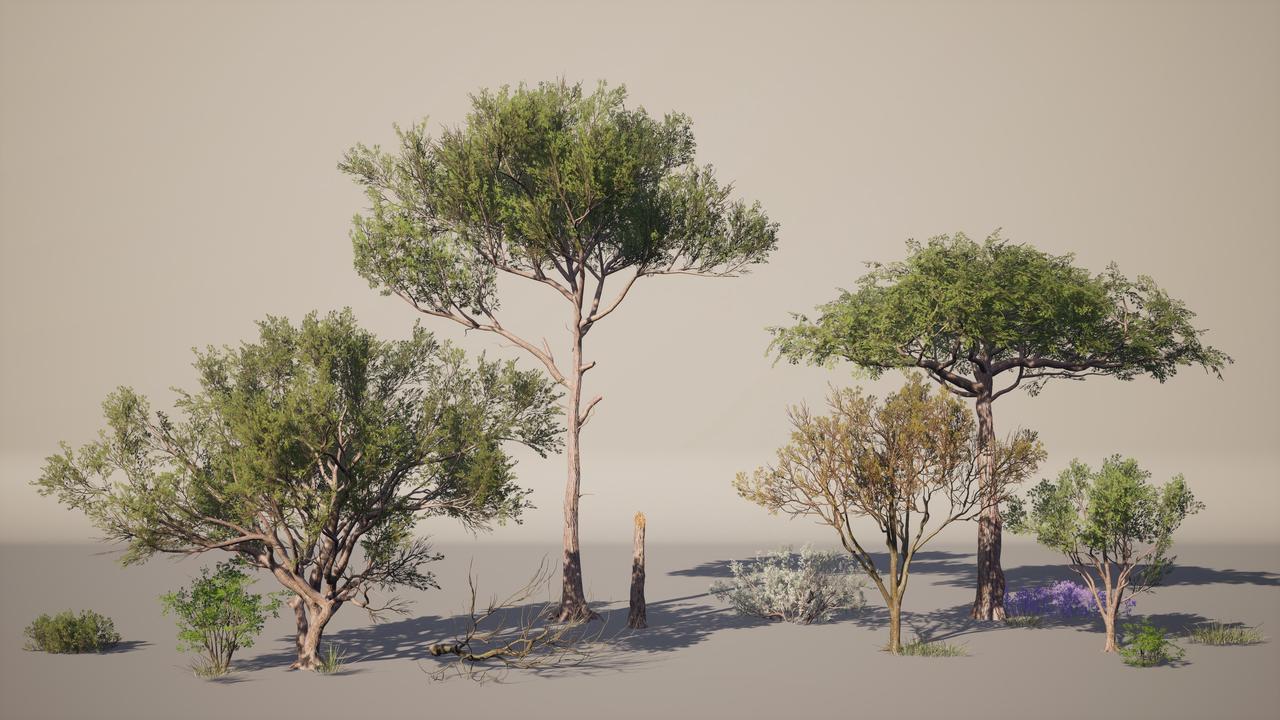
Vegetation (Green Box)
I identified 7-10 types of common vegetation. For these common types, I chose to create them directly in SpeedTree, as it’s the fastest way to achieve the desired result.
Since we’re using a game workflow, selecting the right foliage for the billboards is critical. For the evergreen trees, I used SpeedTree’s default conifer textures.
I recreated the model for the main tree to look like a broadleaf tree (using scanned textures from Bridge for the leaves).
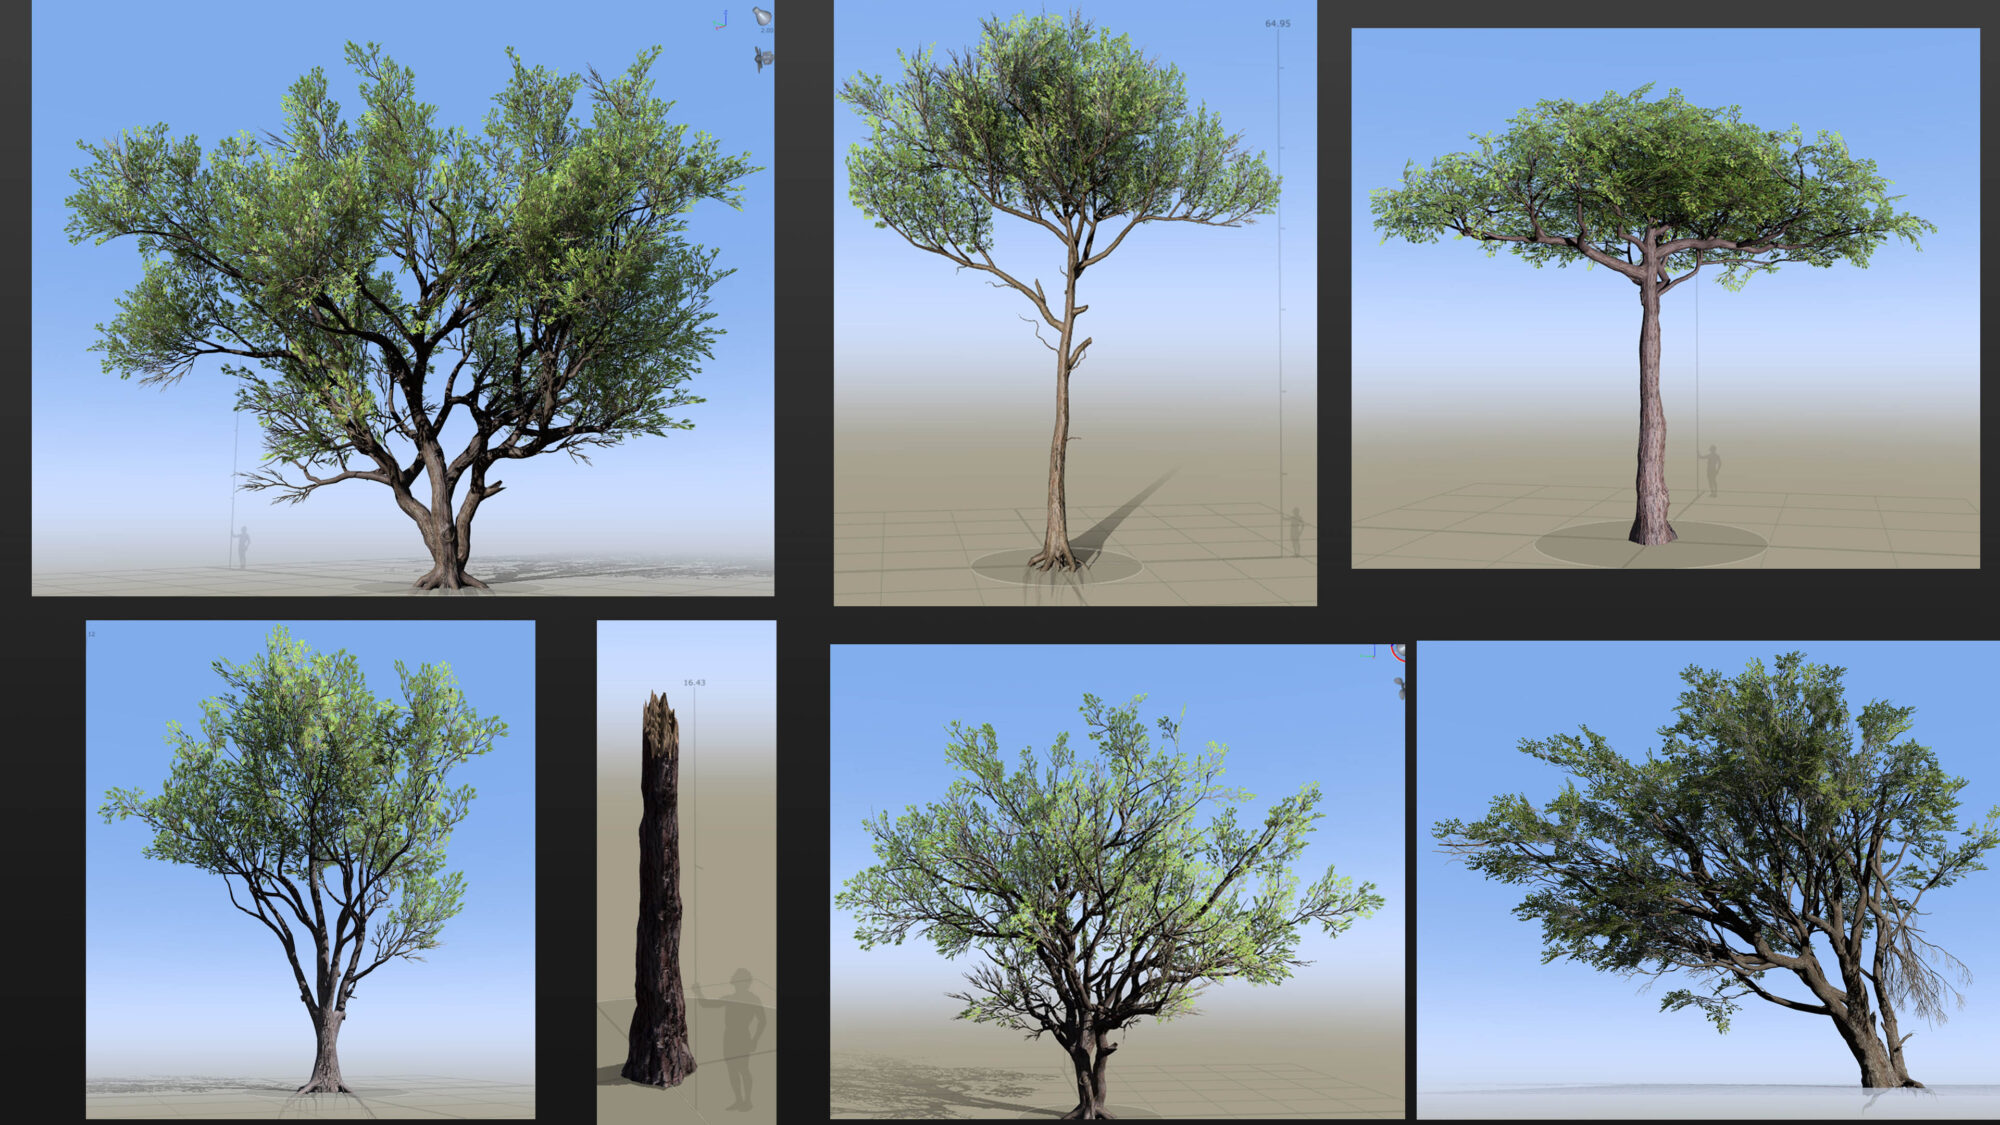
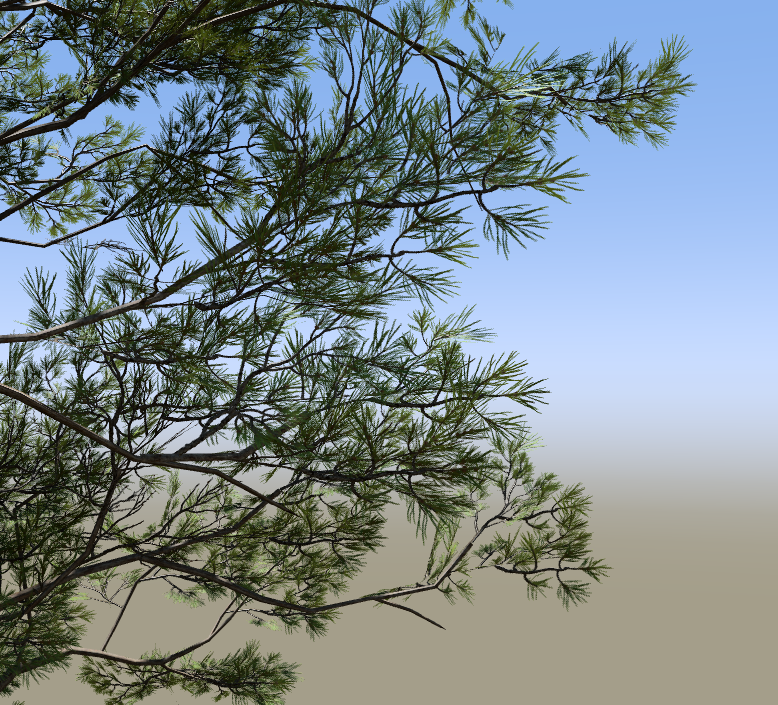
SpeedTree
Since SpeedTree 10.0 introduced spherical normal correction, the normal adjustment is done directly in SpeedTree.
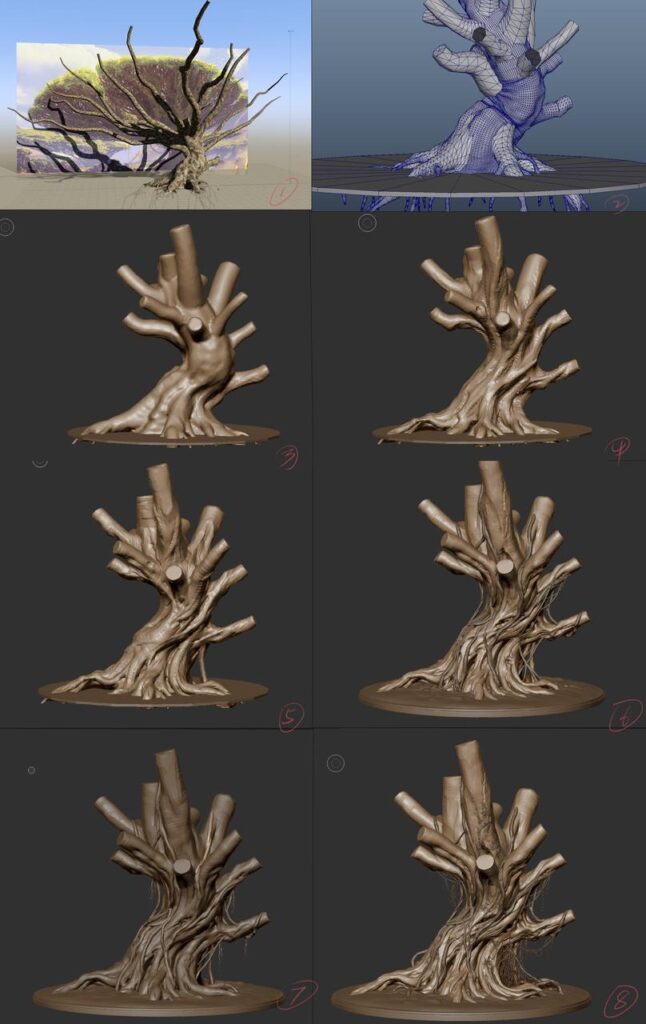
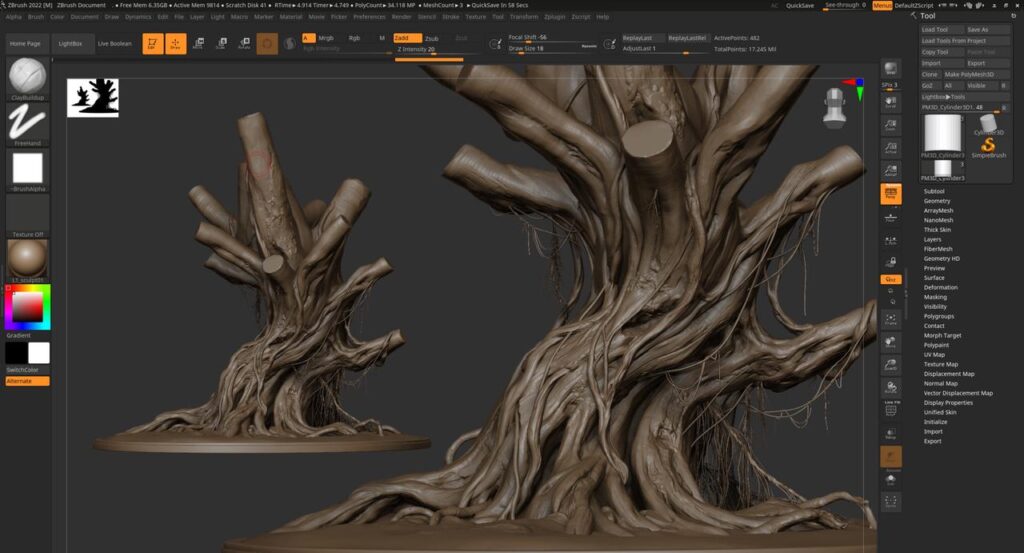
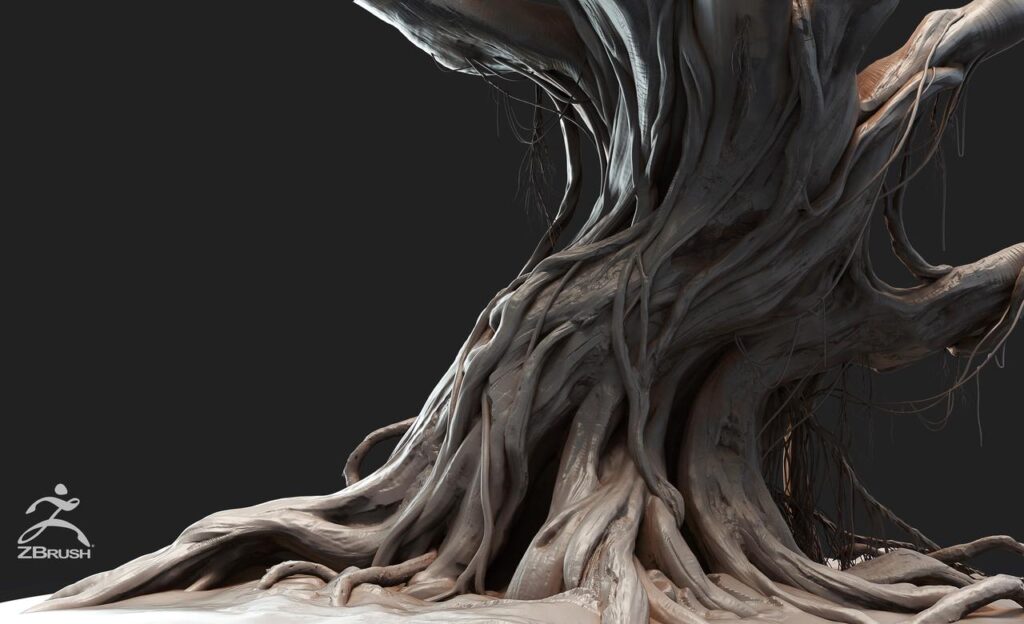
Trunk Sculpting
For the main tree, I combined sculpting in Zbrush with SpeedTree’s unique features. This allows for better recreation of the concept’s shape and atmosphere.
Below is a rough sculpting process (I first compared the overall shape in SpeedTree, completed the mid-poly in SpeedTree, and then sculpted the high-poly in Zbrush).

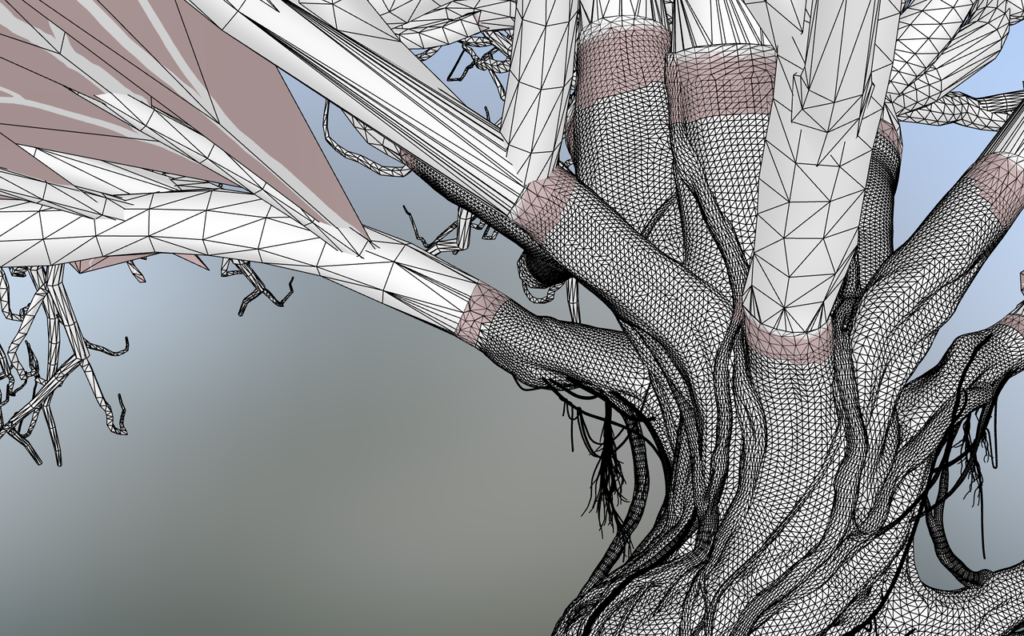
Low-poly & Baking
This time, I used Zbrush’s automatic retopology, which greatly reduced my workload and saved time.
I baked the textures in Marmoset Toolbag, as it allows for great AO baking and other foundational texture maps.
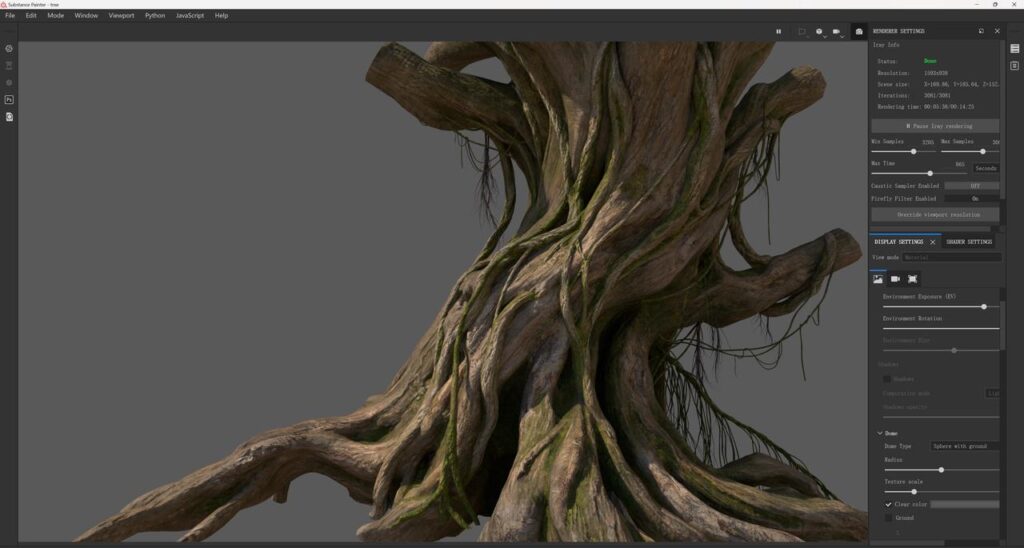
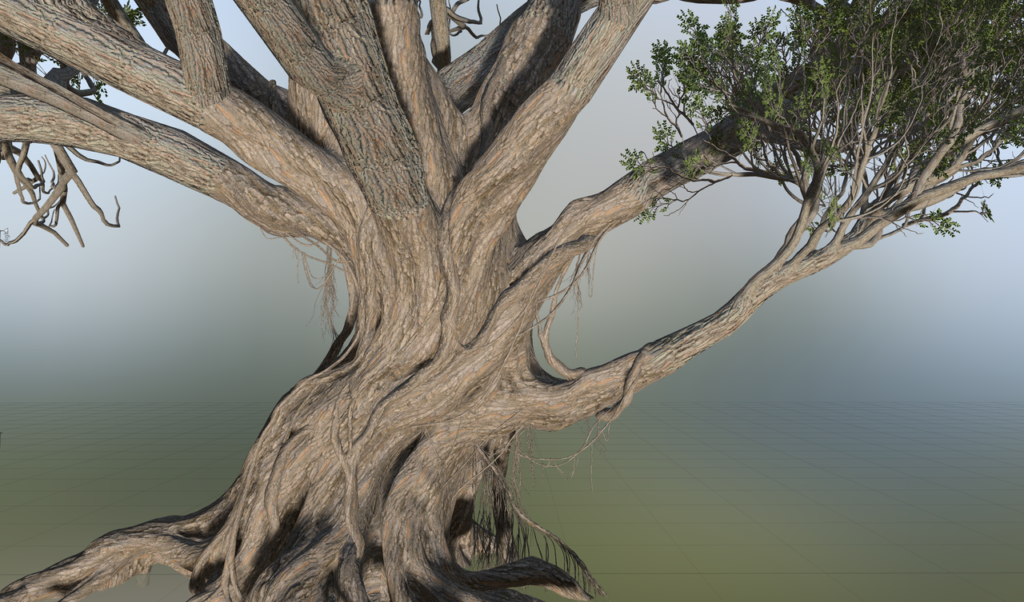
Texturing
I chose realistic material textures to ensure I could perfectly achieve the desired material effects in Substance 3D Painter.
At this stage, I experimented with various bark texture combinations to enrich the material expression and avoid making the scene look monotonous.
When creating tree materials, the material expression of the color map is crucial—it must constantly vary with the shape and follow the logic of natural growth.

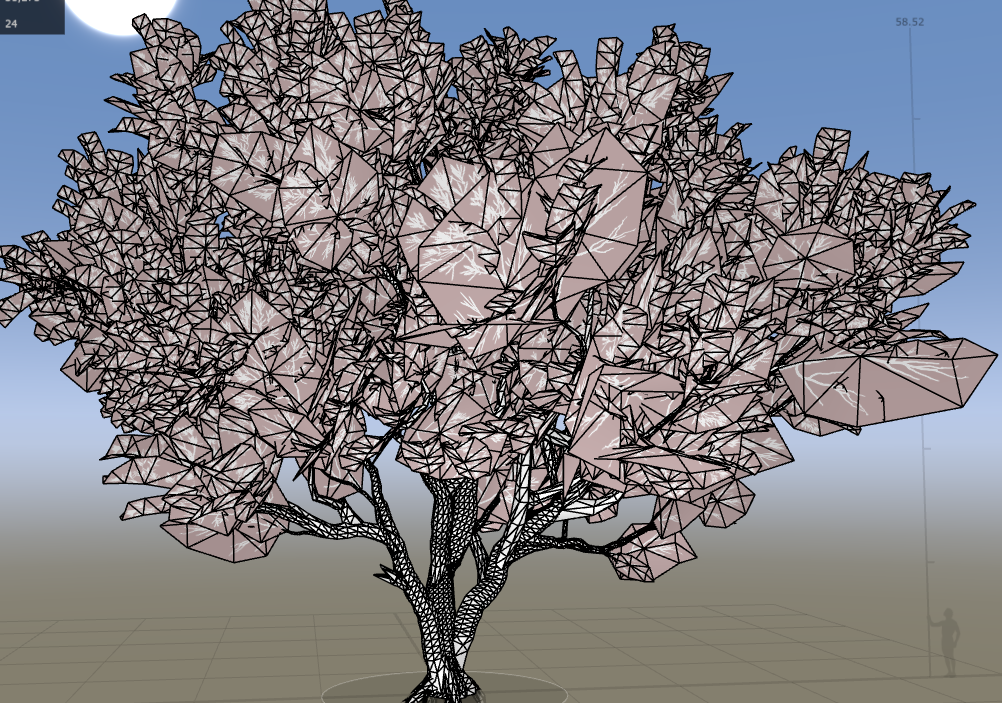
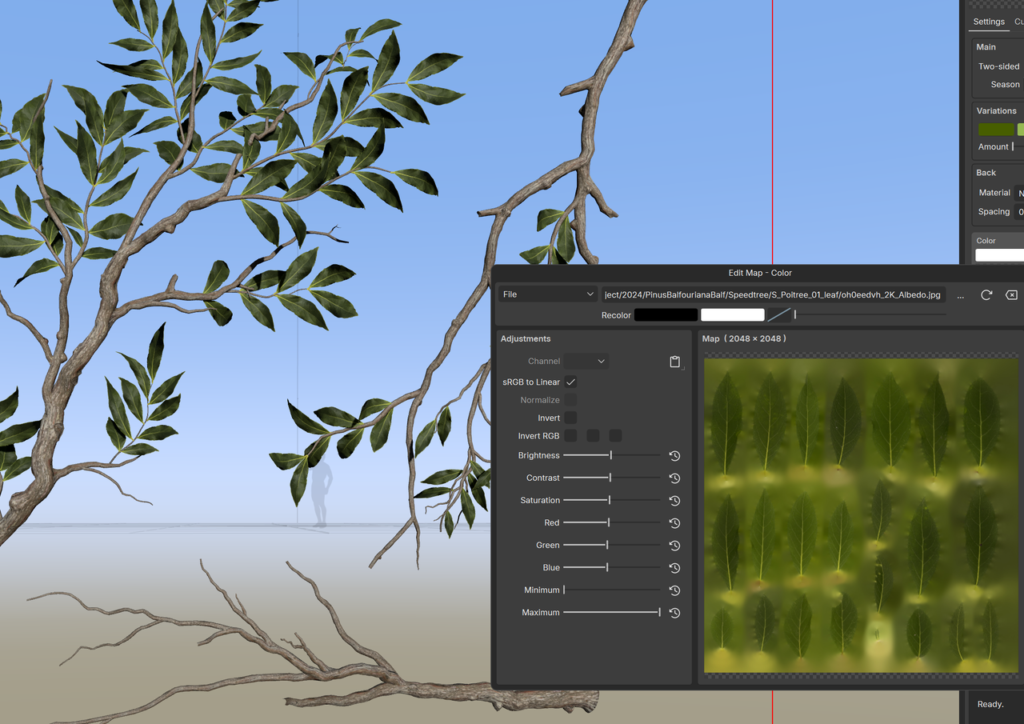
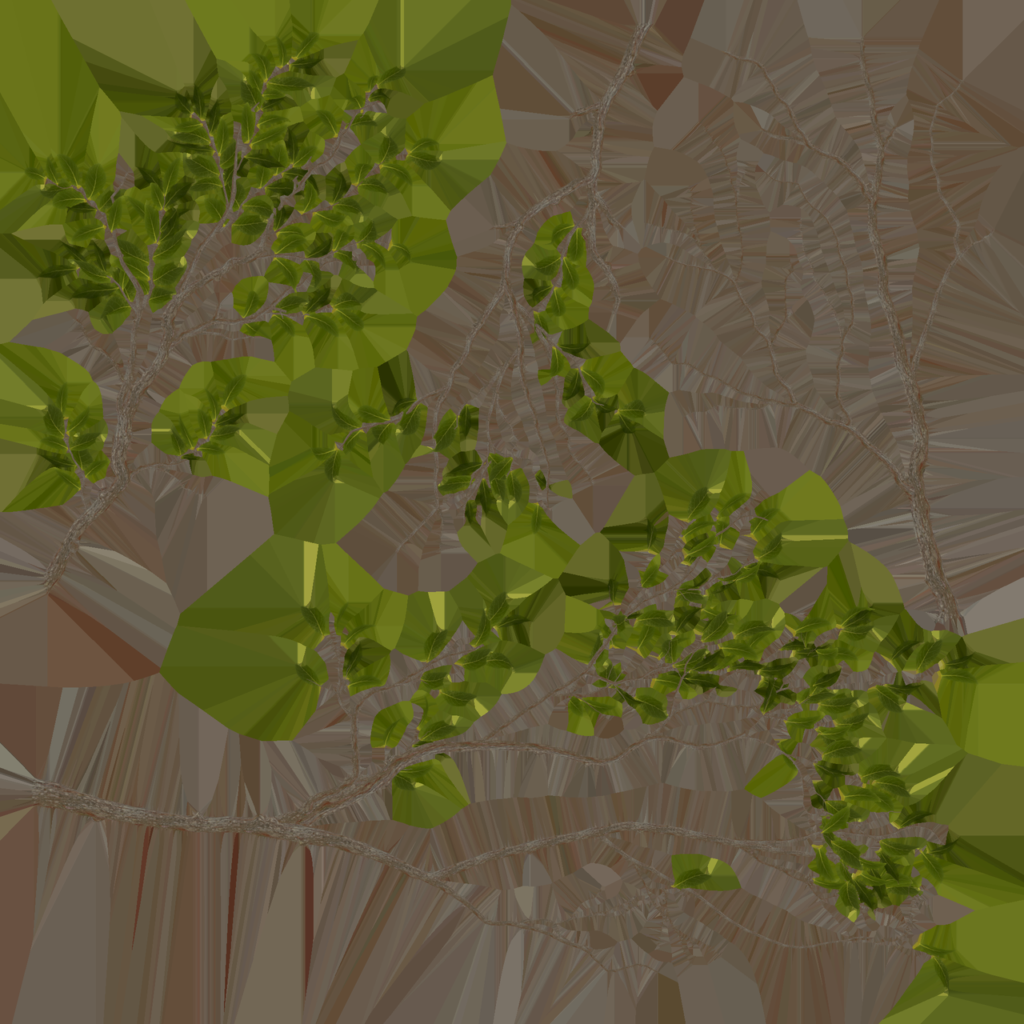
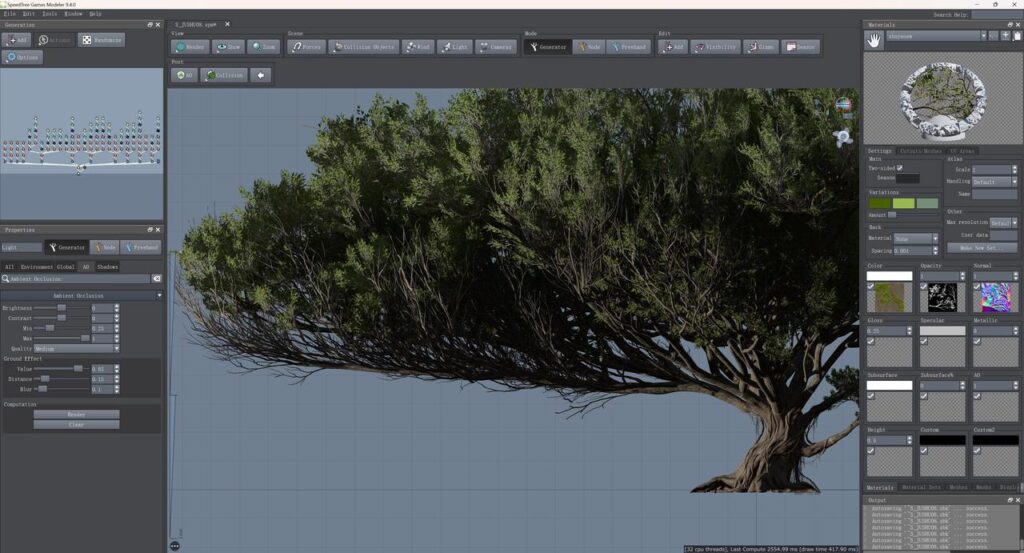
Canopy
Now, I’ll import the completed FBX file into SpeedTree, where I will simulate its growth and create new broadleaf textures for it.
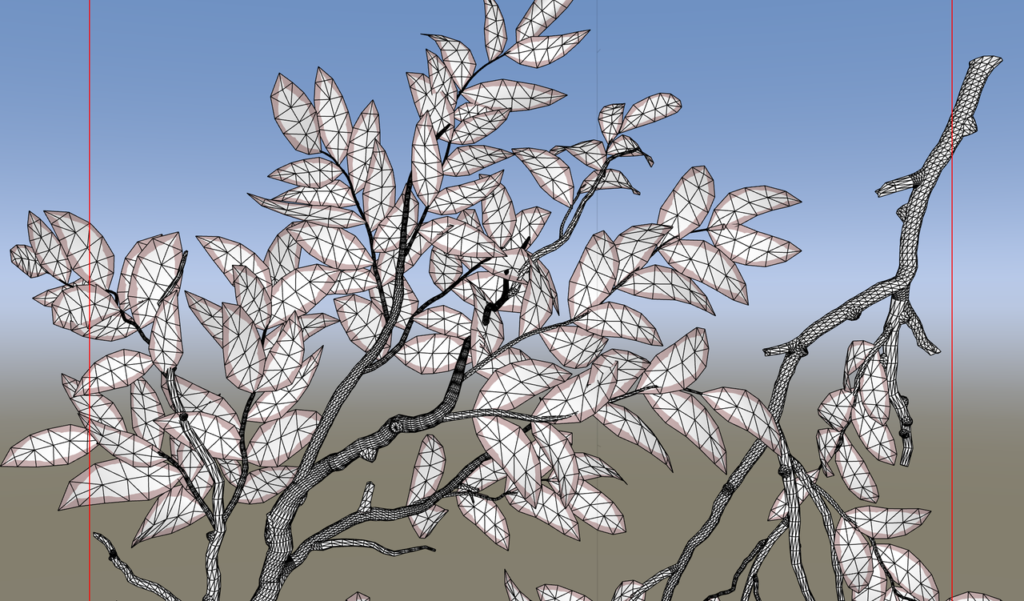
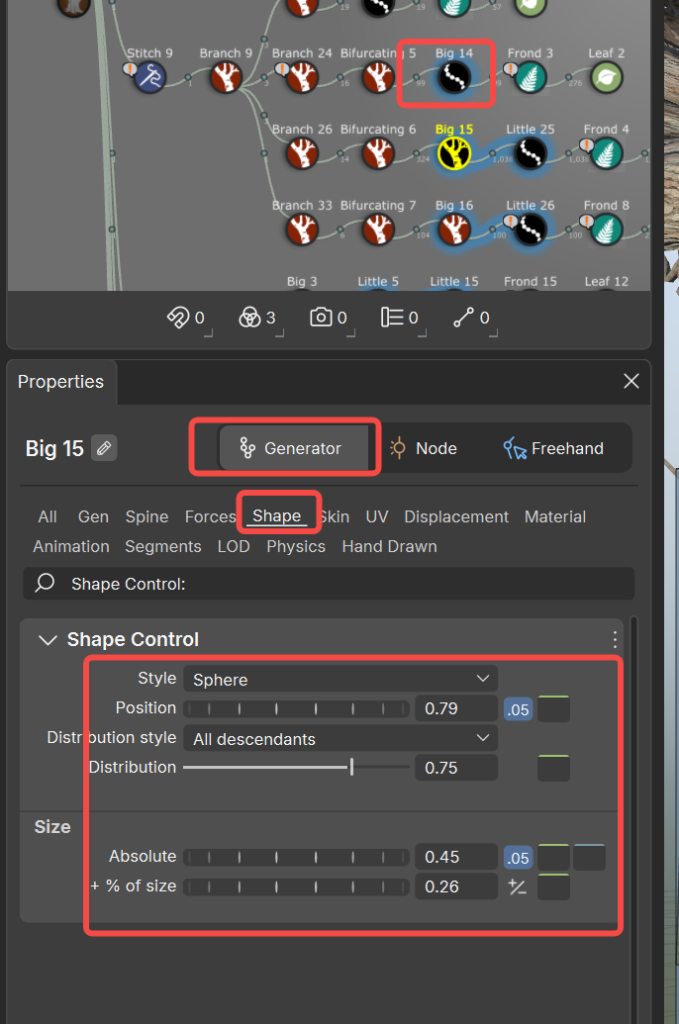
- Use the stitch node to connect models.
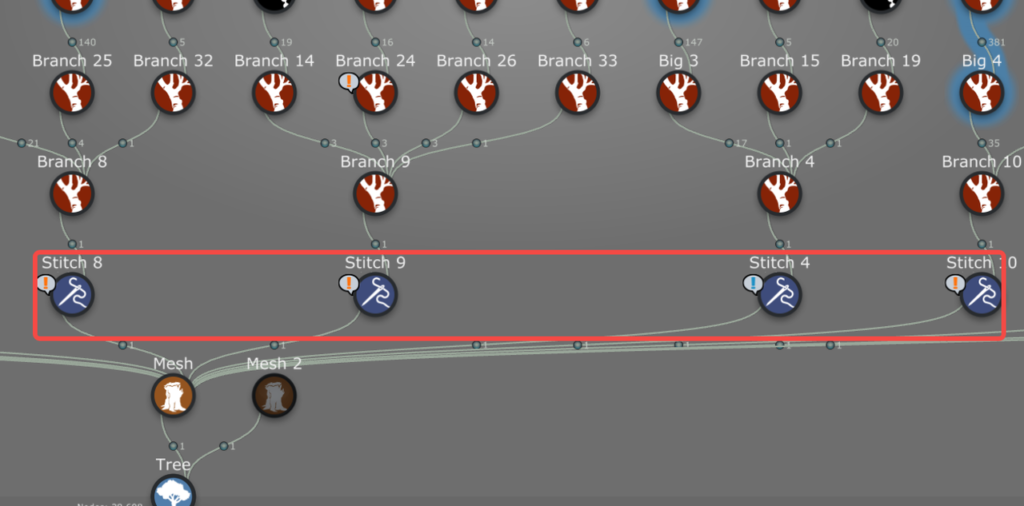
- Use the shape function to constrain the tree’s form (sphere).
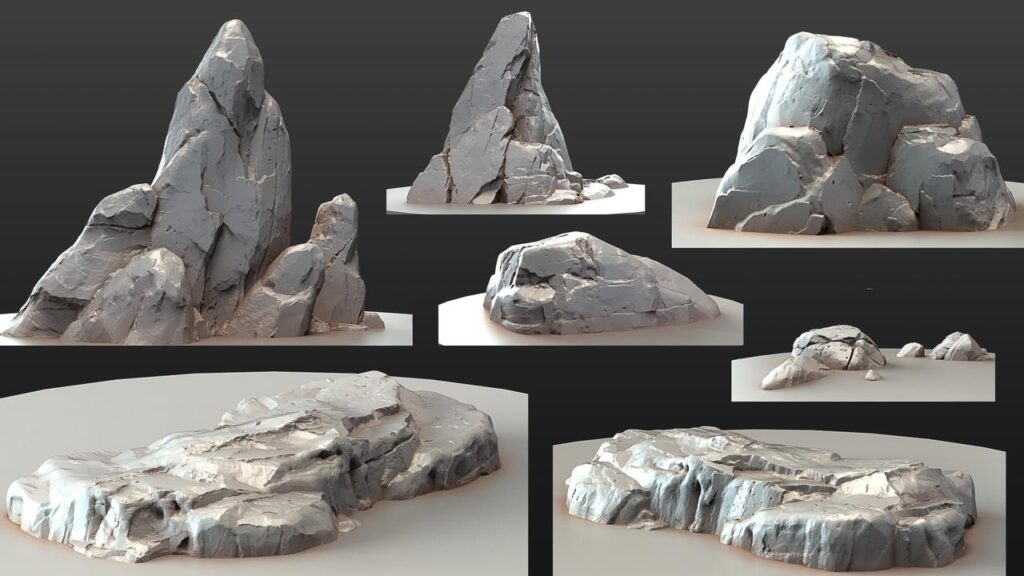
Terrain (Red Box)
For the split terrain models, I recreated them in Zbrush.
For the roads, since I was concerned about terrain accuracy, I chose to use physical models instead.

Low-poly & Baking (Terrain)
Again, I used Zbrush’s automatic retopology to speed up my work.
I baked the textures in Marmoset Toolbag, which allowed for the detailed AO information and foundational texture maps that I needed.
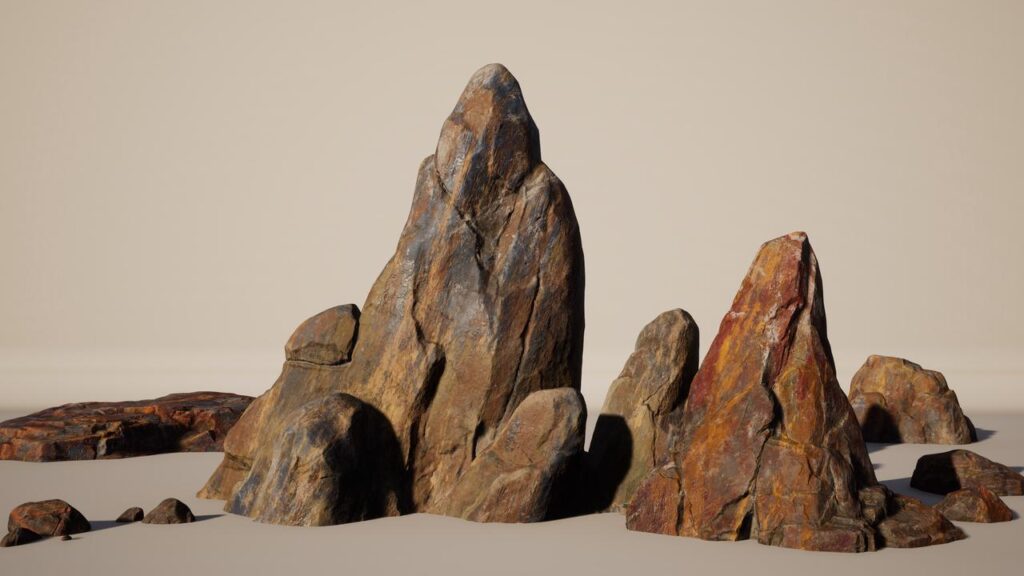
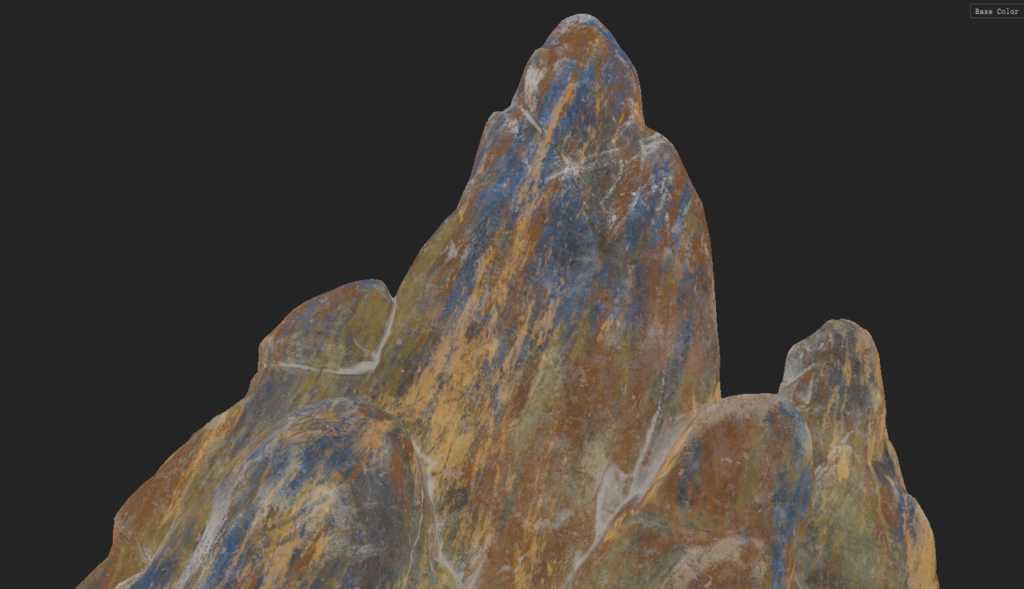
Texturing (Terrain)
For this phase, I used Substance 3D Painter’s built-in mask function for texturing without adding any hand-painting, as that would interfere with my procedural texturing process for other similar assets.
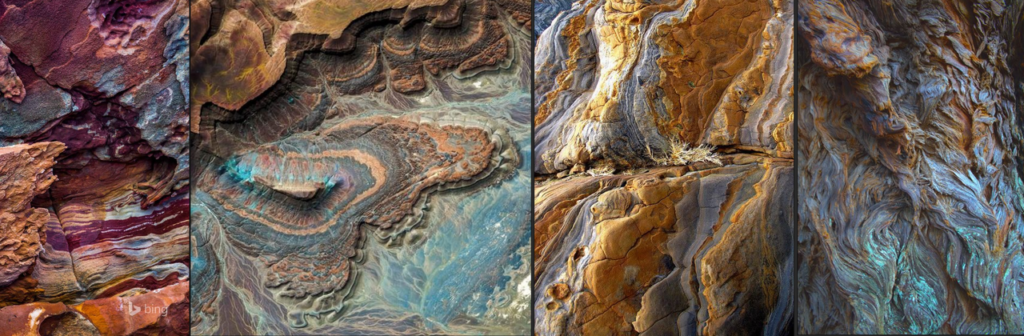
During production, I referenced a large number of real-life photos, borrowing heavily from the texture effects seen in Danxia landforms.
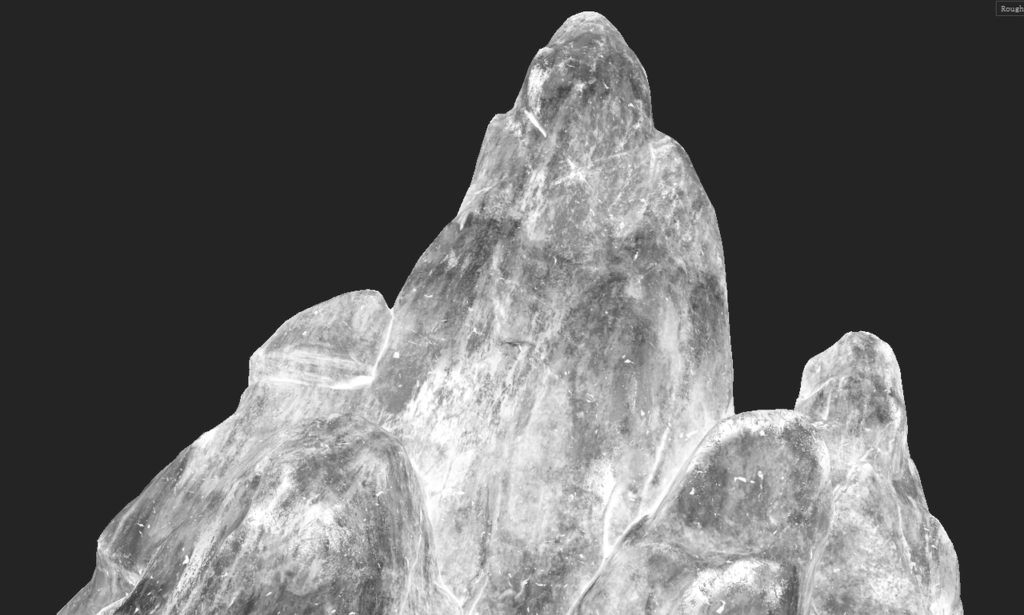
When creating rock materials, height map information and the contrast of roughness maps are particularly important.
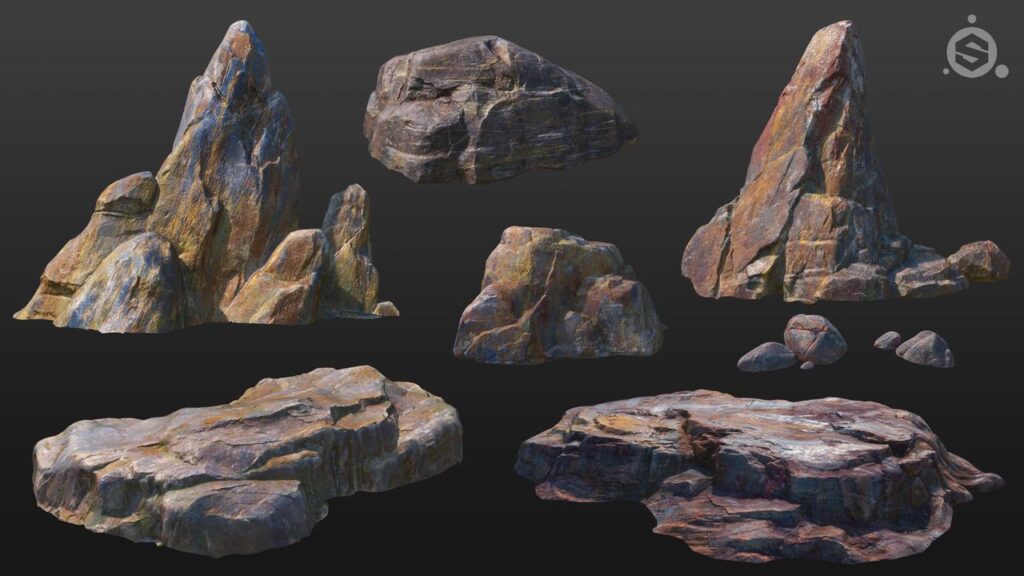
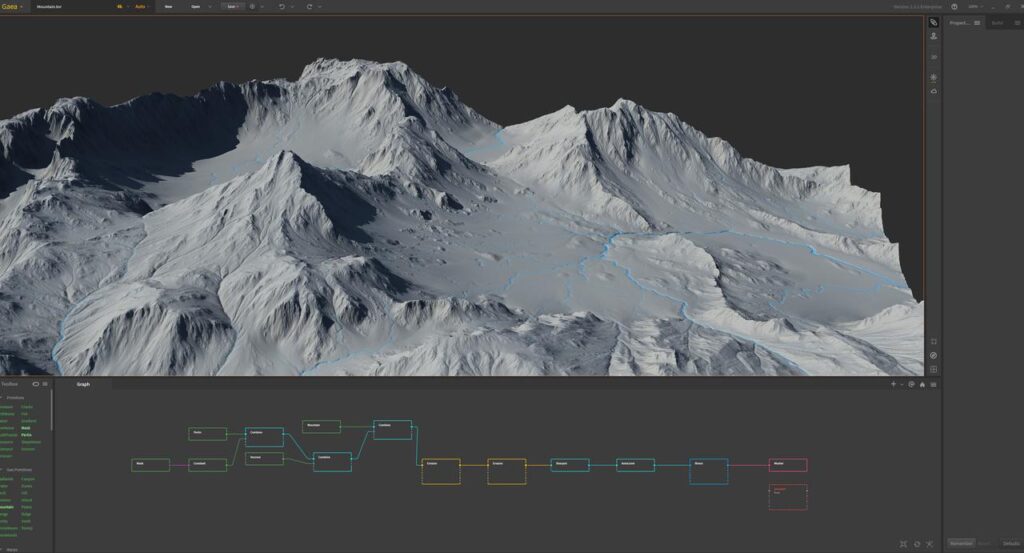
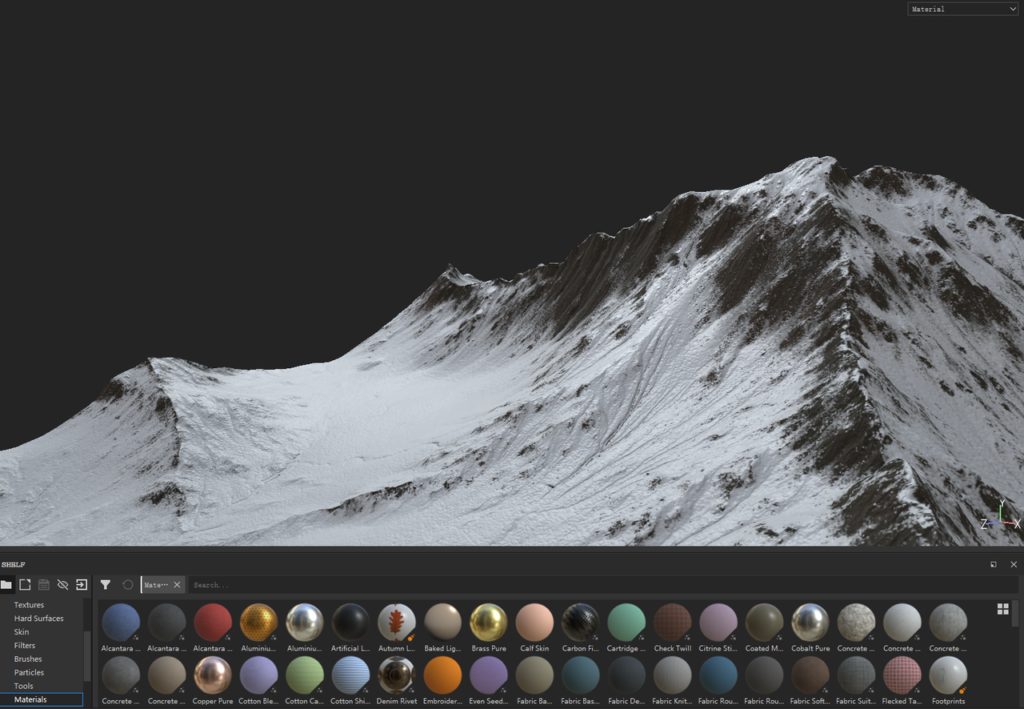
Mountains (Blue Box)
GAEA is an excellent terrain generation software. I used it to create the mountain shapes and exported the model to Substance Painter for texturing.
I connected some simple nodes and chose two mountains with appealing shapes.
Unreal Engine 5 Assembly
At this point, we’ve completed the preliminary work and created all the necessary assets. The final step is bringing it all together in UE5.
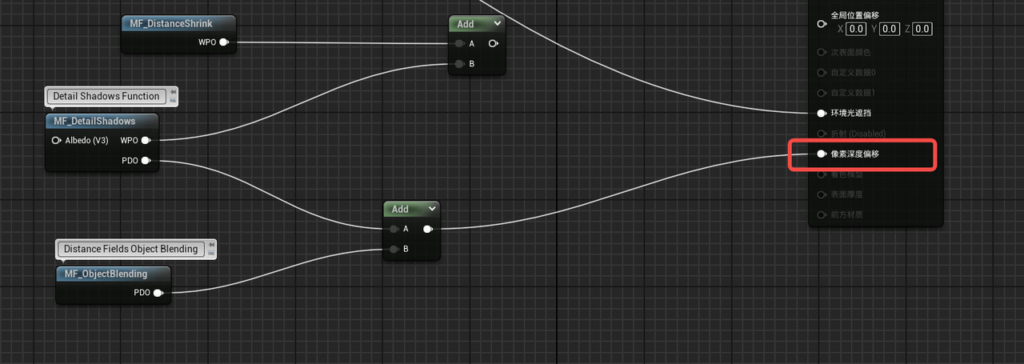
For the rocky terrain models, to reduce hard intersections with the ground, I added a pixel depth offset to replace VT.

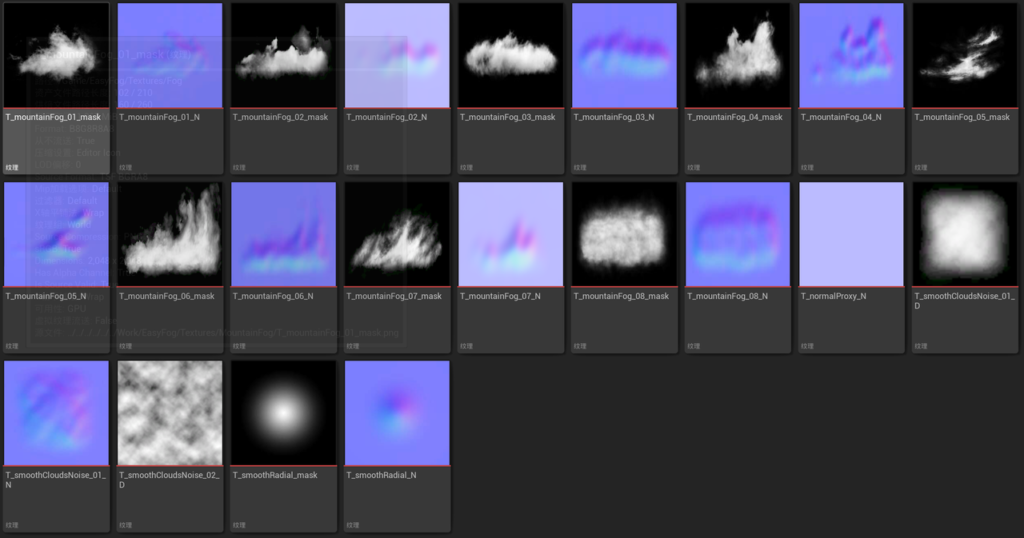
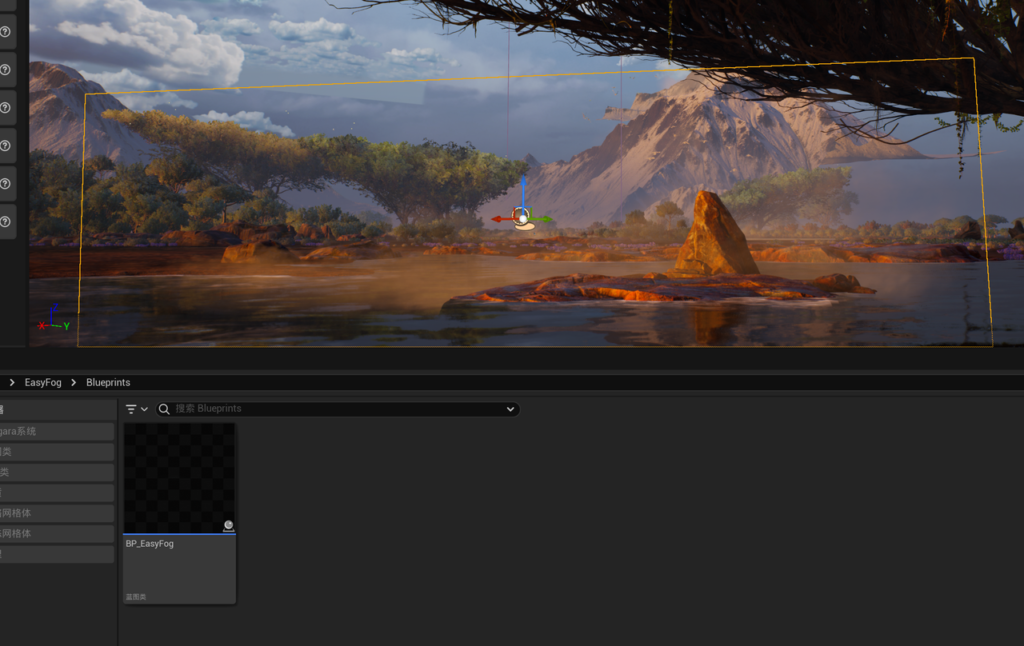
For fog, I used the EasyFog asset from the Epic Marketplace.
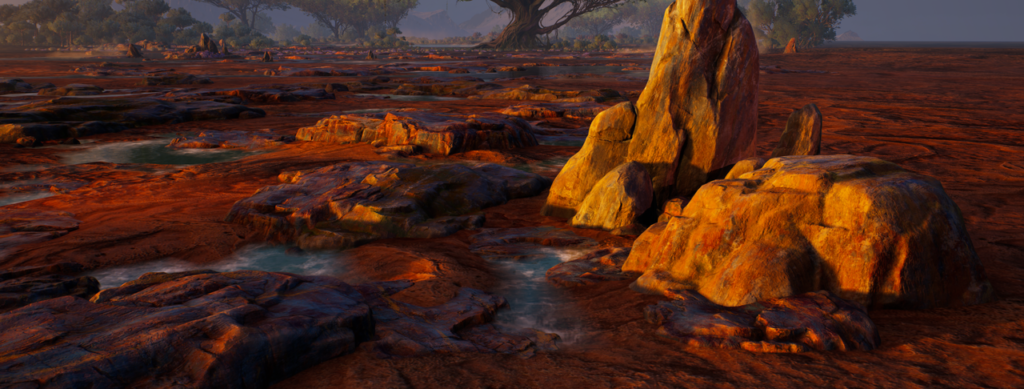
After that, I placed the assets according to the concept art.
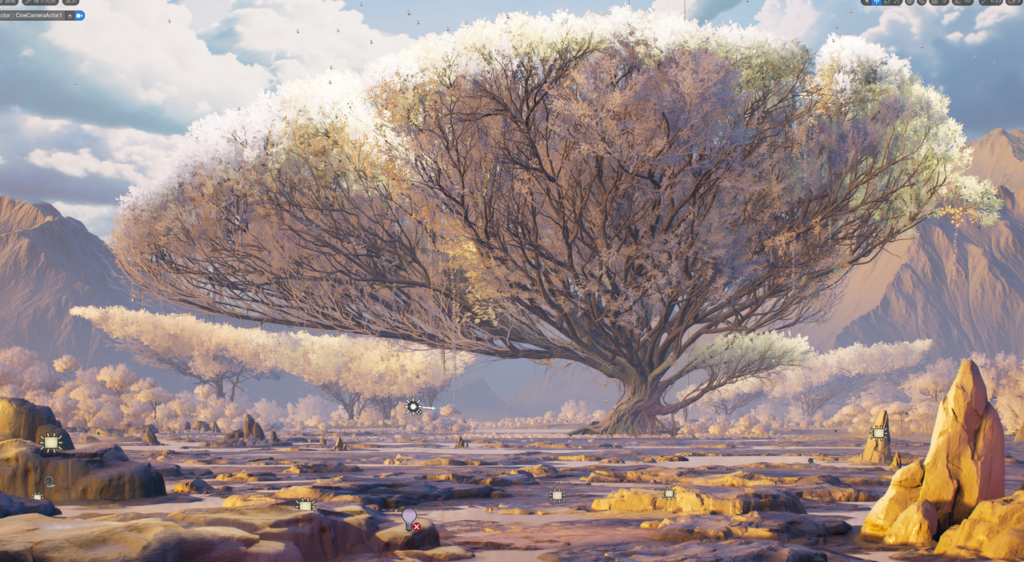
I then added lighting, and balanced the composition with visual guidance, ensuring a warm front and cool back for contrast.
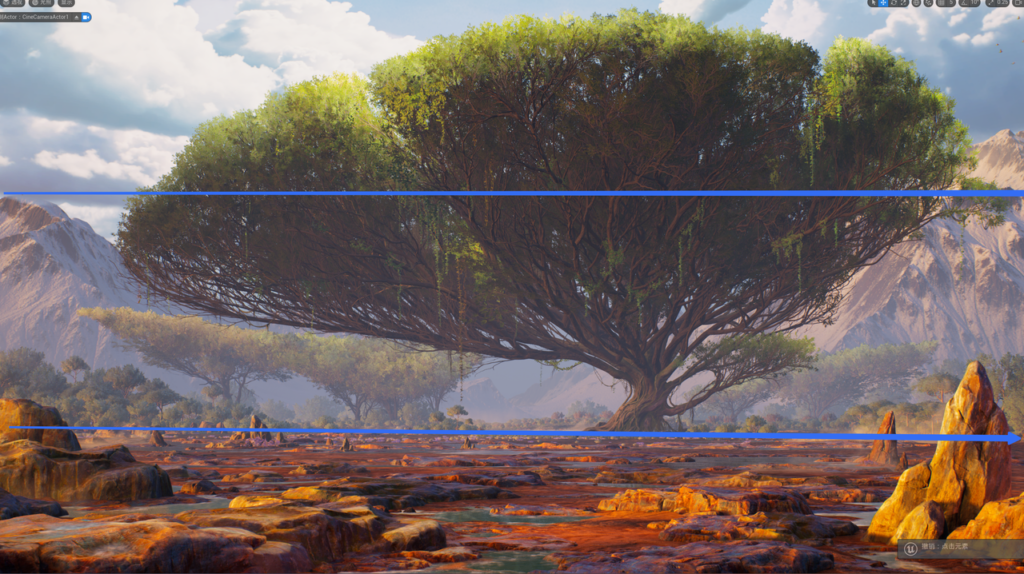
Here is the final result – I hope you found the article useful, thank you for reading.
Read more articles
You might also like these articles.