Mossy Rocks


Introduction
My name is Kevin J. Coulman, and I’m a New York–based 3D Environment and Texture Artist with a passion for worldbuilding and creating detailed props.
Goals
In this breakdown, I’ll walk through the process I used to sculpt grounded, realistic rocks and share my approach to creating organic moss from scratch.
I hope this overview offers helpful insights you can apply to your own environments or studies.

Project
The study I created was designed as part of a nature kit for a larger-scale Unreal environment. I began by collecting references for the rocks, gathering a wide range of images for inspiration.
This helped me define the specific look and characteristics I wanted to capture in my study. I also researched the types of moss and sediments that would naturally appear in the larger environment I planned to build.
To organize my reference material, I used PureRef to compile all the images. Once I had a solid collection, I moved on to the sculpting process.

Sculpting Stones
My rock sculptures began with a rough, freehand base created in Maya. I worked destructively here, allowing the meshes to intersect freely. I was not concerned about topology since they would later be dynameshed in ZBrush.
Before moving forward, I spent plenty of time practicing rock sculpting to refine my approach. It’s easy to overwork the forms—losing those hard, defined edges can quickly turn a rock into something soft and shapeless.
On the flip side, not breaking up your forms enough can make the surface feel too clean or artificial. Finding that balance is key: focus on getting the primary shapes and silhouettes right before moving on to finer details or surface noise.
If you’re new to this, practice is essential—there’s definitely a learning curve, and your later sculpts will always look better than your first few.
Once you’re confident with your shapes, start carving out edges and adding small chips or breaks where natural wear and tear would occur.
Just be careful not to overdo it—save iterations frequently and compare your progress to avoid losing strong forms.

Modelling the Moss
With the high-poly modeled rocks complete, I moved on to the moss. As with the rocks, I began by blocking out the basic shapes—simple, primitive forms for the moss “leaves,” laid flat to later bake onto a card.
I aimed for a good variety in shape and height to make the moss feel natural, from fluffy to short and compact. Using the Snake Hook tool, I pushed and adjusted the forms, avoiding stiffness and ensuring that the meshes would be organic.
After finalizing the moss sculpts, I exported the normal maps and captured unshaded depth renders.
These were then compiled in Photoshop, where I generated the opacity map, ambient occlusion (AO), and normal maps for use on the cards before moving on to the next stage.

Topology
For the rocks’ topology, I started by decimating the meshes to achieve a lower polycount. I then brought them into Unreal Engine to evaluate. There, I could see if there were necessary changes or opportunities to improve upon.
The next steps in this process can vary depending on the artistic vision for the scene.
Since my goal for this project was realism, I decided the rocks needed more geometry to preserve subtle form details. If I were aiming for a stylized look, I would have decimated further to emphasize simplified shapes.
Once I had a result I was happy with, I used ZBrush’s UV Master to define where I wanted to cut my UVs. I then moved to Maya to refine and clean up the low-poly mesh. While decimation is very convenient, it can sometimes introduce irregularities in the UVs.
This can be corrected by cleaning up the topology, an important step to ensure that textures display cleanly and seams are placed strategically.
After verifying that the rocks had solid UVs, I used Marmoset Toolbag to bake the high-poly details. It’s important to maintain sufficient texel density for tileable textures.
Next, I created the base material in Substance Designer, which would later be layered with the baked maps. Once those were ready, I imported them into Unreal Engine to begin developing the first rock texture.

Texturing
Substance Designer was used to make textures from scratch.
This is where I used my photo references to match the rock surface details, pores, and other irregularities. I later imported my textures into Substance Painter to create further breakup in base color, roughness, etc.
To create my materials, I depended on my photo reference for accuracy. It was important to see where parts of them were worn from erosion to really sell it. I then bring my maps into Unreal to be compiled in the material editor.


Masks & Layering
Inside the material editor, I blended the normal maps for my mossy rock material using a MakeFloat3 node to produce the final normals. From there, I added edge wear, moss stains, and dirt using masks created in Substance Painter.
Each material received its own RGB mask for layering.
For the edge wear, I chose to paint the mask manually to achieve greater control and accuracy. Generators are helpful for quickly establishing a base level of grit, but I recommend refining them further for more realistic results.
I used a combination of masks and dirt generators. With the moss stains, I repeated the same approach. I added a dirt layer and included additional masks to introduce variation where needed.

Moss Material
For the moss cards, I returned to Maya and applied my opacity map onto a subdivided flat mesh to create the cards. I added subtle twists and bends to help them look more natural.
After creating three distinct moss clusters, I imported them into Unreal.
Next, in Substance Painter, I developed the moss material, painting a mask to control where the green subsurface scattering would appear and layering in a subtle dirt mask for added realism.
I then brought all of these materials into Unreal, tested them on the moss cards, and made the necessary adjustments to finalize the look.

Placing Moss
Once the materials were finalized, it was time to focus on their implementation. I enabled Nanite to achieve a thick moss, which provided greater artistic freedom without being constrained by performance limitations.
Using Unreal’s Foliage Tool, I began placing the moss cards across the rocks. Since the cards were relatively small, they didn’t initially populate as densely as I wanted when painting, so I switched to the Bucket Tool to quickly distribute a large number of cards.
Afterward, I manually erased areas to fine-tune and clean up the placement.
This stage of the process is where the variety of moss materials and card types really paid off—I was able to create smooth transitions between long and short moss, resulting in a much more natural appearance.
To enhance the realism on the cards, I utilized the SpeedTree color variation node within the material editor to introduce subtle tonal differences and achieve a more organic look.
Once I was satisfied with the overall moss distribution, I added an additional flat moss material. The textures were all created in Substance Designer. I would add vertex painting to mask the different textures directly onto the rocks.
This darker-stained moss was applied around the moss cards to blend them seamlessly into the surface, helping to sell the breakup and achieve a more authentic, grounded appearance.

Final Touches
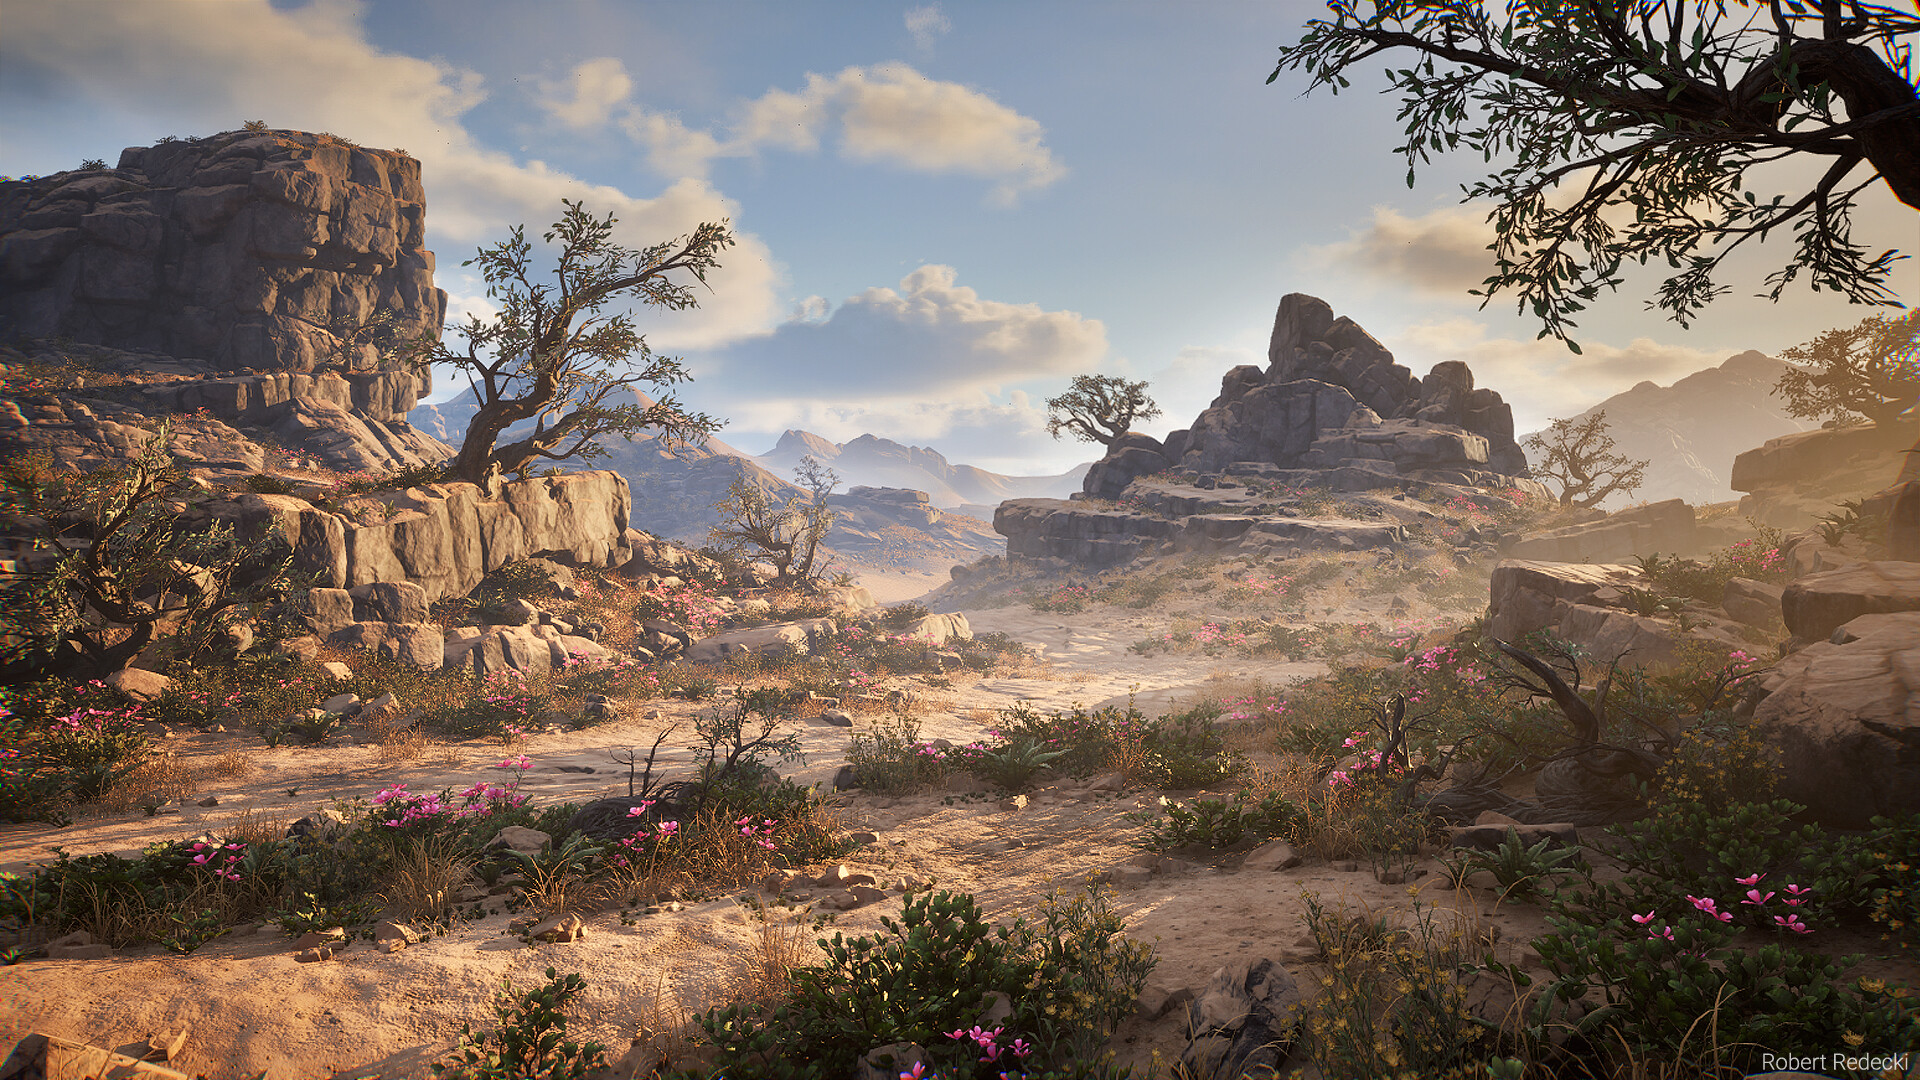
I chose to render in Unreal Engine 5 to take full advantage of Lumen and Nanite, which offered the visual fidelity and flexibility I needed. From there, I iterated on how to create an engaging scene, keeping presentation and storytelling in mind.
To enhance the environment’s richness, I incorporated some ferns I had created earlier and reused pine needles to add finer details and subtle scattering across the ground.
To introduce more atmosphere and visual interest, I used the pine branches I had previously made to create dappled lighting throughout the scene.
This stage of the process felt very similar to painting—it was about experimenting, placing elements, and iterating until the composition read well and conveyed the desired mood.
Conclusion
This scene was a personal learning project that really pushed me to grow and refine my skills. I’ve found that taking the time to add those extra layers of detail can make a huge difference in the quality and believability of your work.
I encourage others to practice sculpting their own rocks and moss—it’s a great way to strengthen both technical ability and artistic judgment.
A huge thank you to Games Artist for the opportunity to share my process. I hope some of the insights here prove helpful and inspire you to push your own projects even further!
Read more articles
You might also like these articles.