Mailbox


Introduction
Hello, my name is Hakob Patrikyan.
I'm a 3D Generalist with over 10 years of experience in the gaming industry. I've worked on several AAA games and TV series as a Senior and Lead Artist.
Project and Goals
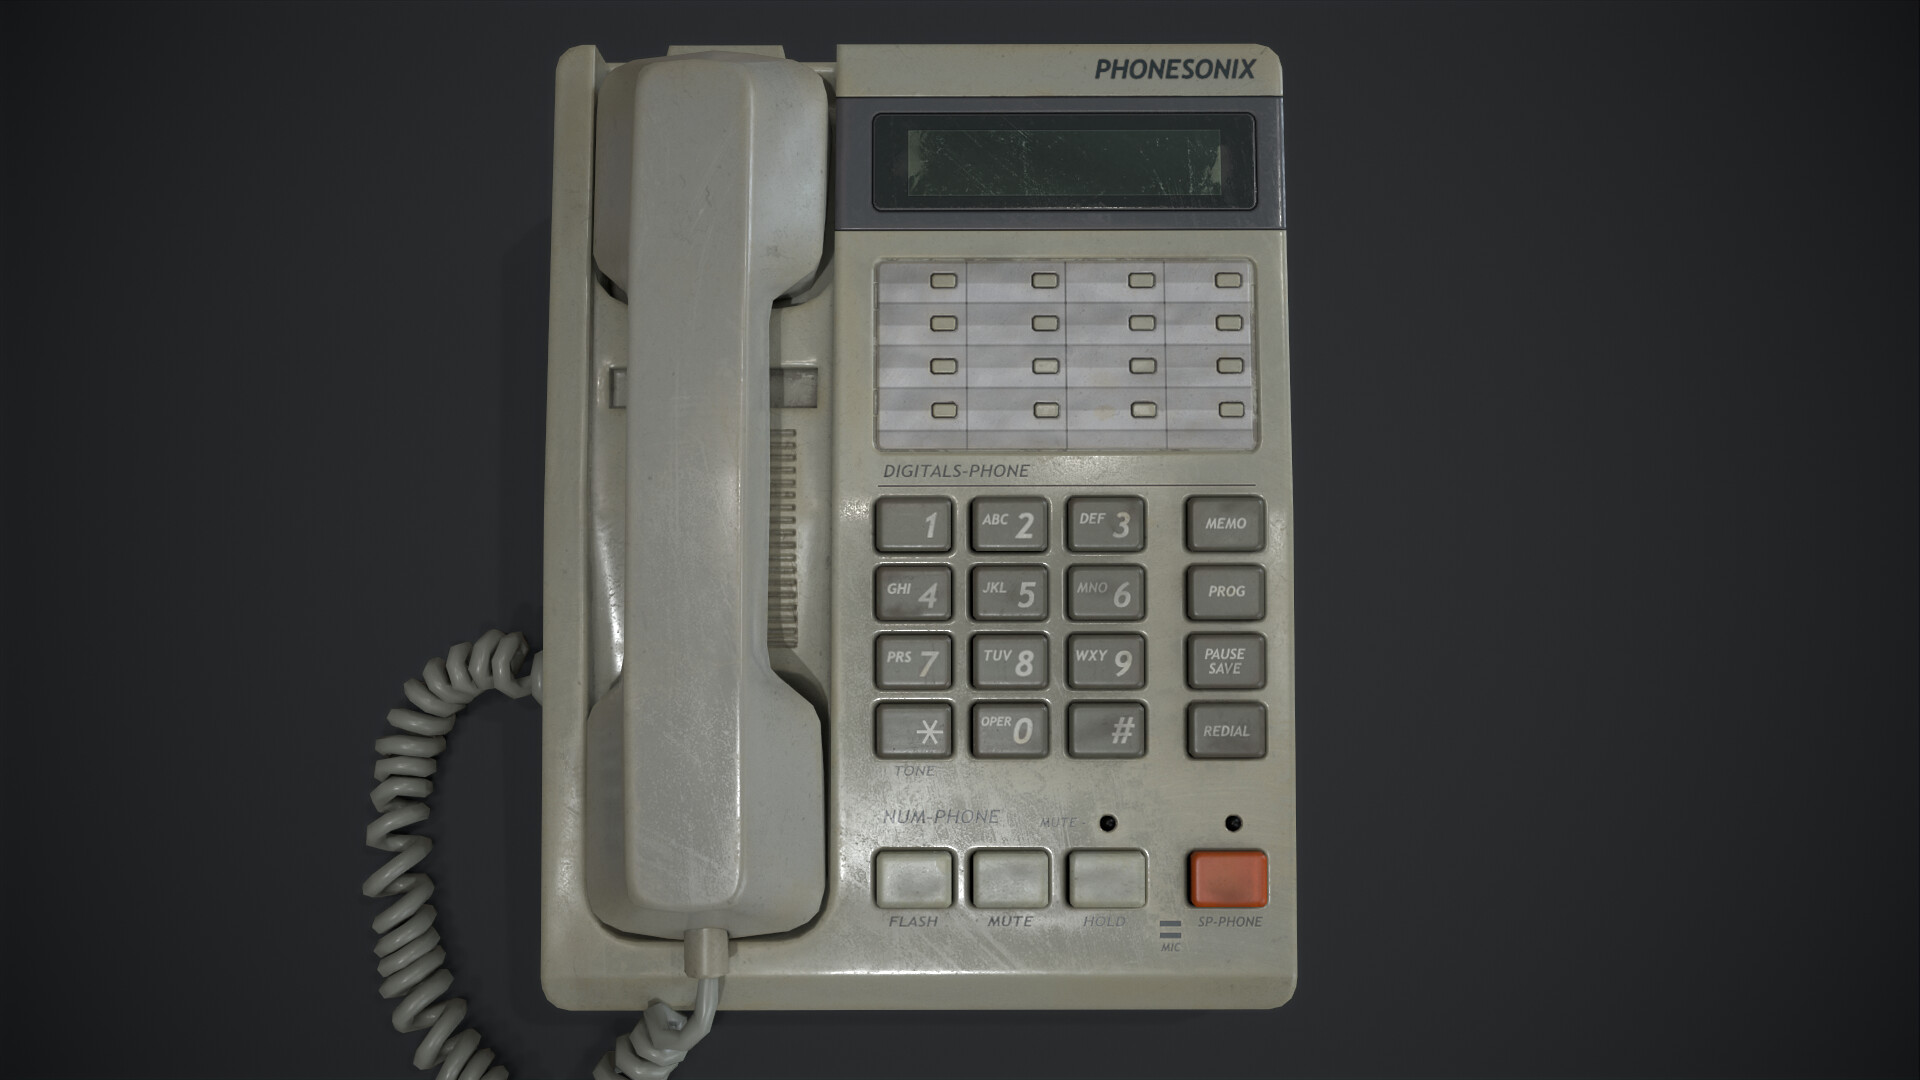
This project was a test task for me. The main goal was to create a realistic-looking mailbox for game engines. It had to have fewer than 10,000 triangles and a texel density of 1k pixels per meter. Although the mailbox was simple to model, the final texture needed to look real, just like the reference picture.
Software Used
- Pureref: For collecting references.
- 3DS Max: For blockout, low-poly modeling, and UV mapping.
- Mudbox: For high-poly modeling.
- RizomUV: For UV packing.
- Substance Painter: For texturing.
- Marmoset: For rendering.
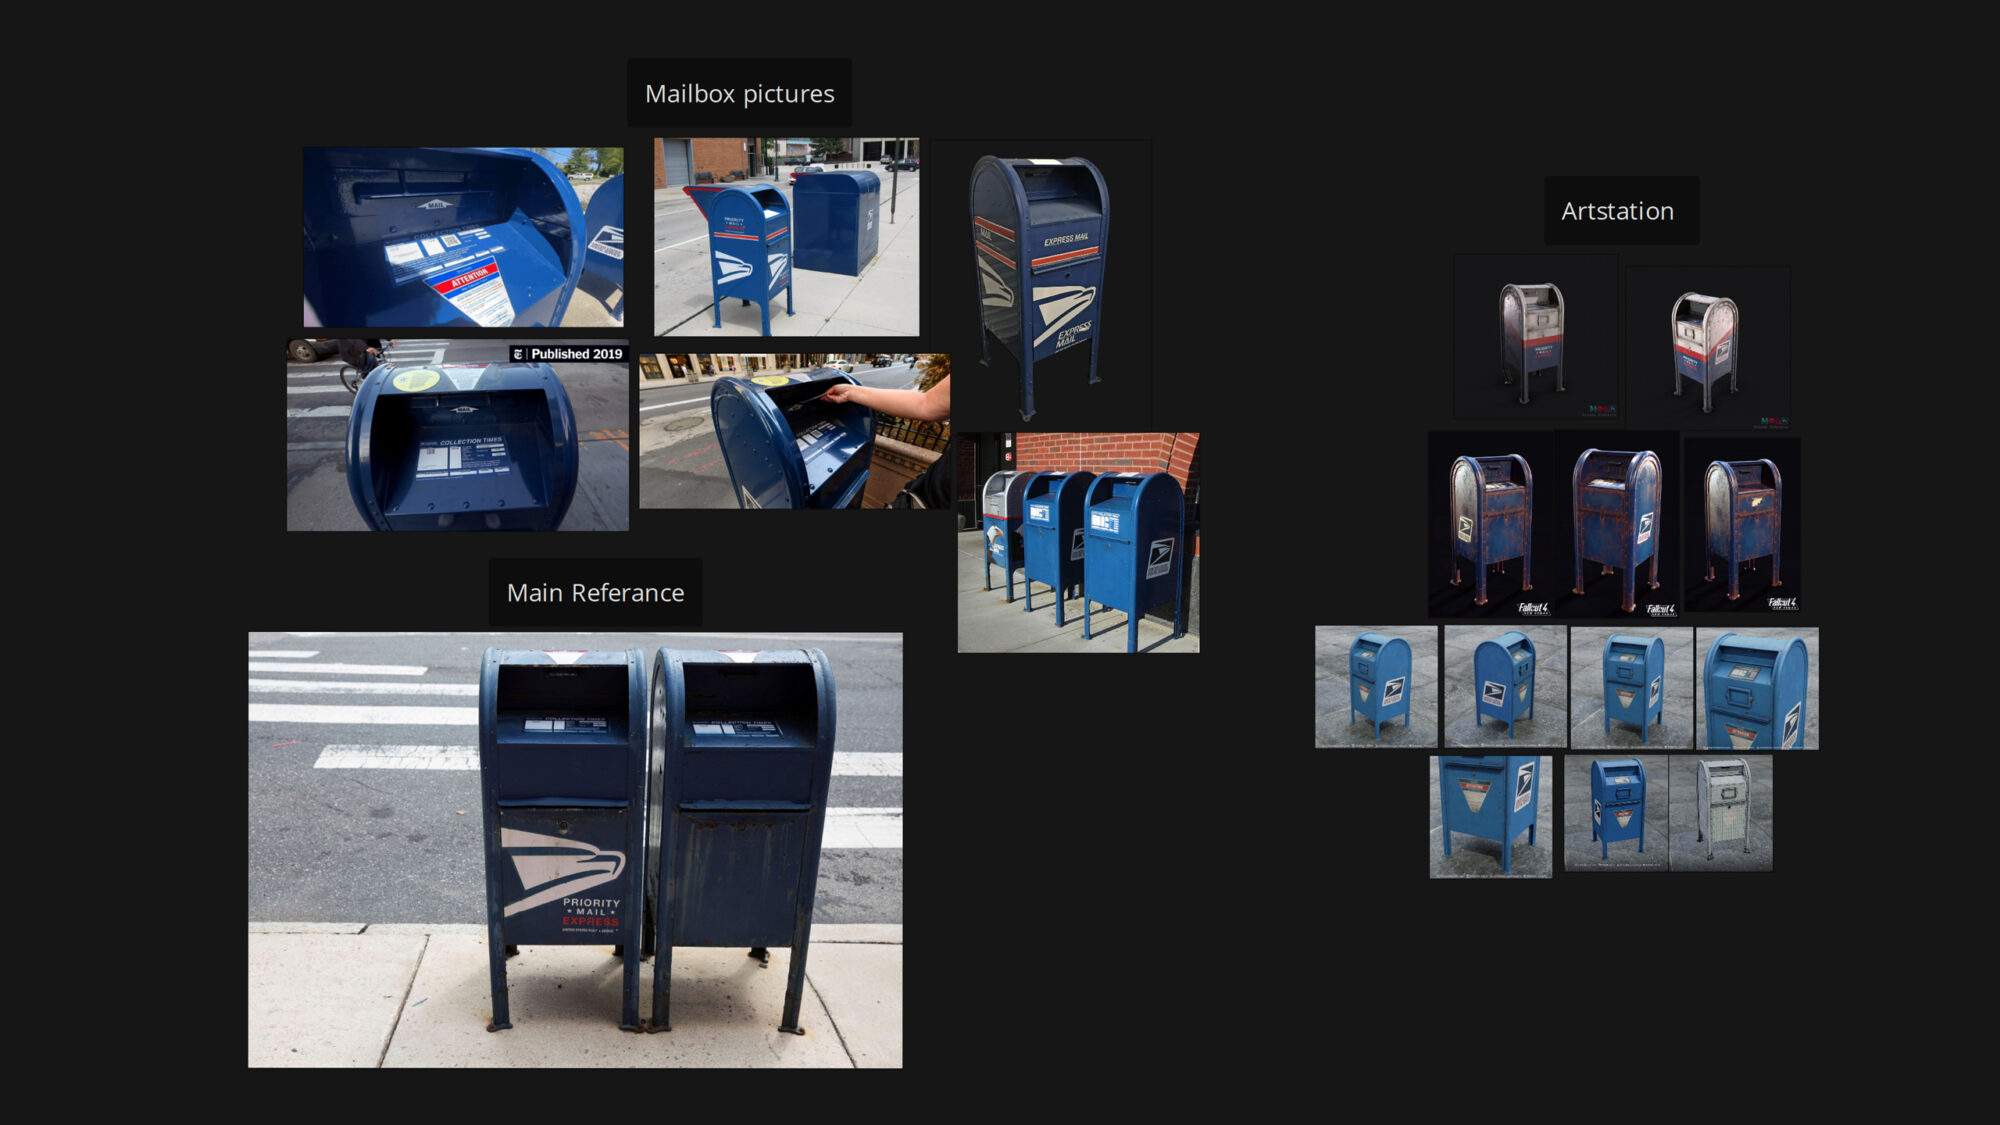
References
For this model, I started with one provided reference image. However, I found more high-resolution pictures to help me understand the details better. I gathered all the reference images in Pureref before starting the blockout.
Blockout
The main challenge during the blockout phase was the lack of information about the mailbox dimensions. I found the best solution by asking ChatGPT. Once I had the dimensions, creating the blockout was easy because the mailbox has simple shapes.
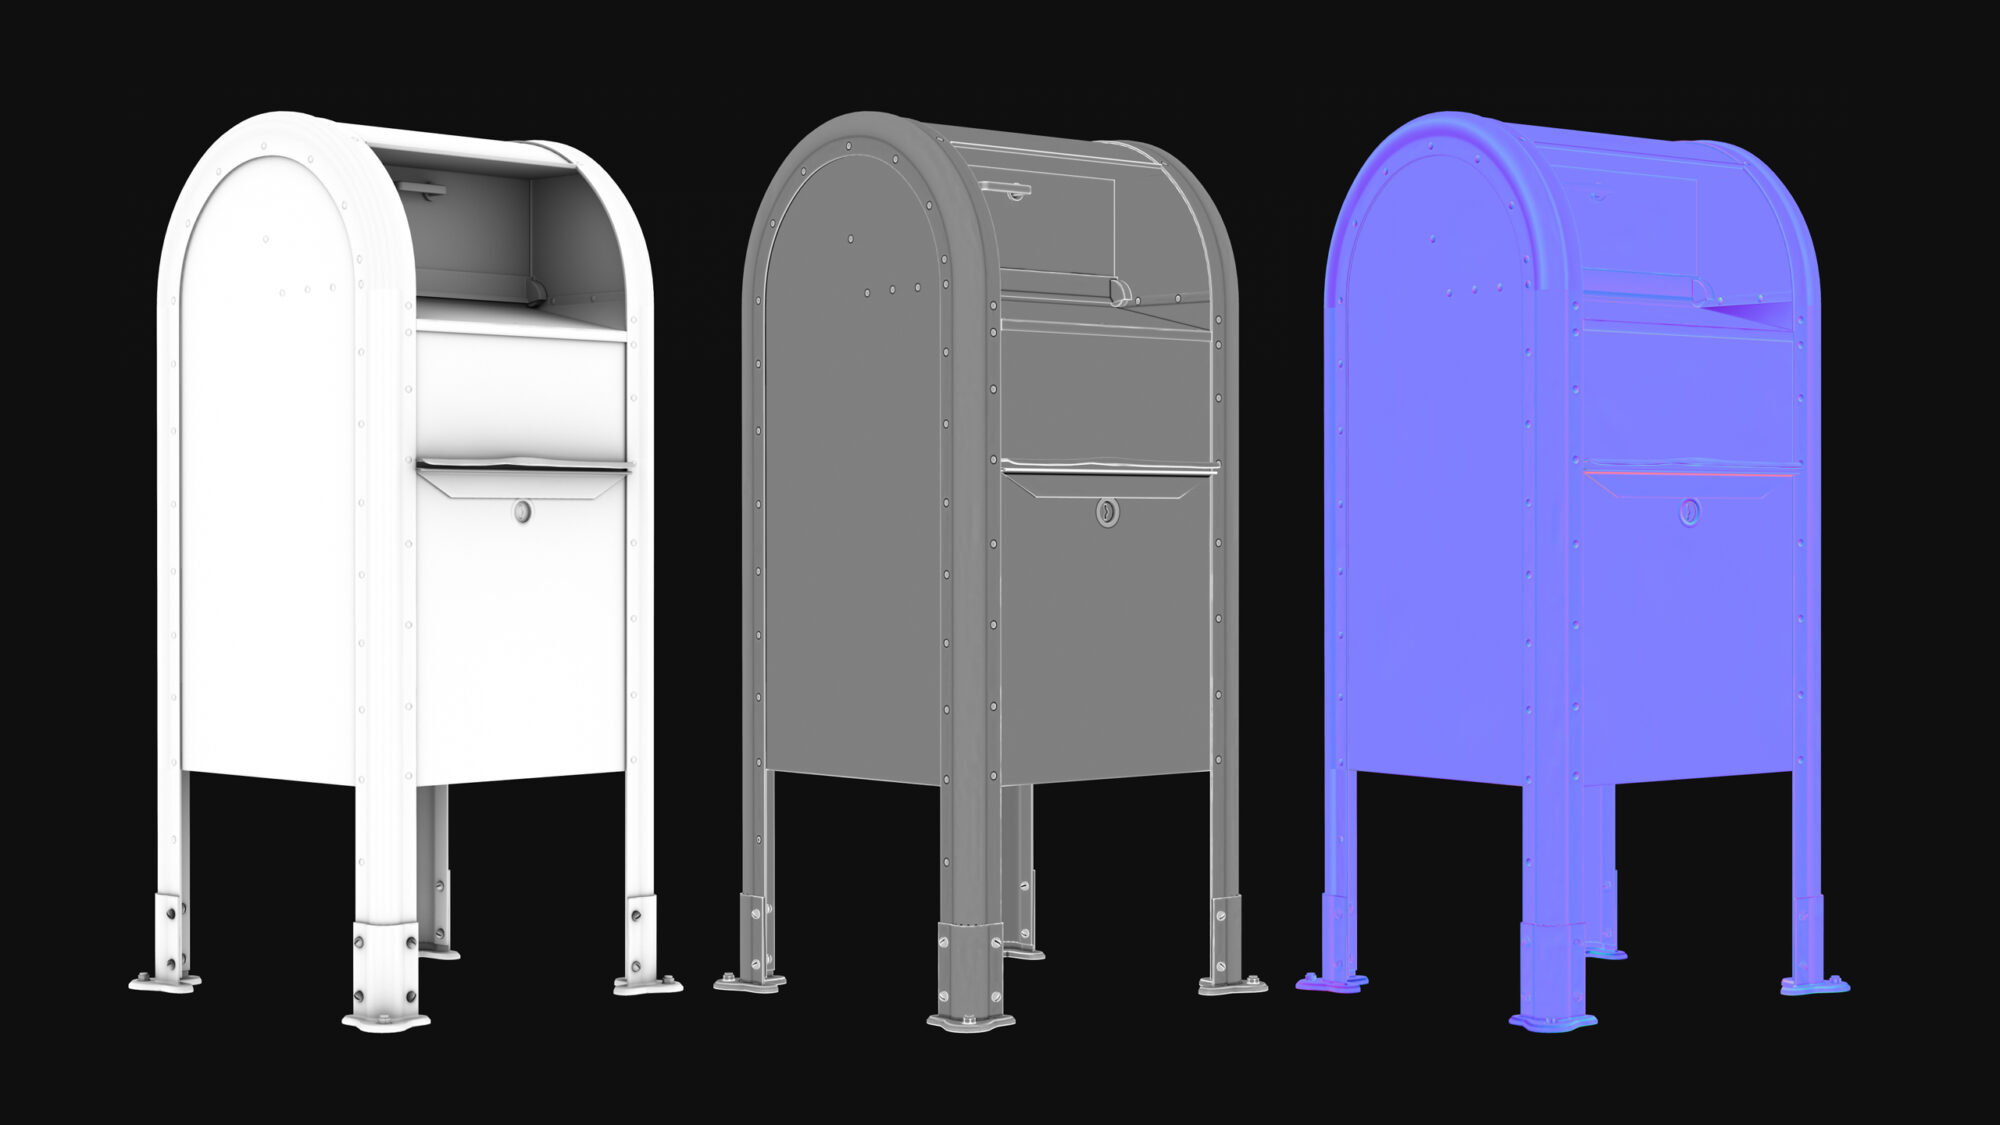
High-Poly
In the first stage, I created the high-poly model in 3DS Max. I added more details and modifiers to the blockout without collapsing them. This way, I could easily make the low-poly model by deactivating the modifiers and making minor surface adjustments.
In the second stage, I opened the clean high-poly mesh in Mudbox. I sculpted additional details like dents and bumps to make it look more realistic.

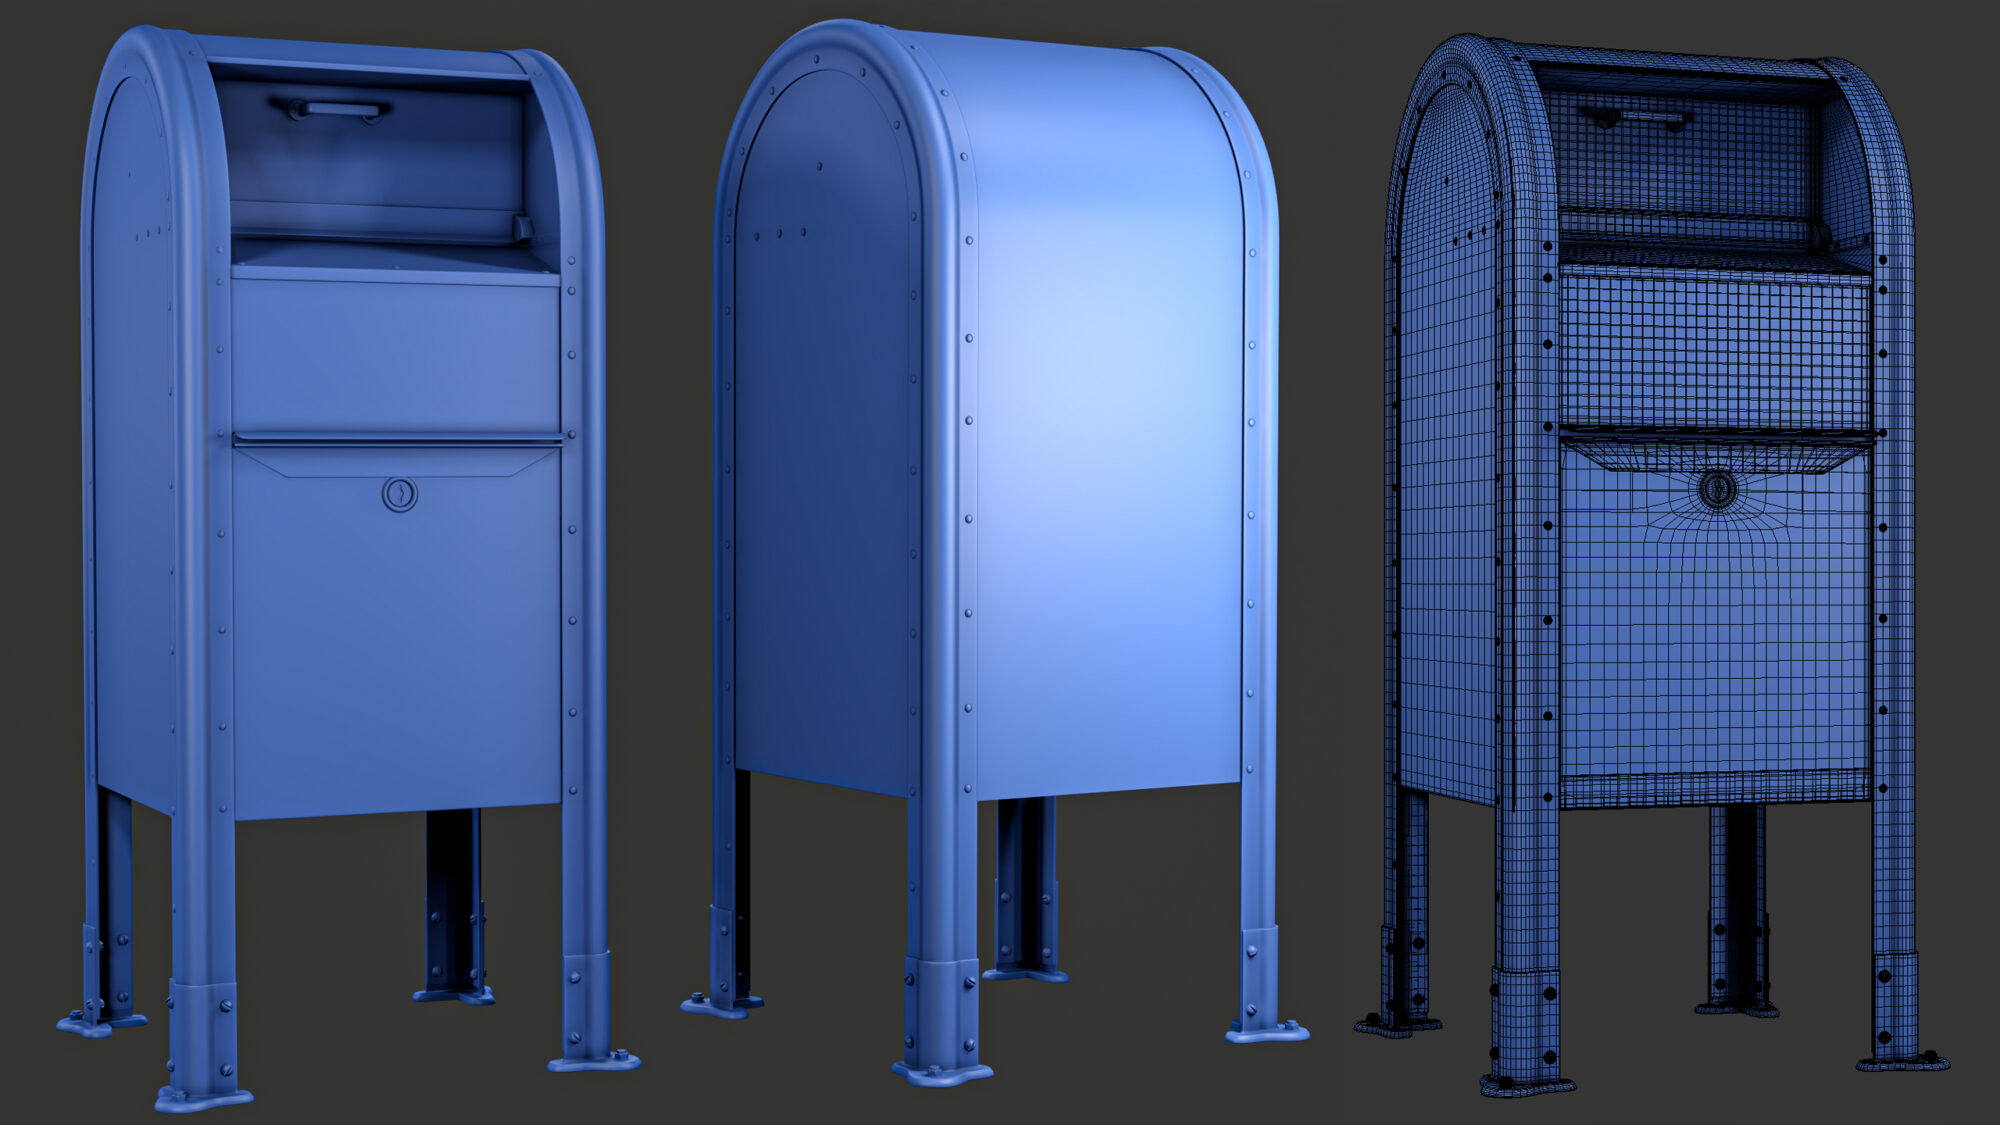
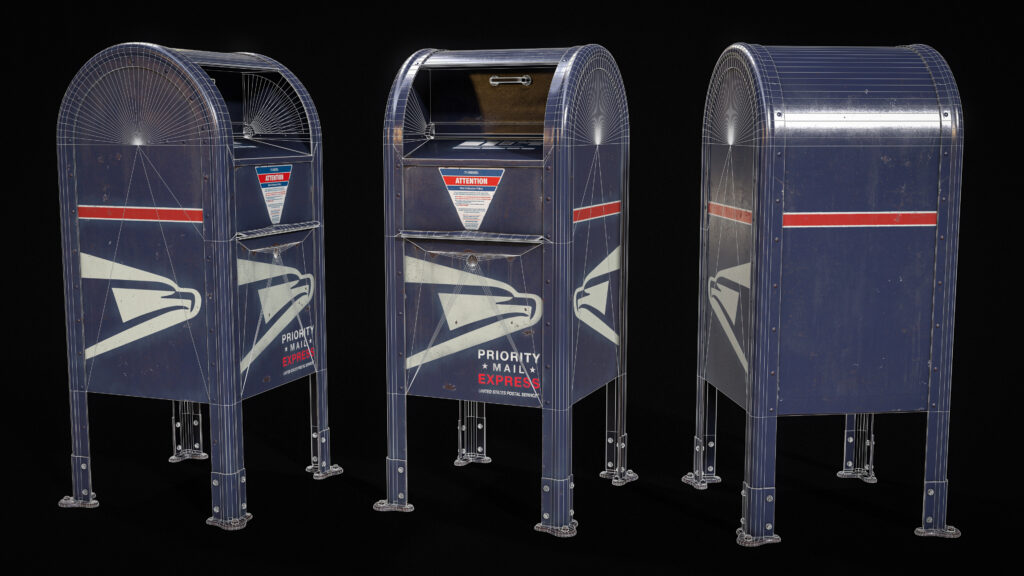
Low-Poly
To create the low-poly model, I deactivated the modifiers from the high-poly model and removed some elements.
This made the model less complex and suitable for real-time applications like games.

UV & Baking
This part was a bit challenging. I wanted a texel density higher than 1k in a single 2k texture. I avoided using many overlapping parts because I wanted the final look to match the reference.
I made the central part unique and allowed the other parts to overlap.
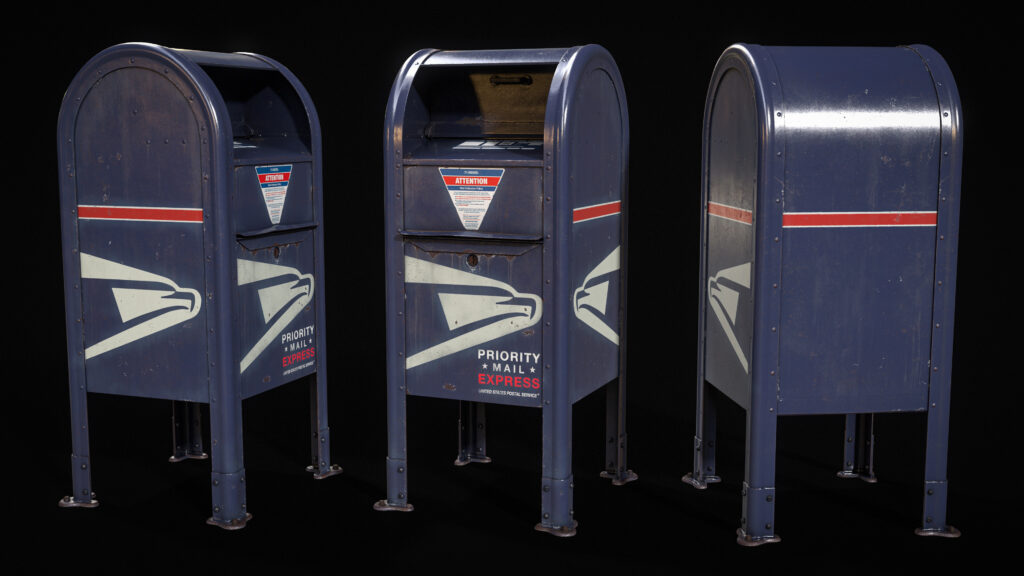
Texturing
Texturing was the most enjoyable part of this project.
I love this stage because it tells the model’s story through colors and materials. For example, is the mailbox old or new? Is it abandoned or still in use?
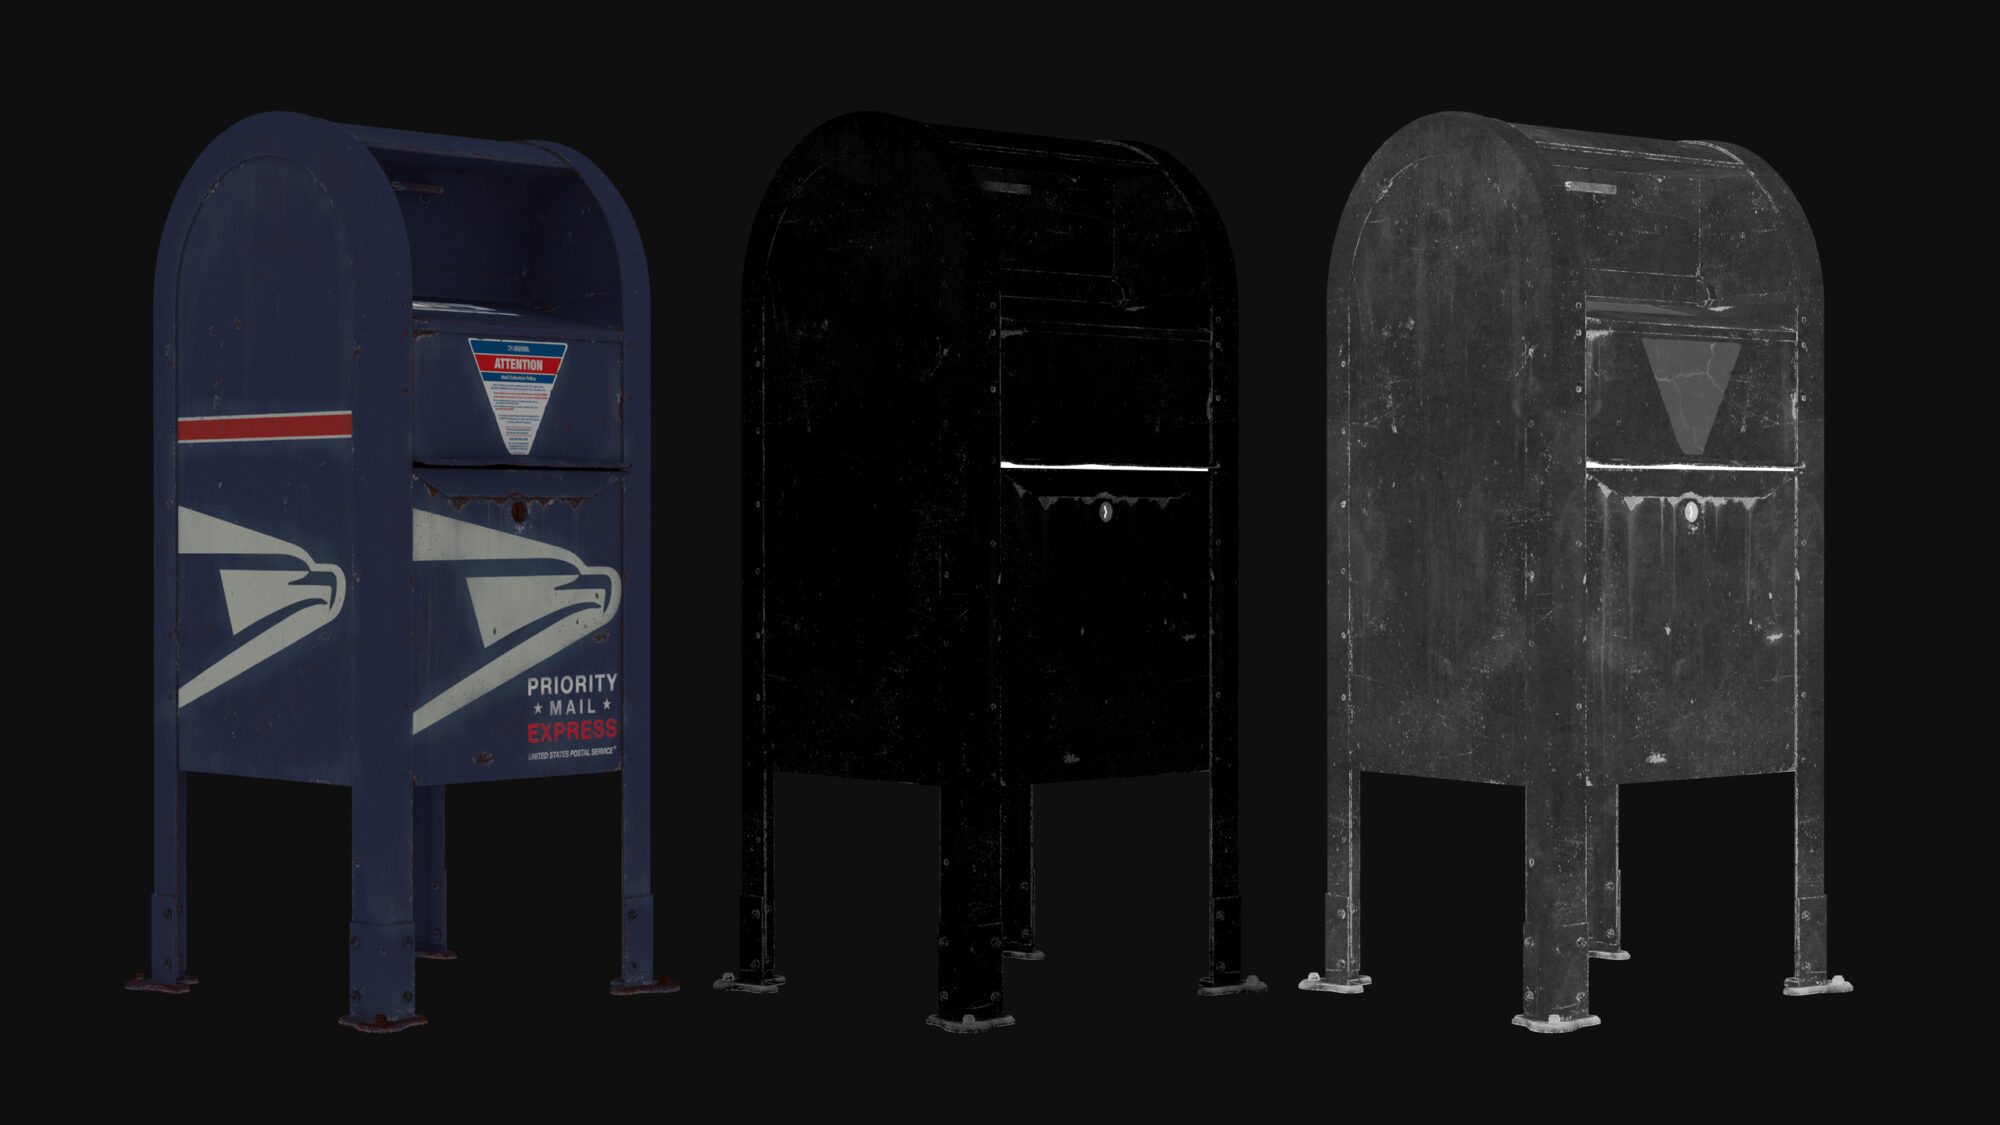
I created a few smart materials to capture the realism from the reference.
To get realistic textures, I had to paint many parts by hand instead of relying only on generators with baked textures.
This is a common challenge for beginners. Nowadays, creating stunning smart materials is easier thanks to many tutorials, but using them effectively is the real skill.
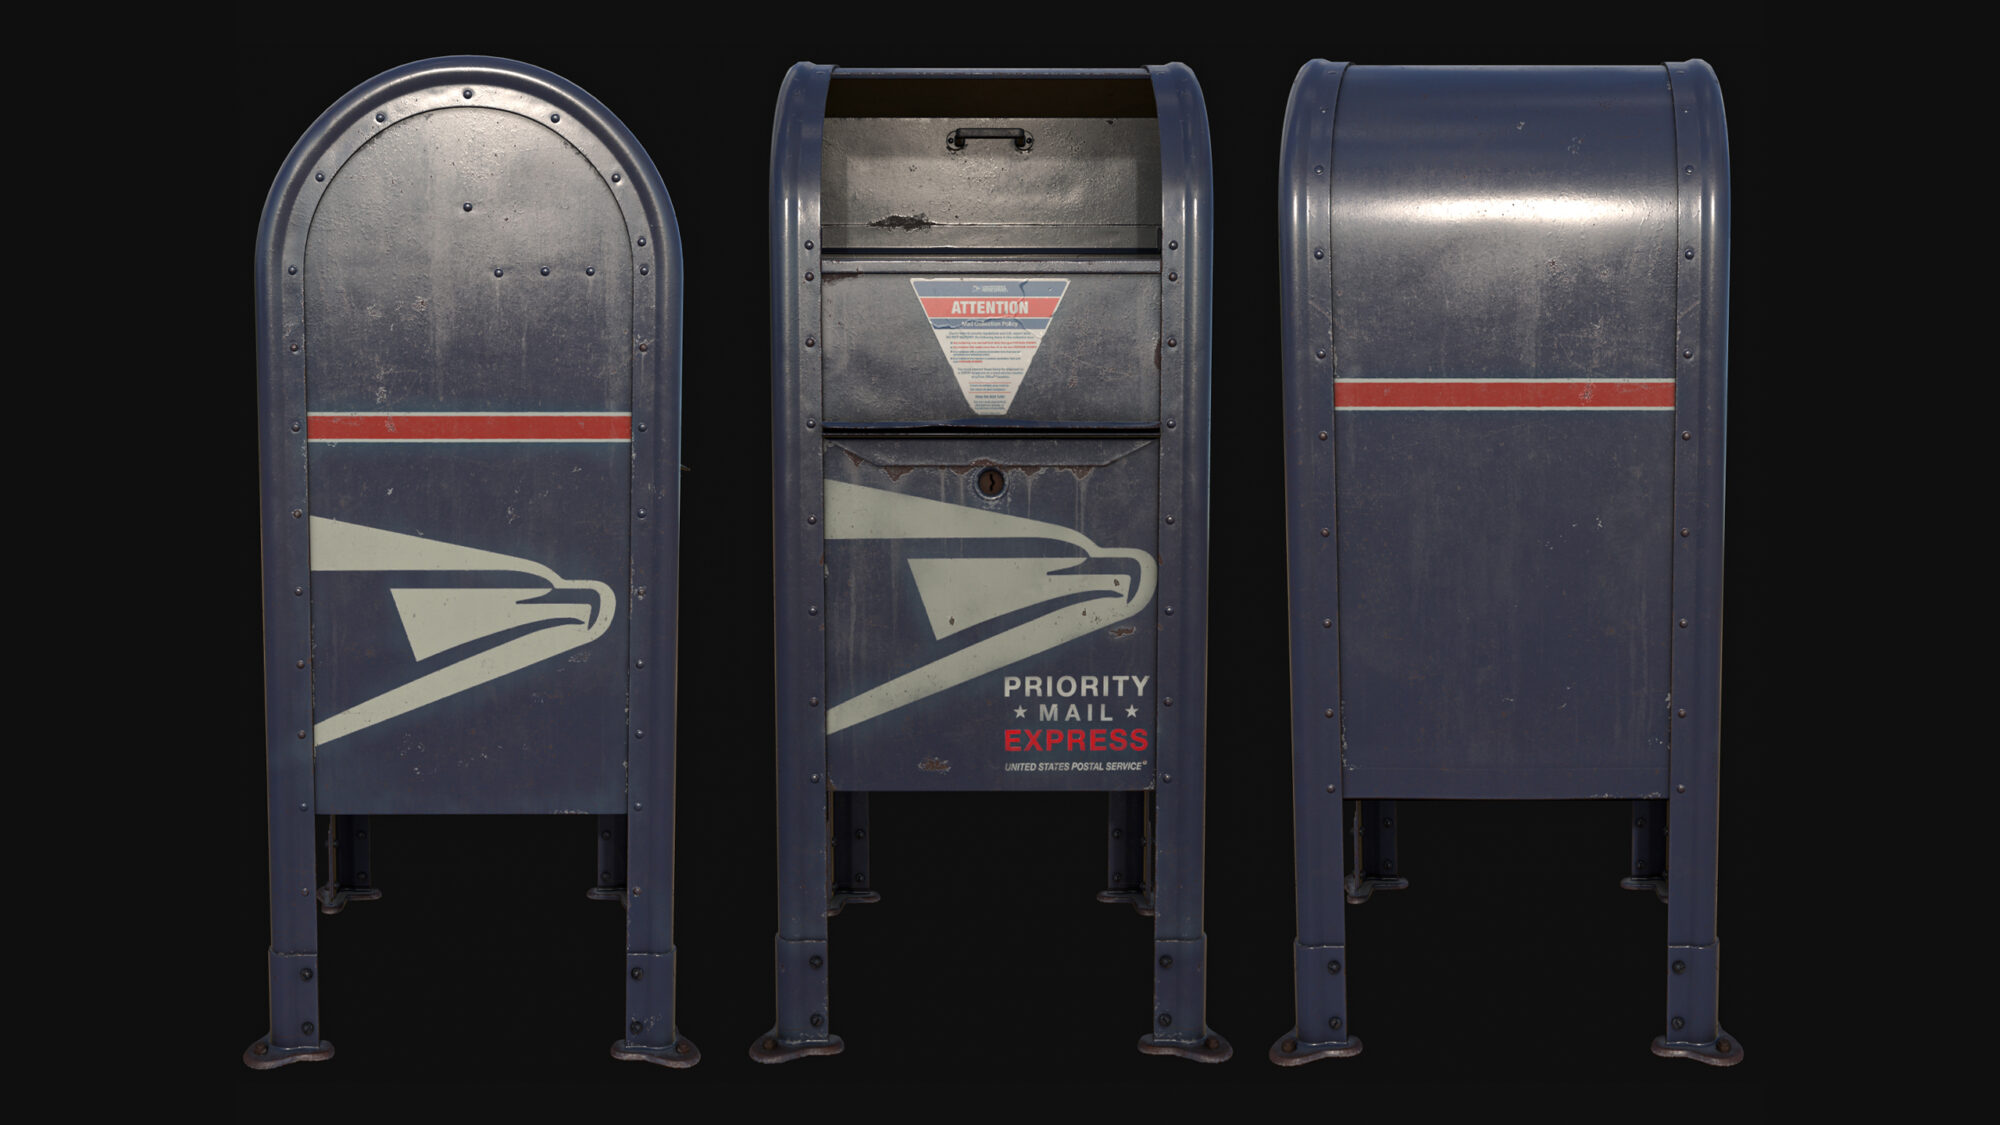
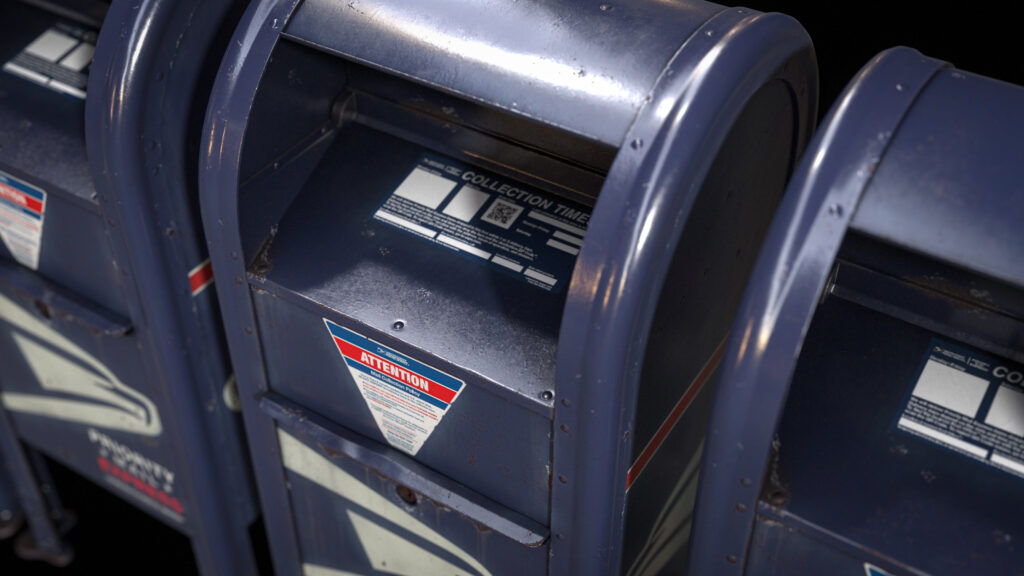
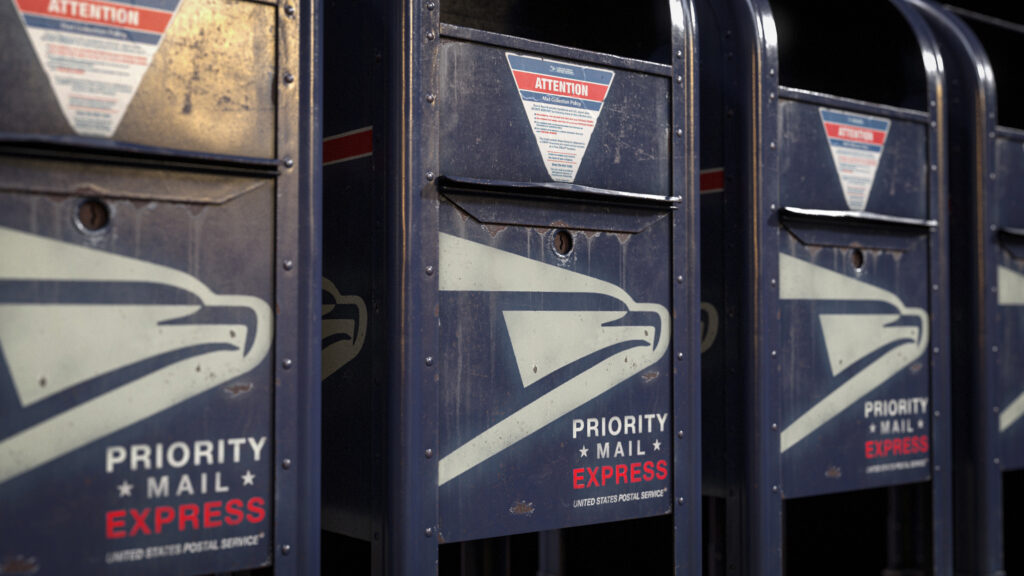
Final Renders
Finalizing the lighting, composition, and camera settings was also fascinating. Enabling ray-trace rendering and Depth of Field in Marmoset is a good start, but achieving a polished result requires more effort and attention to detail.
Read more articles
You might also like these articles.