
Introduction
Hello, my name is Emilio Marchan, and I’m a Character Artist from Ecuador.
I’m currently finishing my education at the Think Tank Training Centre in their online CG Asset Creation program.
Project
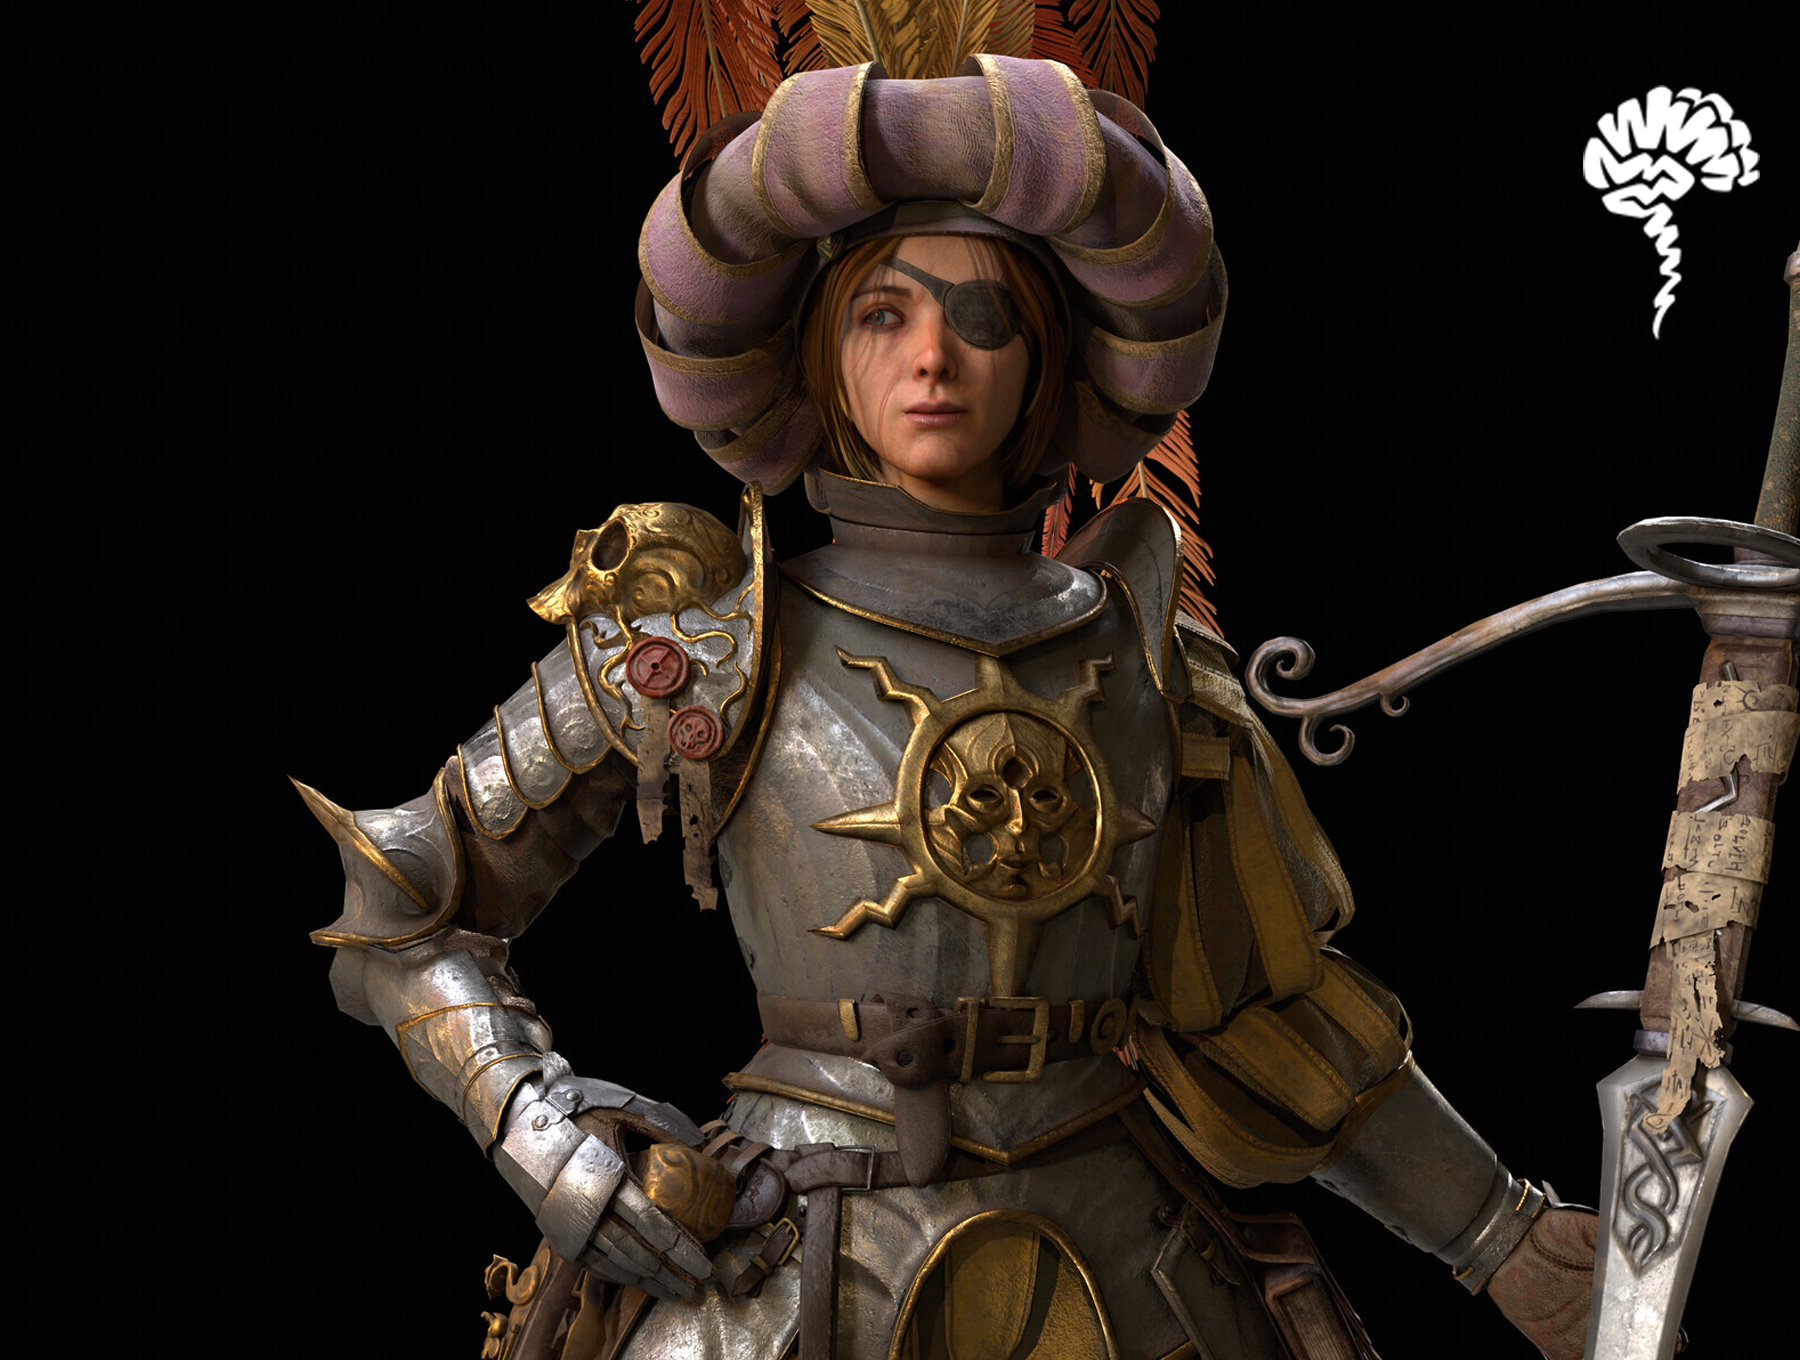
In this article, I’ll share part of my process for creating my latest character, Magda.
During this project, I received assistance from Lucas Silva, my Supervisor during the Advanced Term, who provided great advice and encouraged me to push my character to its fullest extent.
Thank you so much for all your support, Lucas!
Goals
One of my main objectives for this project was to translate a stylized concept into a more realistic character while preserving the features and essence of the original design.
Tools
- Maya
- ZBrush
- Marvelous Designer
- Substance Painter
- Fibershop
- Marmoset Toolbag
References and Ideation
This project is based on a concept by Haiyang. I chose it because of its interesting asymmetry between the armor and cloth.

I started by studying real armor references to understand how each piece attaches to the body, and then began designing additional details not shown in the original concept.
I also gathered many references from other artists and games such as Baldur’s Gate and God of War for inspiration.

Modelling
For the block-out, I started by sculpting the basic proportions of the body, and then extracted meshes for the armor and cloth.
This stage involves a lot of back-and-forth; it looks quite rough initially, and it’s important to resist the urge to refine individual pieces too soon. Instead, I focused on the overall silhouette.
After a few days of work, the model began to resemble the concept more closely, and I was ready to refine each piece.

For the armor, I did a quick retopology in Maya to create a cleaner base from the block-out. Then, I added thickness and creases where necessary and subdivided the pieces.
I chose not to sculpt the metal surface details in high poly; instead, I focused on the main ornament lines and flow as shown in the concept, for which I used Kaoru Sakaki’s SK_Slash brush.
Later, all the metal details were added during the texturing stage.
The clothes were created in Marvelous Designer. I tried to preserve the silhouette from the block-out and concept while ensuring the simulation produced interesting folds.
I avoided overcomplicating the clothing, knowing that a game-ready retopology would be required later.

Head
For the head, I began by blocking out the basic proportions and features, and once I was satisfied with the result, I wrapped it in a game-ready base mesh from 3D Scan Store.
Something that helped me while sculpting was poly-painting the makeup, as well as the eyebrows and eyes; this made the character feel more natural and made it easier to spot if something was wrong.

I also used the included textures and displacement to get a solid base for the high poly, then added layers to fix errors, tweak the intensity, and add scars.
Since 3D Scan Store heads share the same topology, I was able to use their free multi-expression base mesh to test various facial expressions.
Although I didn’t showcase these in the final renders, it was really fun to try them out.
For the feathers, I experimented with different approaches, such as simulating them as a groom asset or starting from a 3D scan.
In the end, I sculpted them in ZBrush for better control over length and style. I then baked them into cards, similar to real-time hair techniques, and used deformers to adjust their flow.
For the hair, I used Fibershop to create the textures and George Sladkovsky’s GS Curve Tools to place the cards on the head.
Texturing
Texturing is my favorite stage of the process.
This is where I allowed myself to experiment the most and let my creativity flow.
I only have one piece of advice here: variety.
I started with a standard workflow, using either custom or pre-made materials. Once I was getting closer to my goal, I added glimpses of color variations and imperfections to achieve a more natural look.
No material in real life is a flat color; they all have imperfections.
Marco Bucci, one of my favorite 2D illustrators, does a great job teaching on his YouTube channel about how colors interact with each other and the environment.
I applied these same principles in 3D.
As I worked on the textures, I also exported everything to Marmoset to preview the character closer to the final result.
I love how Marmoset updates the textures every time I export them from Substance Painter.
It’s a huge time saver and definitely my favorite feature, especially when working with metal pieces, as material appearance can vary significantly depending on the software used.
Lighting
My lighting setup in Marmoset was quite simple. I knew I wanted a mostly warm and high-contrast setup with sharp shadows that define the forms and volumes.
So, I looked for a good HDRI to give me that feeling, then added some subtle diffuse lights to enhance certain parts of the model.

Conclusion
Starting a new character can be rough. At some point, we all face the urge to move on to new projects, but with enough time and consistency, everything starts to fall into place.
Finding ways to keep yourself motivated throughout the process is as important as developing your modeling or texturing skills.
That said, I want to thank my little buddy, who was always with me, making sure I stayed focused.

Lastly, I want to thank Alfred at Games Artist for inviting me to write this article, and all of you for reading it. I hope you find something useful for your future projects.
If you have any questions or just want to say hi, feel free to contact me anytime.
Cheers!


