Introduction
Hello, everyone!
My name is Gennady Oni and I'm still a beginning character artist from Moscow, Russia.
Goals
The main goal was to make a nice piece for the portfolio, to begin to study XGen and most importantly to do it as quickly as possible.
Design & Concept
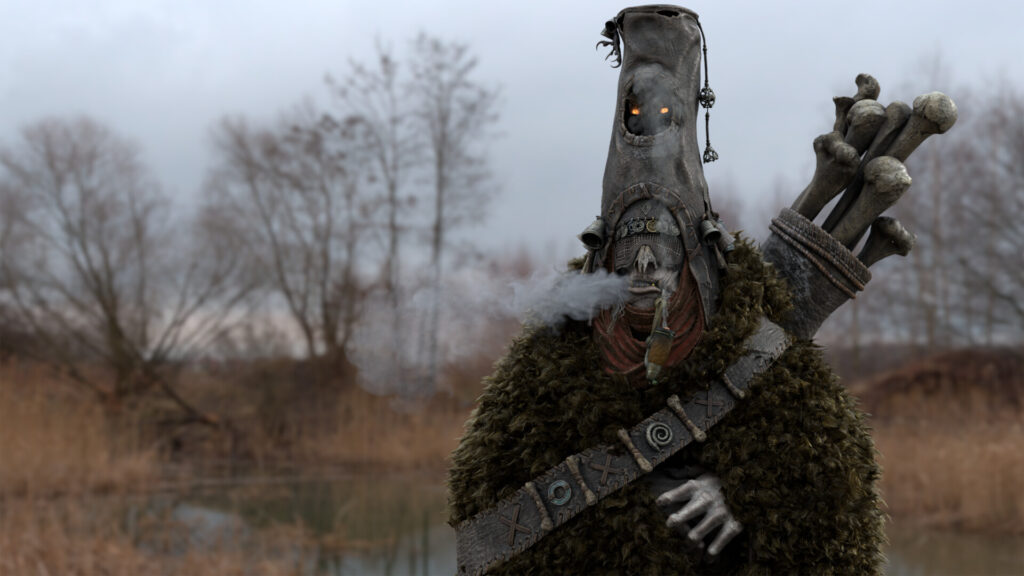
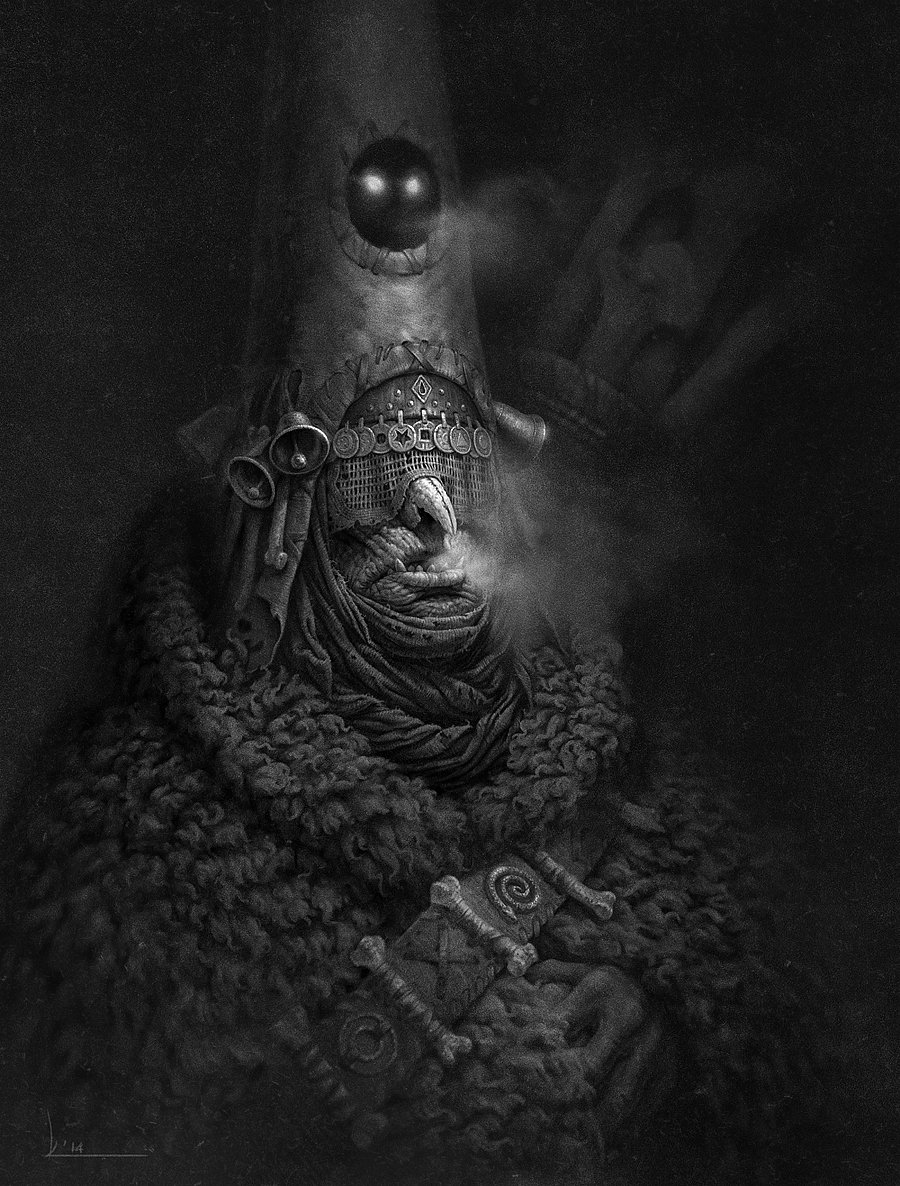
I’m inspired by deep and old grim stories, so for this project, I used this amazing piece of concept art by Konstantin Kostadinov. As my main point of reference.
Usually, my reference mood boards grow to an obscene size, but this time, because the art is so great and solid, I used the only key picture and appropriate music).
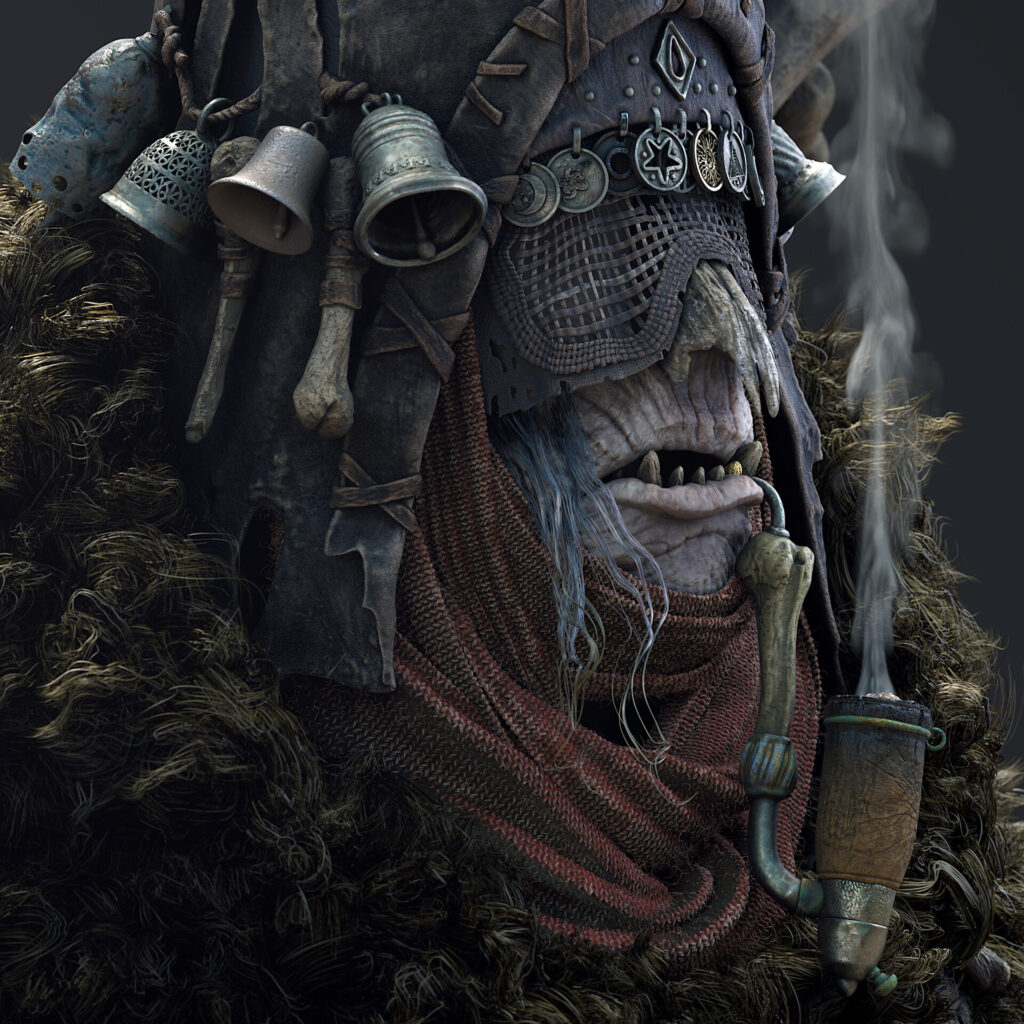
For personal projects, when working with a concept, I like to keep the mood and shapes, but at the same time, I like to add meaningful details to the characters to develop them.
Software
I used:
- Zbrush for sculpting.
- RizomUV for UVing.
- Substance 3DPainter for baking and texturing.
- Maya for modelling.
- Arnold and XGen for hair, scene setup and rendering.
Sculpting
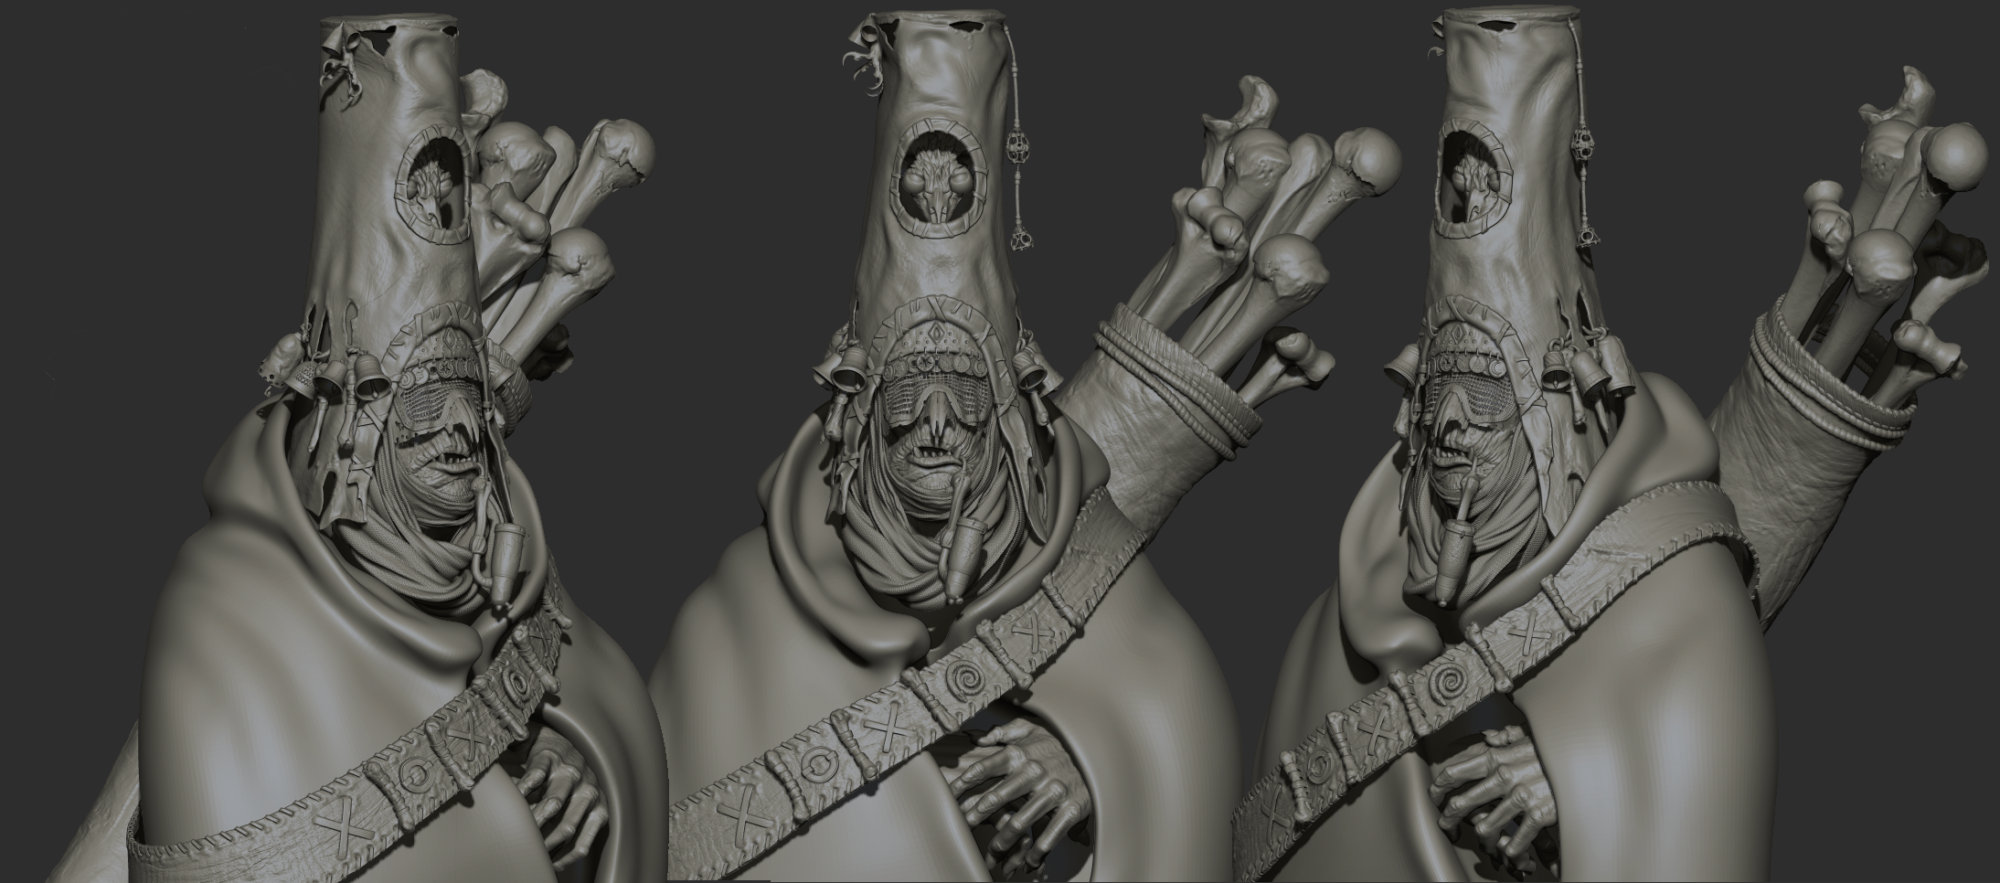
In the Blockout stage, the main task is to keep the right proportions. I define the basic silhouette and shapes and how they work in perspective.
Sometimes at this stage, I use models from Sketchfab for simple and insignificant details. I kept a couple of nice bones until the final stage.
During modeling, I do not save polygons and use as many as necessary to get the desired shapes and details. I use a bunch of standard techniques.
Also, actively use Layers, MorphTarget, Dynamics and MicroPoly. Create custom IMM for some parts.
I like to stay in ZBrush as much as I can, but always trying to find the right balance and leave some detail to the texturing stage to keep freedom and the ability to tweak.
Before decimating I split the model into separate meshes, mainly on the principle of different materials, also cleaned the mesh and removed all the invisible parts and backfaces.
UVing
This time I have been using the cheat mod – automatic UV in Rizom. It didn’t take long and sped up the process a lot. Such workflow is perfectly suitable for such quick projects. I think this is not a bad option, even though it’s totally unsuitable for production.
I saved the proper UV only for the parts which I used for XGen.
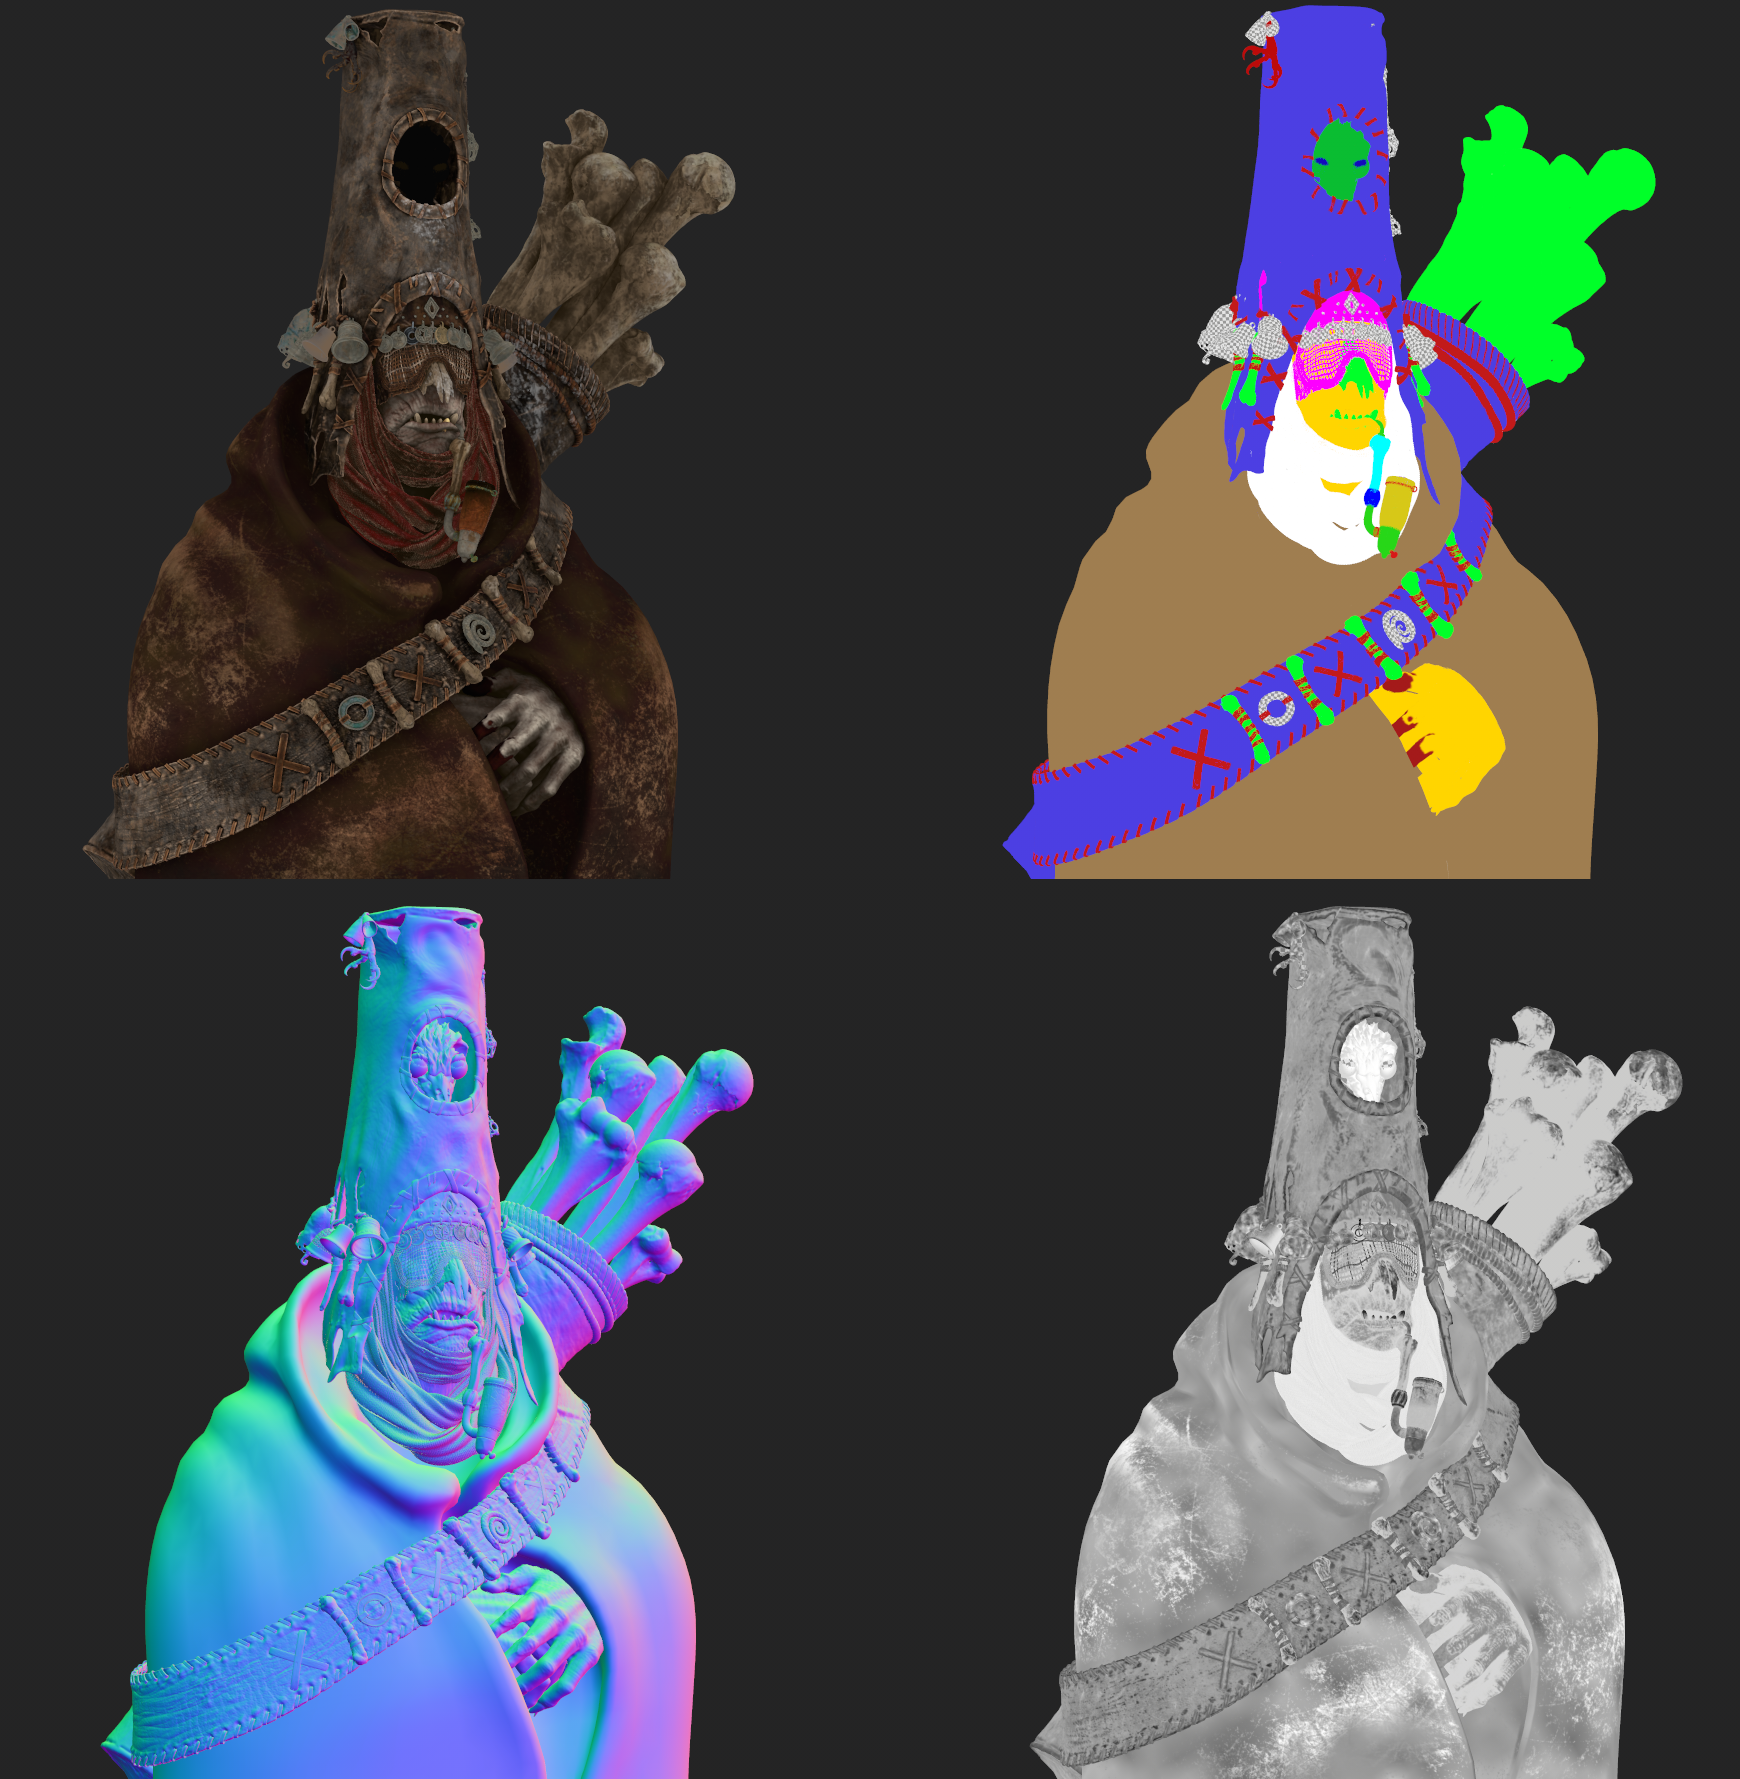
Baking & Texturing
All mesh maps were baked directly into the Substance. Each part was baked separately, only ambient occlusion was baked on the whole model to get nice shadows. Despite the mess, UV Substance did the job perfectly.
Texturing is the most enjoyable part of the process for me.

I used a metallic roughness PBR workflow with a little touch of hand painted. Using standard masks and generators. This is where the high detail from the Zbrush helps a lot.
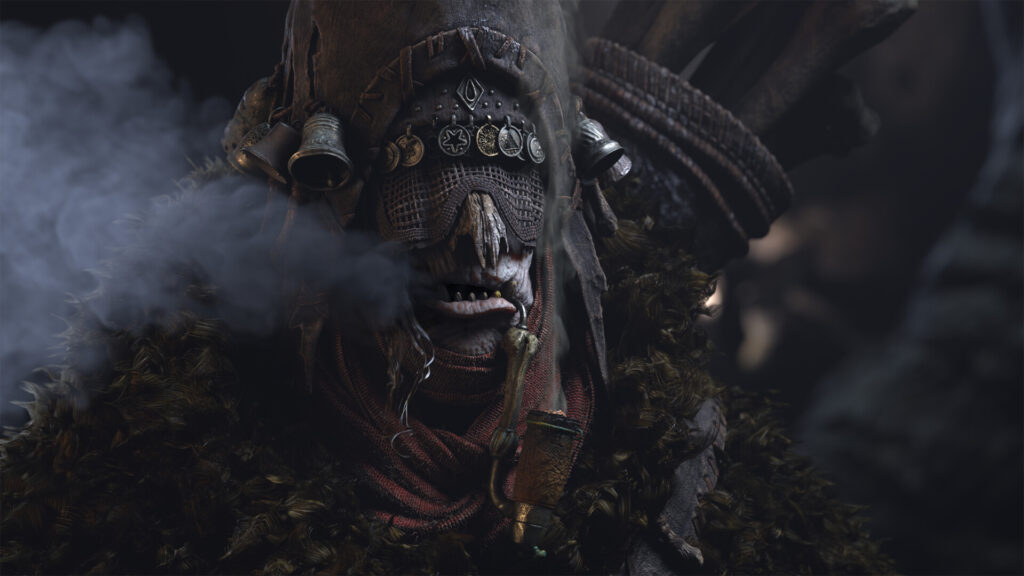
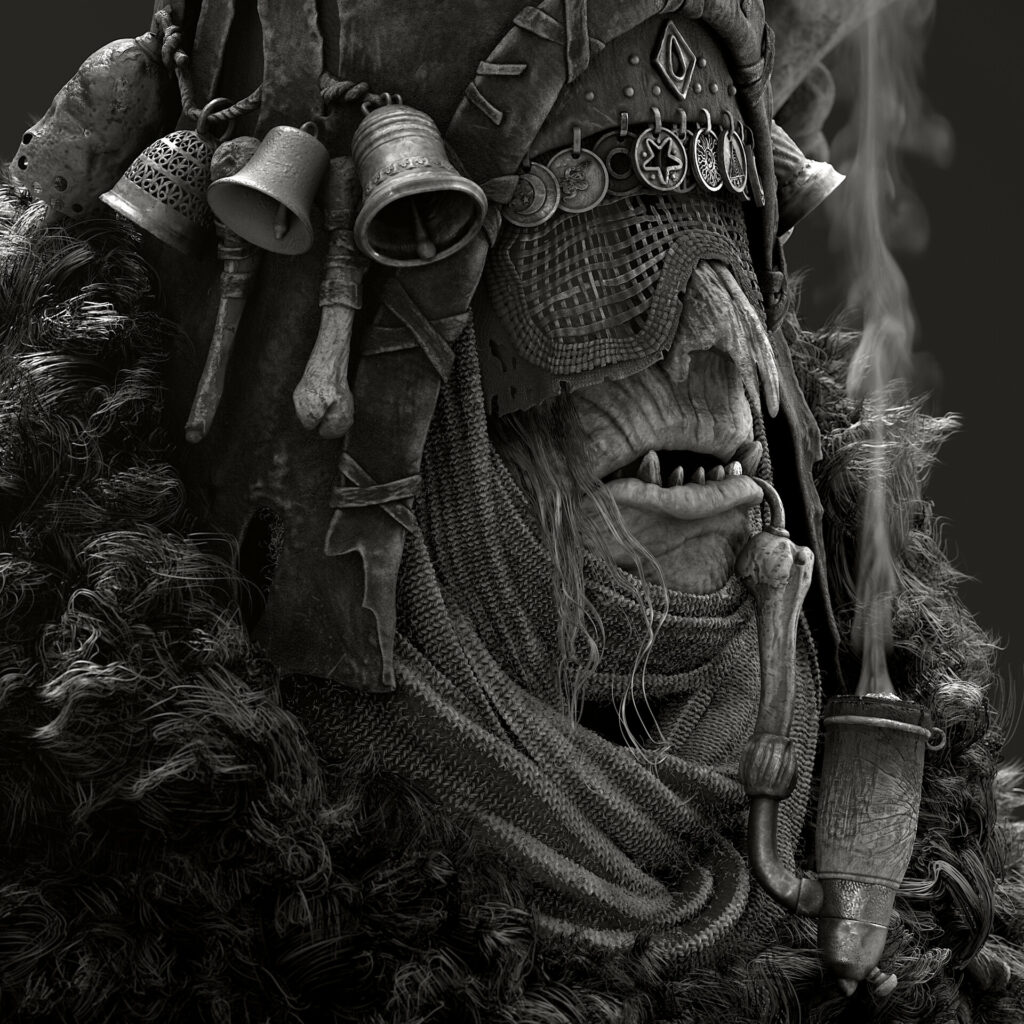
For the glowing parts like eyes and pipe ash, I added an emissive channel. Before the textures are finished, I jump into Arnold for test renders to tweak the roughness and the base color. I like to keep color correction in Arnold at a minimum level.
I export the textures to Maya with the Substance plugin, which saves a little more time.
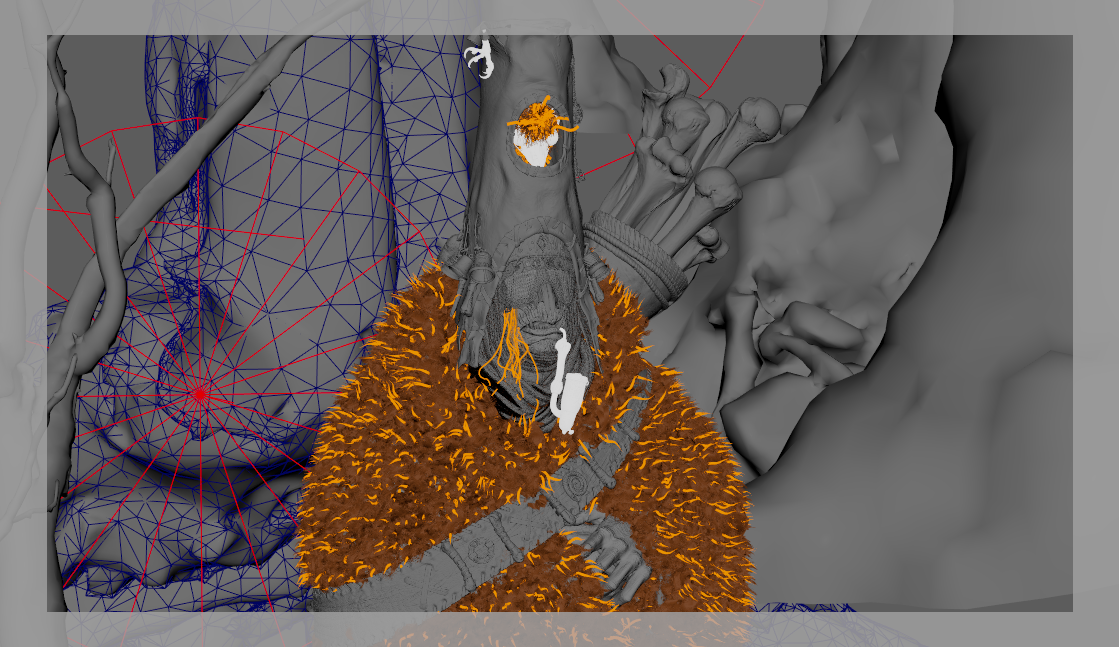
Rendering
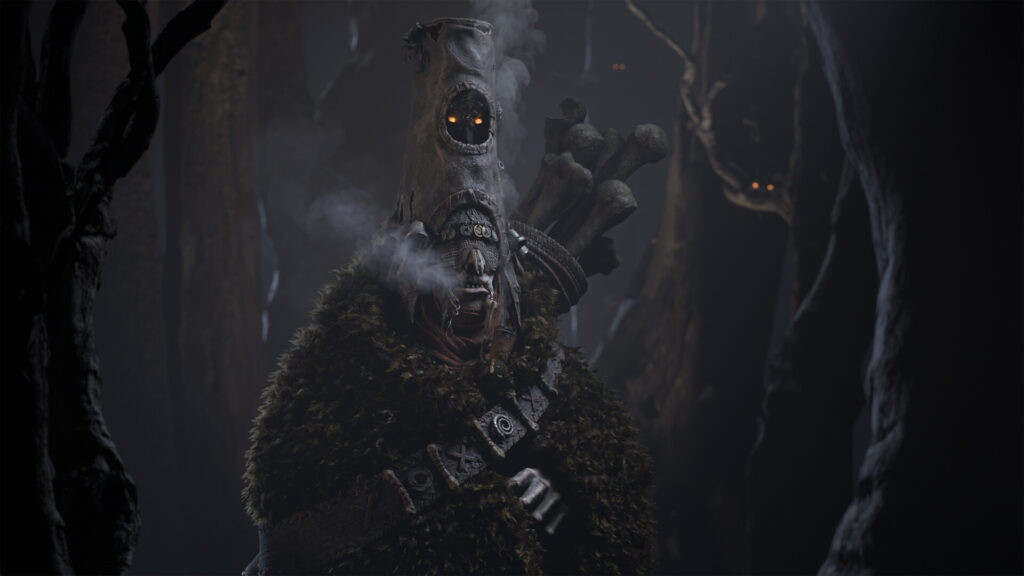
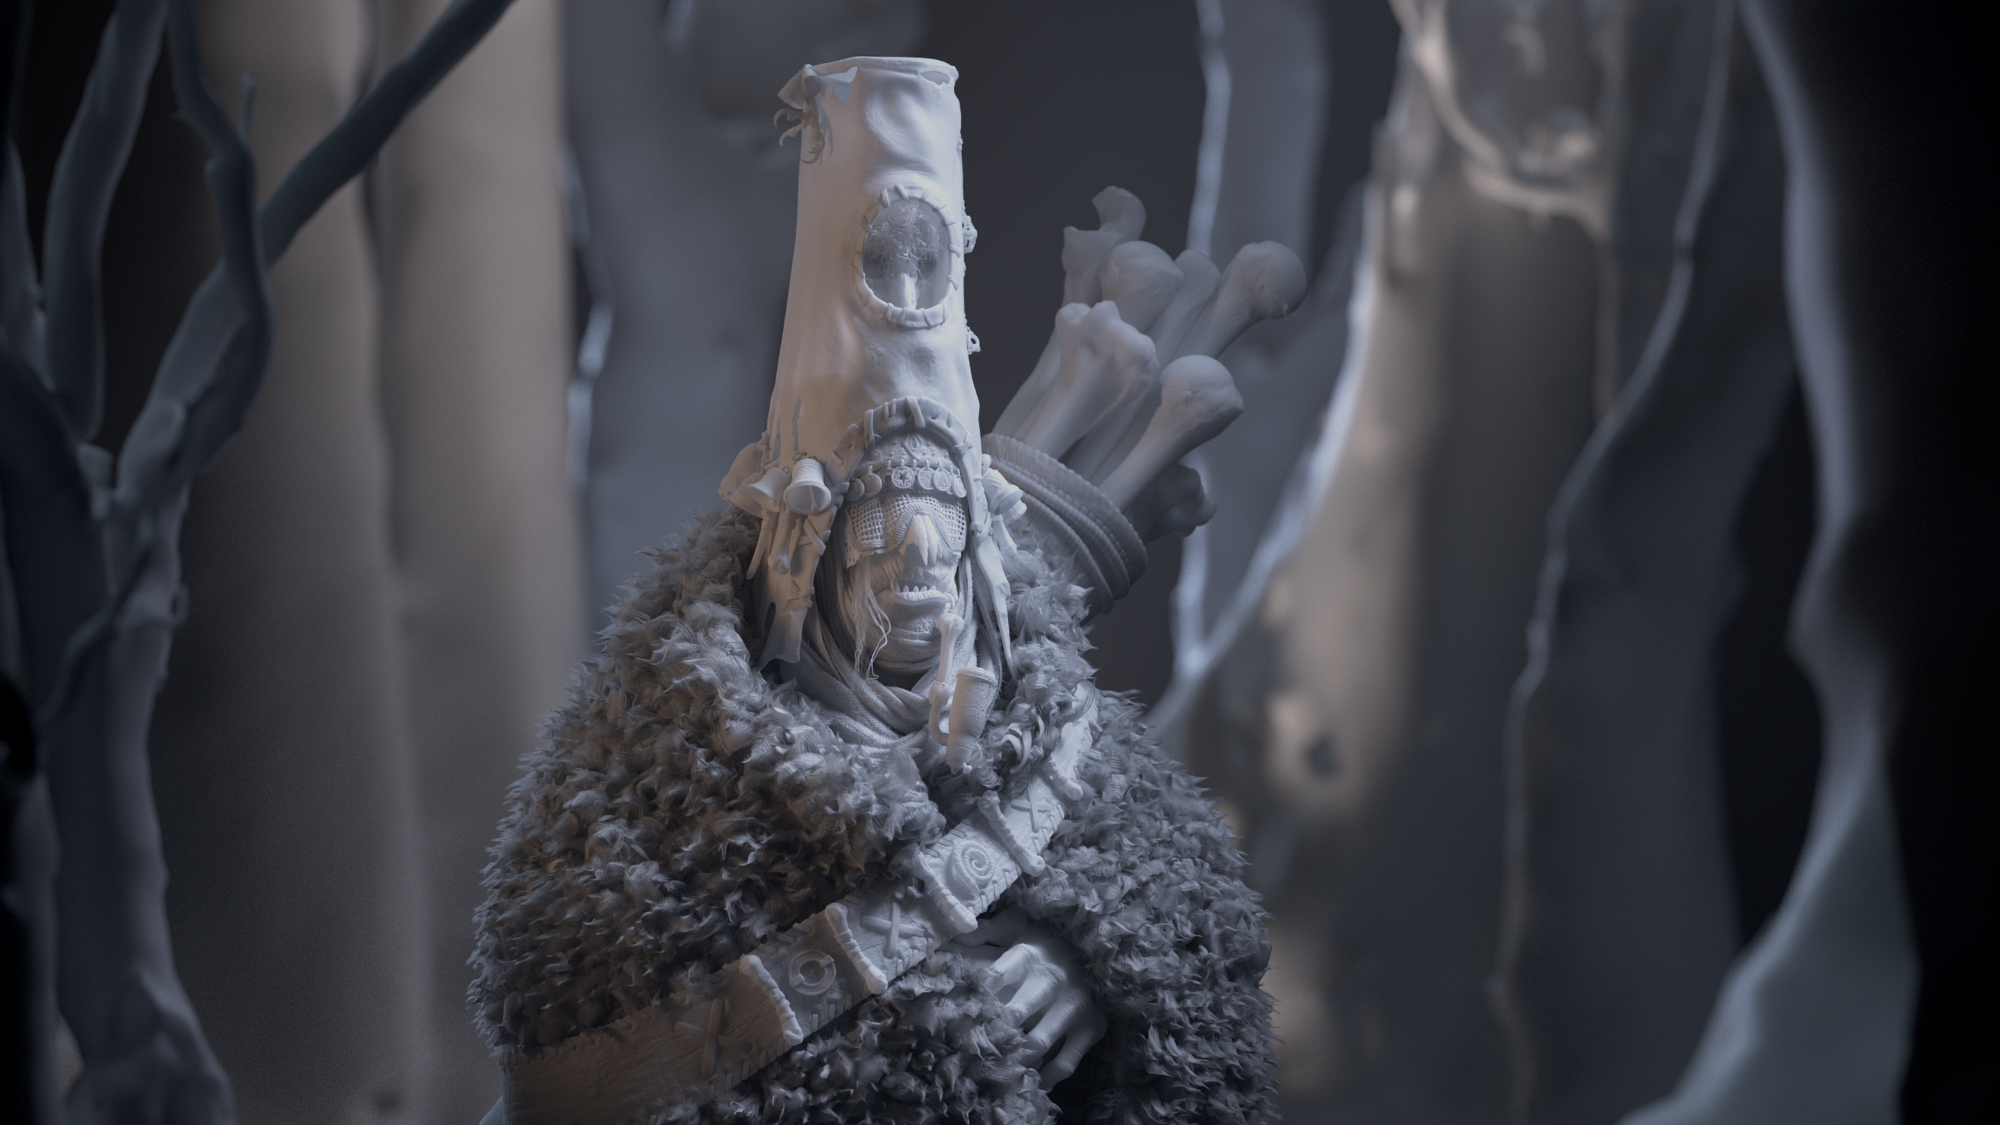
In this project, the rendering took most of the time. Firstly because I was studying XGen and Bifrost at the same time, and secondly – the fur coat is the second main character here so I paid special attention to these details to create true-looking fur.
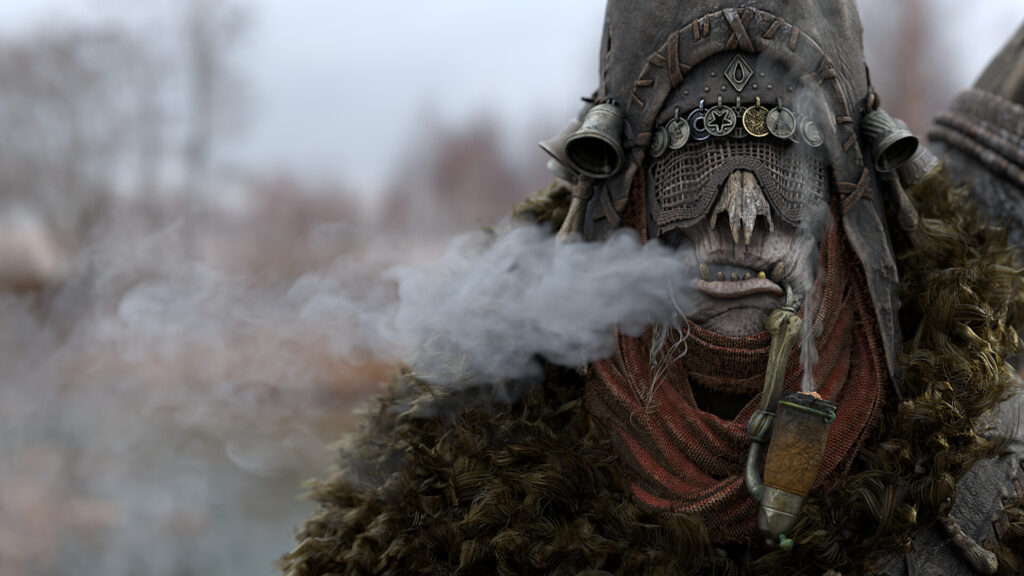
I wanted to create the impression of a real footage photo or some kind of “movie I’d like to watch” in the final rendering and I think Arnold is best suited for this purpose.
Usually, I choose an HDRI with suitable lighting and then, after adjusting the lights, reduce the intensity of the skylight to 5-10% to keep additional natural touch.
I used a lot of light sources for the characters and for the scene separately (directional and area light as well). I also often use Atmosphere Volume and depth of field to make the scene deeper.
To assemble the dark scene I used Megascan assets. The white scene I did as an extra and just used HDRI from the great site https://polyhaven.com/.
I went through a lot of iterations and adjustments to create the coat until I got closer to the desired result. The density could have been much higher, but using the smoke effect with
Bifrost did not allow me to use the GPU render and I left it as it was.
For camera settings, I use common 35-50mm for scenes and 85-100mm for portraits, this time these values were a little higher since I needed to create a sense of massiveness from the character.
I also think that every work of a 3D artist should contain at least a little animation or a small nice turntable, in case this work is only intended for rendering. Otherwise, any good 2D artist can make it much better.
But not this time through to CPU render time was too much to make proper animation). Also, I do not use Photoshop retouching in the final rendering.
Outro
Despite the fact that I tried to get it done as quickly as possible, it took about 3 weeks of evening work.
Before I uploaded the project to the station, I did a little friends and family research on which thumbnail is more interesting. I believe this is quite an important part of the presentation. It’s funny that my opinion about the best one was not the same as the majority opinion and I went with my friends).
I just started my journey into 3D and hope something was helpful and interesting for you. If you have any questions feel free to ask.
I wish you patience and inspiration. Good luck!

Read more articles
You might also like these articles.