Industrial Factory

Introduction
Hi my name is Giora Nohl, I'm currently a 3D Artist at 3D artist at Effekt-Etage.
Goals
This project initially began as a material study. I was focused on practicing with Substance Designer, aiming to create a realistic brick wall texture.
As the material developed, I felt it had the potential to be part of a larger piece rather than just a standalone texture showcase, which sparked the idea for building out a full environment.

Tools
The primary technical goal was to explore and utilize the capabilities of Unreal Engine 5, particularly Nanite and Lumen.
I wanted to work extensively with Nanite displacement and apply efficient, high-detail asset creation workflows like those I used while working in outsourcing, taking advantage of Nanite’s ability to handle dense geometry.
The main software used throughout the project included:
- Cinema 4D: For initial blockouts and preparing high-poly base meshes.
- ZBrush: For detailed sculpting and adding surface characteristics.
- Marmoset Toolbag: Used for baking high-poly details to the final meshes.
- Substance Painter: For texturing unique assets.
- Substance Designer: For creating the tileable materials, such as bricks, plaster, and the ground texture.
- Unreal Engine 5: The core platform, utilizing its shader system, Procedural Content Generation (PCG) tools, Niagara for effects, and Lumen for dynamic lighting.
Essentially, the project was an opportunity to build a scene leveraging the specific strengths of Nanite for geometry and Lumen for lighting within UE5.
Inspiration & References
The core inspiration for this industrial setting struck close to home. There’s an old, somewhat worn-down grain factory I often pass on my way home from work, and its specific atmosphere always caught my eye.
While I didn’t set out to replicate that particular building, the feeling it evoked – that sense of aged industry and functional wear – was the main catalyst for the project’s theme.
Instead of adhering strictly to a single concept image for the overall environment, I decided to design the space myself. This involved gathering a lot of specific references, though – photos of architectural details, machinery, materials, and props that felt right for the industrial era I wanted to capture.
I studied the construction and design of various old brick factory buildings to get a handle on the forms and structures before composing the scene based on what felt compositionally strong.
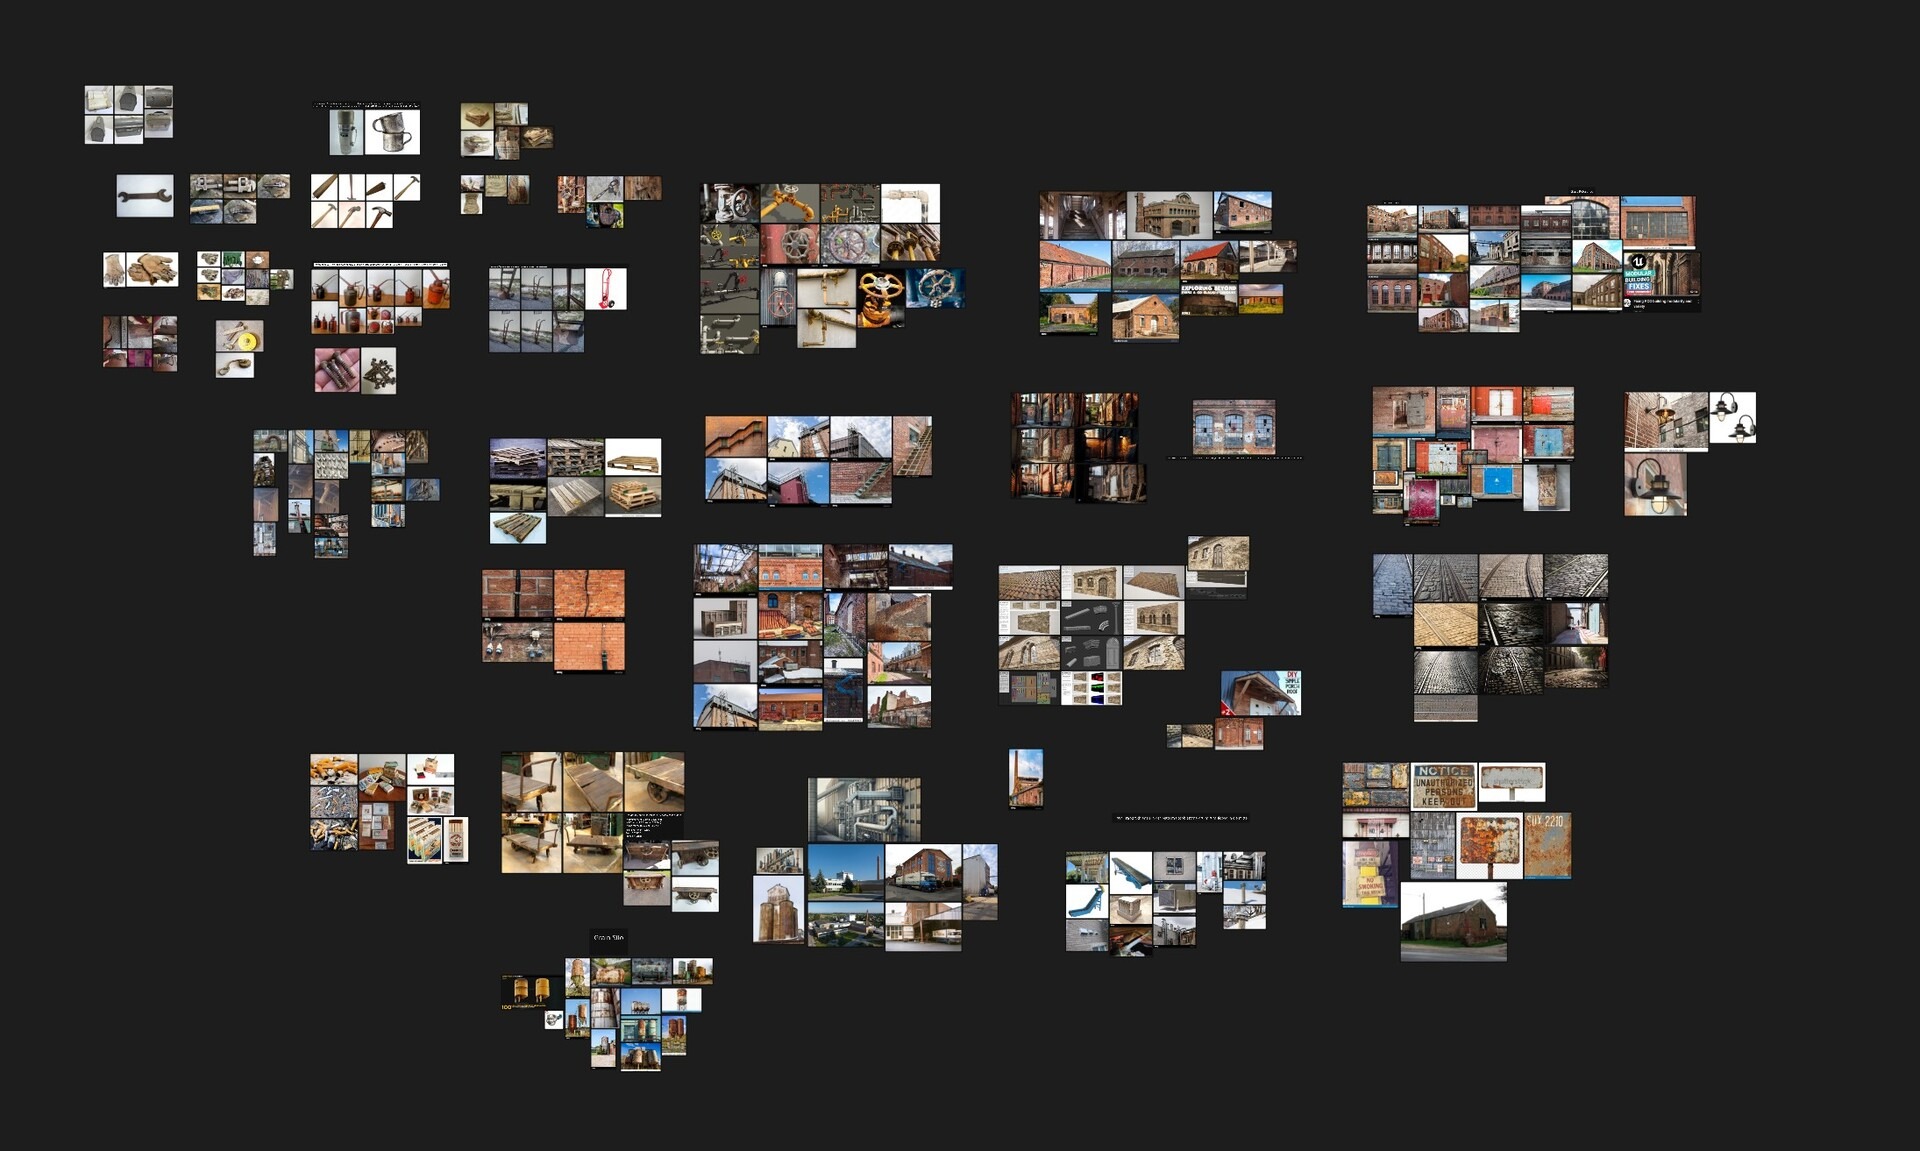
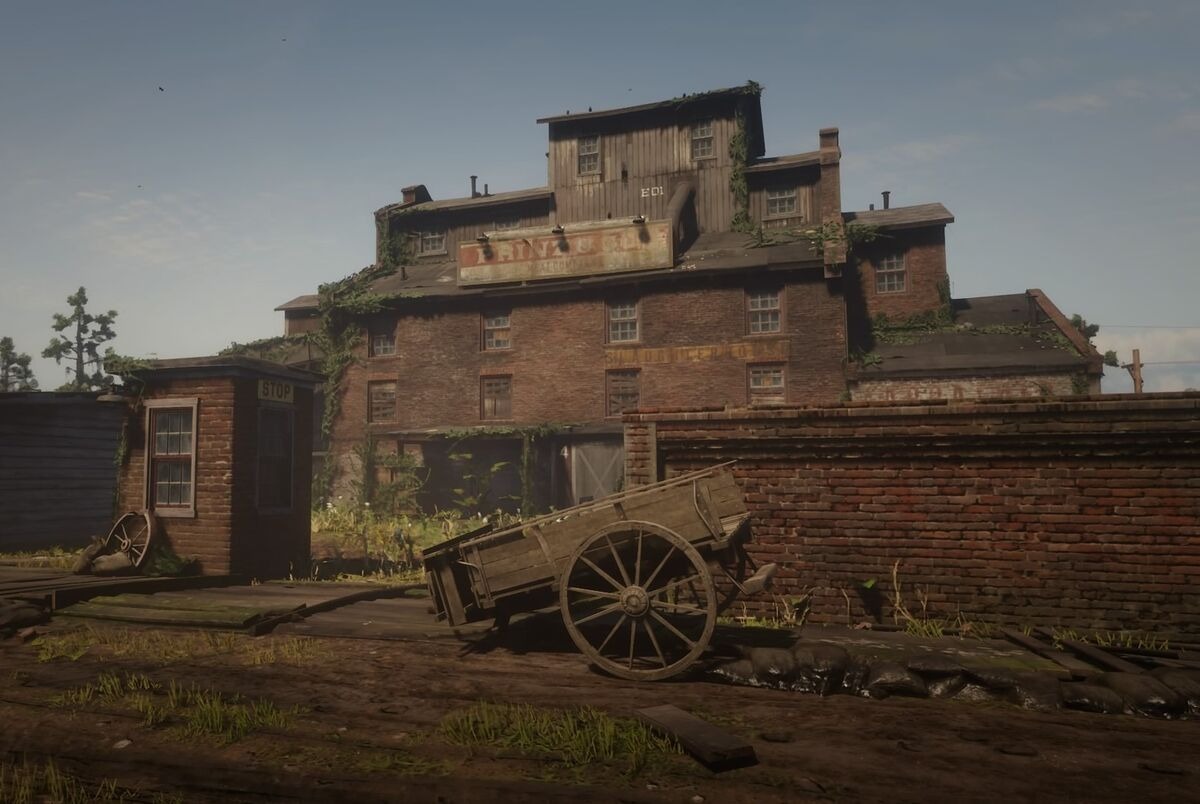
Beyond real-world examples, I also drew inspiration from games. The brick factory buildings in Red Dead Redemption 2, for instance, are incredibly well-realized and have a fantastic sense of place.
Their visual quality and atmosphere were definitely something I kept in mind as a benchmark for the kind of mood I wanted to achieve.
Building the World
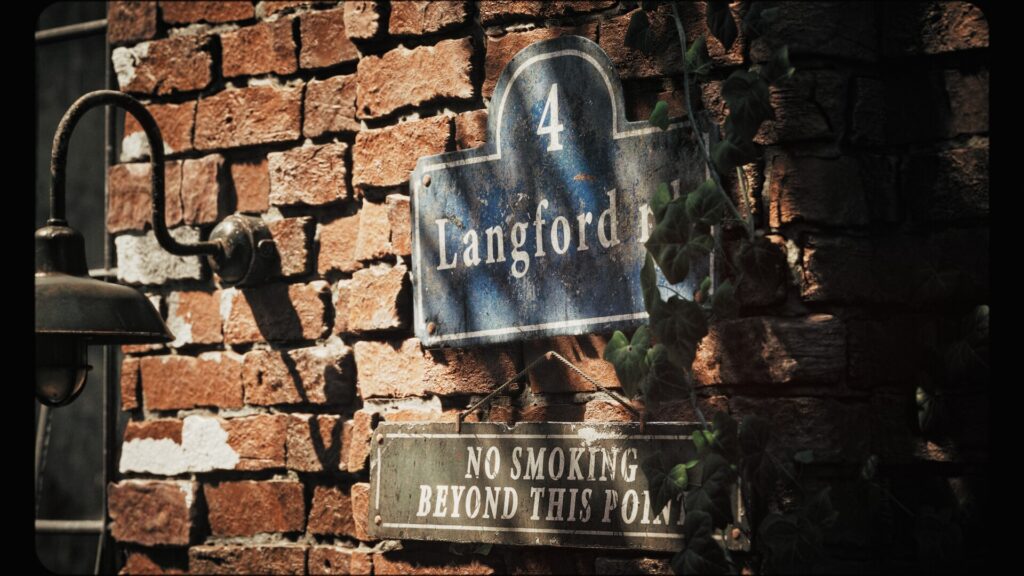
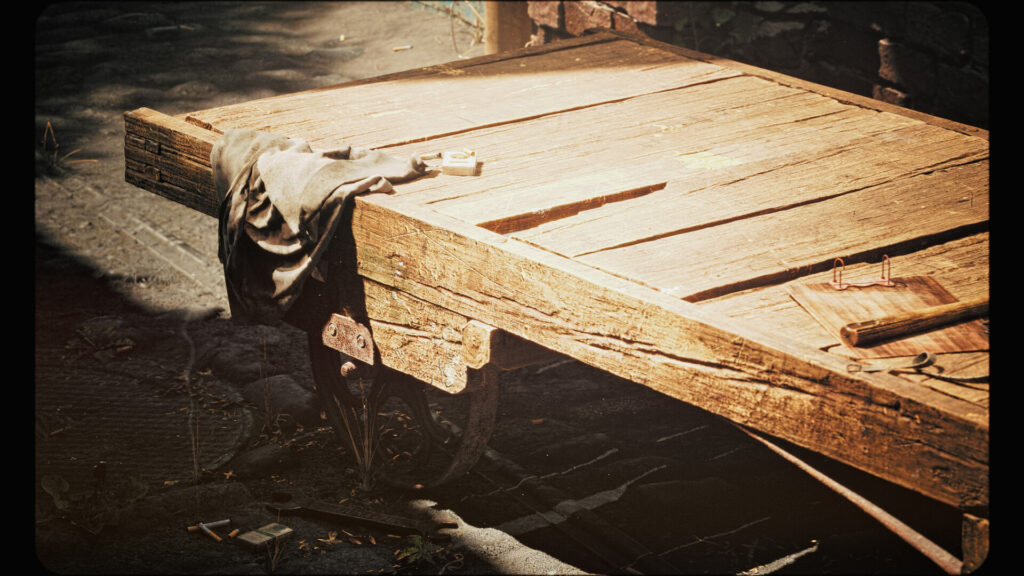
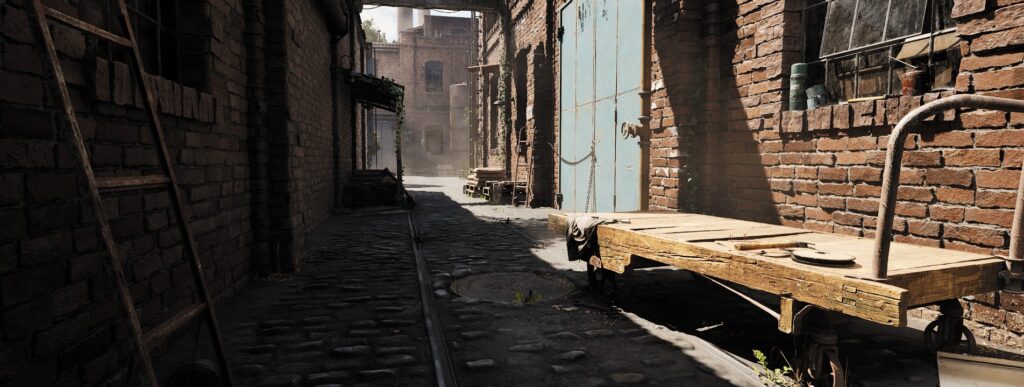
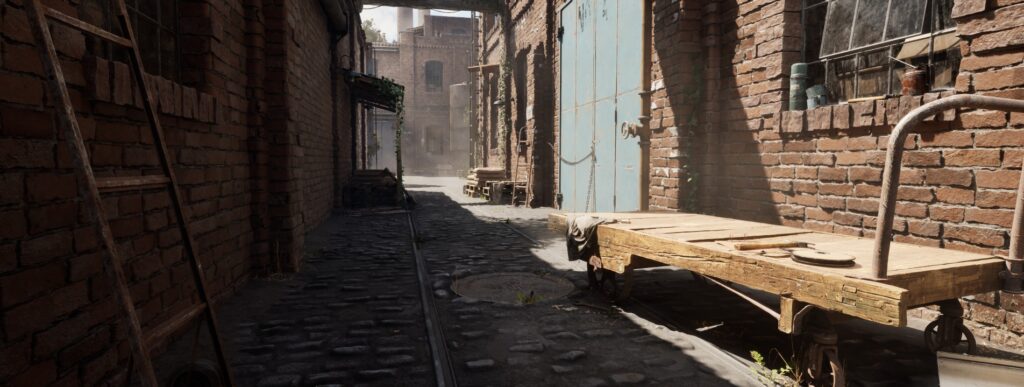
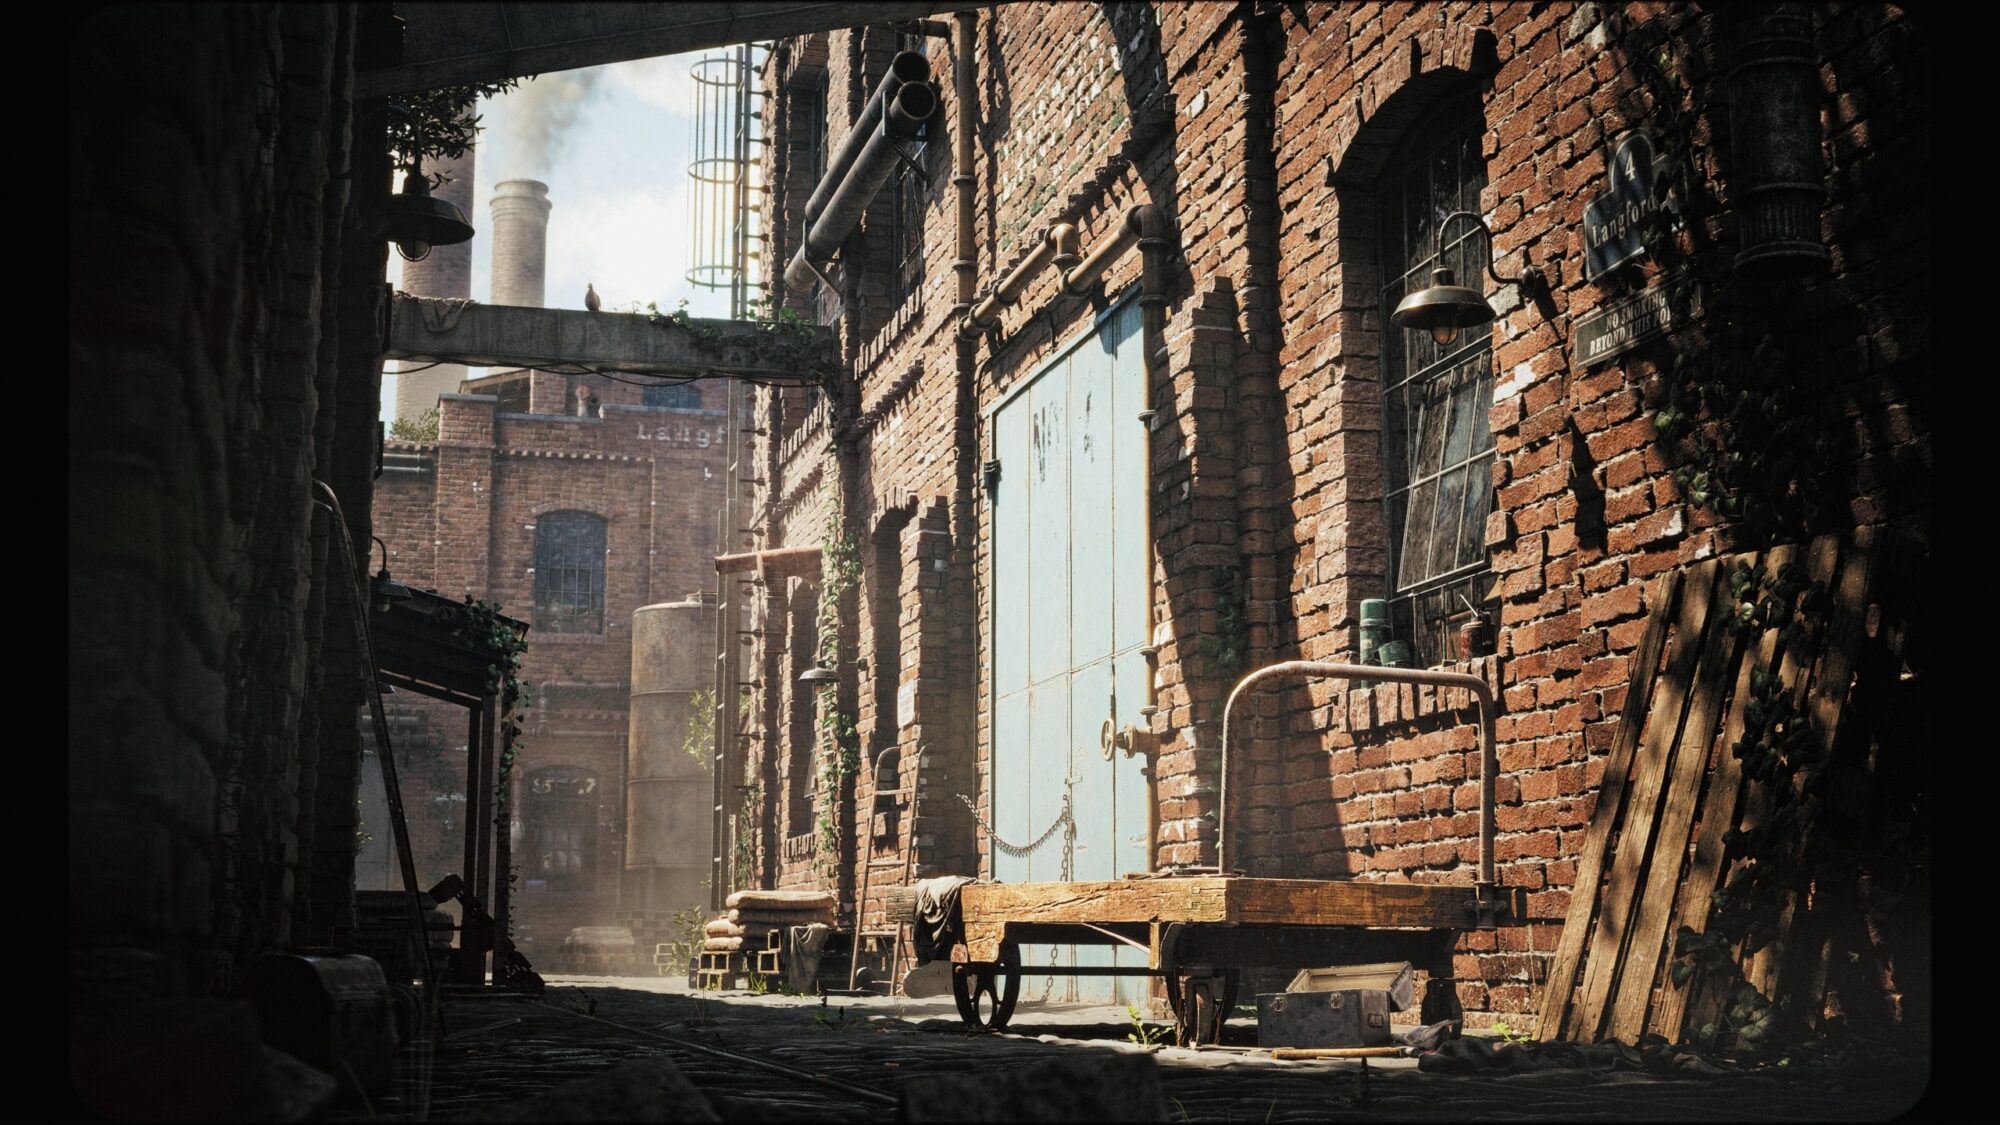
For the assets in this scene, the goal was to convey a feeling of a place that’s actively used, worn and lived-in, but not completely abandoned or derelict.
Think tools showing heavy use, surfaces bearing the marks of time, but still functional and maintained, rather than just rusted over and forgotten.
Prop Creation
When creating props, especially hard-surface ones, efficiency is key for me. I think it’s important to use the fastest method that gets the job done well.
My process usually starts with a simple blockout mesh in Cinema 4D, which I bring into Unreal early on just to check the scale.
Then, I refine this blockout into the high-poly version back in C4D. I try to consider how the real object would be constructed – looking at references helps immensely here.
A technique I rely on heavily for high-poly creation, especially for hard-surface models, is using voxel meshes within Cinema 4D. It allows for a very flexible, non-destructive workflow where you can easily boolean different shapes together, smooth intersections, and iterate quickly.
It’s a similar concept to ZBrush’s Dynamesh but integrated into my modeling workflow in C4D. While clean subdivision modeling has its place, especially for very organic shapes.
I find voxelizing (often combined with some traditional subdivision parts where needed) is incredibly effective and maybe a bit underutilized for game assets. It saves a lot of time compared to perfect topology for every high-poly hard surface piece.
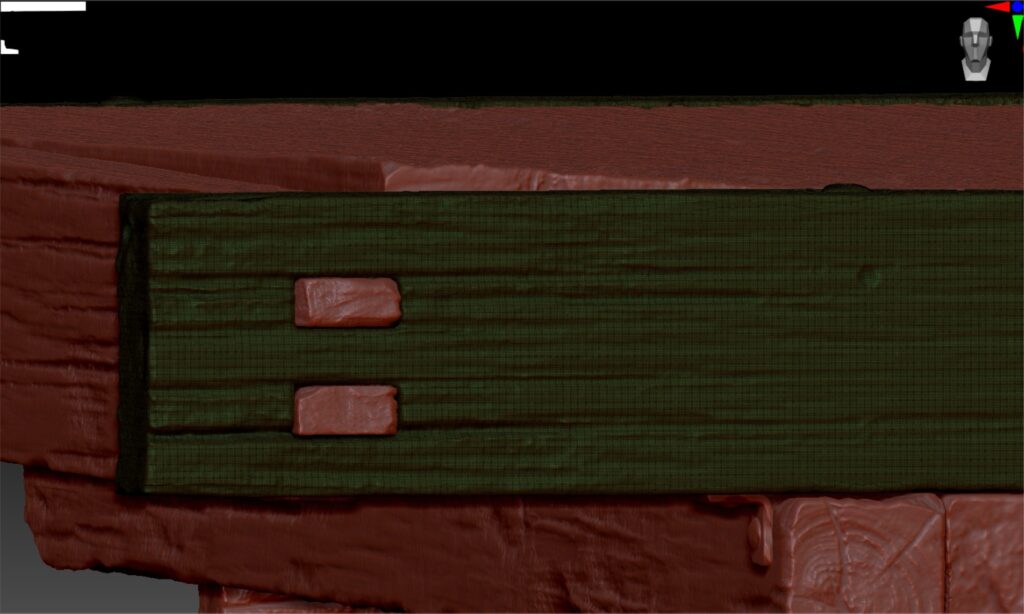
Once the base high-poly is done in C4D, I almost always take it into ZBrush for a sculpting pass.
This is where I add specific wear patterns, edge damage (the Flatten brush is great for this), dents (the Standard brush works well), and details like welds (Clay brush). Using references and sometimes specific brush packs helps speed this up and add realism.
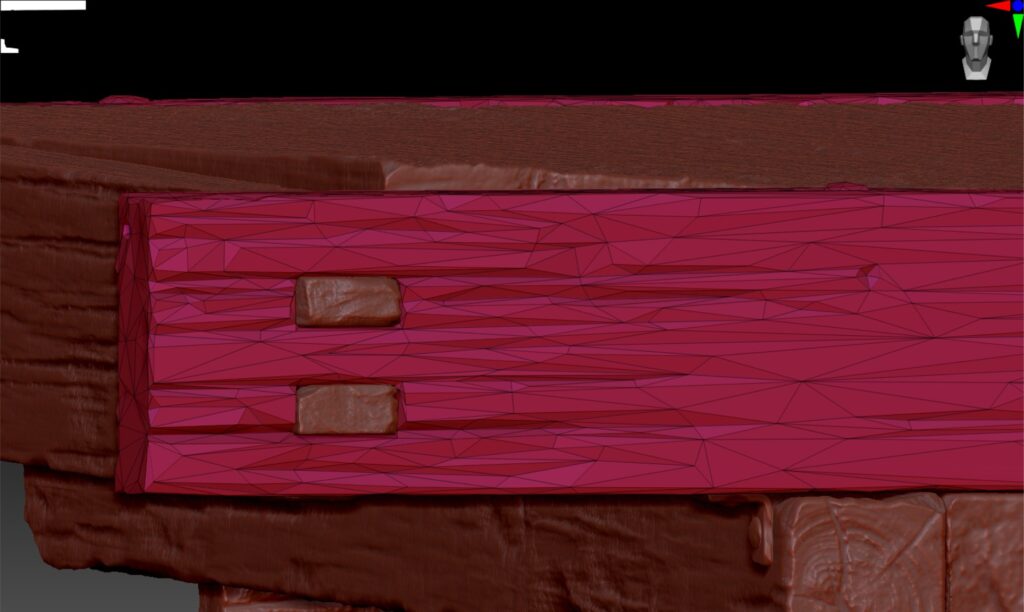
After sculpting, I export the detailed high-poly mesh. Now, for the game-ready mesh targeting Nanite, I take a slightly different approach than traditional low-poly modeling.
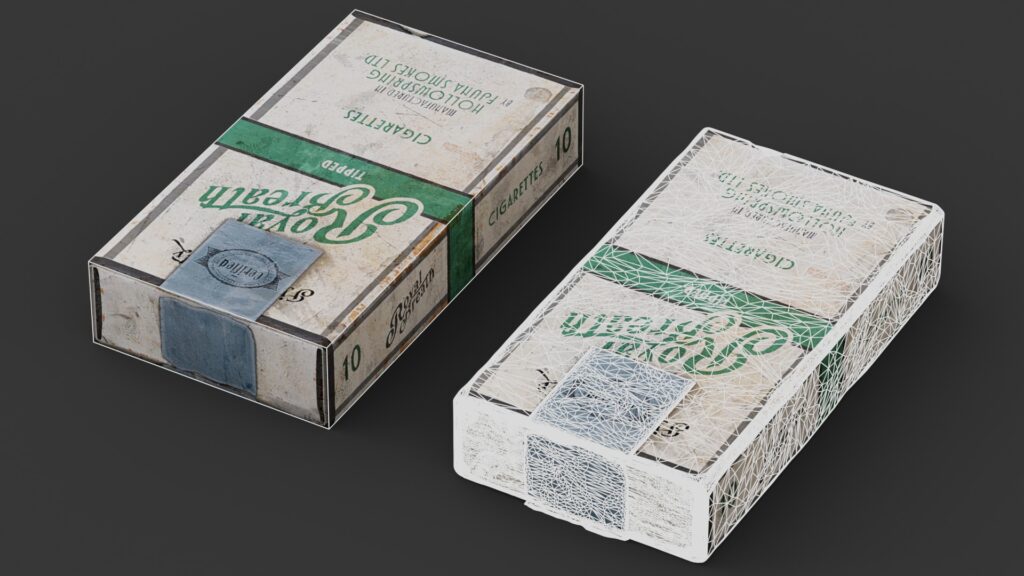
I often merge smaller components into larger ones in the high-poly, Dynamesh them together in ZBrush into a single mesh, and then use ZBrush’s Decimation Master to reduce the polygon count. My target is usually under or around 100k triangles per asset.
This might sound high, but it works perfectly well with Nanite, capturing a ton of the sculpted detail directly in the geometry, and it keeps file sizes manageable.
This decimated mesh becomes my ‘Nanite mesh’. I then unwrap this mesh and bake the original, super-detailed sculpted high-poly onto it using Marmoset Toolbag, generating the standard maps like Normal, AO, Curvature, etc.
Texturing happens in Substance Painter. I use anchors quite a bit for procedural wear and try to keep the look consistent across assets, always referring back to my references.
Time & Flexibility
On a project like this, done mostly after work and on weekends over a few weeks, speed is important. I aimed for roughly 1-2 days per asset, which meant being efficient and sometimes making pragmatic cuts.
You can’t spend weeks polishing a single prop if you want to finish a whole environment in a reasonable timeframe.
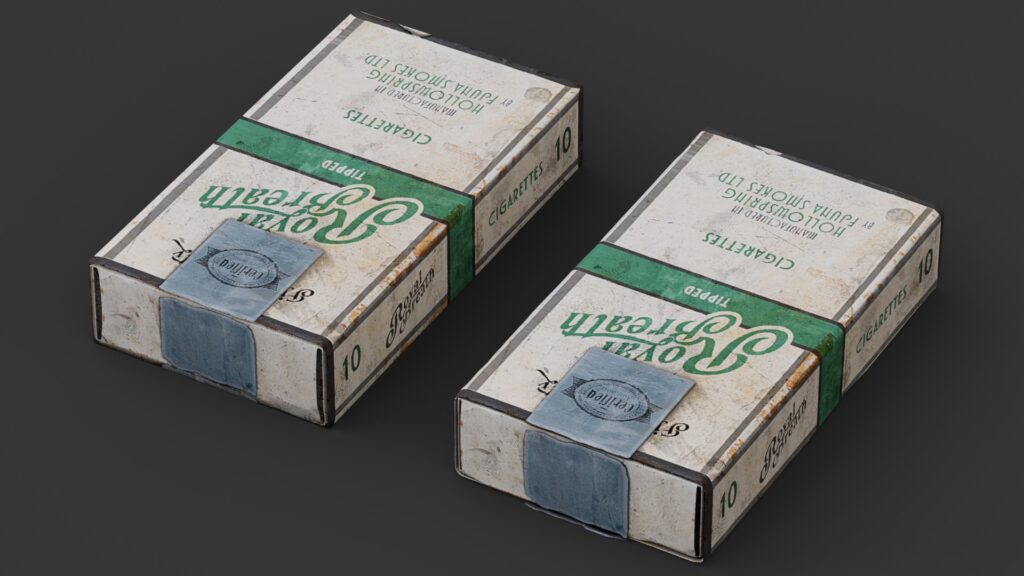
I also try to build flexibility into assets. Adding an emissive map for things like lamps or even the tip of a cigarette takes very little extra time during texturing but gives you options later (even if I didn’t use the lamp emissive in the final shots here).
It’s also great if you plan to sell assets later – more features mean more usability.
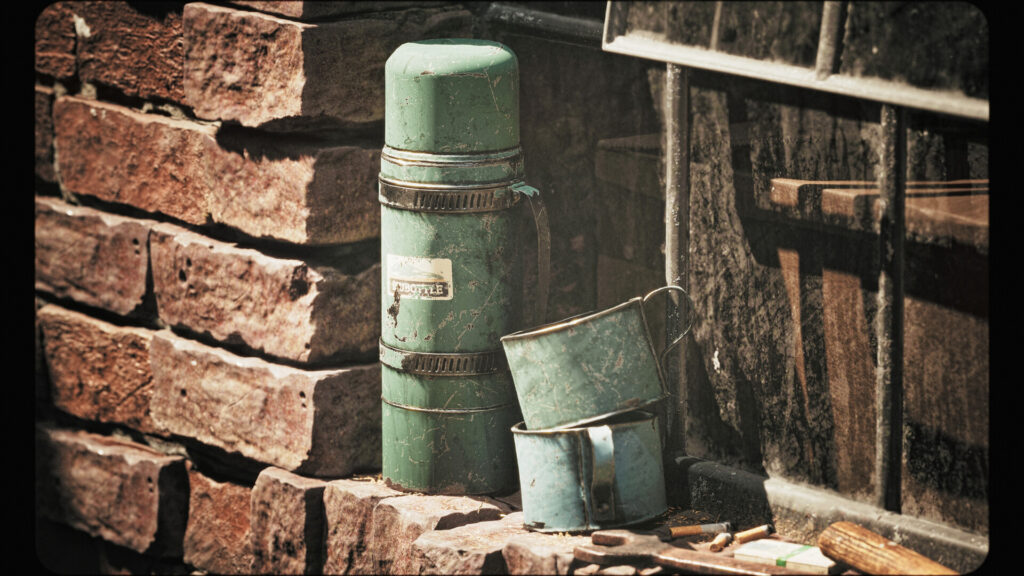
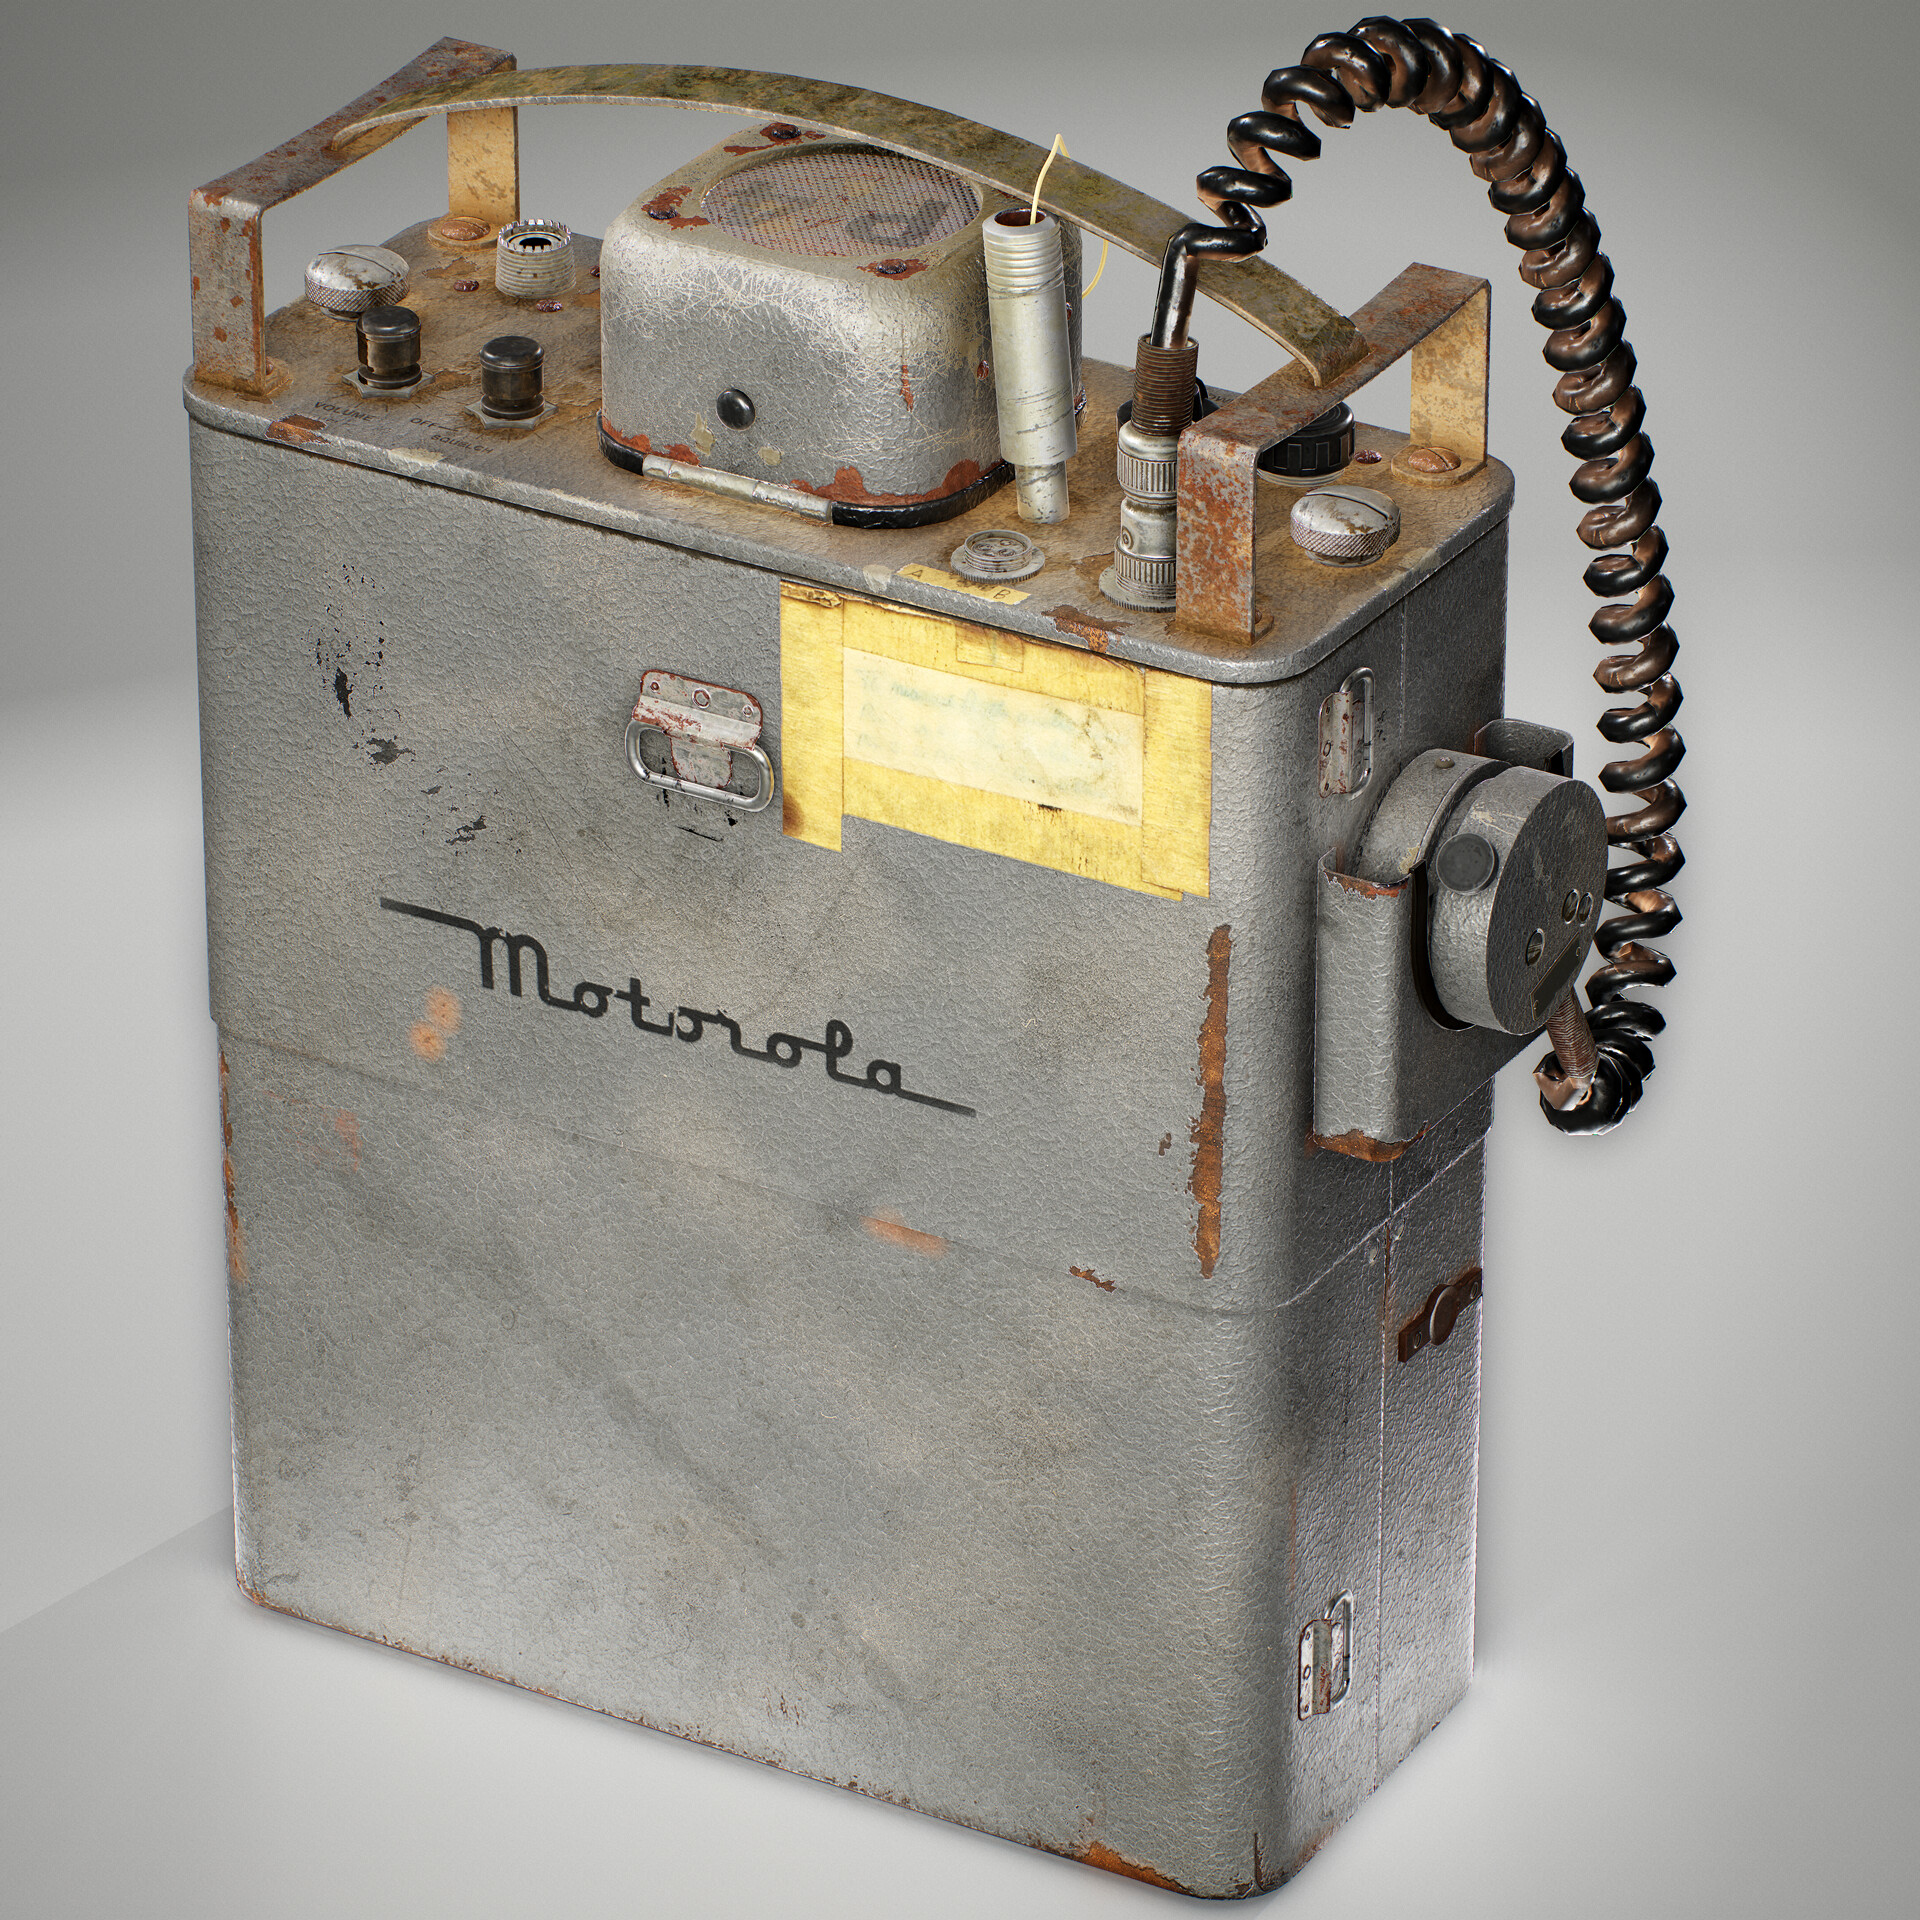
Another flexibility trick is using tint masks. For some props like the bottles and cups, I textured them as if they were painted white in Substance Painter.
I then created a mask in a separate channel (packed into the Albedo’s alpha channel). In Unreal, my master material has a simple switch to enable tinting, using this alpha mask to let me choose any color per instance.
Other maps are packed using the standard ORM (Occlusion, Roughness, Metallic) convention.
The big advantage of this high-poly to Nanite mesh workflow is the incredible detail you retain in your source mesh.
If, down the line, you need a traditional, lower-poly version (for platforms without Nanite, or specific LOD needs), you can simply decimate the Nanite mesh further or create a new low-poly and bake the high-poly detail onto it.
Your detailed source asset remains intact. It’s much more iterative than the old way, where your baked low-poly was pretty much locked in.
It also means I can easily offer both a high-detail Nanite version and a traditional low-poly version when putting assets up on marketplaces.
Modular Exterior
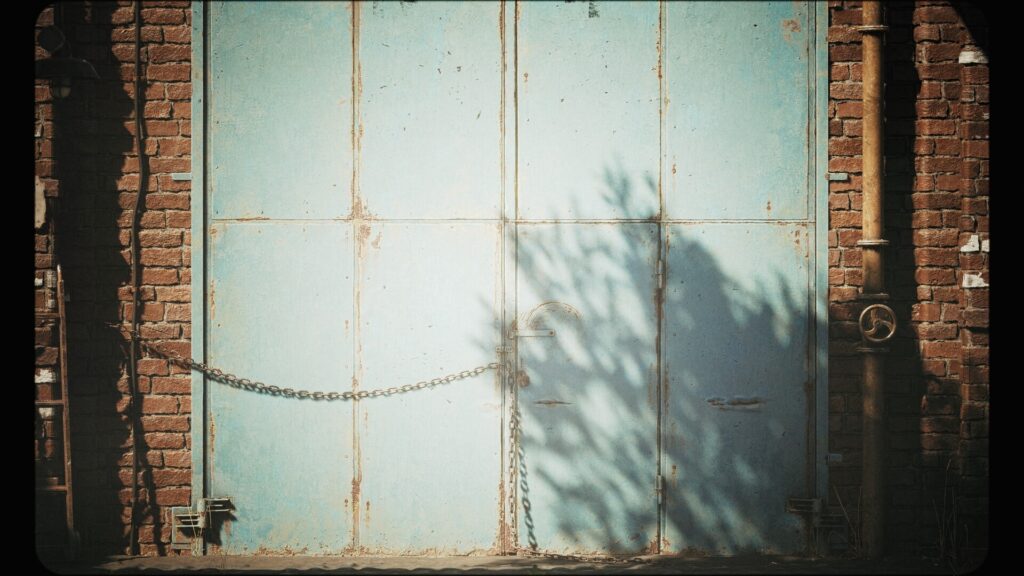
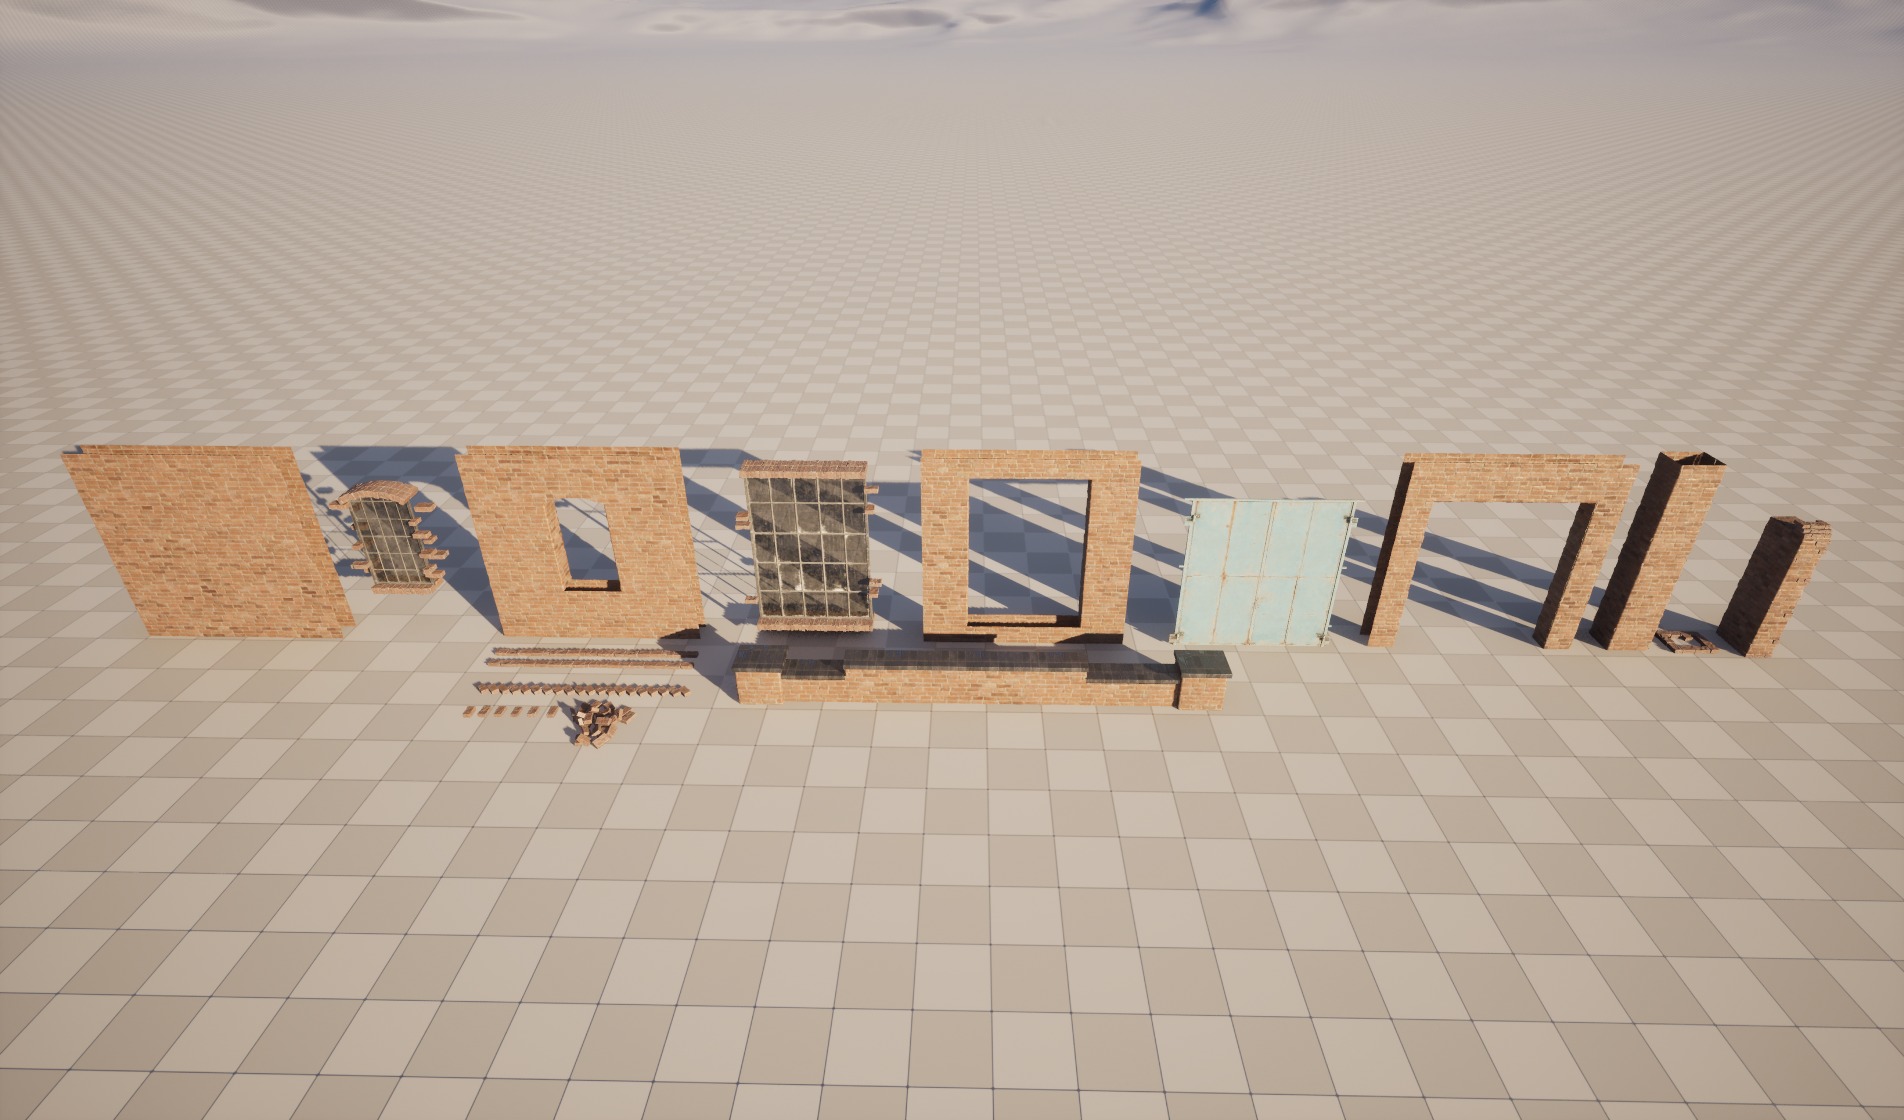
For the main building exterior, I went with a modular approach based on a 1×1 meter grid for easy snapping in Unreal. I created standard wall pieces. For openings like windows and the large gate, I used a ‘plug and socket’ system.
For example, there’s a wall piece with the opening (the socket), and the window frame with its surrounding brickwork is a separate mesh (the plug) that fits into it. The same applies to the main gate.
This setup allows for easier variation – you could swap out different window ‘plugs’ into the same ‘socket’ wall piece if needed for a larger, more varied building, though I kept it simple for this scene.
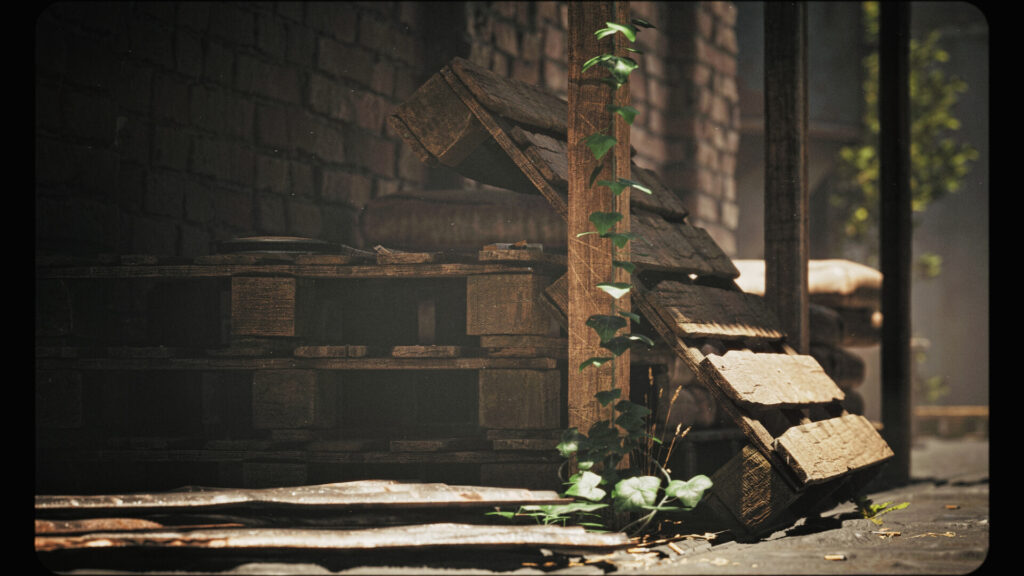
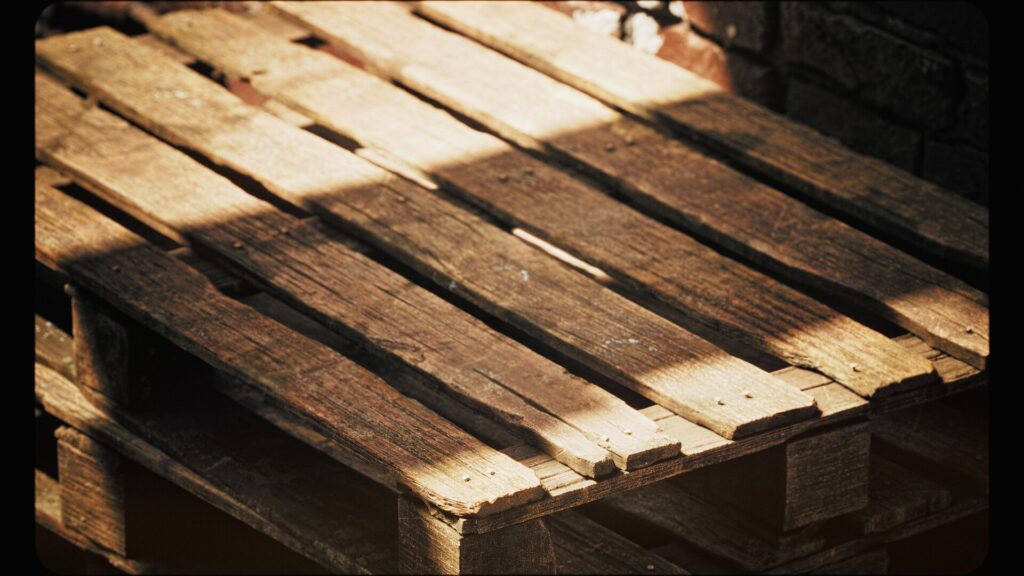
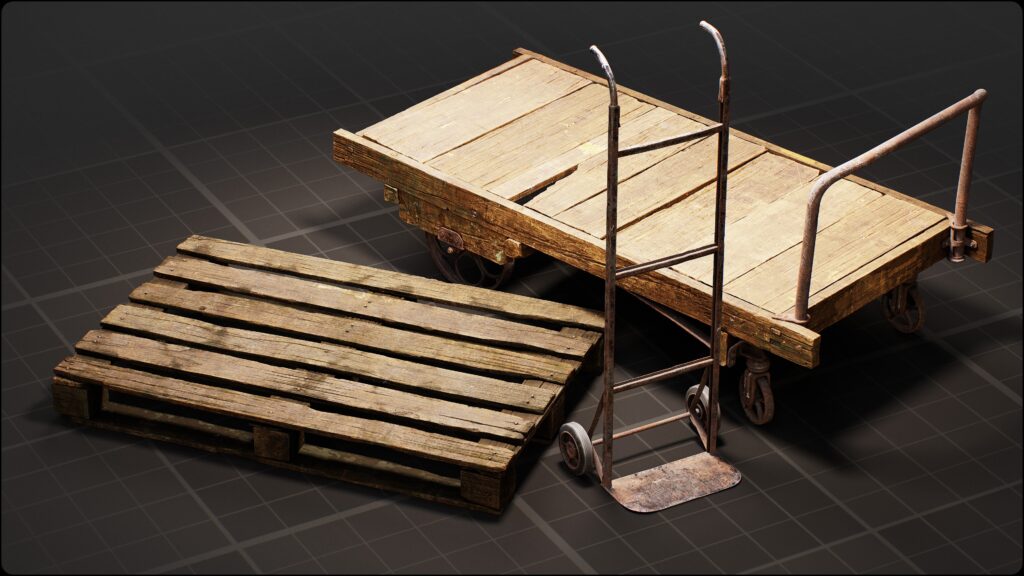
I also utilized Unreal’s Procedural Content Generation (PCG) tool, even for small tasks. It’s a powerful feature worth learning. I used a very simple PCG graph driven by a spline to quickly scatter stacks of pallets realistically (using a spatial noise to adjust the height of the pallet stacks).
Another spline was used to place the chain links on the gate.
While this project only scratched the surface of PCG, it’s incredibly useful for making environments more iterative and flexible, and something I plan to showcase way more in future projects on my portfolio.
Materials, Textures & Shaders
With the models ready, bringing them to life visually relies heavily on materials and textures.
For the modular building parts, I relied on tiling textures created in Substance Designer.
Tackling Tiling Repetition
A common challenge with large modular surfaces is noticeable texture repetition. While vertex or mesh painting helps break this up locally, I wanted a base material that had some inherent global variation.
My approach for the main brick walls involved exporting two different variations (seeds) of the brick color map from Substance Designer. In the Unreal master material, I blended these two textures together using a triplanar projection driven by a world-aligned noise pattern.
This noise could be adjusted per material instance, providing subtle, large-scale color and value shifts that helped break up the uniformity across the entire structure, even before any specific painting.
The material also included a height-blend function to realistically overlay the plaster texture where needed.
Master Materials for Efficiency
To keep things organized and efficient, I set up a few core master materials in Unreal and then created instances for specific uses.
Decal Master Material
This was fairly straightforward – inputs for the decal texture, options to tint it using a color value (with the alpha channel serving as both opacity and the tint mask), and controls for intensity.
It also had an option to use a tiling noise for extra wear in the opacity, though with Nanite displacement providing real geometric detail, decals often looked naturally worn just by projecting onto the uneven surfaces.
Glass Master Material
A simple one with controls for base color/texture, roughness, and opacity.
Prop Master Material
I designed this to be simple by default, with features enabled via switches in the material instance. Key features included: an emissive input with intensity control; the option to use packed ORM textures (default) or individual Roughness/Metallic/AO maps.
The tint mask feature uses the Albedo’s alpha channel (as mentioned for the bottles/cups) and is a useful color variation option.
This variation feature, using Unreal’s SpeedTree node internally, allowed me to slightly shift the hue and saturation per object instance, which was great for breaking up repetition when placing multiple identical props (like the wooden pallets) near each other without needing separate material instances for each variation.
Blend Master Material
This was the most complex one, used for surfaces needing multiple materials blended, like the ground.
It supported a 3-way blend, controllable via vertex color or mesh painting (mesh painting being the better option for Nanite meshes, as vertex colors can get less reliable with Nanite’s optimization).
The blending used a height map for more natural transitions between layers (like dirt over bricks). It included standard tiling controls and options for either Nanite displacement or traditional Bump Offset mapping.
This material also incorporates the two-texture/noise technique for global variation on the base layer. A specific feature I added was the ability to paint out Nanite displacement in certain areas by painting negative values into the displacement control mask.
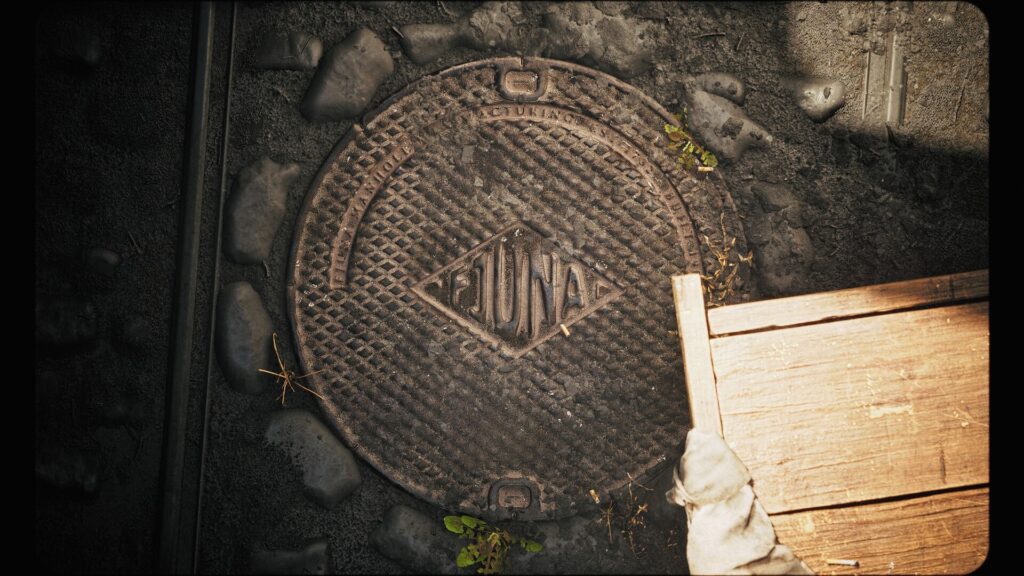
I used this for the manhole cover area on the ground – painting the displacement flat where the cover sits allowed it to fit flush, while the surrounding ground texture blended back to its displaced height naturally.
The detailed bricks immediately around the cover were handled with a separate displaced decal/mesh.
Staging the Scene
This environment was created primarily for portfolio shots, which allowed me to focus detailing efforts on specific compositions rather than building out a fully walkable space – a practical consideration given the time involved.
While the modularity offers expansion potential, the goal here was a focused presentation.
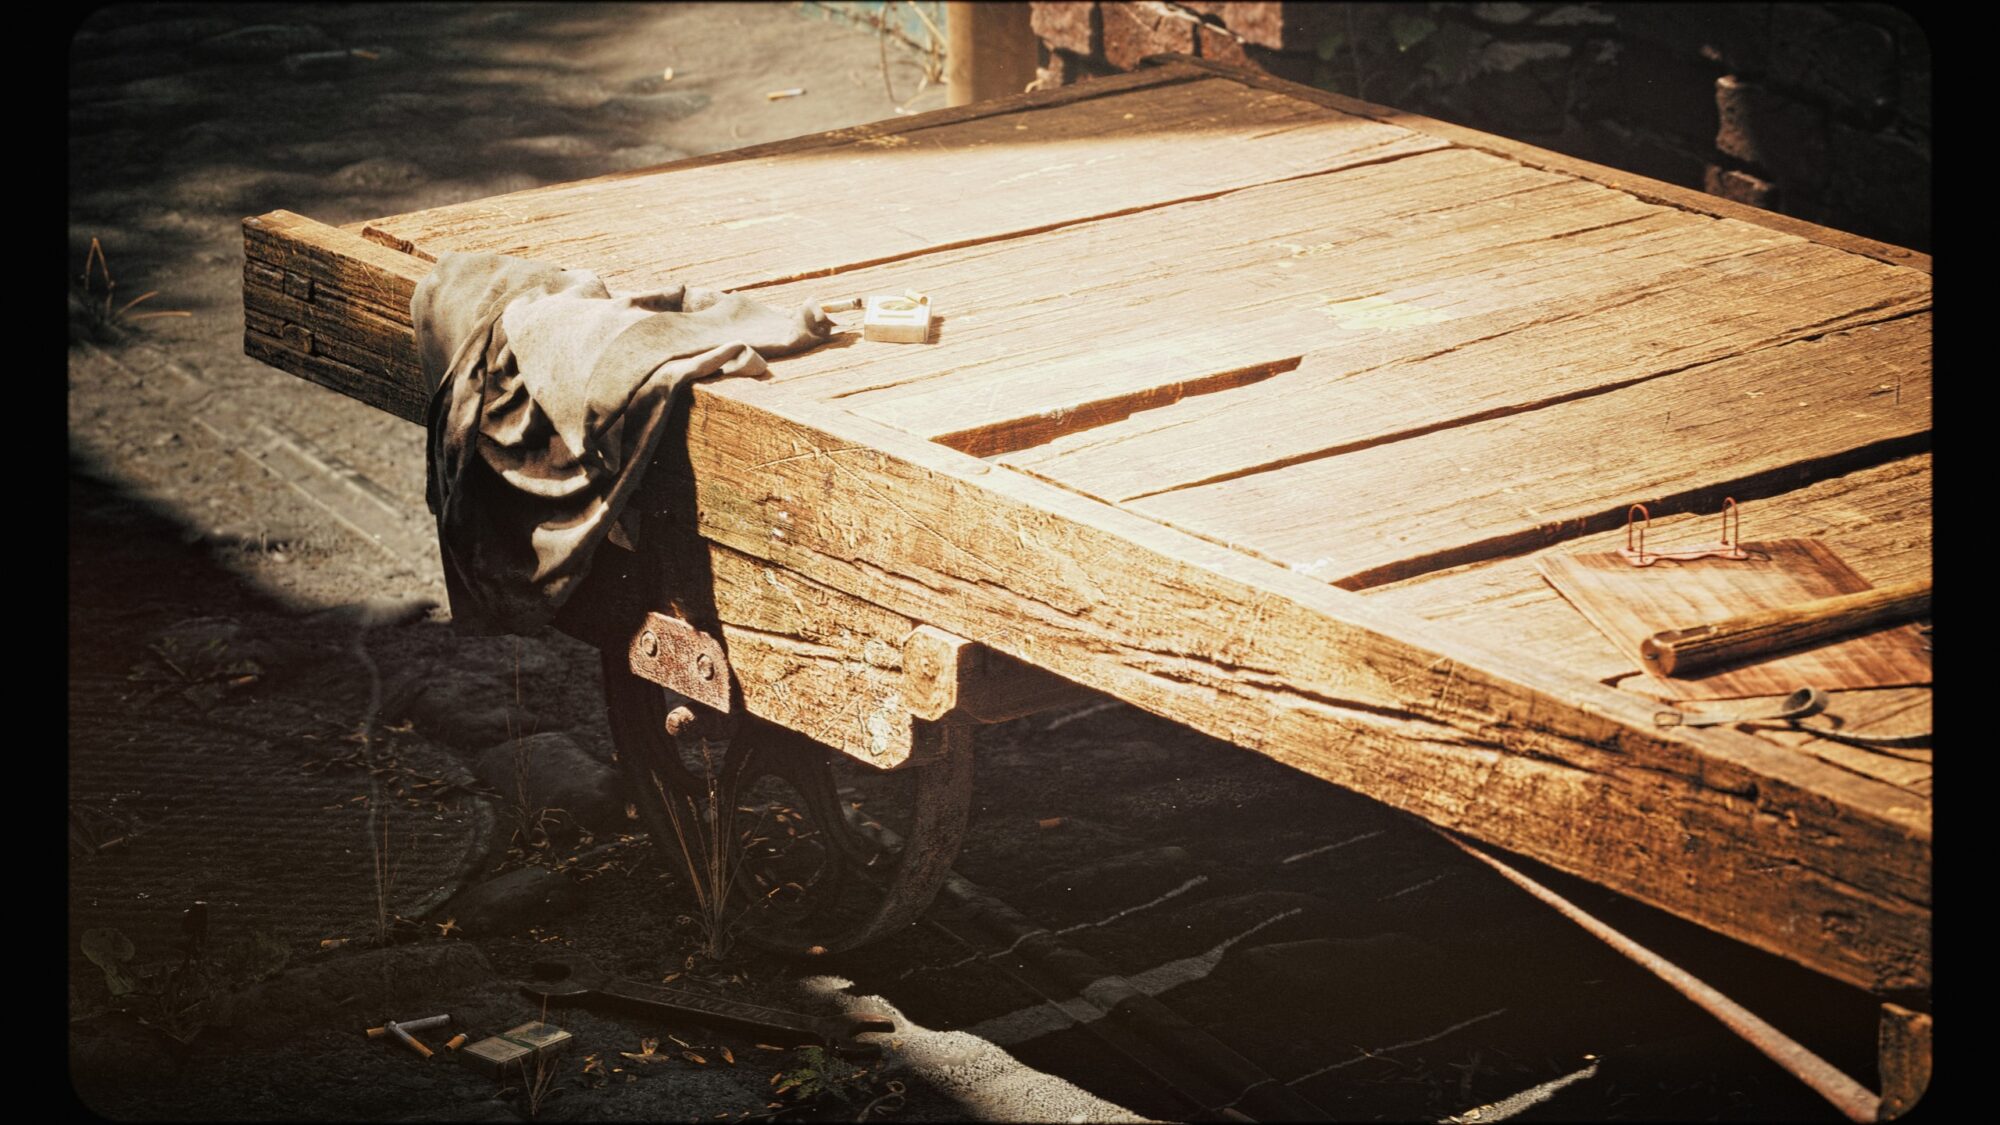
Asset placement was driven by trying to imply function and recent use. Thinking about why an object might be in a certain spot helps build that lived-in, working atmosphere rather than one of abandonment.
Small details, like a smoking cigarette, reinforce this.
The dove seen in some shots is a marketplace asset. Seeing pigeons near the real-world factory that inspired me made me want to include one, but animal modeling isn’t my focus.
Using a purchased asset was a practical way to add that specific element while concentrating my efforts on the environment art itself, which I think is a sensible approach when needed.
Foliage and Ground Details
When it came to adding foliage like the ivy climbing the walls and the small plants scattered on the ground, I opted to utilize assets from the Megascans library for this project.
Creating high-quality, realistic foliage from scratch is a significant time investment, as anyone who has done it knows well.
Given that the primary focus here was on the hard-surface modeling, material workflows, modularity, and pushing Nanite and Lumen for the industrial structures, I made the decision to allocate my time to those core areas.
Using well-crafted assets from Megascans for the vegetation allowed me to achieve the desired look efficiently while keeping the project timeline manageable.
Working on this project reinforced how useful certain types of foliage are – ivy, small weeds and ground cover plants often make repeat appearances.
It’s definitely sparked an interest in building my own small, optimized library of these elements in the future, ready to be deployed quickly in upcoming environments.
Decals, Dirt & Details
The final pass is all about adding those layers of grime, wear, and small details that integrate everything and enhance the atmosphere. For this scene, that involved placing various decals – leakage stains running down walls, patches of dust and dirt accumulating in corners and crevices, and general grime build-up.
Beyond decals, this stage also includes scattering tiny debris props like discarded cigarette butts and adding the final small foliage elements to bed the larger structures into the ground plane. It’s these little things that often add that last bit of believability.
One interesting challenge encountered during this phase relates directly to using Nanite displacement, particularly on the ground.
Since displaced Nanite meshes don’t currently have dynamic collision that matches the visible displaced surface, placing small objects directly onto the ground requires careful manual adjustment.
If you just place them based on the underlying simple collision, they might clip through the visually higher, displaced areas or float above lower ones. So, getting that ground scatter to sit convincingly on the uneven, displaced cobblestone ground took a bit of hand-tweaking for each piece.
Illumination and Rendering
The lighting setup for this industrial environment was relatively straightforward, relying on Unreal Engine’s core systems.
I used a single Directional Light acting as the sun, paired with a Skylight for ambient illumination and global reflections.
The Sky Atmosphere component created the look of the sky itself, and Exponential Height Fog added depth and atmosphere to the scene.
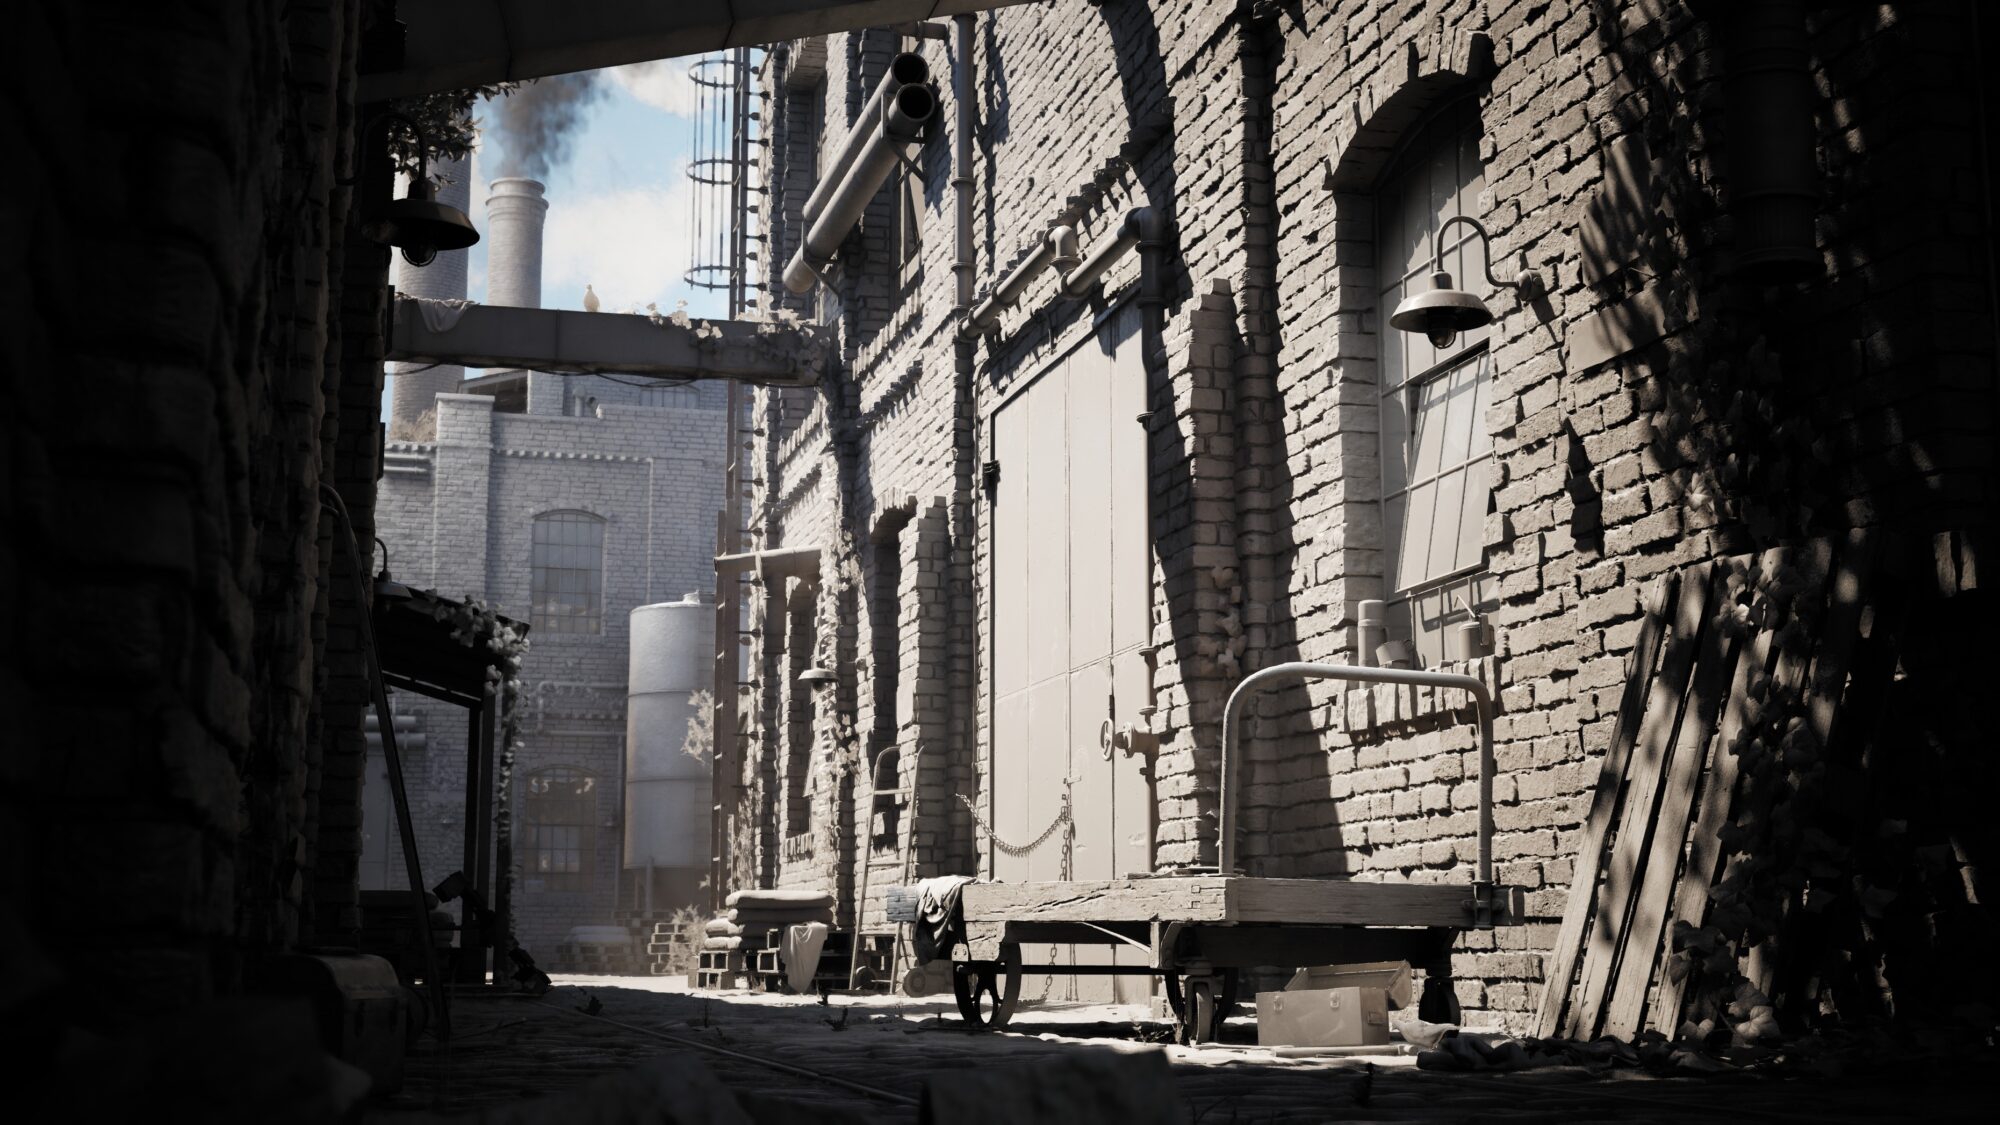
In the Post Process Volume, I applied some standard adjustments like tone mapping and exposure.
One specific tweak I often like to employ, which I used here, is slightly desaturating the color in the shadow areas.
It’s a subtle effect, but I find it can contribute to a slightly moodier, almost eerie vibe that felt appropriate for this particular scene.
For exporting the final high-quality images and any video sequences, I used Unreal Engine’s Movie Render Queue (MRQ). I strongly prefer MRQ over the basic High Resolution Screenshot tool.
While the screenshot tool is quick for previews, MRQ offers much more control and consistency for final output. It handles anti-aliasing significantly better, reducing artifacts, and allows you to create detailed render presets with specific console variables (CVars) to ensure every render uses the exact same quality settings.
Plus, it provides the flexibility to render in high bit-depth formats like EXR, which is invaluable if you plan on doing any further compositing or heavy color grading work externally.
Compositing Adjustments
While the majority of the look was achieved directly in Unreal Engine, I performed a few minor adjustments externally to finalize the images. This final compositing stage was done in DaVinci Resolve.
The adjustments were minimal, mainly involving some subtle color grading tweaks to fine-tune the overall mood, adding a light touch of noise/grain for texture, and applying the simple border frame seen on the final shots.
Conclusion
Overall, creating this industrial environment was a really enjoyable process. It was a great opportunity to dive deeper into Unreal Engine 5’s toolset, particularly Nanite and Lumen, and refine my workflows for creating detailed assets and atmospheric scenes.
Projects like this are a fantastic way to keep learning and pushing skills further, while simply getting to do what I enjoy – building worlds, making props, and crafting compositions.
I hope walking through the different stages of this project, from the initial idea to the final render, has been interesting and perhaps offered some helpful insights into the techniques and decisions involved. Thanks for reading!

