Haussmann Architectural

Introduction
Hi! My name is Matthieu Mouthon, and I’m an Environment Artist in the games industry.
I'm currently based in France, working for That’s No Moon on an unannounced project.

Goals
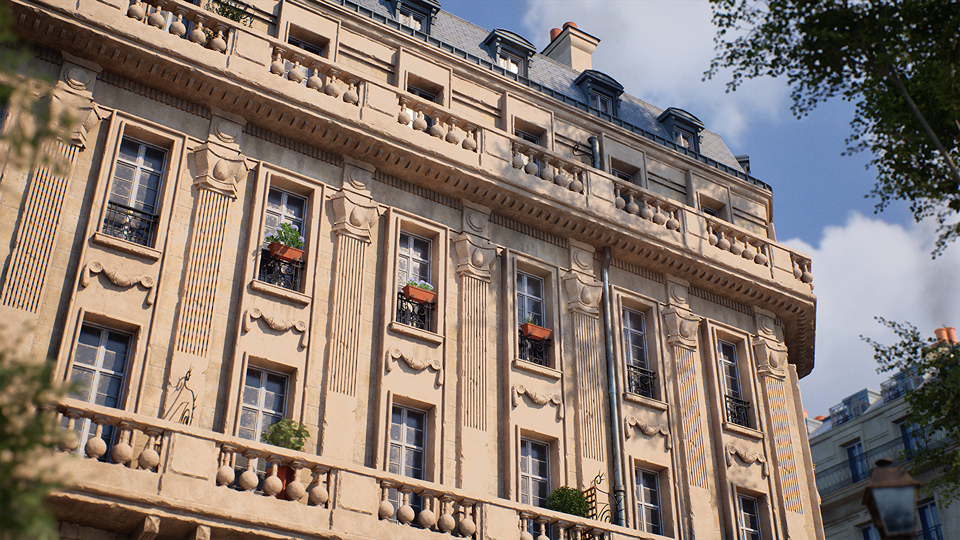
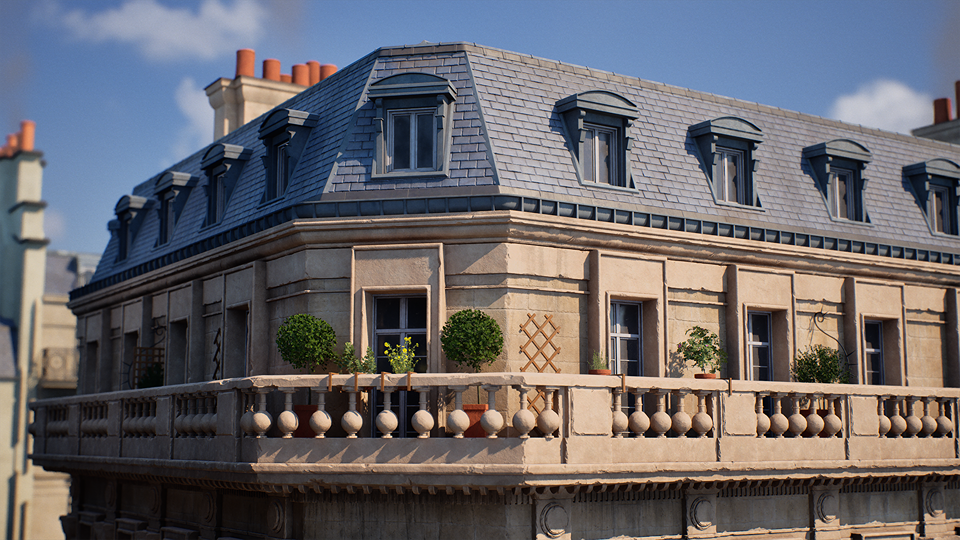
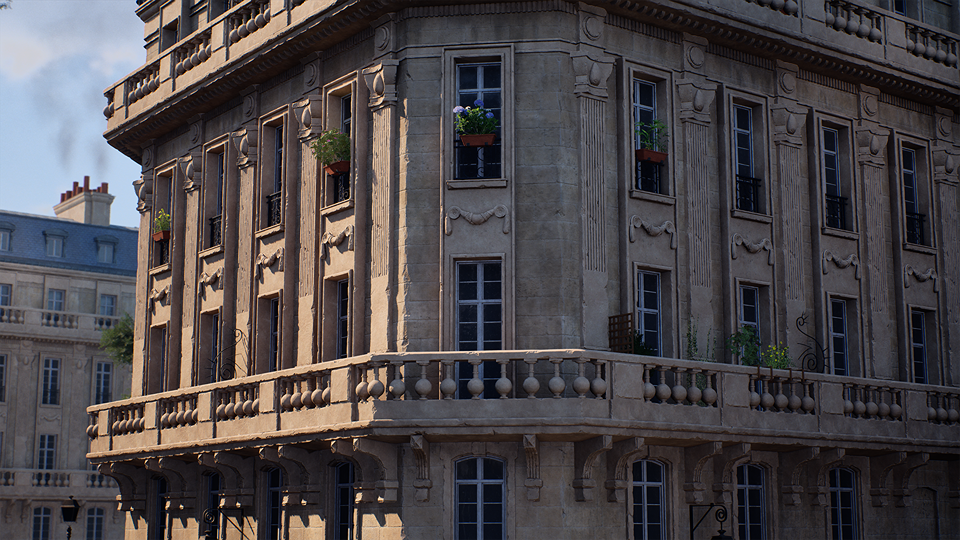
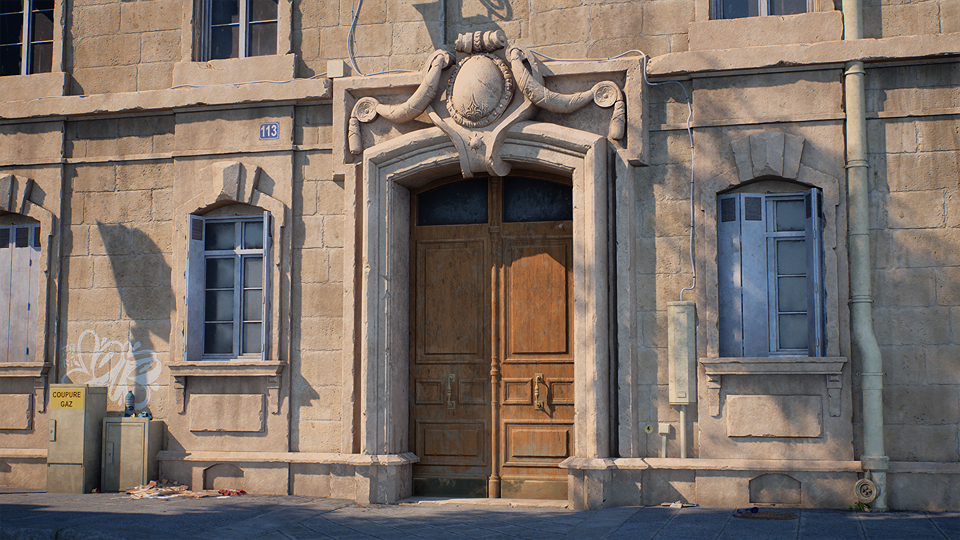
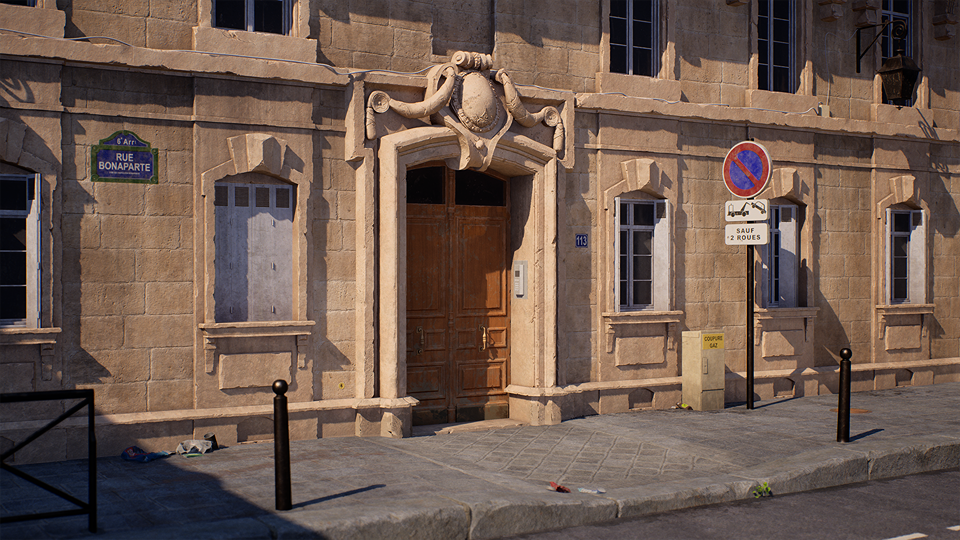
My main motivations when creating this scene were to challenge my sculpting and texturing skills to create a beautiful, ornate modular kit of the Haussmannian architecture style.
To that end, I wanted to author my own complex master material inside Unreal Engine 5, implementing functions such as world-aligned grunges and RGB masks to create a high-quality, production-ready scene.
Another goal of mine was to explore what my ‘art style’ is, without having to follow a specifically mandated art direction. I wanted to create a consistent, cohesive visual style that reflects my personal sensibilities on detail hierarchy & stylization, while keeping faithful to the real-world scales and detailing of my references.
Tools
Here are all the tools I used to author everything:
-
Maya for modeling, UVing
-
ZBrush for sculpting my high-poly assets
-
RizomUV for UVing the assets to be baked
-
Substance Designer for tiling texture authoring
-
Substance Painter for baking normals and RGB mask authoring
Reference & Research
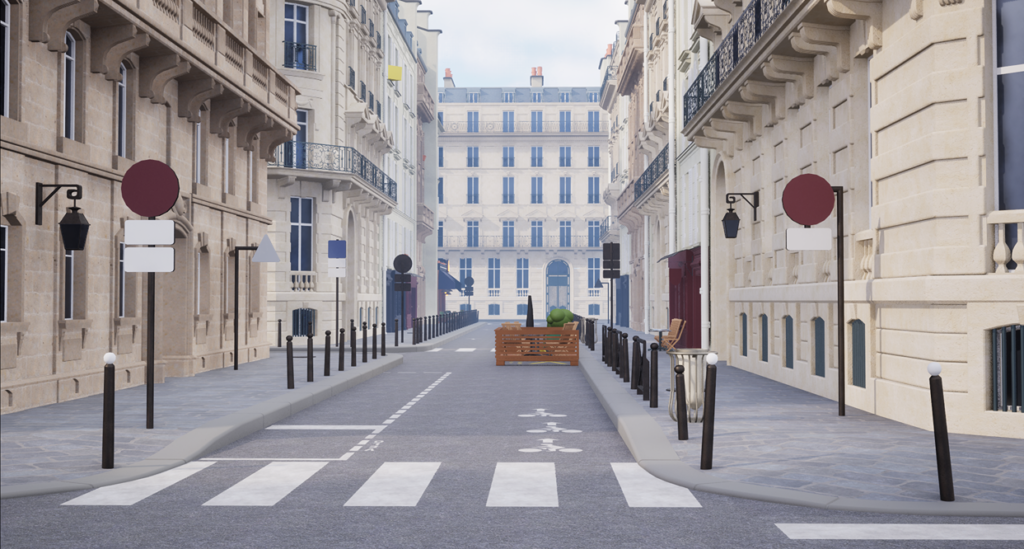
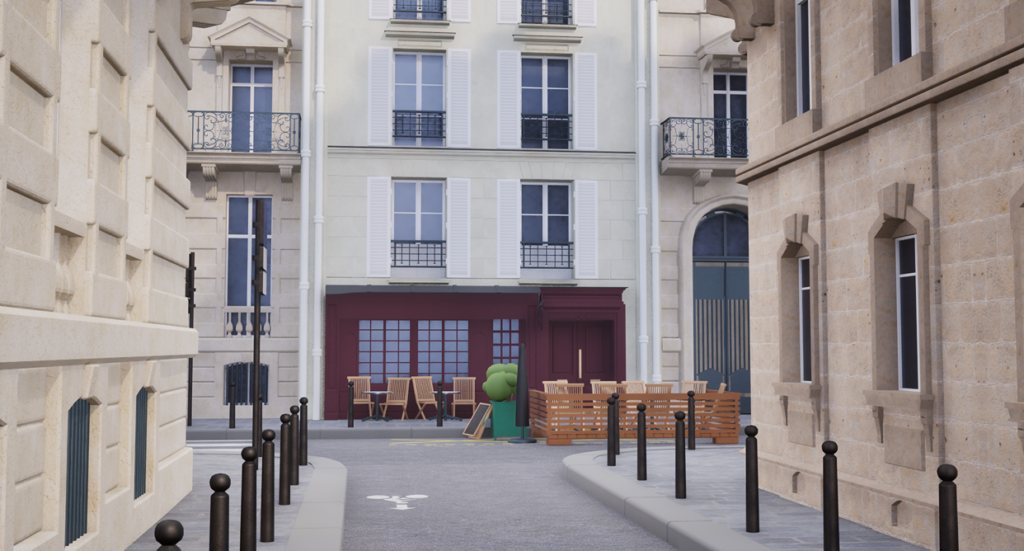
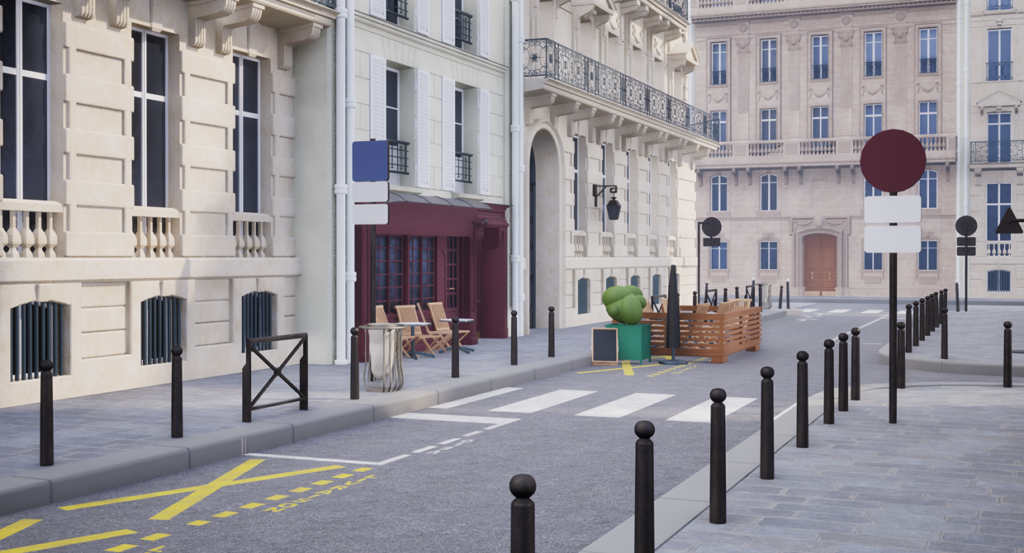
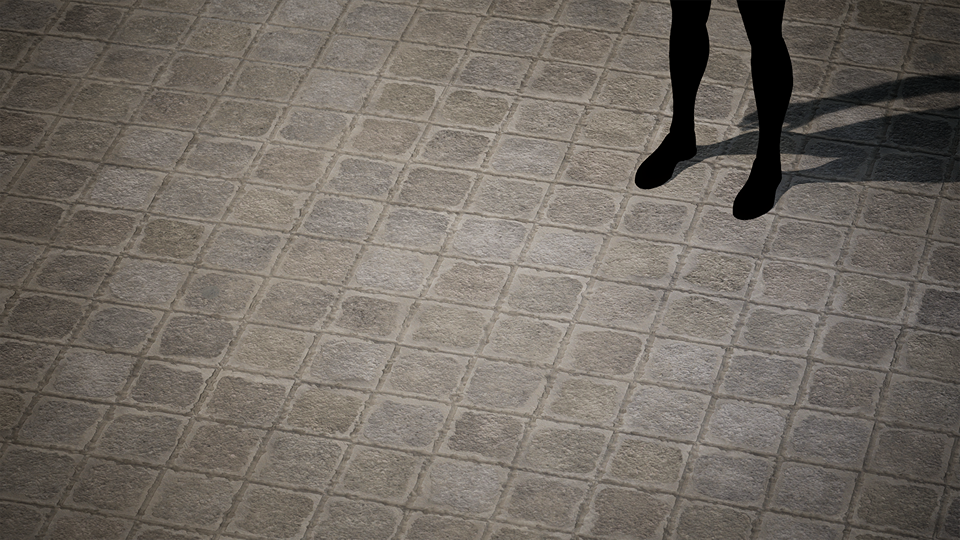
Most of my reference was pictures taken from trips to Paris—I regularly go there to visit family. I took plenty of pictures of the classic Haussmann buildings and streets around the VIe and VIIe Arrondissements of the city.
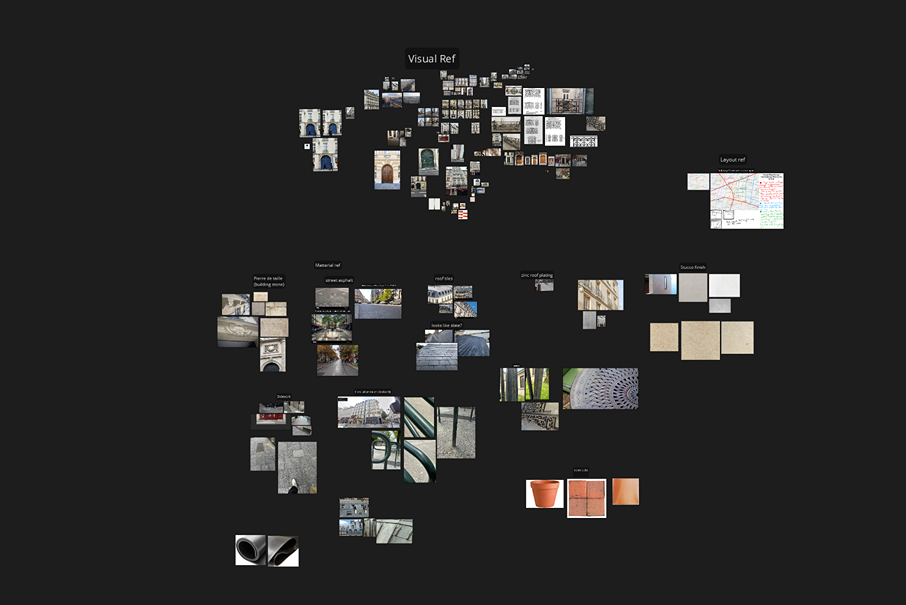
I’ll generally organize my reference loosely under material reference and general visual ref that guides my decisions on the kit look itself, asset needs, set dressing, etc.
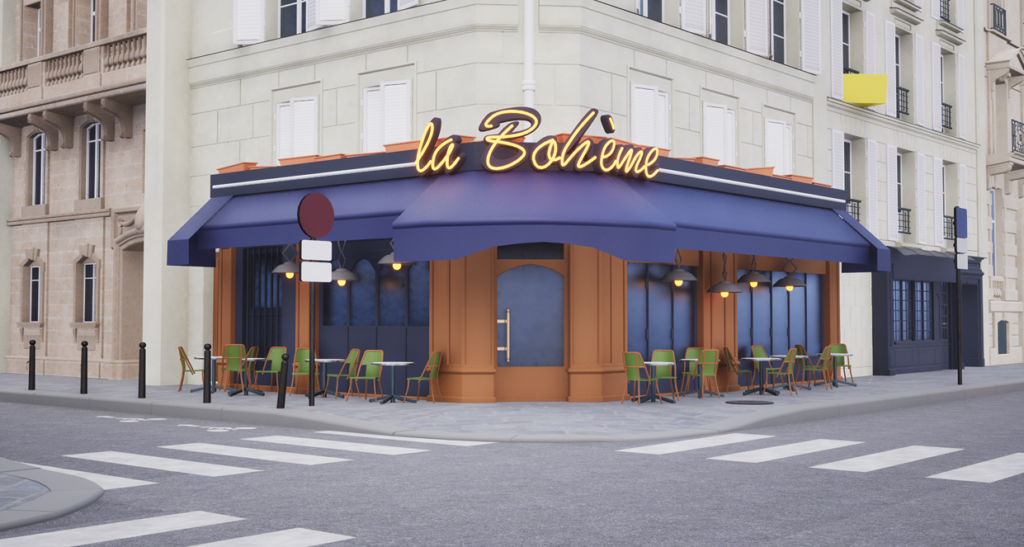
I tend not to choose one singular reference picture to base the entire kit off of, but rather pick and choose parts I find attractive or interesting about different ones and blend them together to create something unique.
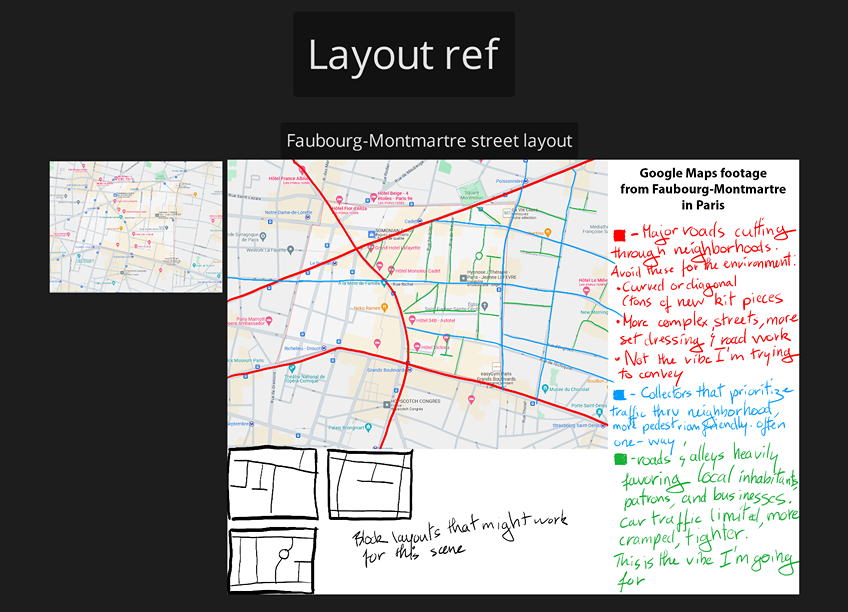
In order to have a better idea of how to build the macro layout of my scene, I did some research on Parisian road hierarchy and tried to analyze what would fit the vibe I’m going for best.
When doing this type of work, I generally like to draw over some Google Maps screenshots and loosely write down some thoughts & research. Apologies for my chicken-scratch handwriting!
Blockout
I model my blockouts in Maya, and quickly bring the kit pieces into Unreal Engine to check that the scale & the modularity of the kit work.
At this stage, I’ll also play around with rotating a directional light around the building to get a good feel for how the light reacts against its forms.
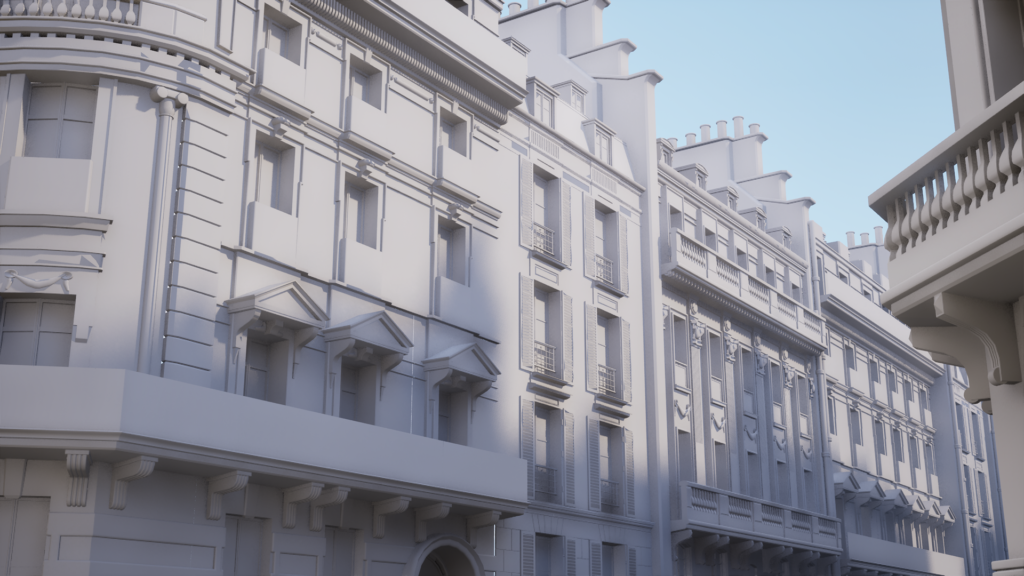
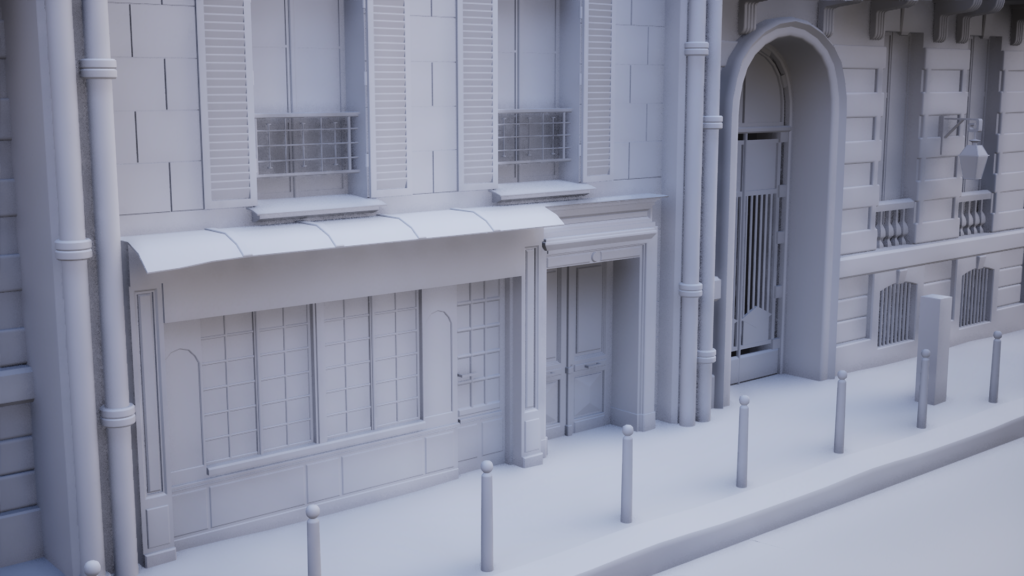
I’ll generally make scaling adjustments to various parts of the models at this stage to make sure all of the elements weigh together harmoniously and accurately to my reference.
I also will generally pretty quickly block out my main tilers to get a general idea of the macro colors & details that will be reflected in the surfacing.
I originally had a much bigger scope for this project—I had three distinct architectural kits and much more of a focus on street vistas with several unique locations.
I ended up scaling down my workload not long after I finished blocking everything out—I loved what I was building, but I didn’t want to burn myself out by making this big of a space.
I didn’t want to spend years on it either—I work on personal stuff after work and during my spare time. I already do this for 8 hours a day and didn’t want to sour my experience by putting too much work on my plate.
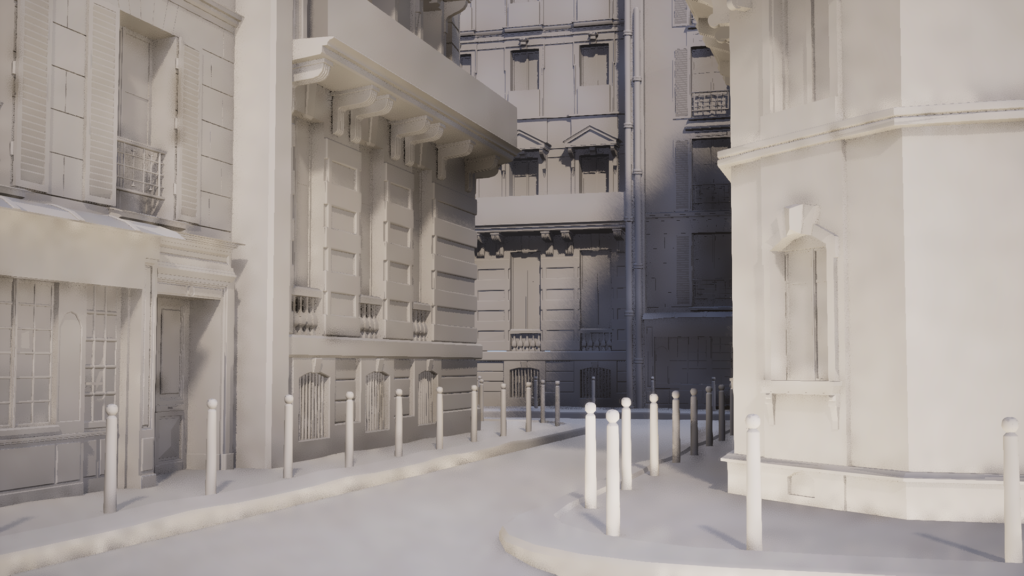
I ended up pushing only the main building kit and some of the street kit to final quality, but I kept all of the blockouts laid out as-is in the scene, as it provided great backgrounds to blur out for my final compositions! No wasted work here.
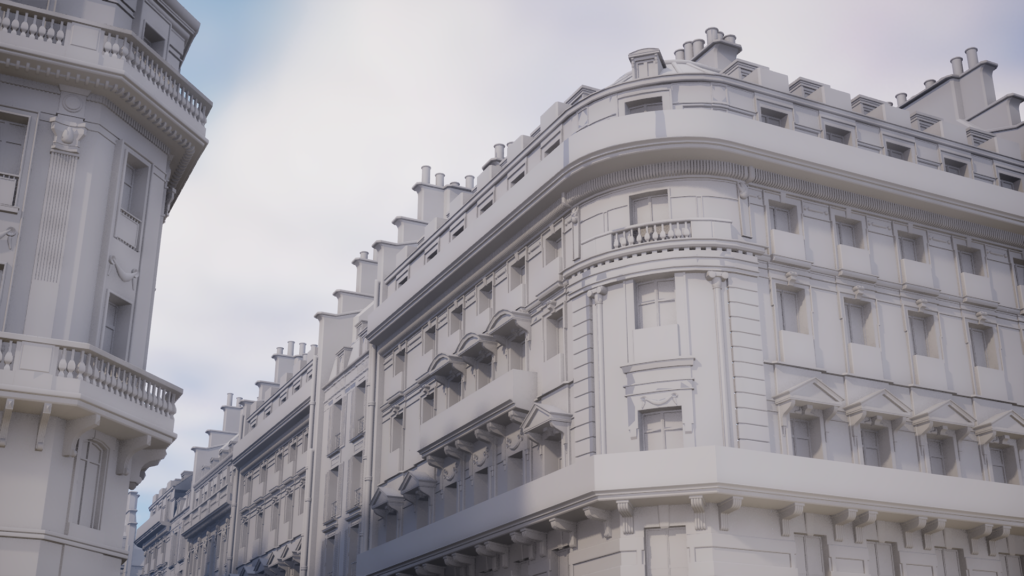
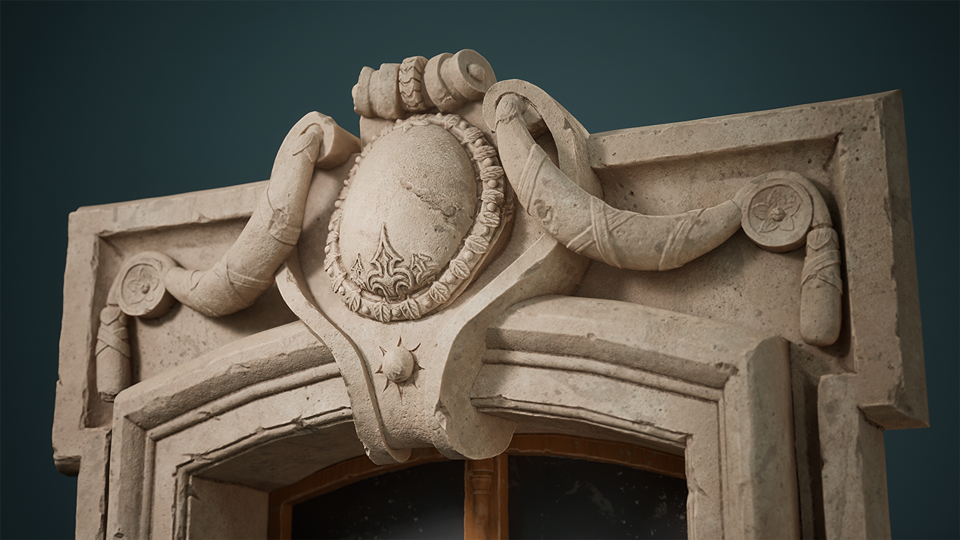
Sculpting
Here is the blockout that I sent into ZBrush.
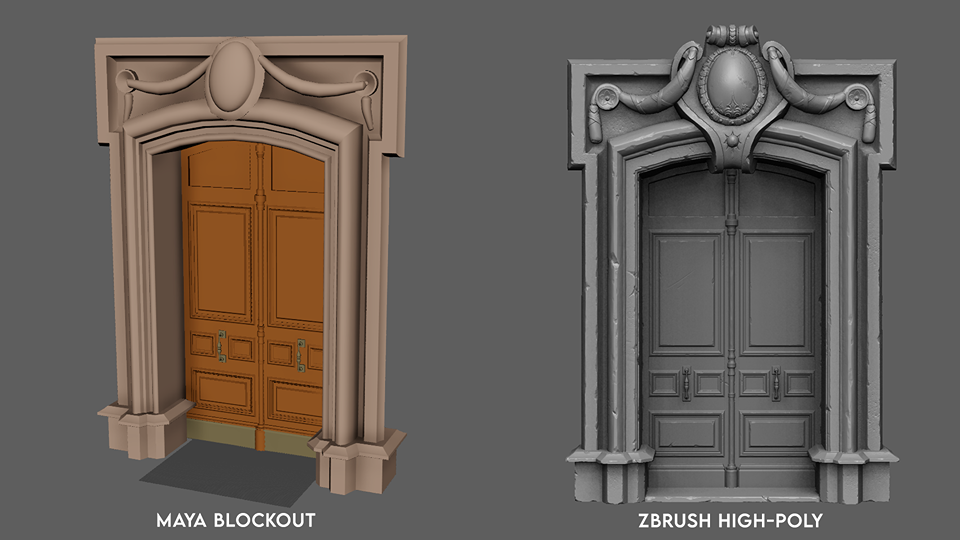
And the finished high-poly.
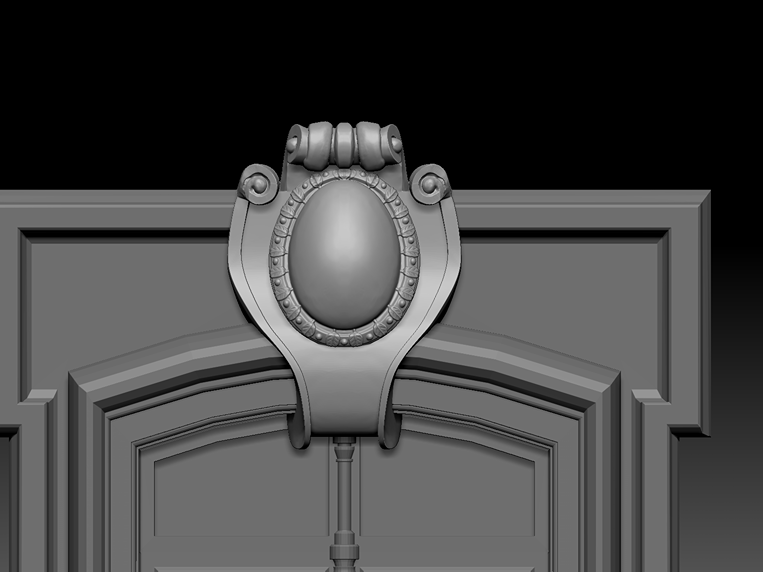
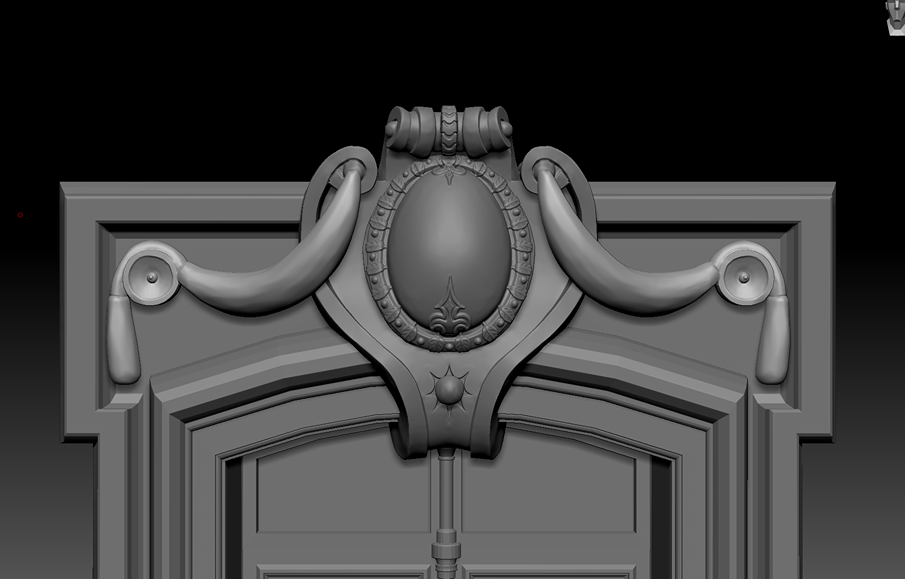
When sculpting the ornate detail, I made heavy use of symmetry in order to save myself time.
I would generally do a pass at the end where I’ll sculpt unique detail to get rid of the ‘repeating’ look.
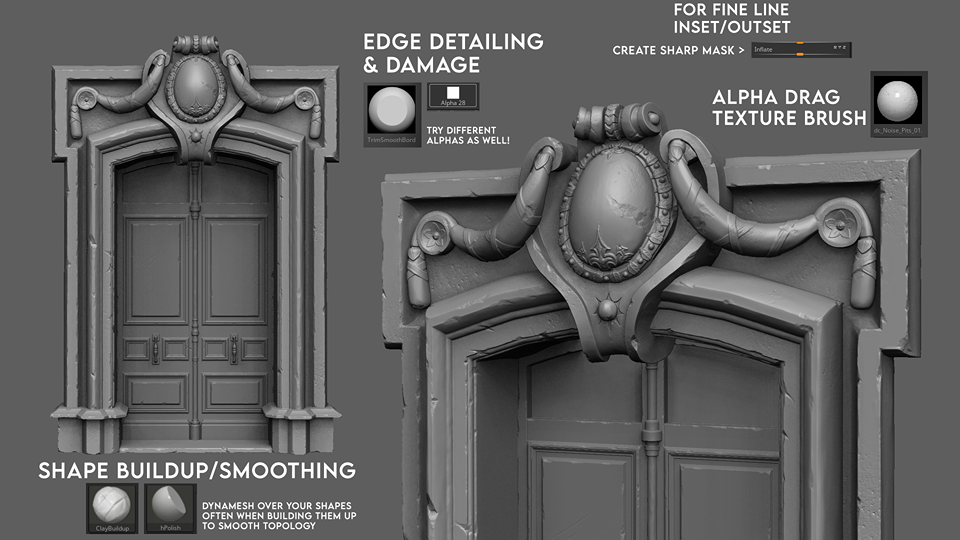
Here are some of the brushes and techniques I use to create my shapes in ZBrush and detail them.
Shoutout to Dannie Carlone for the alpha brushes—they’re fantastic and I use them for almost everything! Here’s a link to his Gumroad: https://danniecarlone.gumroad.com/
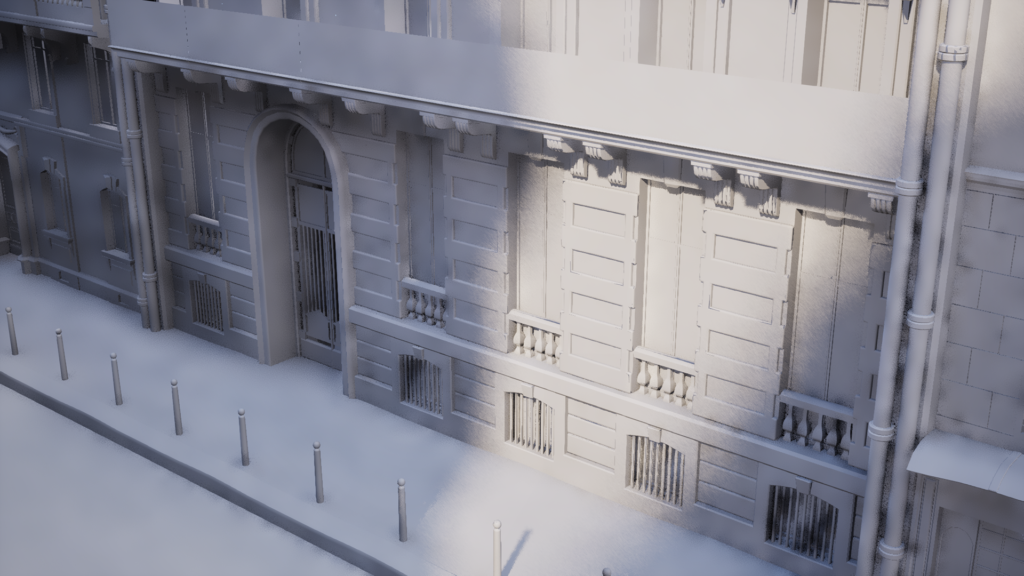
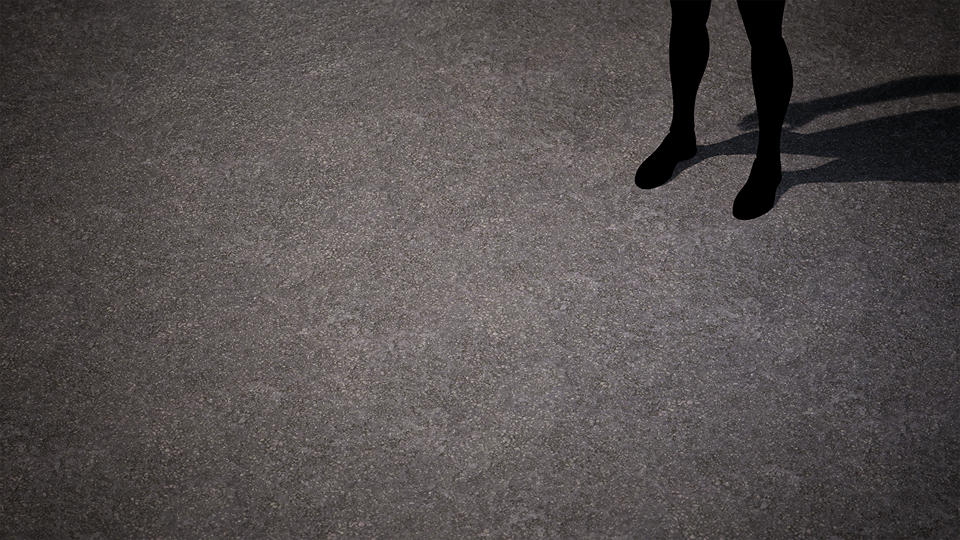
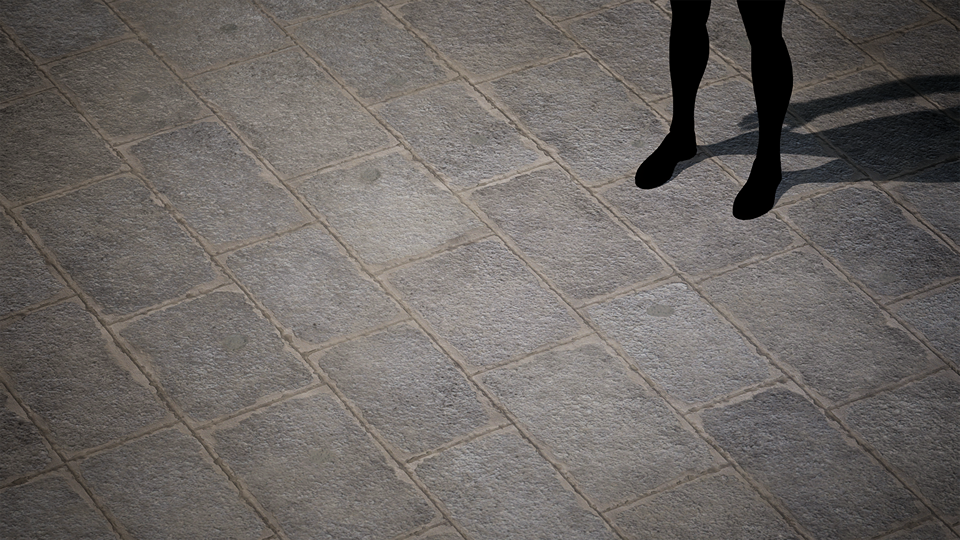
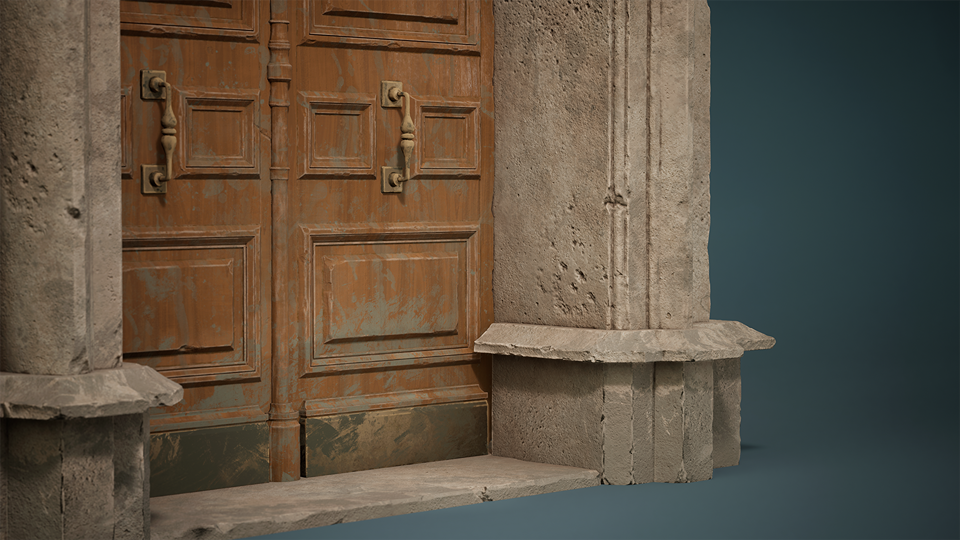
Texturing & Materials
I heavily referenced Nathan Mackenzie’s ‘Worn Tarmac’ tutorial series on YouTube to create my asphalt material.
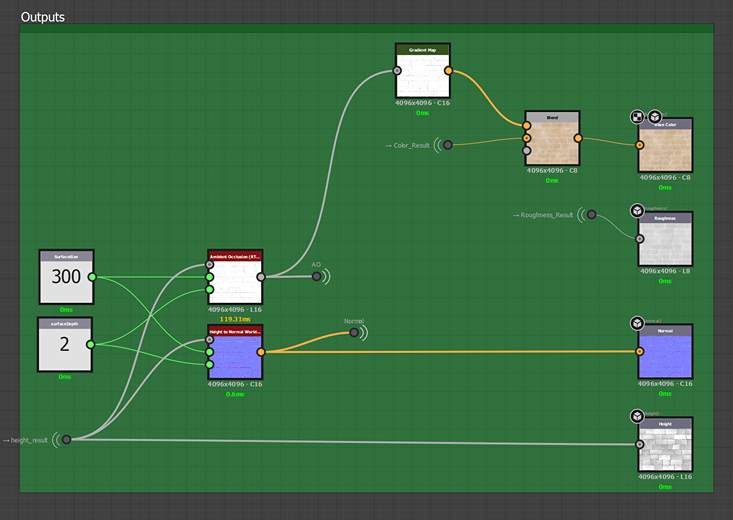
Here is my setup for the outputs. I picked it up from one of Enrico Tammekänd’s tutorials—please check them out!
It has a whole bunch of very useful techniques and node explanations that I regularly use when I create my materials.
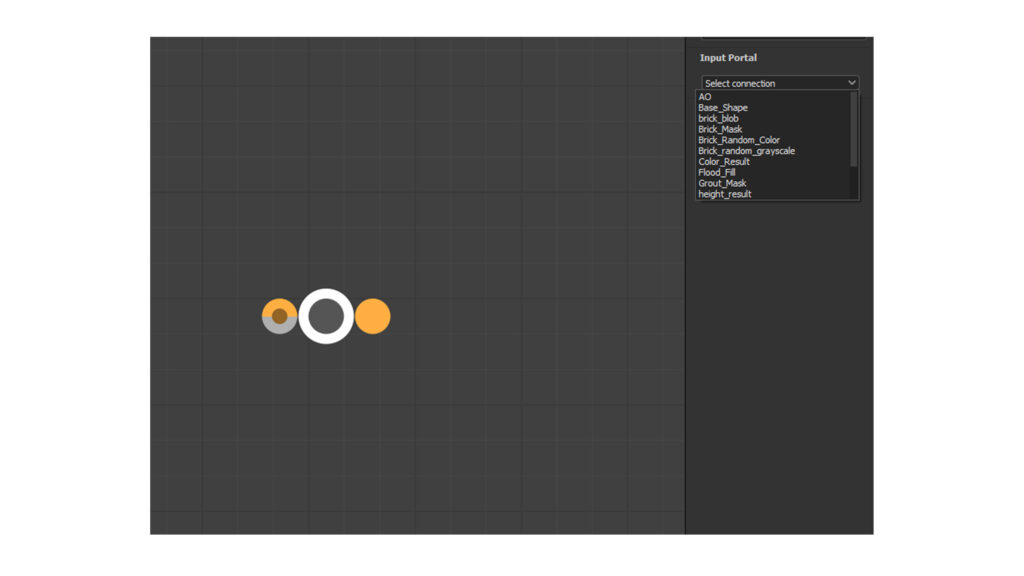
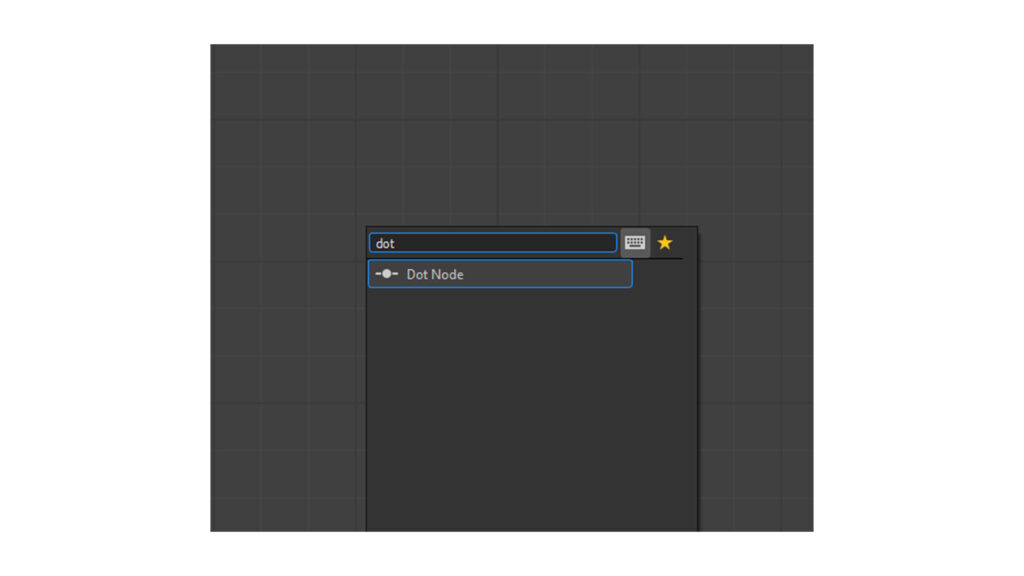
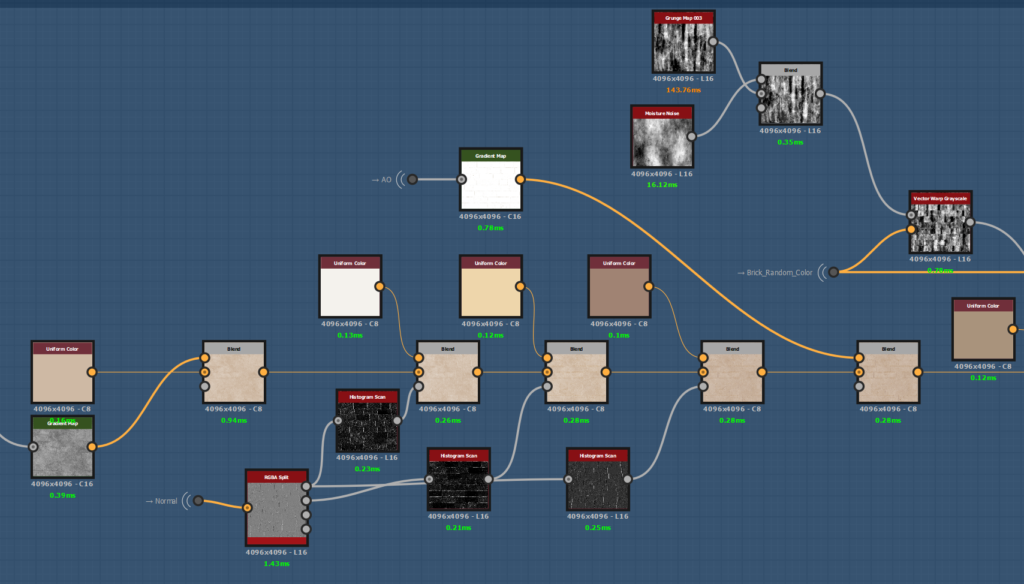
One of my favorite nodes in Designer is the dot node. It effectively acts as a portal—you output the data you want to reference, give the node a name. When you put a dot node down, you can now reference anything that you’ve registered.
I store all kinds of data that way—AO & Normal maps to generate detail for roughness & albedo, various masks, specific kinds of micro details I want represented in my colors, etc.


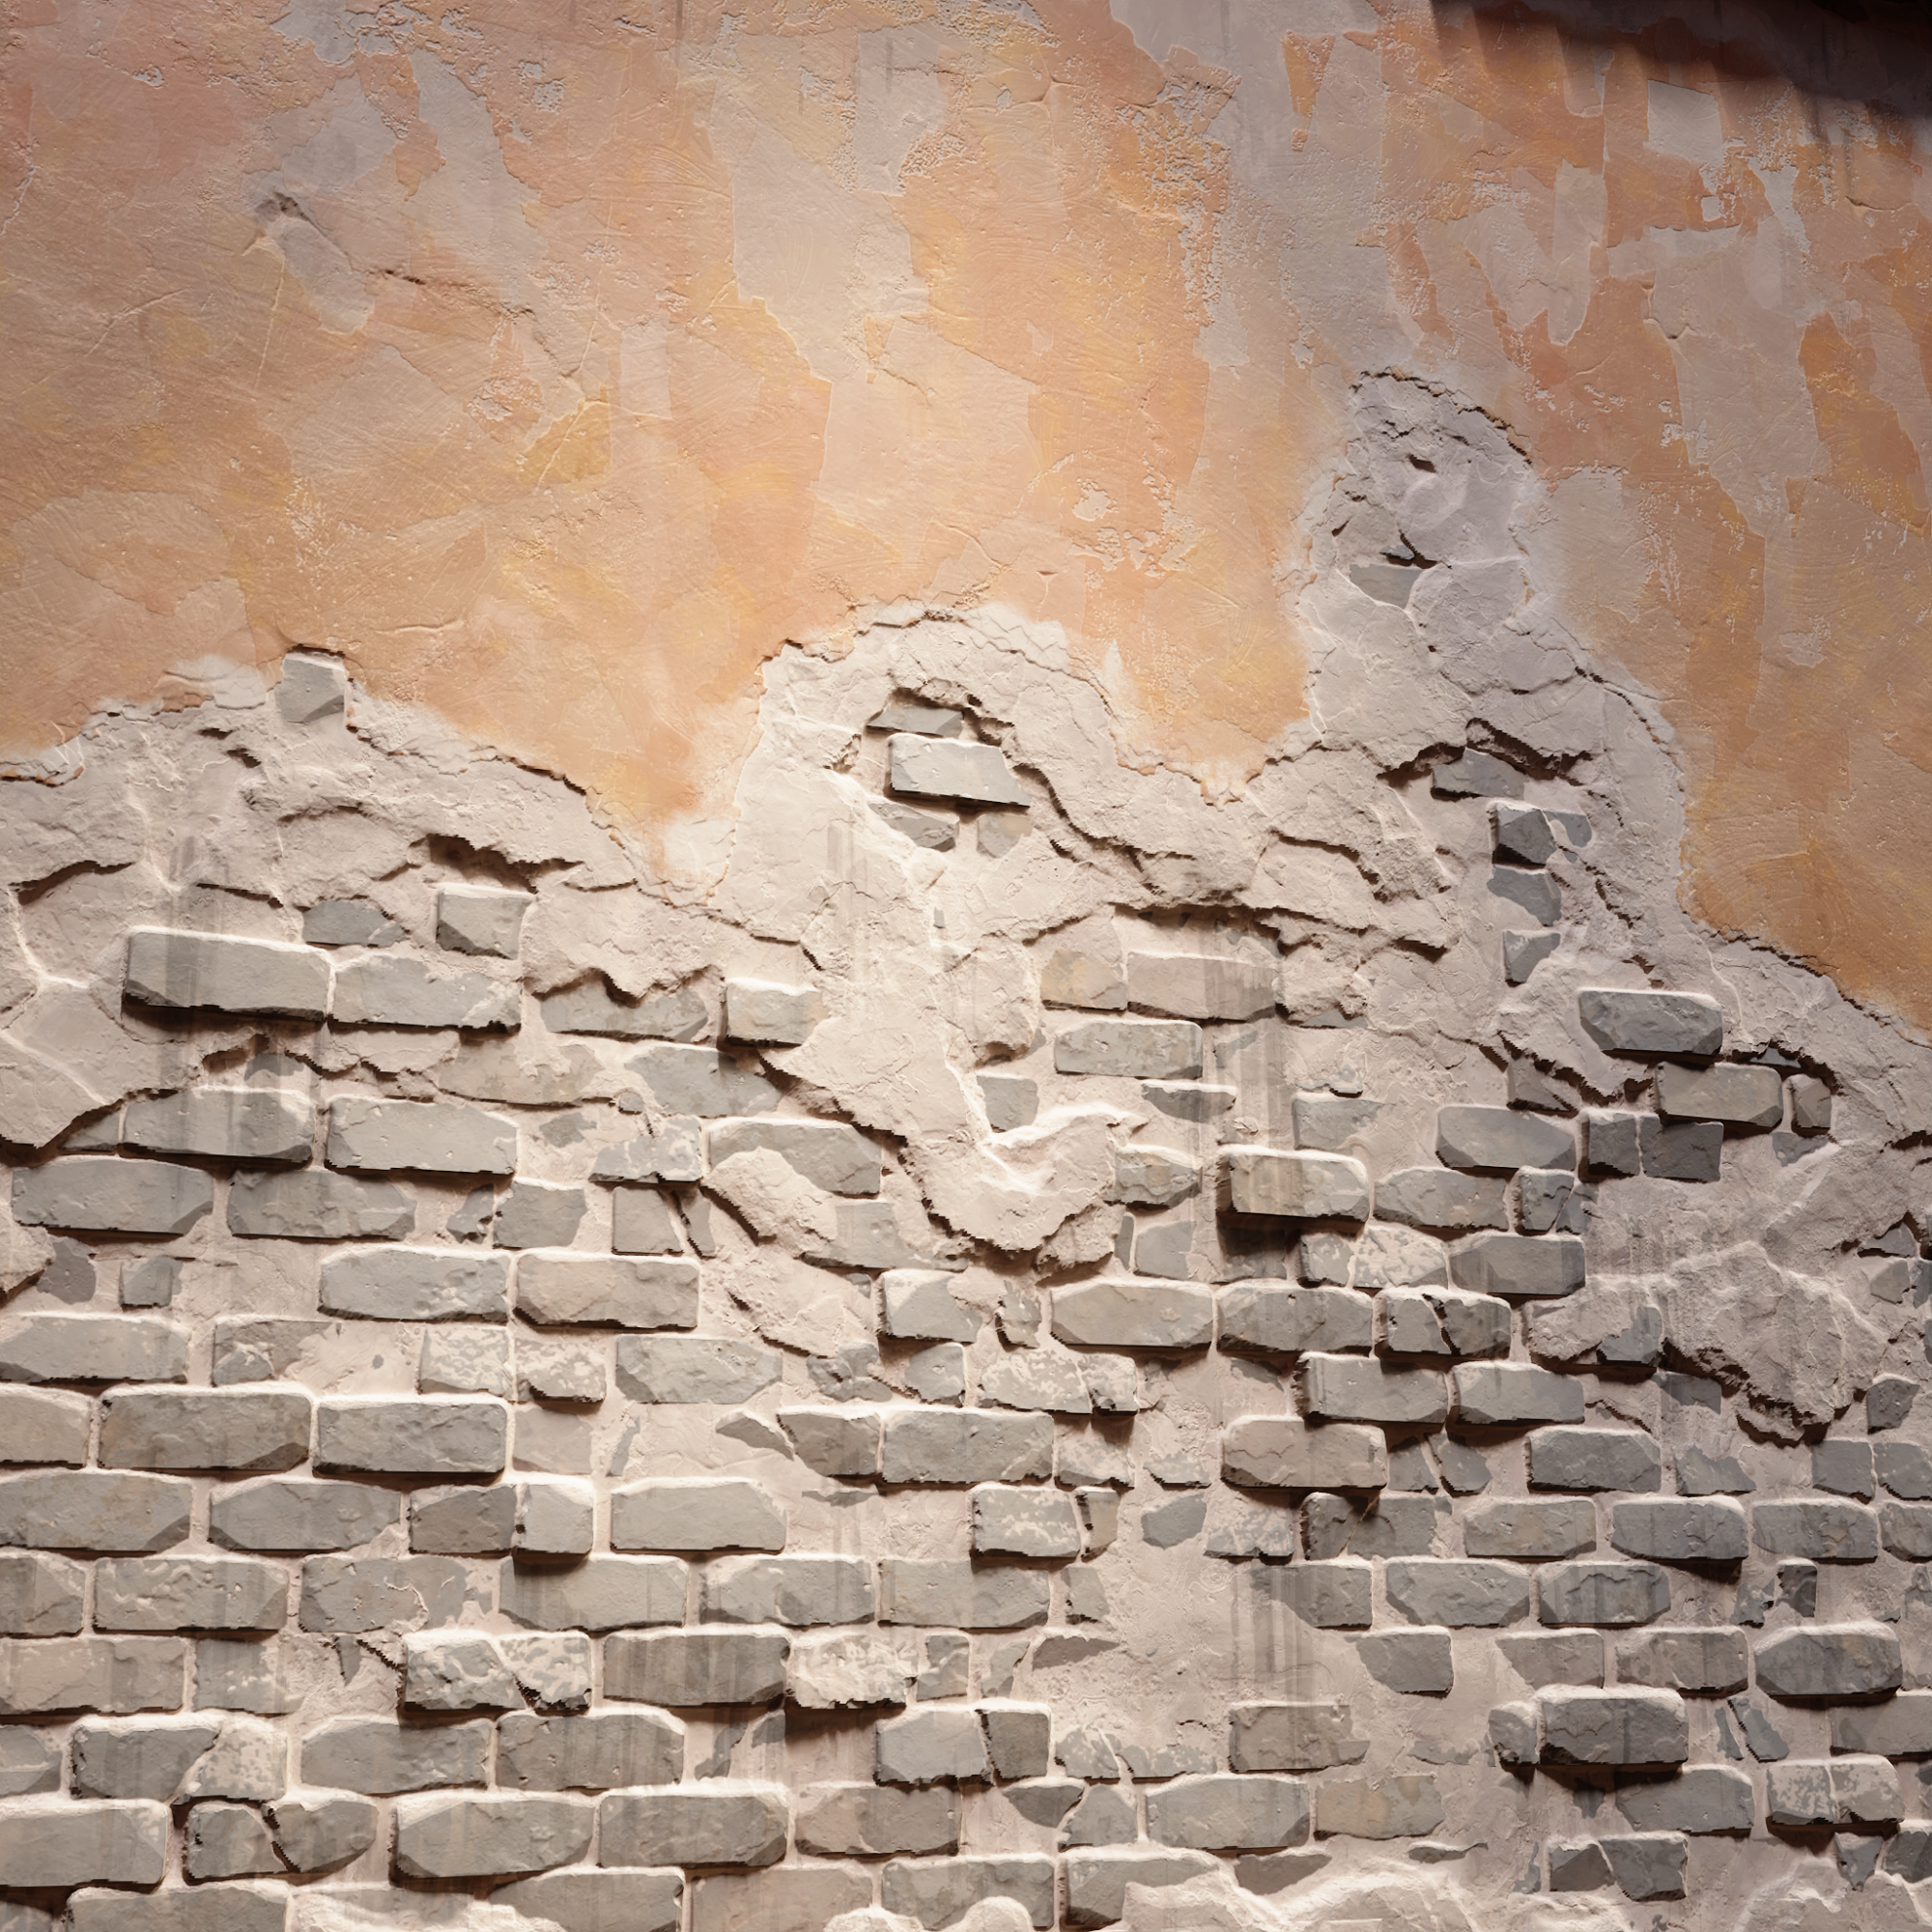
I used Substance Painter to create all of my RGB Masks. I have a couple of different Smart Material presets that I created for this project, and I used them as starting points based on what kind of prop I was working with.
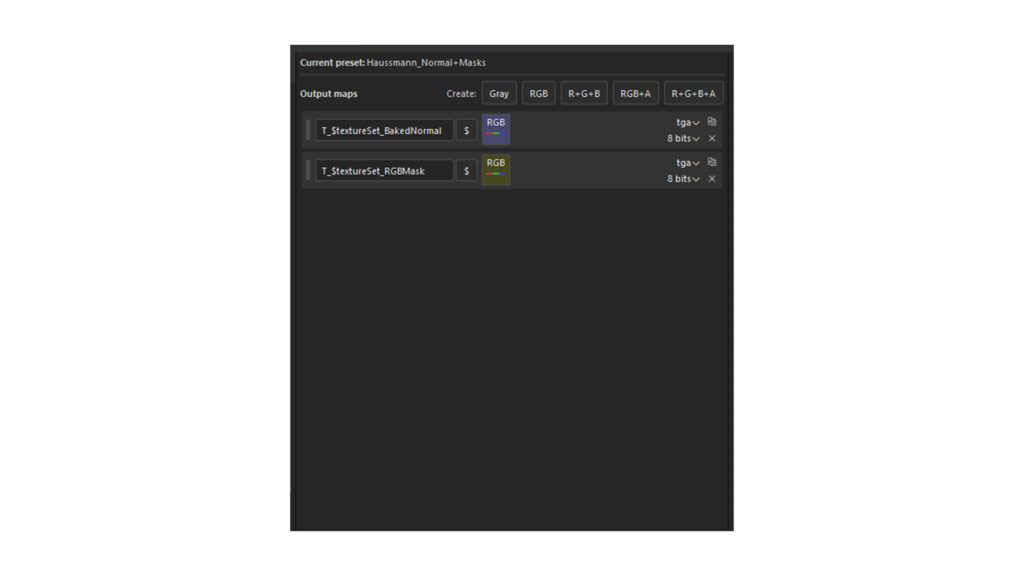
I also created an export preset for Painter in order to get the exact maps I needed out of it for my in-engine setup.
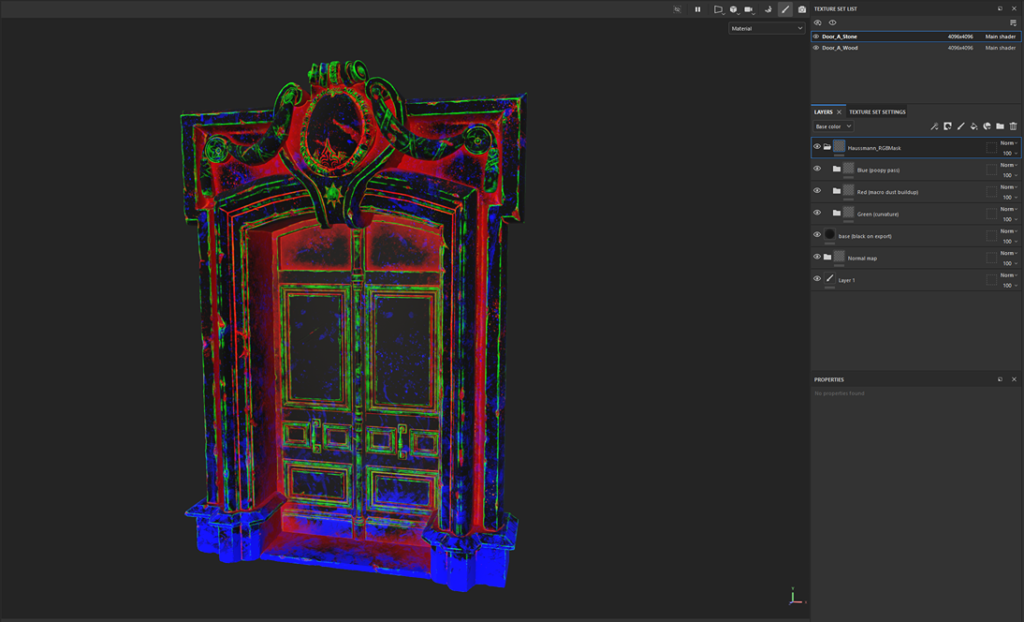
Here’s a demonstration of the mask implementation:
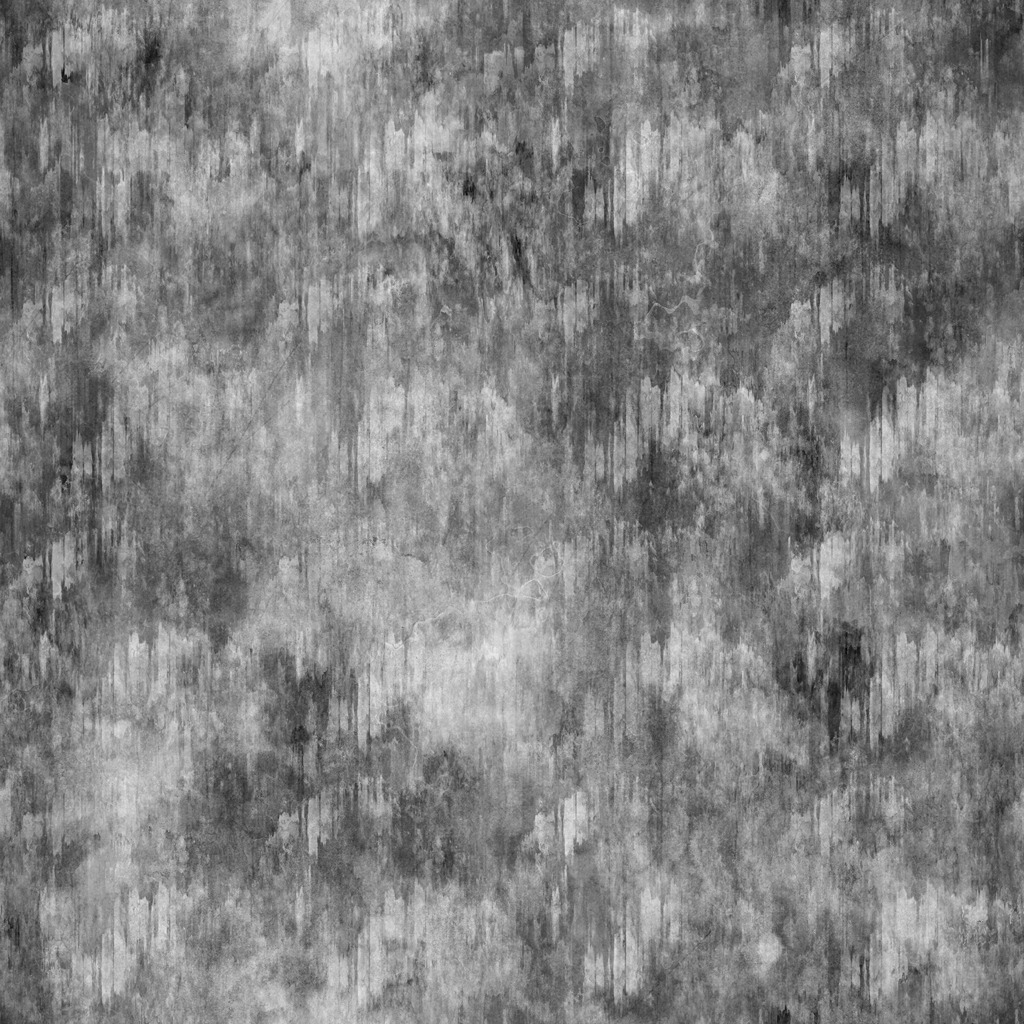
I also layer in two different grunge maps in world-space on top of my tilers:
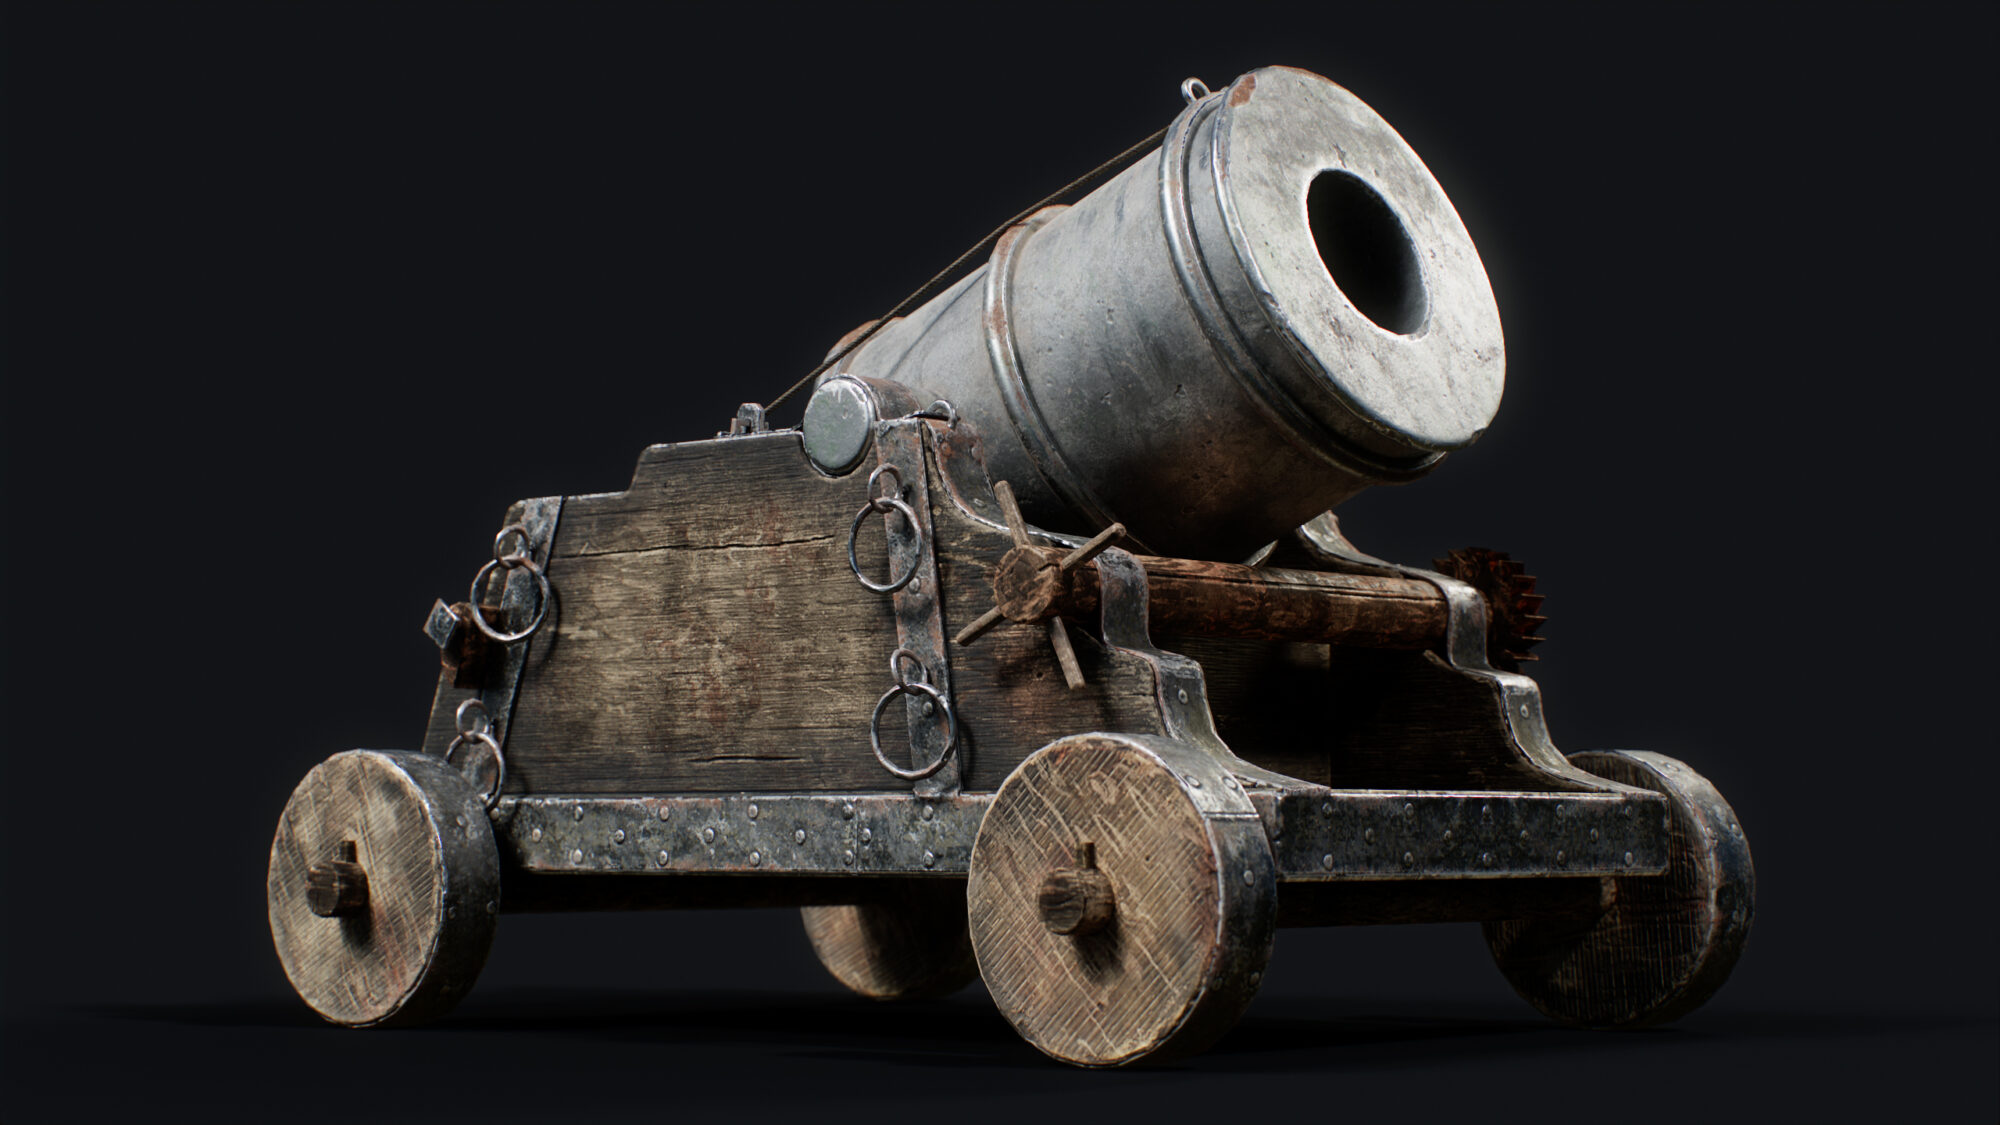
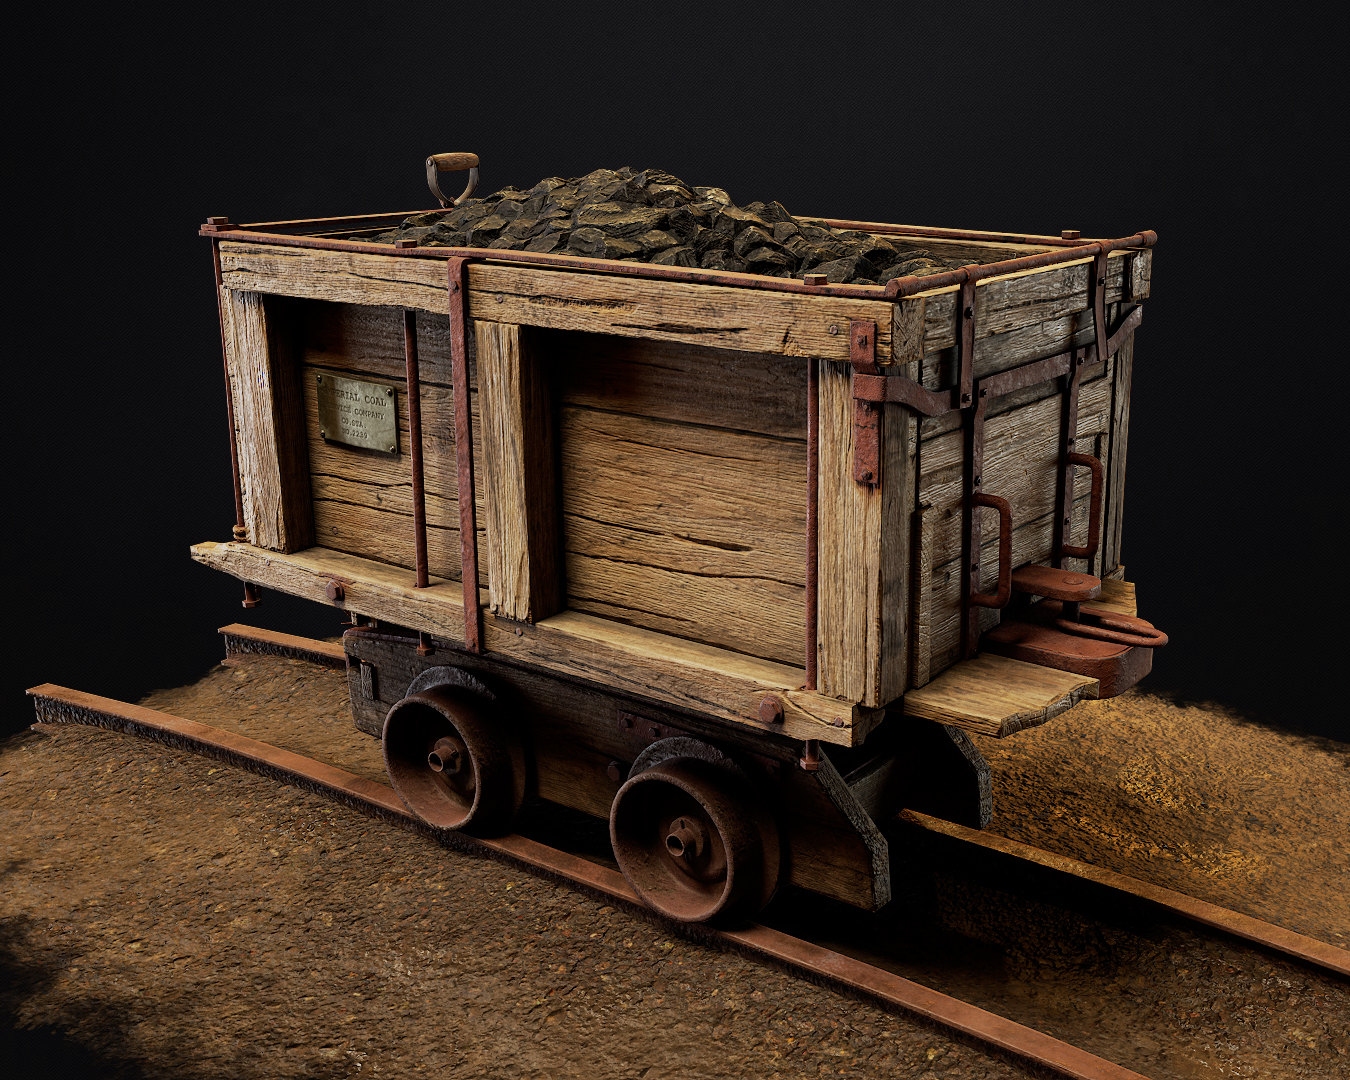
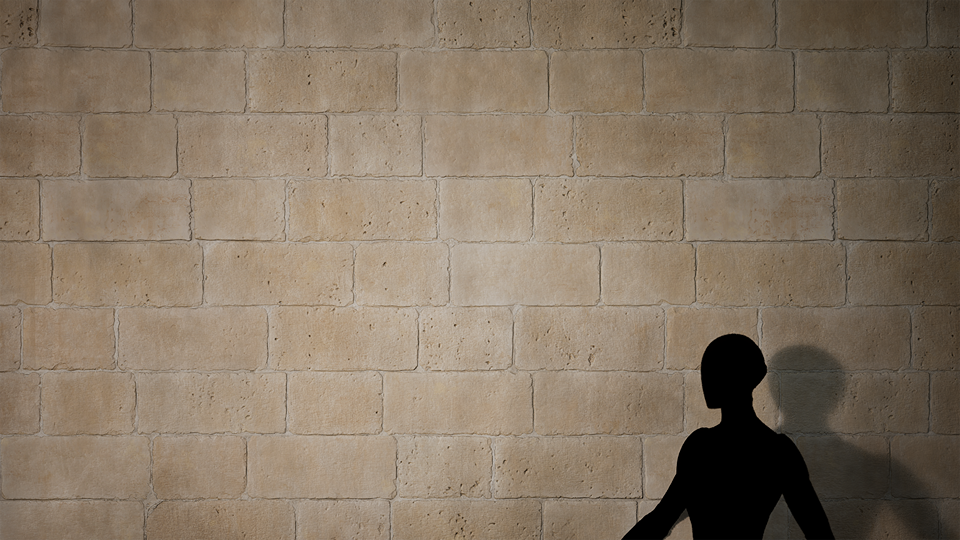
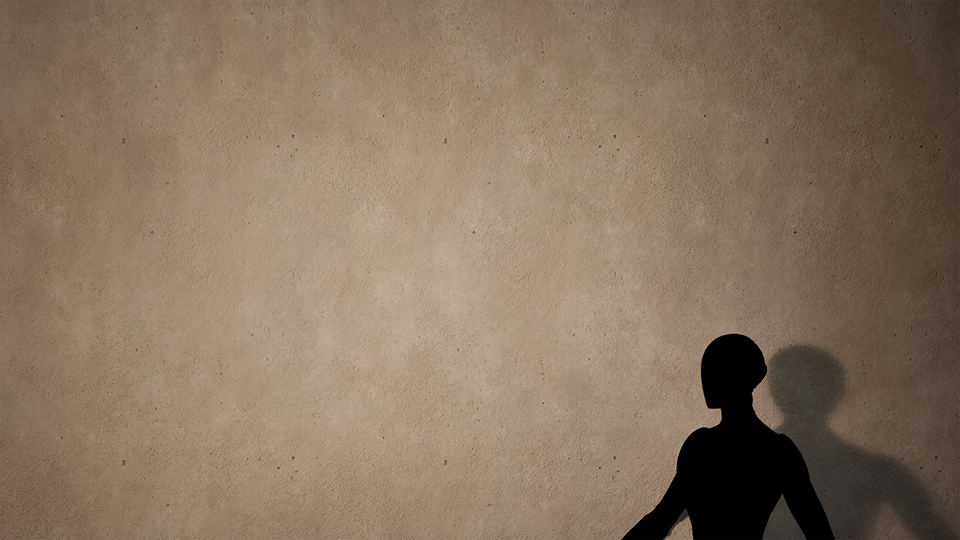
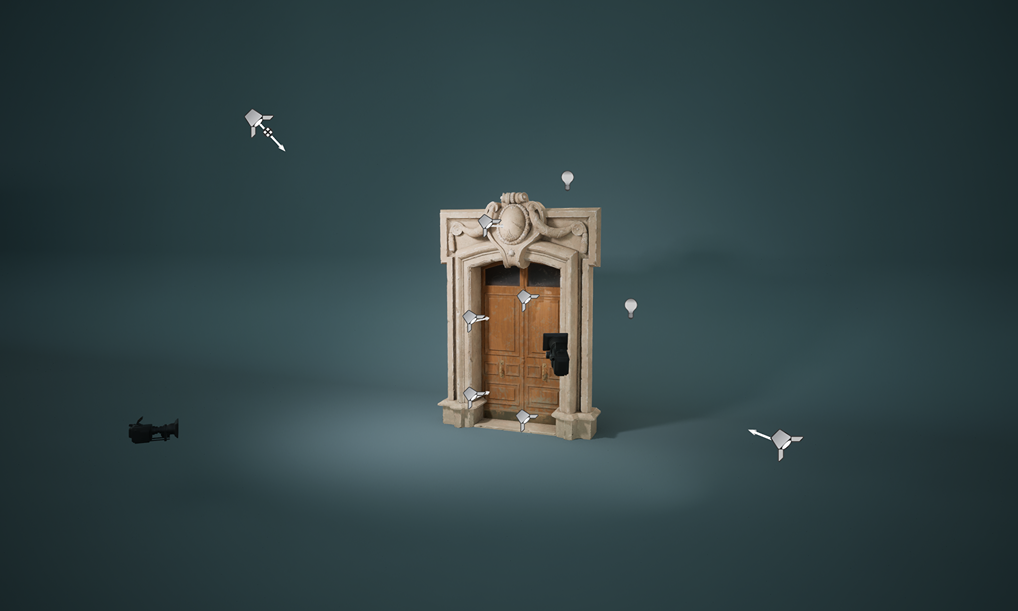
Asset & Material Presentation
I use a classic studio lighting setup to create these asset renders.
This consists of a key light with your main source of light & shadow casting, then a fill light to fill in your shadows.
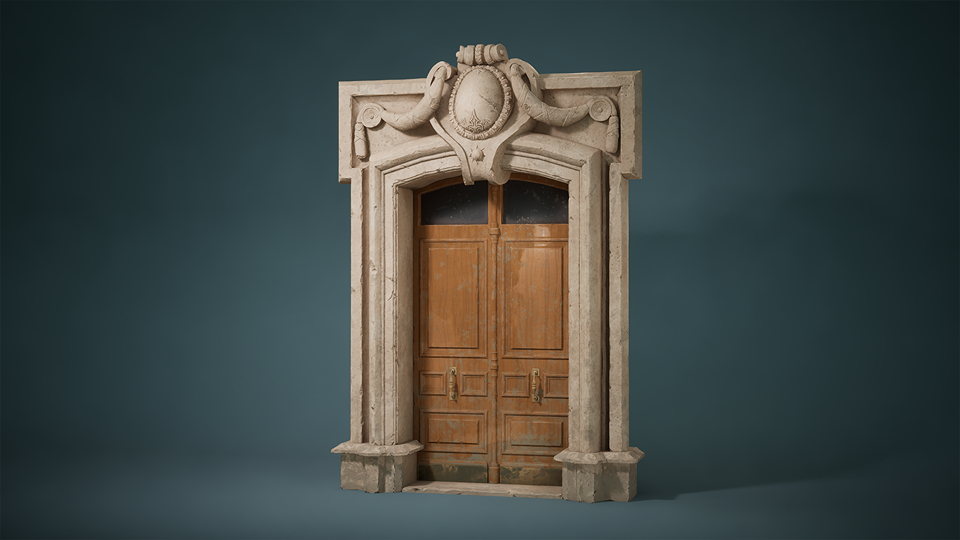
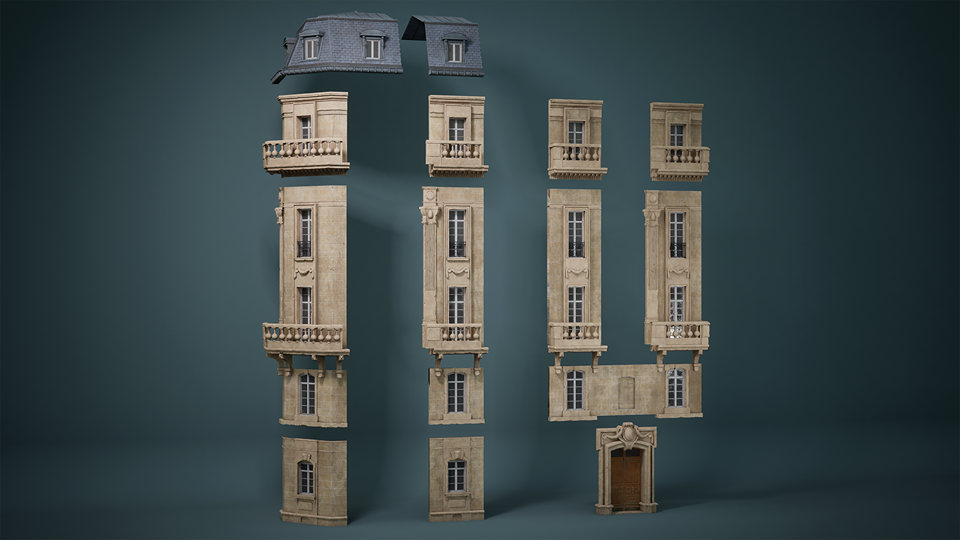
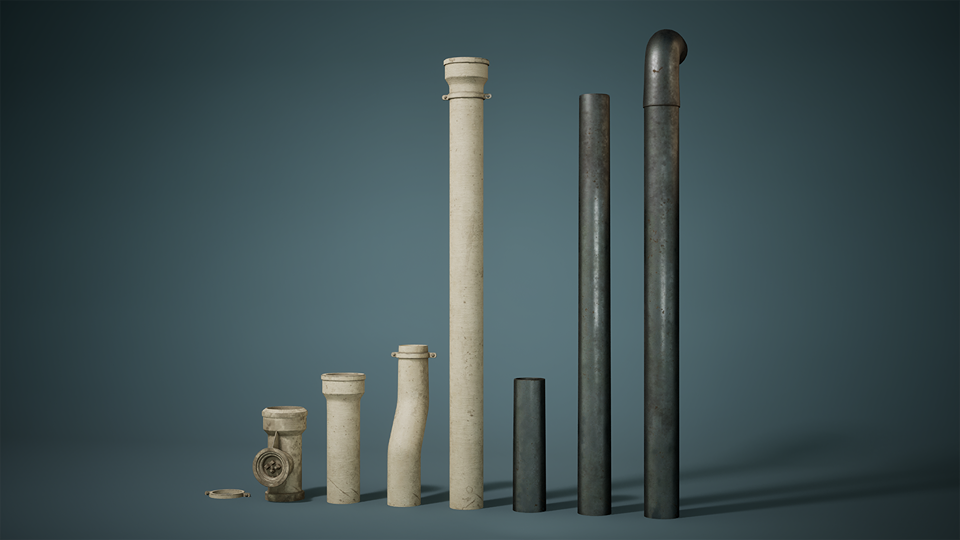
I generally also use a rim light, and multiple low-intensity point lights to highlight some reflections and sculpt some fake light reactions onto the asset.
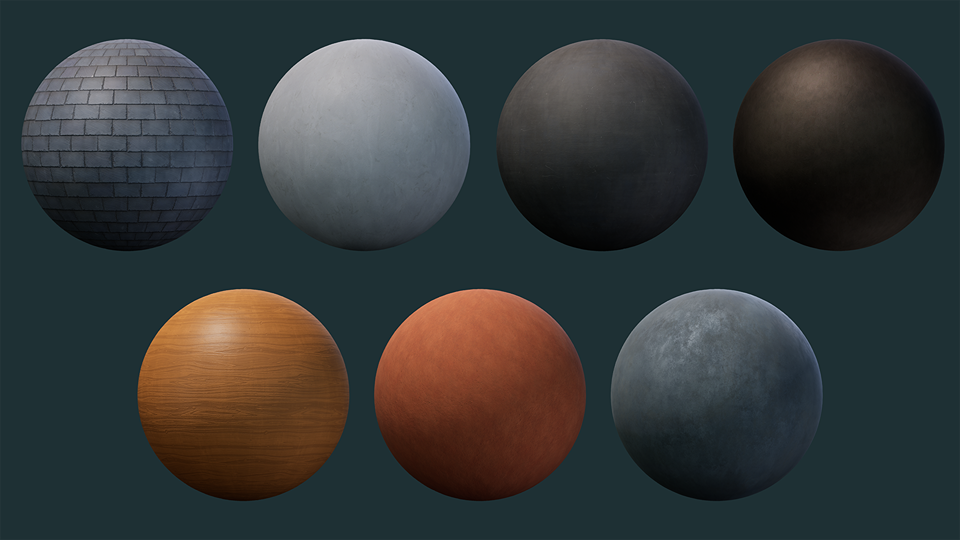
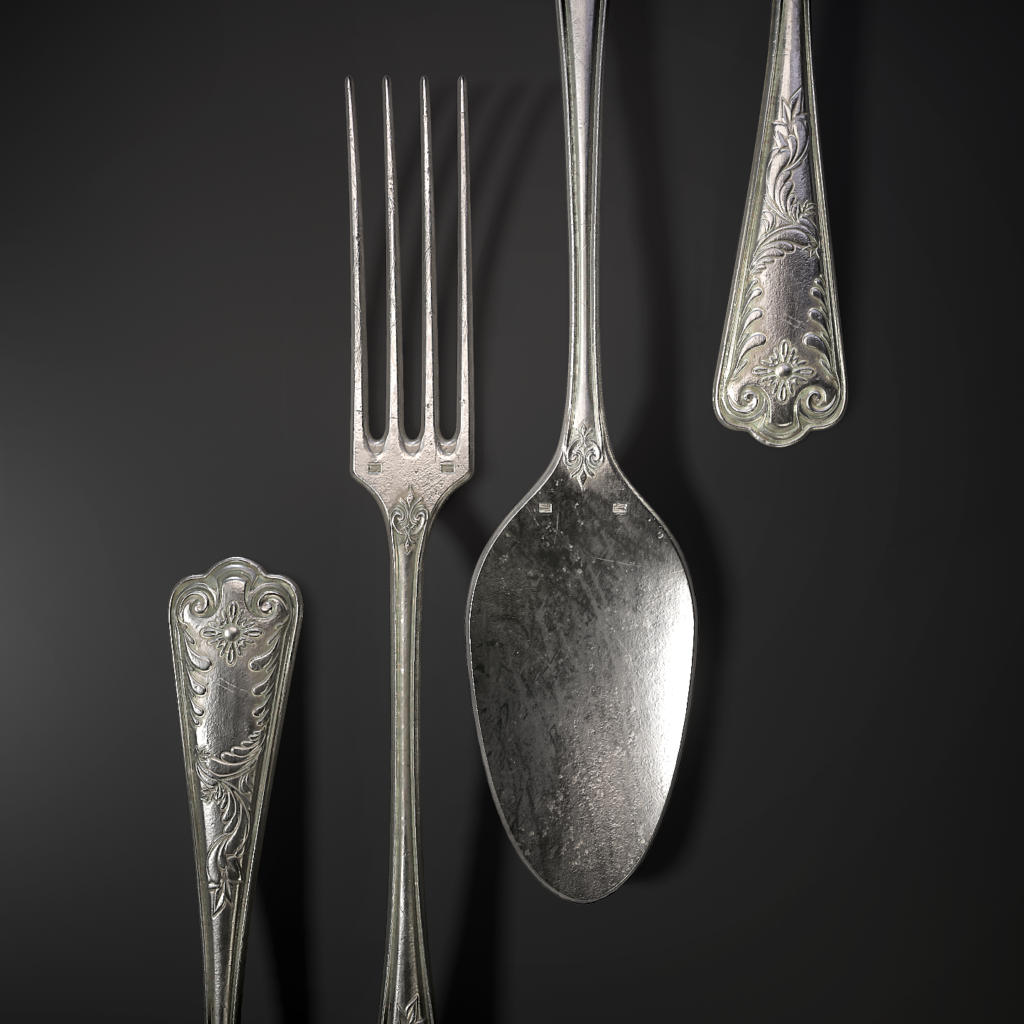
I use a very similar lighting setup for my material renders. The only notable difference, apart from presentation, is that I use 50–80mm lens presets.
Conclusion
Thank you for reading this breakdown! I hope that you found something useful here. It was a huge pleasure to work on this project and detail out my processes—thank you to Games Artist for the opportunity.
You can find me on ArtStation here, and you can also catch me over on BlueSky!
Read more articles
You might also like these articles.