Hangar

Introduction
¡Hola Mundo! I’m Leonardo Betancur, I’m from Colombia (LATAM) and I’m a self-taught artist, currently
I’m studying mechanical engineering but I’m taking advantage of this pandemic to dedicate more time to my favourite hobby; 3D art.
Project & Goals
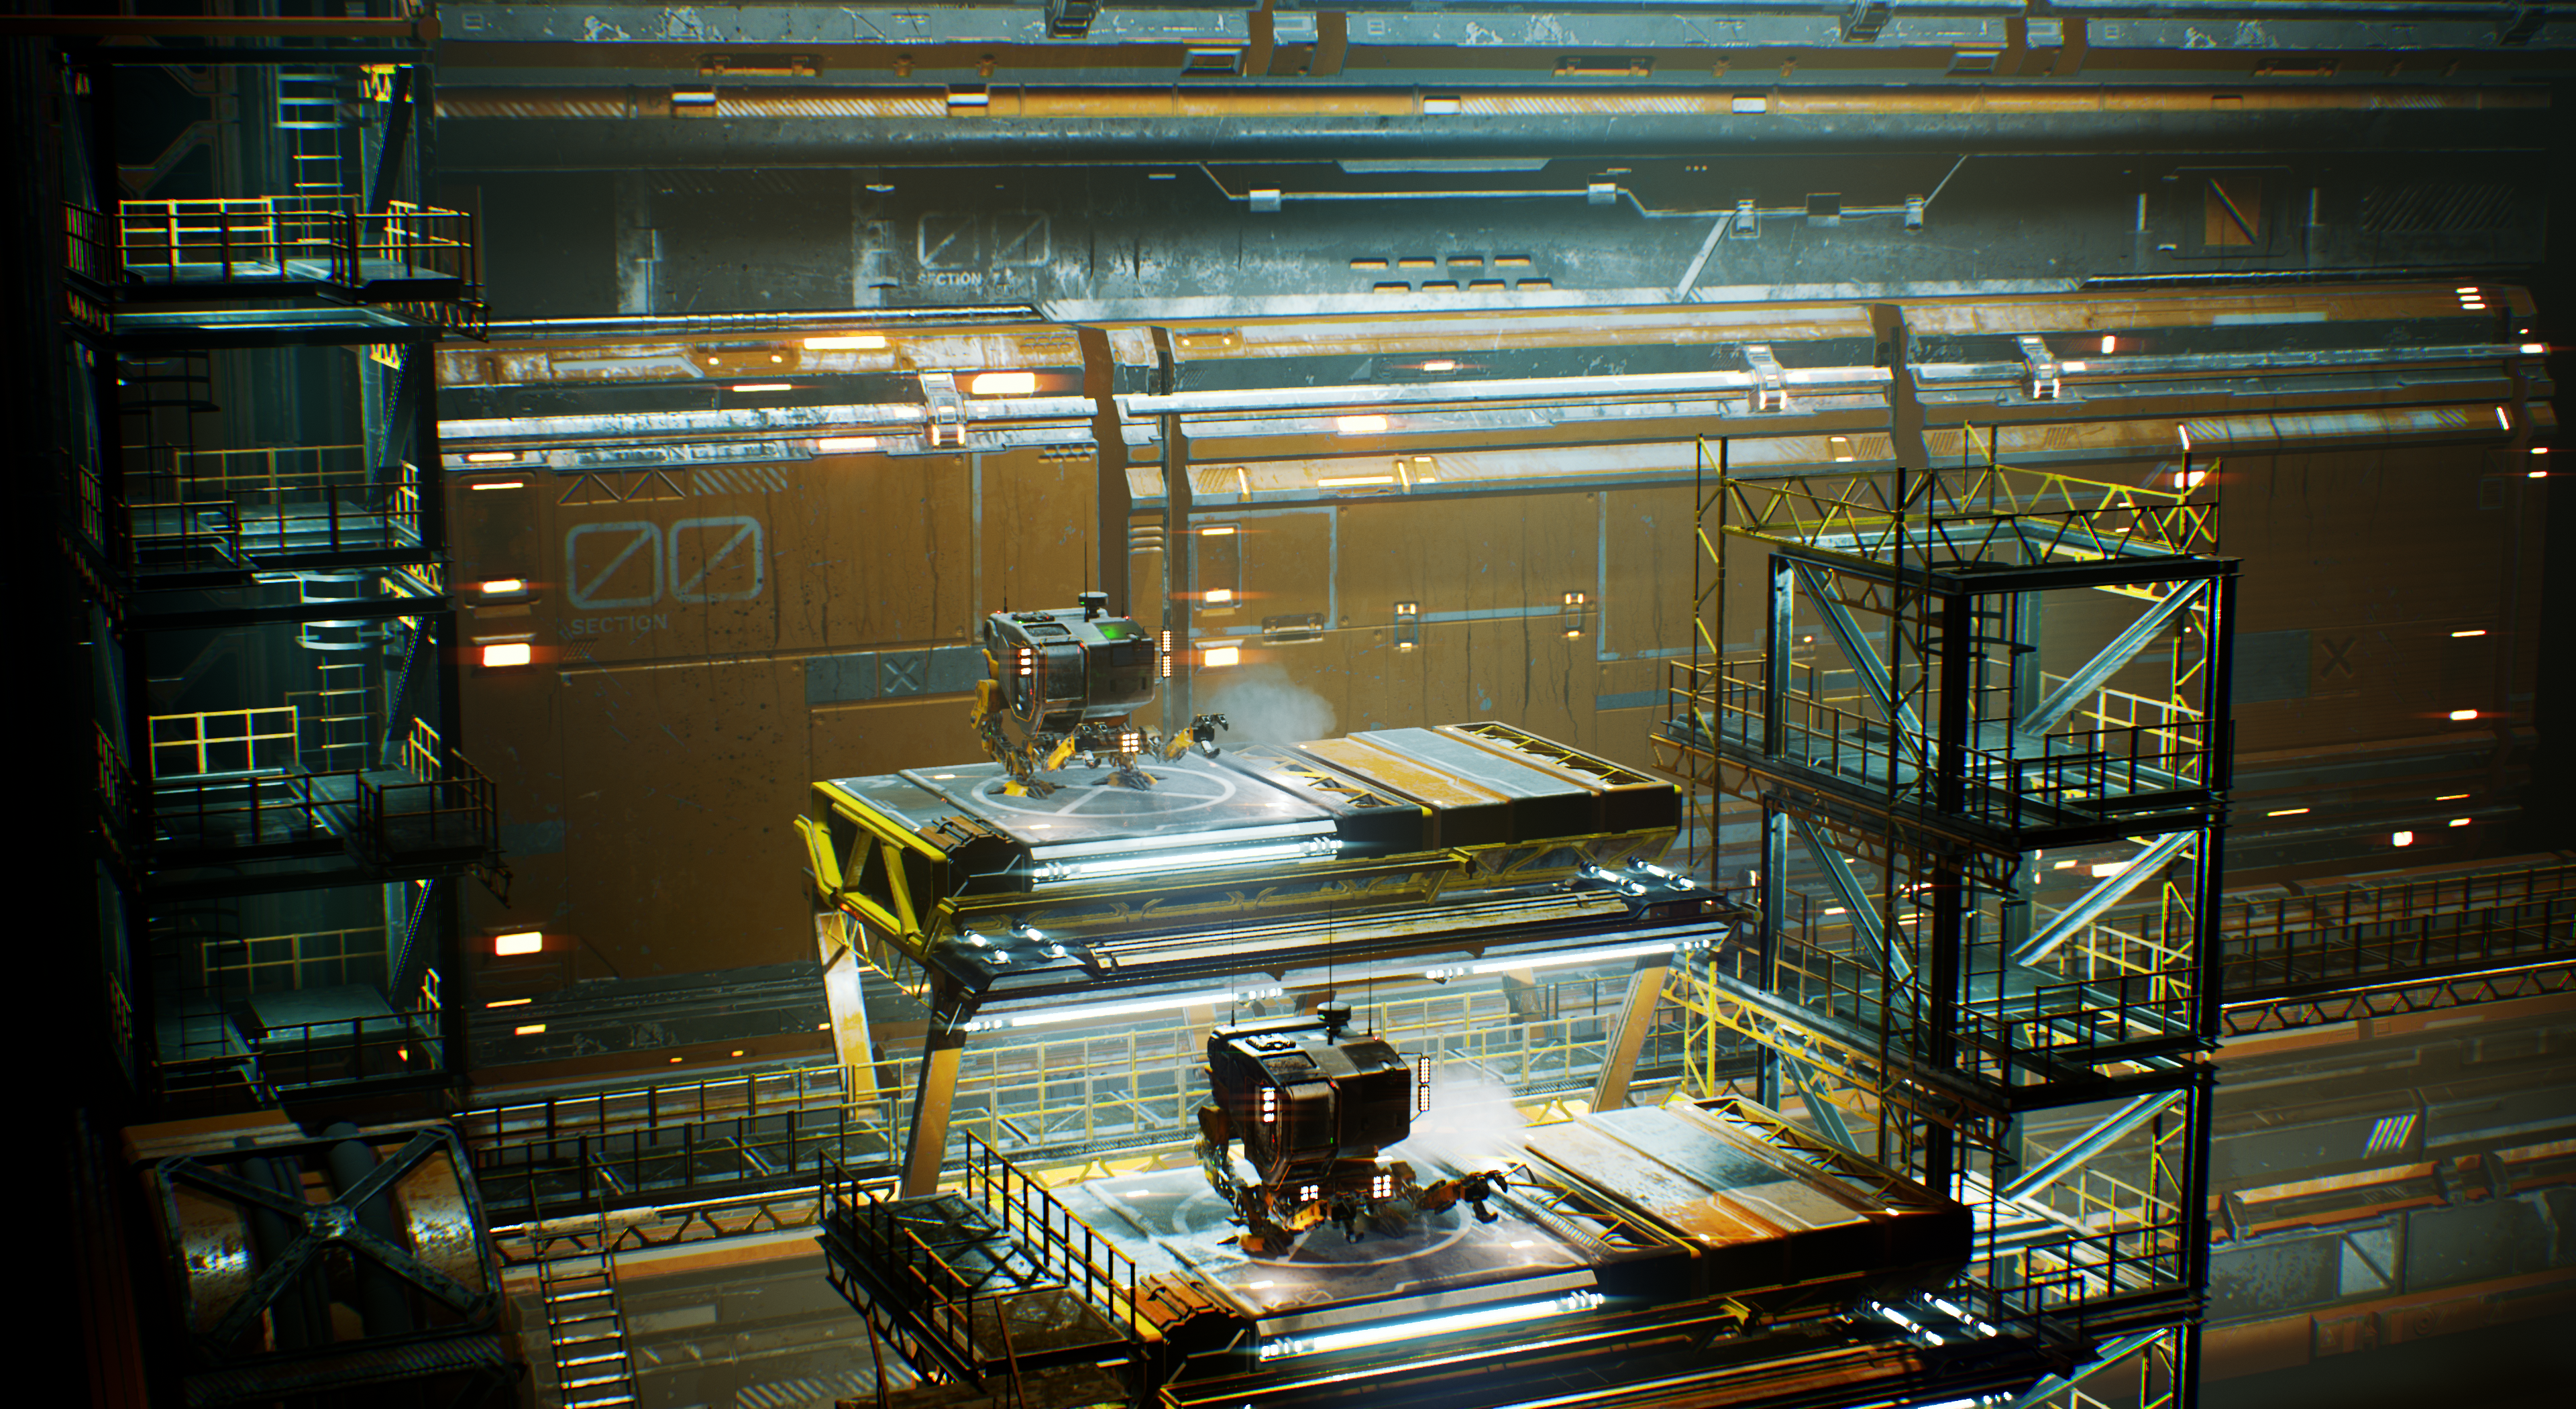
This hangar will be used in one scene of a short clip that I’m creating with a great Spanish artist and friend: Lobo. In that scene we’re gonna recreate a hangar to board meteorite mining vehicles. We were looking for something industrial and, at the same time, something with a massive scale, something big, really big. In this project, one of the main aims, a part of making the environment for the scene, was to improve my lighting, modeling and texturing skills, and take the challenge to create from scratch a giant space facility with the ability to board heavy-duty vehicles. This project was done using Blender for modeling, Substance Painter for texturing and Unreal Engine 4.26 for rendering.
Inspiration and References
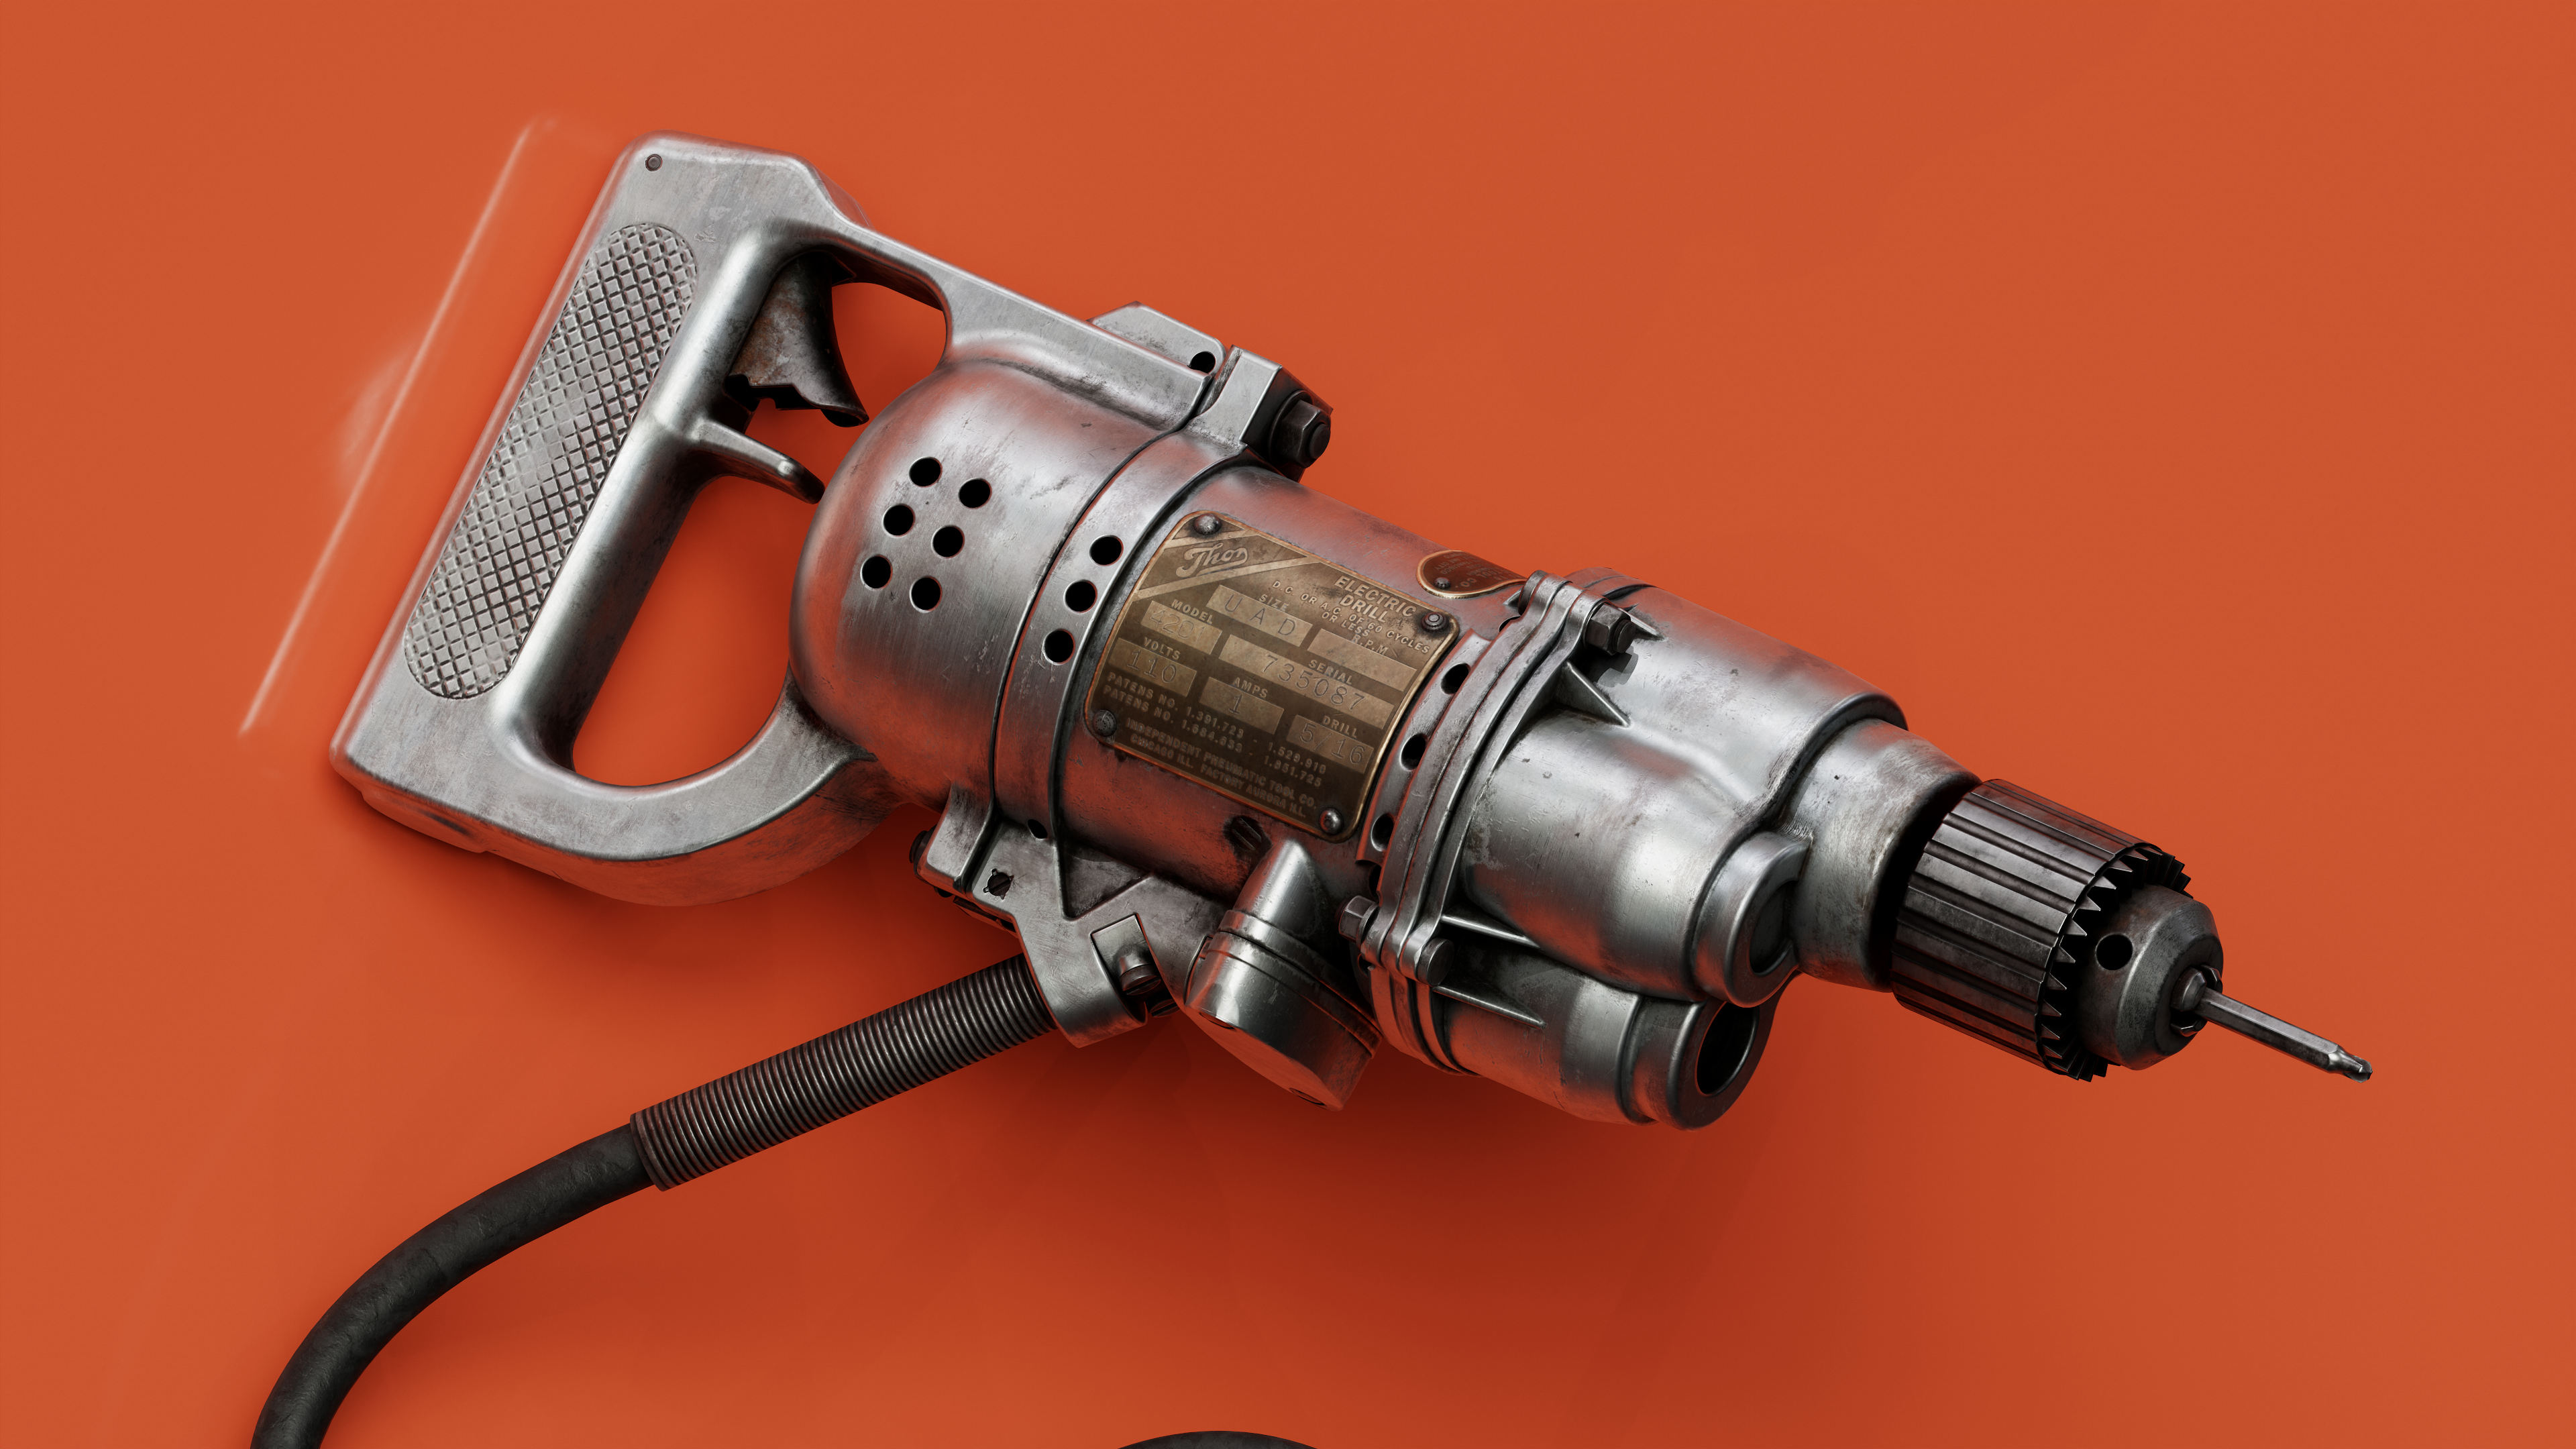
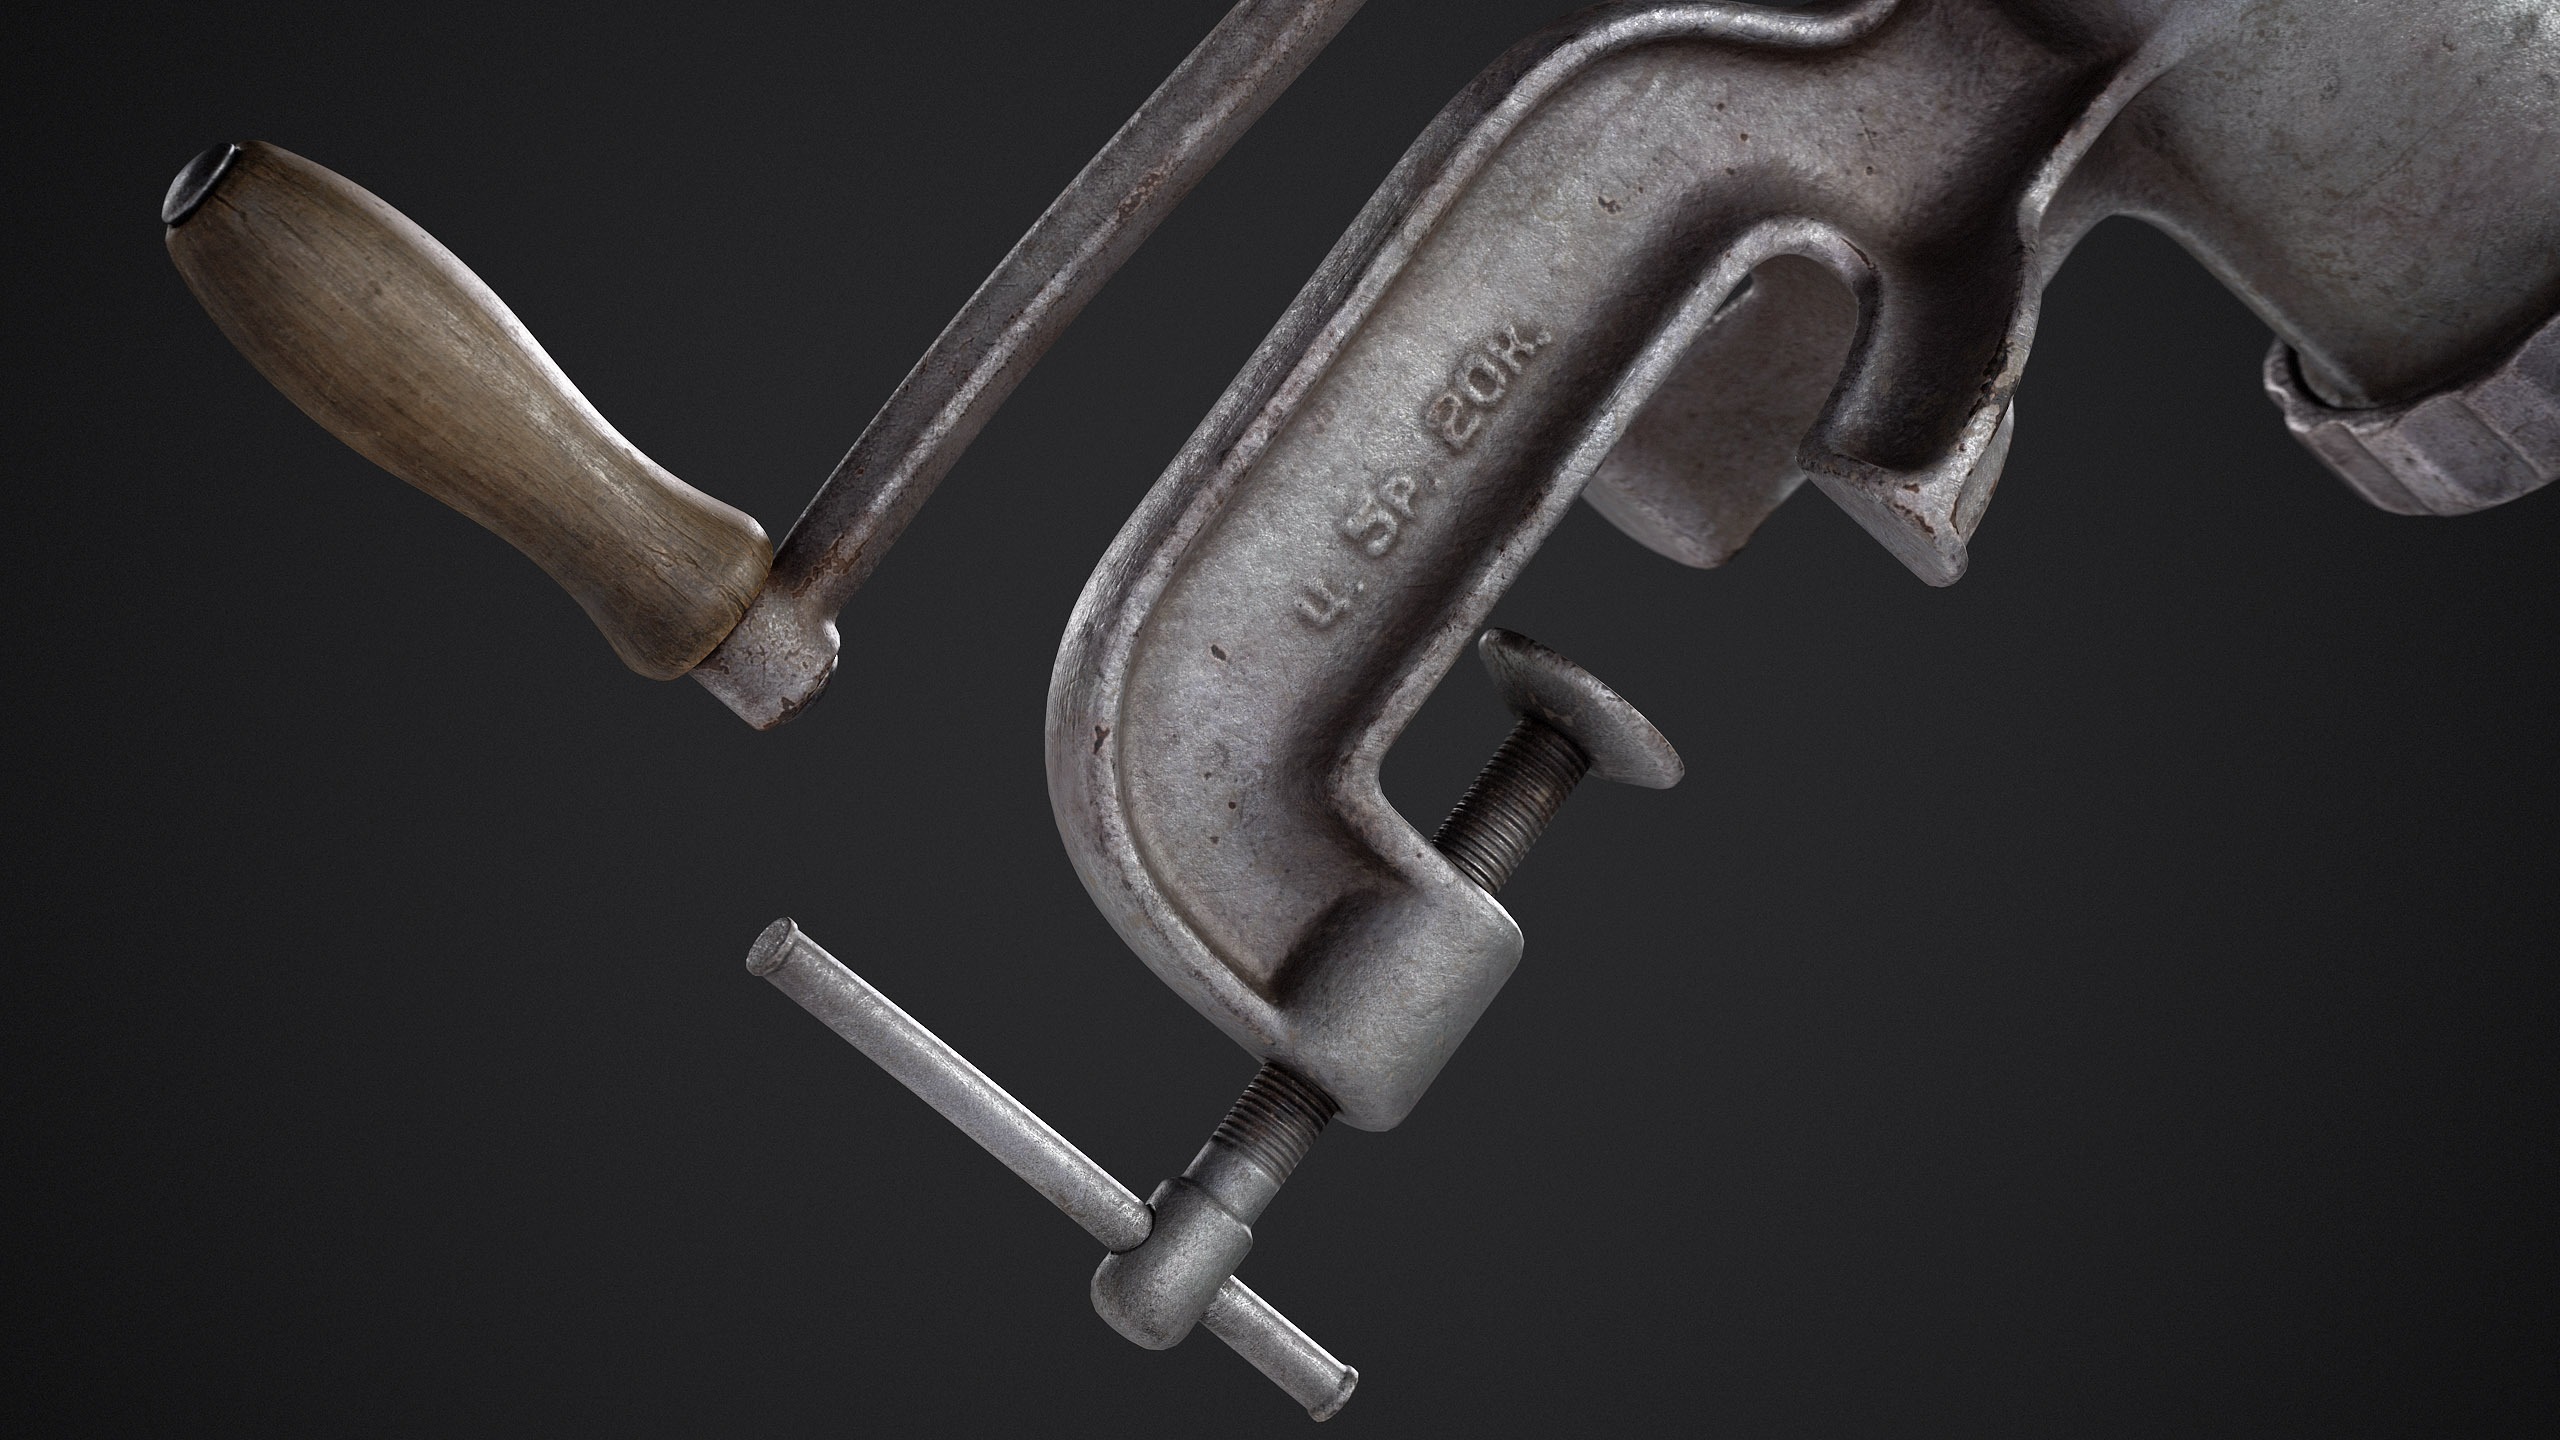
I’m always amazed by the design of the scenarios in video games like Halo, Doom, and Star Citizen, the last was trascendental in the inspiration and design of this hangar. Recollect references and find the proper images to have an idea of what we are looking at was a challenge, because we are searching for something industrial, rough like a Minery station, but something with a sober and simple design like a futuristic space station (space odyssey style). My first thought was search inside Artstation to have an idea of where did I want to go with the lighting and assets design, and of course I recopilated a specific images to study:

Blockout
In this stage the keyword is quick, I modeled inside blender a pile of modules in a faster way to start visualice the design that I want in the assets. With an idea of the scale and scheme, I started to create really quick props only using primitive meshes to capture faster my thoughts and the principal shapes that I wanted to achieve in the modules, always looking for a modularity function to have elements in the final design, to iterate the same props in different usages inside the hangar.


The Rover (Vehicle made by Lobo) was an important piece to define the colors, style and scale of the hangar, was the first asset created for the short clip, with that vehicle I had a make sense of the scale of the modules for the hangar:


Modelling and Unwrapping
After completing the block out and defining the distribution, scale and main shapes, I started modeling each asset, in this phase the modifiers that blender allows me were very helpful to create the assets reusing the existing ones, deforming and iterating those with nondestructive modifiers to obtain different new assets. I tried to keep a low poly count in those assets to drive a good performance in blender and UE.

The keyword here is reusable, from the first elements I built the rest, once I built a piece I looked for different variations of the same piece using modifiers, approaching the nondestructive modeling method.

Using the A asset to create the B,C,D and E assets, etc.
For example; in the previous image you can see how I used asset A to generate the next four assets: using modifiers I created the assets B, C, D and E, in this case, I played with the mirror and array modifiers to obtain these structures. And also I used some mesh parts of the earlier props to create new ones.
Using mesh parts of some of the assets to create new props.


Some interesting elements were made using the simple deform modifier, and curve modifier to capture a clean shape in a faster way.

Nondestructive modeling to create new props.
The base meshes were made with a clean topology to avoid shading and topo issues with the modifiers, and to take the maximum advantage of this modeling method. I made the unwrap inside blender, at this stage I worried about keeping a high texel density in the larger pieces. For that task some of them have their only unique UV set, and the less relevant pieces share the UV space with other pieces.

UV space distribution.
To obtain clean detailed results in the textures, I used the texel density addon to set a proper TD in the assets, I only use a 1 UV channel, because I realized a unique texture for each asset.
Below, Texel Density Checker Addon and Assets Texel Density overview.


Due to the amount of assets, I used the smart UV projection tool that blender has, to easily unwrap some props. With some corrections, I obtained proper UV’s to work it inside Substance Painter.
Gave everything a final UV check and the assets are ready to be imported in Substance Painter.

Assets assembly
The assembly process of the pieces was made in parallel with the asset creations, but I always looked for a completely symmetrical and orderly placed array, which’s very common in industrial factories. I assembled the modules in the function of a pleasant ordered view.


Once I had the UV’s ready to work, I started to manually create each texture set, because I was looking to design a unique industrial style, something sober but at the same time rough and I considered that this task couldn’t be done only using tileable textures.
The first stage was to configure Substance P. to match the default linear space color with the ACES space color appearance in UE, to this task I used a custom color LUT profile. I follow this tutorial of William Faucher, highly recommend it if you want to texture with a better idea of how you will see your assets in UE: https://youtu.be/Yu8wR4df0IE.
After setting up Substance Painter I started texturing. The first step was to design the more attractive elements; patterns and details, all of that irrupt directly into the spectator. I used the NOVA – 17 Detail Alpha pack of Shawnell Priester and JRO free sample HS alpha pack to realise the Height details, I put all of this in a layer dedicated just for those height details.
Below, HS Height details layer.

Those details didn’t put randomly, I always kept in mind the 70-30 rule or Primary, Secondary And Tertiary Shapes principle, for more details of this, I recommend seeing the video column of ArtofSoulburn:
https://youtu.be/6IojuePYIHo

Once I was satisfied with the details I started to create the base material for all of the assets, this is a smart material with the rough and damaging details generated procedurally. This material was specifically created to apply to all assets as a base paint layer, the complete layers, masks and other details used are in the following image:

This smart material has three main groups of layers; one that controls the Rough, the other controls the metal wear details and the last one sets the base color. I only used two or three colors in each asset, to keep a good color harmony. The result of this main paint layer it’s the following:
Below, Base paint layer overview.

When the base material was done, I started to add paint and color details like info decals, warning decals, etc. I added the wear and paint imperfections manually, erasing a little bit some parts in the paint, here it’s the group of layers of the paint details:
Like you realize, those layers are very simple, but the colors were carefully selected to match with the high contrast orange that covers 90% of the colors, the result is this:
Below, paint details layers overview.

And in the final pass I put a last rough manual imperfection details and the emissive lights:

The final layer setup with its complete paint layers looks like this, below.
The same process I followed in all assets.


Lighting
Without a proper understanding of how to drive the light functionality, it’s possible to lose a bunch of details and stuff that you want to show, that’s the reason for the keyword of this section; “Functional”. I used two groups of light; the functional lights; that’s the basic lights that the assets have like lamps and the detail lights, their function is to show extra shapes and details.
In this case, the hangar has a bunch of lights for two reasons: 1. In an industrial factory, it’s common to see too many lights to illuminate properly the job positions and 2. Because I was looking to condense the maximum quantity of details per frame.
Below are some examples of functional and detailed lights.

Before to past the assets inside Unreal Engine, I resolved to experiment with lighting inside Blender, using the EEVEE render engine. I initiated to set up the lighting where I need to show detail, and where the lights are supposed to be to illuminate the job positions or the light that companies some of the assets lamps, module lights and vehicles.
I used the volume scatter shader to obtain the atmospheric mood and the volumetric lights in the shoots. I always look for a Cold mood that it’s very common in sci-fi films. In this first lighting probe, I used point lights to show details and rect lights for the lamp lights.
Below are examples of Blender, render and world settings.

As you see, the points lights were accommodated to show interesting forms and shapes, and they were the main ones responsible to expose the cold mood.

With this “Sketch light” all was ready to pass into the Unreal engine.
Material setup in Unreal Engine
The master material it’s simple because I made all the textures inside SP, and each asset has a unique texture. This counts with exposed parameters to replace the texture sets according to the corresponding asset, and has the options to accommodate the rough, normal and emissive strength, also allows the possibility of turning on or off the lights that I incorporated in some props.
Below is an example of the master material with exposed parameters and instanced material example.
Also, the first module looks inside UE.


Lighting: Part 2
With an idea of the light that I want to achieve, I started setting up the lighting from scratch, for performance reasons and hardware limitations, I only used dynamic lights, to complement and improve the quality of the indirect lighting I used the SSGI (Global Illumination) feature and the mesh distance fields to obtain a better AO and shadowing results.
The first step was enclosing the module in a cube to start with a proper interior lighting process, also this helps to don’t disrupt the lights and image with the background generated for the exponential height fog used to the volumetric lighting.

Like I said before (Lighting part I) I made two group lights: the functional lights and the detail lights, the functional light group was the first place, then I put the detail light group. The setup of these lights it’s simple, I used only spot and rect lights with a huge radius distance, to generate soft shadows, to achieve a cold mood some of the functional lights have a soft blue color.
Below, an example of the complete lighting setup (Detail lighting).


In some lights, I disabled the cast shadow, the only purpose of this was to show extra details in some props or emphasize areas that I wanted to expose.
Below is an example of Cast shadows ON and OFF.


Once I placed all my light setup, as I mentioned before, I added an exponential height fog to add volumetric lighting and scatter distribution in the lights, the config in the EHF parameters are shown in the following image:


I used the global illumination (SSGI) feature of UE 4.26 to improve the lighting quality increasing the indirect lighting influence. You can enable it from the project settings or using the console command, I set up some parameters in the cmd console to obtain a better look.
To obtain more information about the impact and implementation of SSGI inside UE you can check it outthe official documentation:
https://docs.unrealengine.com/4.27/en-US/BuildingWorlds/LightingAndShadows/ScreenSpaceGlobalIllumination/
To increment the indirect light influence in some areas I used an importance light volume.
Post-Processing
In this part the keyword it’s “cold”, I was looking to obtain a deep image but at the same time something bluish to express a better feeling of sci-fi. In many films, it’s very common to see a cold image on the screen so I decided to play with the post-process volume to obtain the result that I was looking for. For this task I used a color LUT profile called Modern dystopian, I obtain that color profile from the amplify LUT pack on the UE marketplace, for more info check:
https://www.unrealengine.com/marketplace/en-US/product/amplify-lut-pack
Below are examples of the Color LUT Config and sat/contrast config.
To complement this color editing I play around with the saturation and contrast values to obtain a more intense cold image:


The cool horizontal lens can be generated using the bloom convolution method with a custom convolution kernel, in this case, I made a horizontal flare in Photoshop, and this is what I used as the convolution kernel. To control the intensity of the flares, you can play around with the advanced bloom settings. It was complemented with the default lens that the post-process volume offered. Here are the bloom config settings.
Below are images of the Custom and default convolution kernel differences.


The sharp finale image was obtained using a post-process material, I created this material following the Post process sharpening tutorial of Ervin Jesse, check his awesome tutorial here:
https://youtu.be/9EDVPcQsyzs
Below are images of the scene with applied sharpen post-process material enabled and disabled.


The sharp image was complemented with some exposure corrections and added a low chromatic aberration intensity to the image.
Decorative Decals
To dress the scene a little bit, I used some decorative decals (oil droplets and puddles) to try to capture a more industrial feeling. The materials were created following some of the Ben Cloward tutorials complemented with the M16 – Harvester Environment Design tutorial of Shawnell Priester. The image below is with decals added.

The shaders are actually quite easy and highly inspired by the functionality that Shawnell P. exposed in his breakdown tutorial.
Below are the materials of the decals puddle and droplet water.


With the decals placed, I used some spheres reflections capture to intensify the influence in the puddles and in the rough variations of the assets.

The reflections are not ray-traced and don’t generate a proper mirroring, but they work enough to create an illusion of a highly illuminated place because those reflections generate more information of light that helps to build the idea of a hangar that I want to show.
In the final polishing, I added some VFX effects like steam and particles ( that came with the starter content), just to complement the scene, the steam was added like the vapor that the pipes emit in the industrial places, this helps a lot in the hangar to make more credible the idea to situate the viewer in an industrial place.
Final thoughts
The hard part was to make a proper visual design that allows the spectator to stay astonished with the scale of what he is seeing, but at the same time don’t lose him with a bunch of noisy details, always it’s important to have clear the fundamentals of design. I considered that the hangar achieved a proper and credible industrial mood, but of course, this project is still in development, the set dressing part must be polished, adding more props and different vehicle variations. In my Artstation post, you can see other
different lighting combinations and experiments with some shots that I made, feel free to check it out.
Dear reader, thanks for taking your time reading this article, I hope that has been to your liking. This is a work in progress like I mentioned before but the rest of the assets will be created with the same principles and workflow exposed here, maybe I forgot some details or maybe I explained some topics in a very general way, but feel free to write me in Artstation, or email me ([email protected]) if you want to know more about this specific project, and of course, if you have any constructive feedback to me.
Special thanks to GamesArtist UK to guide me in this interview and of course for giving me the opportunity to share with you this breakdown, also many thanks to my partner Lobo (Check out his awesome work:
https://www.artstation.com/lobo3dworld for providing me with the awesome Rover vehicle that you saw in the scene. Want to know more about this specific project, and of course if you have any constructive feedback for me.
Read more articles
You might also like these articles.