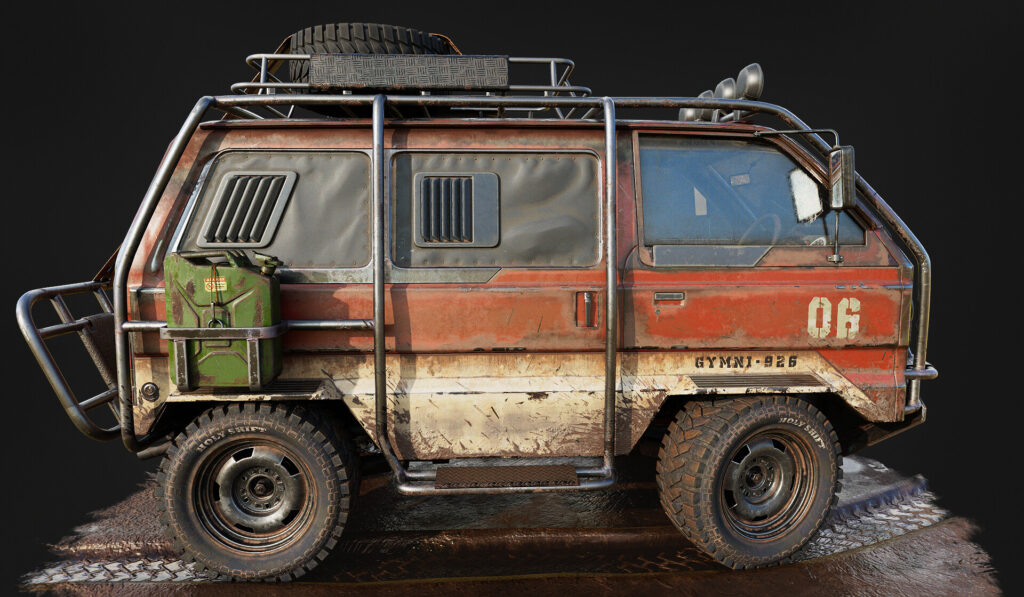
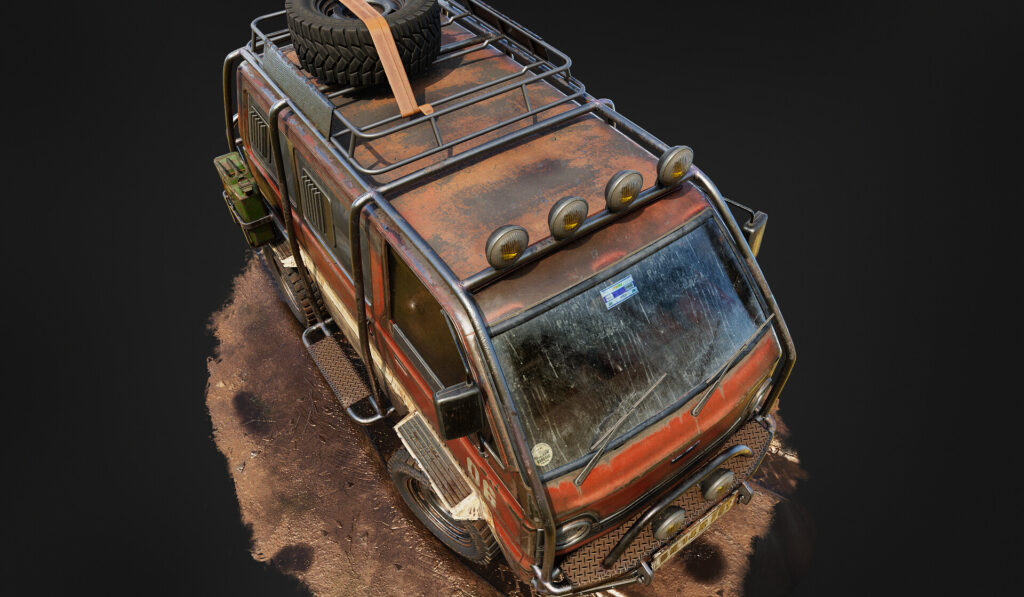
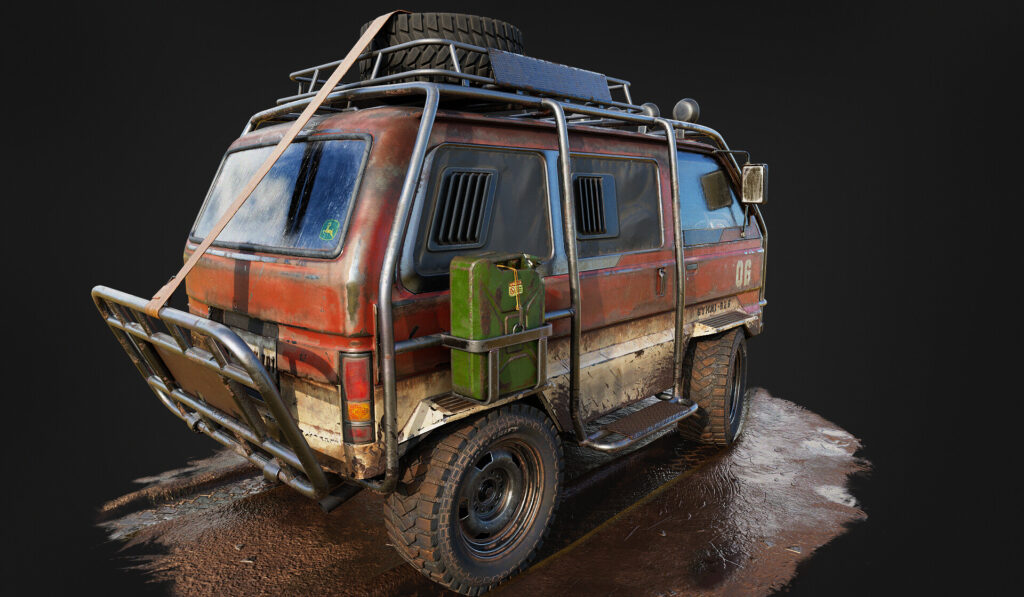
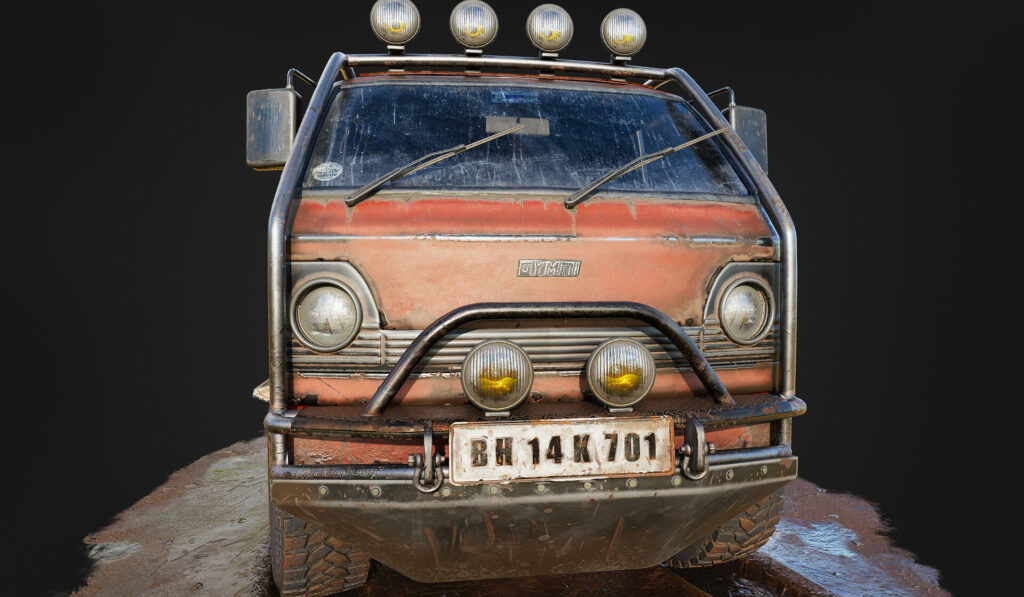
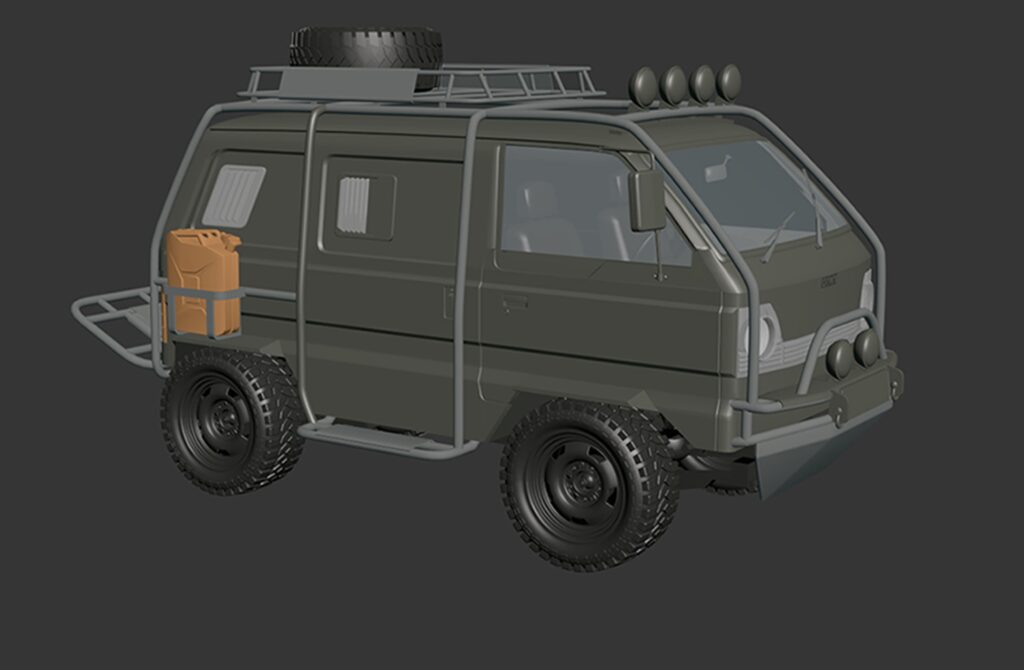
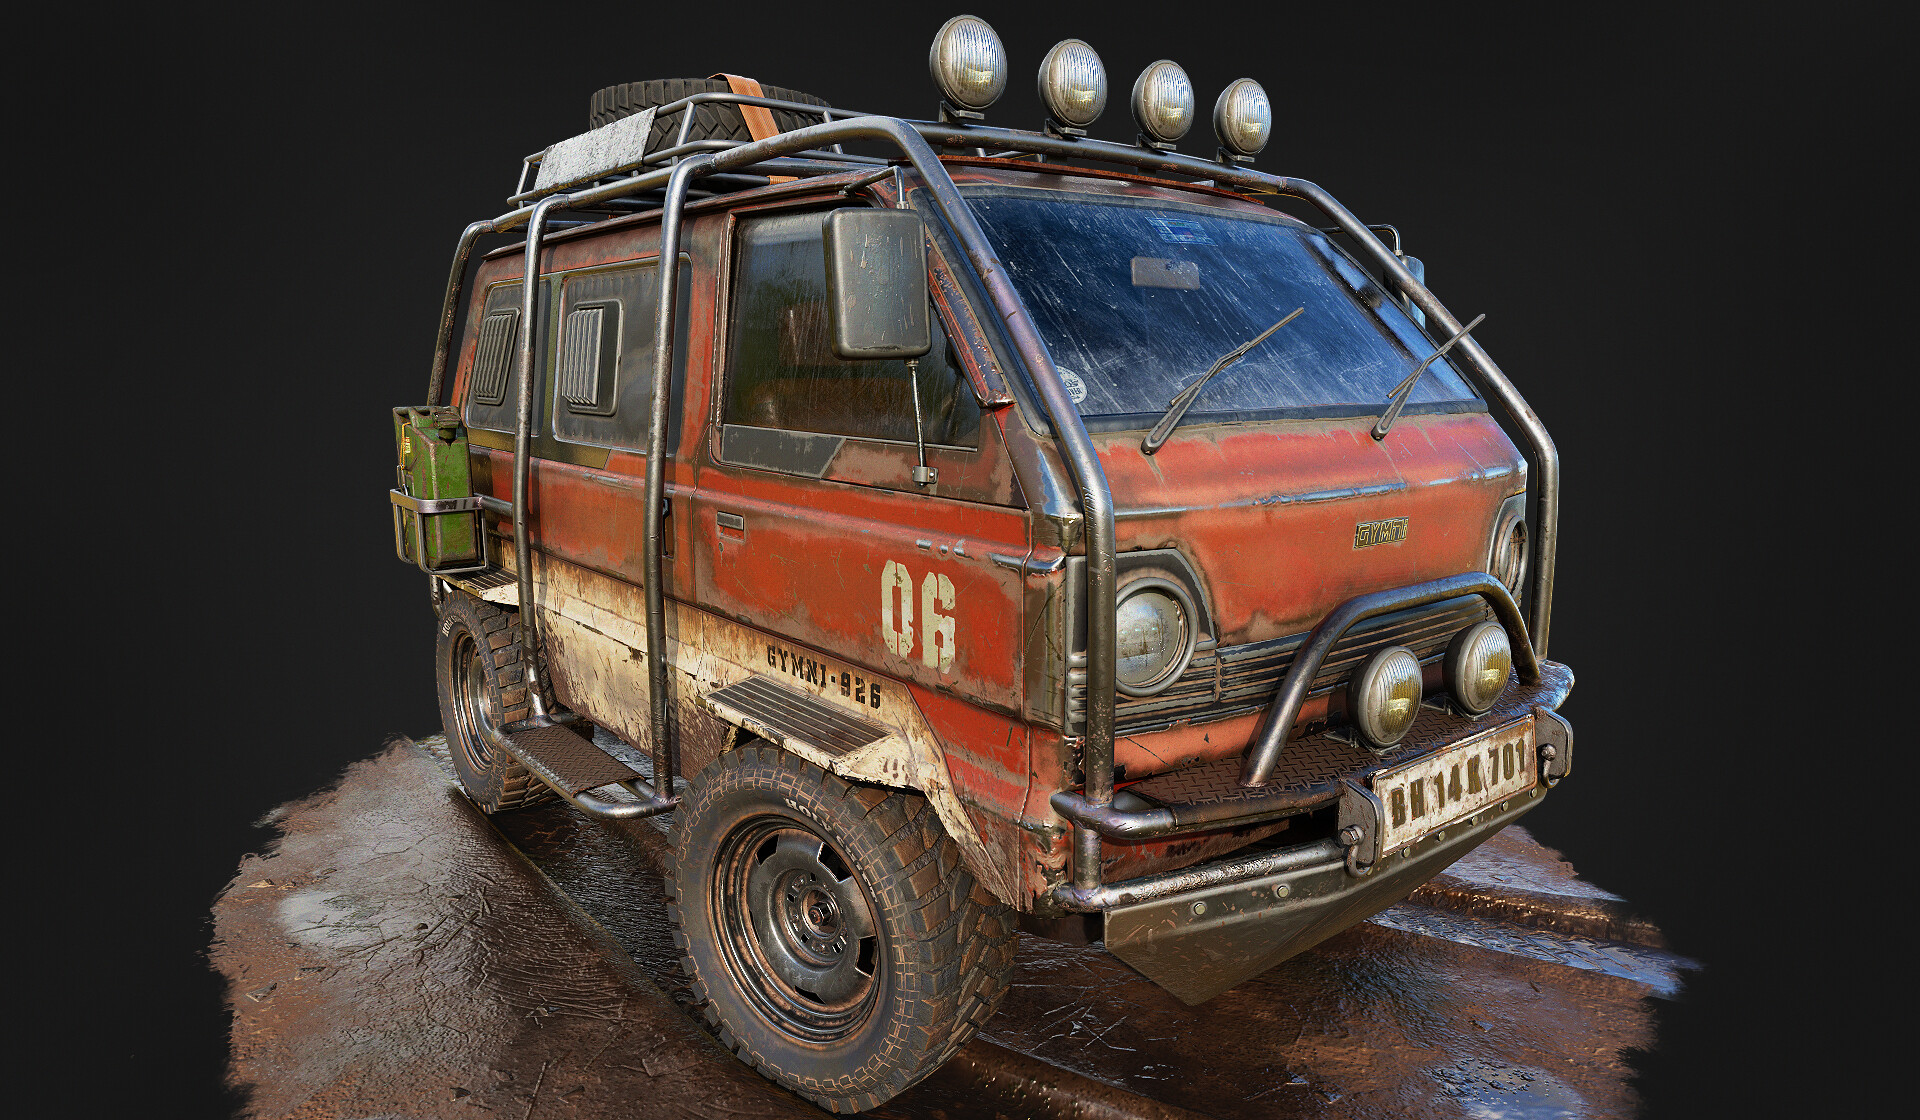
GYMNI

Introduction
Hello! My name is Ketan Kale. I'm a 3D Artist currently working at Ubisoft Entertainment India Pvt. Ltd.
Inspiration
I have a great interest in vehicles, especially customized ones.
Software
- PureRef: To compile all sources onto a single page.
- 3Ds Max: For modeling the highpoly, lowpoly and UVs.
- Substance 3D Painter: For baking all maps and renders.
References
First of all, of course, you need to have good references.
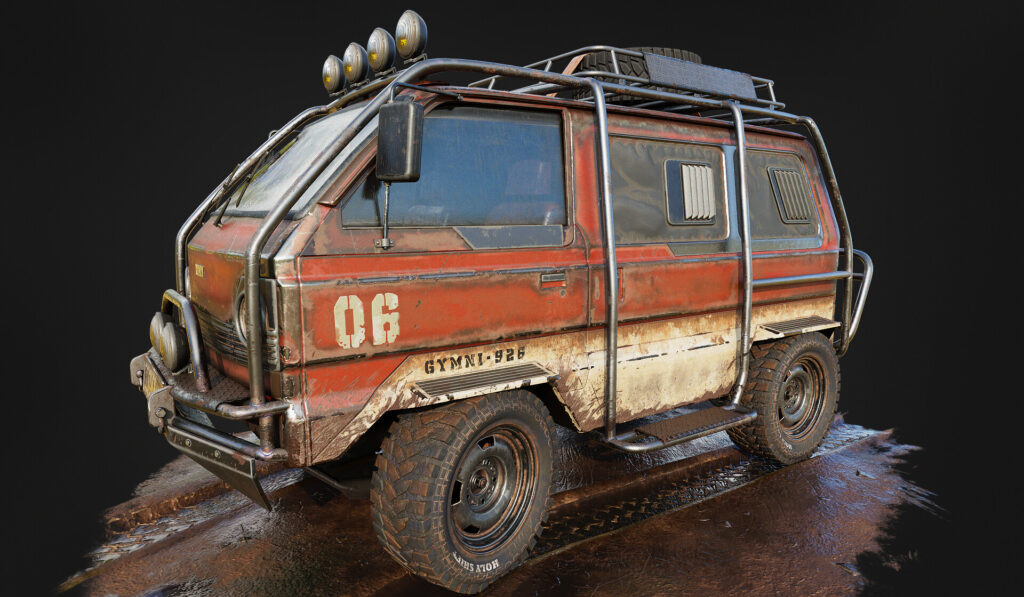
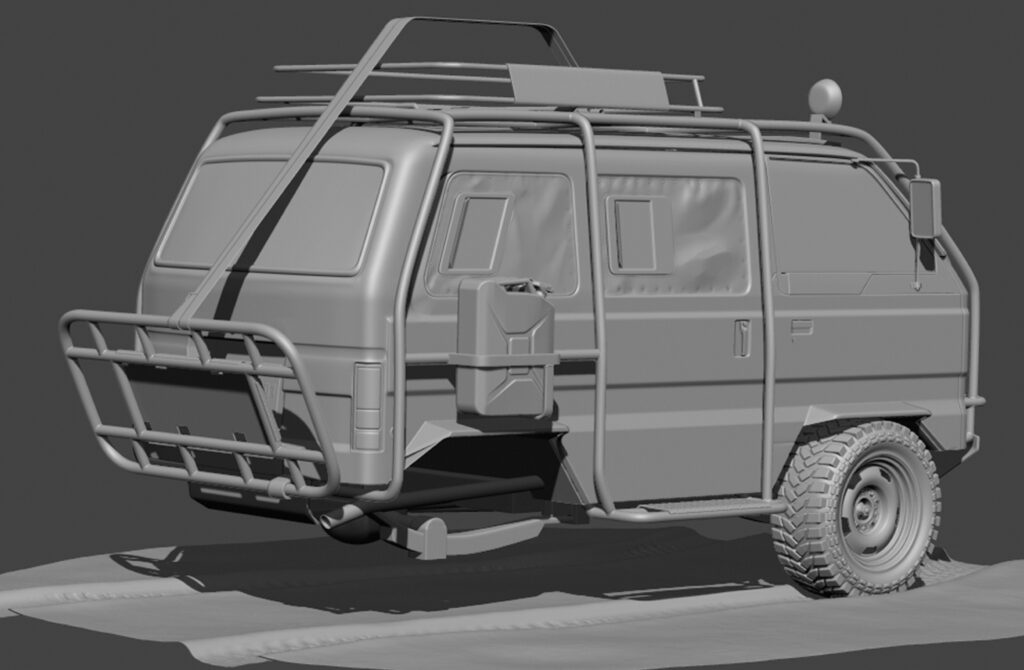
I chose this as the main reference for the vehicle because I like the rugged look and the huge roll cage to protect the car.
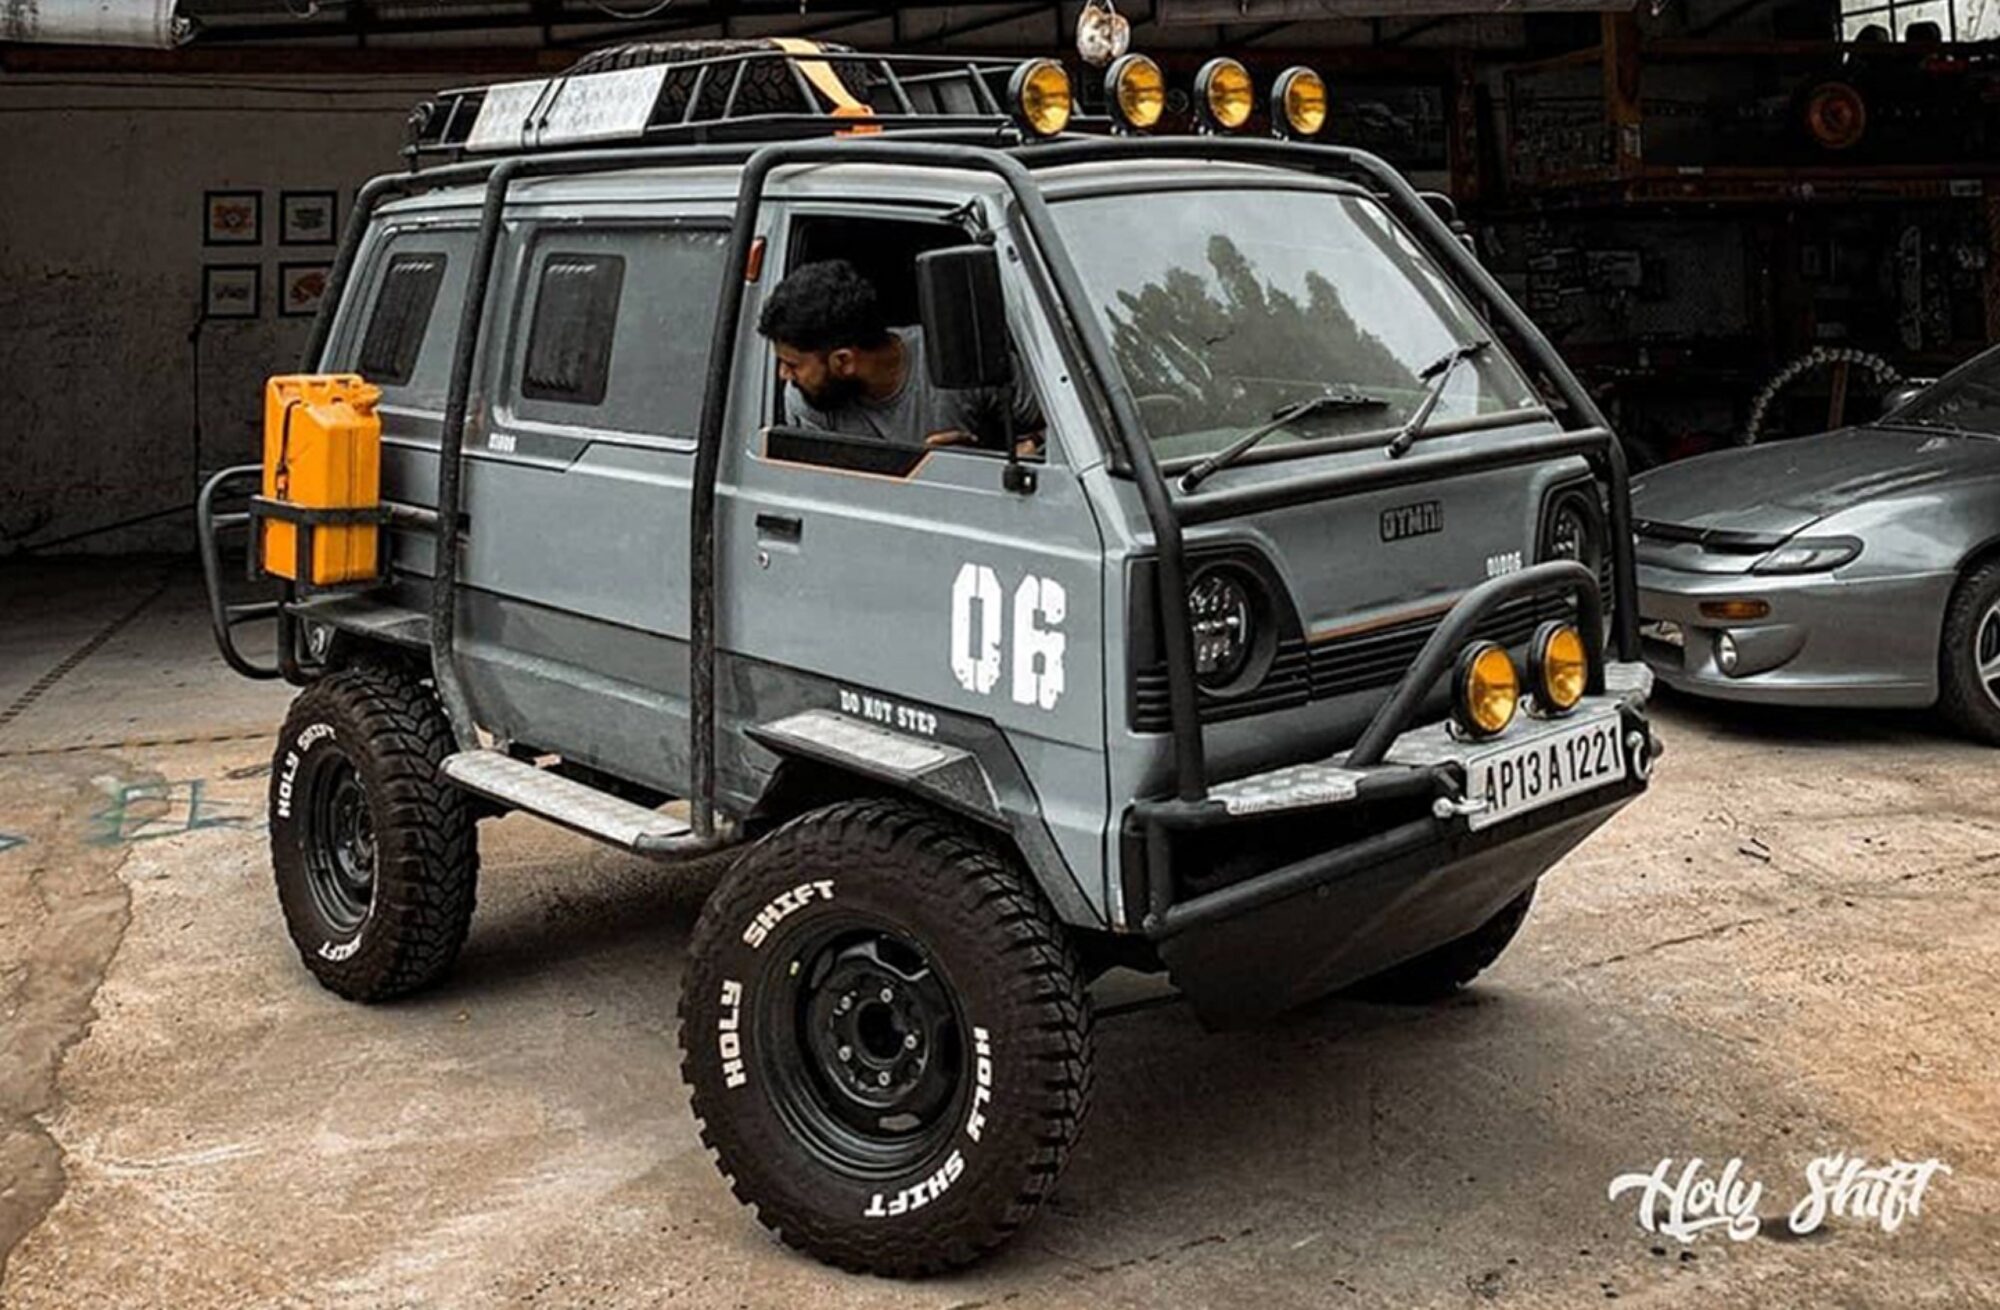
The modified Maruti Omni sources several parts and components from the Maruti Suzuki Gypsy, which leads to the combination of the Gypsy and Omni nomenclatures.
So it’s called a GYMNI.
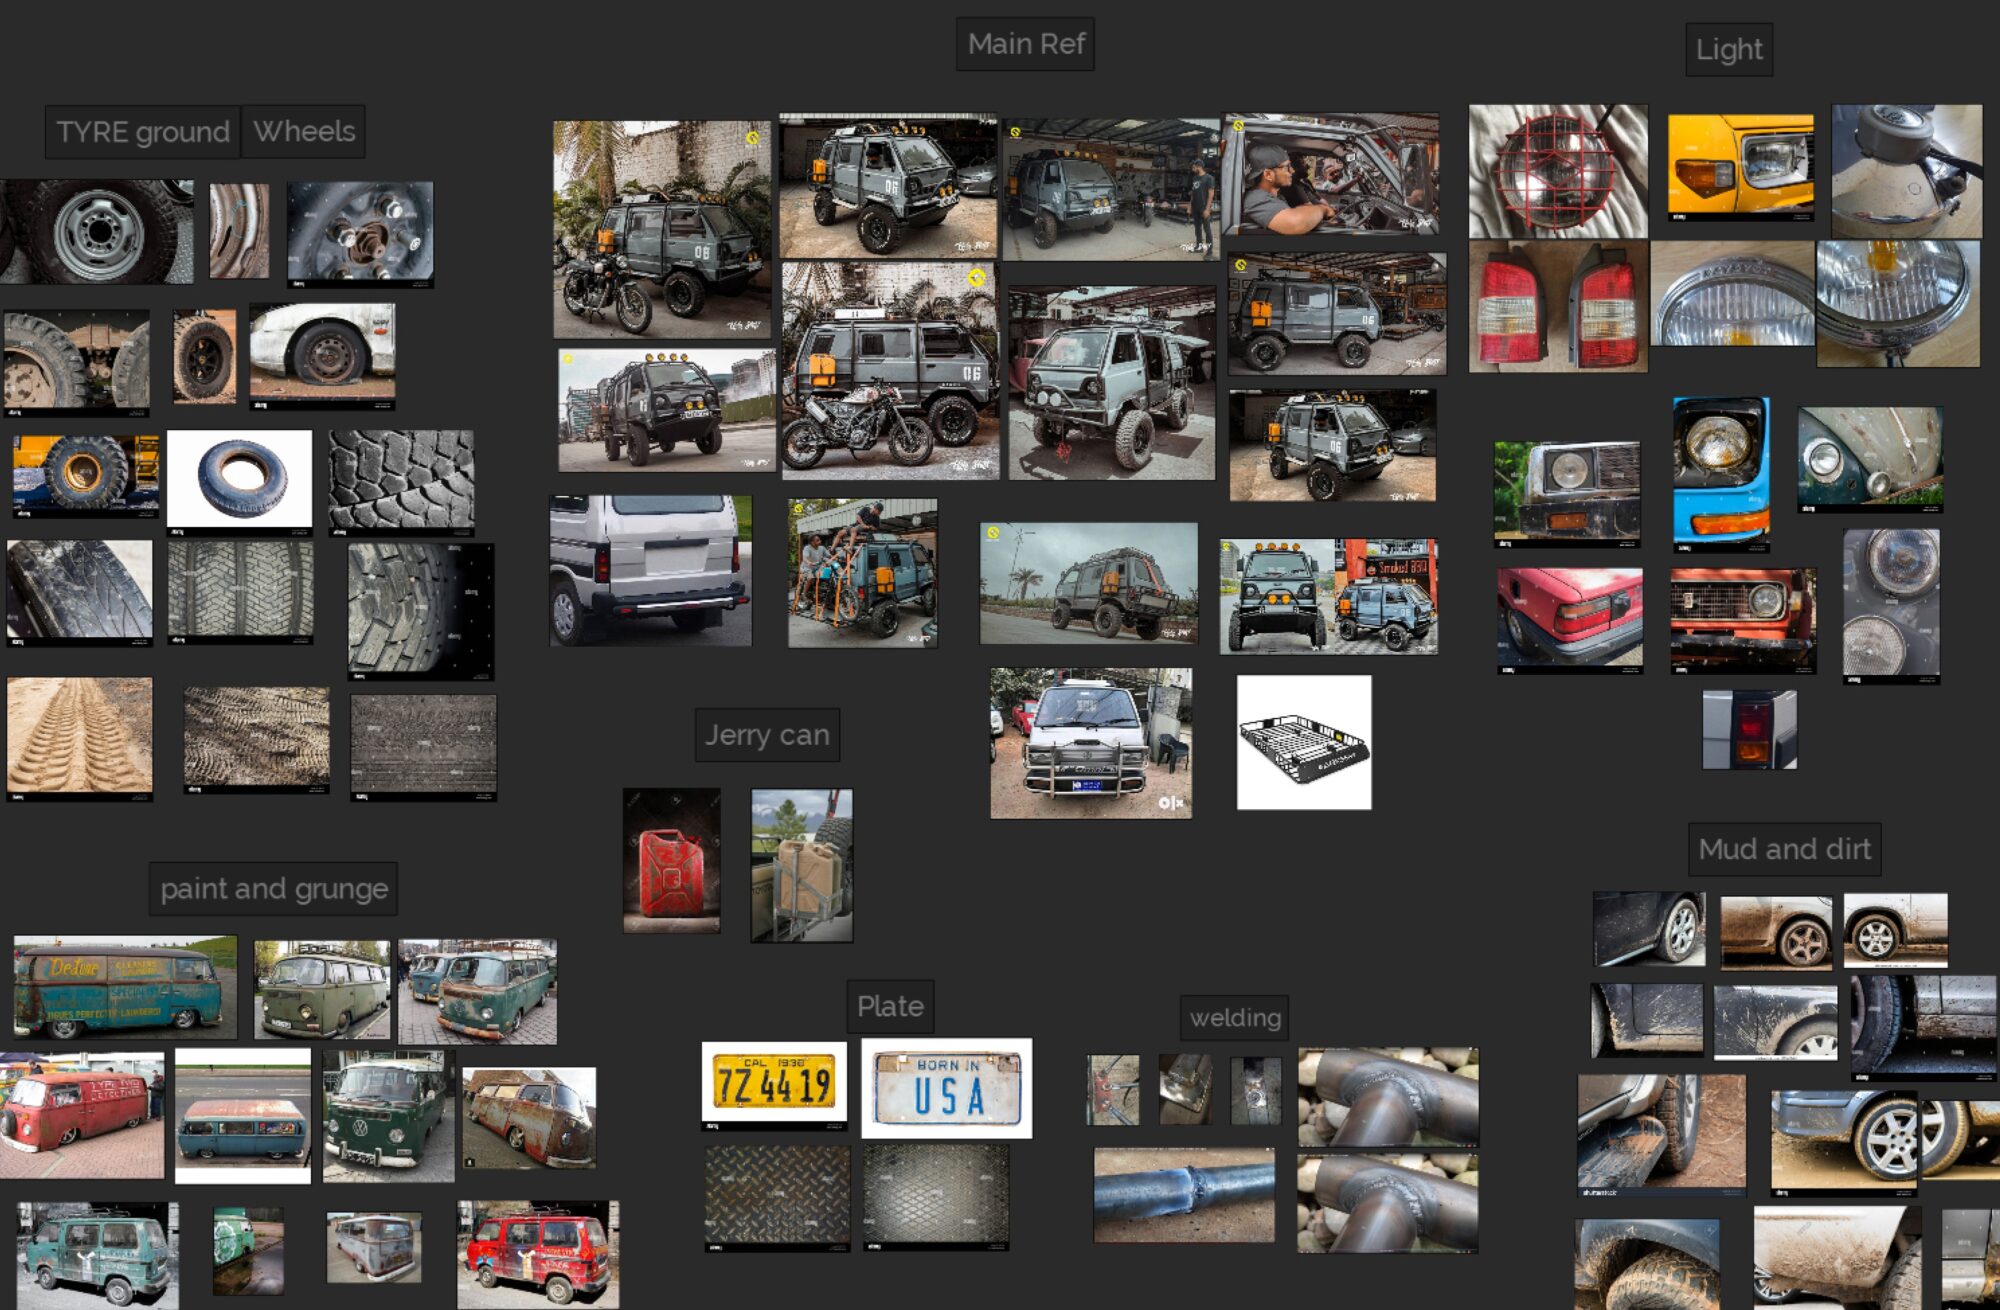
I started collecting relevant references. I also looked for references of what people typically put on their off-road vehicles.
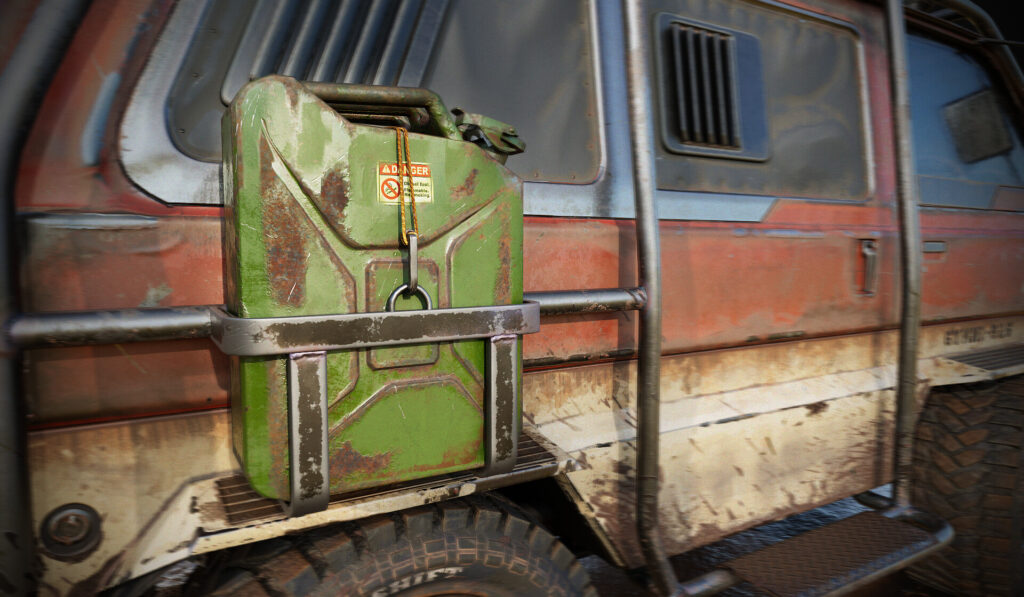
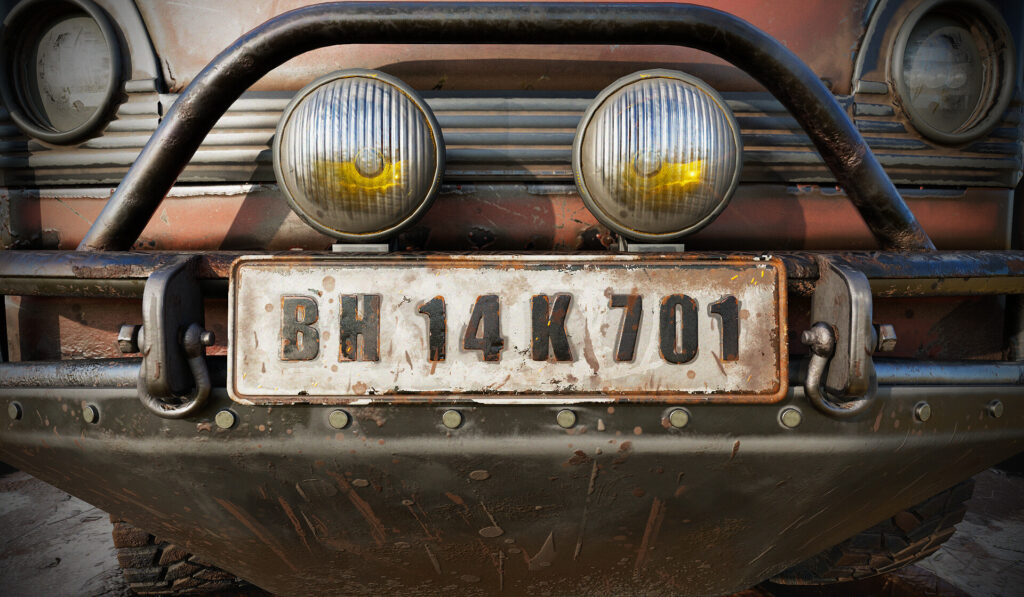
For example, Jerry can, rooftop lights, LED headlights, and a huge roll cage around the car.
Modelling
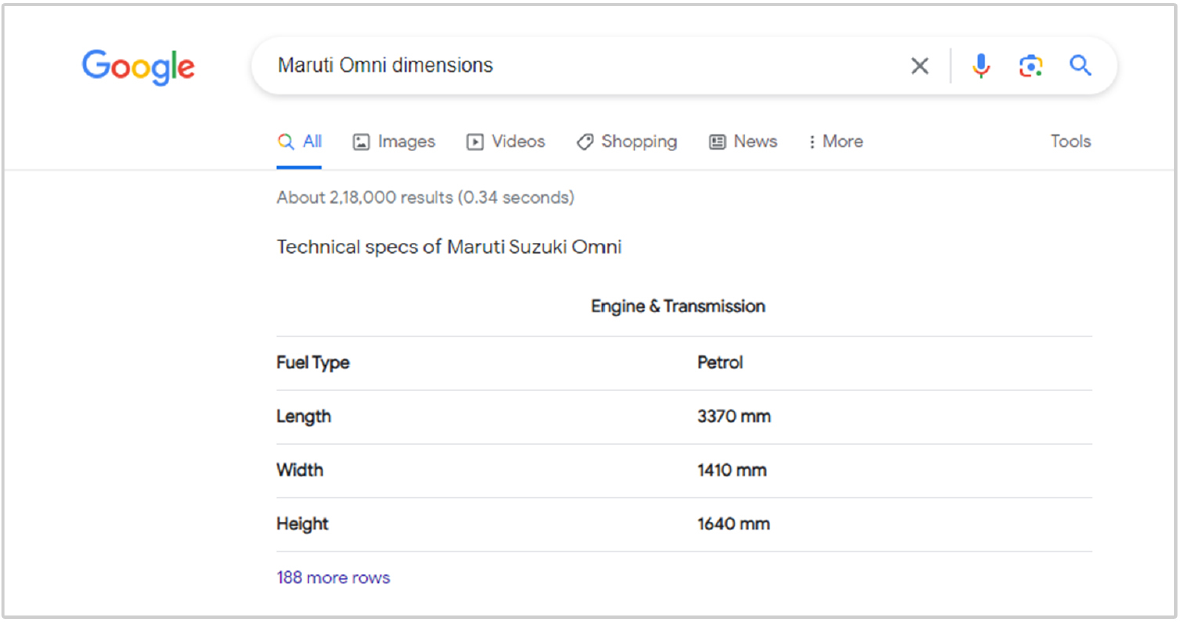
Proportion is the most important thing in modeling, so I follow the dimensions of the original vehicle.
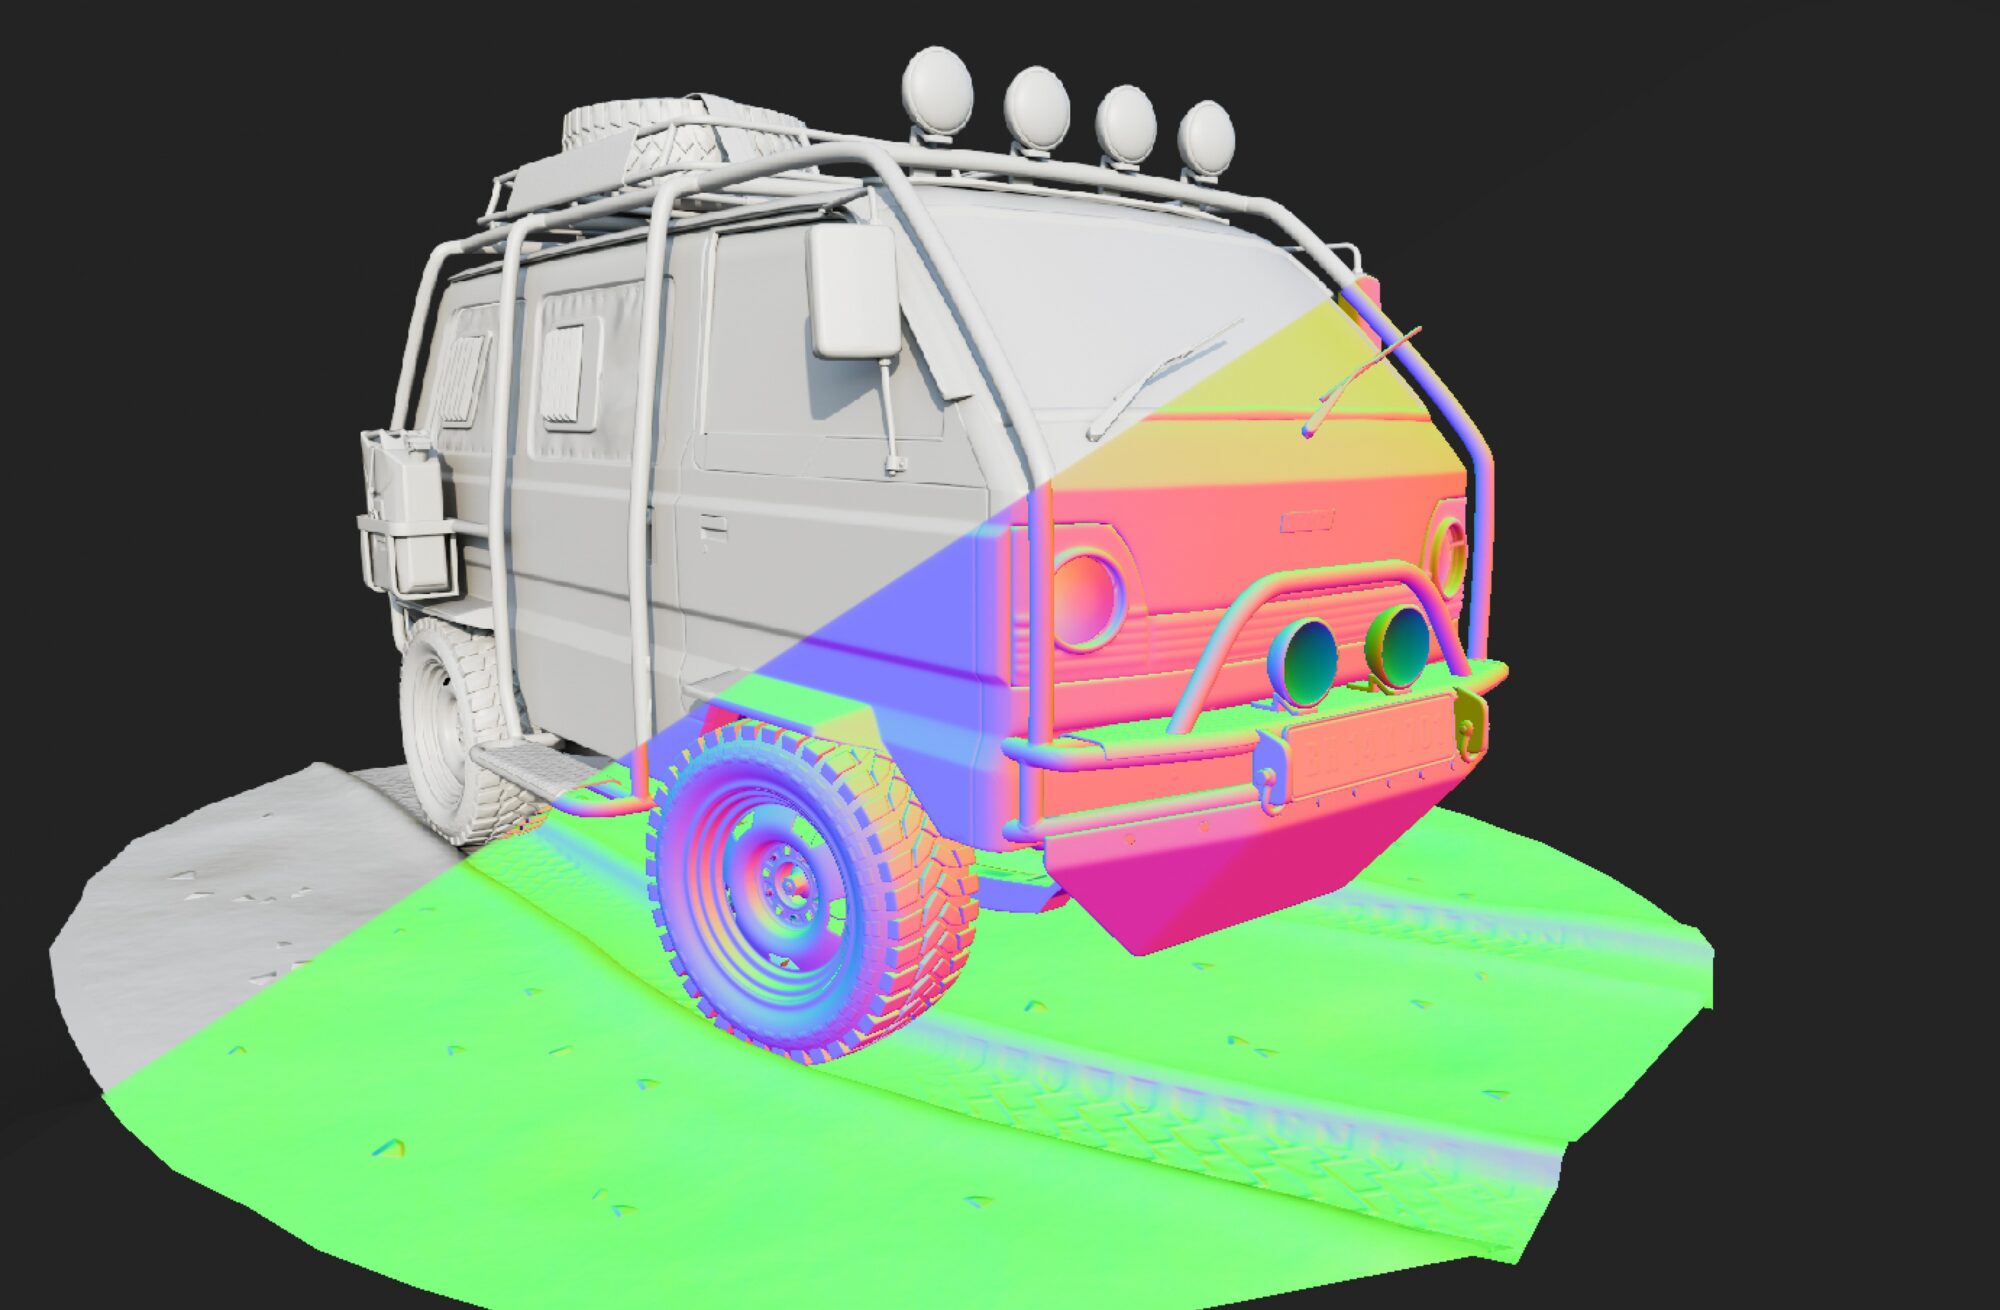
I simply model the base shape, divisions and some details using various techniques.
I added all the elements in the reference, sometimes to make your asset appear more alluring you exaggerate some of the forms.
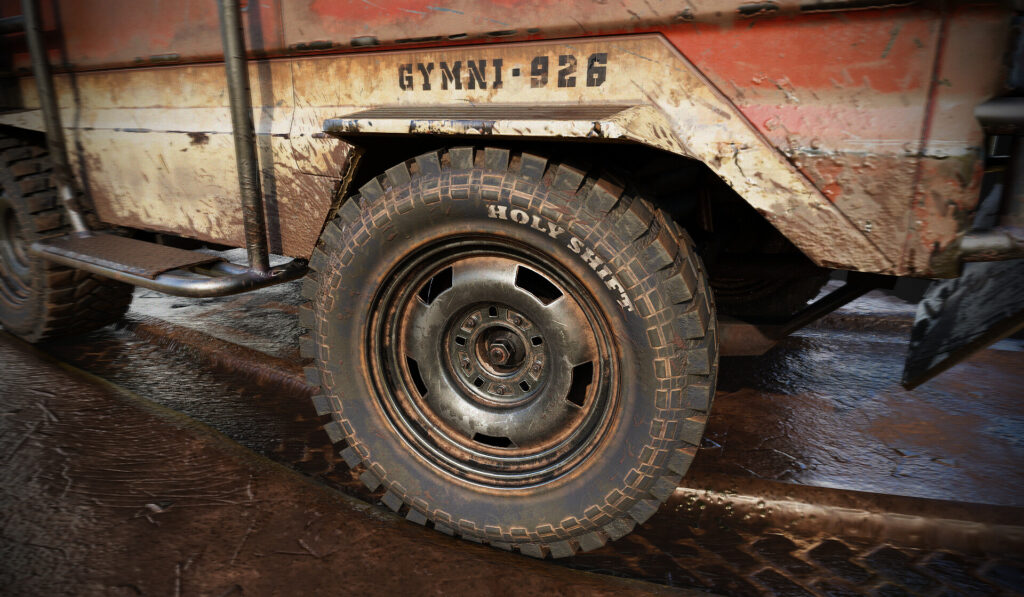
I decided to increase the width of the tires.
Highpoly
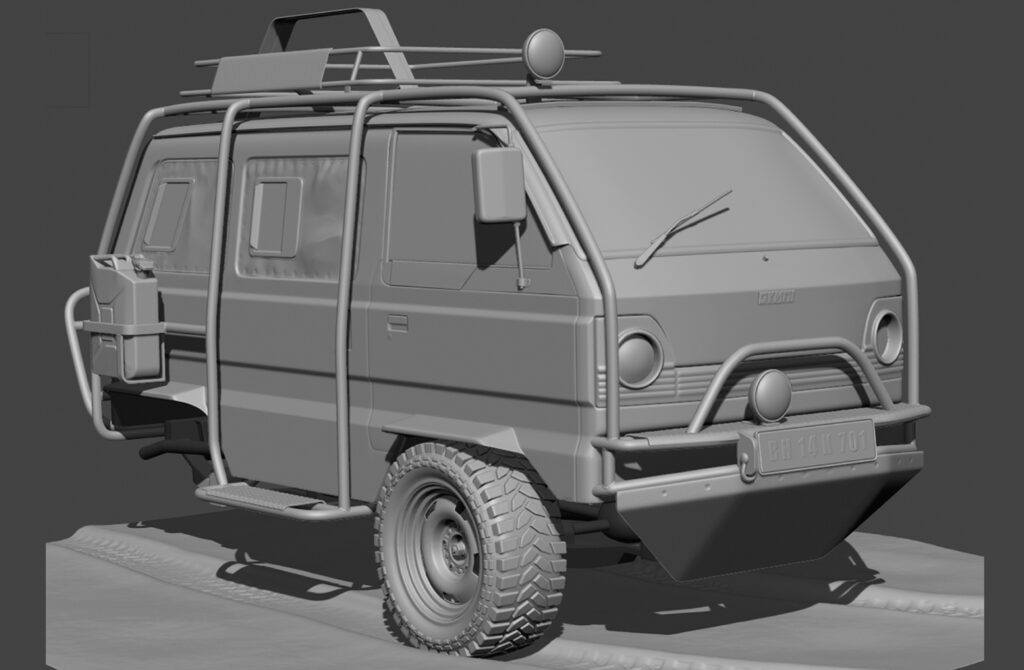
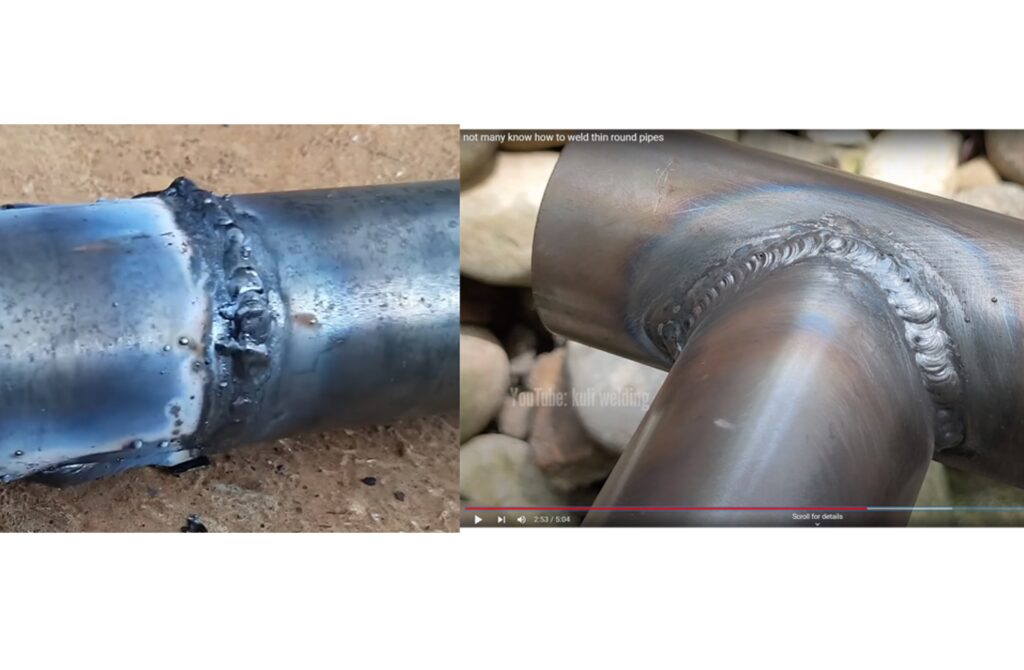
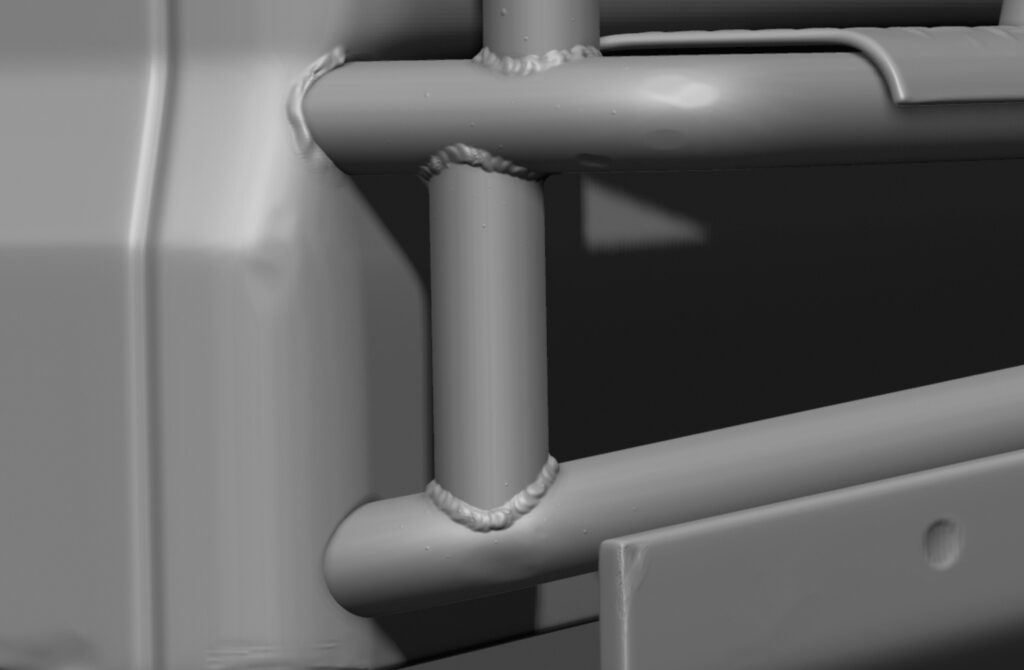
I import all unique meshes into ZBrush apply subdivisions, and add details like folds, dents, and bolt impressions.
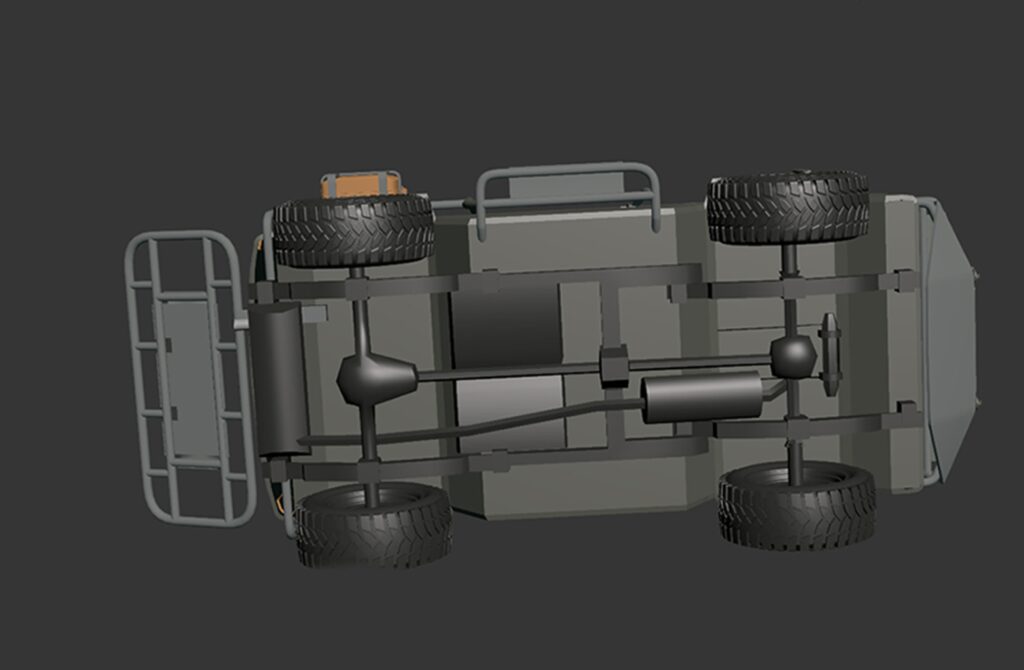
When feasible, I attempt to conserve as much UV space and modeling time as possible via mirroring.
In ZBrush, I work only on unique elements. I reuse the tire, wiper blade, mirror, seats, headlights, and handles.
In-Game mesh
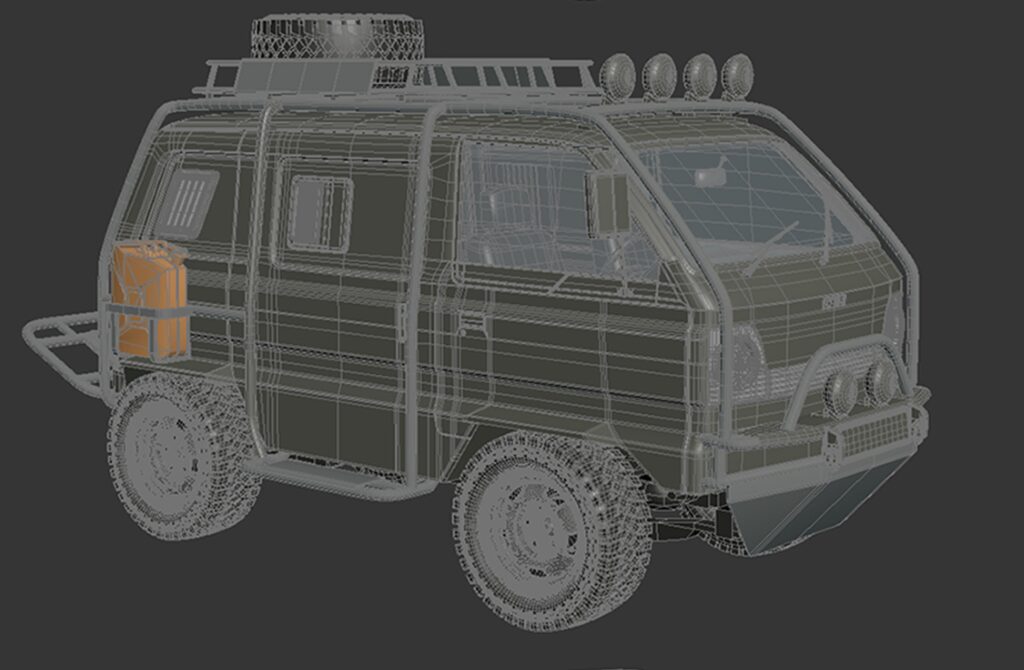
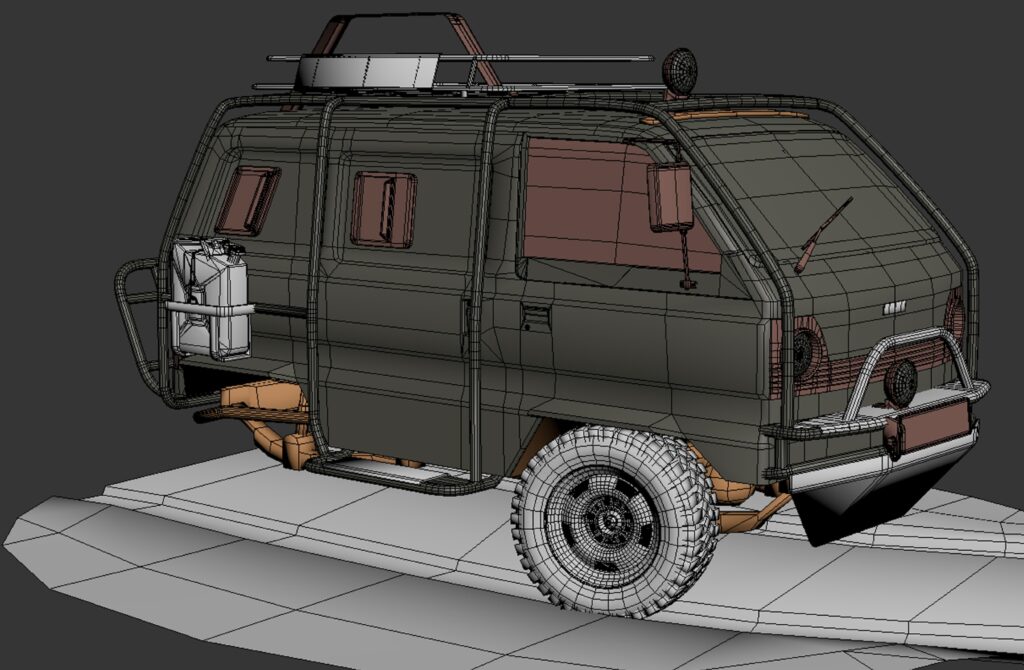
Once I’m done with Highpoly in ZBrush, I start working on the low poly model. For some elements, I use the decimated version.
I always avoid long triangles and pentagon-hexagon shapes in the low poly mesh.
UV Unwrapping
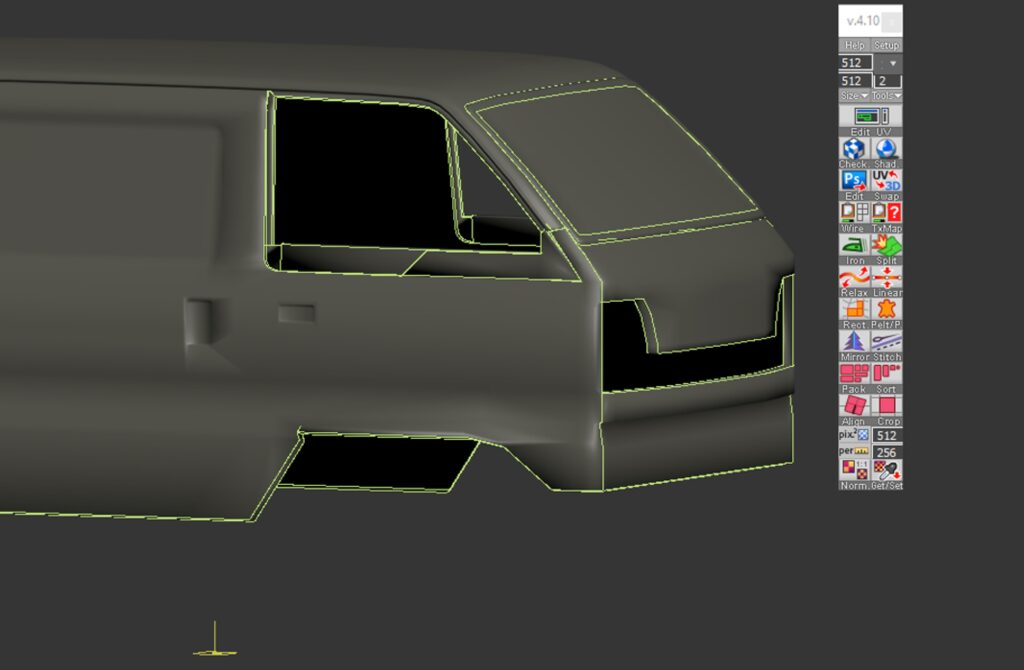
Unwrapping requires a little extra attention because it affects the texture quality.
I use the Tex tool 4.10 in 3ds Max.
Baking
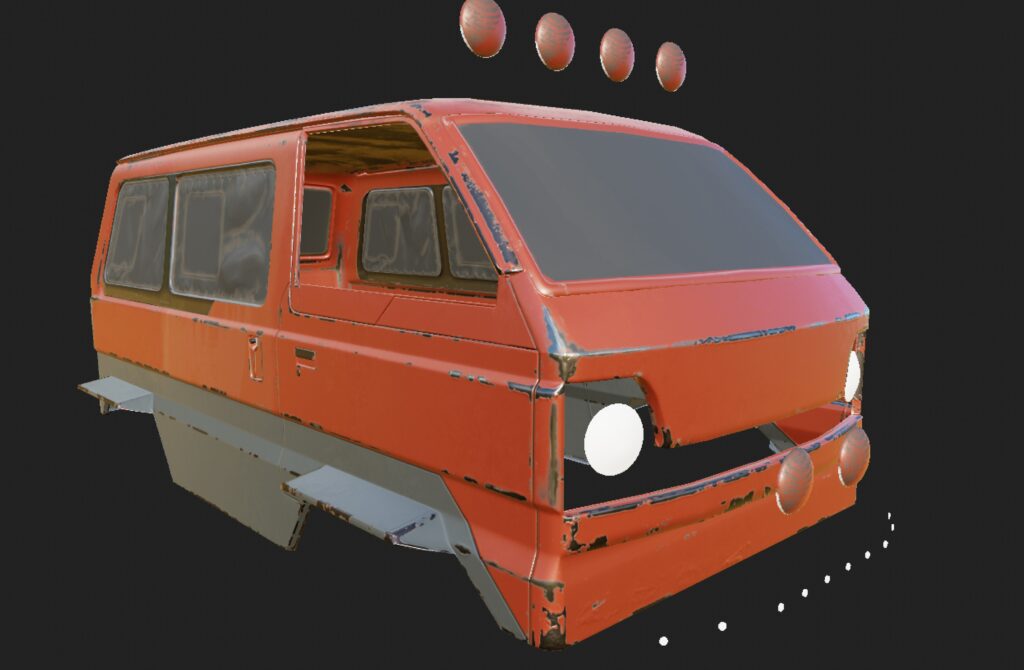
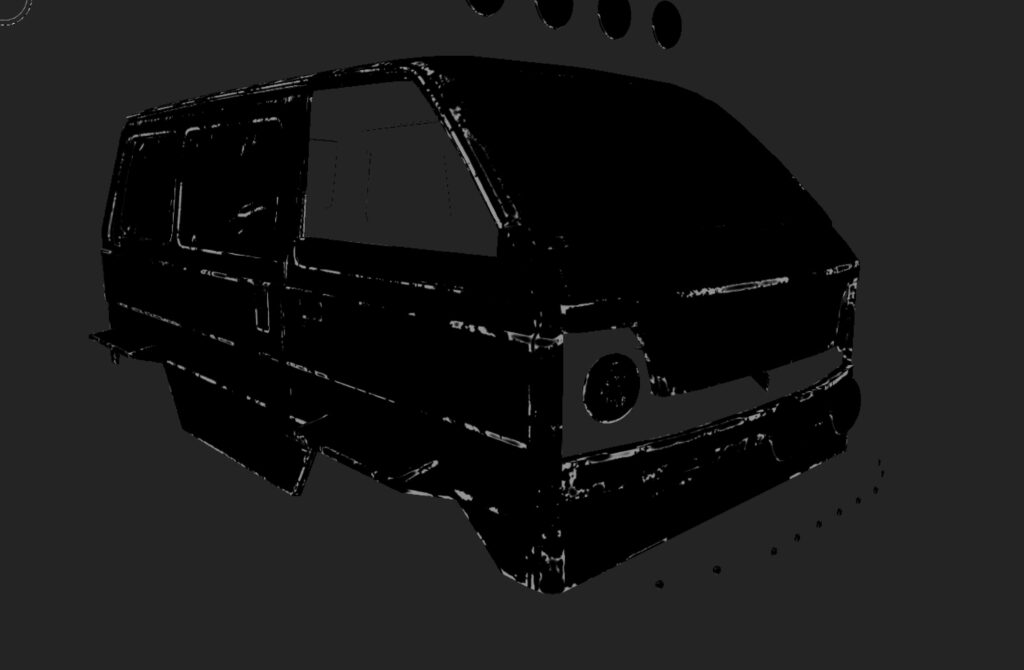
I use Adobe Substance 3D Painter to bake Normal, AO, Curvature, thickness, and position maps.
As I indicated in the modeling portion, I mirror as much as I can, and the UVs are no different.
Texturing
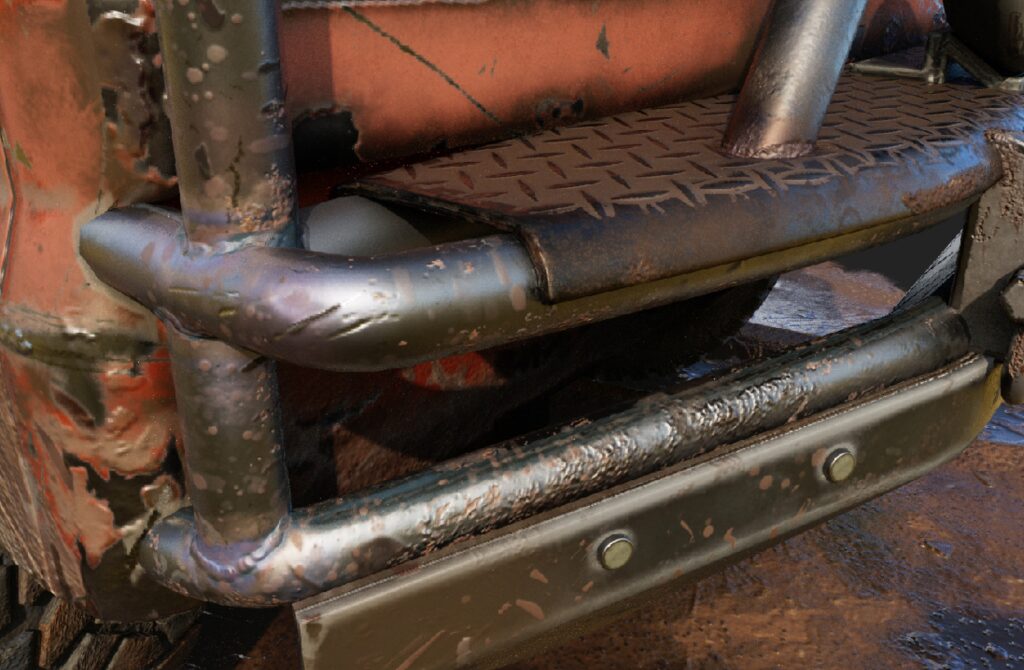
My favorite stage has always been texturing. I want to use the textures to convey a bit of the vehicle’s history.
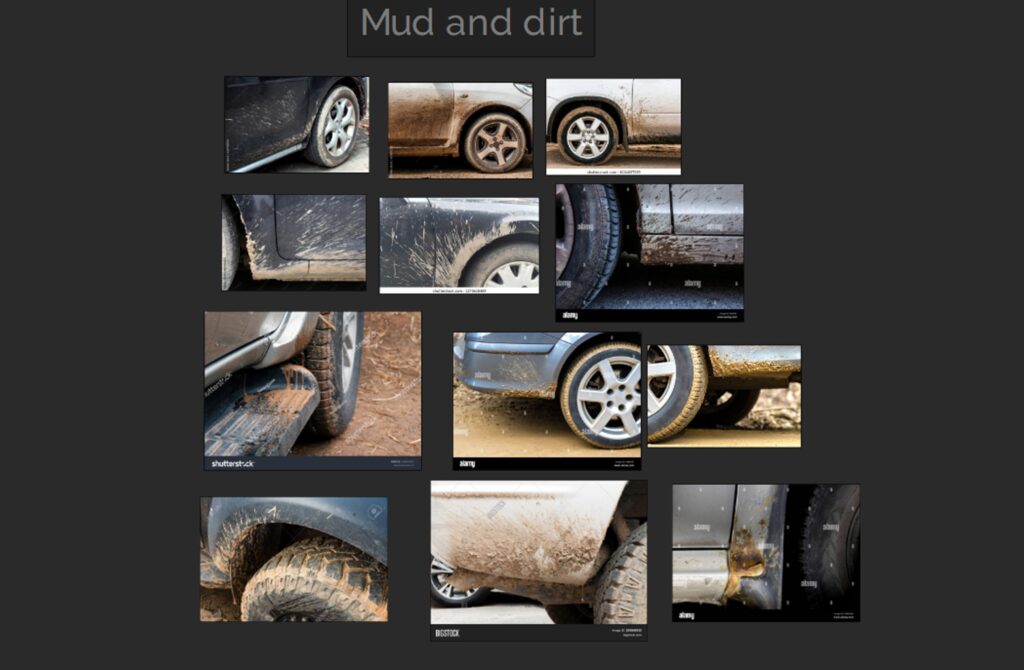
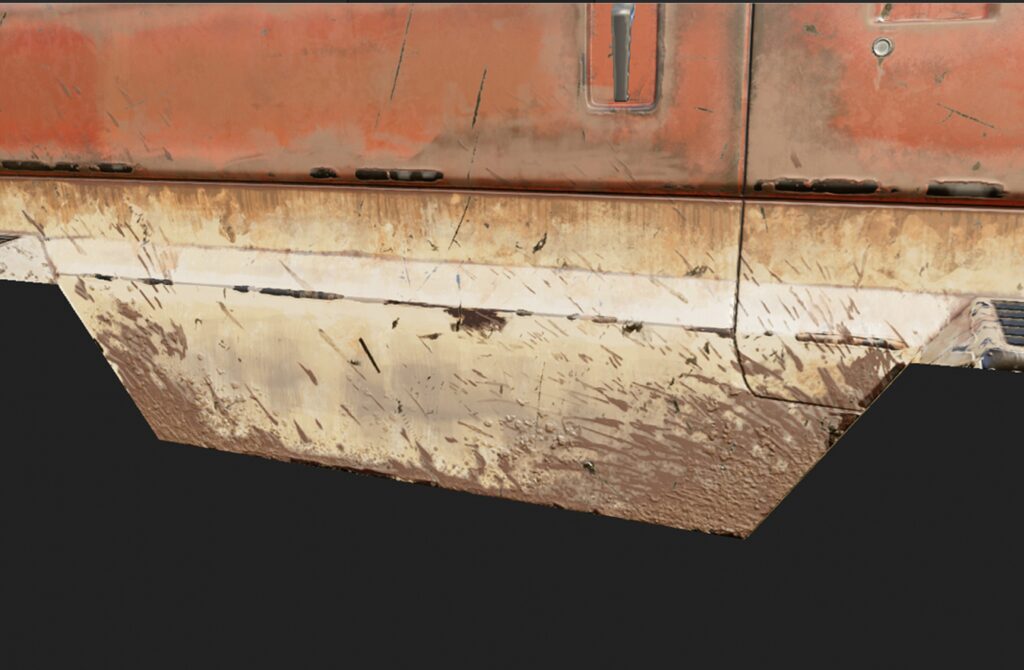
The majority of the car’s dusty dirt covering indicates that it has been driven extensively off-road in a dry climate, but the mud that has been kicked up from the wheels and some dried drops indicate that it has encountered some puddles and possibly some light rain.
I believe that smart materials and mask generators are a fantastic place to start when texturing in Painter. Although they need a lot of manual changes.
Since the car is mostly moving forward, the windshield will probably be dirtier than the sides and back. The muddy dirt that’s been kicked up from the wheels was added manually.
Paint Peeling
To get the paint peeling effect, I create a fill and reference that paint layer mask from my paint layer.
Then I added a new filter called mask outline on top of it.
Conclusion
I adore the 3D community for its expertise, advice, and trick-sharing, and I’m thrilled to be a part of it with this post.
I sincerely hope that some helpful information can be found here.
Thank you for reading! Link to ArtStation

