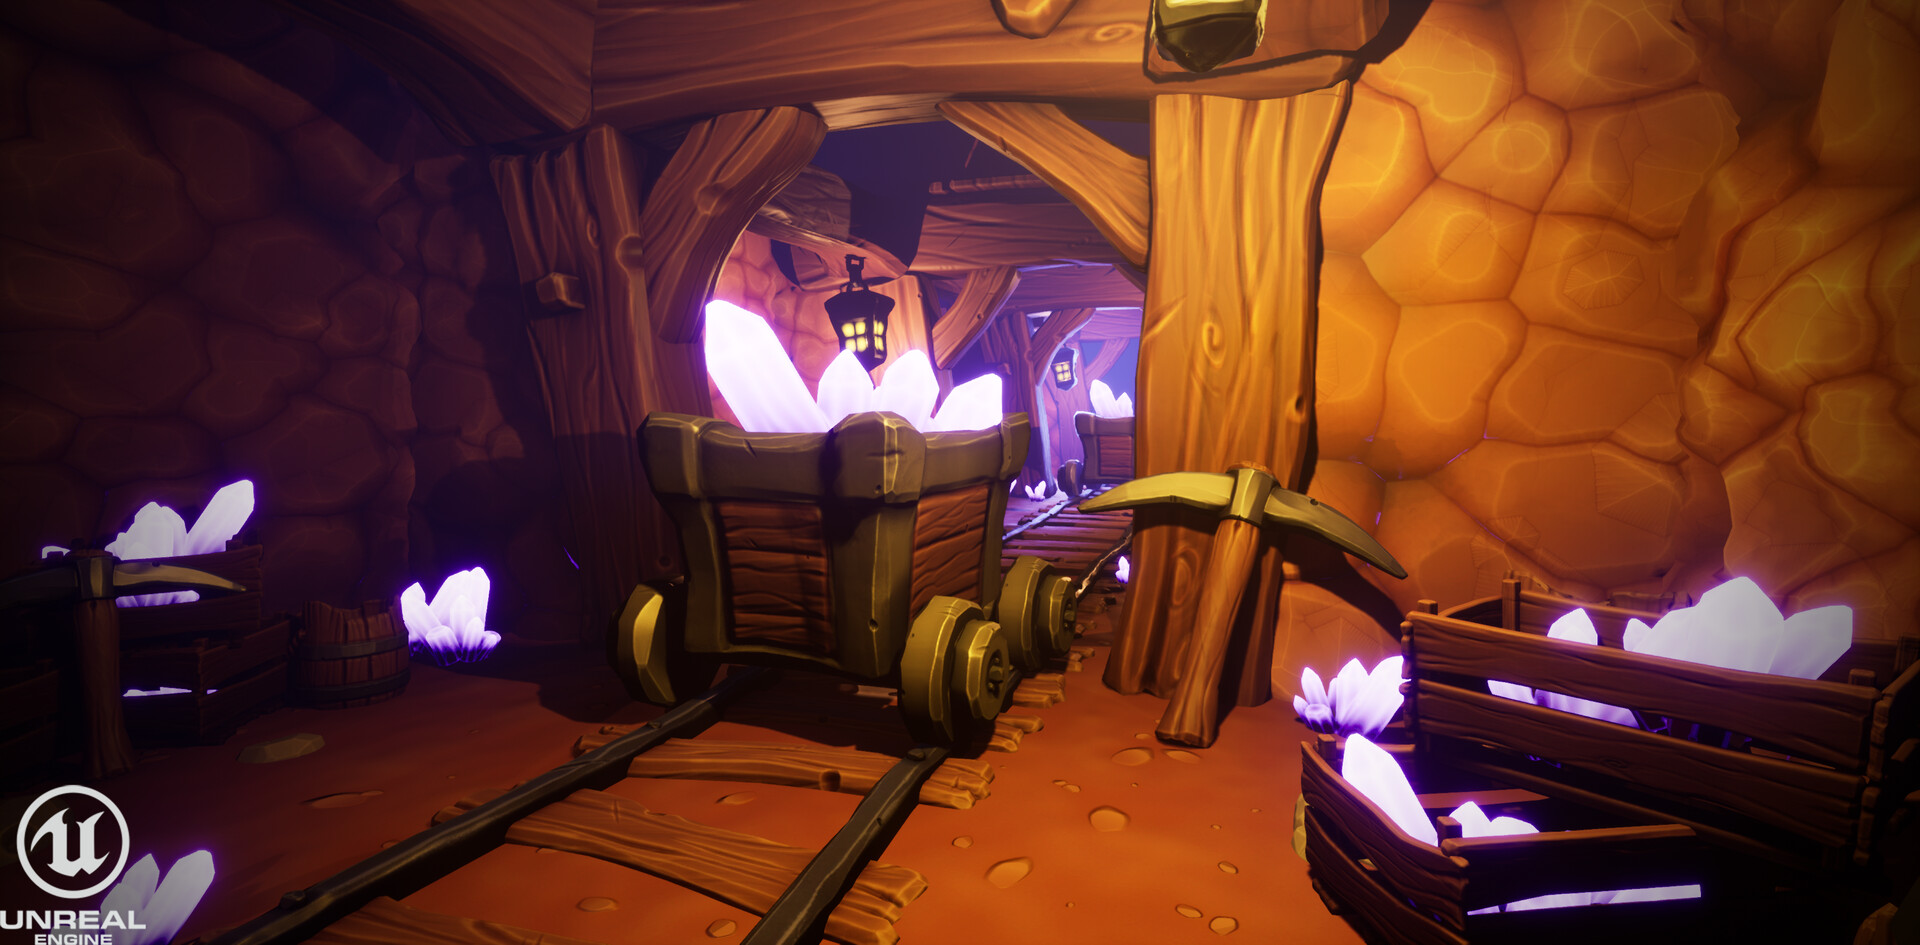
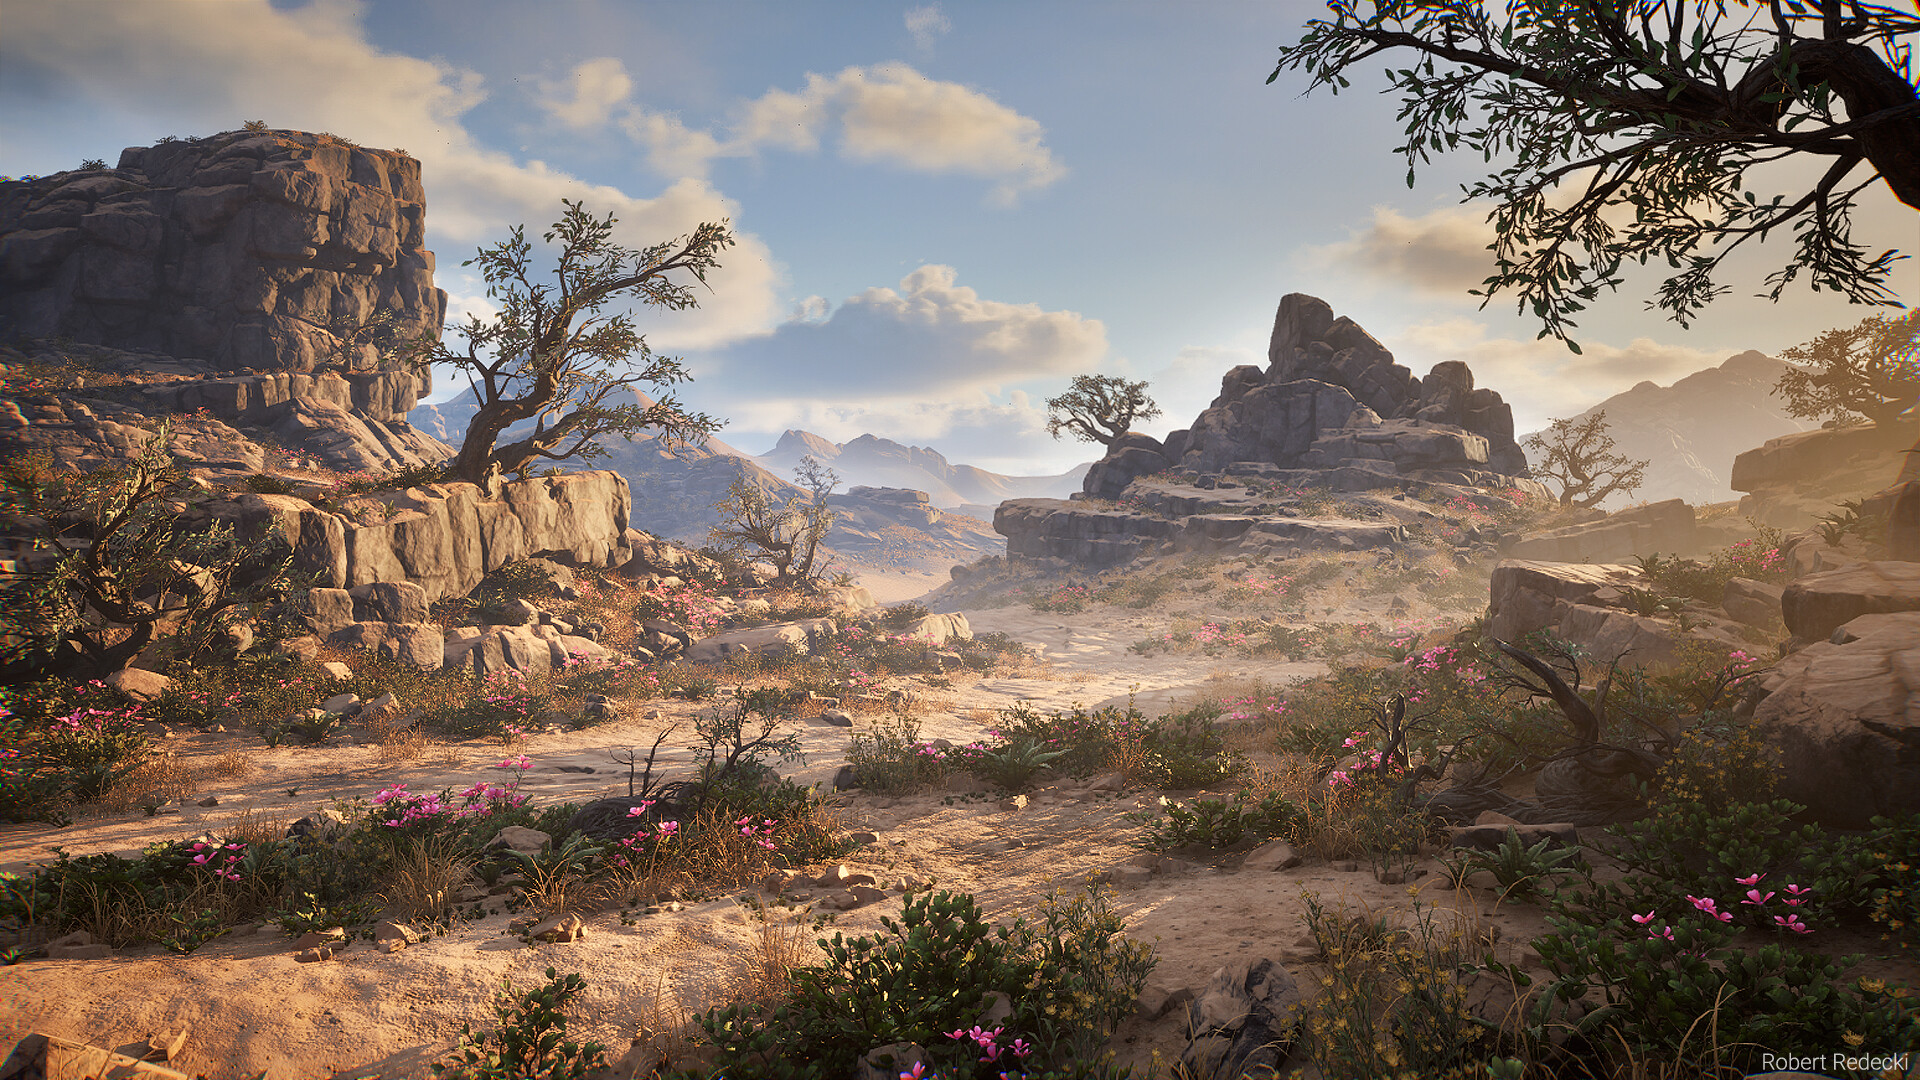
Growing Desert

Introduction
Hello everyone, my name is Robert Redecki. I'm a 3D Environment Artist from Velbert, Germany.
I have been working in the gaming industry for about six and a half years now. In this article, I'll try to explain my individual work steps in more detail and hope that it will be helpful for some of you.


Project, Goals & Inspiration
My goal for this project was to create a believable, colorful, and inviting area to explore and also to improve my 3D environment skills.
Tools
- PureRef – Gathering Reference Images for the Environment
- Unreal Engine 5 – Scene Building
- ZBrush – Highpoly Sculpting
- Substance Designer – Baking and Texturing
- Blender – Arrange Texture Atlas, Modelling, UV
- Photoshop – Final Polish
Process & Workflow
To plan the scene, I looked at real-life references of deserts and analyzed them. What do I want to show in the scene, and which components are necessary to create a believable environment?
I made sure that I had enough variety in the scene but at the same time didn’t have to create too many assets. It was also important that I create objects from large to small size.
I always used a human-scale reference model when creating the objects and inside the engine.

Foliage Blockout
I roughly created blockouts of the leaves for the individual plants and then immediately carried out a texel density check to find out how large the individual texture space per plant needs to be in the end.
For example, a small ground plant whose leaves are very small compared to the player can manage with a small texture size.
This approach keeps the texture performance requirements of the scene low and ensures a harmonious image without washed-out and uneven textures thanks to the use of texel density.
For this project, I decided to make one large 1×2 plant atlas that includes most of the foliage assets. The blockout leaves were then sorted in the UV space. I made sure to use as much space as possible.

Foliage Sculpting
The next step was high-poly sculpting in ZBrush. For the leaves, I mainly used soft brushes like the Dam Standard brush or the Polish brush.
After the sculpting was finished, I used the deformer in ZBrush to give the leaf more three-dimensionality.

I decimated the high-poly models so that the quality didn’t suffer and the file size remained small.
I also created some of the leaves with the subdivision workflow in Blender.
I didn’t sculpt the branches. Instead, I created a modifier stack in Blender that used simple edges for the branches united with the Skin-Modifier to give them geometry.
I then displaced it using a clouds noise texture and Blender’s Displacement Modifier.

Foliage Lowpoly
I baked the finished plant atlas in Substance Designer and imported the textures directly into Blender without spending much time on the texture.
I started creating the individual low-poly leaf cards, deforming them, and building different sizes.

From that point on, I used a kit that I was comfortable using with Blender’s Instanced Collection.
Good organization within the Blender scene helps to not lose the overview. Changes were made to the source object and through the Instanced Collection, all copies also adopted the changes.
Foliage Texturing
Before texturing the plants, I added a gradient to the vertex color of the high-poly models so that I could control it in Substance Designer later.
Gradients are important to fill the leaves with life and make them look believable and set.

In other vertex color channels, I painted different things, such as the tips of the flowers, to be able to control them specifically via a mask in Substance Designer.

I was able to control and texture the individual plants differently using Material IDs.
Each plant shown on the atlas has its own substance graph, which I linked together at the end using the Material-Blend node to create the final textured atlas.

Here you can see a small albedo breakdown for one of the plants.
Tree Creation
The creation of the tree is similar to that of the small plants, but there were a few more things to consider.
For the treetop texture atlas, I used simple geometry for the branches and displaced them using a noise texture and Blender’s Displacement Modifier.

I placed the sculpted leaves on top of the branches to get the final texture atlas.
Then I built low-poly cards for the canopy of the tree and placed these cards on the trunk until I liked the tree from every angle.

The tree trunks were created from cylinders, which I displaced using the previously sculpted bark texture.
I made sure that the UVs of the cylinder extended over the entire texture, so it was possible to hide the seam and make the texture on the trunk tileable.
I then bent the trunks into the desired shape using a curve and the Curve Modifier. An even and balanced subdivision helps to ensure that the object can be easily deformed.
Rock Creation
The rocks consist mostly of blocky and layered rock formations.
I created the rocks in ZBrush using the TrimSmoothBorder, ClayBuildUp, Flatten, and Dam_Standard brushes most of the time.


The tileable rock texture was also created in ZBrush with WrapMode active so that the texture doesn’t have seams on the edges. For smaller details, I used alpha brushes.
The sculpted rock texture was baked in Substance Designer and textured using the mesh maps such as Height, Normal, Curvature, and AO.
During texturing, I kept looking at real-life references to get the color values reasonably correct.
With the help of masks, gradient maps, and other SD functions, the individual textures Albedo, Normal, Roughness, and Height/AO were created in the end.
The rocks use only the tileable rock material and a top blend with the ground material. I did not use uniquely baked normal maps for each rock in this project.

To increase the legibility of the rocks, I placed as few seams as possible and only the necessary ones.
To give the rocks a smooth overall appearance, I rotated the UV islands of the rocks the right way around so that the rock is correctly aligned in world space. The correct angles of the UVs can be necessary if you blend the rock material with a directional texture like dirt leaking, for example.
A UV checker texture with numbers was helpful for this step.
Building the Scene in UE5
When building the scene, I started with the terrain and large stones. I didn’t have a fixed camera angle right from the start but built one to two small areas and placed suitable cameras during the process, which changed a little over the course of the project.
When the project was quite far advanced, I chose fixed cameras and cut and polished the scenes to these camera angles.
The vegetation and small rocks were placed using the Foliage Tool in Unreal Engine. Large stones and the trees were placed by hand. The ground materials were painted by hand.


I didn’t create many before-and-after screenshots, but I did find a few and show them to you here.

I made sure that the rock material was also painted on the intersected edges between the rocks and the terrain in order to hide an ugly seam between the mesh and the terrain.
Final Touches
The final steps of the scene took some time. Things like background objects, fog, sky and clouds, lighting mood, and light values were repeatedly adjusted and improved.
It was worth looking at the work again the next days.
This allowed me to keep improving the overall quality until I was finally satisfied. I loaded the final images into Photoshop and fine-tuned them, added fonts, and created the breakdown images.


Conclusion
I have gained experience through the project and am satisfied with the result. I achieved the goal I set for myself and created a believable 3D environment.
I also found out which areas I could improve after finishing the project (e.g., adding more dead parts to the leaves of the plants or splitting the texture into separate smaller images, not one big texture atlas).


I want to thank Games Artist for the opportunity to write this article. It is a great honor for me, and I hope it is helpful to the readers.
I also want to thank all of my former work colleagues who have accompanied me over the last few years, especially Marvin Odoom-Nuamah, my former Lead Artist.
I learned a lot from him about workflows, texturing, and other 3D skills. Additionally, I want to thank Nicolas Klug for his constant feedback and what I learned from him about art fundamentals over the years.
Tips and Tricks
I recommend getting iterative feedback on your scene from friends and colleagues. During the working process, it can happen that you overlook certain things or can no longer view them neutrally.
Feedback from a fresh pair of eyes helps immensely to improve the overall look in the end.
It also helps me to block out the individual assets as quickly as possible and load them into the engine to get a good feeling for sizes and the overall look.
The quality of the individual assets is then improved in iterative work steps.
Read more articles
You might also like these articles.