Introduction
Hi, my name is Kirill and I am a self-taught 3D artist from Russia. Now I'm doing props and weapons. I started doing this thoroughly in 2021 and have not stopped since then.


Goals
In this project, I wanted to practice creating ready-to-play weapons and textures, as well as get another job in the portfolio.
Software
I use a separate program for each stage of the pipeline.
PureRef here I collect and systematize links.
Blender here I am engaged in 3d modeling, creating low-poly and high-poly models.
ZBrush for creating welding.
RisumUV, as the name implies, here I do UV.
Adobe Substance 3D Painter is used for texturing.
Marmoset 4 Tool Bag for Baking and Rendering.
Adobe Photoshop will fix some artifacts after baking and the final photo.
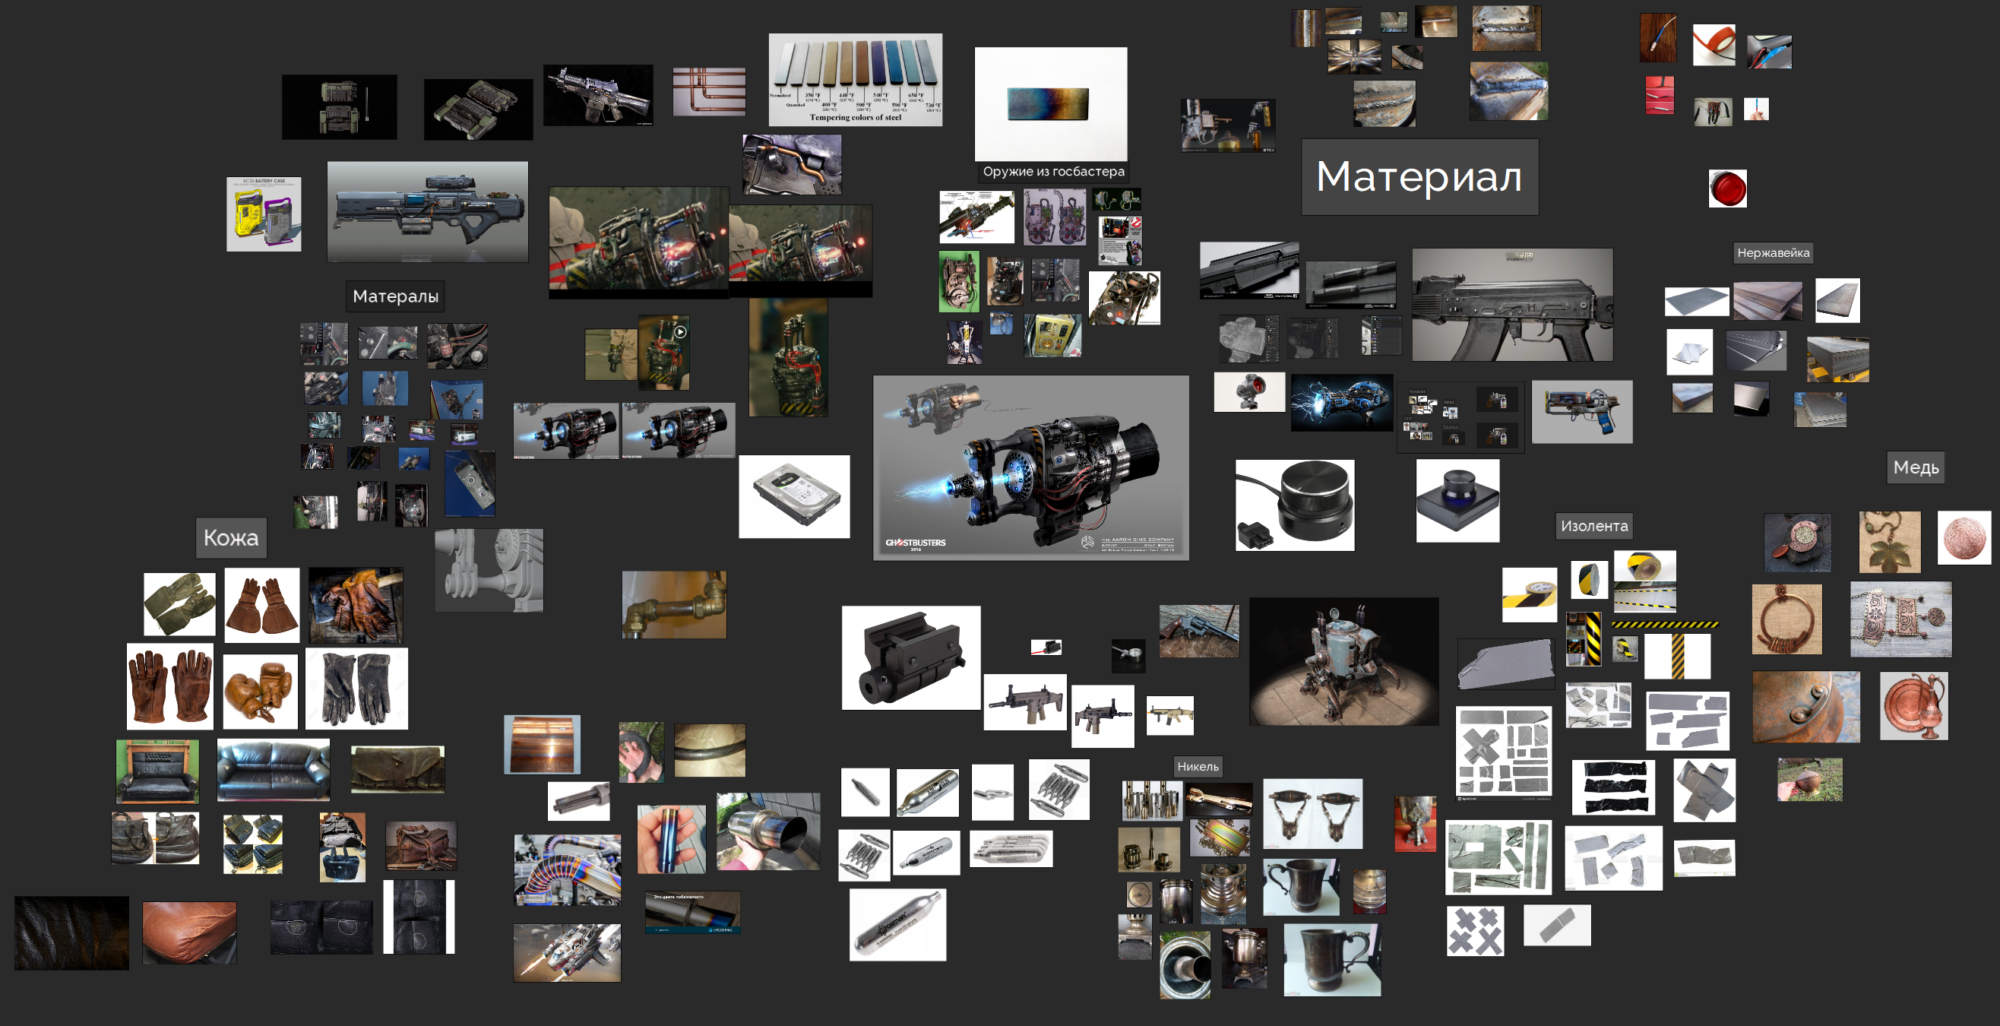
Recommendations
While watching artstation, I noticed the work of Kyle Brown. I immediately started thinking about the weapons’ materials and began collecting links to them. During the search, I used various resources:
Yandex images, Google images, websites, auctions, Avito (similar to eBay), various forums and social networks. As a result, I got this.
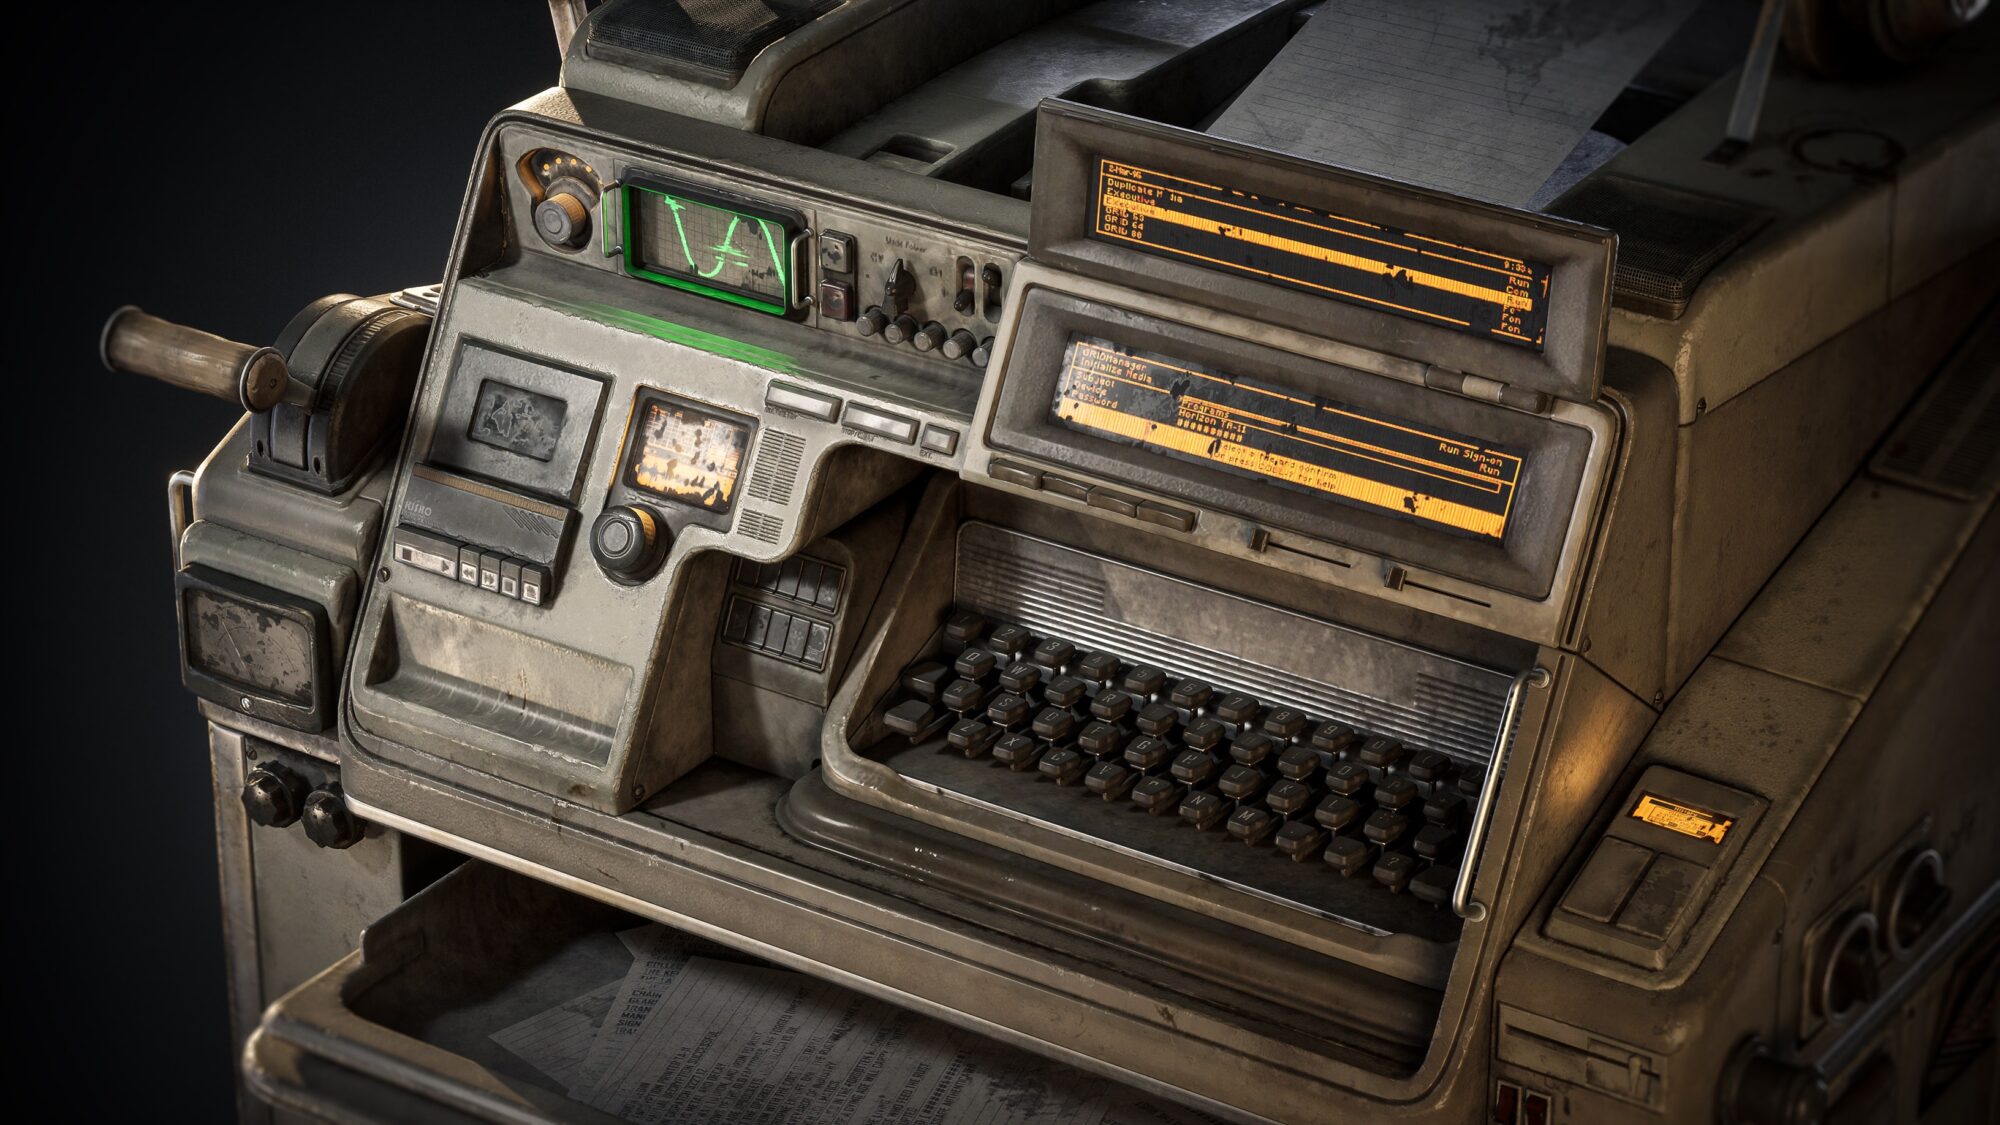
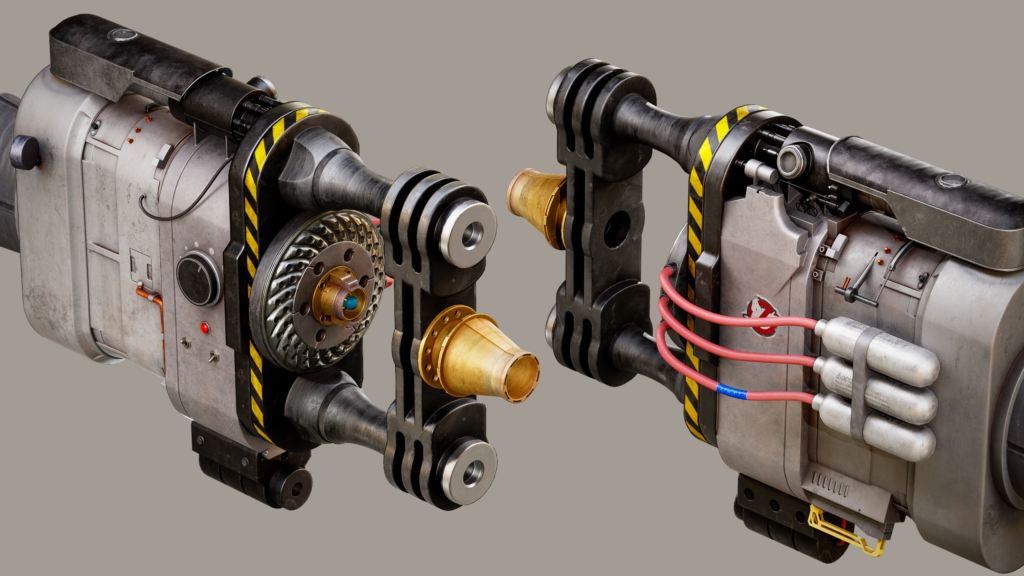
Blackout/Modelling
After I collected all the references, I started blocking to understand how the silhouette and proportions would look in 3d space. At this stage, I had to sweat because of the proportions, since the concept is simply a collage of photos, then there is no question of any proportions on it, I had to significantly move away from the concept in order to get a good shape.
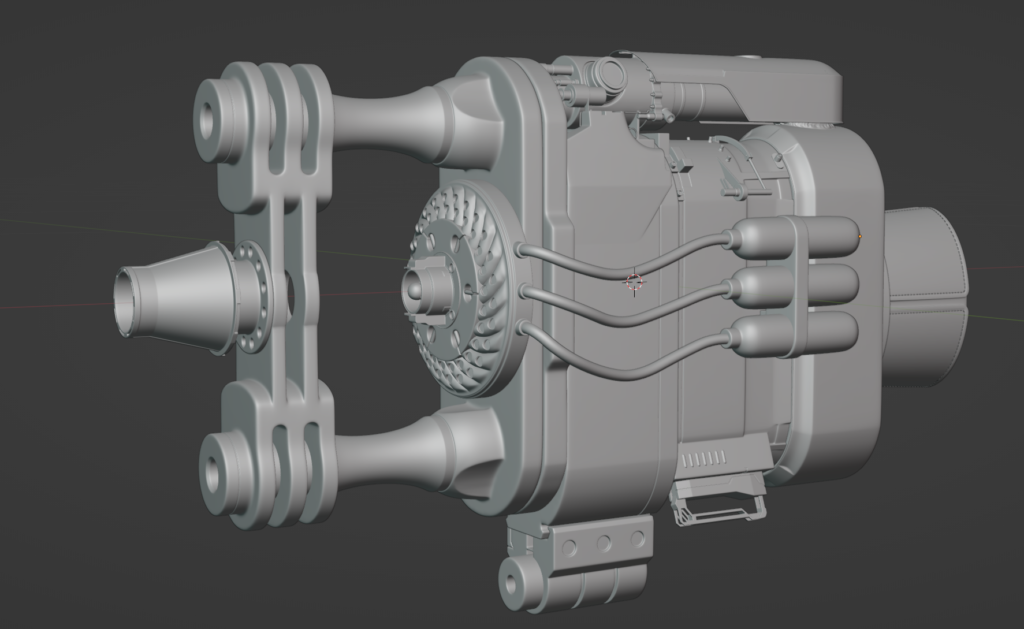
Only this version of blocking has been preserved, later I changed it, but I did not take any more screenshots at this stage (if possible, then attach this application to the description of the picture, and delete what is in parentheses)
After I made the final version of the blocking, I started high poly. I did it using Sub-div. For convenience, in the future, I made a copy of the blocking and also copy objects after boolean so that I don’t have to delete all the support later when I do lowpoly.
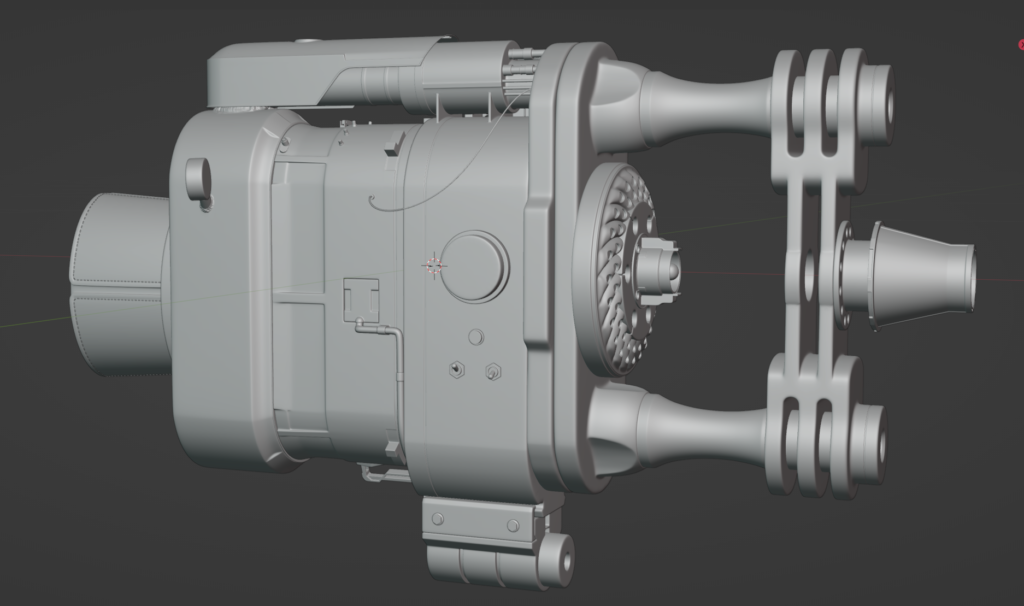
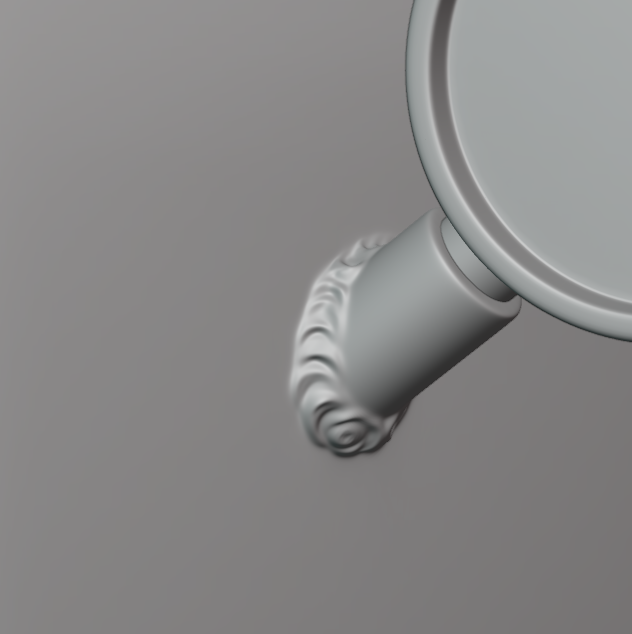
I did the welding in Zbrush, for this I used this lesson Zbrush- Mig like Tig weld sculpting.
Low poly
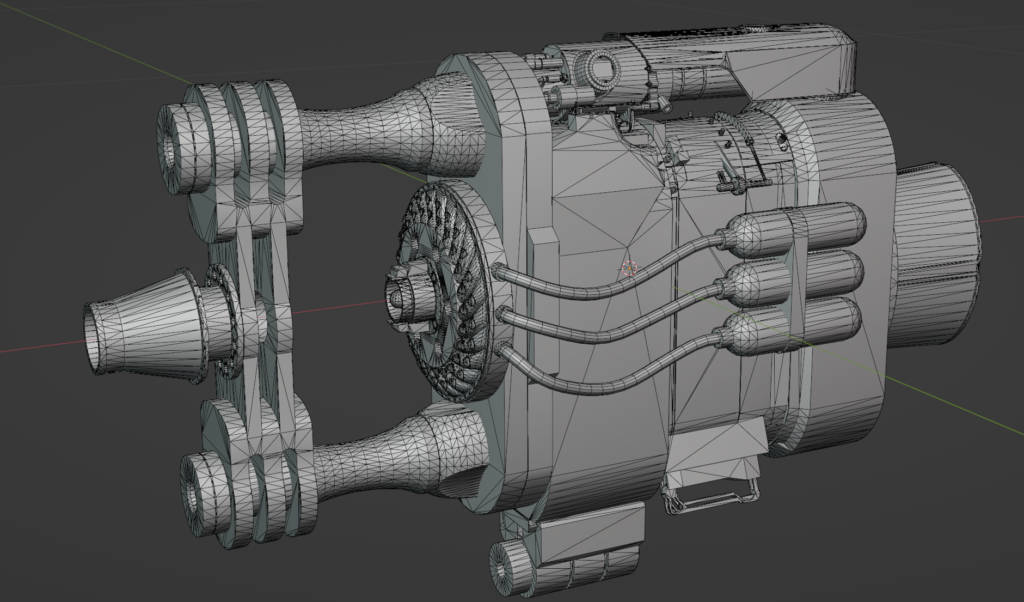
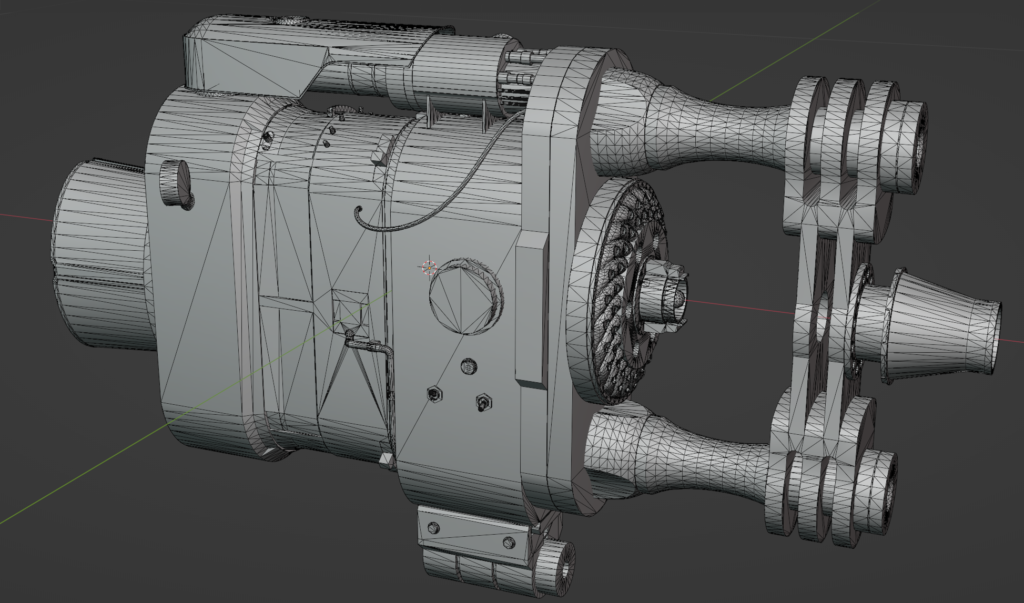
When creating, I did not limit myself much to the number of polygons, the main task was to avoid angularity. Since I didn’t complicate my life and made copies, I passed this stage quickly, I just had to slightly correct the topology and arrange the hard edge. In total, 37.5k polygons turned out, it would be possible to reduce it even more, but that’s what I did for the portfolio.
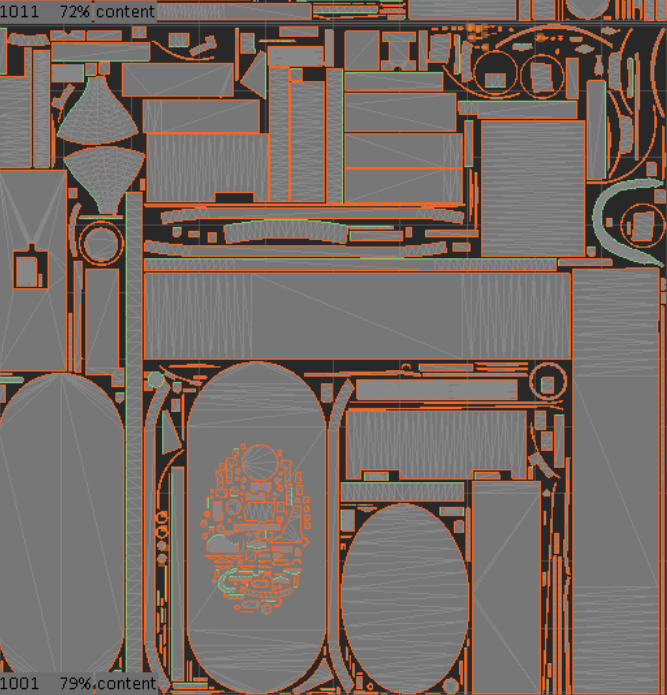
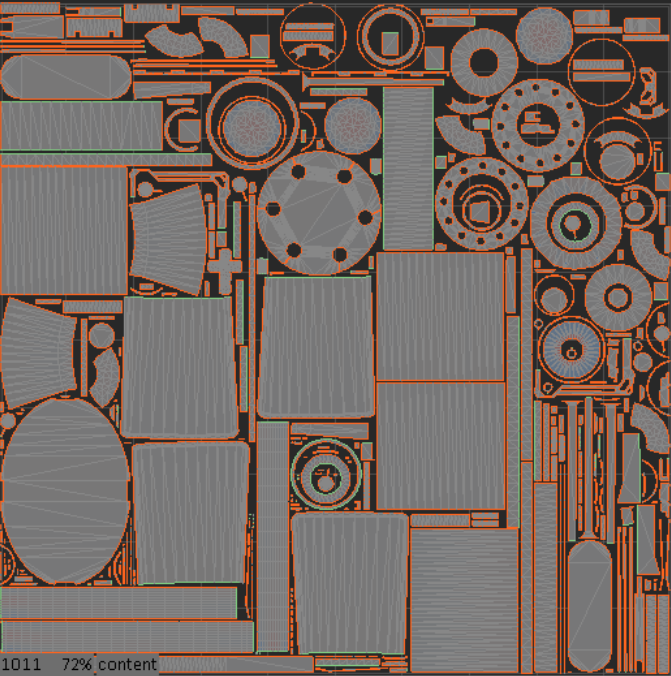
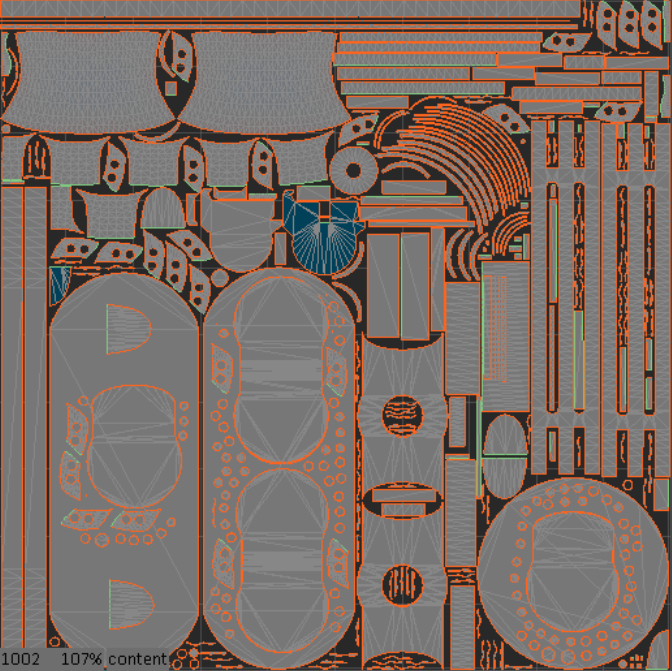
UVs and bake
As for many, UVs are one of my favorite pipeline stages. I start my work by making incisions on a hard edge, in a Blender, it can be done in 2 steps, after I unfold the cylinders, I put the incisions in the most inconspicuous places so that in the future I don’t have to worry about seams on the texture, finally, I leave other shapes and in the same way, I put stitches in the most inconspicuous places.
When I’m done with the scan, I switch to the RazumUV program and use it for automatic packaging. Of course, he doesn’t do it perfectly, but he simplifies the work many times, he doesn’t need to attach the shell to one texel himself, because here it can be done with one click, and then he himself distributes the places where more is needed and where less is needed. The mind does an excellent job with overlapping, it does not scatter them in different places but leaves them on top of each other.
I split my model into 4 sets, the final texel turned out to be =91 on 4k texture.

For baking, I use a Marmoset Toolbag 4, for me, it is much more functional and convenient than a joint venture. Before I transfer the model, I distribute the model according to different names so that there would be less work on correcting artifacts, and those that still appeared, I correct either here or transfer to Photoshop where I correct the remaining ones
Texturing
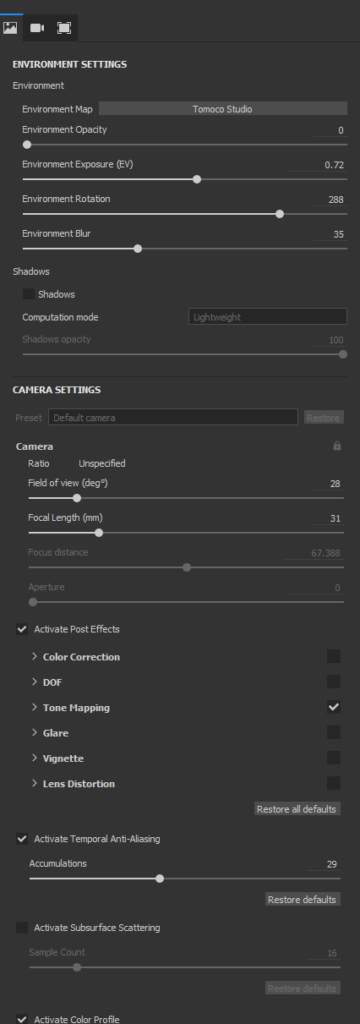
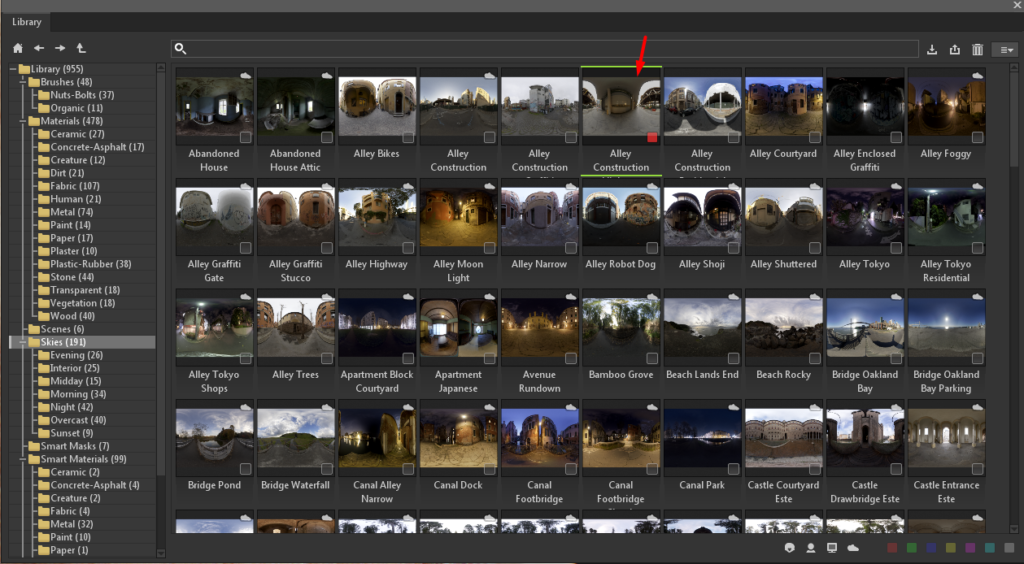
I started working with textures by changing the environment, I set it according to this tutorial.
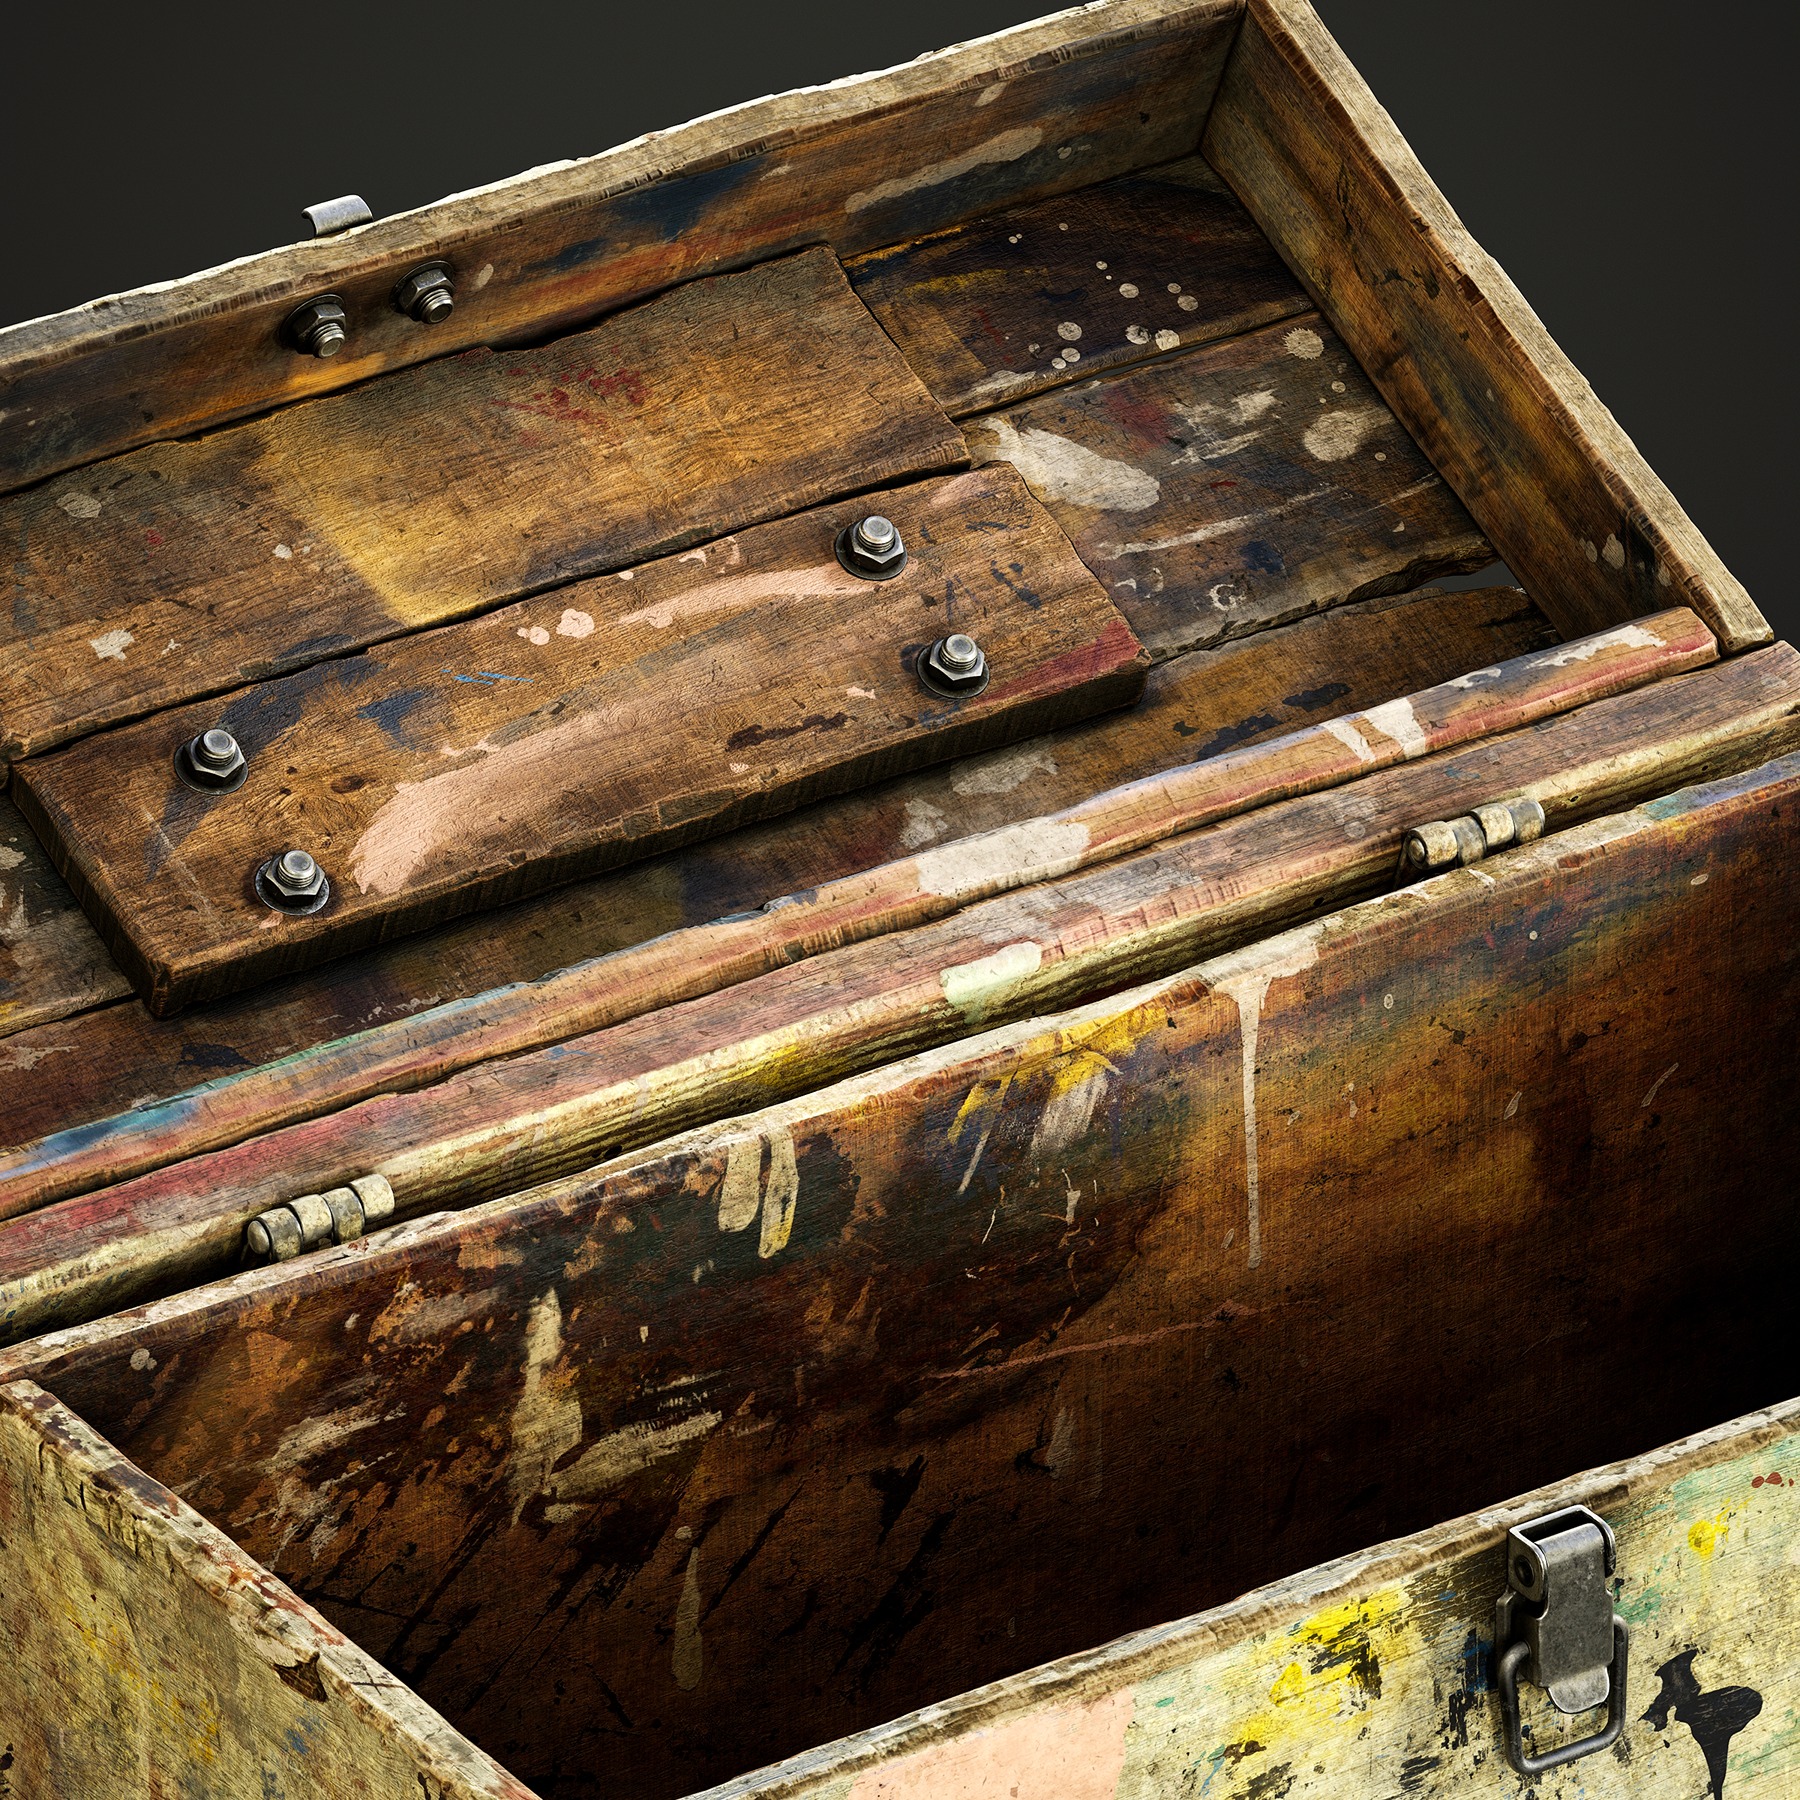
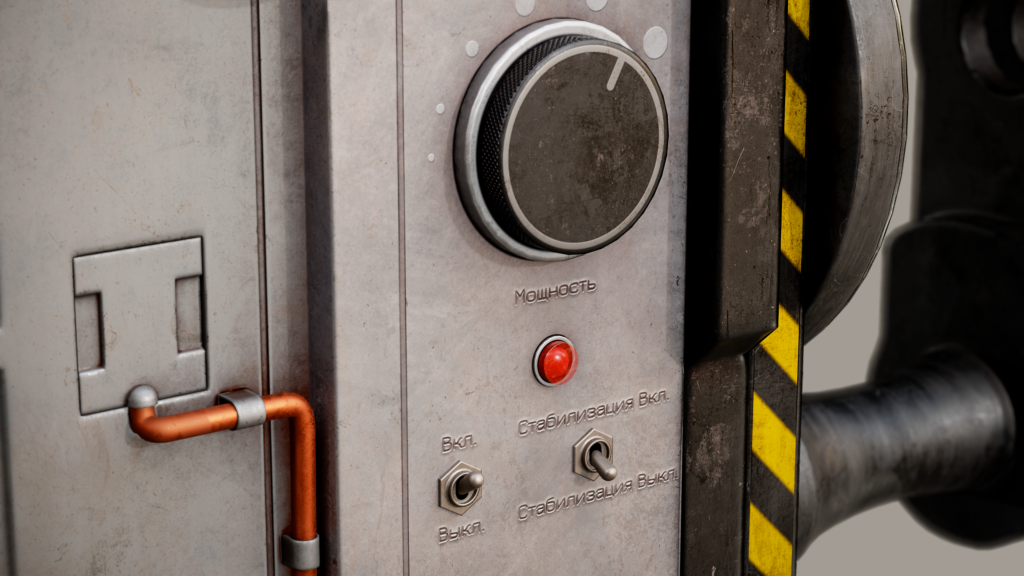
I start by analyzing the collected references and making a base layer, adjusting the color and roughness until I like it.
After that, I start detailing textures, giving them life. To begin with, I add a little noise to the texture.
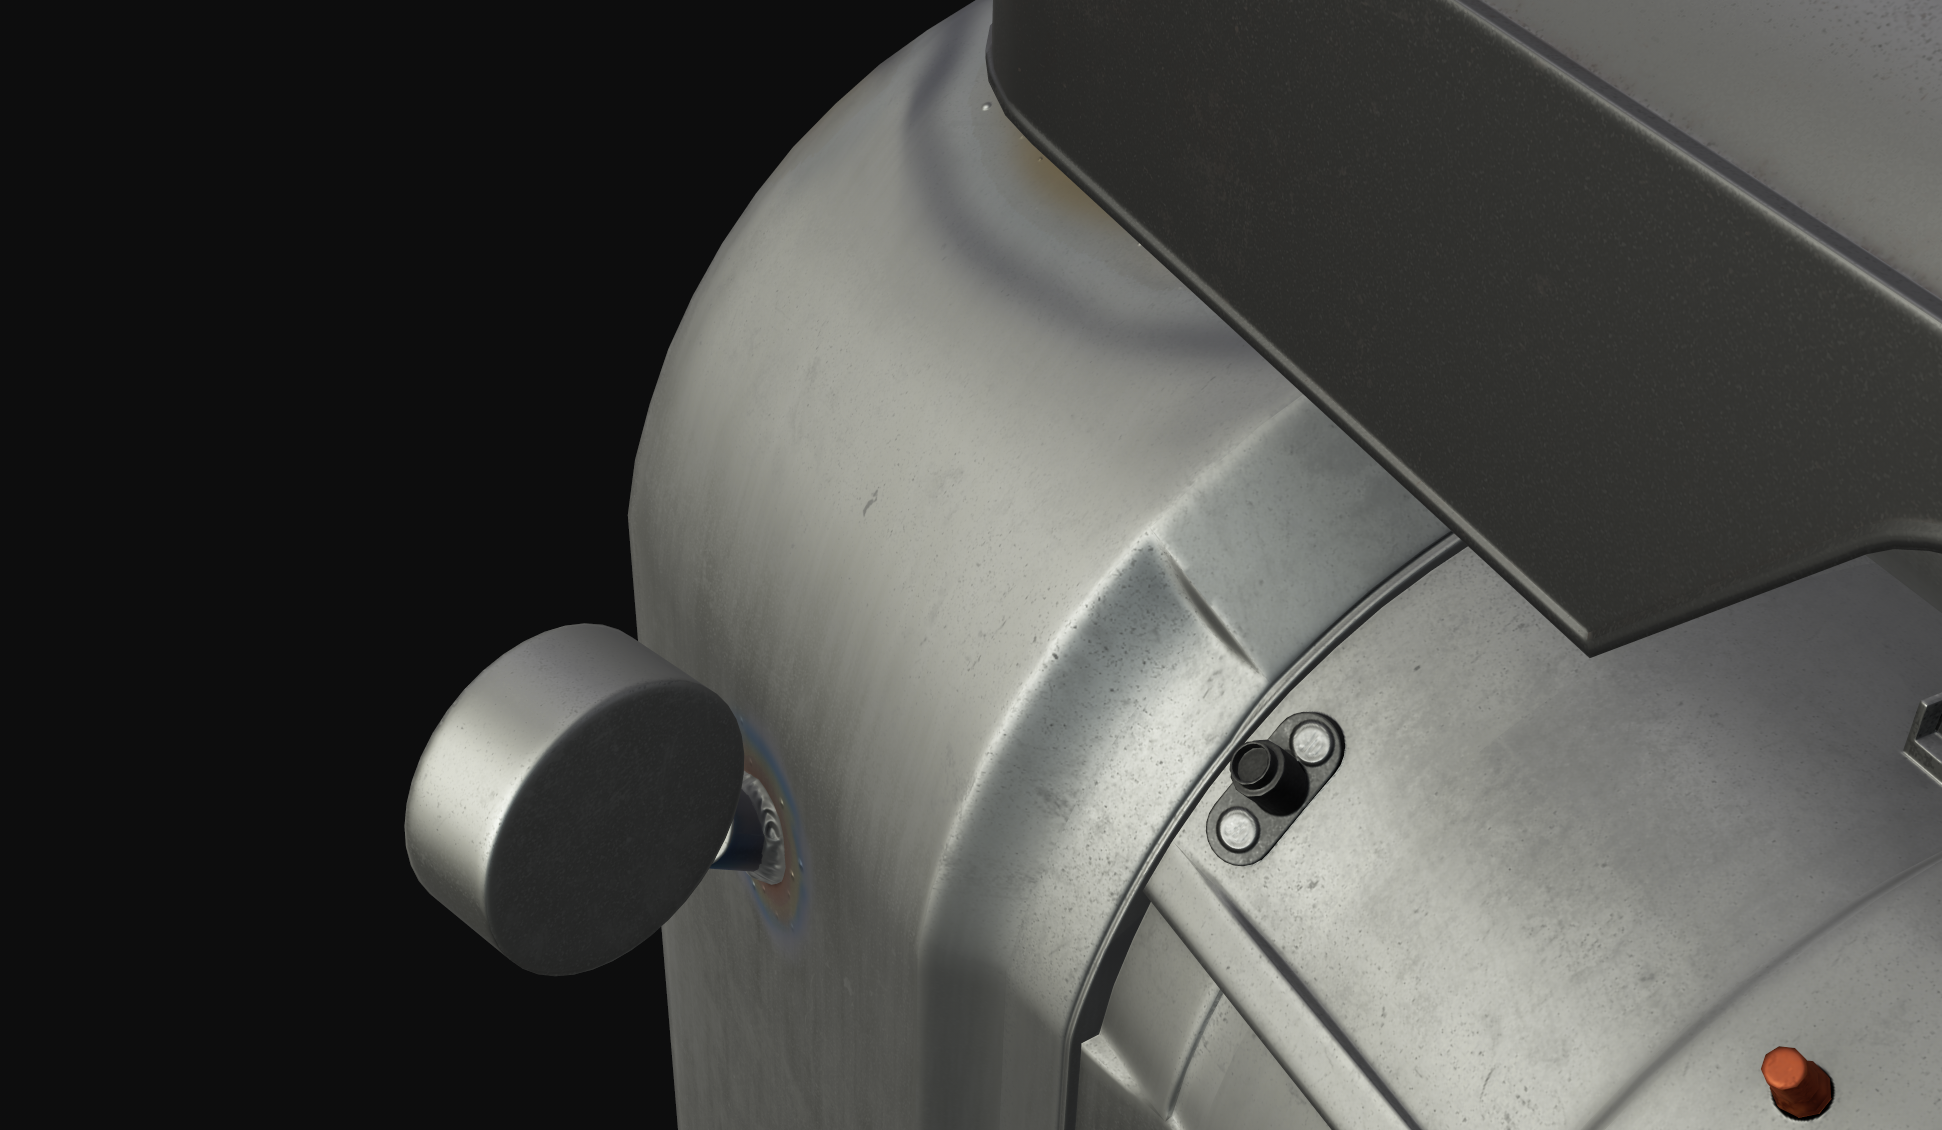
I add a little variety to the color and roughness.
In the end, I add dust, dirt, scratches and other damage.
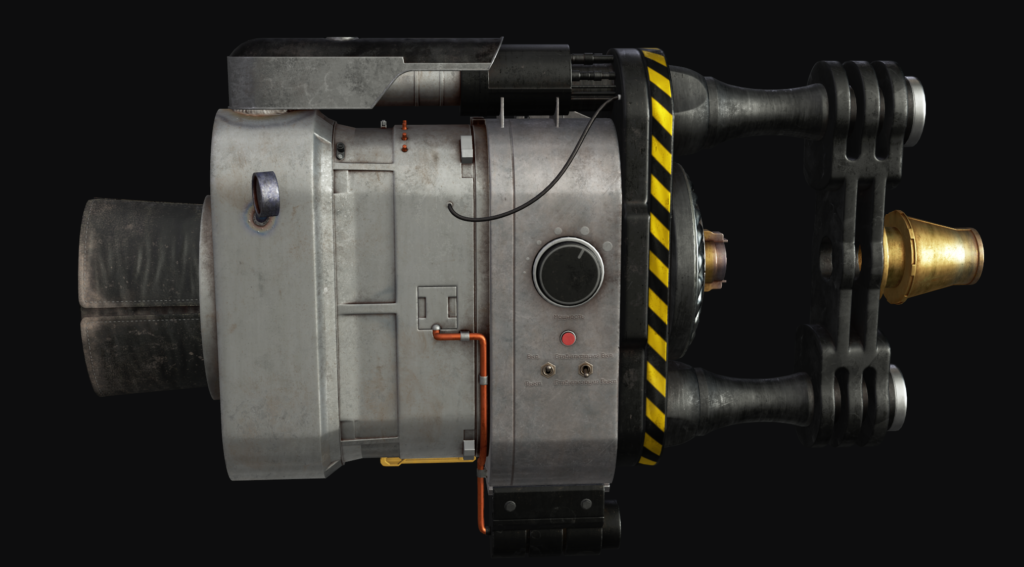

All stages occur gradually on each material, without making the first stage on all materials, I will not move on to another, because it will be more difficult to follow the history of the model and the texturing itself. Also, do not forget to ask for feedback, in textures it is more important than ever.
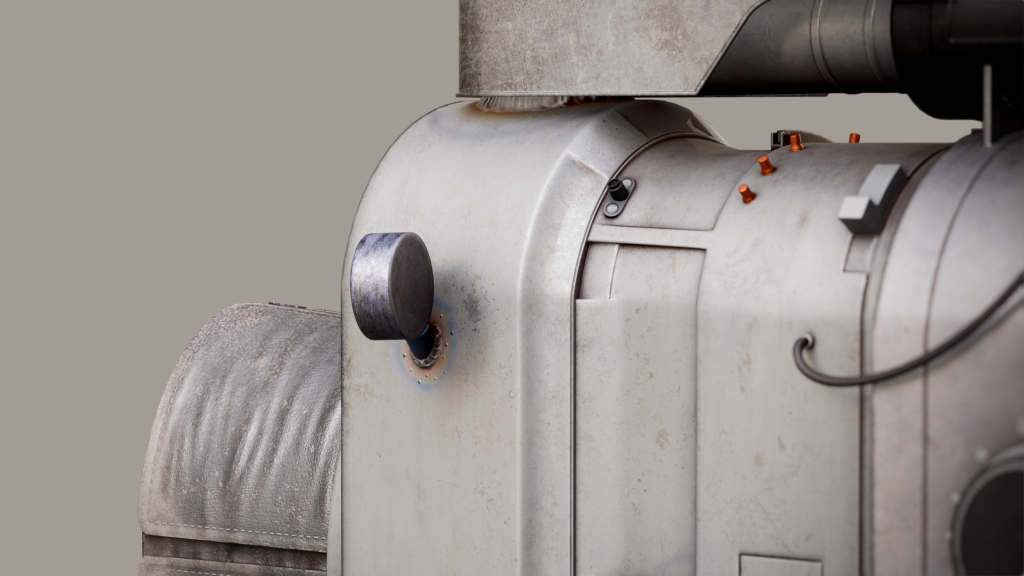
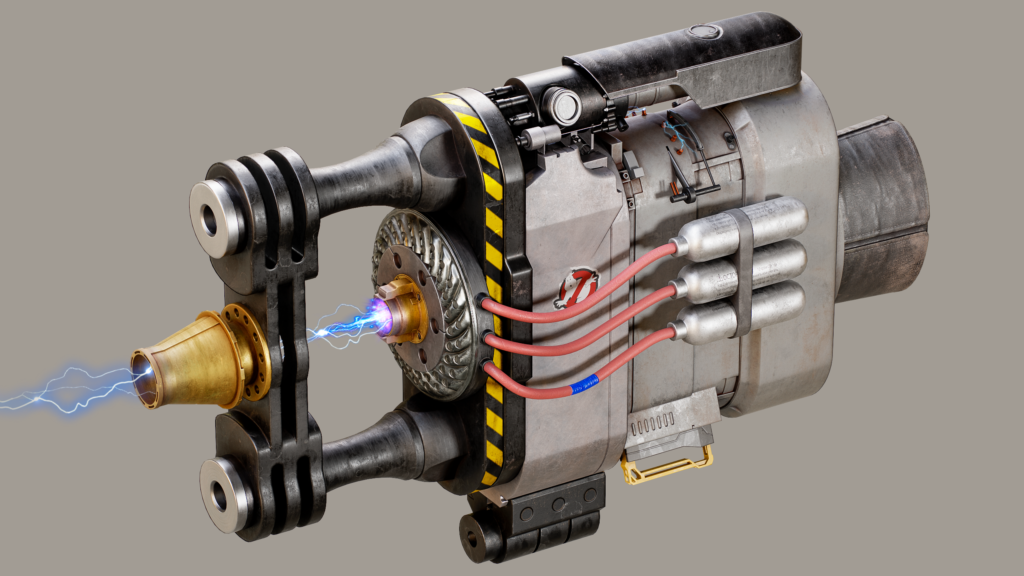
Render
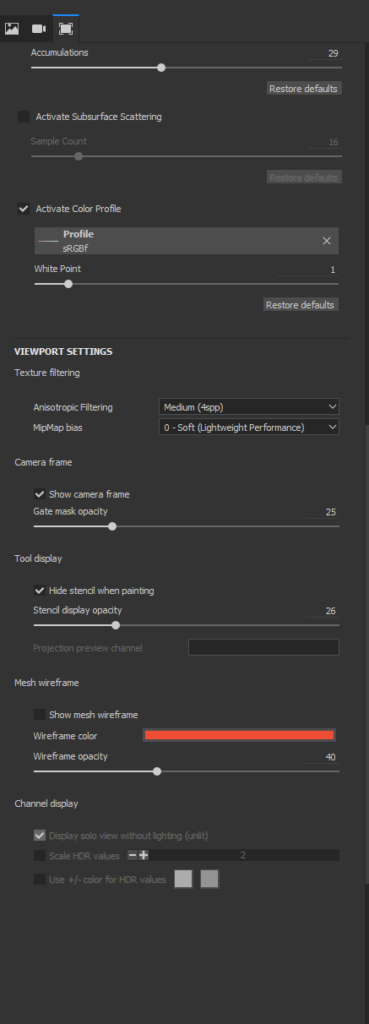
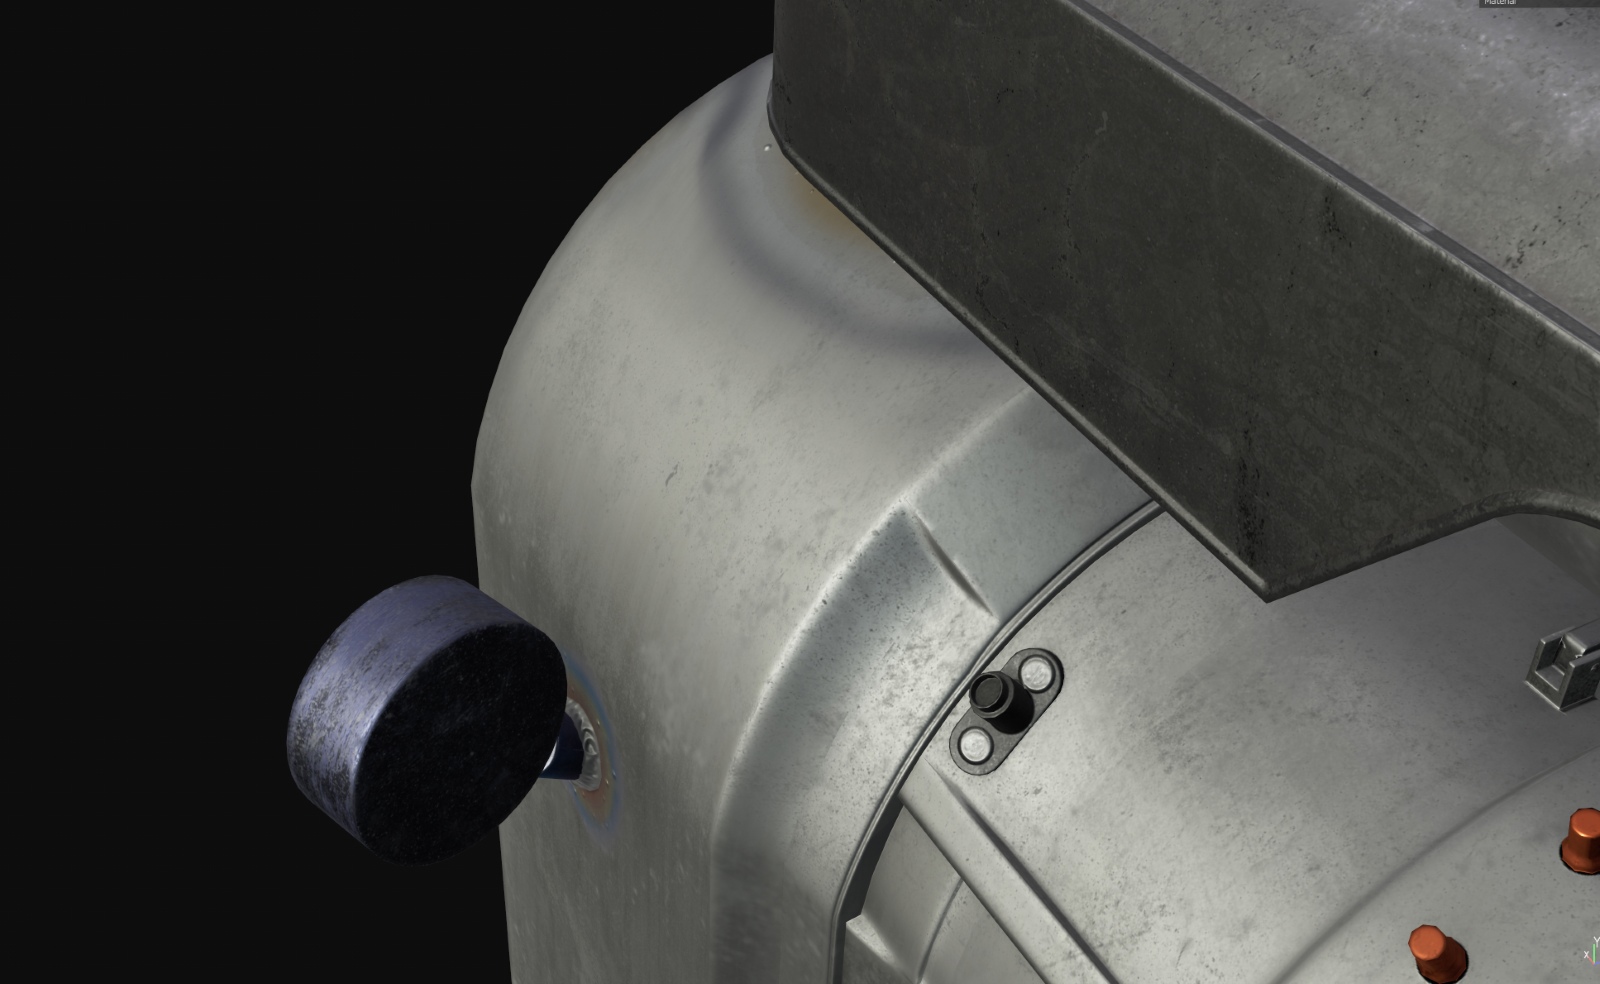
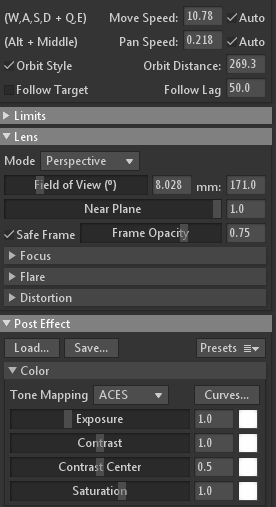
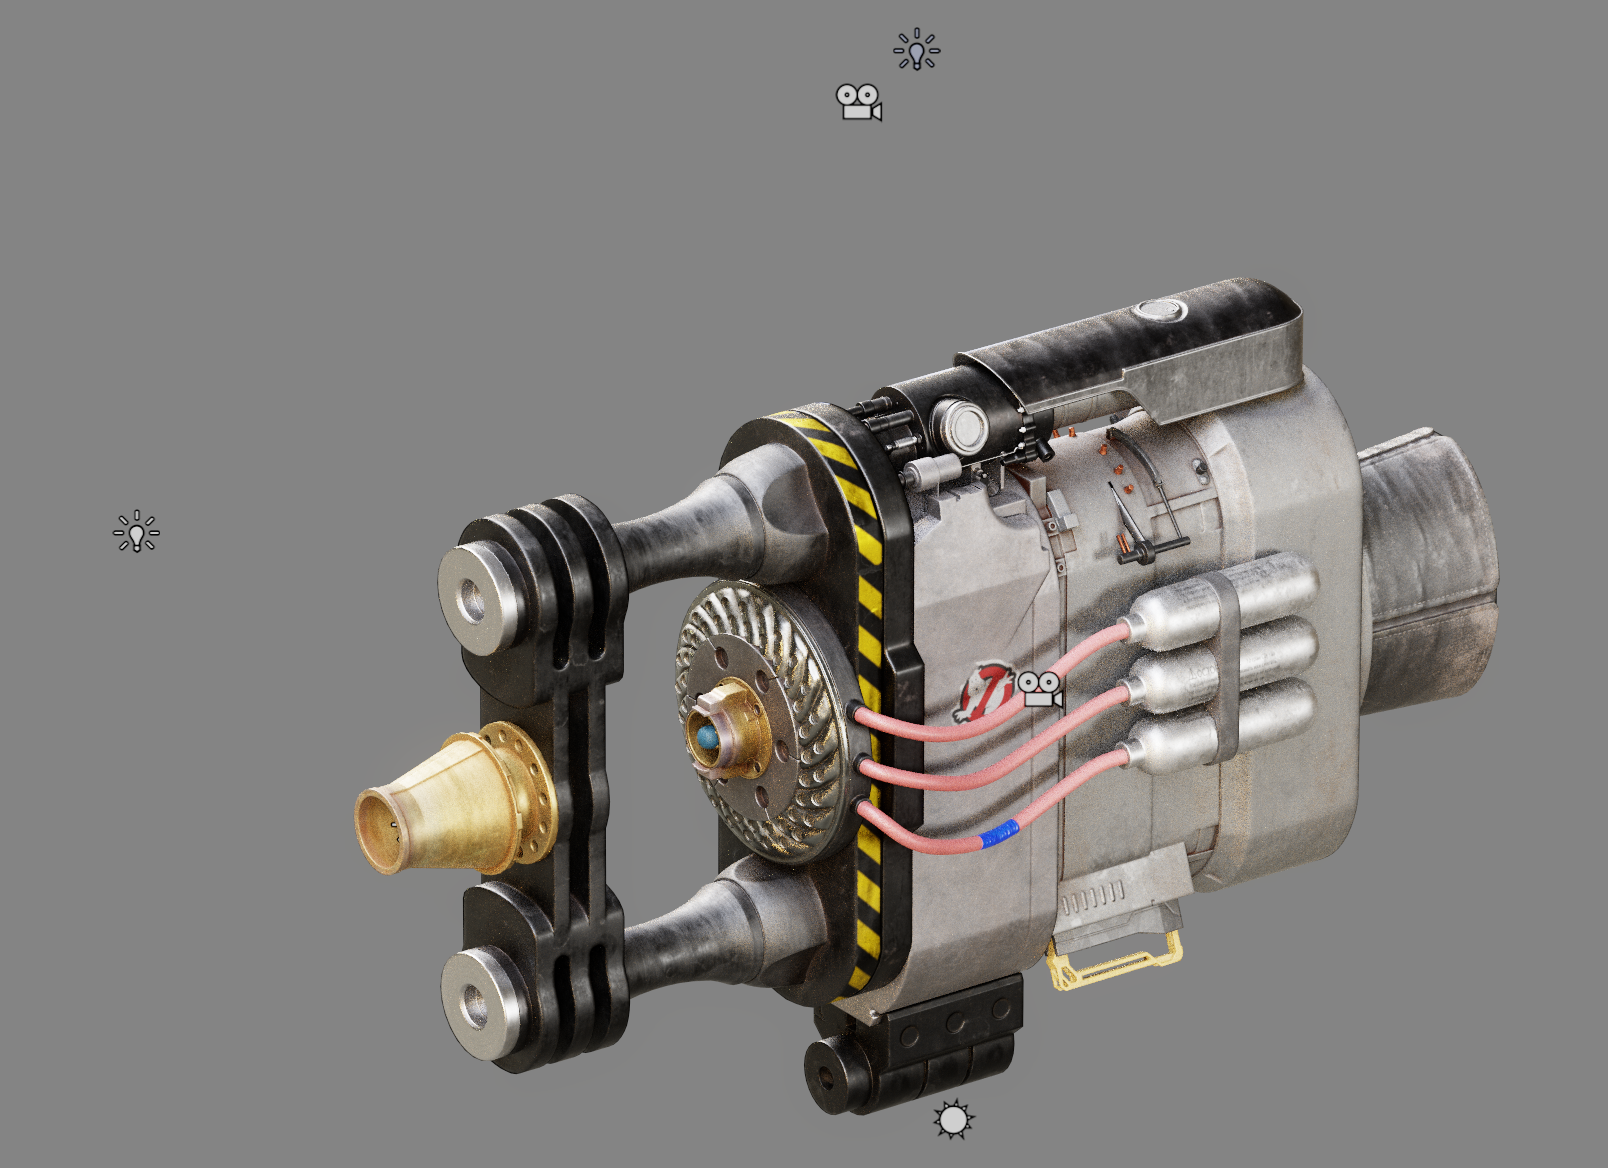
Before I started rendering, I turned on RTX and changed HDRI to Alley construction, changed the focal length to 8 and changed the tone display to ACES.
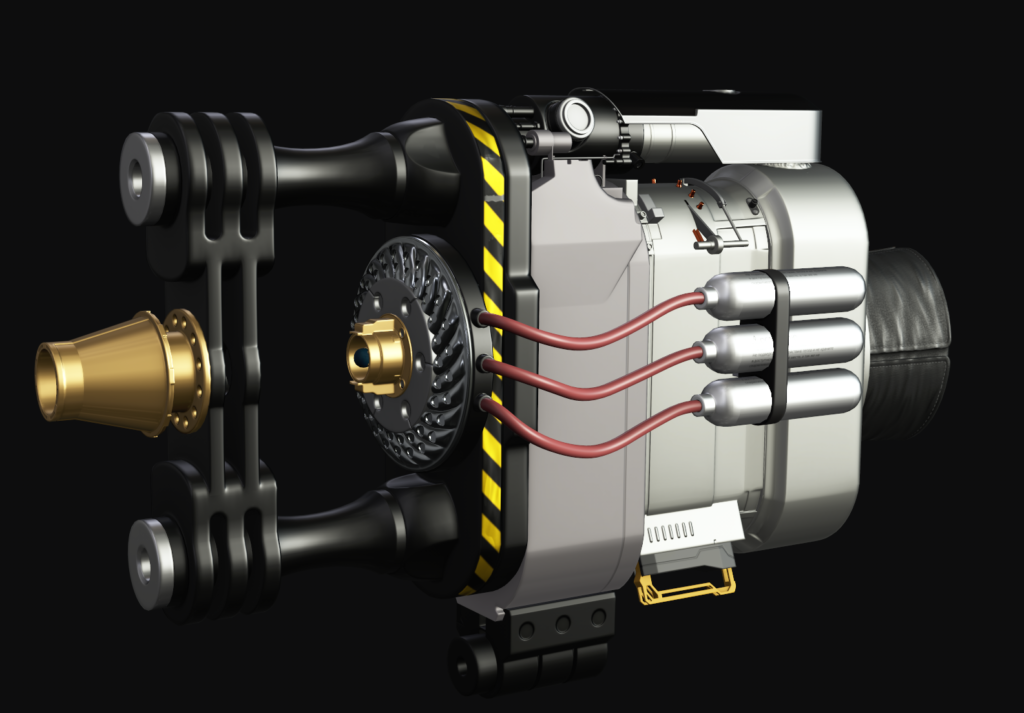
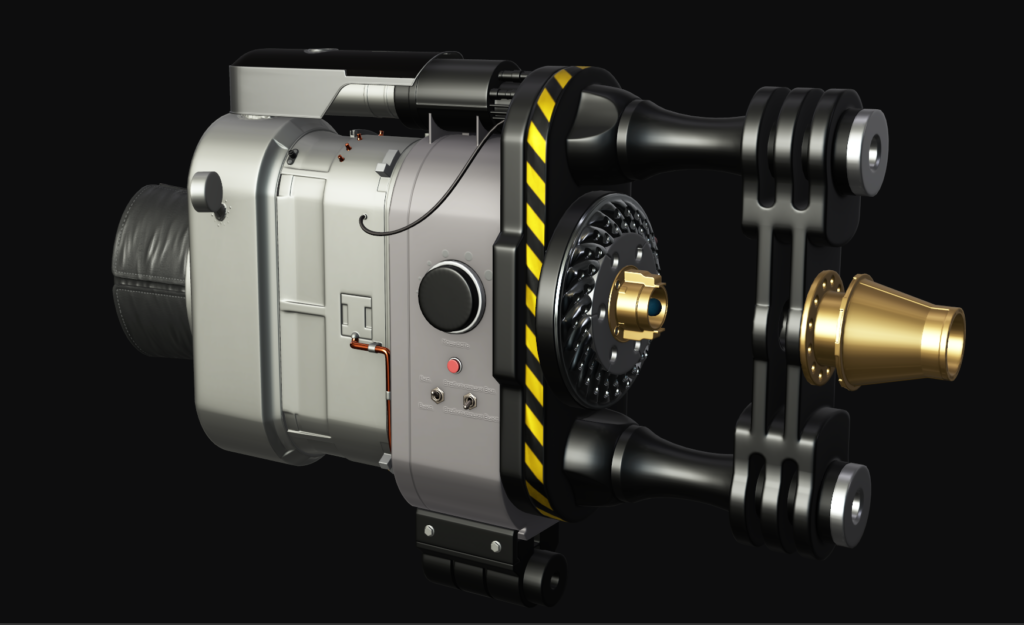
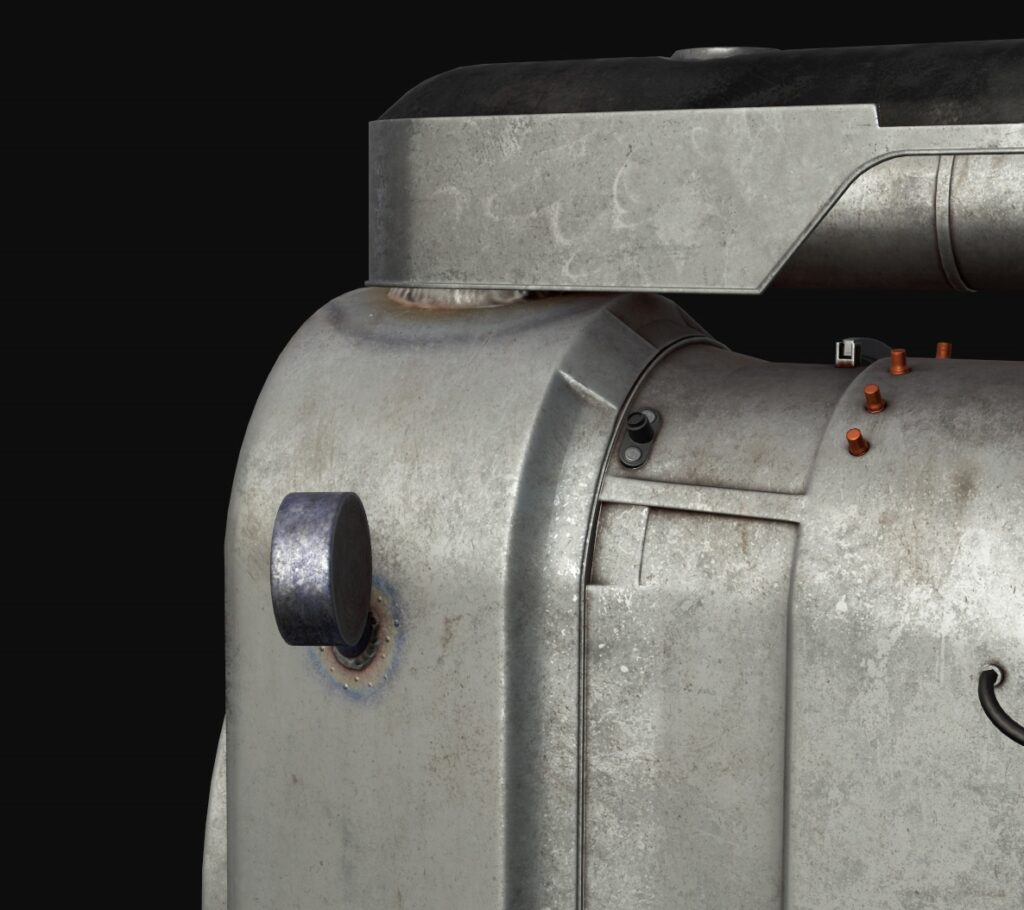
I started to adjust the lighting with a classic three-point, if there was not enough light for any angle, then I added lighting to dark areas as needed.
After rendering, I do a little post-processing in Photoshop using Camera RAW.
Conclusion
Thank you for reading this article.
I hope this will help or inspire you artists to create something cool.
Read more articles
You might also like these articles.