Introduction
I'm Sougato Majumder, currently working at Avalon Corp as a Senior Artist. I am a Character Artist with over 10 years of experience in the industry, working on various AAA titles like Mortal Kombat 10, Mortal Kombat 11, INJUSTICE 2, OVERKILL'S THE WALKING DEAD, MARVEL'S AVENGERS, RIDERS REPUBLIC, etc.


Inspiration
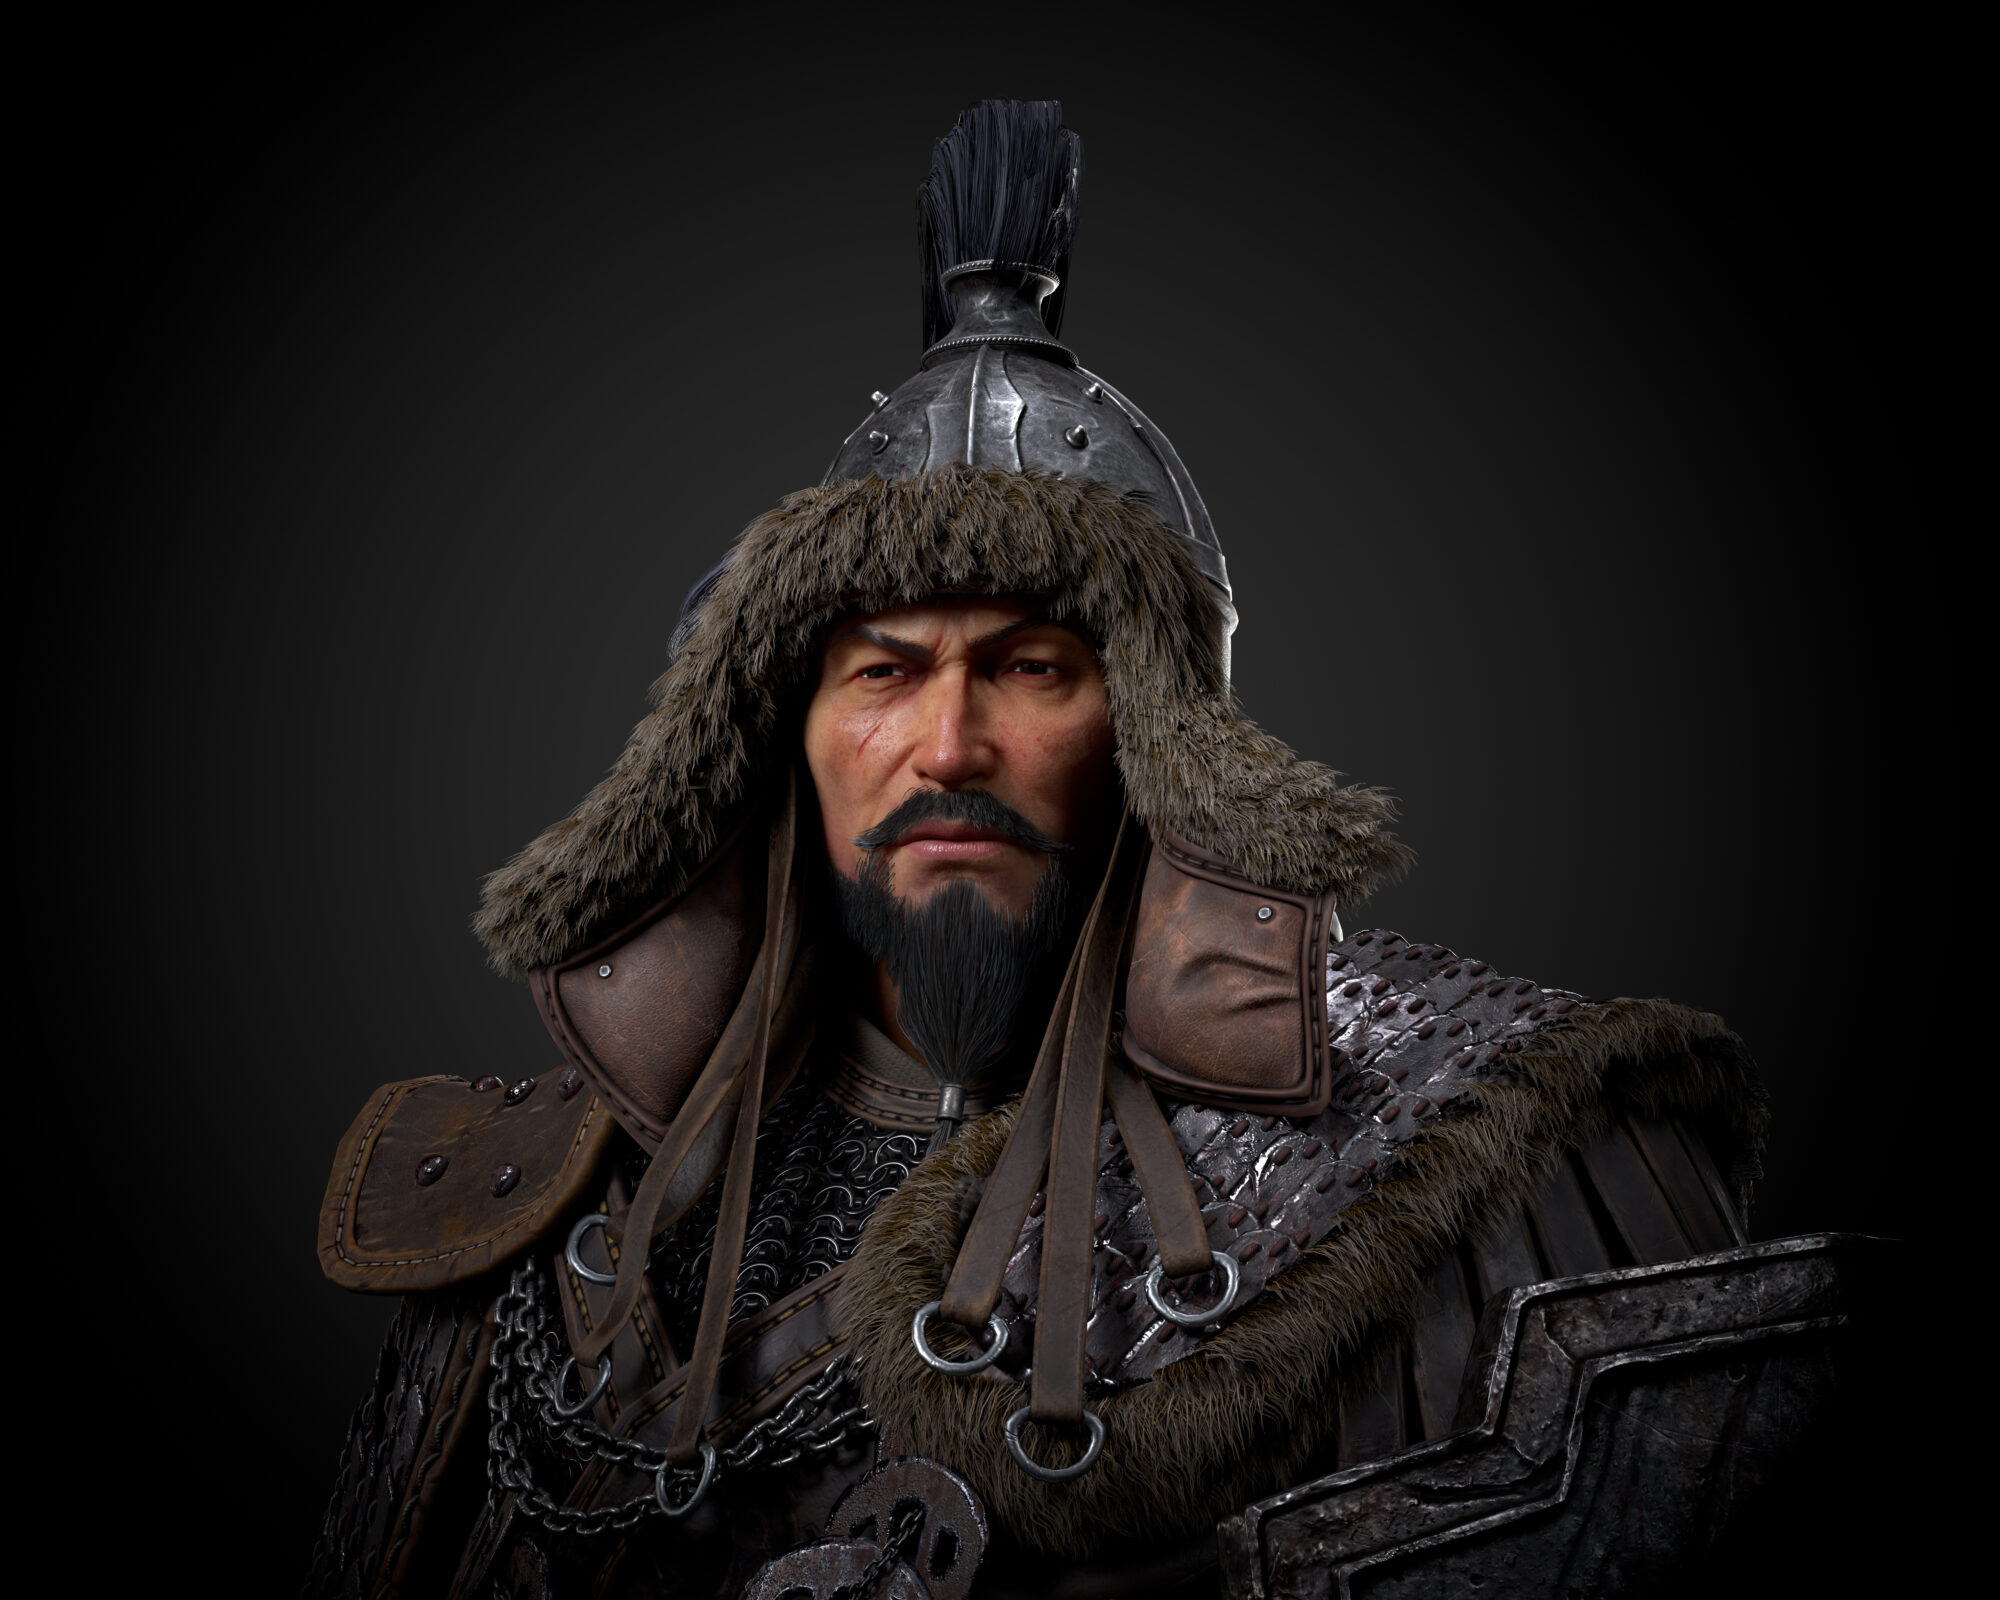
Firstly, I love Gianluca Rolli’s work! Each and every piece he creates is unique, and I admire his artistic style. When I saw his Ottoman Janissary concept, I instantly thought of recreating it in 3D.
While working on it, I considered adding my own designs to the initial concept. Gianluca Rolli also created two other concepts related to Ottoman soldiers, which influenced my character design.

References
I conducted research on the Ottoman Janissary army, known as one of the most formidable warriors in history. In Turkish and Arabic, ‘warrior’ is referred to as ‘Ghazi.’
I even watched an incredible Netflix series called “Rise of Empires: OTTOMAN,” which provided me with a wealth of information and references. Additionally, I gathered references from various genres, such as Vikings and barbarians.

Tools
This character is not game-ready; it’s a high-poly sculpt entirely created and rendered within ZBrush and composited in Photoshop.
I have developed my own process and technique for painting inside ZBrush and use the sculpt’s curvature for texturing surfaces. The clay renders were generated using Keyshot.
Software
- ZBrush
- Autodesk Maya
- Keyshot
- Photoshop
Blockout
I begin with my own base mesh and use a simple technique for blocking out. I mask and extract, then work on shaping the character. I assign respective Polygroups and start defining the volume and shape according to the character’s proportions.
I consider ‘Blocking’ as a crucial part of character creation and invest a significant amount of time during this phase. Secondary details, props, armor, clothing, etc., are added based on the blocked-out volume and proportions of the character.
During this phase, I do not focus on micro-details, patterns, or damages. After completing the blockout, I add divisions and move on to the next level of sculpting and detailing.

Sculpting
Sculpting is akin to meditation for me, and during this phase, I emphasize the design and storytelling aspects of the character. I brainstormed ideas on how to enhance the existing design/concept.
I use brushes like ClayBuild Up, Move Topological, Clay, ClayTube, and DamStandard extensively. I’ll share a few of my sculpting tips and tricks.
I use ‘Polish by Features‘ to achieve clean shapes by toggling the white dot at the end. This helps me work on hard surfaces and refine shapes more accurately according to Polygroups.
I combine respective SubTools and then DynaMesh the part to continue sculpting. For sculpting the armor, I mainly used Michael Vicente’s “Orb Brush pack” and a few default IMM brushes available in ZBrush. I also created an IMM brush for this project.

Tips on Detailing
Here I have shown or pointed out a few vital points I follow through when I am sculpting and detailing my characters.
My own personal pipeline is very simple and it involves major sculpting by hand and very little tech.
I also create IMM brushes of my own if need to use them as modular pieces.

While sculpting clothes, I try to keep my attention on the volume and proportion and how it is interacting with the folds.
I keep close attention on the underlying anatomy of the character, and for using patterns and surface noise it is a good thing to unwrap the piece for applying them in the high poly stage.

Also, it is a great practice and habit to gather resources from everywhere on the internet.
I go through pages like Artstation, ZbrushCentral, or CGSociety and try to gather as many resources as possible, such as Zmaterials, Zbrushes, alphas, shaders, etc.
Sculpting the armor was really fun. The concept indicates a sharp, edgy design. I masked out and blocked the desired shape and then started to sculpt further on the surface by extracting different shapes from the mesh.
At times, for a rough curvature, I also ‘dynamesh’ a set of meshes by combining a few subtools together and then continued sculpting on it.

Texturing
I primarily use the Masking system in ZBrush for Polypainting. It’s highly effective. For materials, I have a vast collection downloaded from the Pixologic website.
I experiment with different materials early on and start rendering to determine which materials I’ll use for the final renders. Here are some images demonstrating how to apply masks and different shades of color effectively for Polypainting.


Rendering
When rendering in ZBrush, I use BPR renders and take multiple renders, which I then composite in Photoshop. I also use the masking system in Photoshop to specify different materials like metals, gold, gemstones, etc., on the character.
I have a substantial material library in ZBrush, downloaded from the official ZBrush website. Here’s an example of how I use ZBrush and Photoshop to render my final output.

For clay renders, I usually use Arnold, but recently, I’ve started rendering in Keyshot, which also yields good results.
The rendering process is straightforward.

Here is a video that provides a visual demonstration of my workflow.
Conclusion
- Gathering references and expanding the visual library during character creation is crucial, and significant time should be invested in this pre-production phase.
- The blocking-out phase is the second most important stage. Maintaining volume and proportions is vital, and a complete focus on the character’s anatomy is essential during this stage.
- Detailing should be well-distributed and not rushed. While detailing is tempting, it’s important not to make characters overly busy.
- Texturing breathes life into characters, so understanding materials and surfaces is highly important during the texturing process. Textures should receive the utmost attention to achieve the desired effect.
- Finally, rendering is the last and most important stage that makes any character stand out. Invest the necessary time to achieve top-quality results, considering the role of ‘Lighting’ in rendering any character.


Read more articles
You might also like these articles.