Game Boy


Introduction
My name is Carla Albertelli, and I am 21 years old. Currently a student at New3dge in Paris, I began these studies because I became interested in digital art, specifically 3D, and ended up falling completely in love with the profession.
It's been two years now since I started with 3D, and I owe my progress to New3dge, which allowed me to acquire solid skills and a good workflow.

Project
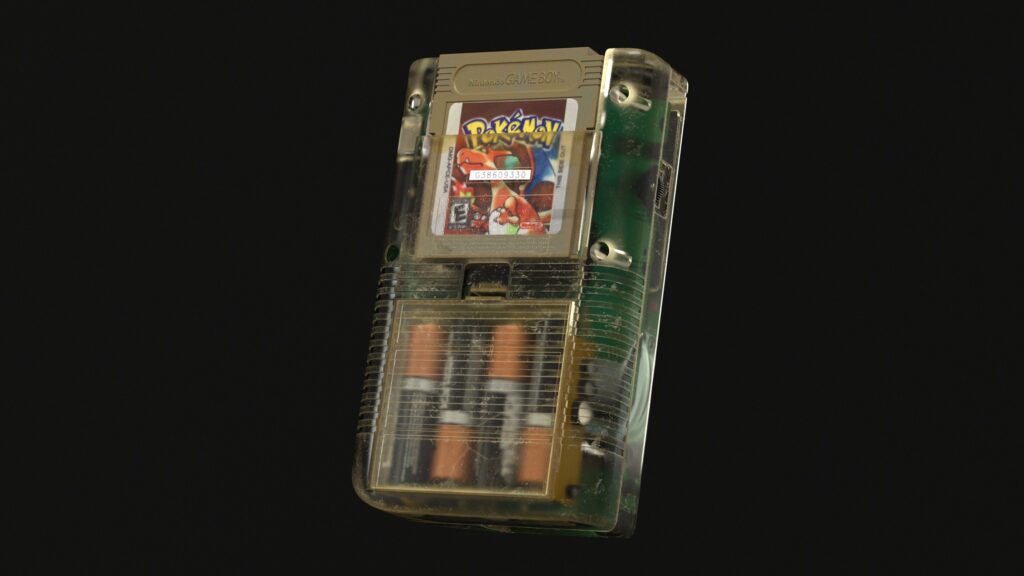
I completed this project as part of a semester project at my school, working independently. I chose to recreate a Gameboy in memory of my childhood with my older brother, watching him play on his Gameboy Color.
My goal was to create a more ambitious asset and push my limits in a relatively short amount of time.
Tools
For this project, I used:
- 3ds Max
- RizomUV
- V-Ray
- Photoshop
- Substance Painter
Research and References
I spent several hours researching high-quality references to start my project. This was essential for understanding the object and getting as close to reality as possible.

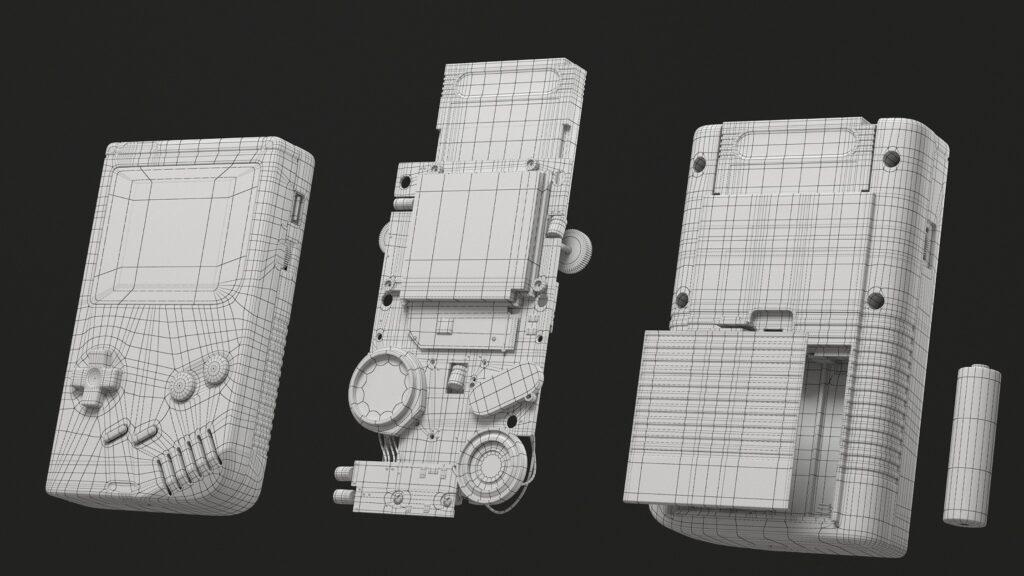
Modelling
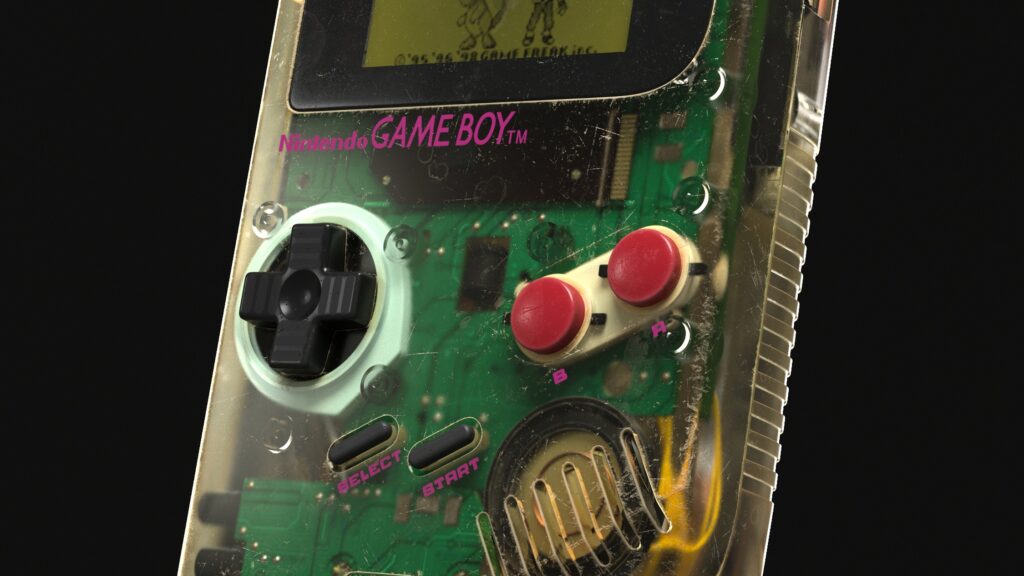
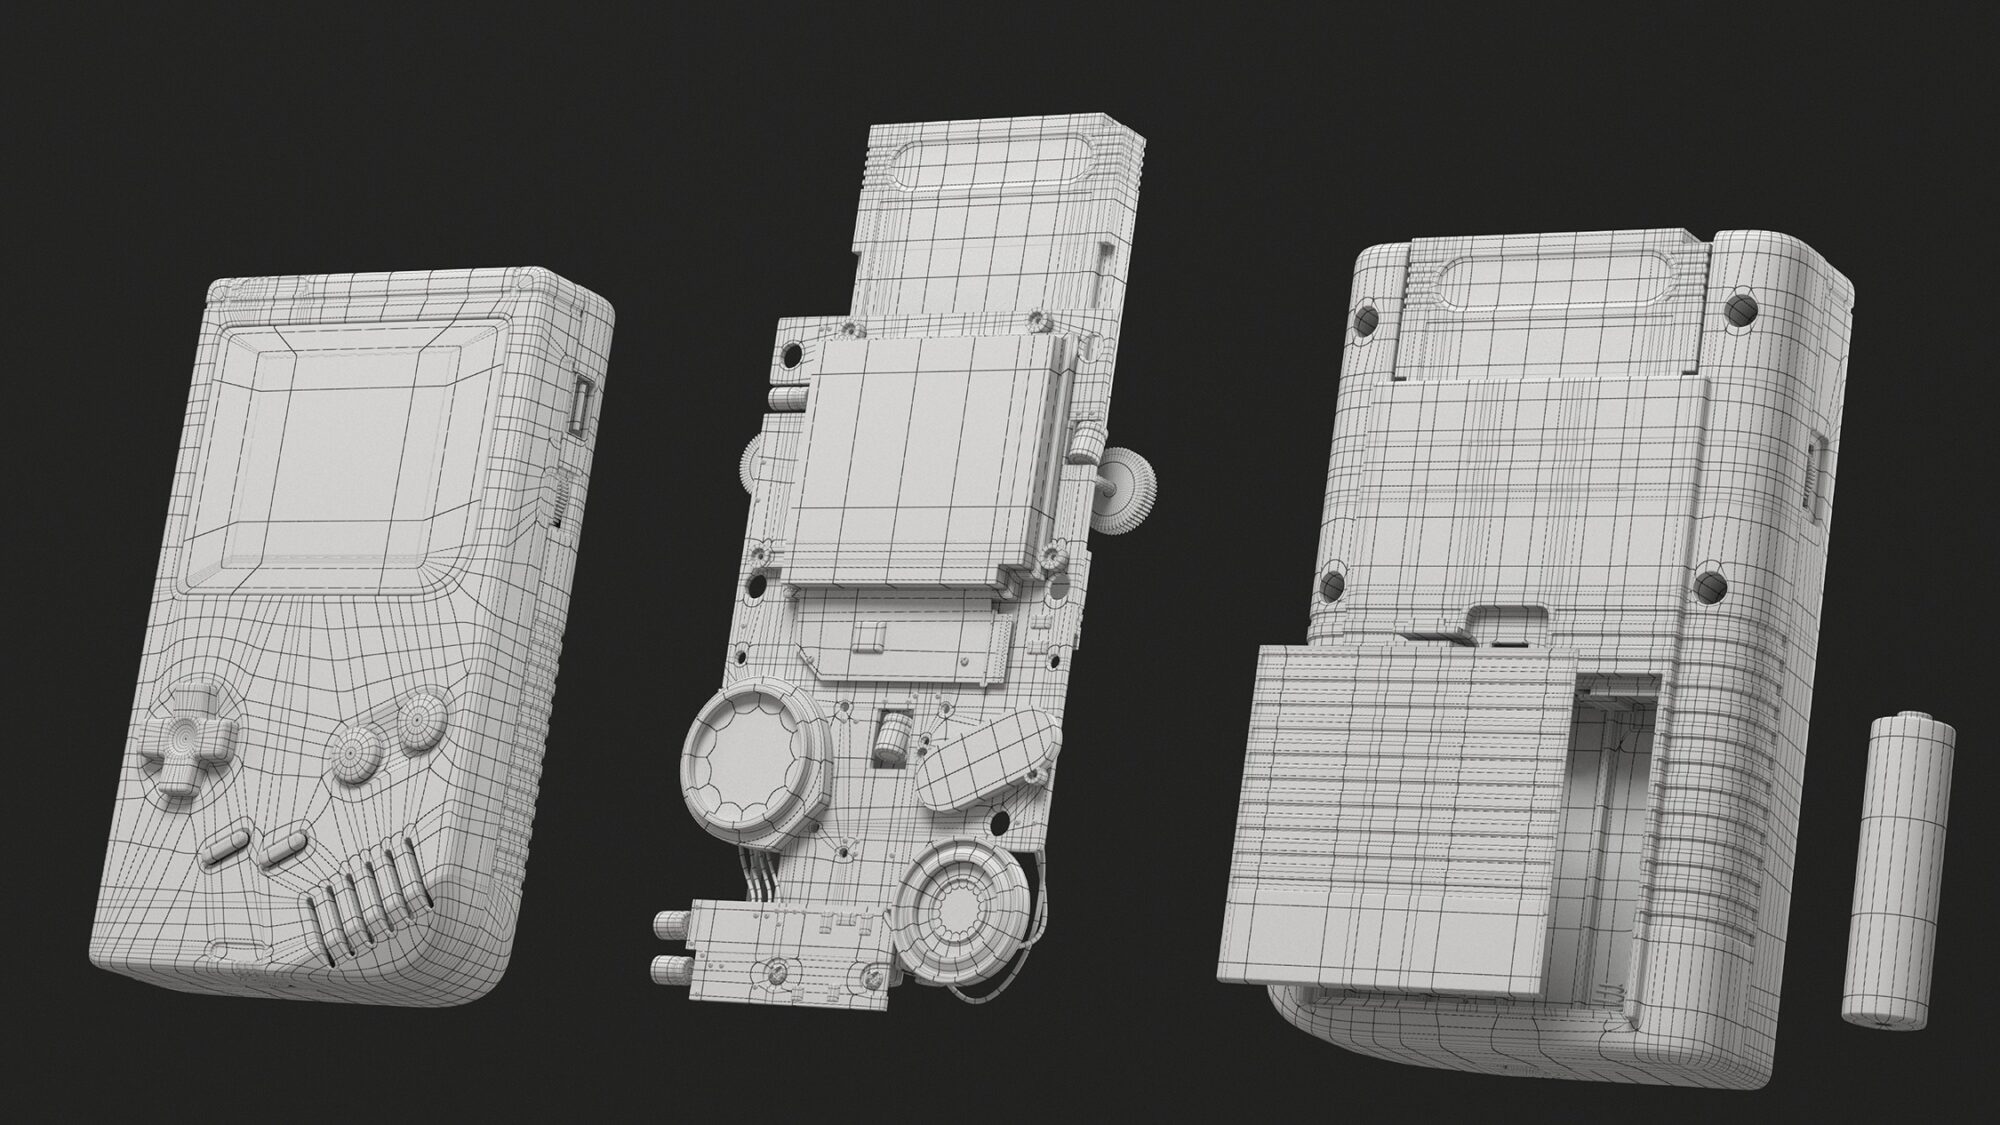
For modeling, I used 3ds Max. The biggest challenge was modeling the Gameboy casing because it’s an extremely well-known object, and any shape error would quickly make the object unrealistic.
Since the Gameboy was going to be transparent, I had to research enough to be able to model the pieces one by one and fit them together correctly. Placement and proportion errors were one of the biggest challenges.
After modeling, I set up lighting to achieve a neutral render of my shaders and did a pre-shading in 3ds Max to get a comprehensive view of the materials I would use in the final render.
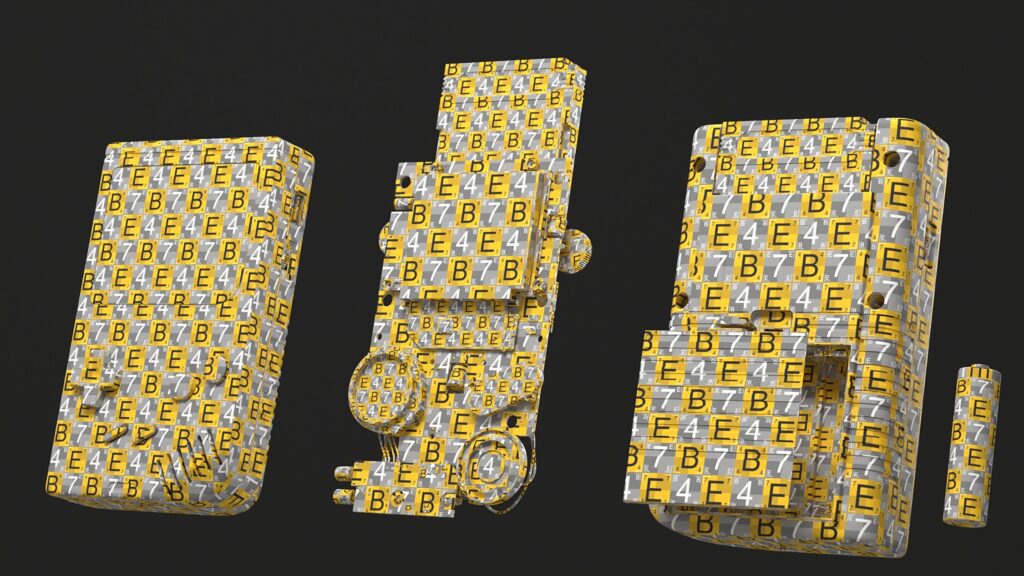
UV Mapping
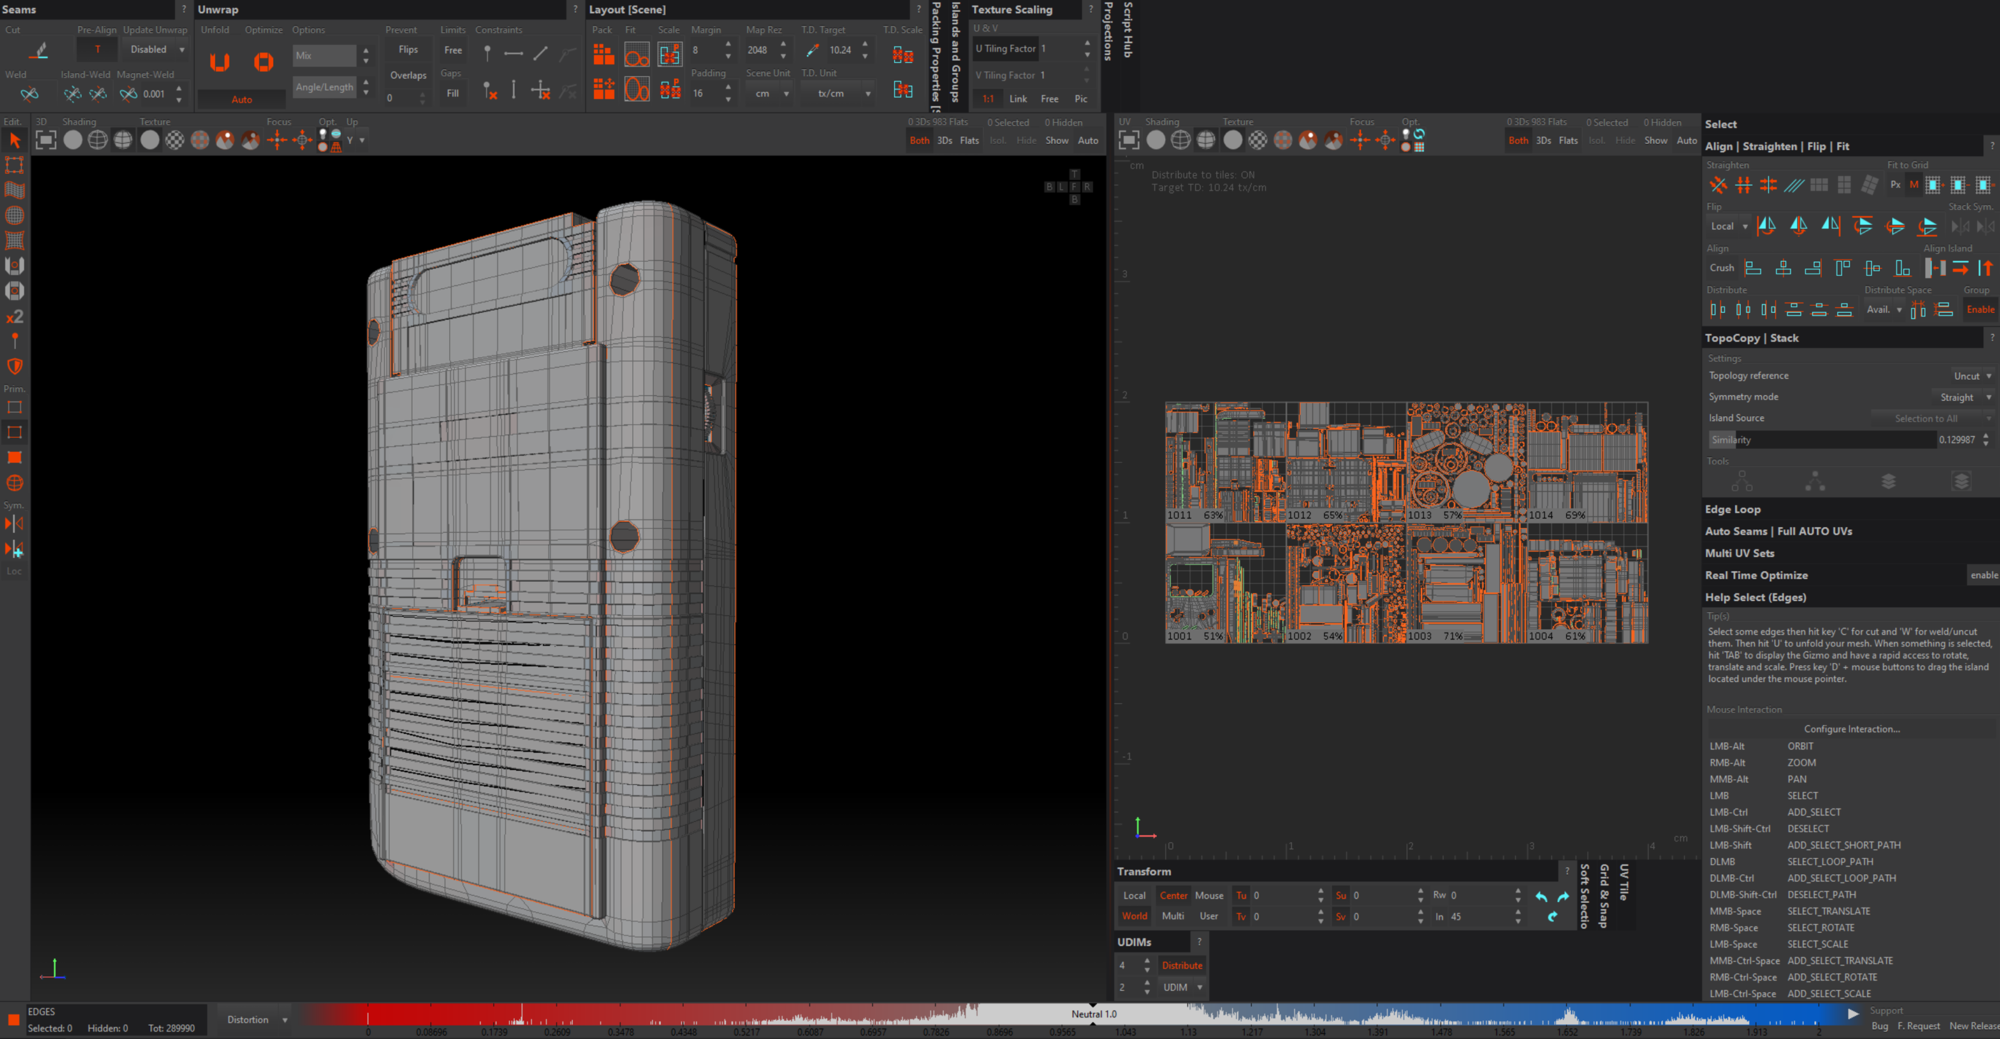
I worked on the UVs using Rizom UV software and didn’t encounter any particular problems because I had cleaned up the topology beforehand.
This step should not be overlooked because, without good UVs, the texturing will not be of high quality.
I placed my UVs on several UDIMs to achieve good quality.
Texturing
Once the UVs were done and checked, I moved on to Substance Painter to texture my Gameboy. I had to separate my Gameboy into three parts to avoid any issues with texturing: the front, the back, and the inside, since my Gameboy would be transparent.
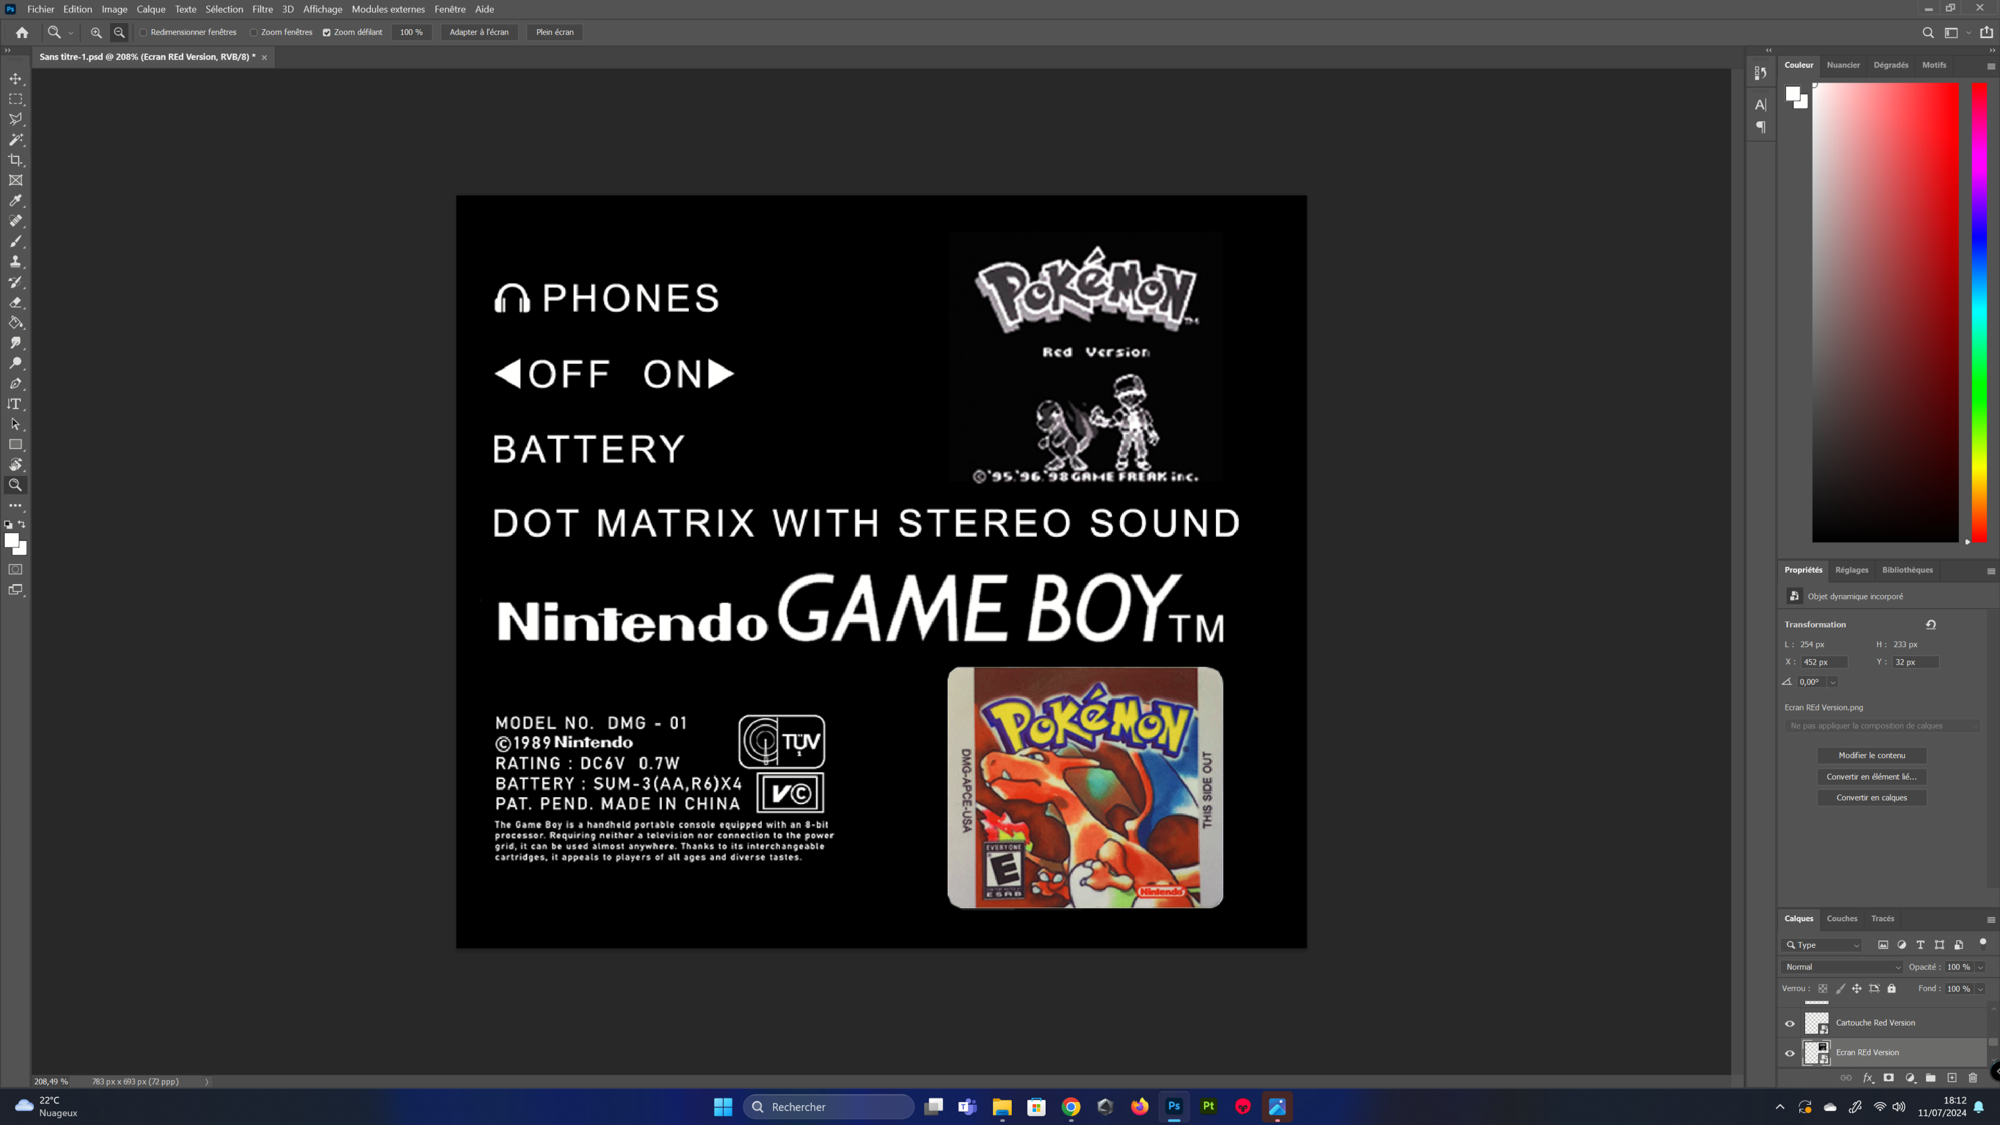
I then moved to Photoshop to create all the writing and logo decals. Once the maps were created, I imported them into Substance Painter to start texturing.
Since my Gameboy has seen some wear and tear, I had to create curvature and dirt maps to damage the plastic that is most in contact with the environment.
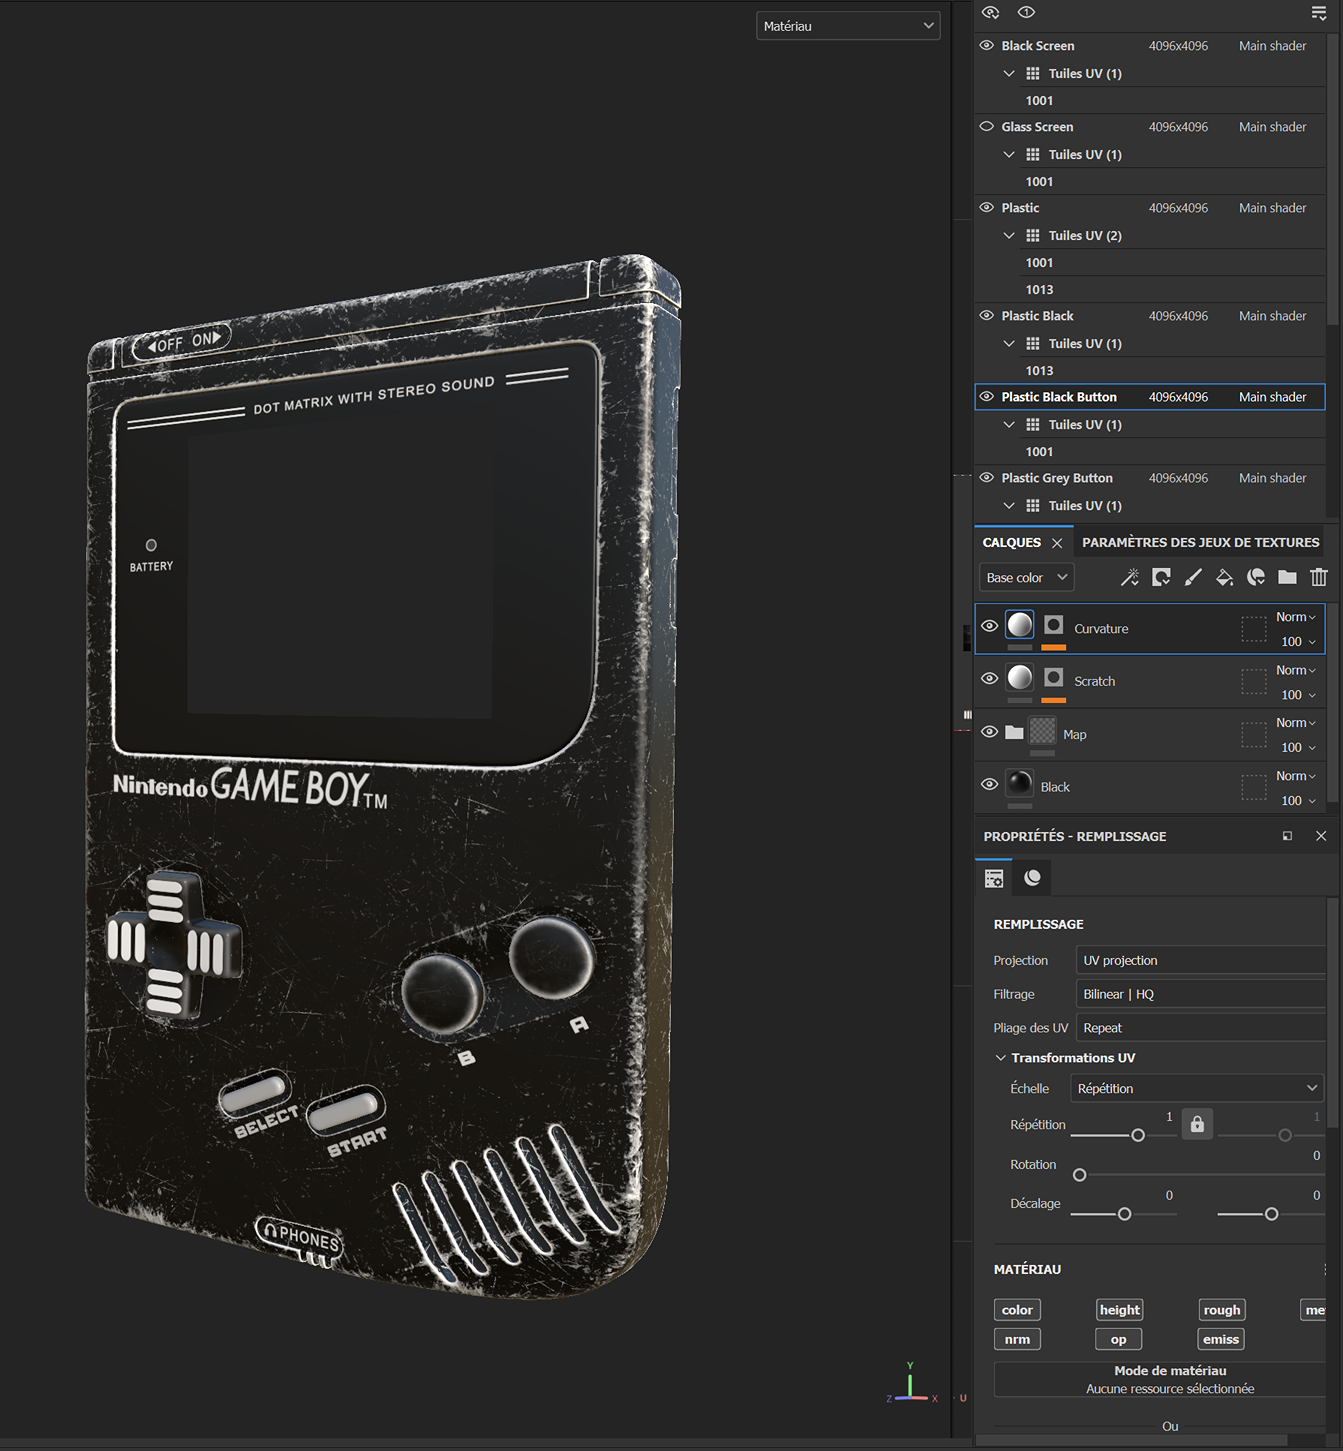
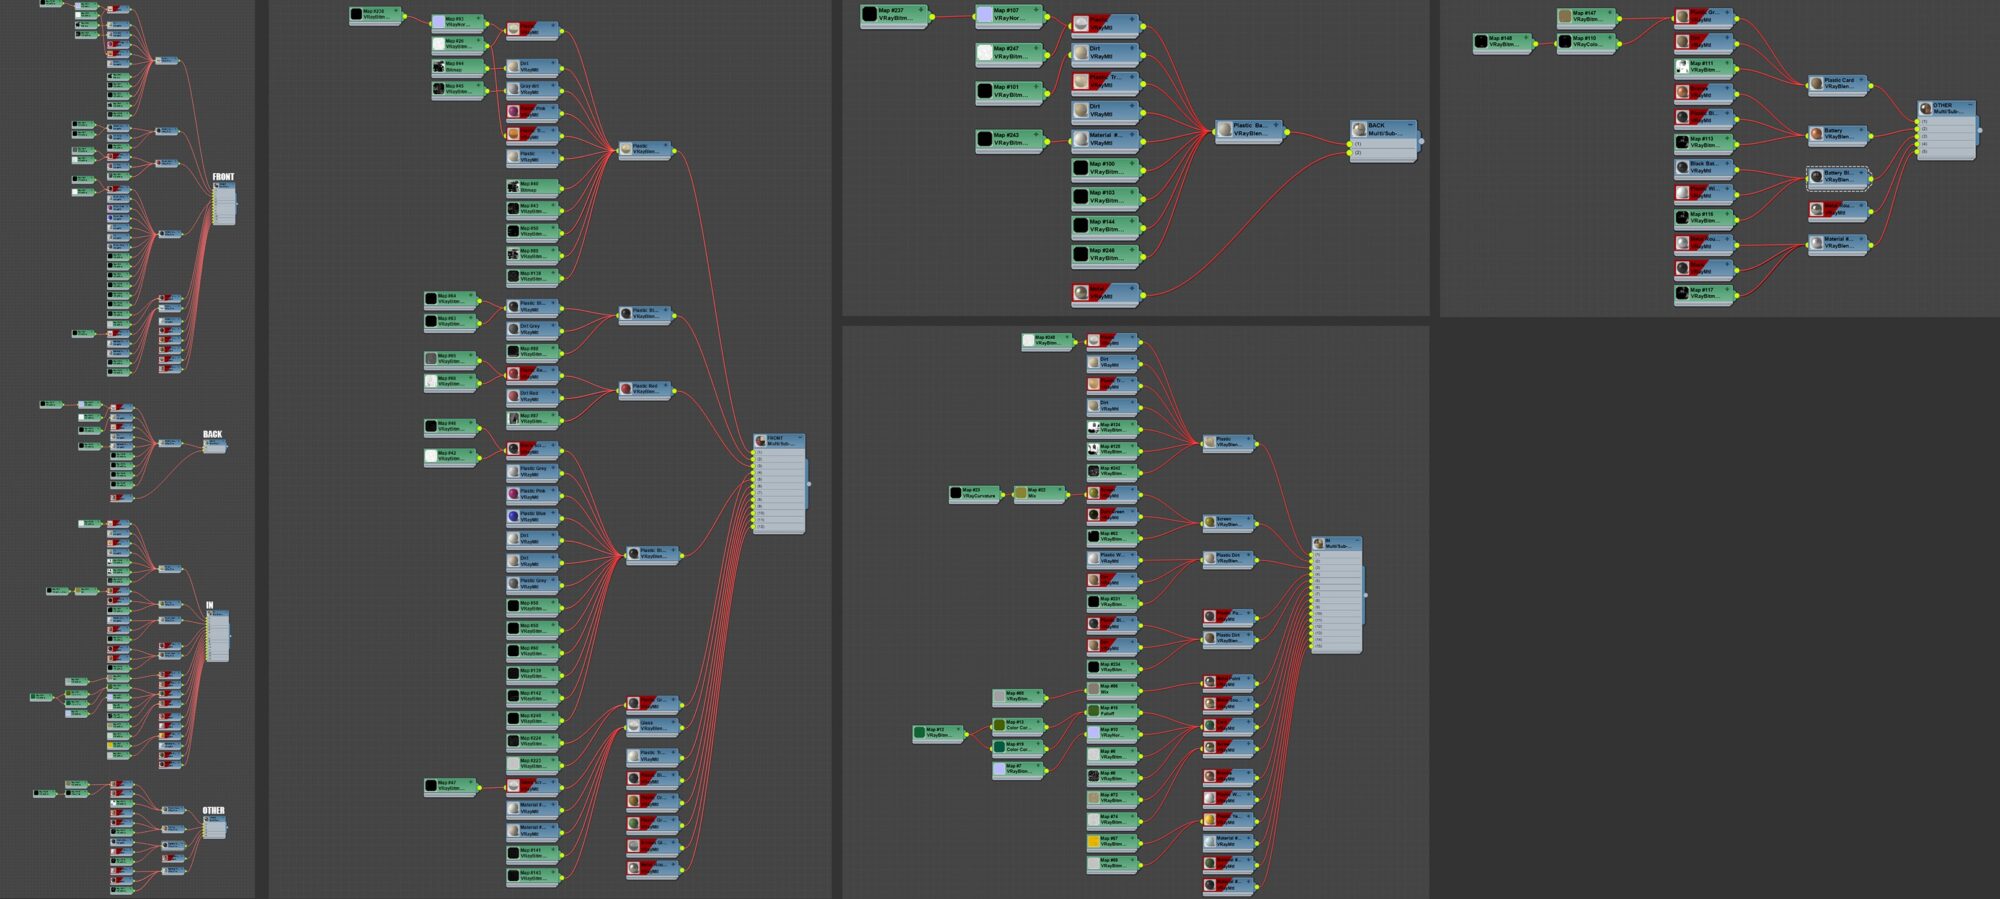
For this, I used a lot of references to achieve realistic wear. I then exported my maps in black and white and worked on them with VrayMtl for the materials.
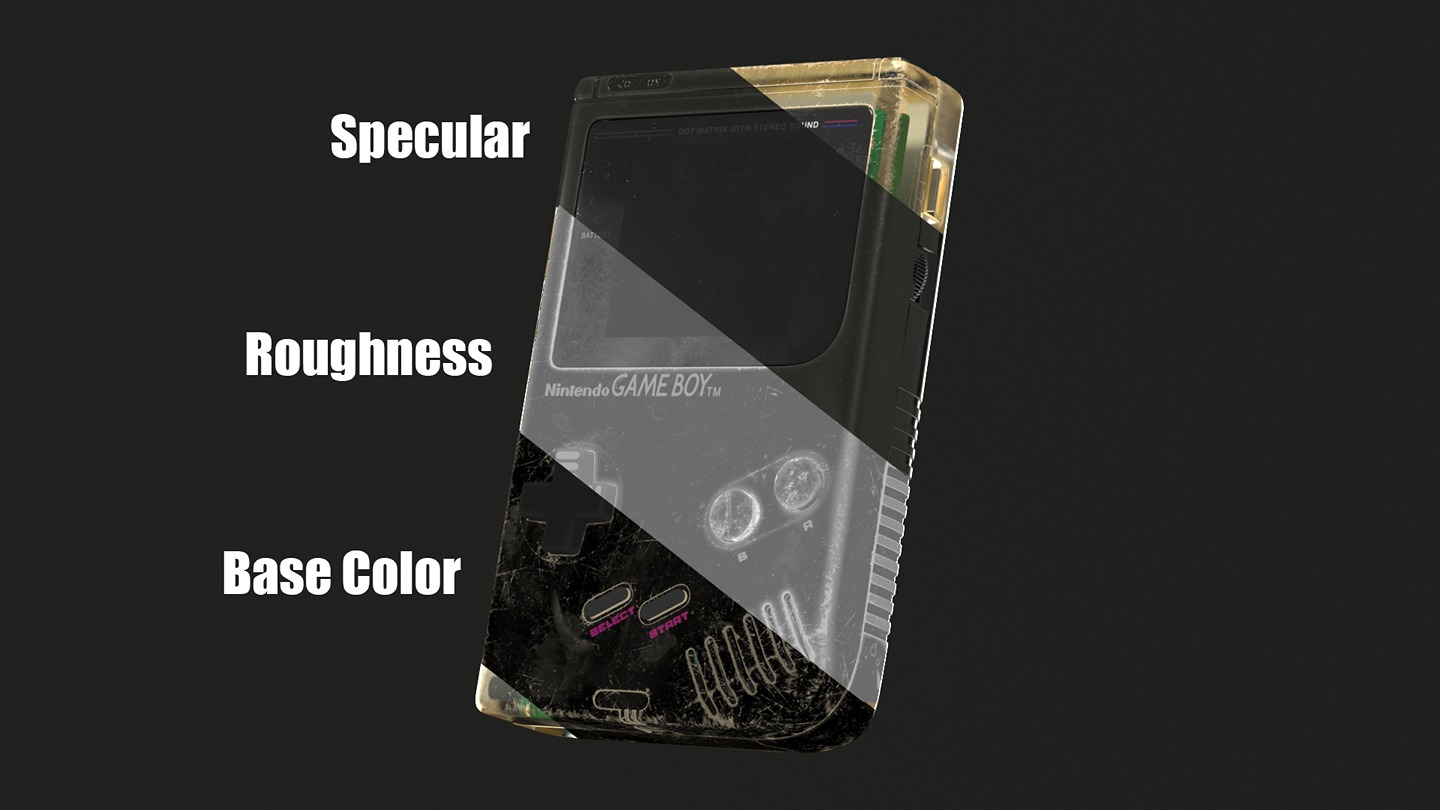
I adjusted numerous parameters and created maps to simulate the wear and yellowing of the plastic over time. I focused a lot on the transparent plastic to give it the most realistic look possible, which was not the simplest part of this project.
Texturing is one of the most enjoyable parts for me, and I find real pleasure in giving objects a sense of history.

Lighting
Once texturing was completed, I prepared my scene to achieve more interesting lighting.
I also relied on existing lighting for this step, choosing references and trying to reproduce them.
Rendering
Finally, we come to the end of the project, the rendering stage.
Since it’s a transparent object, the rendering time is long, but it’s always very satisfying to see the final result.
Advice
If I had one piece of advice, it would be not to neglect references because they help to understand the object and its history.
I would also say not to hesitate to ask for advice because after several days or weeks on a project, it’s important to have a fresh look at what we’re doing.
Read more articles
You might also like these articles.