Introduction
Hi everyone, My name is Emran Bayati I’m an environment artist, I’ve been in the industry professionally since 2018, started my journey in Codemasters, and worked on Grid and F1 franchises. I joined Starbreeze last year and started working on PayDay 3.


Goals
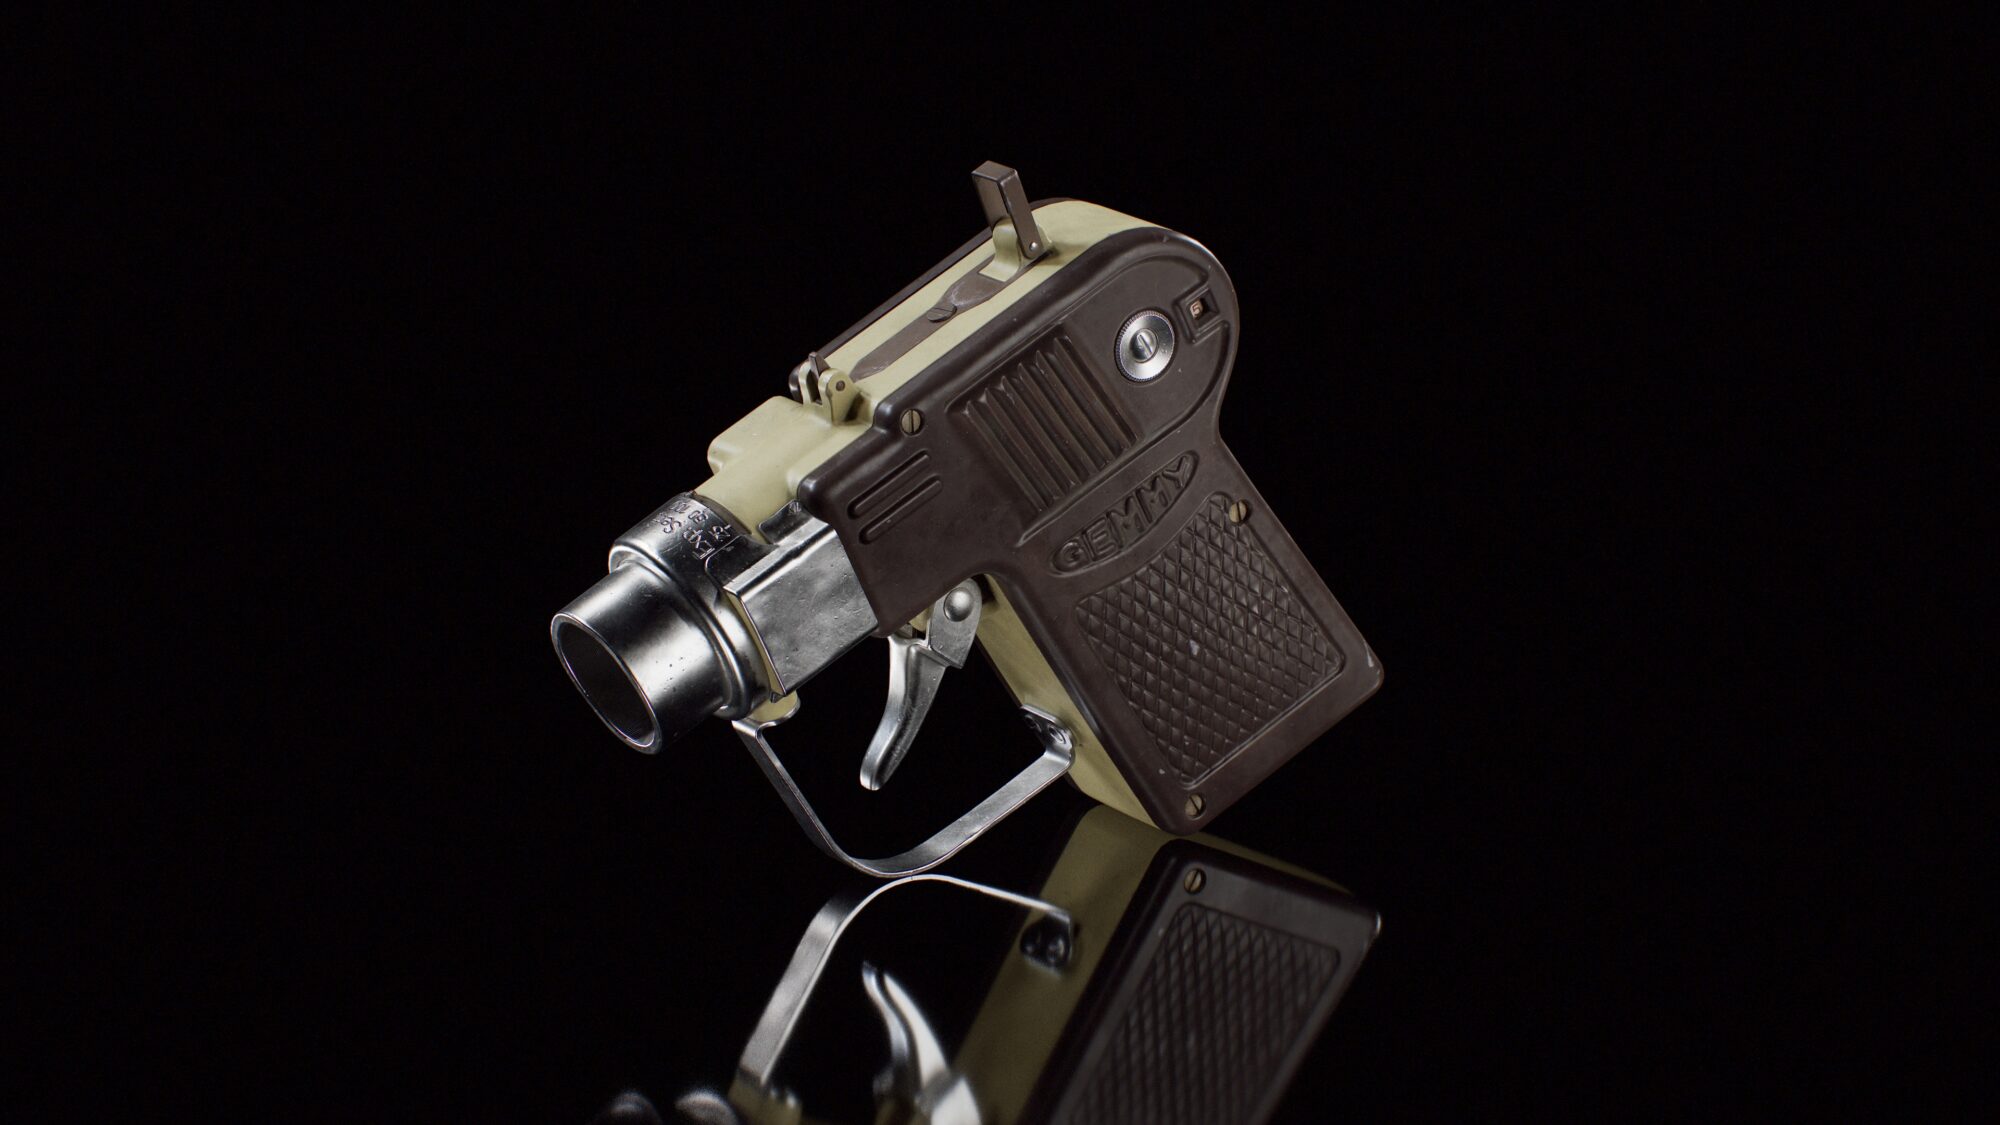
Most of my portfolio is focused on the environment and I wanted to try something different, maybe a hero prop. I mainly had two intentions when I wanted to start this project: to challenge my design abilities and to see how much I can push for texturing and rendering.
References and Design
I usually make a list of keywords when I want to make something new and use art station, and Pinterest as my main reference/inspiration resources. Among all the keywords and ideas I was investigating, I found “Hand Made” and “Hard Surface” more interesting than the others.
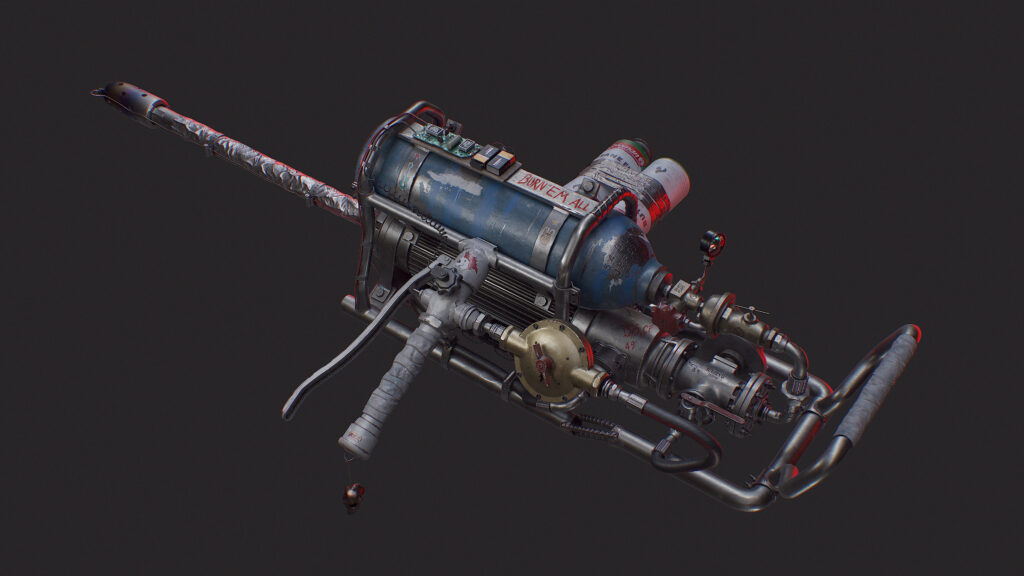
Also looking into Metro Exodus helped a lot to form the idea of making a post-apocalyptic hand-made flame thrower. So I started to make a ref board.
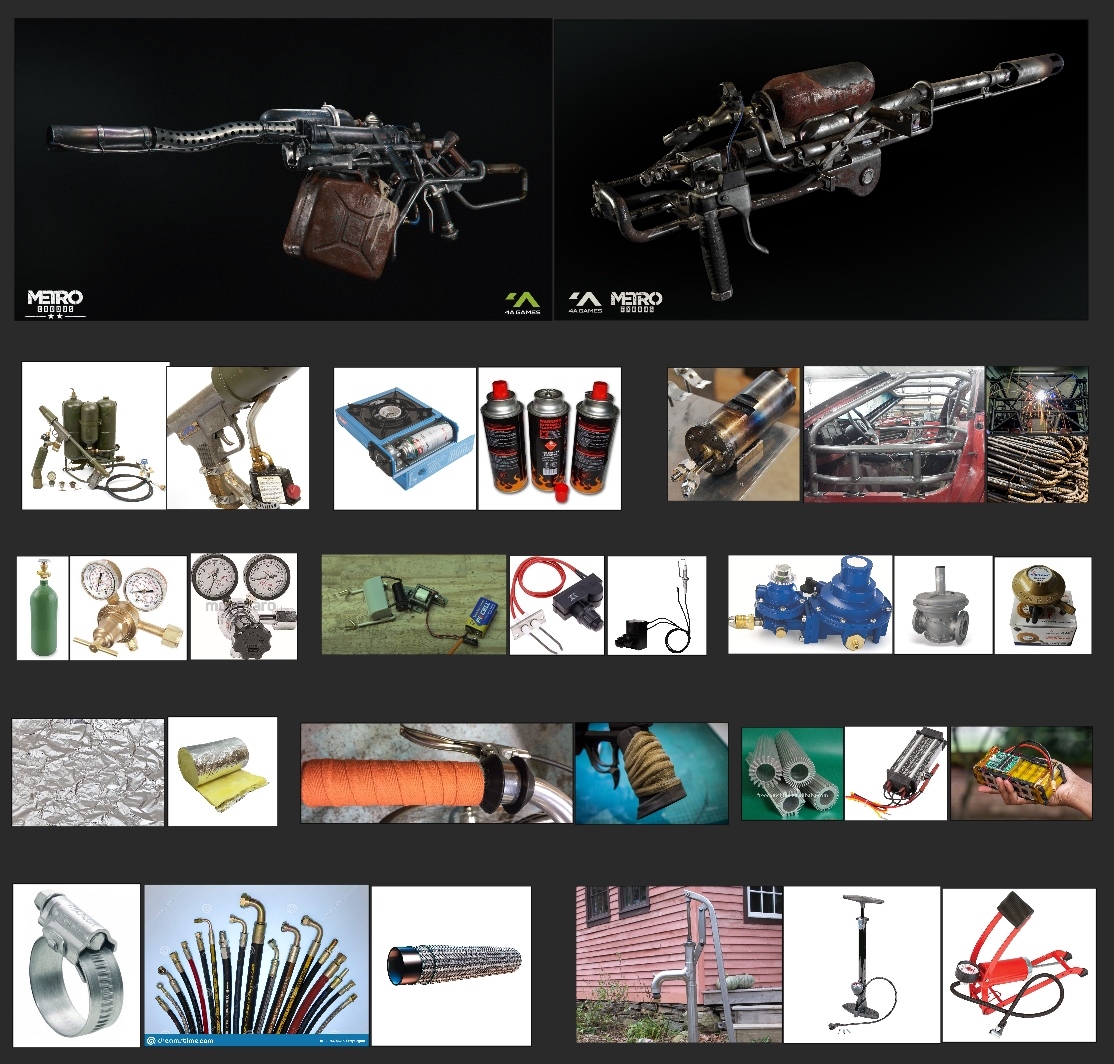
“Form Follow Function” is a basic design principle, your design should be functional and every part and shape should serve a purpose. This will give you a guideline, something to start with. Therefore it was essential to see how the flame thrower worked and each part’s purpose.
Blockout & Modelling
I take the Blockout/Modeling stage into 4 steps:
Basic Blockout: Very flexible, define large forms, keep it loose
Refine Blockout: Somewhat flexible, define mid forms, don’t mind topology, use simple primitive shapes
Basic Modeling: Not flexible, define small forms, mind topology
Refine Modeling: Final high-poly model, define fine details
I decided to use Zbrush and develop a wider tool belt and try different approaches. Therefore I used a mix of Boolean, Zremesh, and poly modeling.
Here you can see a quick example:
With this approach, you will have a subdivision history that could be a start for your low poly as well based on how much poly count would matter. On top of this, you always can retopolgize your mesh.
I used a mix of both, however, I used Maya for doing that. The tool is called “Quad Draw”.
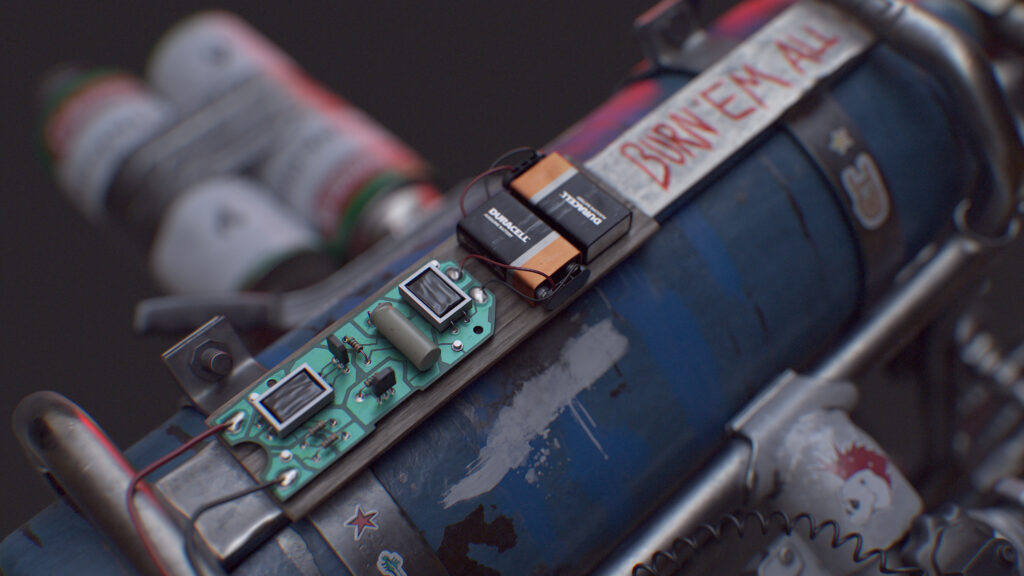
A tip to keep in mind when doing a hero prop with close-up renderings; You would need at least 80-120 px/cm texel density in order to express the fine details.
Also, try to unify and keep the material surfaces into the same material ids, metals with metals, plastic with plastics, this would help to save some layers later in painters and save some v ram while texturing.
Texturing
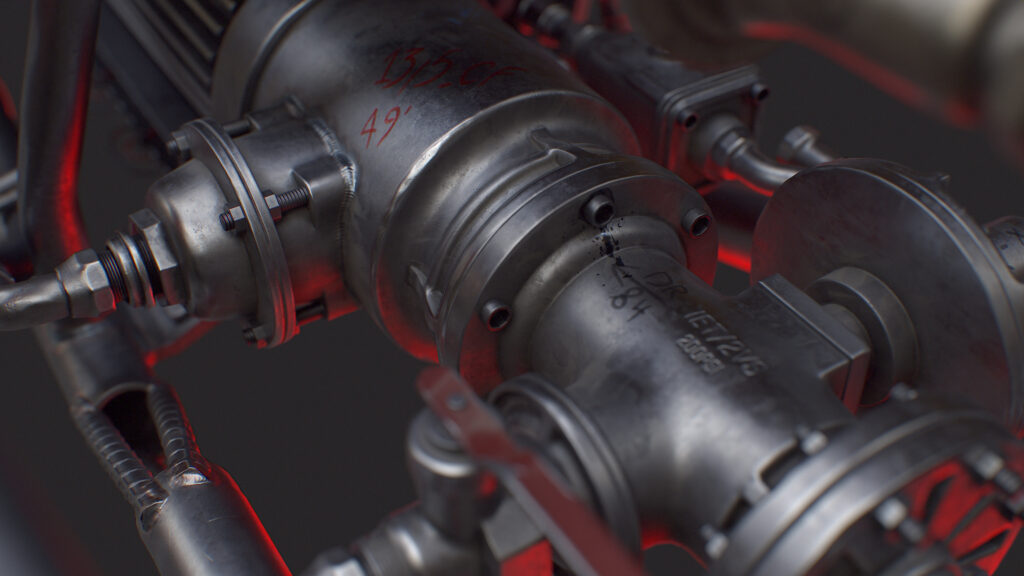
When it comes to texturing, I will use a mix of photo-scanned textures and smart materials made from scratch. Watch lots of references, try to break them down, and understand the logic, how to brush paint would leave its effect or how leak rusts down due to weathering.
If you understand how it happens, you can replicate the effect in the painter.
Painter comes with a wide variety of tools and masks that have made texturing way easier than before.
For achieving the “Steel Burn Effect”, I used “3d Distance” to make a black-to-white gradient and use that as an input to the “Gradient Filter” for mapping different colors based on black-to-white pixels.
Rendering & Lighting
I used marmoset with ray tracing enabled for rendering this project. Try different skylights, and find what would be best for your work, for me I wanted to go with something that does not have much color information as it may make your scene noisy.
I tried to set up multiple cameras with locked locations, so I would have the same angle every time. Also, I did different lighting setups based on each angle, this way I had more directed shots. I used a main white fill light and a few rim lights, this is a common light setup for presenting a prop. I went with red for my rim lights to enhance a more sinister look.
Also adjusting the light shapes would help to have softer shadows. Here you can see how custom-placed lights could help to get a more distinct look than relying on skylight only.
When it comes to presenting a single prop, I’d rather go with a more closed angle than use a wide lens.
Here you can see the difference between 18mm and 50mm lenses in practice, I find 50mm more cinematic.
With faster hardware and real-time ray tracing, accurate rendering and lighting are easier than ever.
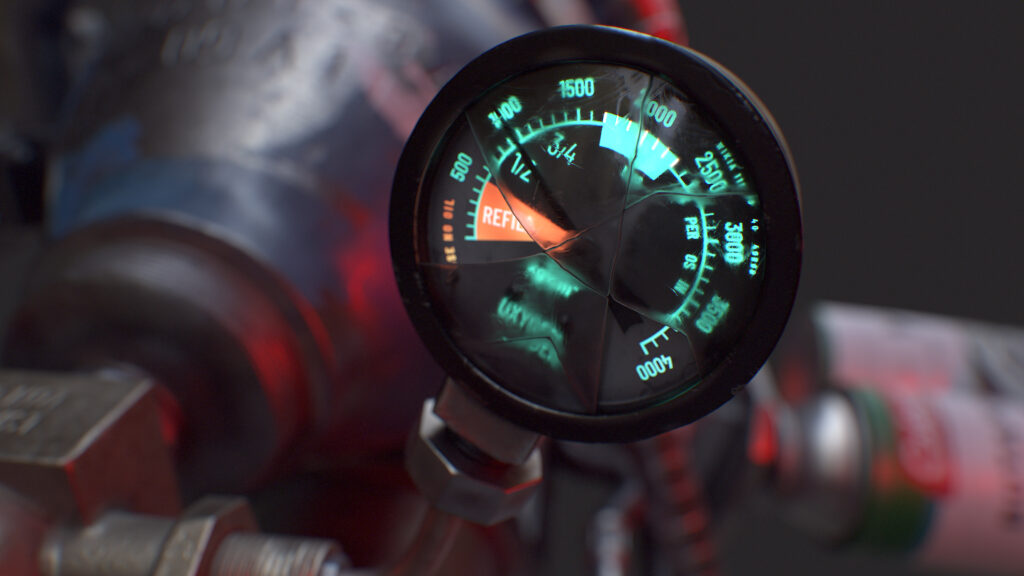
I used ray tracing to have an accurate glass surface, however, I didn’t just stick with flat and default values. I made a separate texture with a wipe/smudge effect with variations on roughness, normal, color, etc in order to have a more inline and believable result.
Here you can see the difference:
Conclusion
CG art is evolving very fast and you should try to keep learning in order to keep up with the industry.
I have just started my journey but the more I learn, the more I realize there is plenty to learn.
- Brake down each stage into passes.
- Go with smaller and more manageable things.
- Keep functionality when designing something original and don’t stick with your initial sketches.
- When texturing, constantly check your different channels, variation is the key.
- Keep learning and ask for feedback.
Thank you for reading this article, couldn’t go into much detail, but could give you an idea of how to maximize your abilities.
Cheers.
Read more articles
You might also like these articles.