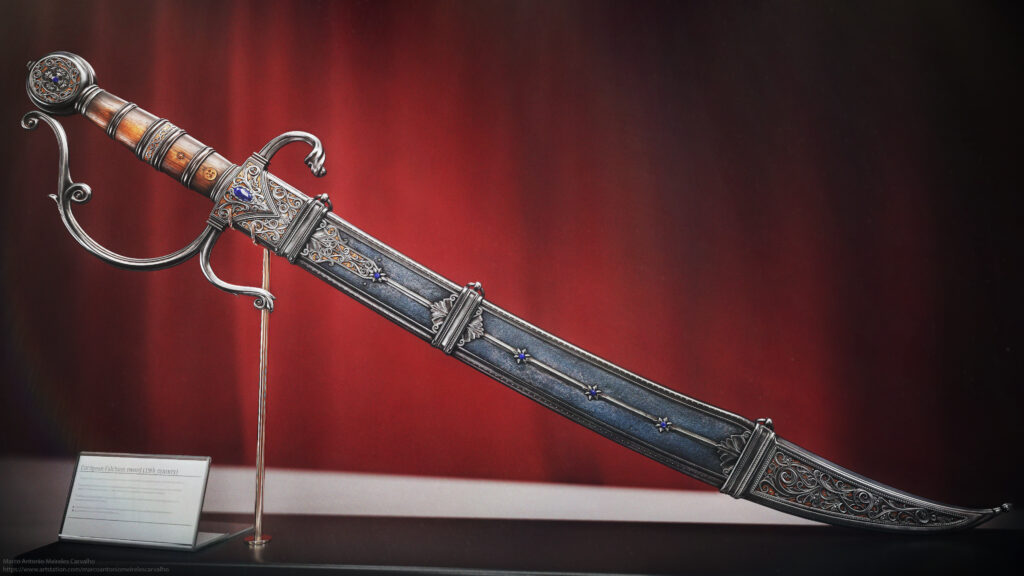
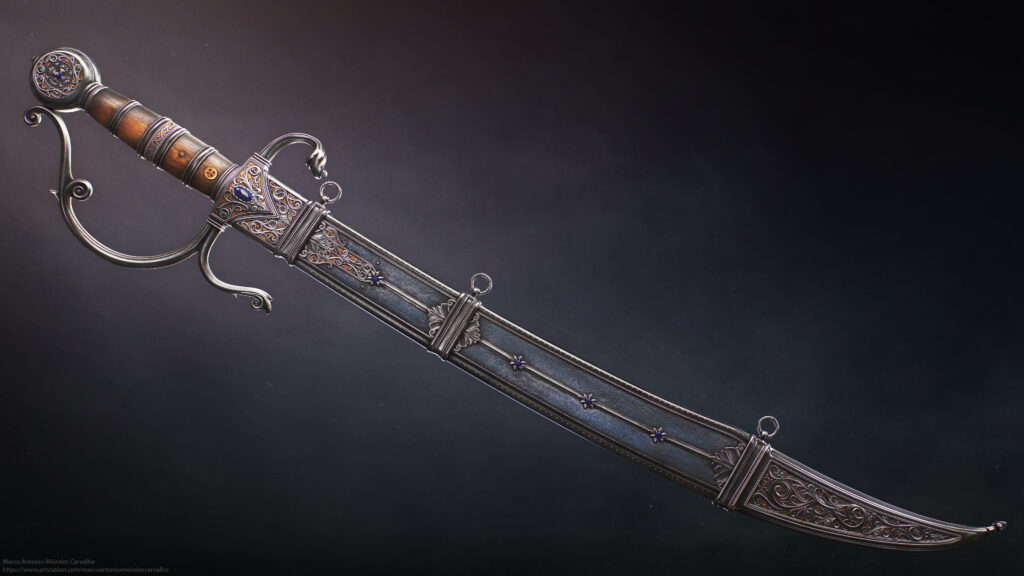
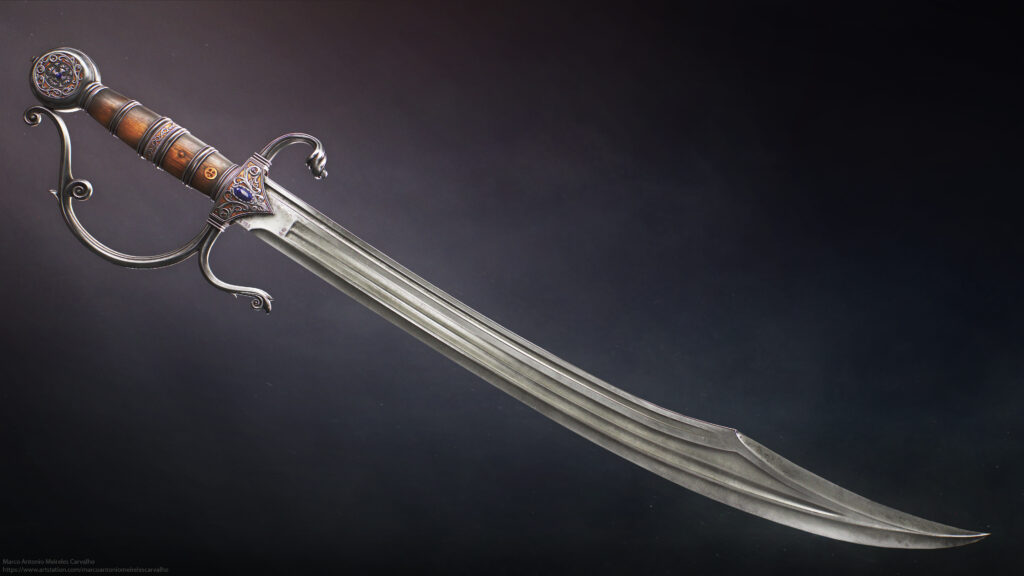
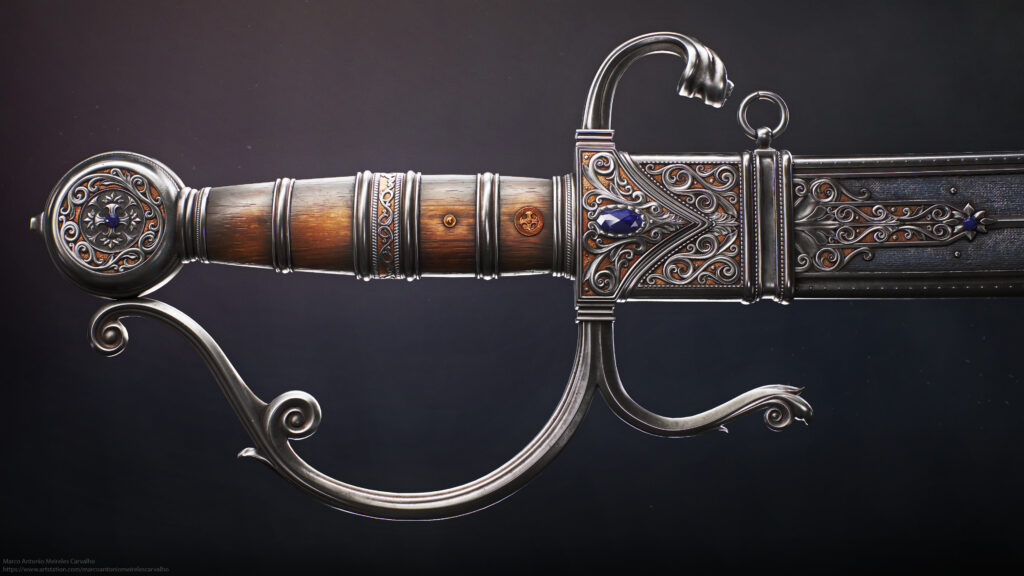
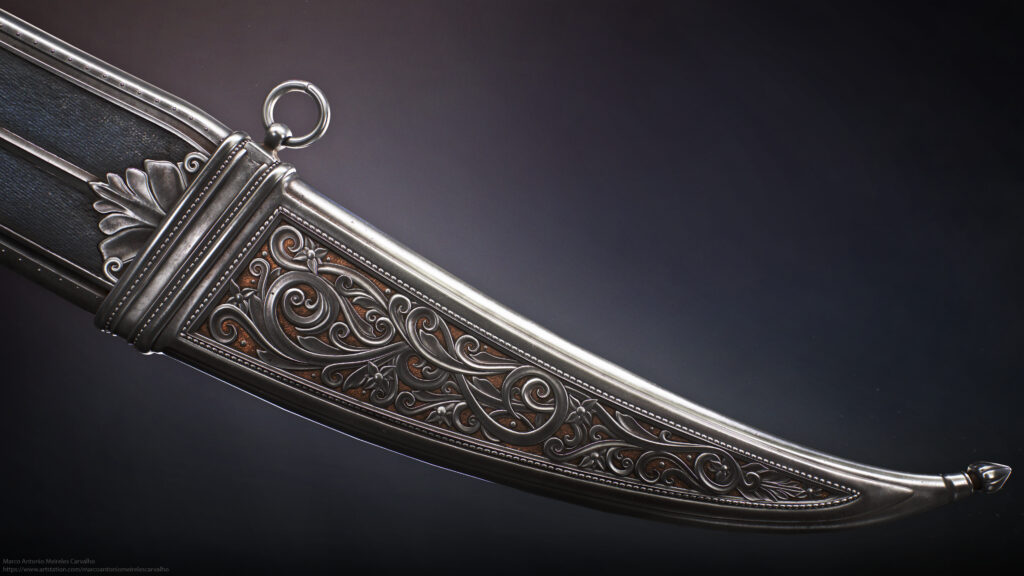
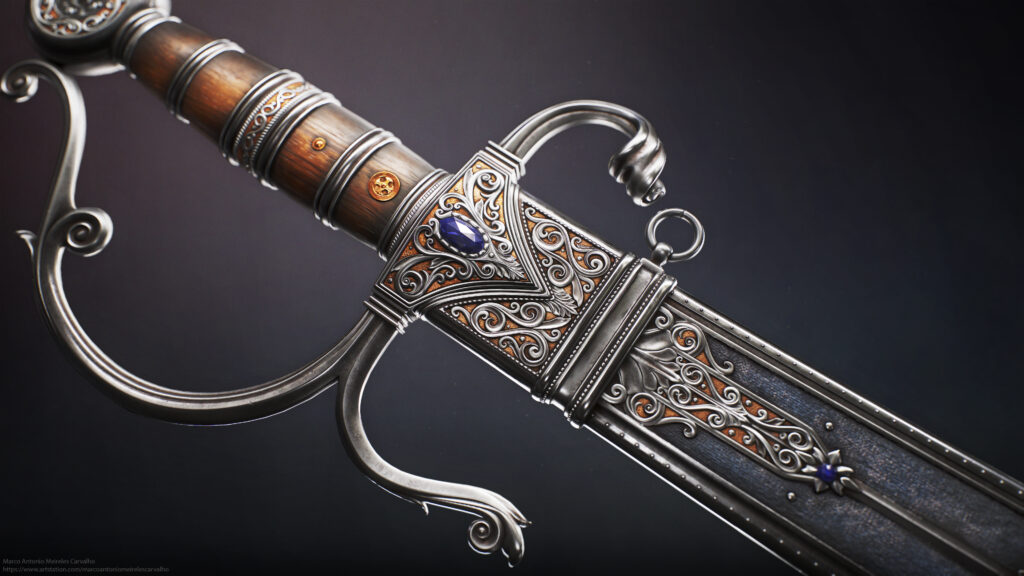
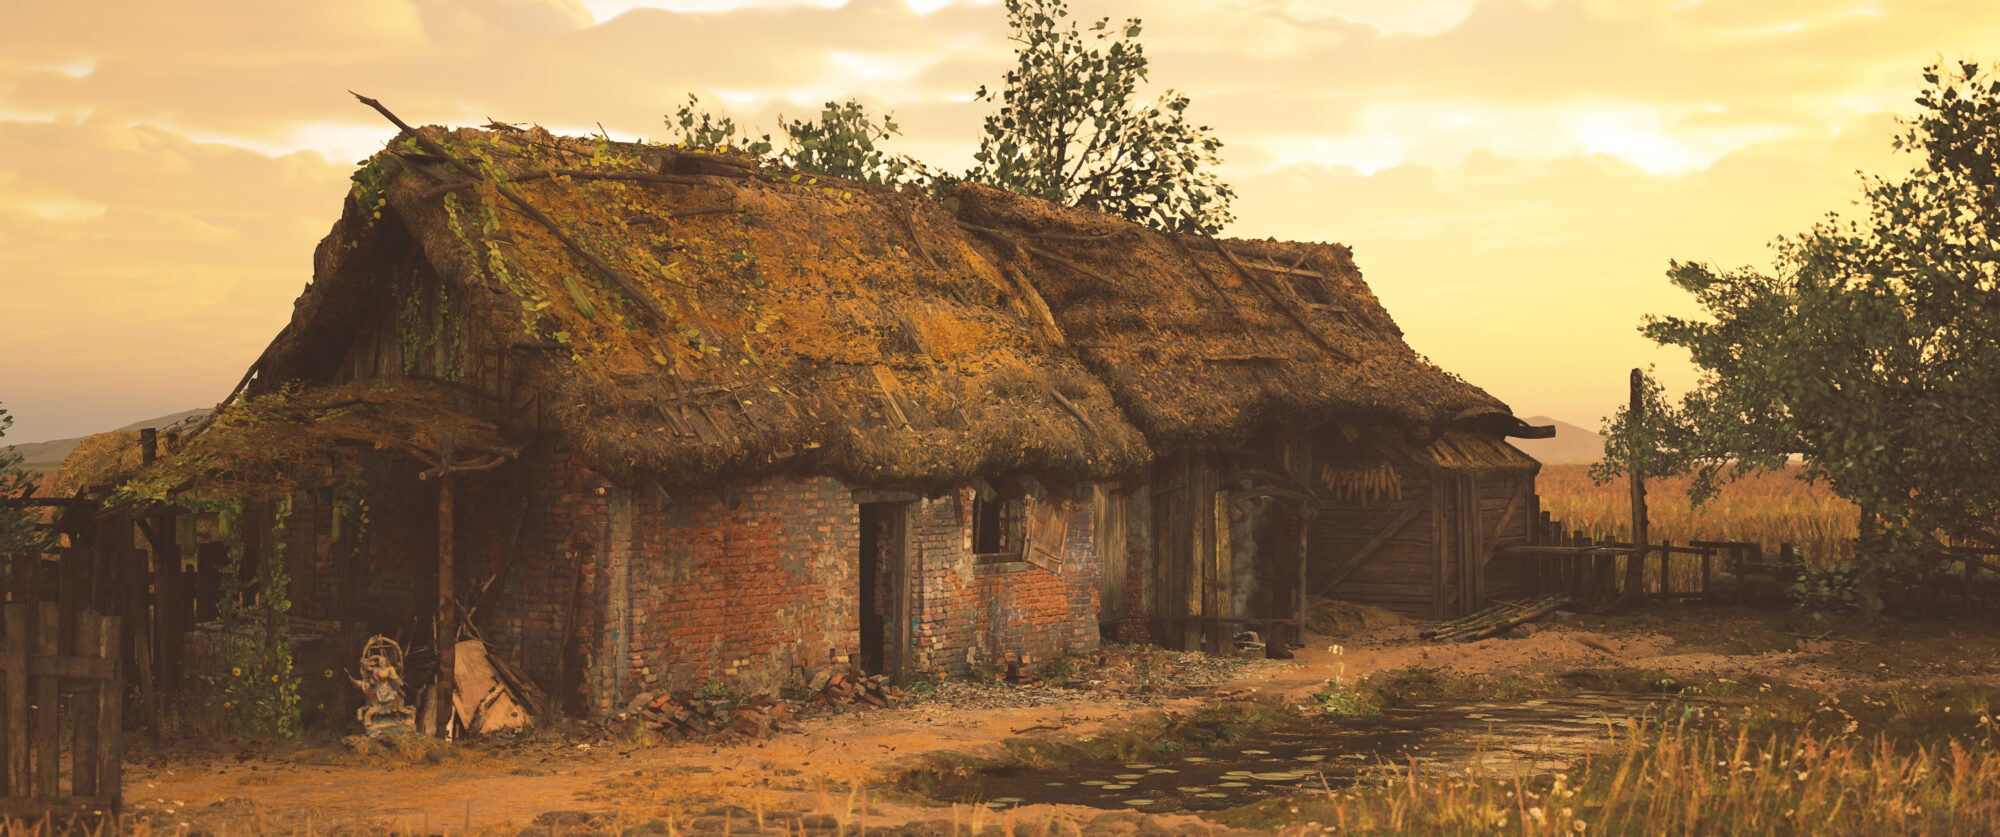
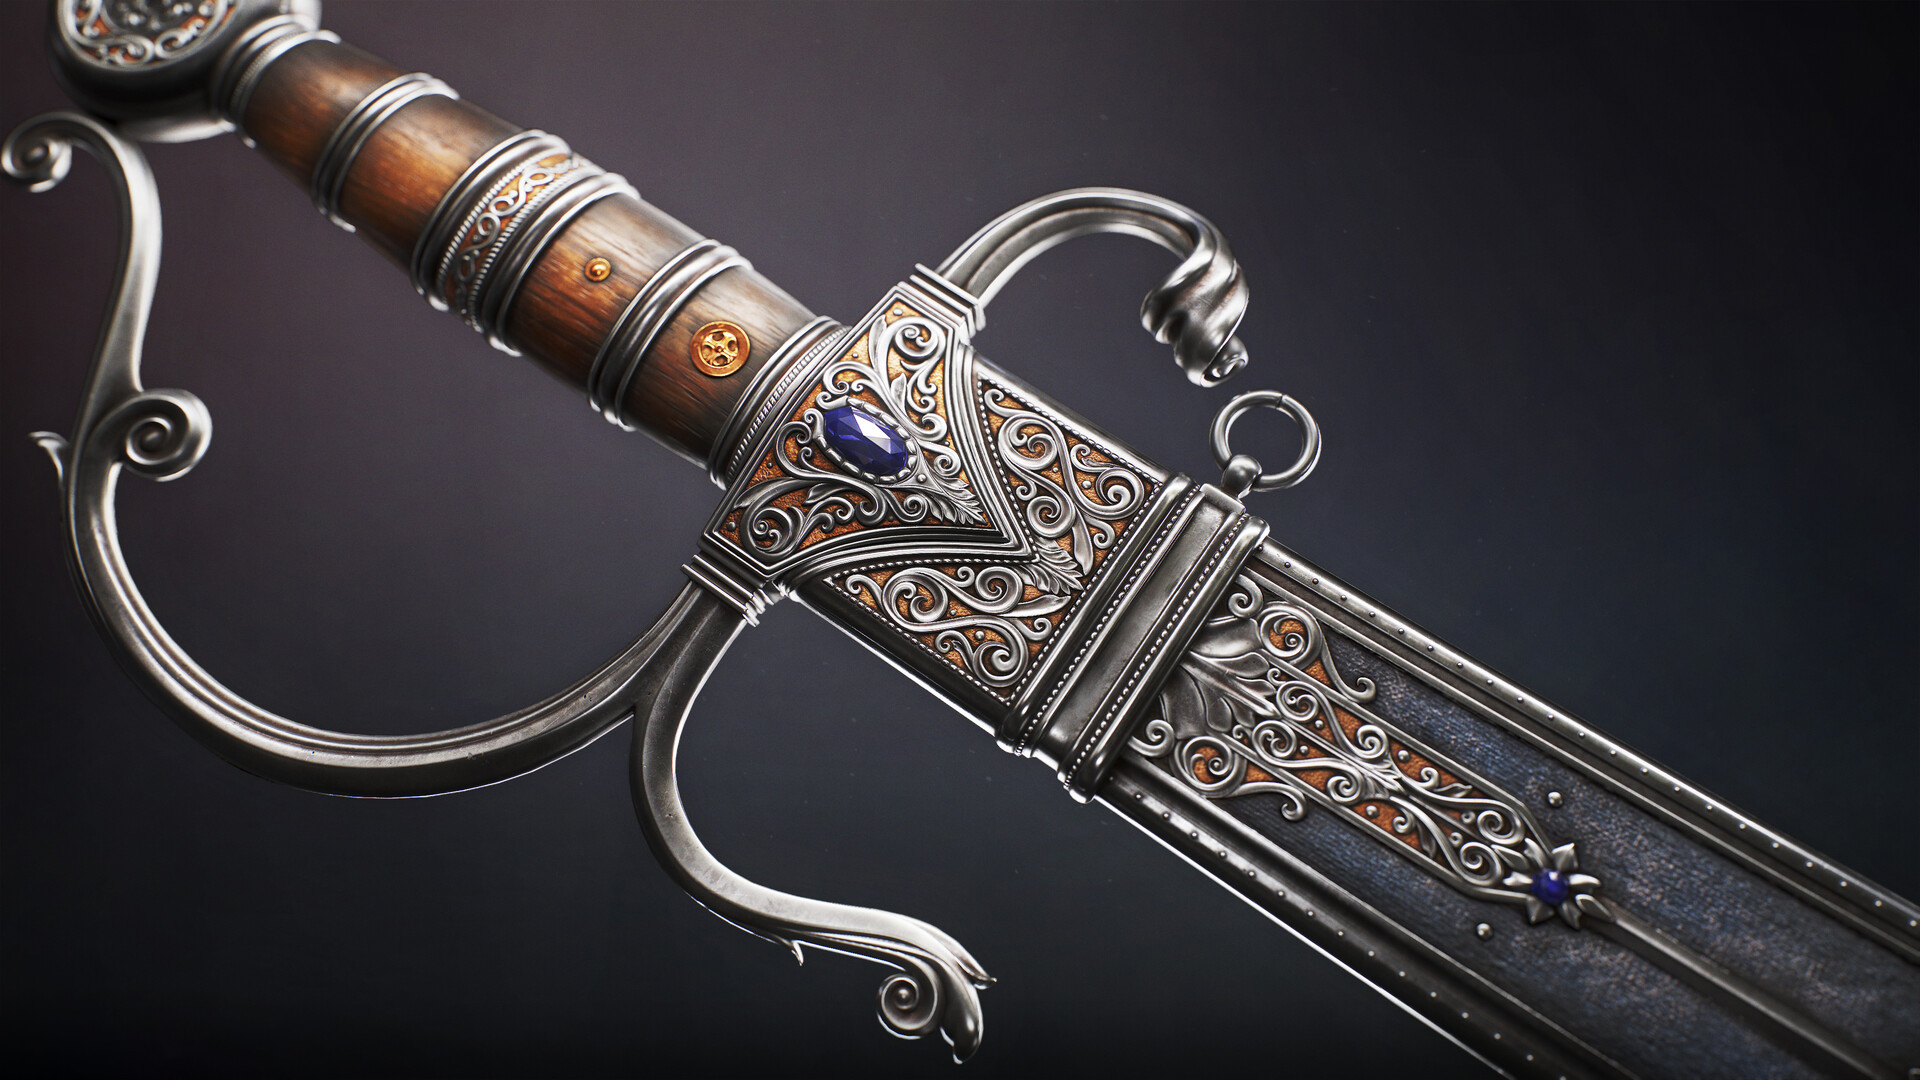
Falchion

Introduction
Hello, my name is Marco Antonio and I am a Senior Hard-Surface artist.
Software
- 3DS max
- Marmoset
- Substance Painter
Goals
My goal with this project was to train my design skills. Most of the time, when you are given information about a prop to make, that information is a concept of just one side of the object or some brief description of it.
That is why knowing a little bit about design is very important. It is not enough to just a few references from which to take this and that detail. These details need to flow, be consistent, cluster where they need, to have parts where the eyes can rest, etc. There are a lot of things you need to take into account to create a decent design.
References
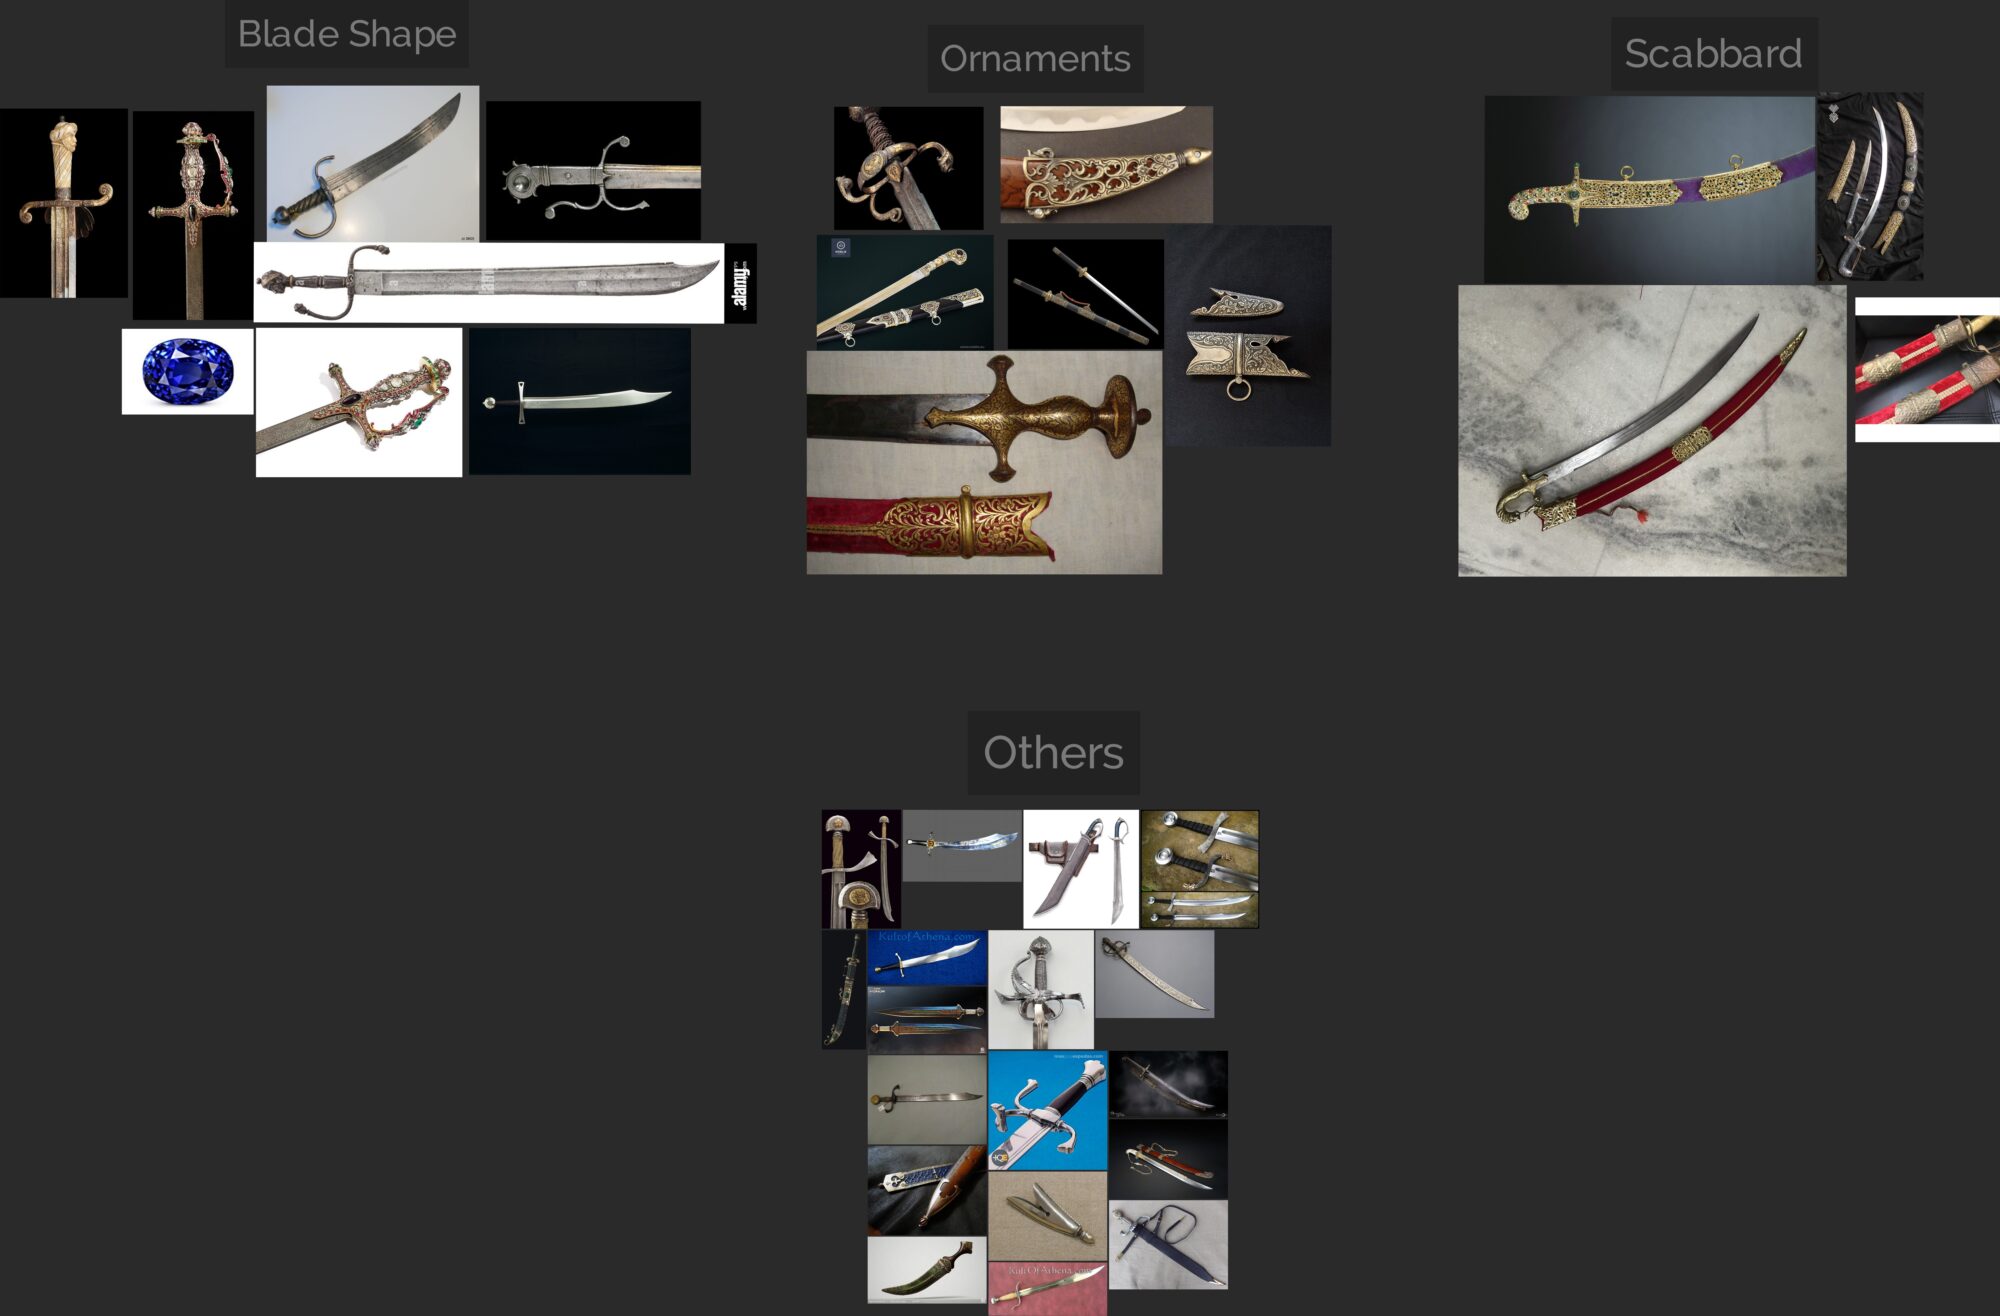
I searched for different sword types and I found a very nice Italian falchion sword, which became the base reference for mine:
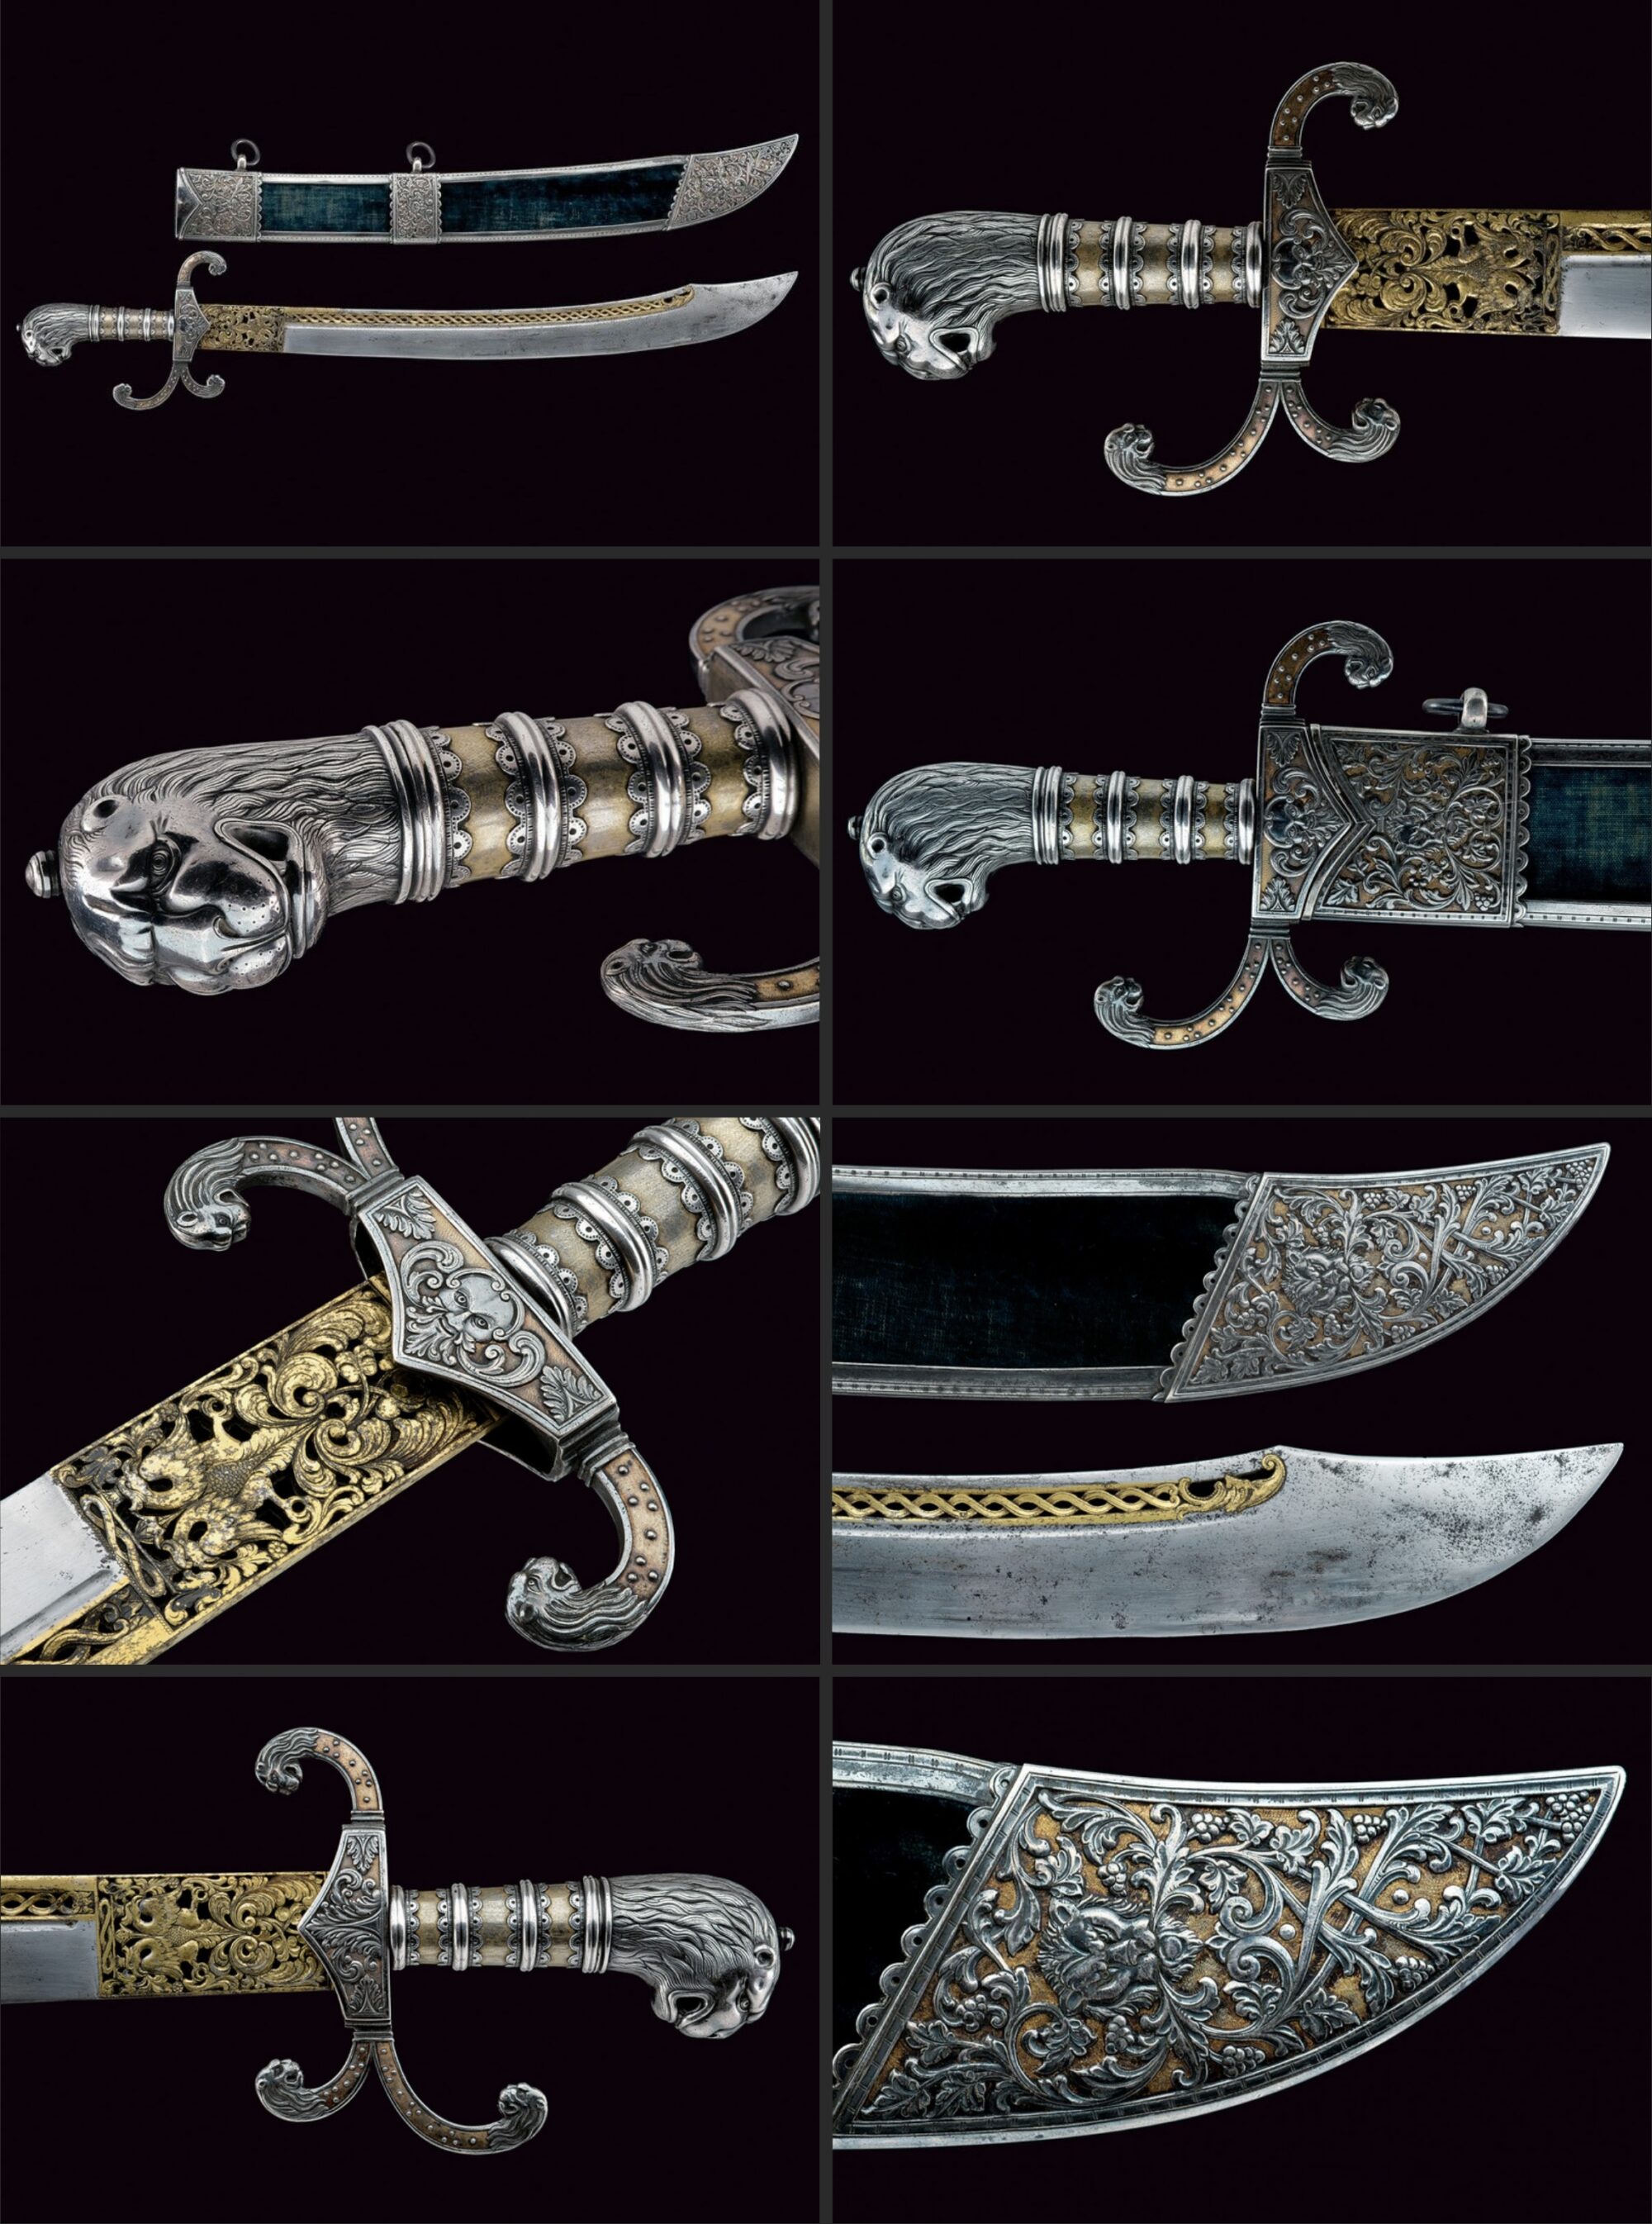
Once I decided what kind of sword I was going to make I had to decide what kind of ornaments it was going to have. The decorations of the sword I found were quite nice but I decided to keep searching for more references.
Ornamentation is something very complicated. There is a set of rules that each kind of ornamentation has. Besides shapes that repeat and flow between each other, in any type of ornamentation these shapes that repeat do so in a very specific way. I needed to study the references I found and understand the rules that do those work and not look out of place.
In the end I found some interesting references I could learn from:
Blockout and Modelling
I usually start by doing a blockout, then I proceed with highpoly, lowpoly, UVs and texturing.
However, with this project design was my focus. So first, I created a highpoly with the basic ornamentation, to see how it could look:

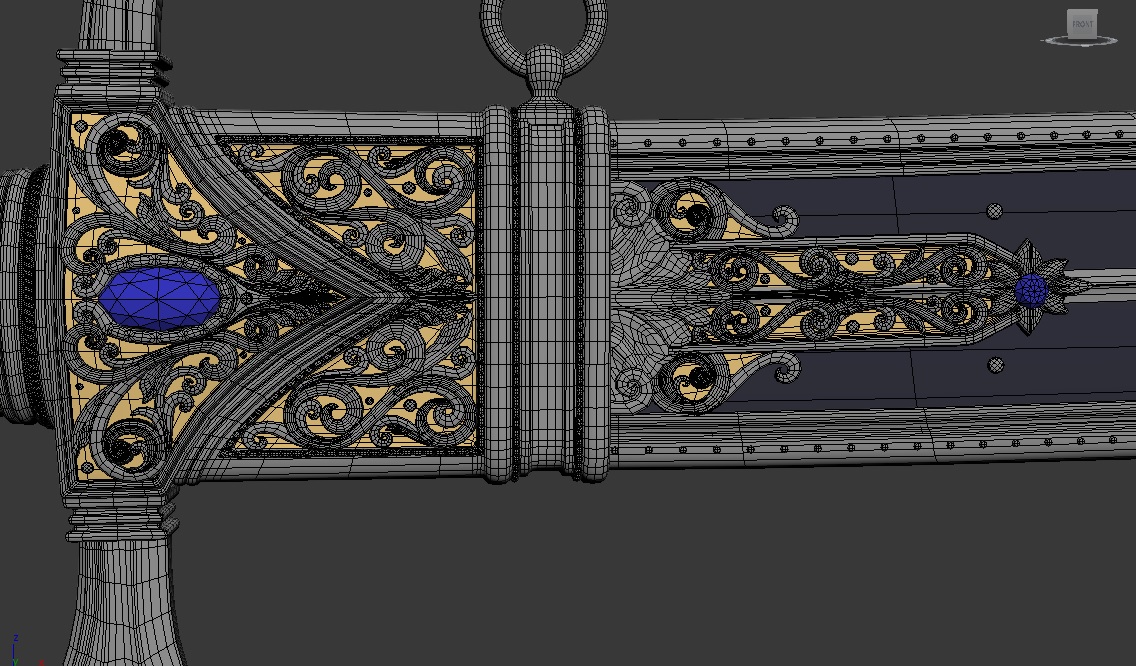
There are several ways you can add ornaments. You can make an alpha in photoshop or play in ZBrush with splines and brushes. However, I decided that my decorations were going to be a kitbash polygon mesh smoothed with a subdivision (turbosmooth).
That way it would be easy for me to modify the design quickly:
After that, I made a very basic lowpoly, some quick UVs, smoothing groups and baked. I then threw it on substance painter and I created some basic materials. The idea was to see the end result as fast as possible to check how everything flows.
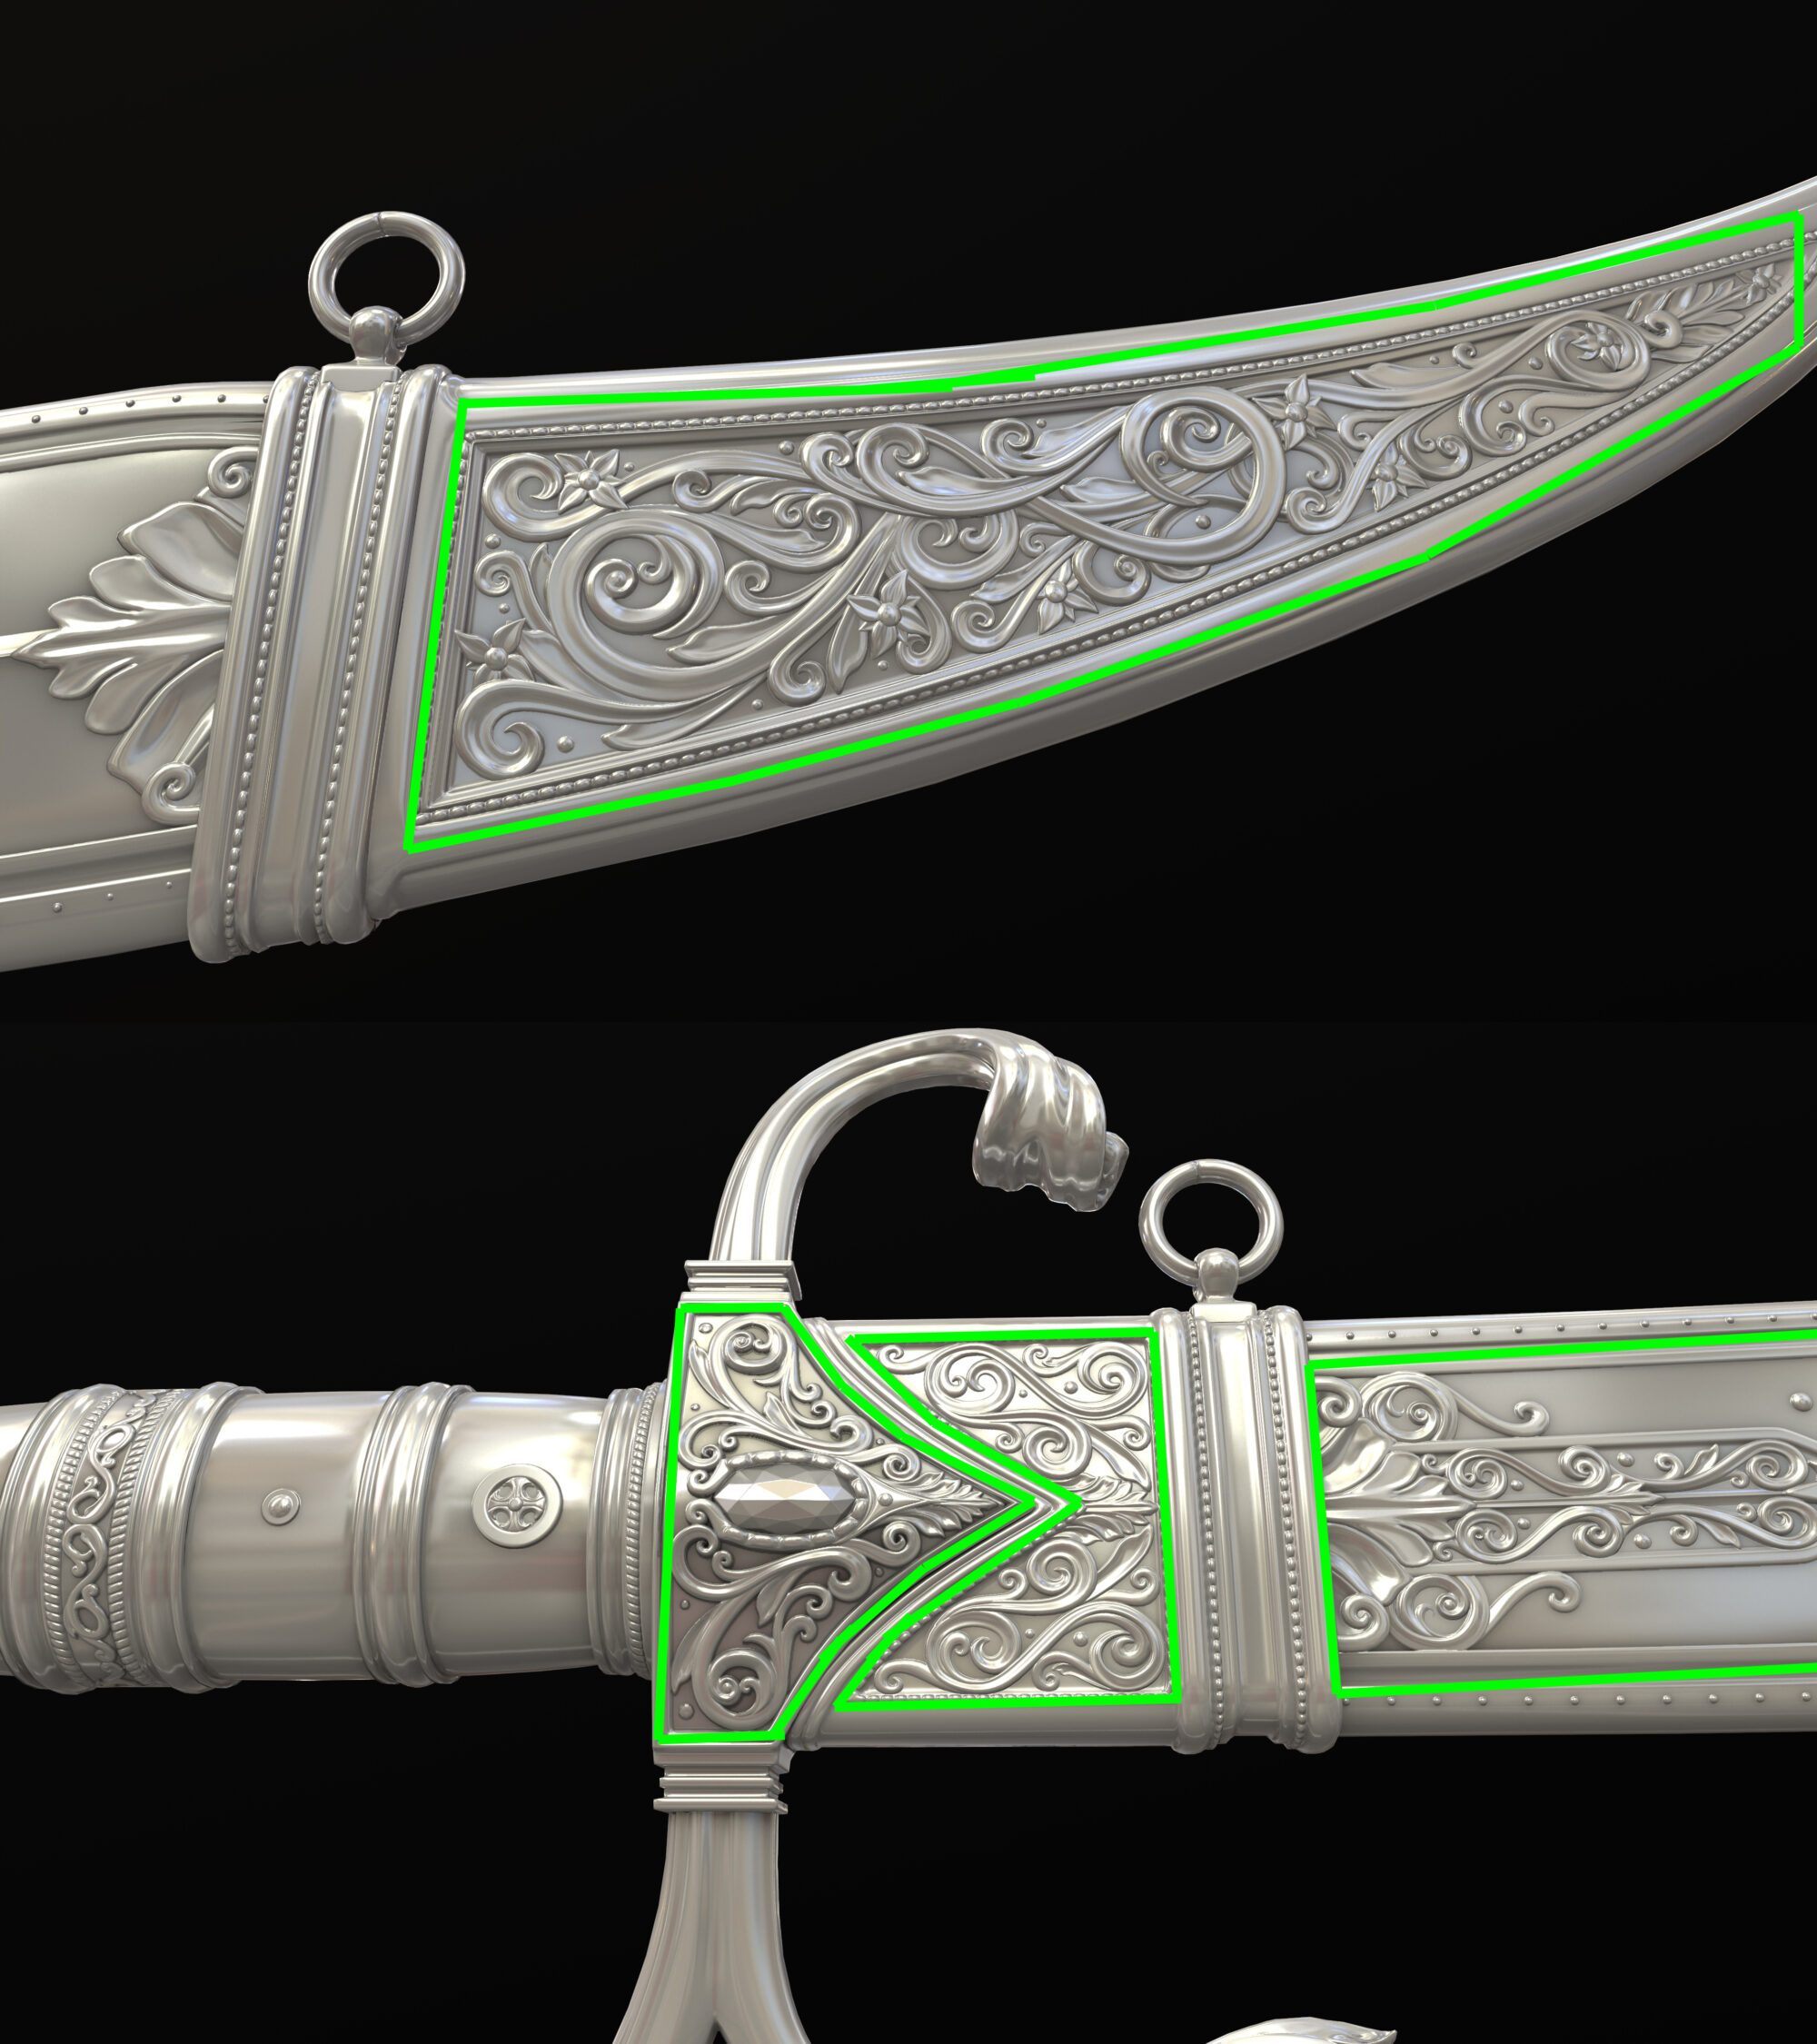
I also decided to use parallax inside Marmoset with the baked high map. Since the details were going to be confined inside a border (green line) the issues that appear when you see the details from an oblique point of view would not be as noticeable:
Here was when the fun began.
I started playing around with the ornaments to see what worked and what did not. Combined with some ideas I got from the references the design of the sword changed along the way:
Lowpoly
Now that the final design has been done I polished the lowPoly. I had separated the sword, the scabbard and the gems.
Each with its own UVs and materials:
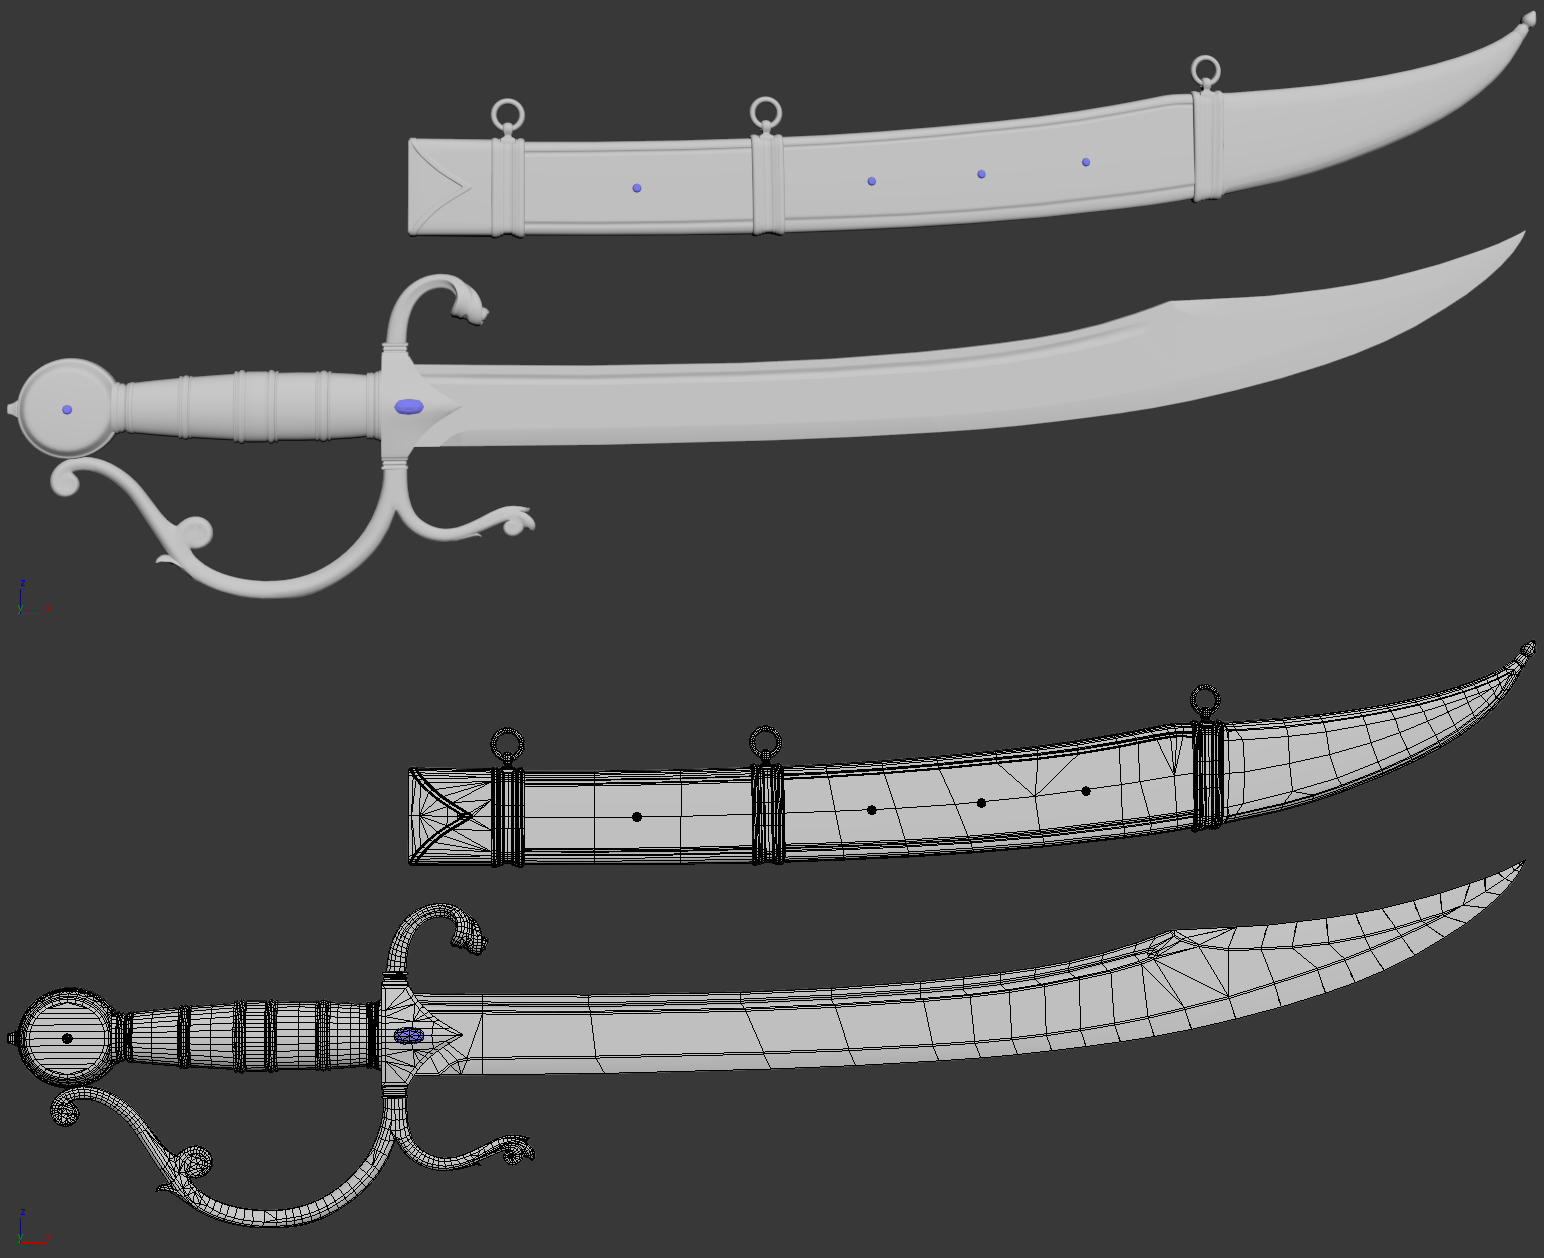
I also polished the UVs but for packaging and texel Density I used some tools from Blender called “Texel Density” and “UV-Packer”.
I think you could find them in the Add-Ons of Blender:
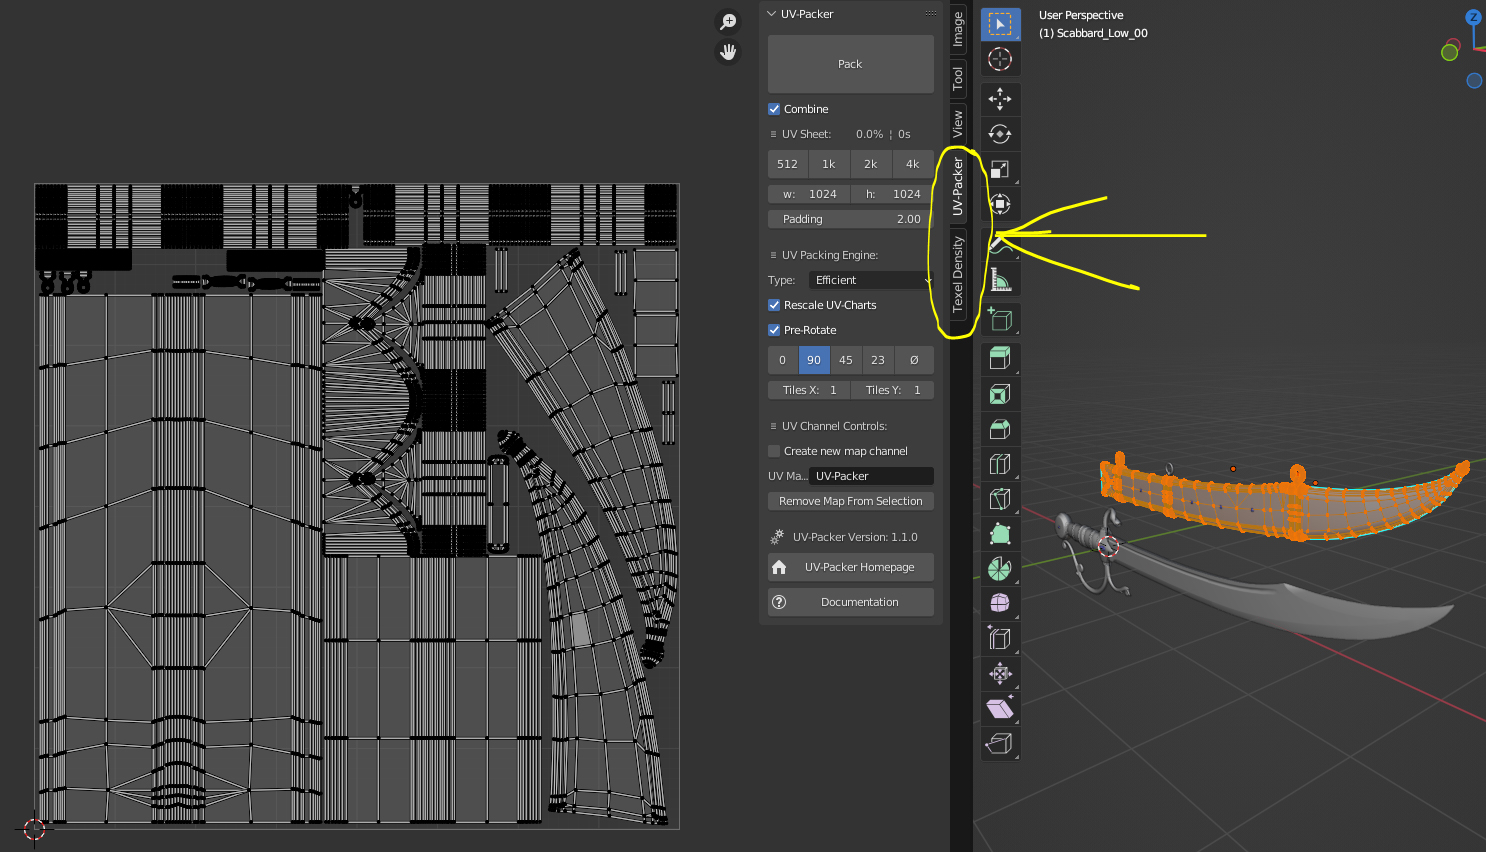
I use these tools in blender because 3dsmax texel density tools (texTools script for example) don´t work well between objects and “UV-Packer” from blender works very well (and it is free).
Texturing
I already had some very basic materials done (I usually start adding smart materials from the library) so now I just needed to improve them.
For this I also had some references gathered:
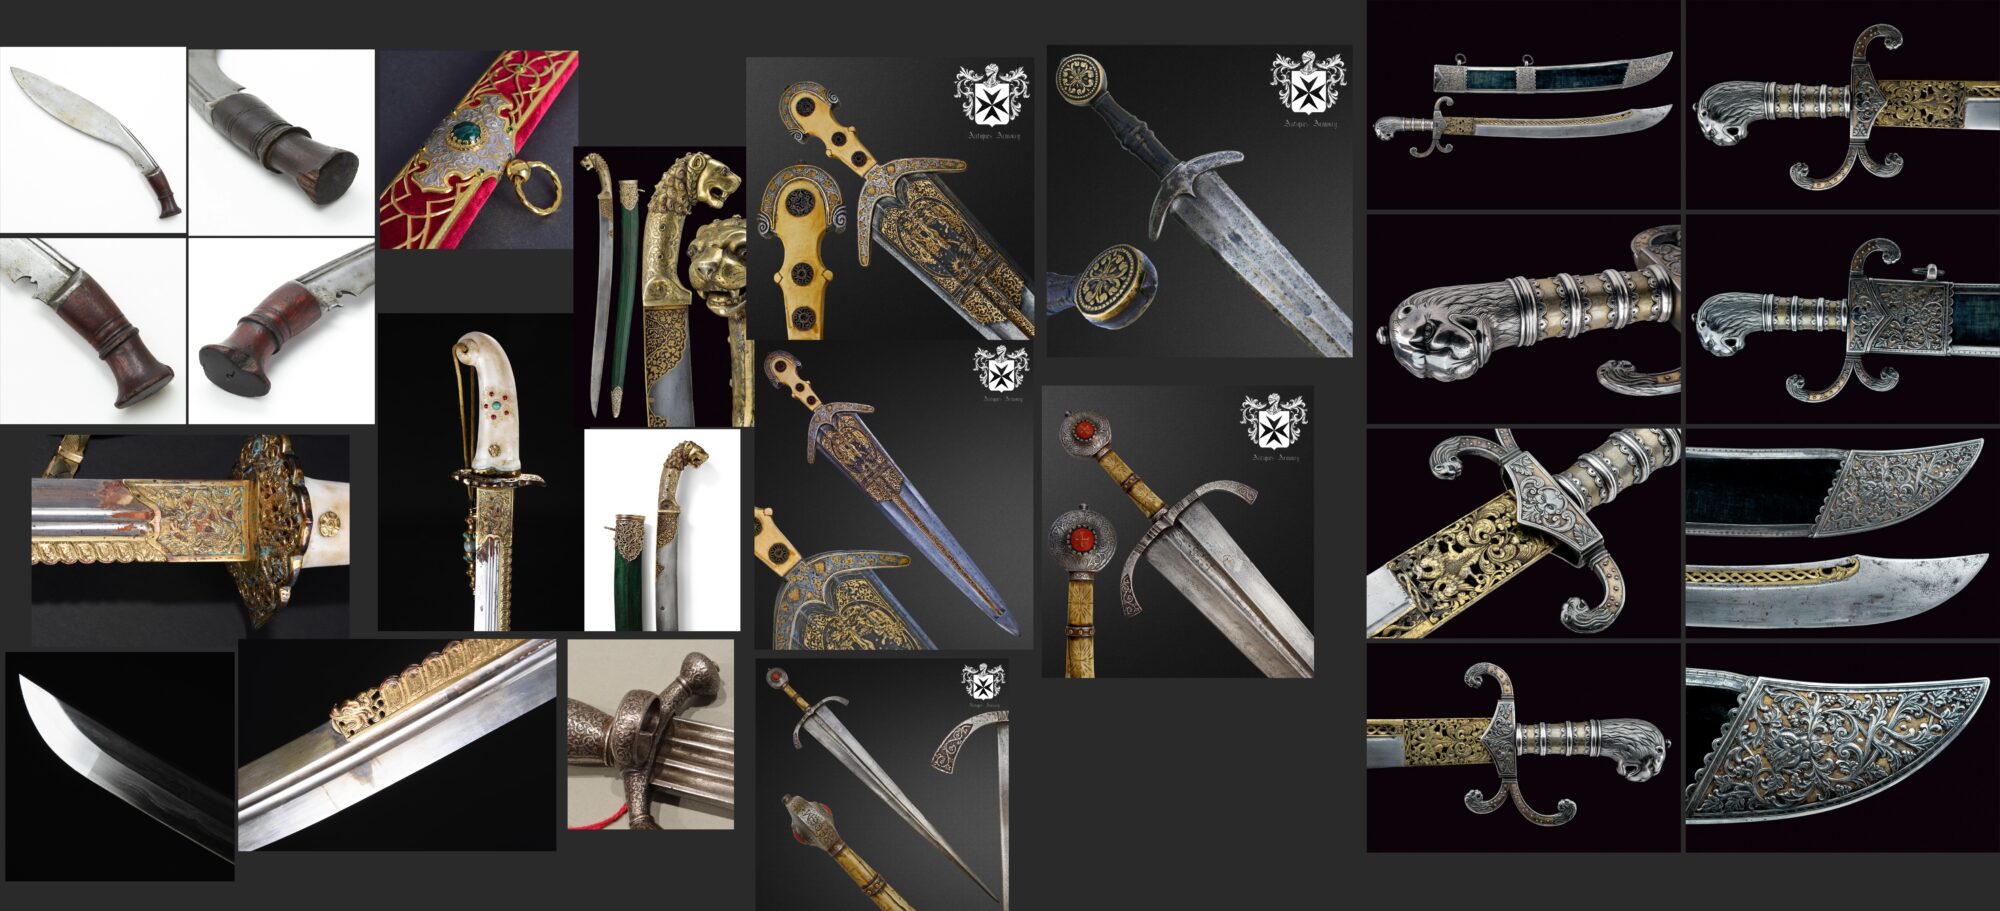
I always have the materials separated and on top of them, I add some dirt layers and a final Edit passthrough where I add sharpness and some final touches to albedo and roughness.
This last layer should be added once the texturing process is almost done. It is just a final touch to make the map values more enjoyable at the end.
I also add a PBR checker to ensure that PBR values are alright. I use this checker especially at the beginning while I define the materials.
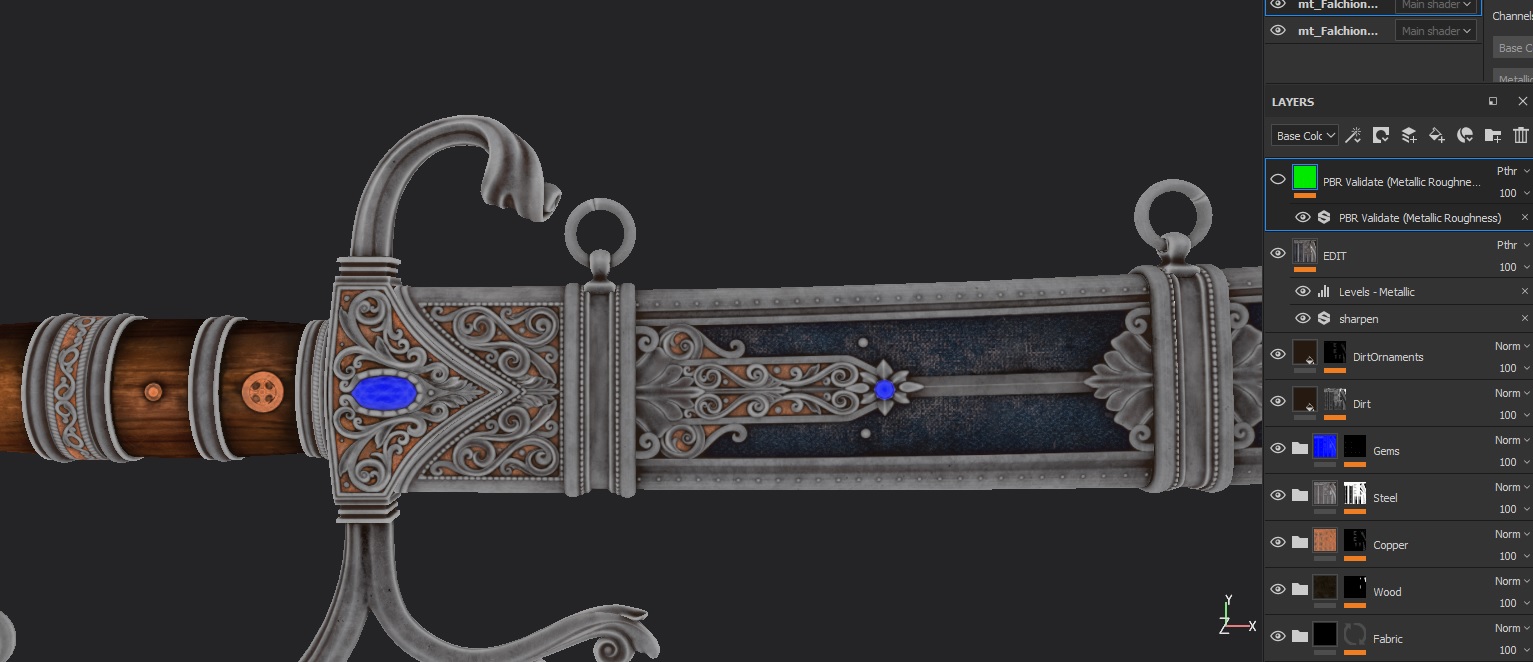
For the materials themselves, I usually define a base folder with the raw material without damage. Here I create a base layer with PBR values of the material (color, roughness, etc).
Then, if needed, I add decals and details related to how the object was made (if the piece went through a drill machine and things like that).
Then I have a second folder that I call “variation” with time-related damages (patinas and rusting) and other things (scratches):
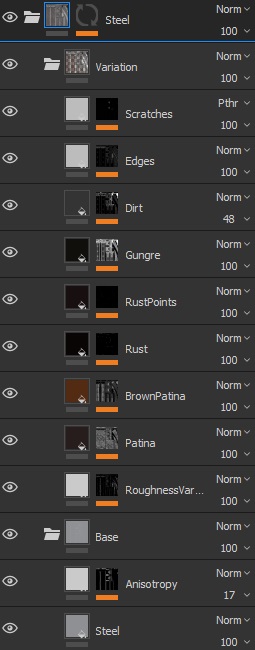
What layers to add depends on the material and the references I want to reproduce but usually around 5-10, layers are enough.
Base, general albedo and roughness variation, patinas, scratches, edge wear, cavities, dirt, grunge and rust.
Rendering
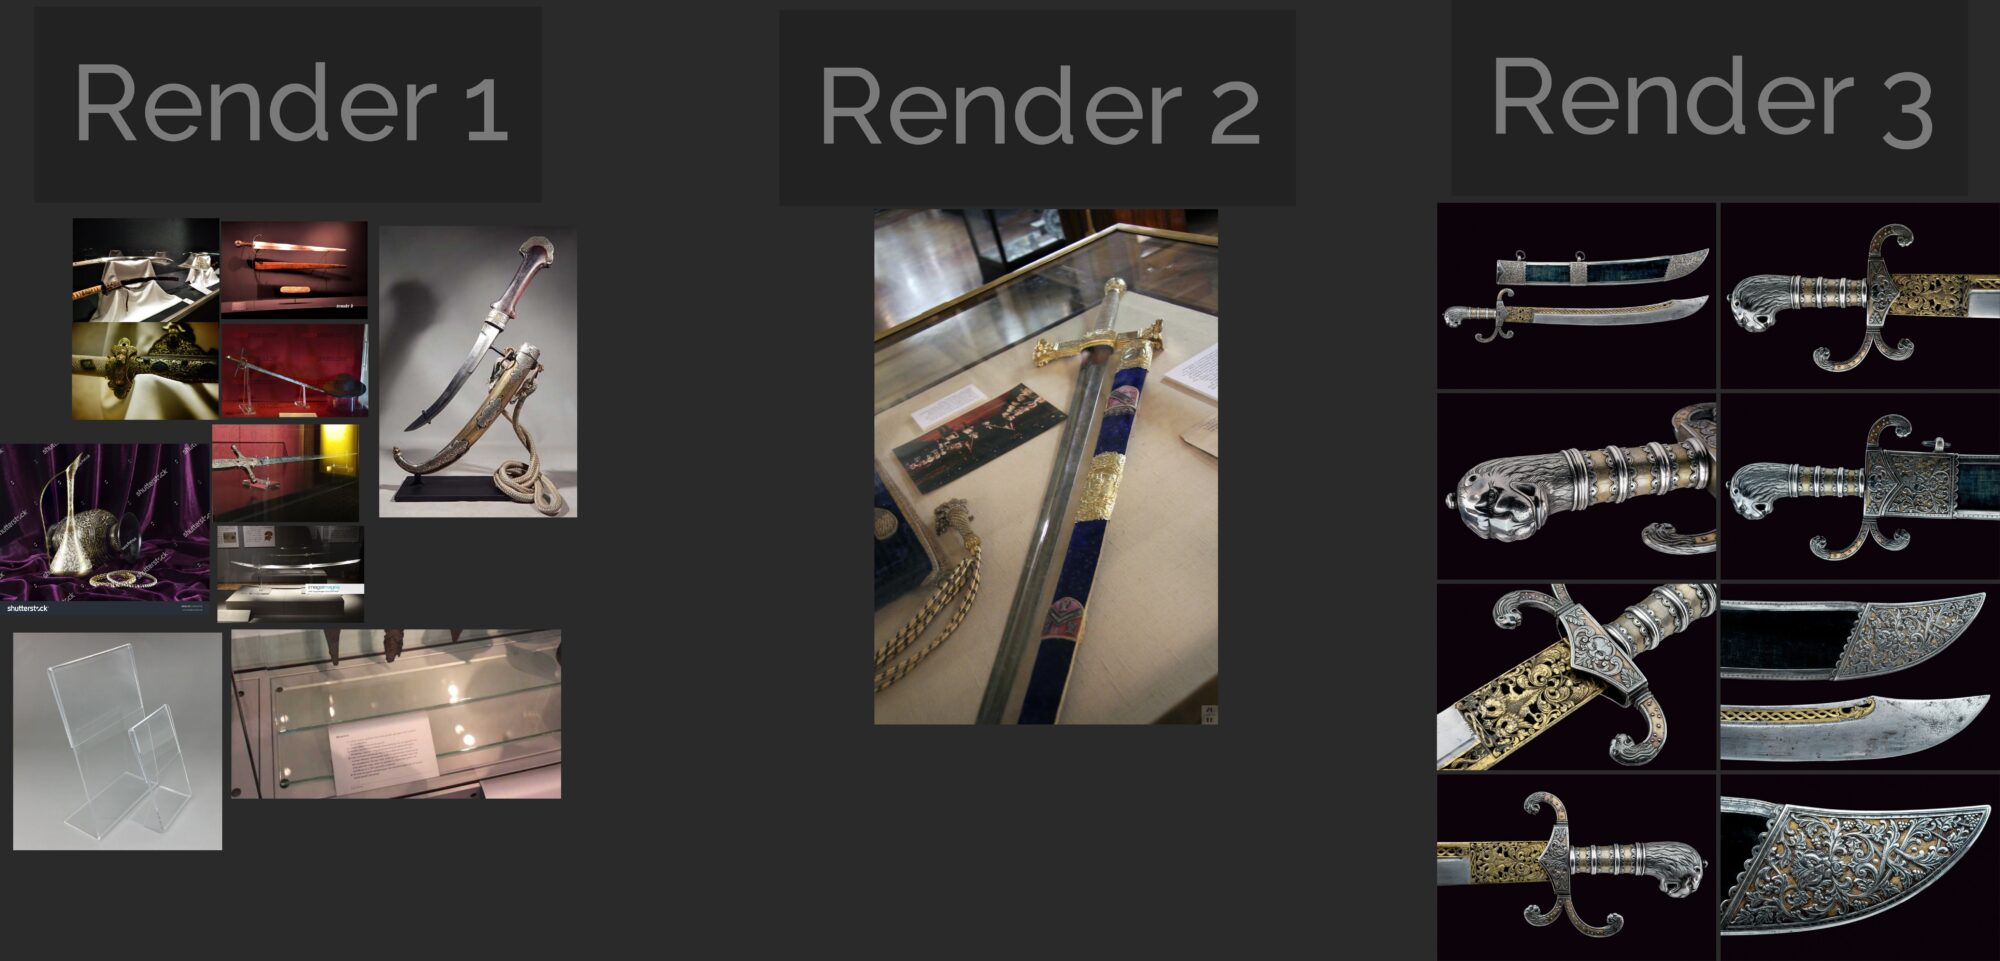
For rendering, I usually start looking for references that I could reproduce. Both lighting and composition are essential so having an accurate reference is a good start.
Lighting
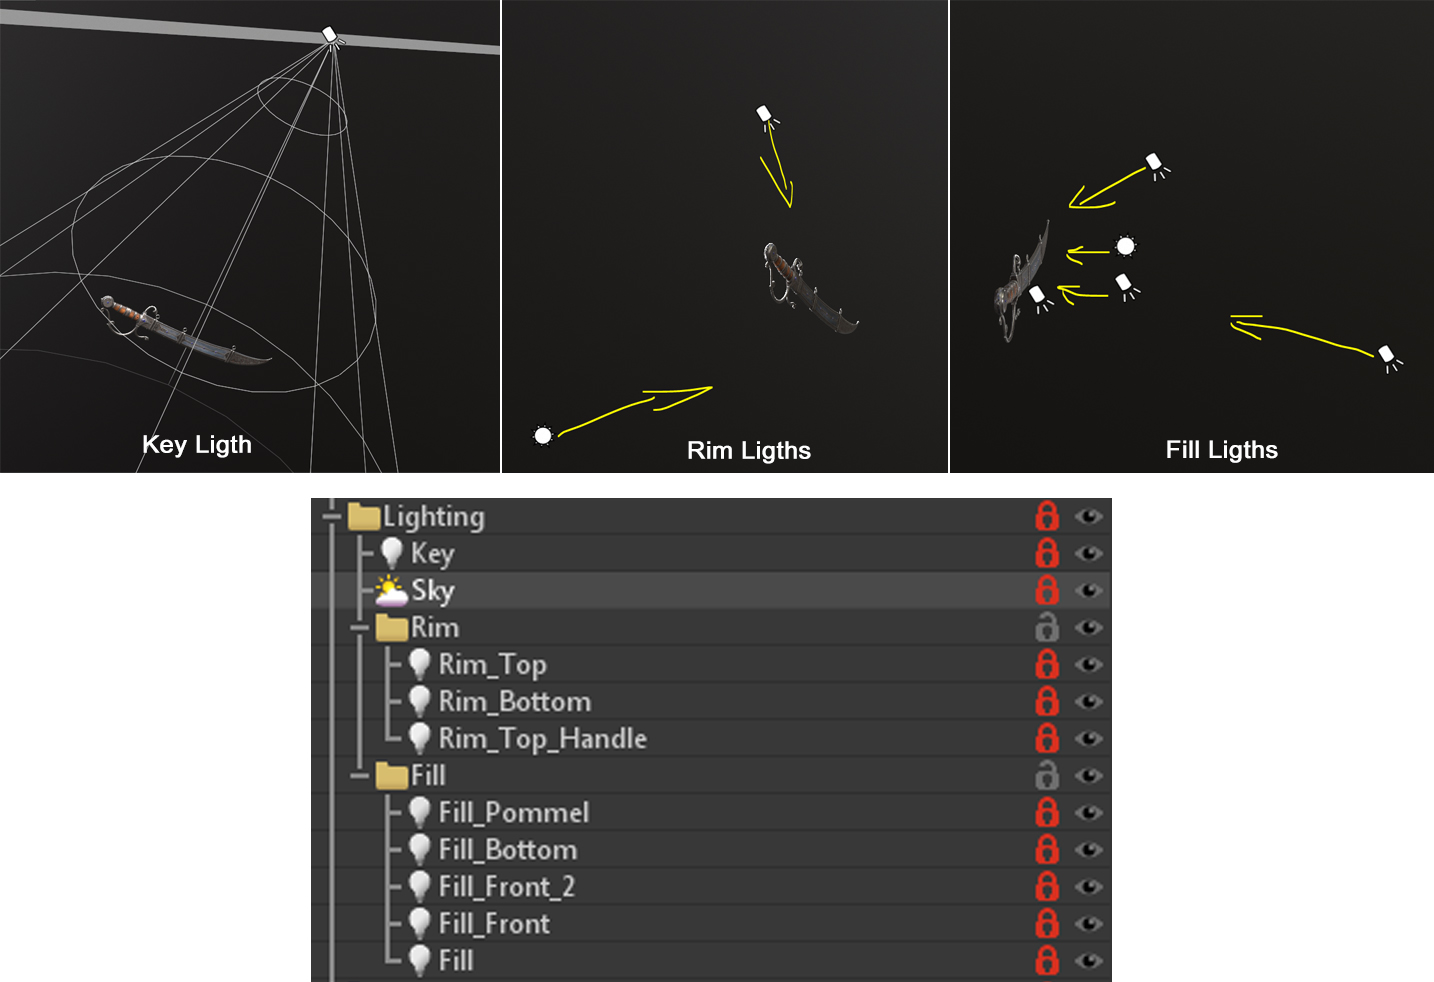
For Lighting I use the 3-point light method:
A key light, some low-intensity fill lights and one or two rim lights from behind. I start by adding a skylight that I use as ambient light (low intensity).
Then I add a key light that becomes the focus. After that, I add a couple of rim lights (high intensity and diameter) from behind the object to enhance the silhouette. And finally, I add some fill lights to increase the value of the render where I see fit.
Conclusion
I always choose my next project so that it pushes me further but so that I can still handle it. And this has been a very interesting project because of that. There are a lot of things that could be improved but I am happy with the final result and I learned a lot. I hope this article has been useful for you and thanks to GamesArtist.co.uk for asking me to write it!
Have a nice day!

