Discovery in the Mountains


Introduction
Hi! My name is Jurij Andreev. I work as a Level Artist at Sperasoft Studio in St. Petersburg, Russia. I’m a self-taught 3D artist, I got all my knowledge from Internet resources and from my colleagues who I work with.
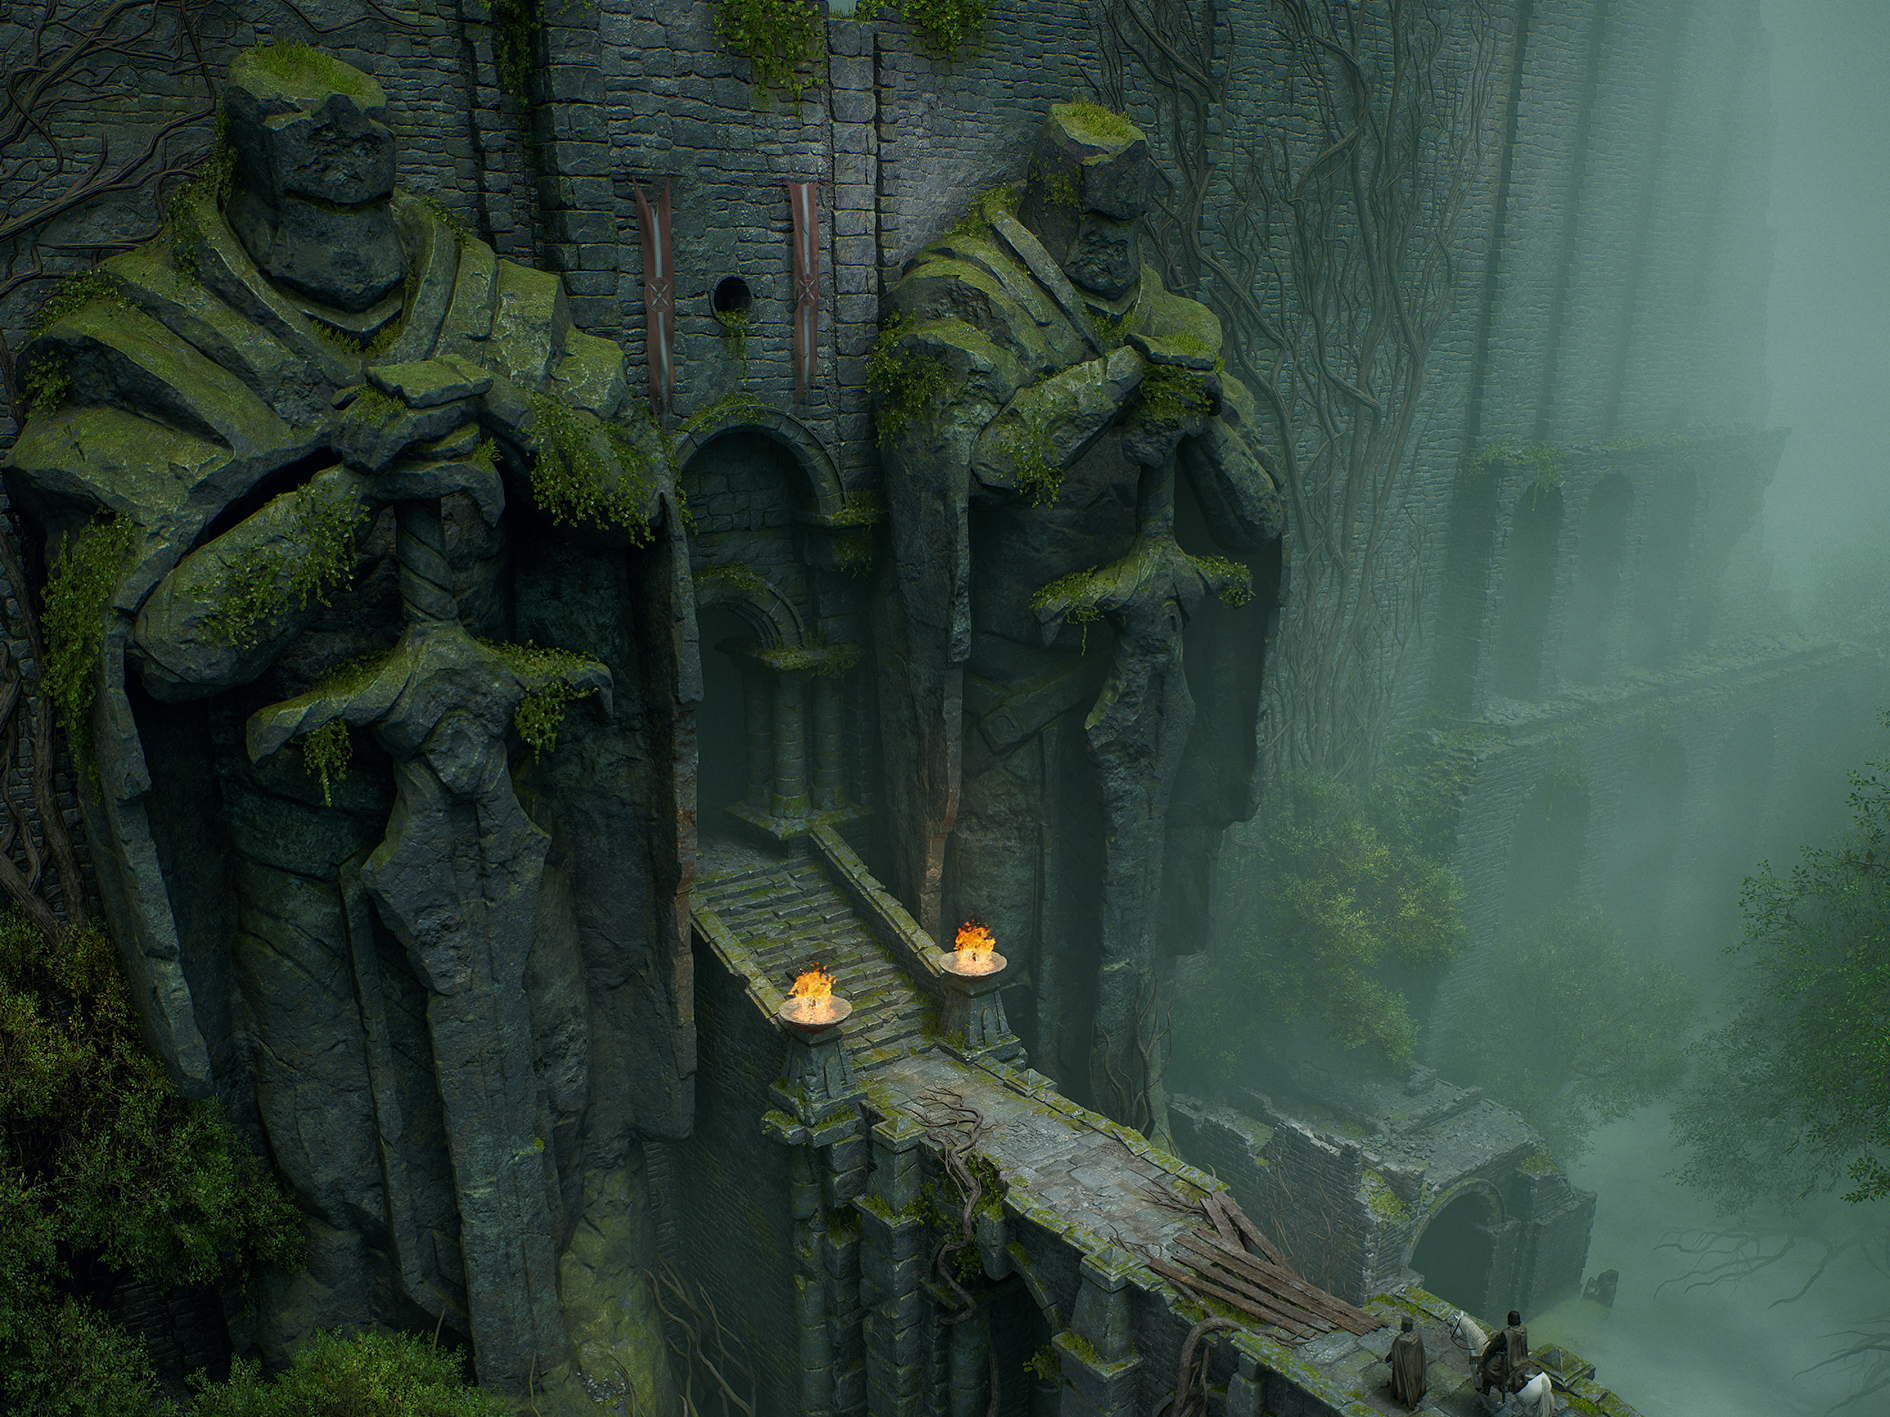
The main goal for this environment was to study organic workflows. I wanted to push my skills in sculpting rock/cliff shapes and vegetation pipelines. I also wanted to work on composition and environmental storytelling.
Inspiration
I started with a concept painted by Yohann Schepacz and carefully added my own ideas so that they wouldn’t break the composition. I wanted to add a feeling of the presence of a human being by showing his camp and some of his things. I imagined that it could be an archeologist or a tomb raider.
I collected references and put them into several groups by appointment.


In addition to the main references, I collected some references for lighting, environment filling, mood and scale. I also made a gallery of images for my inspiration. I didn’t use them in my work directly but those screenshots from video games and other 3D environments helped me to understand what quality I wanted to achieve.
Blockout
I made a rough blockout in Maya and Unreal Engine 4 to see how composition works and get first ideas about the rock modules to build the environment. I also added cameras for shots and directional light.
It was the initial composition and it changed a bit towards the end. I got very useful advice about it from Ilya Ivanov.

I started the main architecture with my blockout and added more details for a better understanding of shapes. I split the architecture into several parts to use them not only on the main building. I imported the parts into Zbrush for sculpting. In Zbrush, I mostly added edge damage, broken corners, patterns and bas-reliefs. I used the TrimSmoothBorder and MalletFast brushes. I also had a very useful brush called Averkin_Polish_01 from Brush Pack Vol.1 by Andrew Averkin. I just added square alpha to it. Final rocks and architecture low poly meshes were made with the Decimation tool in Zbrush and then cleaned up in Maya. The UVs were also made in Maya.
I didn’t care much about optimization and polycount, because I wanted to focus on the art part of my work and because my scene isn’t very big.
But I tried to be reasonable with the things that affect performance.

Texturing and materials
I decided to use a masking technique for texturing because all rocks and architecture are really huge.
For all the rocks modules, normal maps were baked to use them as a global normal map. I blended them with tiling rock material in the shader.
The same things were made for architecture. All RGBA masks were made in Substance Painter. I borrowed tiling materials from Megascans library and changed some of them a bit in Substance Designer.


I made a master material using material functions. It helped me to keep my graph clean and tidy. The baked normal map was added by the MatLayerBlend_BakedNormal node. The snow is world-aligned, applied to the up side of the mesh. It’s a common way to make a snow effect. I also added the ability to control the amount of snow with vertex paint.
This is my master material for the rocks. I made another master material for the architecture because I didn’t want to use tessellation for the snow.
In my scene, details like small tombs in the rock required a specific solution. I decided to use decal with Parallax Occlusion Mapping for it. It saved me from making additional rock modules with the tombs.
I started my tomb decals with a base mesh in Maya and then I imported them into Zbrush. After I had the tombs, I got high maps with the GrabDoc tool. The textures were made in Substance Designer from the height maps.

I used a little modified Parallax Occlusion Mapping function for decals.
You can check this function from Douglas Lassance.
I also used this method for frozen brooks and made them modules. A great example is shown in the game Shadow of Colossus Remake. You can check it on Troy Mishler ArtStation page.

I made several assets for additional details on the rocks like stone debris piles. I added them with a dither in-depth offset in the shader for soft transition to other assets. The snow is world-aligned and I could turn it on and off on different surfaces.


Vegetation
One of the goals of this project was to learn vegetation pipelines. The main kind of plants on my scene was a mountain pine. It’s a pretty low plant like a bush.
I started with references and study of vegetation pipelines. There is a great vegetation breakdown from Patrick Gladys and I decided to follow it.
I also used Joel Pelletant’s work on Assassin’s creed Valhalla as a main reference of the pine branch atlas.
The tree branches and pine needles were made in Maya and Zbrush. I used ZSpheres to build branches and then I placed pine needles on it in Maya. I also added textures to high poly branches and then I baked it.
All textures were finished in Substance Designer.

When the pine branch atlas was ready, I moved to Maya to assemble pine bushes. I made a pine trunk from a cylinder, formed it along a curve and added some details to this form using soft selection in Maya. The vertex color was added to all plants to control wind animation.

A simple way to add vertex color in Maya is the transfer attributes tool.

The wind setup for the vegetation shader was taken from a free 3D environment provided by Epic Games – Medieval Game Environment. The rest of the shader was pretty simple.

The other kind of plants such as dry grass was borrowed from Megascans library.
Props
I started to work on props according to my plan of what objects I would need. I already knew about the rope bridge, but I also needed objects to fill the camp. So I made several objects which could belong to an archeologist or a tomb raider.
I used a standard pipeline with unique textures for props. The old tree log I took from Megascans library and changed textures a bit.

The rope bridge was made in two parts. I decided to make one of them destroyed for a more interesting look. Swinging ropes allowed me to add more life to my scene.
The bridge was assembled in Blueprints from pillars and rope parts of the bridge because I wanted to have the pillars as separate assets. In order to add the swinging animation to the ropes, I set up my rope shader and added a vertex color to the bridge meshes. The animation in the shader was quite simple. I have controls for speed, strength, as well as I have vertex color for a mask.

Lighting, effects and post-process
My environment is outdoor so I knew from the beginning that I would use dynamic lighting. The main light setup is quite simple. I have a Directional light, a Skylight and Exponential Height Fog. All light sources have movable mode turned on for work with Distance Field.

In the scene, sky is a sphere with invert normals and HDRi texture. It’s used only to capture light by the Skylight.
In addition to the main light sources, I have lights to emphasize certain areas or make them brighter.
The Exponential Height Fog is one of the main features in the lighting and it brings volume and depth. It had a great impact on the lighting in my scene.

All effects in the scene were from the Medieval Game Environment which I spoke about above and from Infinity Blade: Effects which is also a free resource from Epic Games. I added snow blowing, dust in the air and fire.
Some parameters like size and speed were changed a little. The post-process in this scene is pretty simple. I used the LIT texture for color grading. I made adjustments to it together with my main shot in Photoshop. After that, the LIT texture was put in the UE4 post-process
volume.
Conclusion
From the beginning, I had a certain view of my environment, but of course, I had several iterations before I got what I wanted. I learned a lot while I was working on this project and I got a great boost in my skills. All my new knowledge is really useful for my job and my next projects.

Thank you for reading! I hope this was interesting and informative for you.


