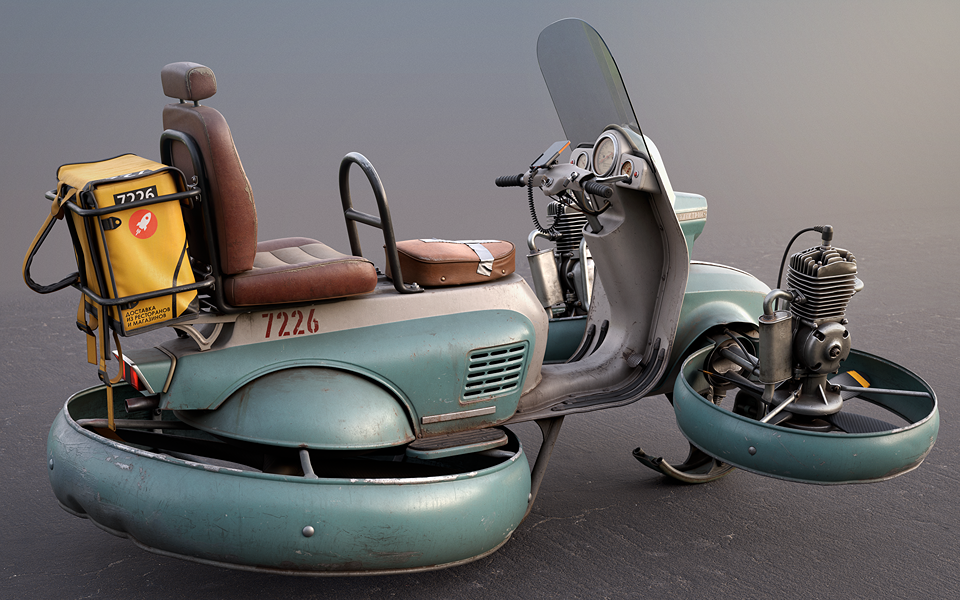
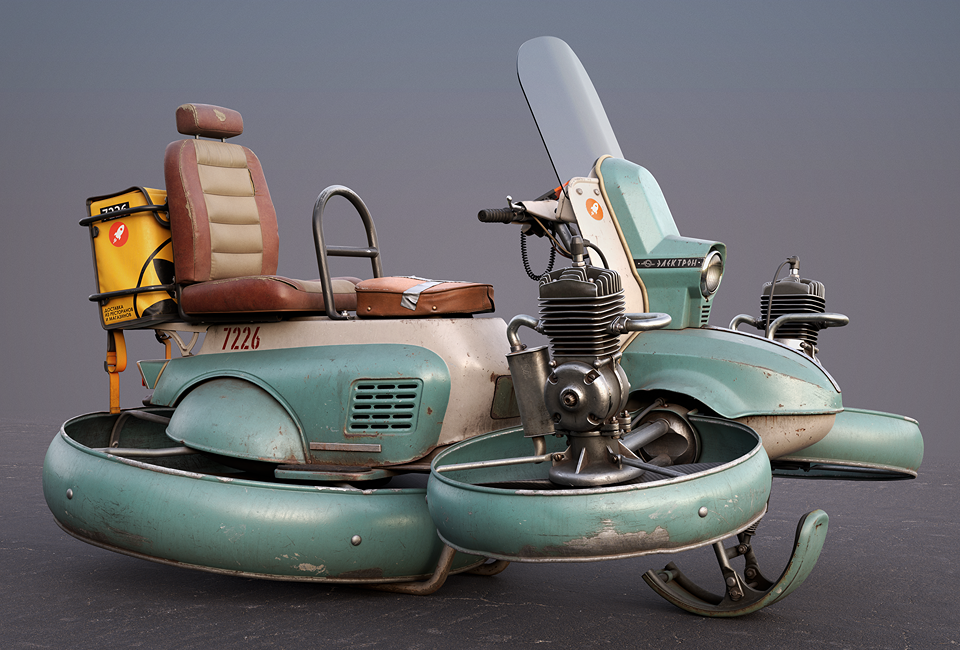
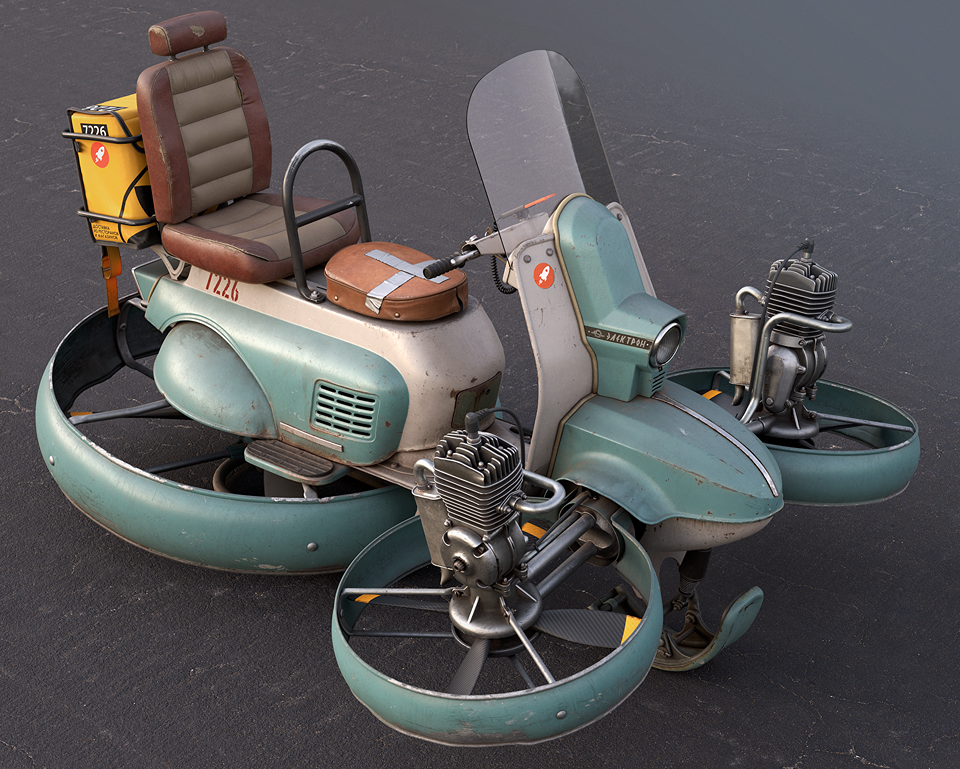
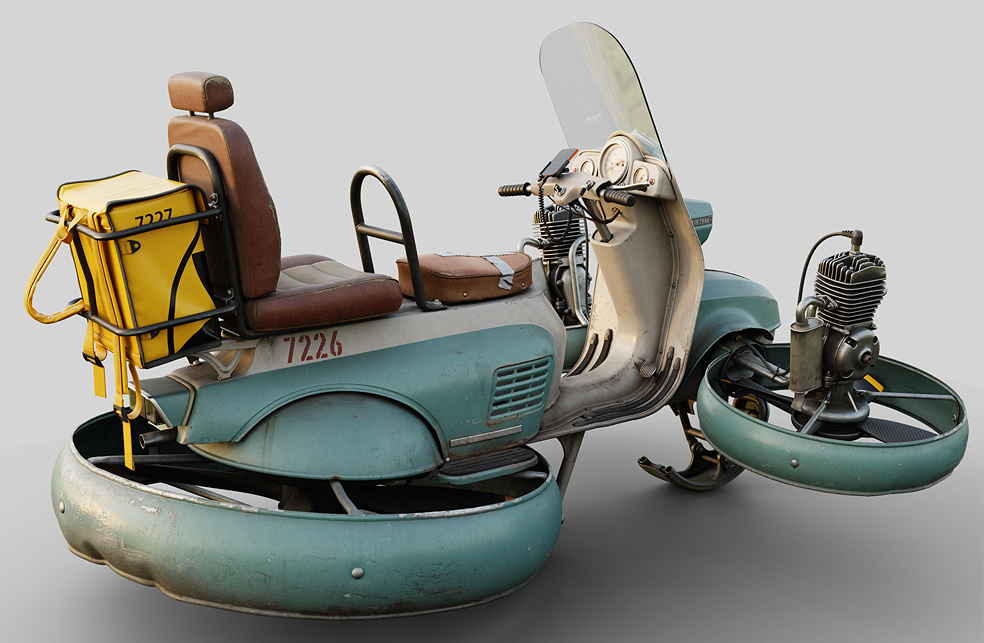
Delivery Scooter
Introduction
Hello! My name is Slava Alinsky, and I have been a 3D Artist for Game Development for the past eight years or so.
Currently, I have a full-time job where I create models of jets and helicopters, amongst other things.
Inspiration
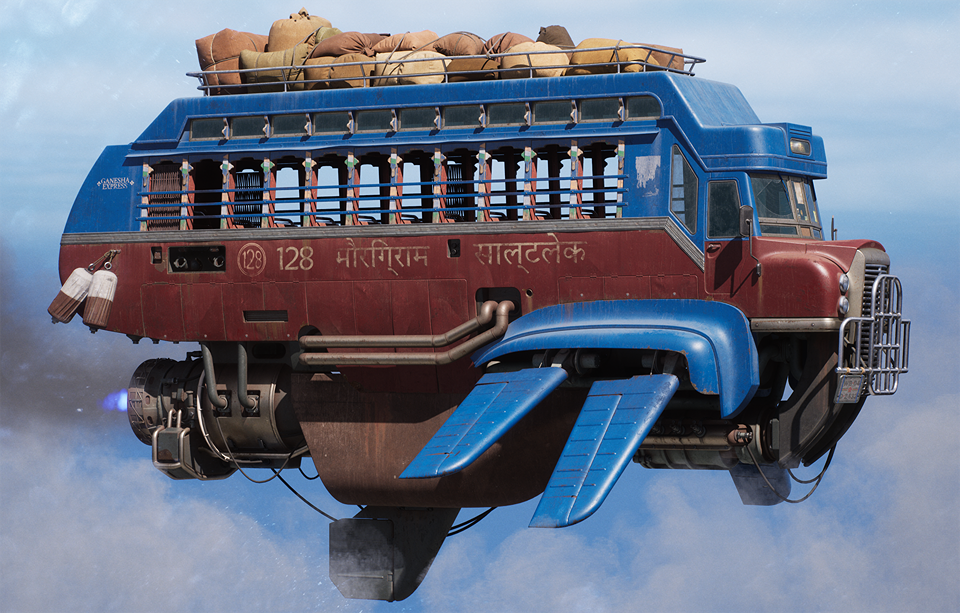
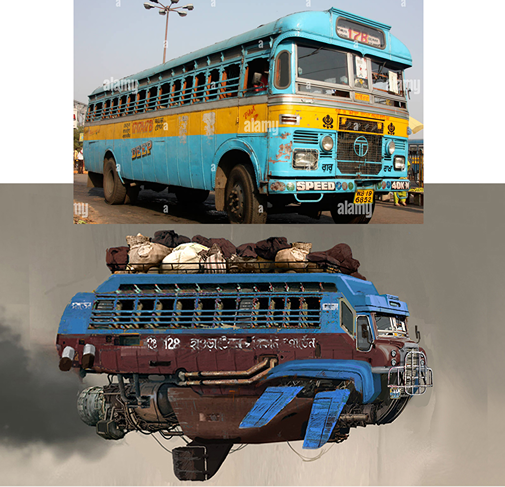
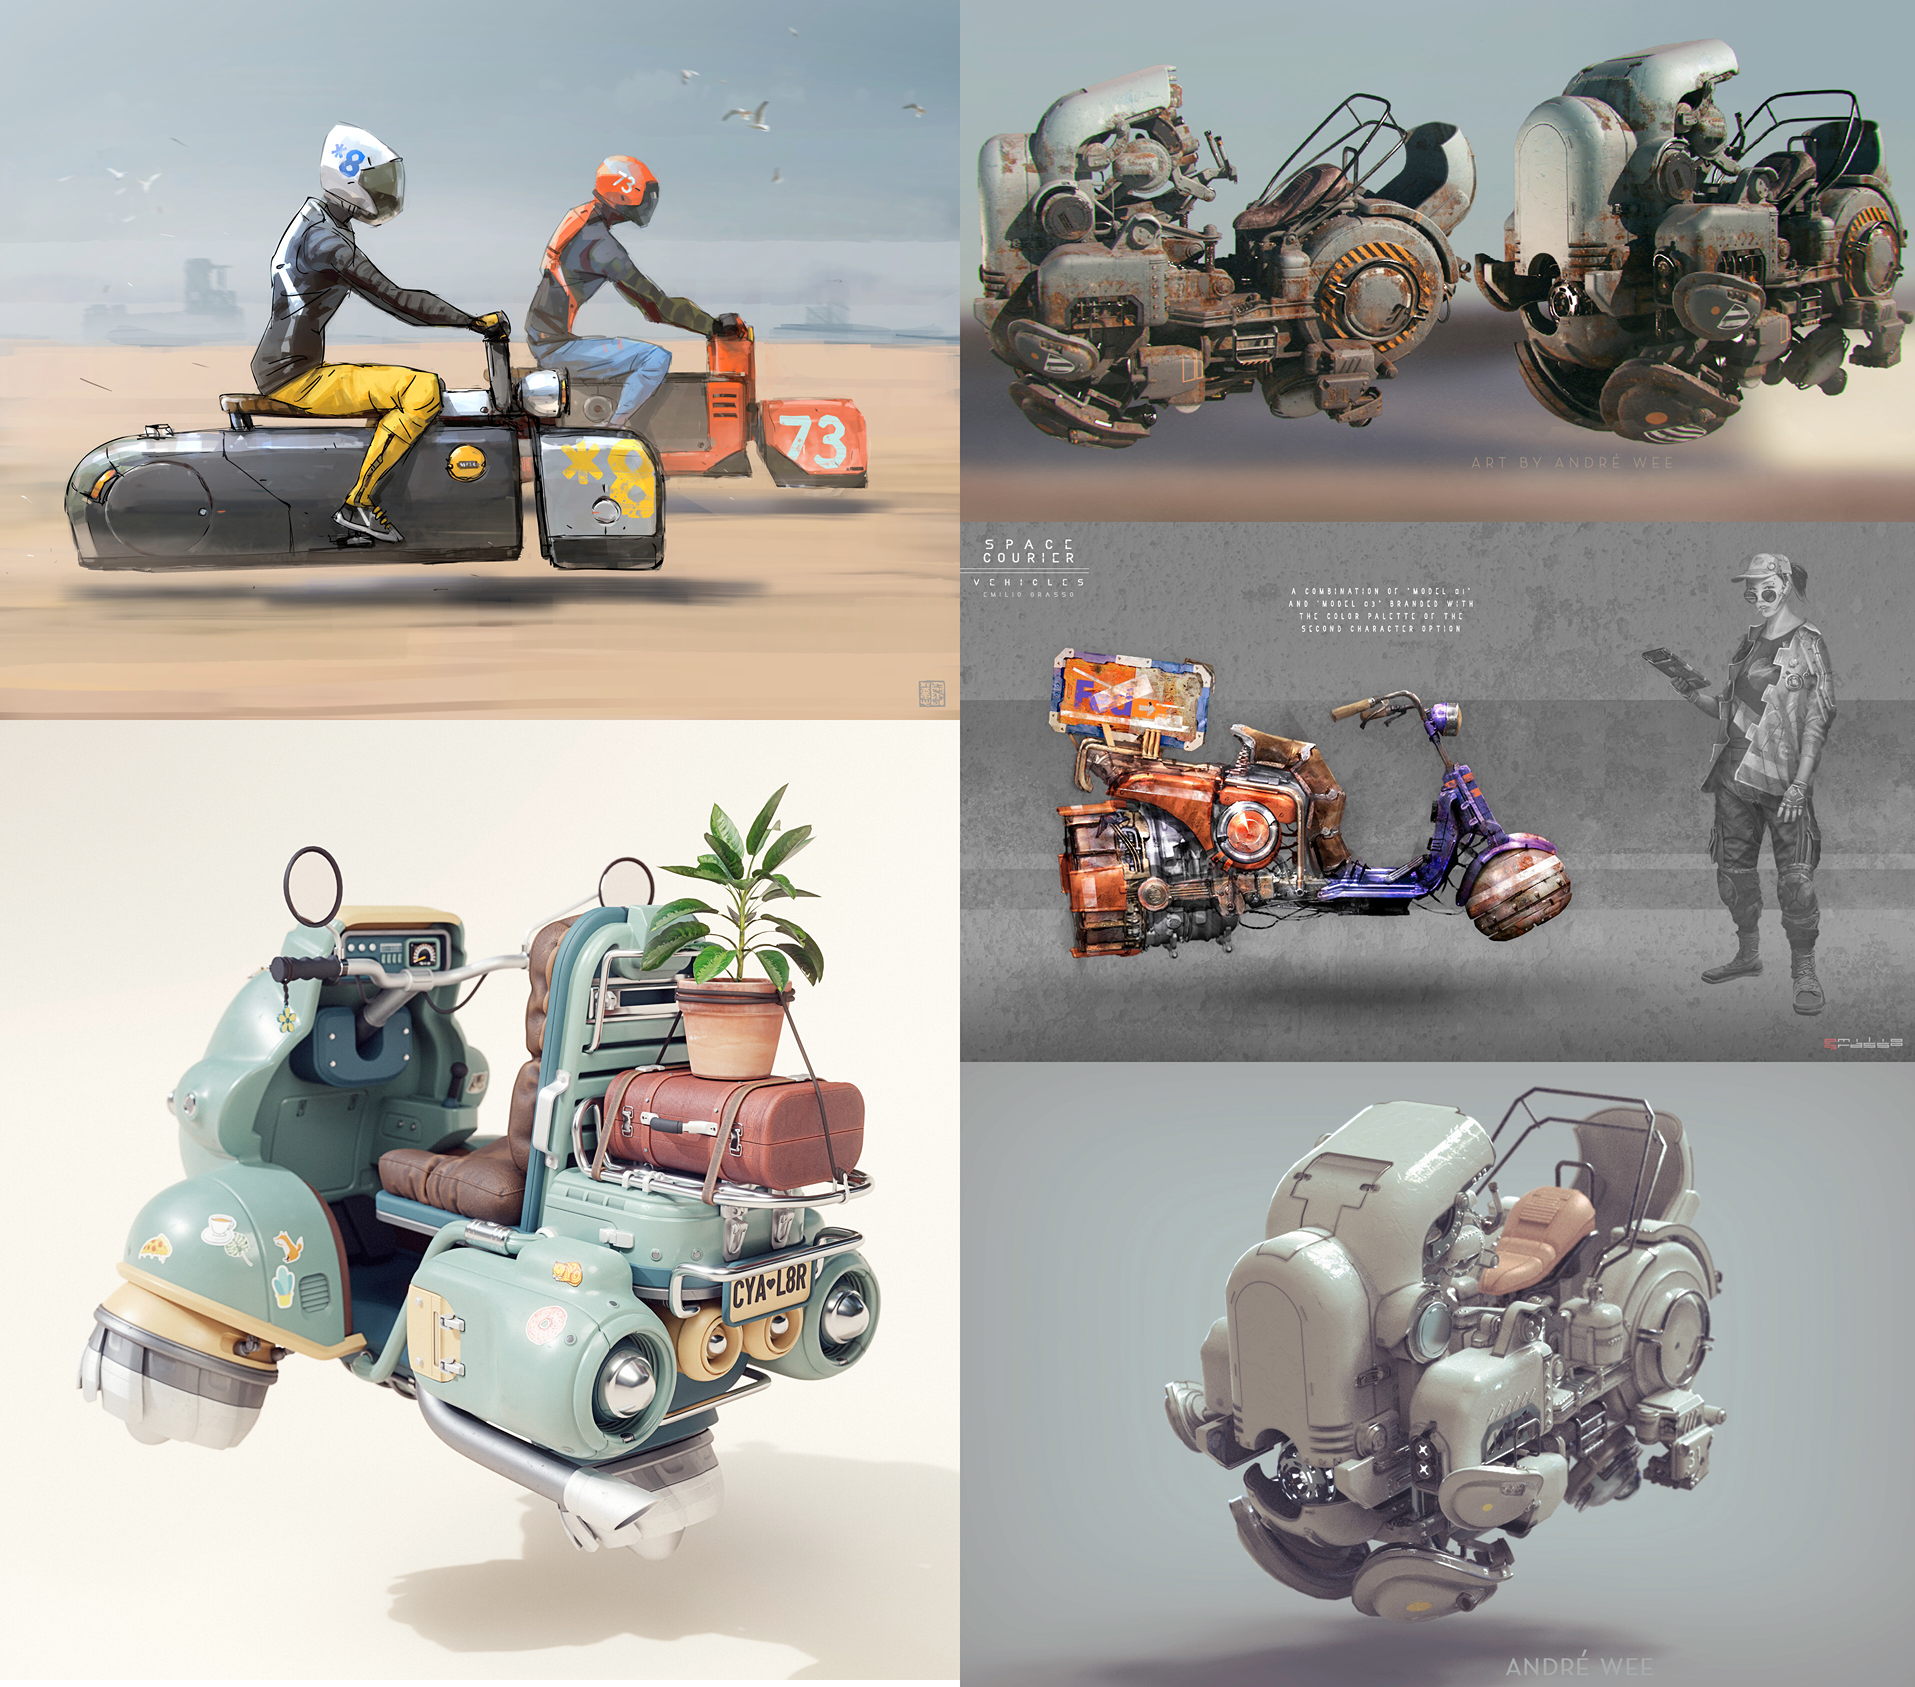
In 2023, I made a fan-art model of a flying bus based on the unreleased game Beyond Good and Evil 2.
While working on this bus, I came across an original photo of an Indian bus. The Ubi’s concept artist had taken a real bus, removed the bottom part, and replaced it with “flying” equipment.
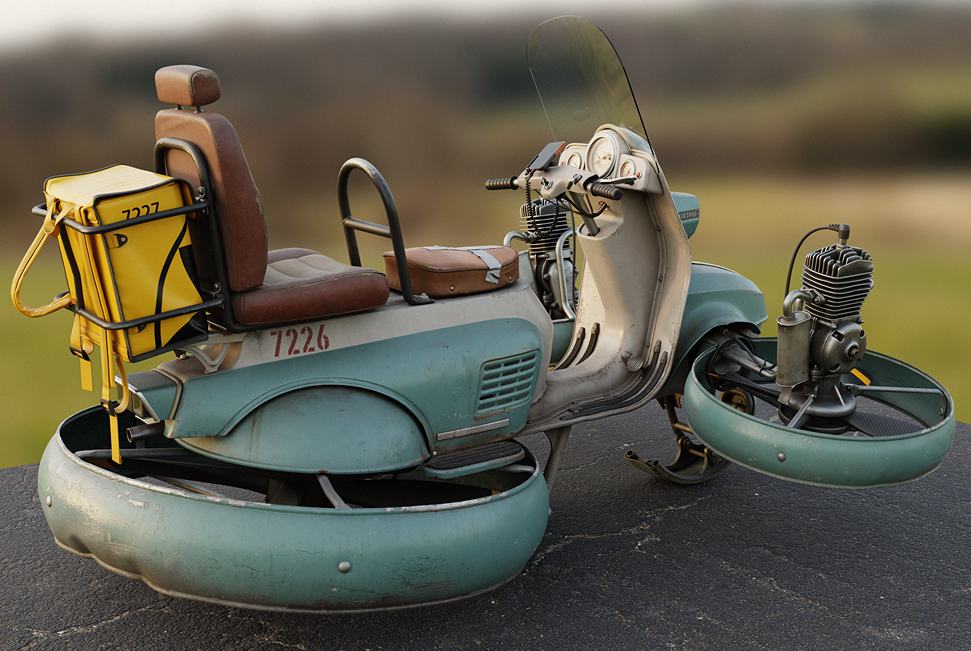
“I can do that too,” I thought. So, I decided to create a flying moped. A flying bike is an overused concept, I know, but looking at other bikes, there was one thing I didn’t like: they don’t explain how they fly.
Typically, it’s some magical anti-gravity force or a strange jet engine. I wanted to create something more basic.
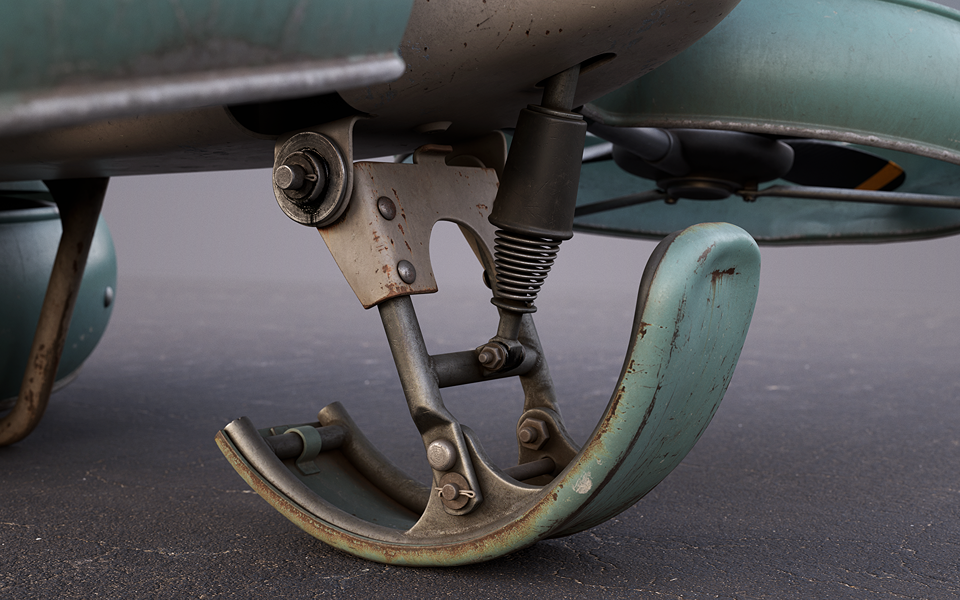
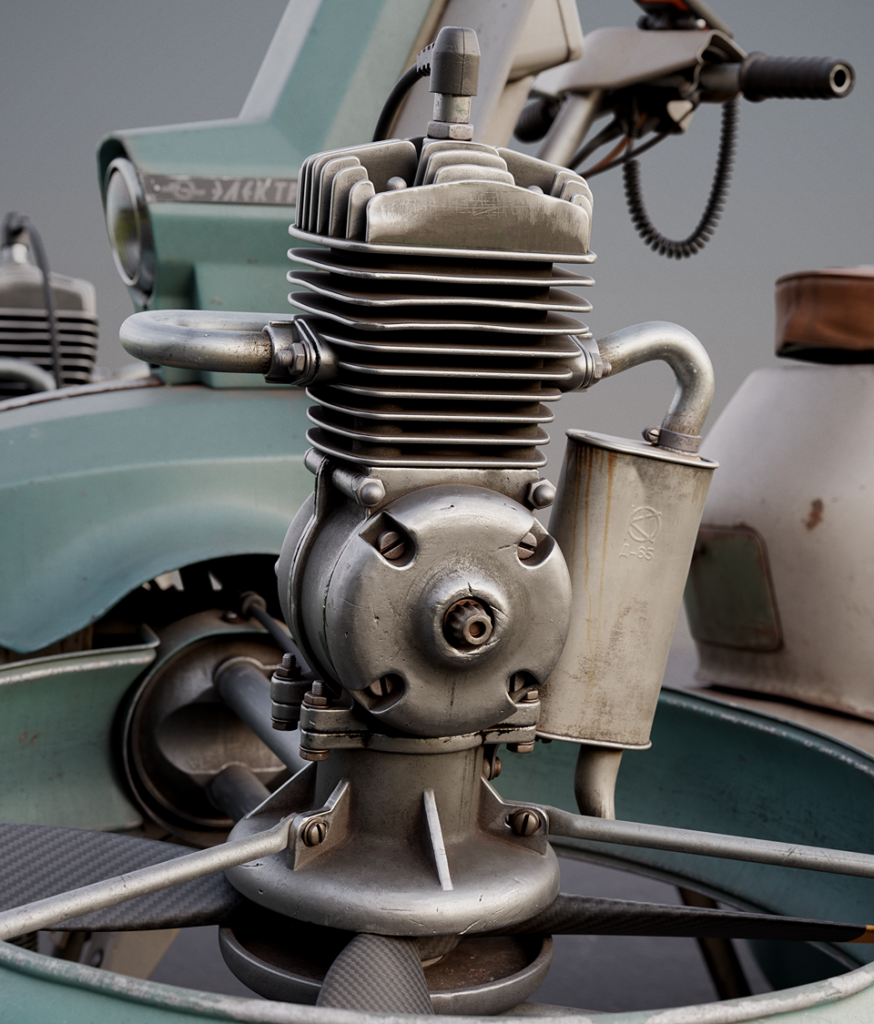
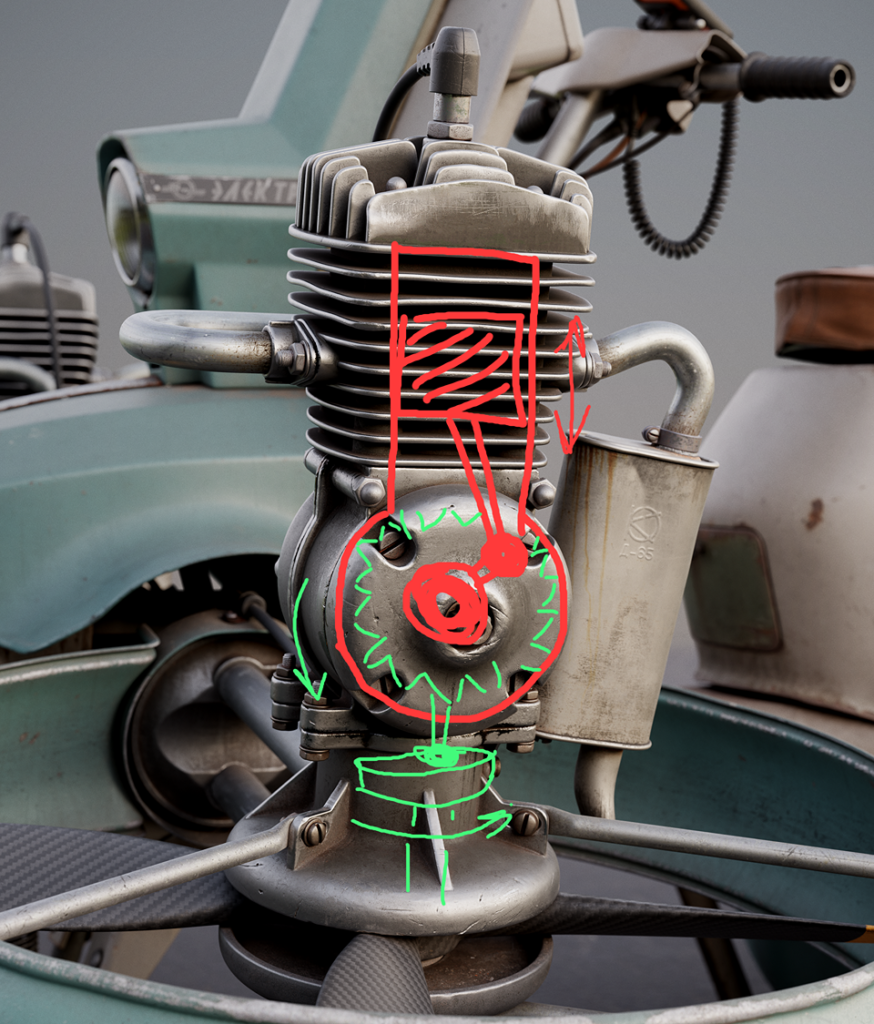
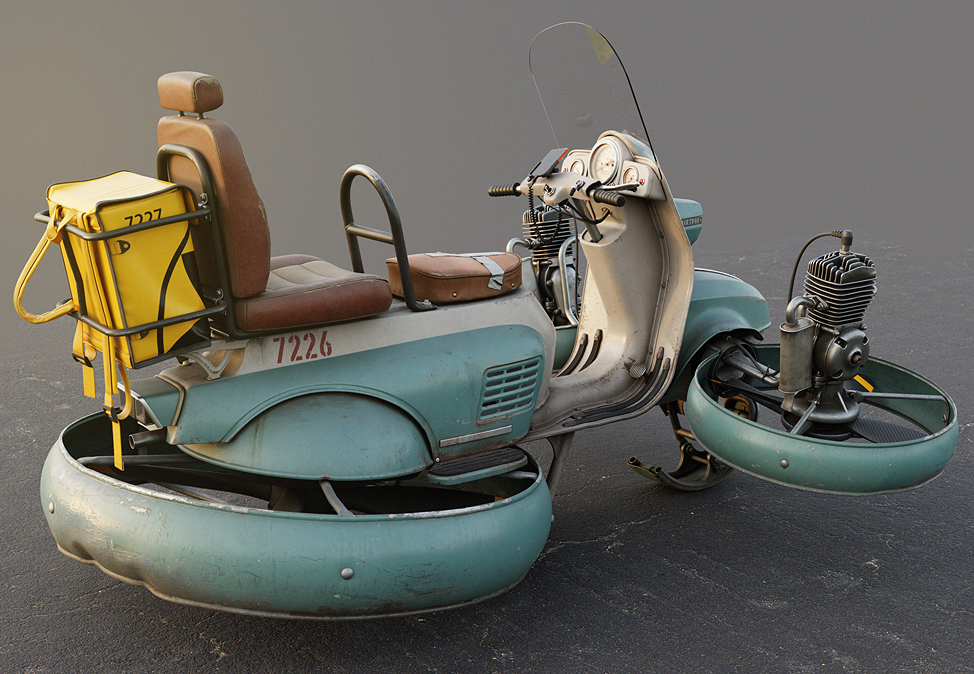
Here are the gas engines; here are the big fans. It functions like a drone.
Tools
- Blocking, modelling, UV & renders – Blender.
- Cloth modelling – Marvelous Designer.
- High poly & sculpting – Zbrush.
- Additional UVs & texturing – Substance Painter.
Concept & References
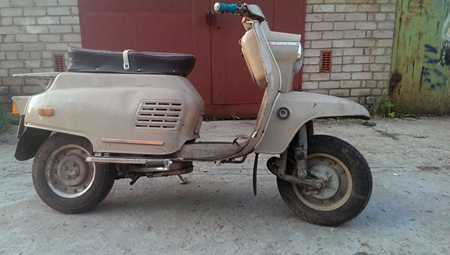
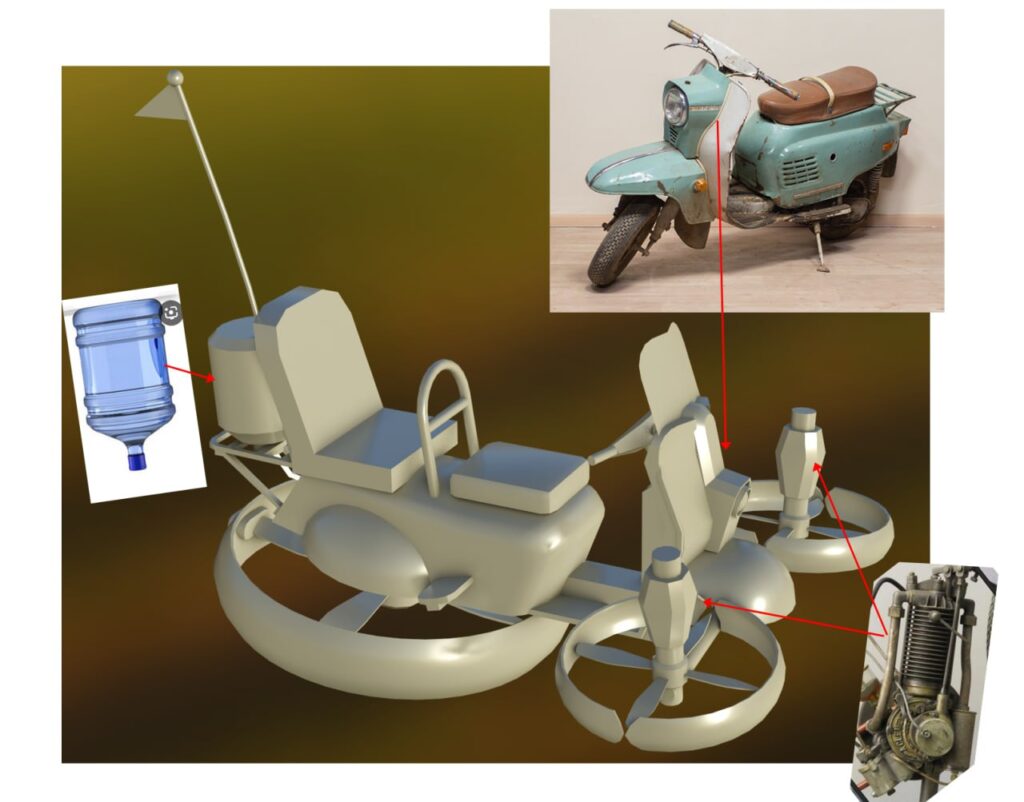
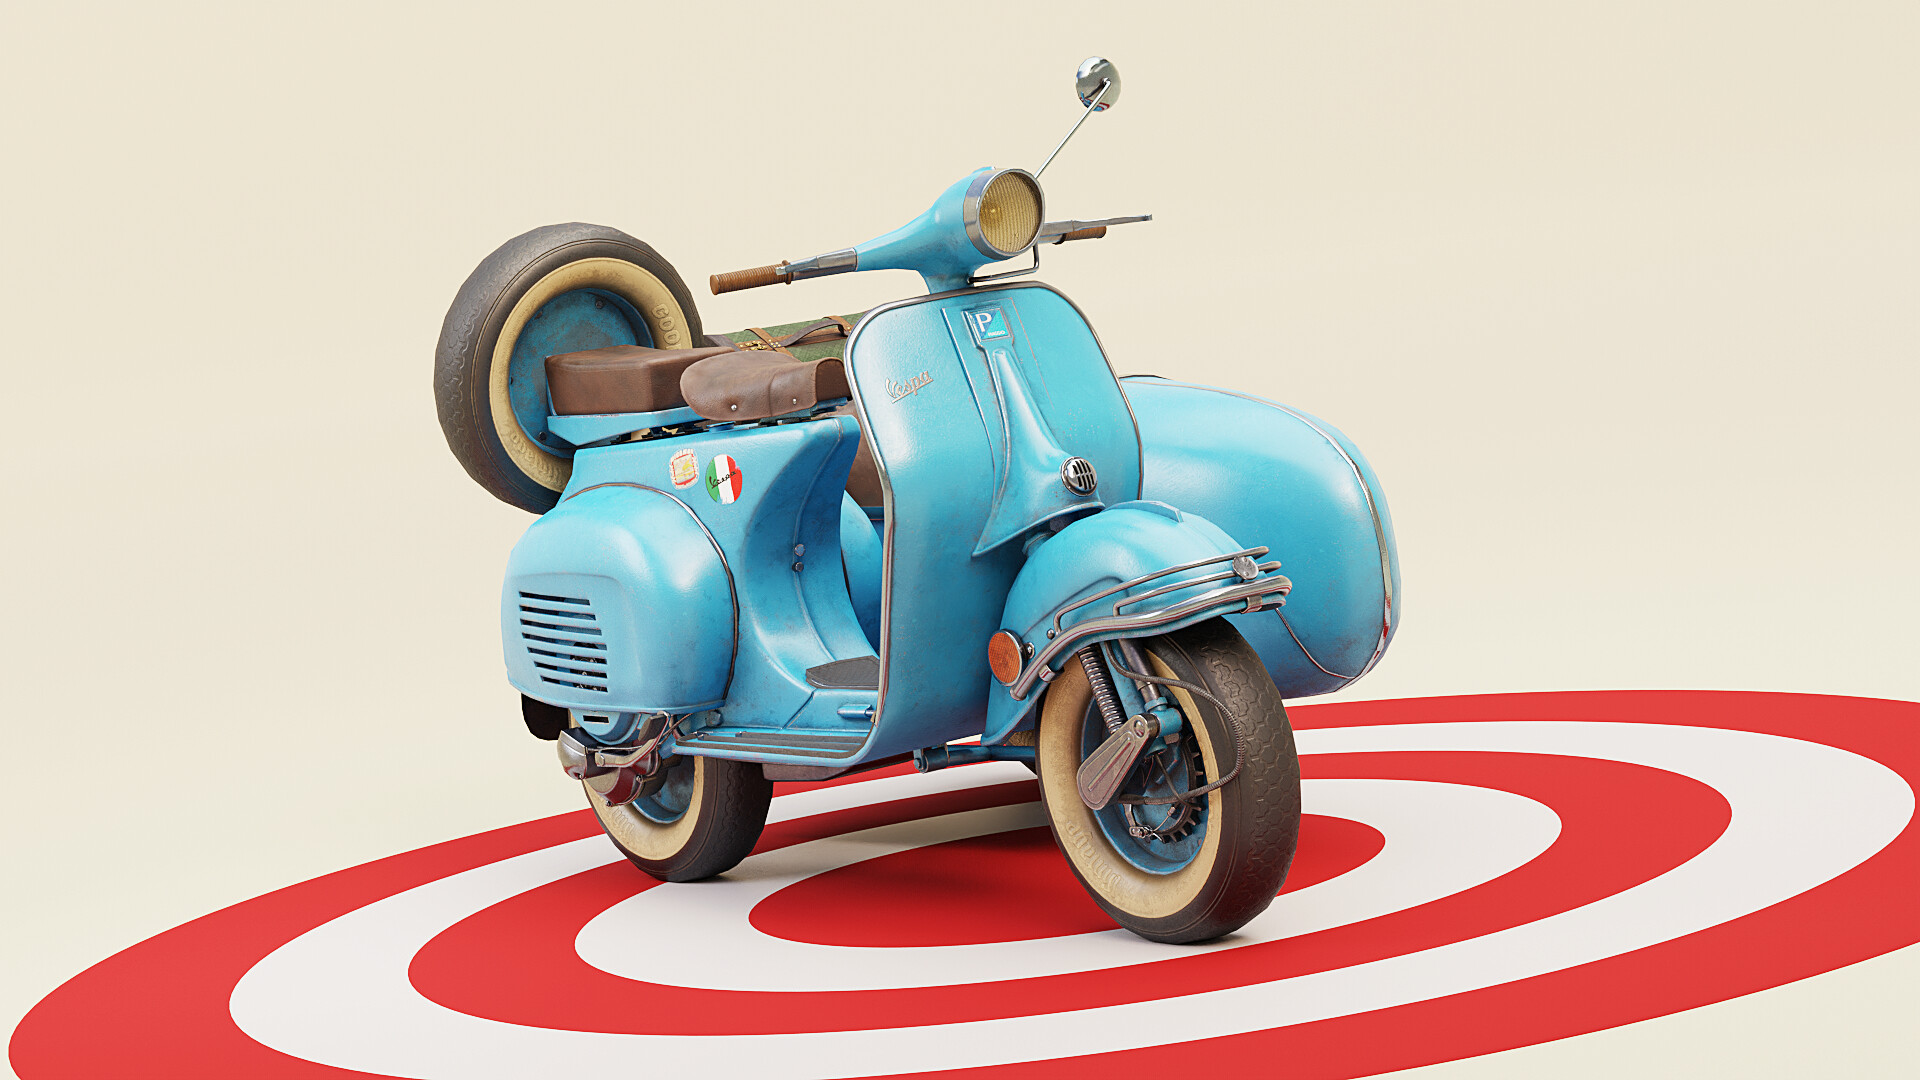
I chose a real moped “Electron” as a design basis. I extended the rear part of the moped to fit a large fan. I also made a few other changes, but it is mostly still an “Electron”.
At first, my goal was to create a long-distance vehicle for travelers.
It had an additional gas tank behind the rear seat, made from a water bottle. However, I later changed it to a delivery scooter.
Design
Designing would be much easier for me if I could draw.
Unfortunately, I can’t. In order to test any idea, I need to create several variations in 3D and then choose the best option.
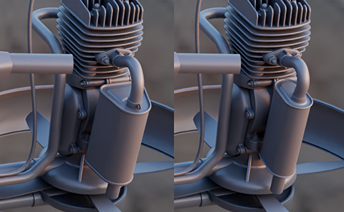
I had to create a design for side engines.
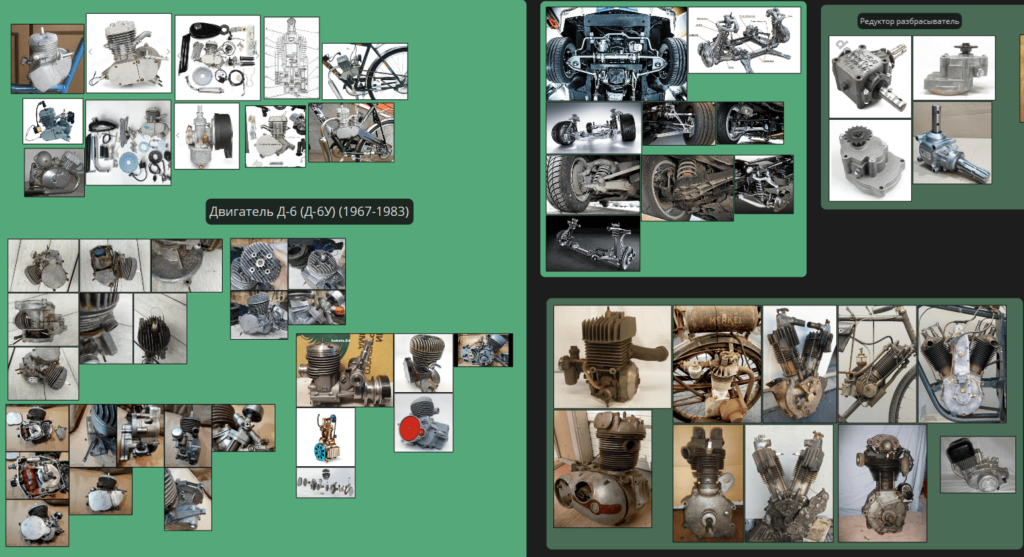
To do this, I found some photos of bike engines from the 1960s and 1980s. I composed parts of the real engines into my new vertical configuration.
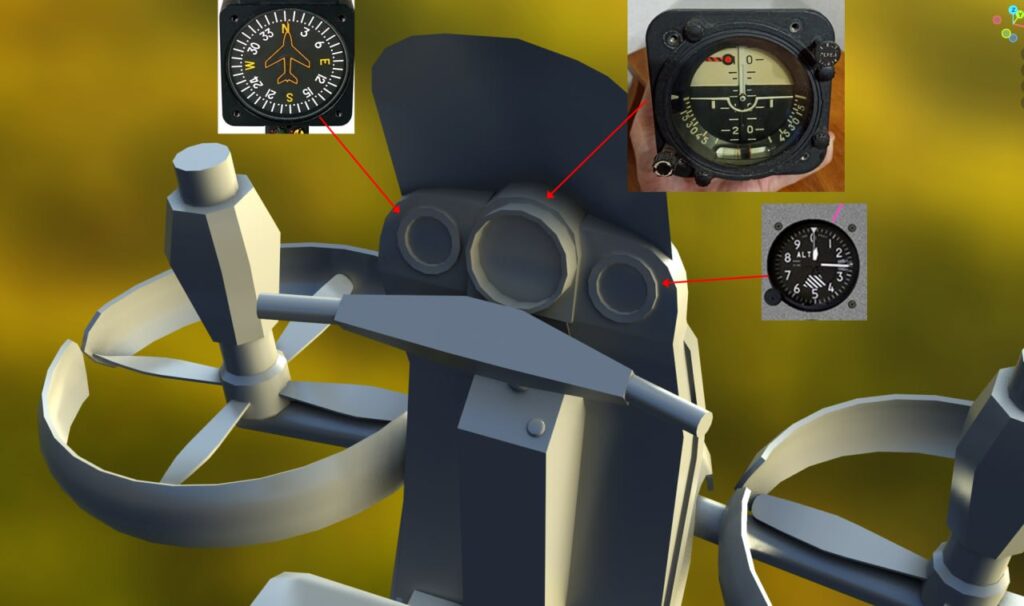
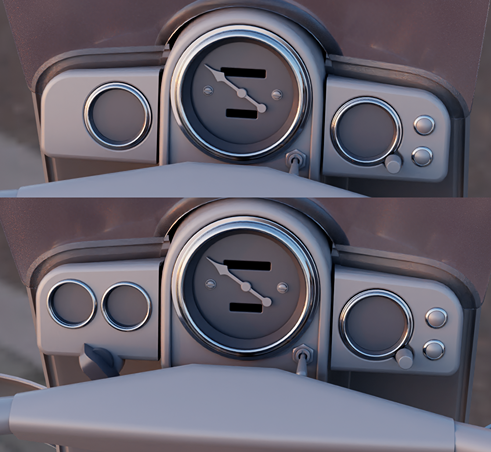
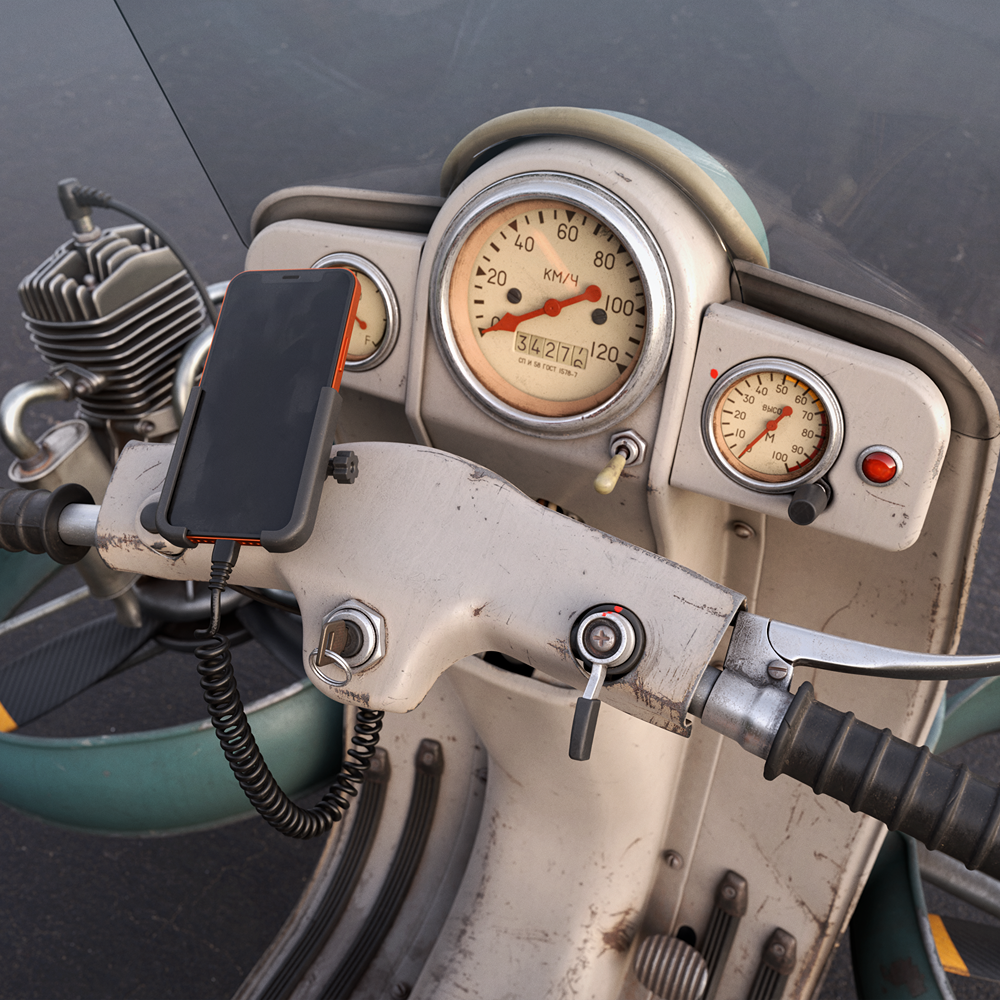
I also made a new dashboard with flying gauges & I added a new cell phone to the handlebars.
I wanted to combine old and new technologies:
A Rusty moped designed in the 1970s and a modern phone made in 2025.
This is how it usually happens in real life:
Delivery guys can’t afford expensive electric scooters and they buy something used.
Modelling (Hard Surface)
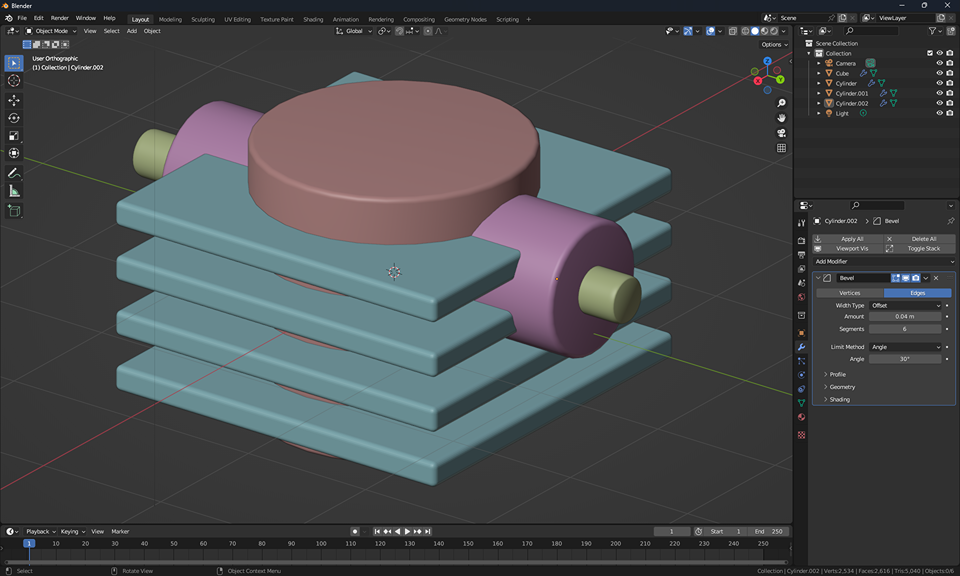
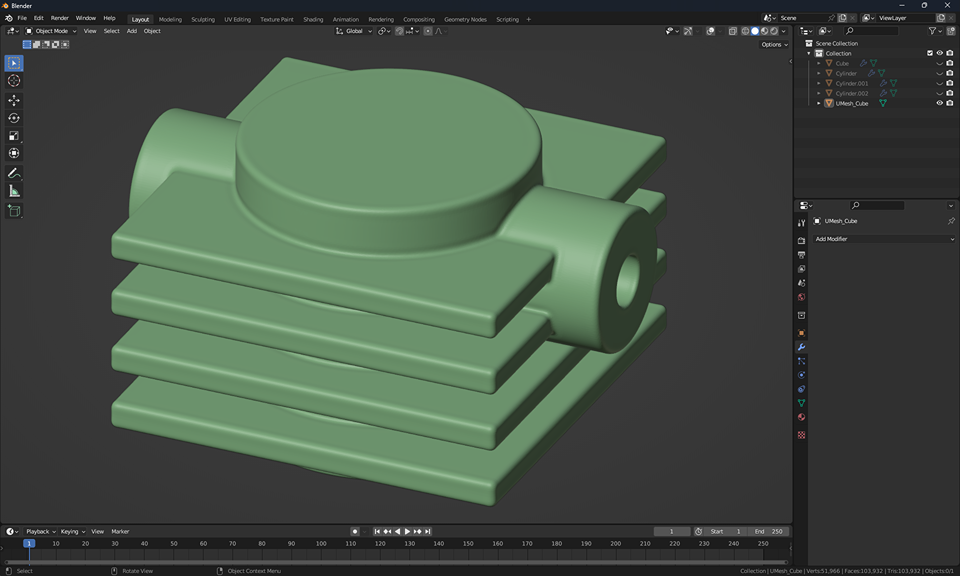
I have worked with hard surfaces for many years already and I don’t like to spend time on topology. I try to make shapes as fast as possible using Booleans in Blender and Zbrush.
My pipeline for simple hard surface models like this is as follows:
- Make basic shapes in Blender.
- Export to Zbrush. Make boolean operations if necessary.
- Make Dynamesh. Then smooth intersections and chamfers.
- Use some premade brushes to add dents, scratches, welding, etc.
- Decimate and export back to Blender.
Modelling (Cloth)
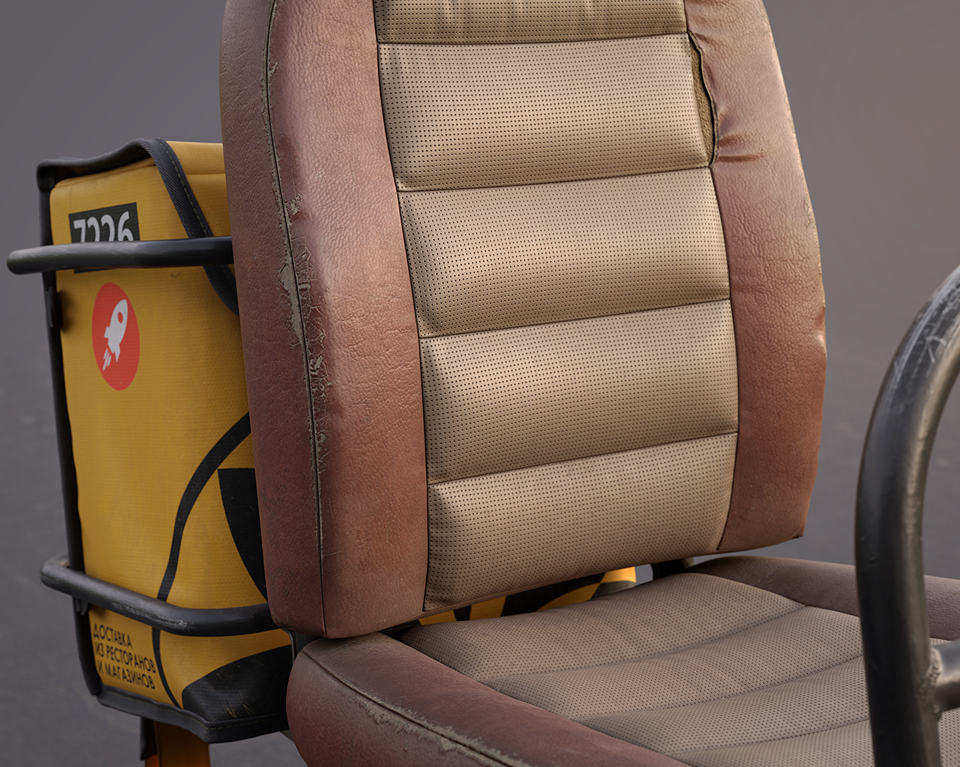
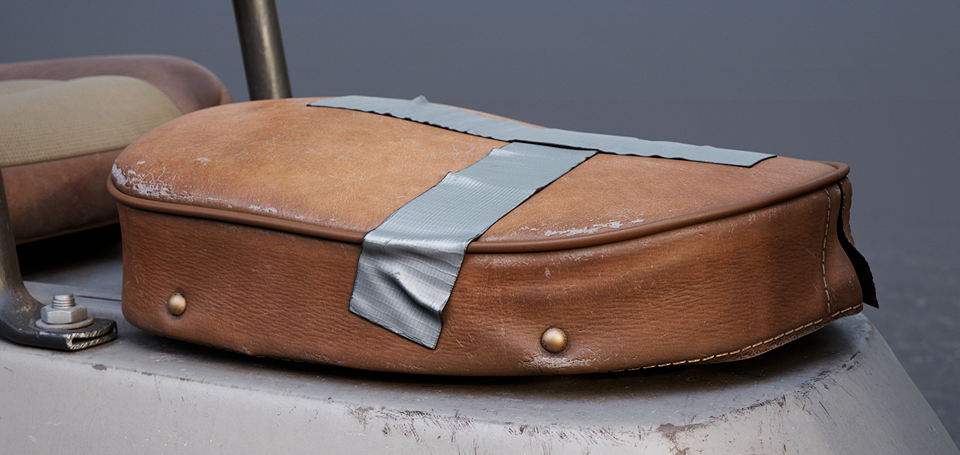
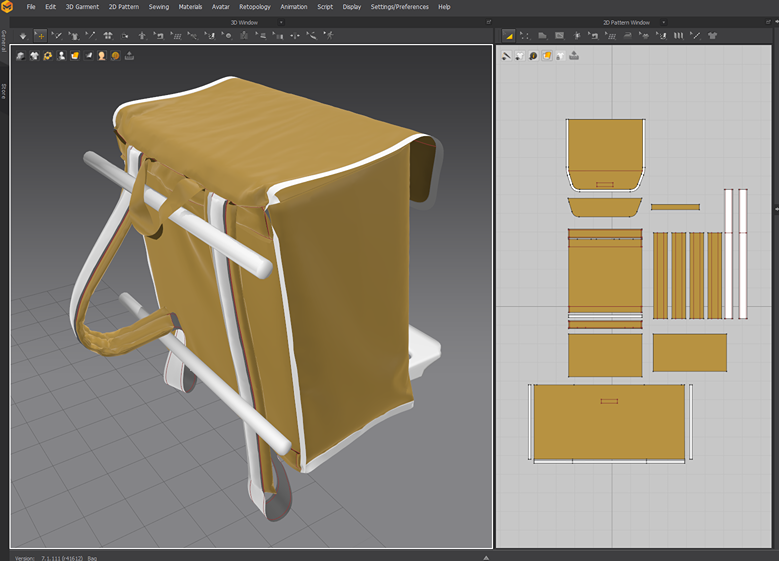
I created a dummy that represents the contents of a bag, plus two bars and a trunk. I imported it as an avatar into Marvelous and wrapped it with cloth parts. You can create garment parts outside Marvelous (using Blender or 3ds Max).
However, I recommend making cloth parts in Marvelous and not trying to make precise 2D garments.
If each garment has a slightly different size, you will get more interesting folds on your model.
Modelling (Duct Tape)
This is an interesting method. I found it on Youtube.
- Import your avatar to Marvelous.
- Create a duct tape garment.
- Place your duct tape above your avatar in 3D View.
- Set negative pressure for your tape. It will make it stick to your avatar.
- Run the simulation and drag your tape to make some folds.
- Export the tape to Zbrush and use some cloth alphas to make smaller folds. I’m sure you can buy cloth alphas on Artstation.
Sculpting
There is not much sculpting on this asset. I made some dents with premade brushes and that’s it!
Nanite Geometry
Here comes an interesting part. After the high poly model was finished, I decided to convert it into Nanite. Just to learn something new. I searched online for information on how to create Nanite geometry. But I didn’t find much.
I watched the official video by Unreal. I watched a few YouTube tutorials. I also found a colleague who made a Nanite game model and asked him for advice. But I still had some questions unanswered.
The main question was:
How many tris can I actually make? It seems like I can make as much as I want. As long as I’m happy with the file size of an asset.
Polycount
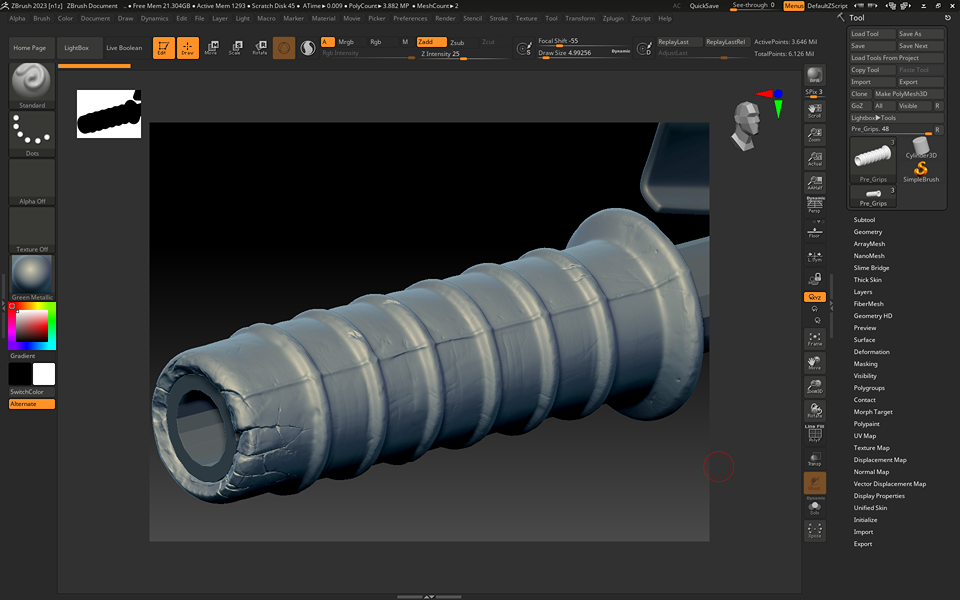
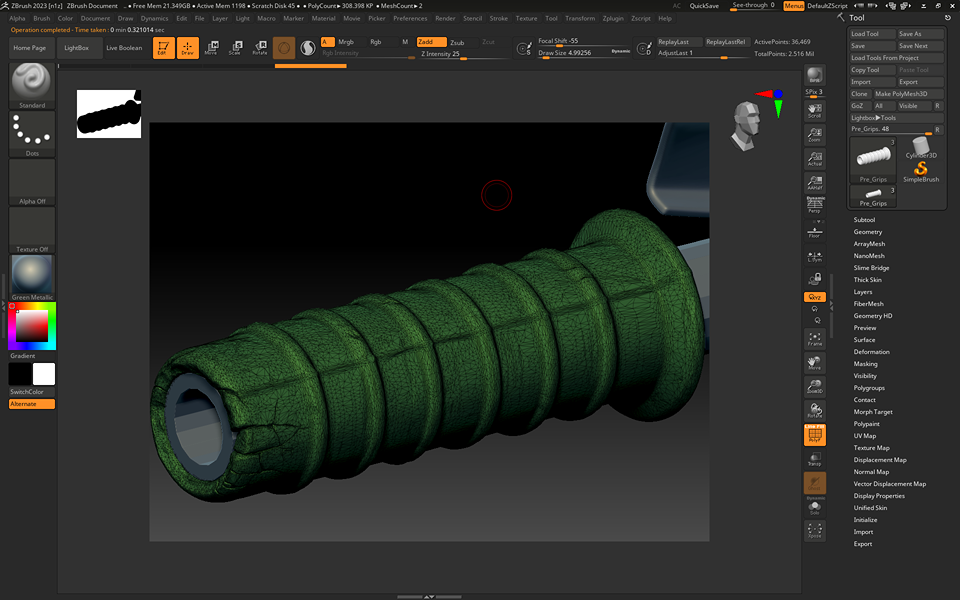
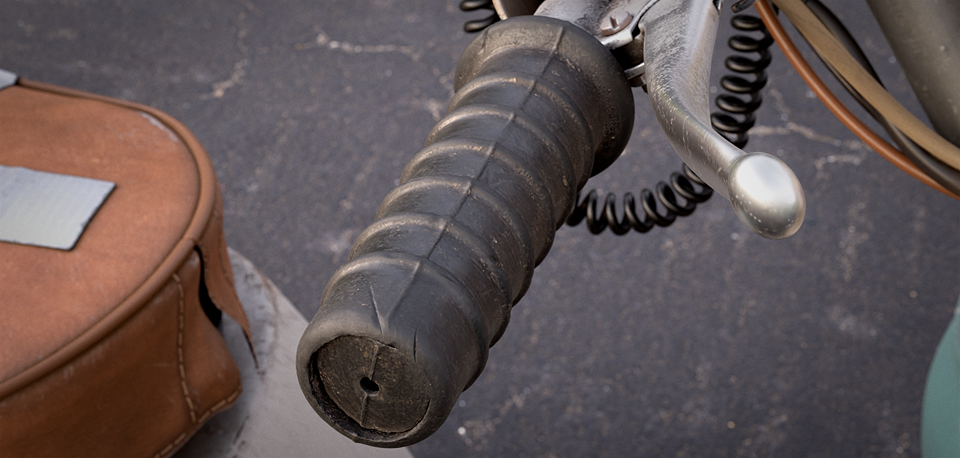
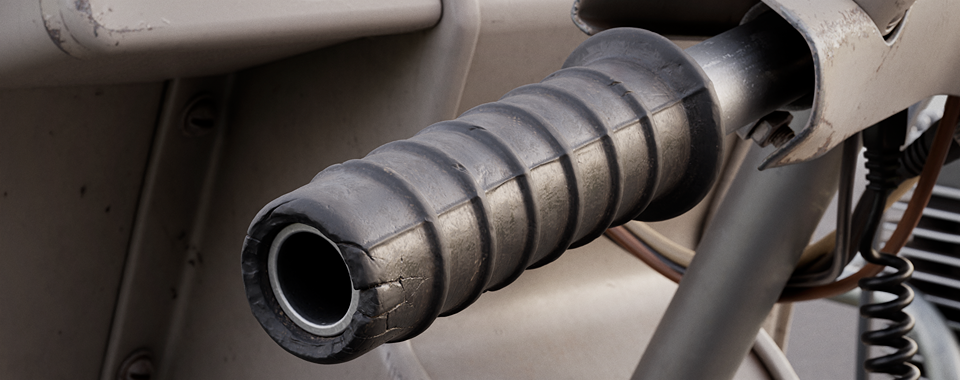
As an example, let’s look at this rubber handle. I used ZBrush for high poly. It wasn’t obvious what to do with the HP model.
• Should I decimate it?
• Should I leave it as is with 3 million points?
• Should I make a new high poly with fewer polycount and bake normal maps from one HP to another?
I decided to use the decimated model. I decimated models until I started to lose small details. Usually, I left about 1-5 % of the original HP polycount.
I think I did something wrong. Because, in the end, I got the moped with 17,000,000 tris. And the FBX of this model weighs around 1 Gig. This is obviously not a game-ready model. Even if this is a Nanite geometry.
Even in 2025, when the average game install size is around 100 Gigs. 1 Gig for 1 asset is too much. However, Unreal handles this model with no issue.
UVs
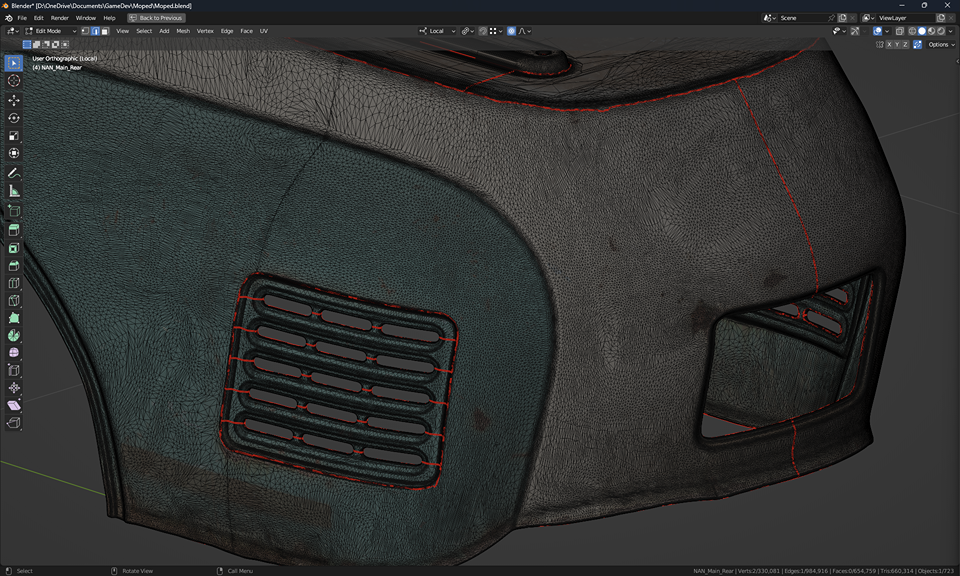
It was frustrating. I couldn’t find any 3D software that could easily handle the unwrapping of triangulated, high-poly models.
Usually, I use Blender to unwrap my models, but Blender’s unwrapping algorithm doesn’t work well with high-poly models with an ugly topology.
Take a look at the screenshot below.
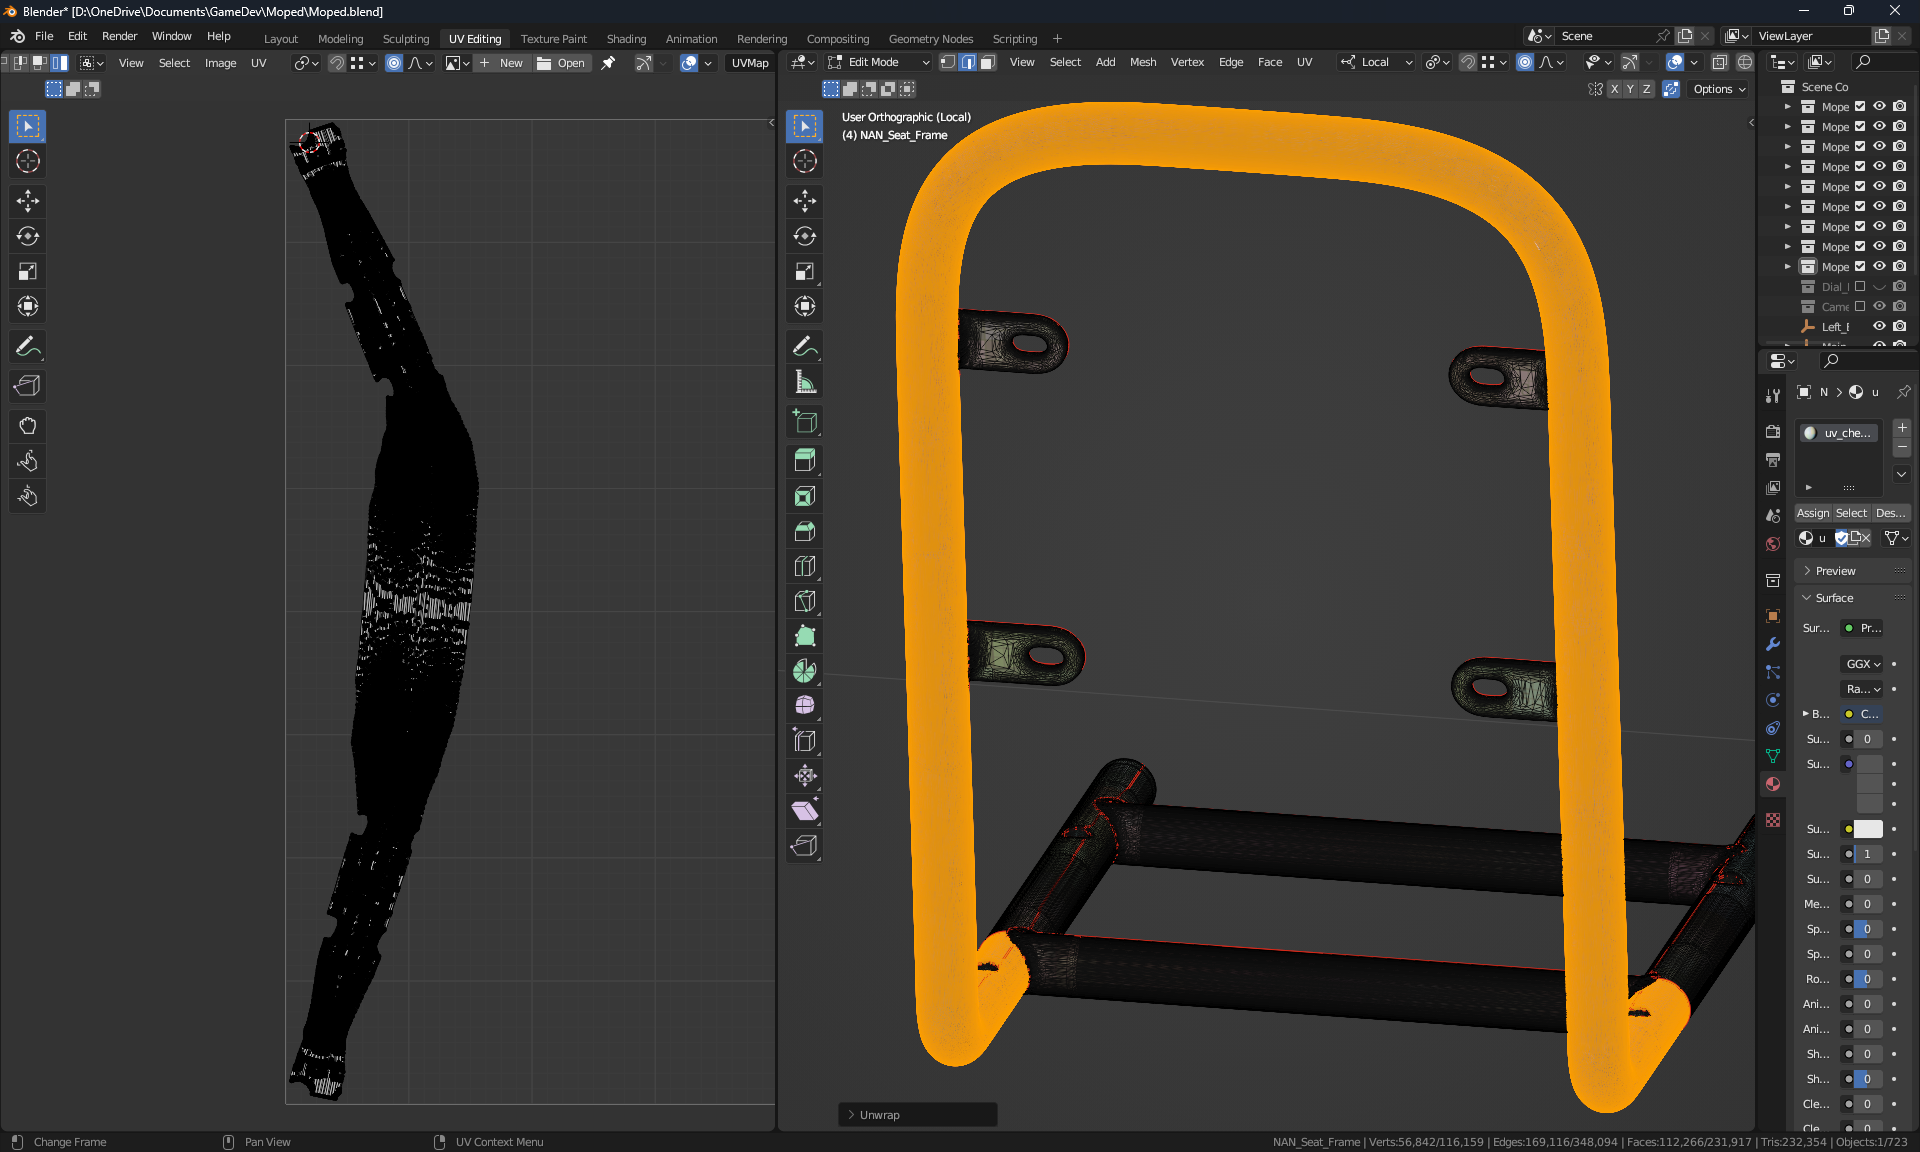
This is what I usually get when I try to unwrap Nanite geometry.
This is a tube. Its UV is supposed to have the shape of a parallelepiped. Both Blender’s algorithms gave similarly bad results. I tried Blender, ZBrush, 3Ds Max and UV Layout. None of them can deal with this geometry.
I found a solution:
Substance Painter has a very good unwrapper. But you can’t manually mark seams in Painter. Therefore, I marked seams in Blender, made uneven UV islands in Blender and exported a model to Painter.
Then I used the “Auto-unwrap” function in the “New Project” window with these settings. Then, I exported the model back to Blender and went to the next one.
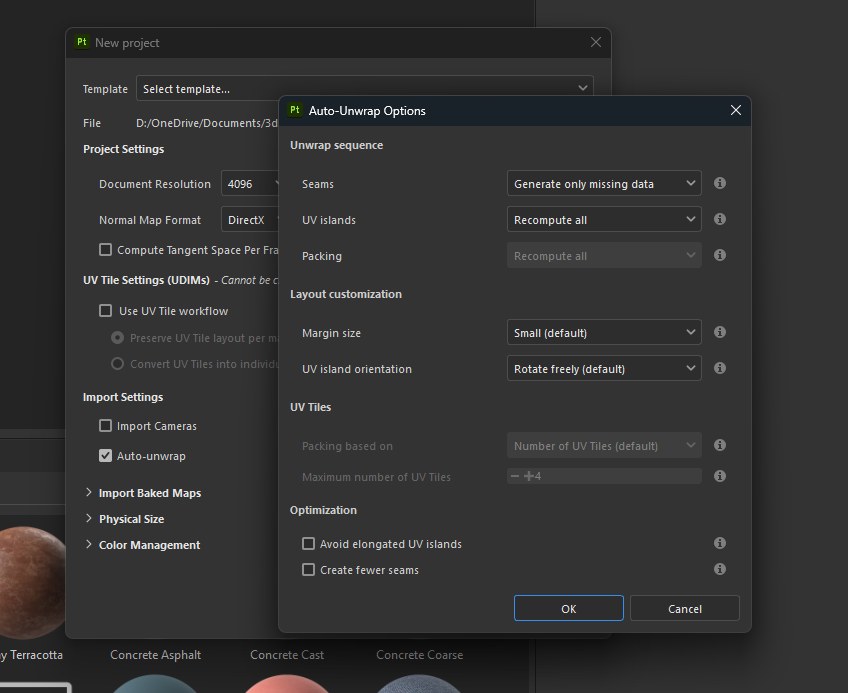
But some models were too complex even for Painter.
If Painter gave me too distorted UVs, I cut the model into smaller pieces and tried again. As a result, some models have seams in unexpected places.
Packing UVs
To pack UVs, I use UVPackmaster for Blender. This is an excellent software.
It completely eliminates the need for packing UVs manually and saves you a lot of time.
Texturing
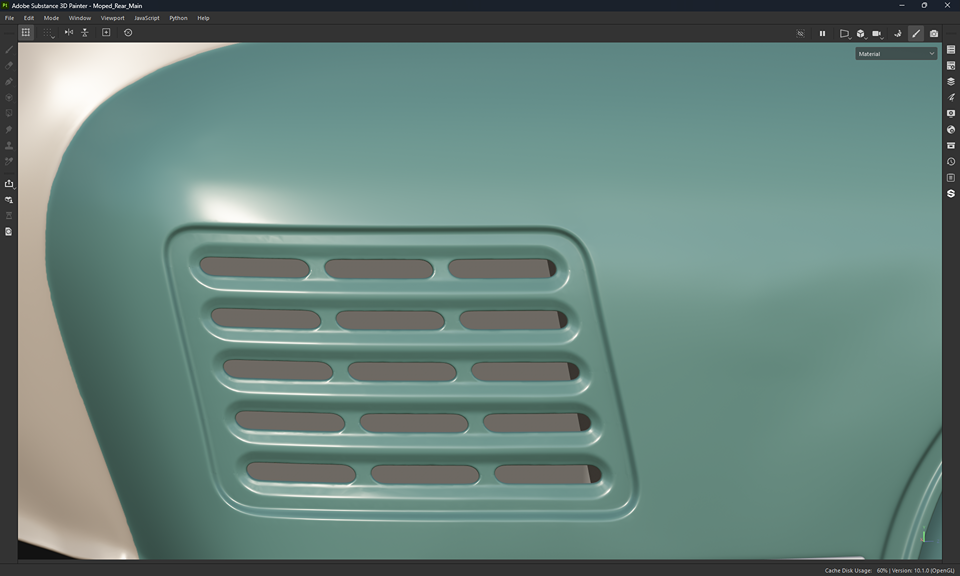
This is another difficulty with Nanite. Painter does not feel well when you load a model with a few million triangles.
Painting itself is not that slow. But Painter likes to have at least one crash during an hour.
I pressed CTRL+S after every stroke.
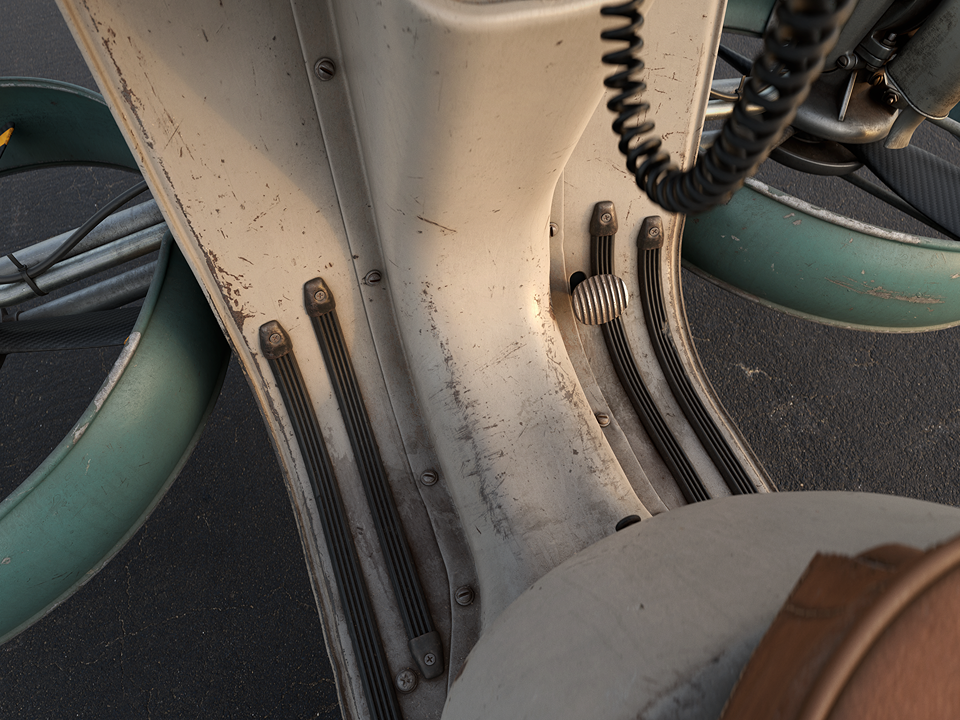
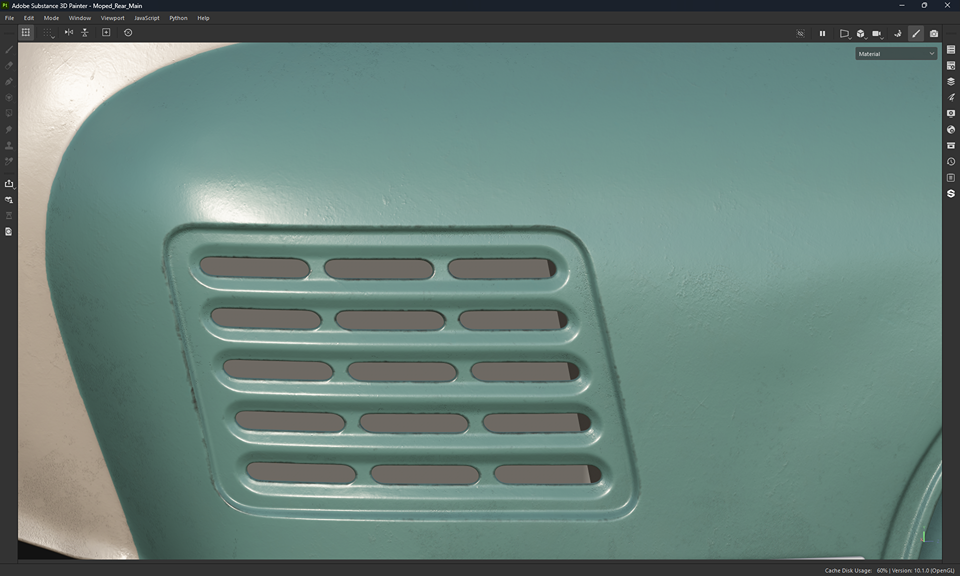
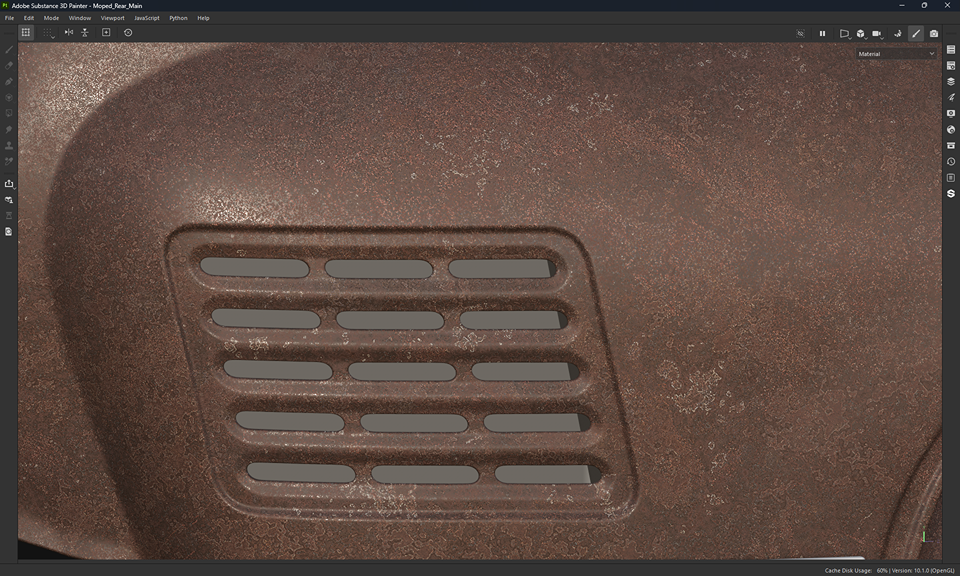
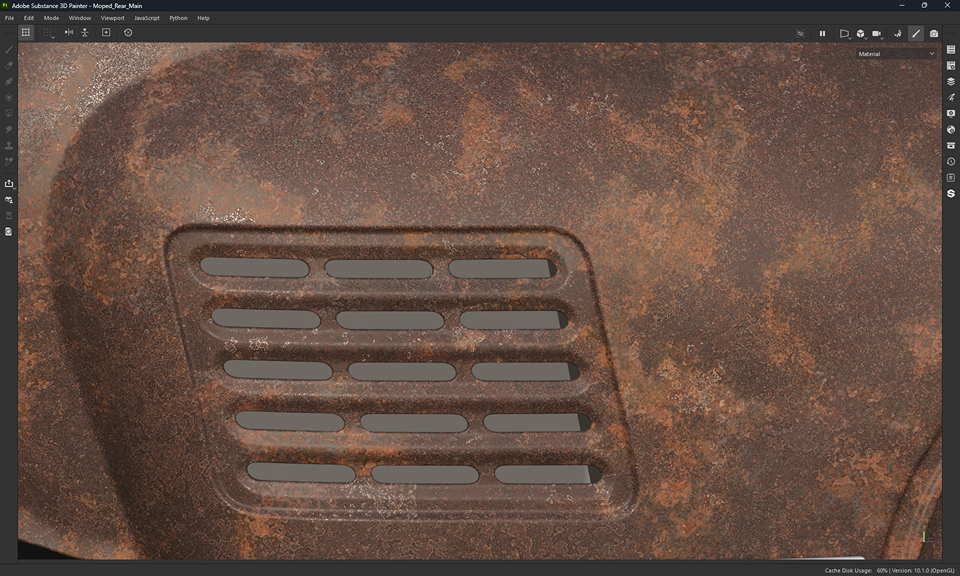
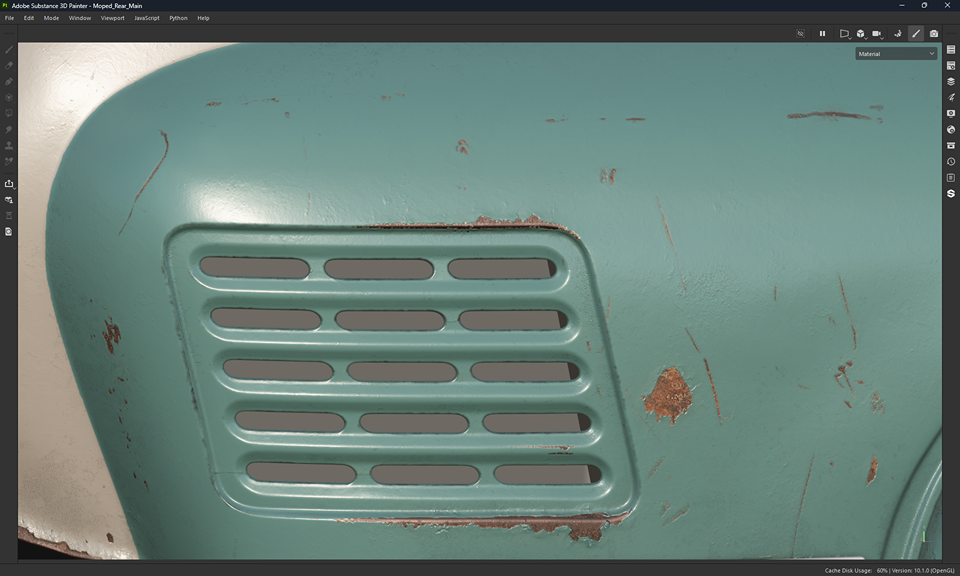
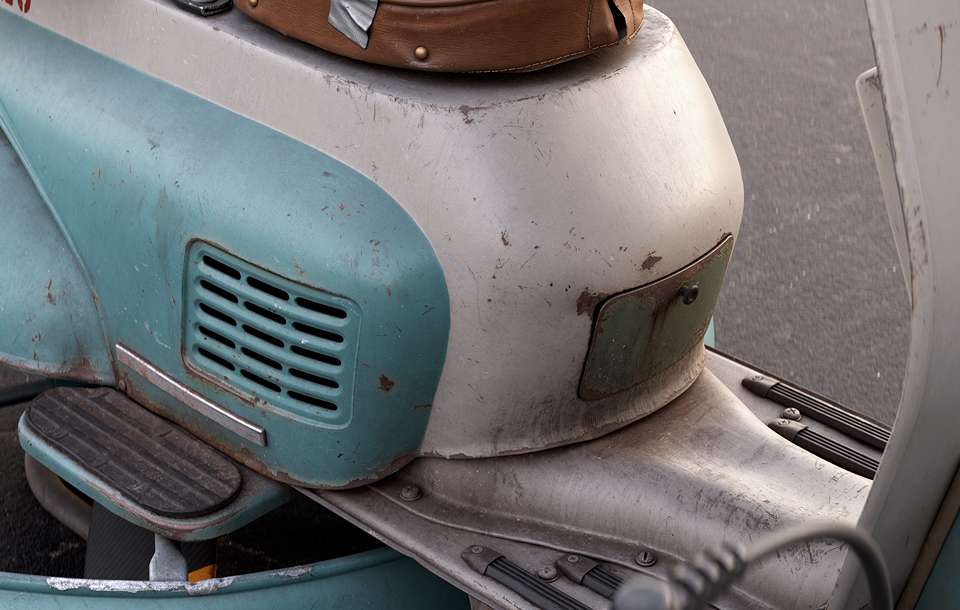
The textures on this project are nothing special. It’s mostly a rusty painted metal.
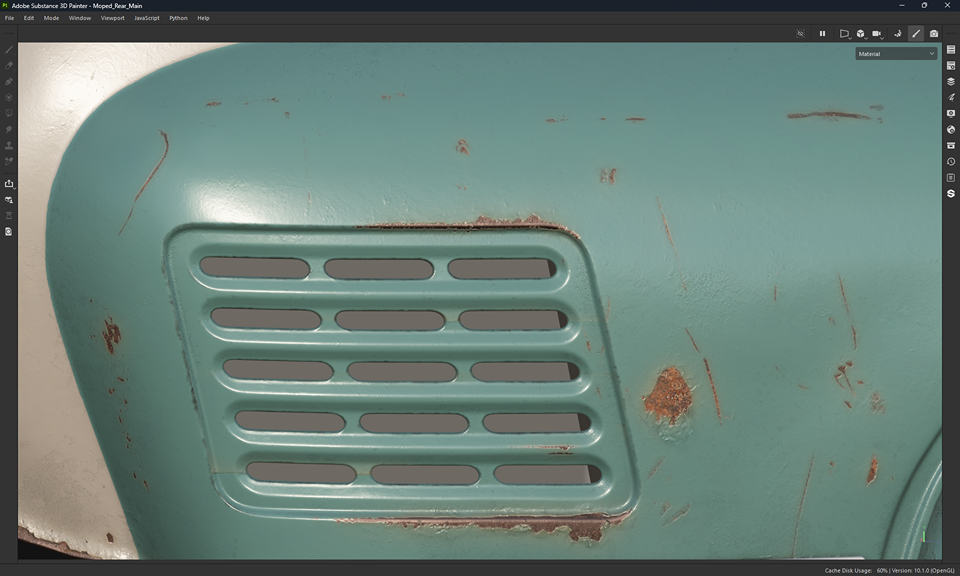
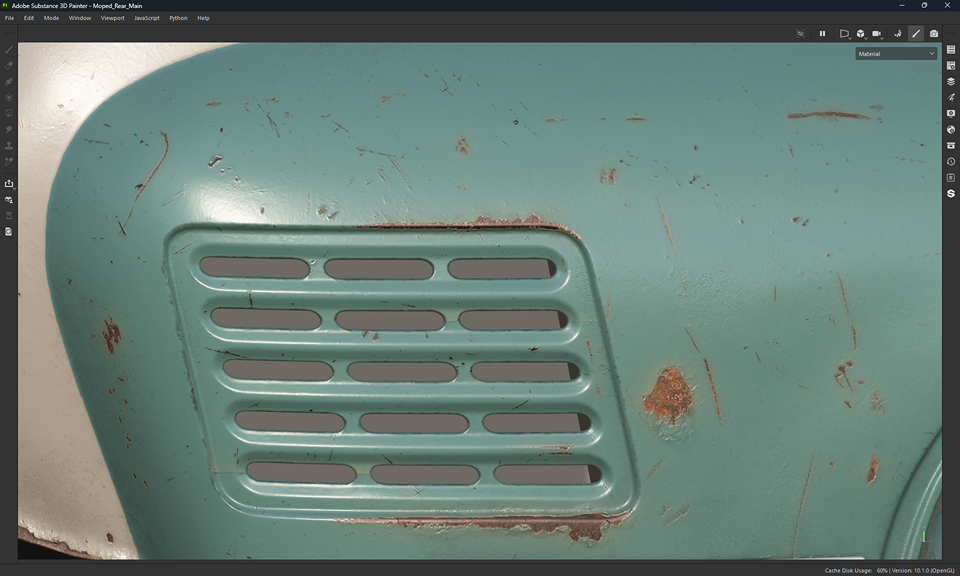
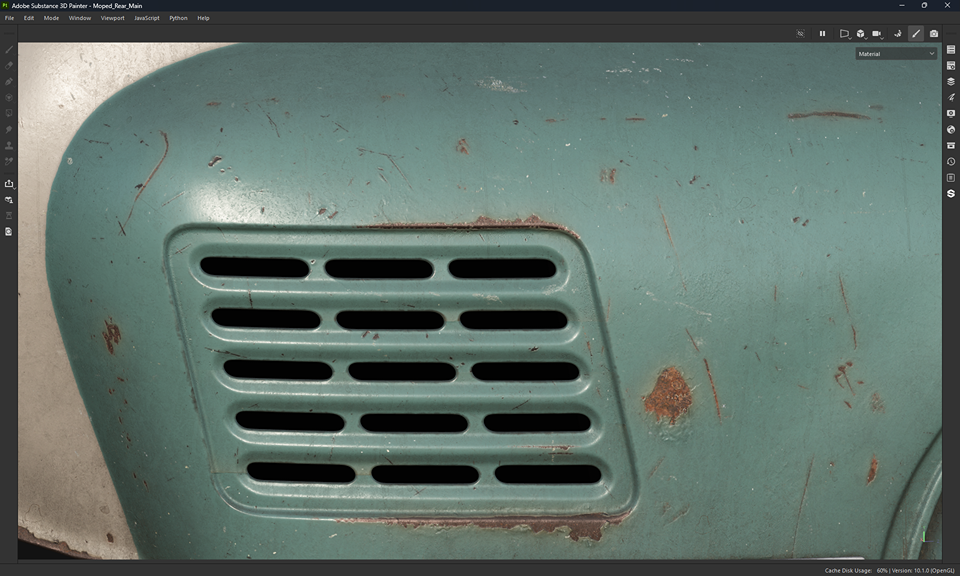
This is how it was made:
- Base layer with paint colors.
- Add some paint bumps and darker corners with Mask Generator.
- Rust layer #1.
- Rust layer #2 (with mask). Just to have some variations.
- Metallic edges with mask generator.
- Mix paint and rust layers with a hand-painted mask.
- Add an anchor to the rust mask and use it to add effects related to rust damage.
- More effects to rust.
- One more layer with scratches, masked by procedural grunge map.
- The dirt layer is made with Mask Generator and drips.
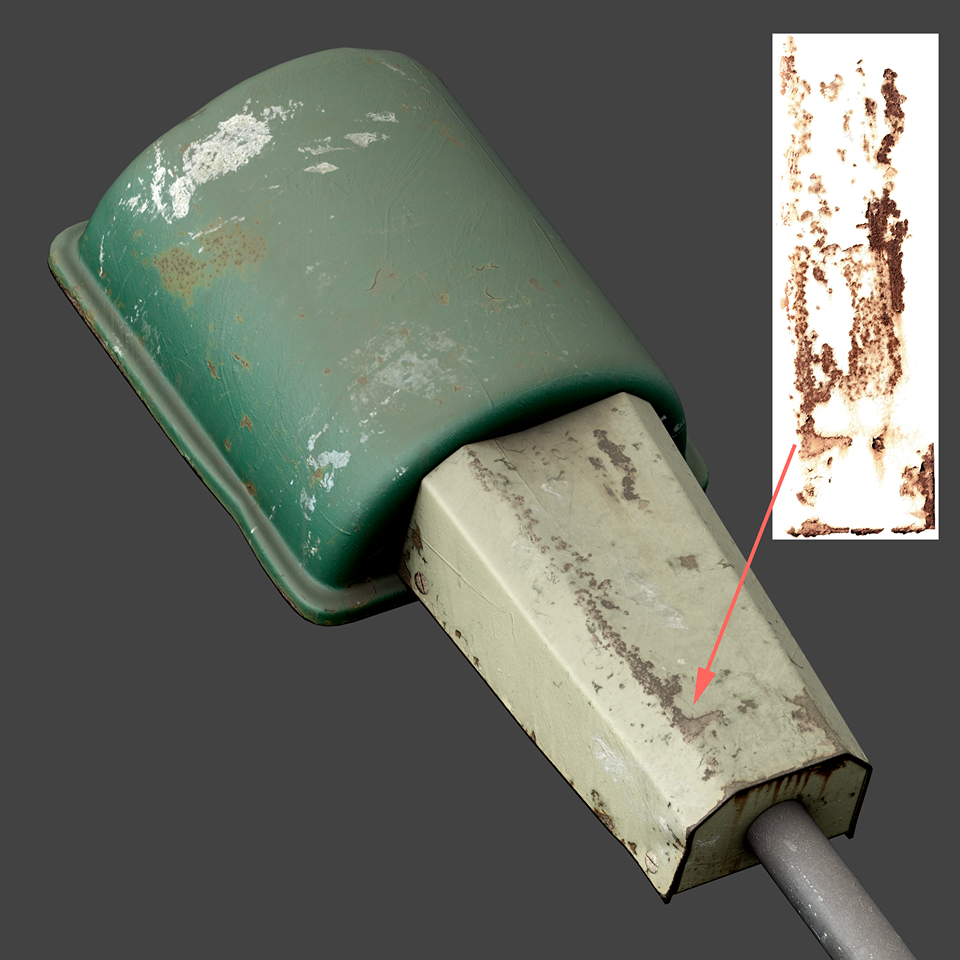
I have a collection of Texture Elements, which include photos of rust, dirt & scratches.
Usually, I use them as decals. I just drag an image to a model, set the correct blending option and mask unwanted areas.
Like this.
Lighting & Rendering
Despite having this project assembled in Unreal, I decided to render portfolio images using Blender.
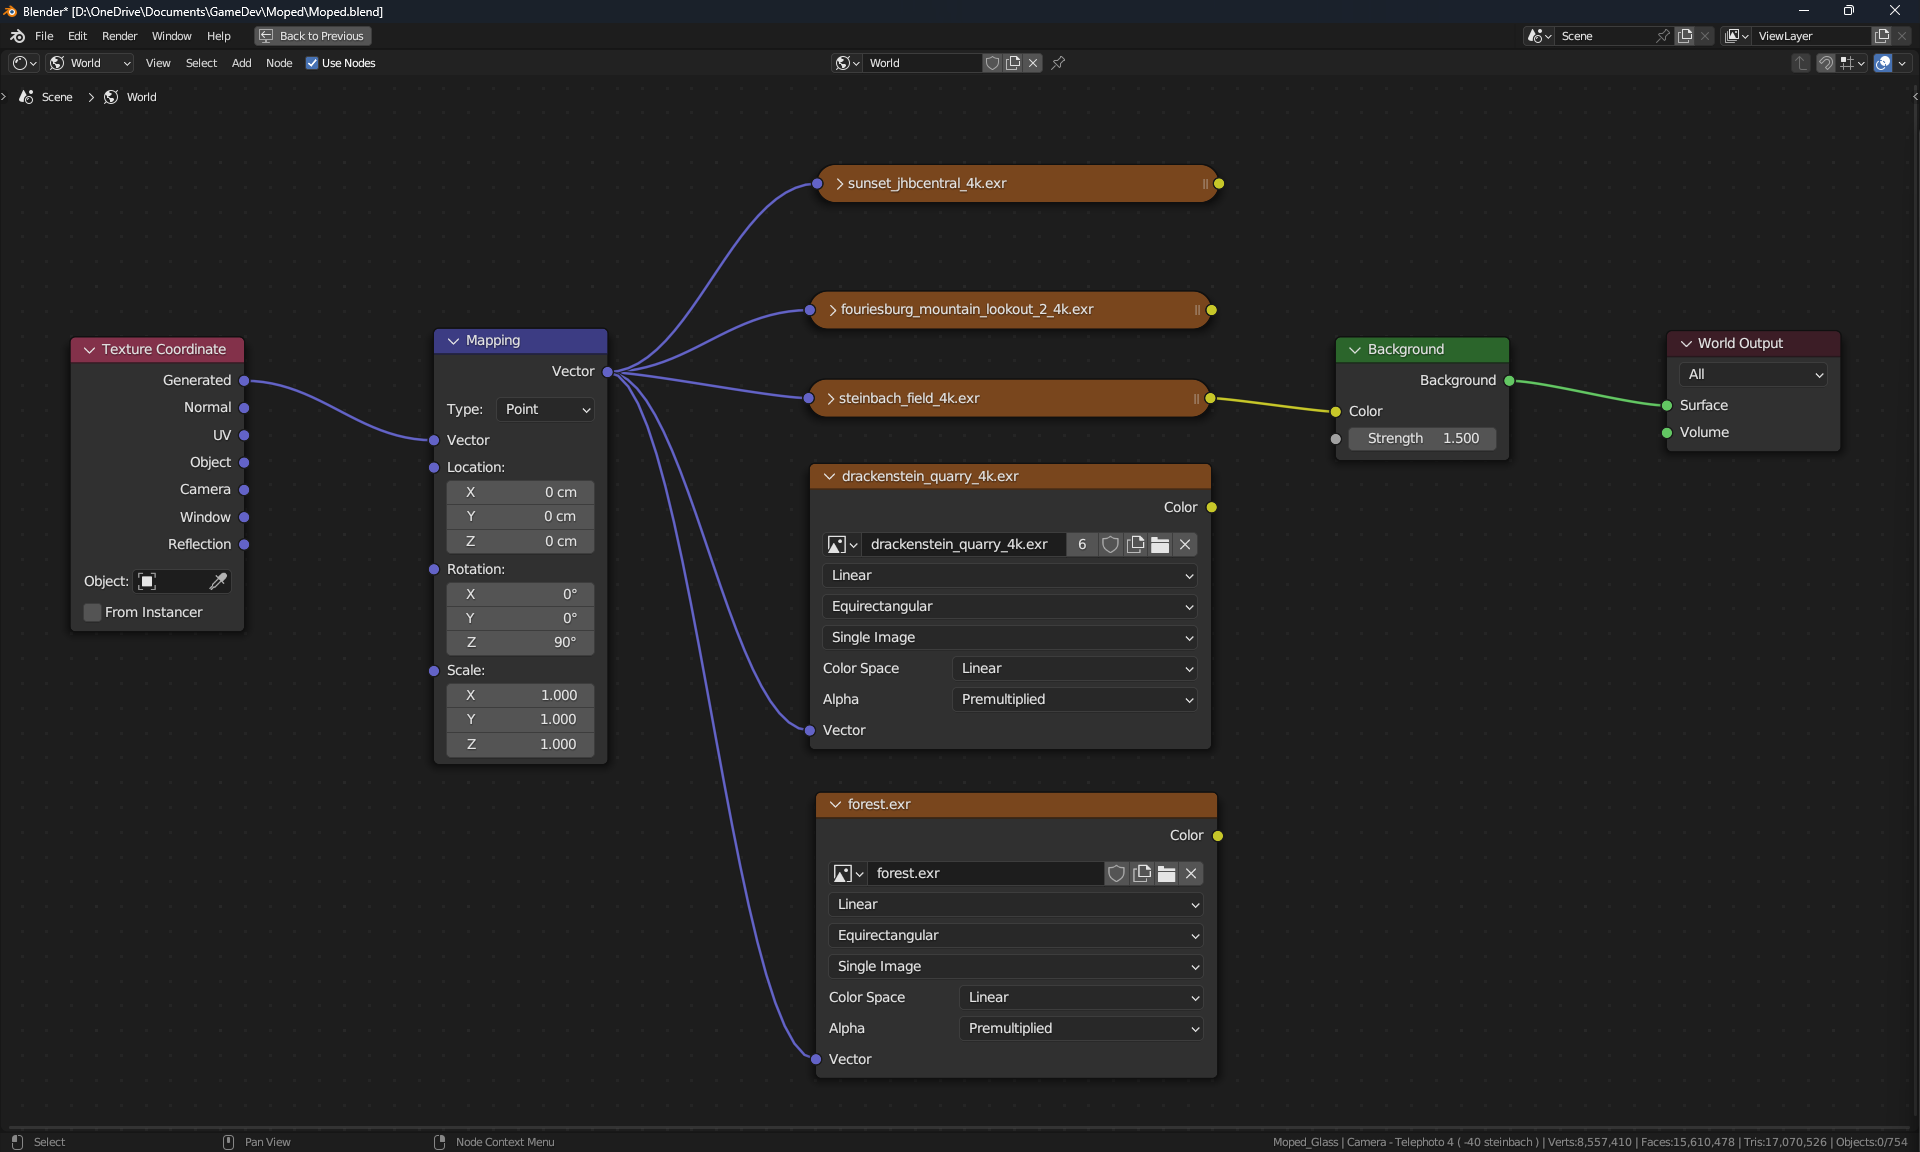
Lighting in a scene is made with one HDRI downloaded from https://polyhaven.com/.

I downloaded a few HDRIs, added them to Blender scene and tried them one by one with different cameras.
Polish & Final Pass
To make 14 final images for my portfolio, I made about 35 renders. Then, I chose the best variants. I spent some time browsing Artstation and investigating how other artists render cars. I did not want to build a full city scene with Megascan assets.
Therefore, I had to choose between 3 variants:
• White Background
• HDRI Background + small island of asphalt.
• Grey background with a soft transition to asphalt texture. <- I chose this one.
I rendered images with transparent backgrounds and added the backgrounds in Photoshop. + Some Brightness/Contrast. + Noise layer above to add imperfections to simulate a real photo.
- I had a fun time designing this vehicle. It took about one year to complete this project; I was not in a rush. Usually, I spend 30 – 40 minutes per day on my personal projects. I don’t want to get tired of them. And I don’t want to get tired of my job.
- Nanite is not what I expected. I thought, “Well, you just paint the high-poly model and completely bypass low-poly chores”. Well, no. Dealing with distorted UVs, Painter crashes, file size – these new tasks took the place of the old ones. I’m not sure if I like the new pipeline or not. But I’m glad I tried this new technology.

