
Introduction
Hi everyone! My name is Alex Verik from Ukraine.
I’ve been creating 3D worlds and characters for about eight years now. I’ve worked on many different projects, but I usually work in indie development because it offers much more creative freedom.
For the past three years, I’ve been working on a project for the Canadian indie studio Forge Hammer Entertainment, building a game world in Unreal Engine 5 within very tight production timelines.
Some of these locations you may have already seen in my portfolio.
Portfolio & Project
For the past three years, I’ve been working on a project for the Canadian indie studio Forge Hammer Entertainment, building a game world in Unreal Engine 5 within very tight production timelines.
Some of these locations you may have already seen in my portfolio.

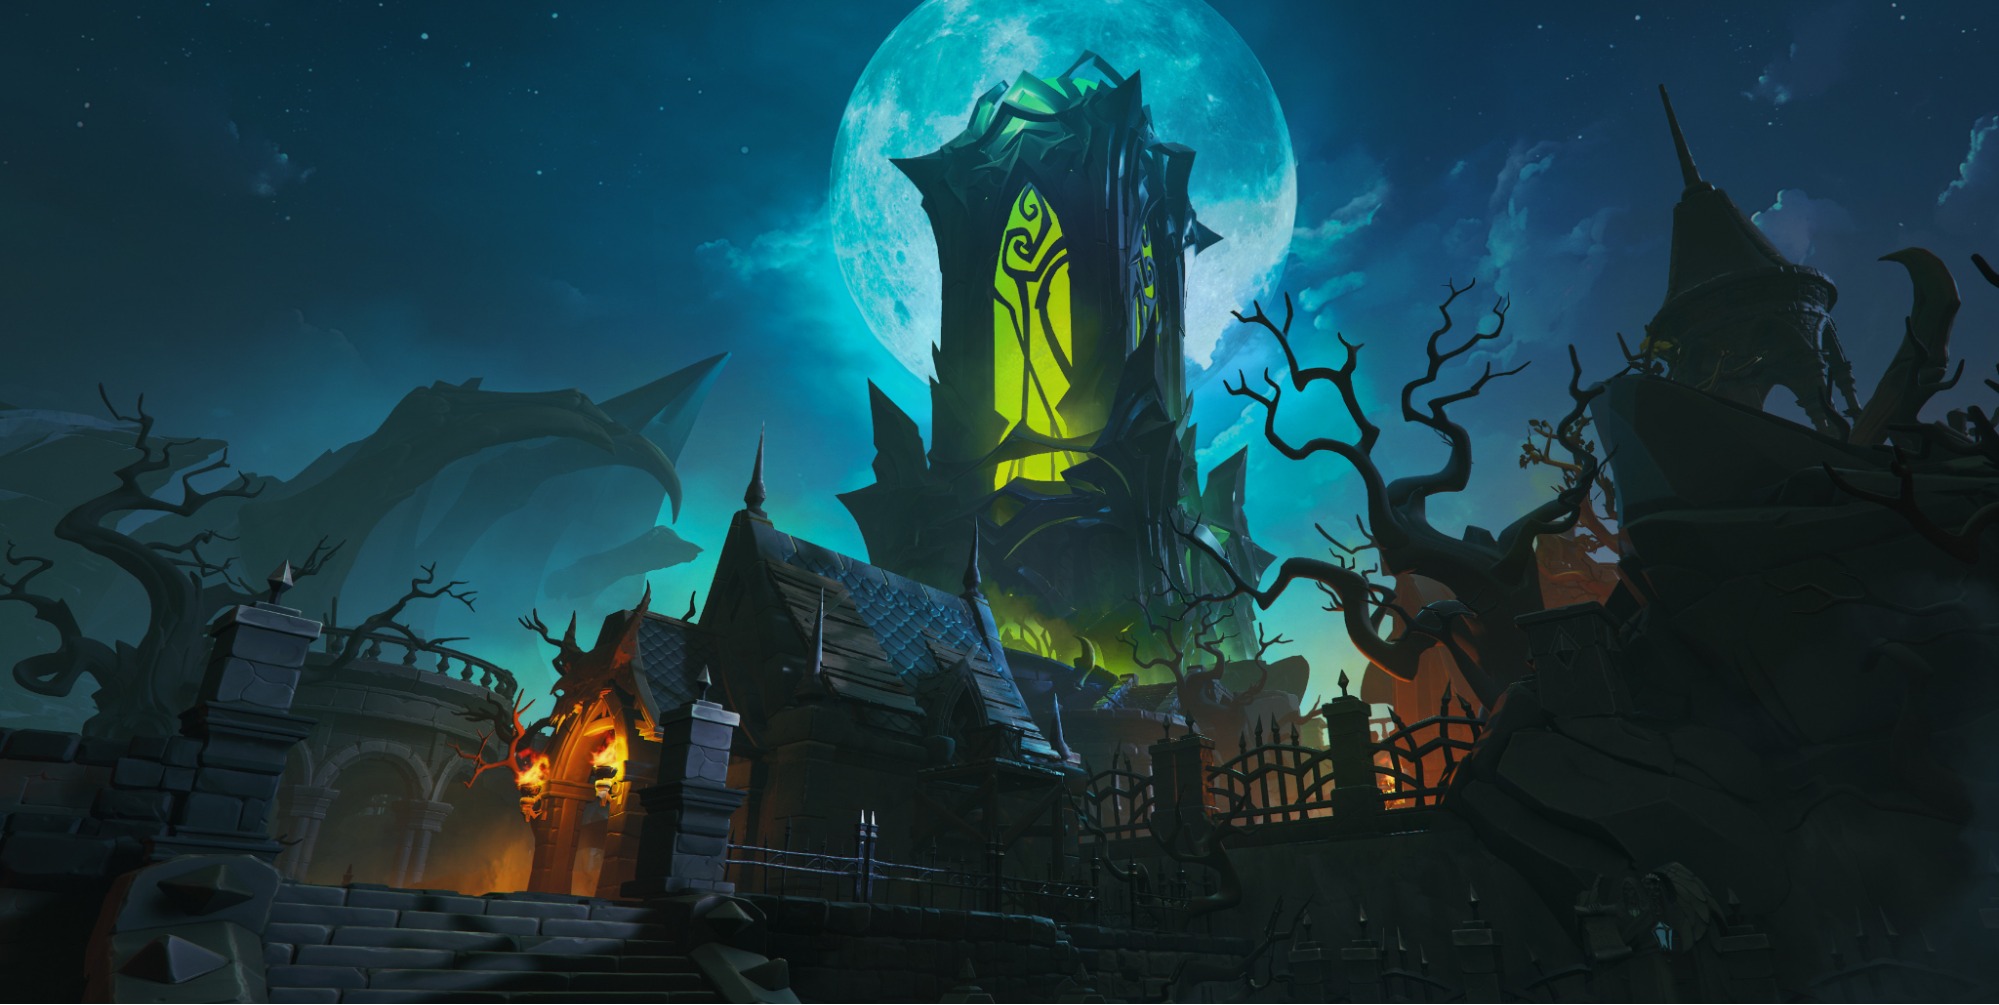
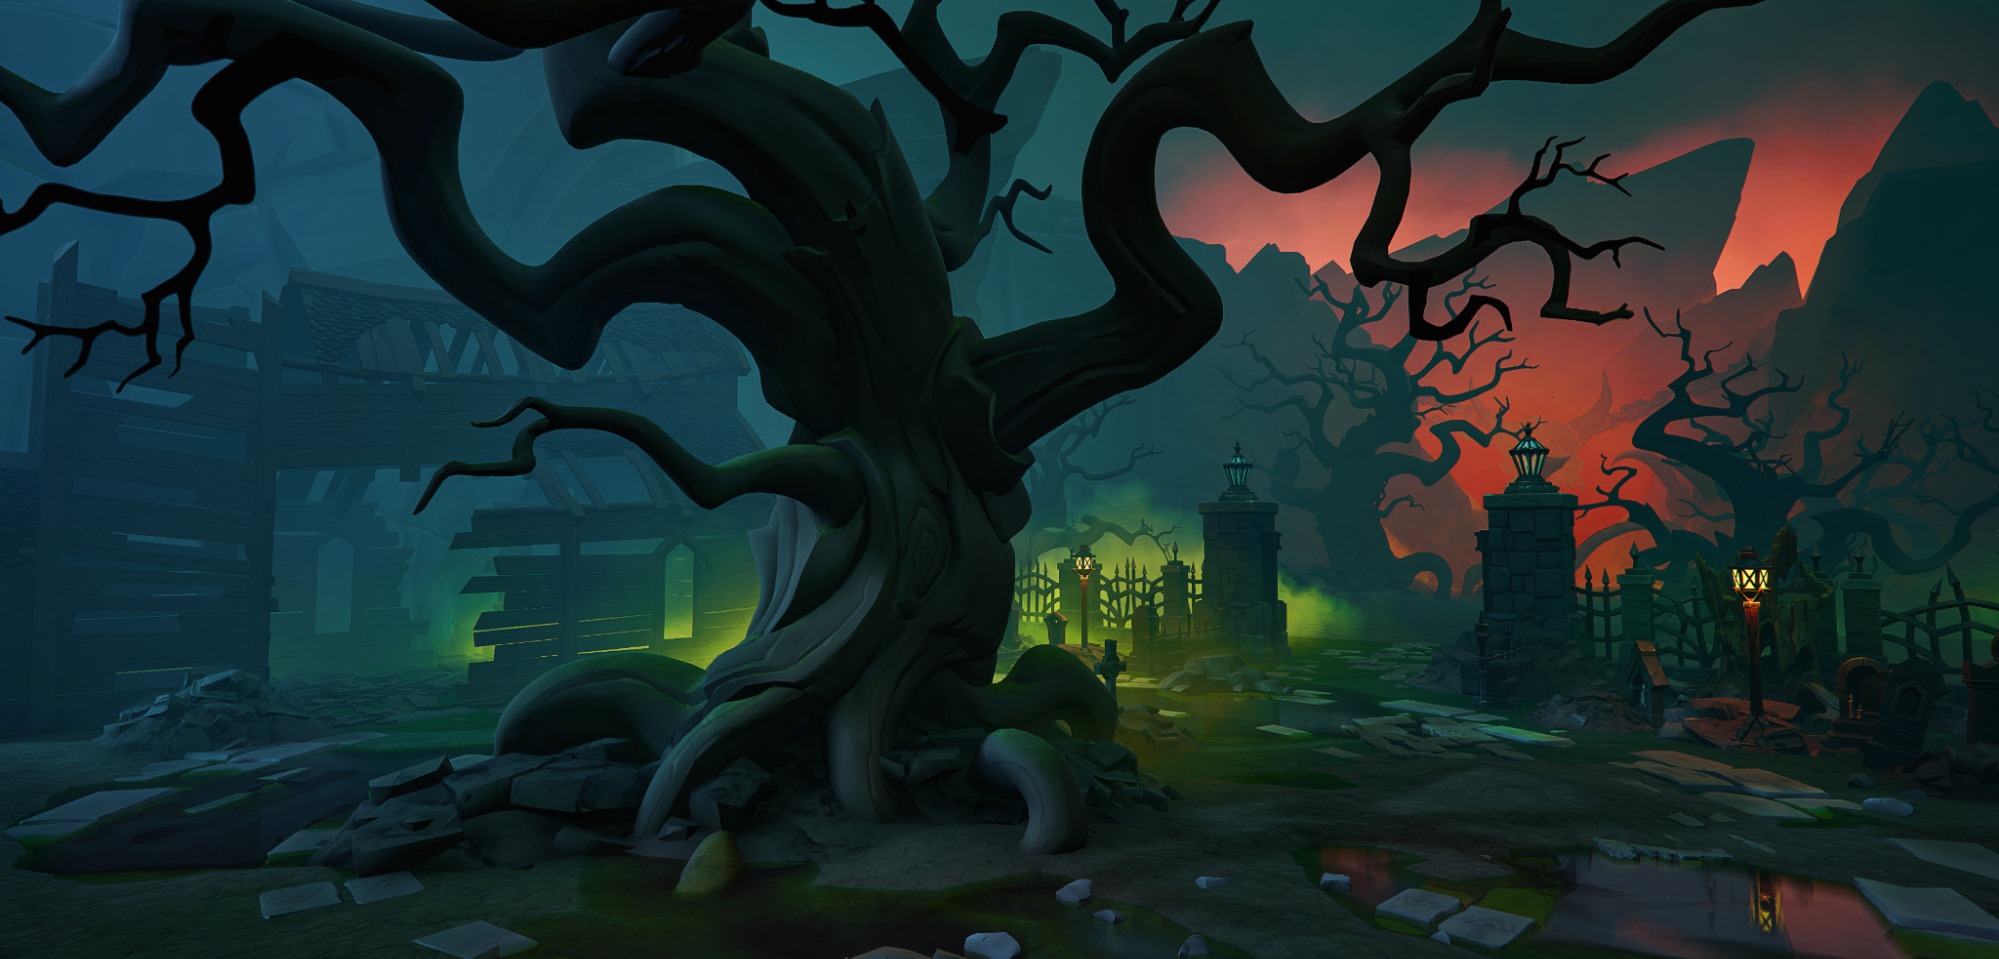
One of them is the Undead location, a large graveyard with a castle. You can check it out here.
References
This location needed a boss (defender) and I started collecting ideas about what kind of image it could be:

Character HighPoly
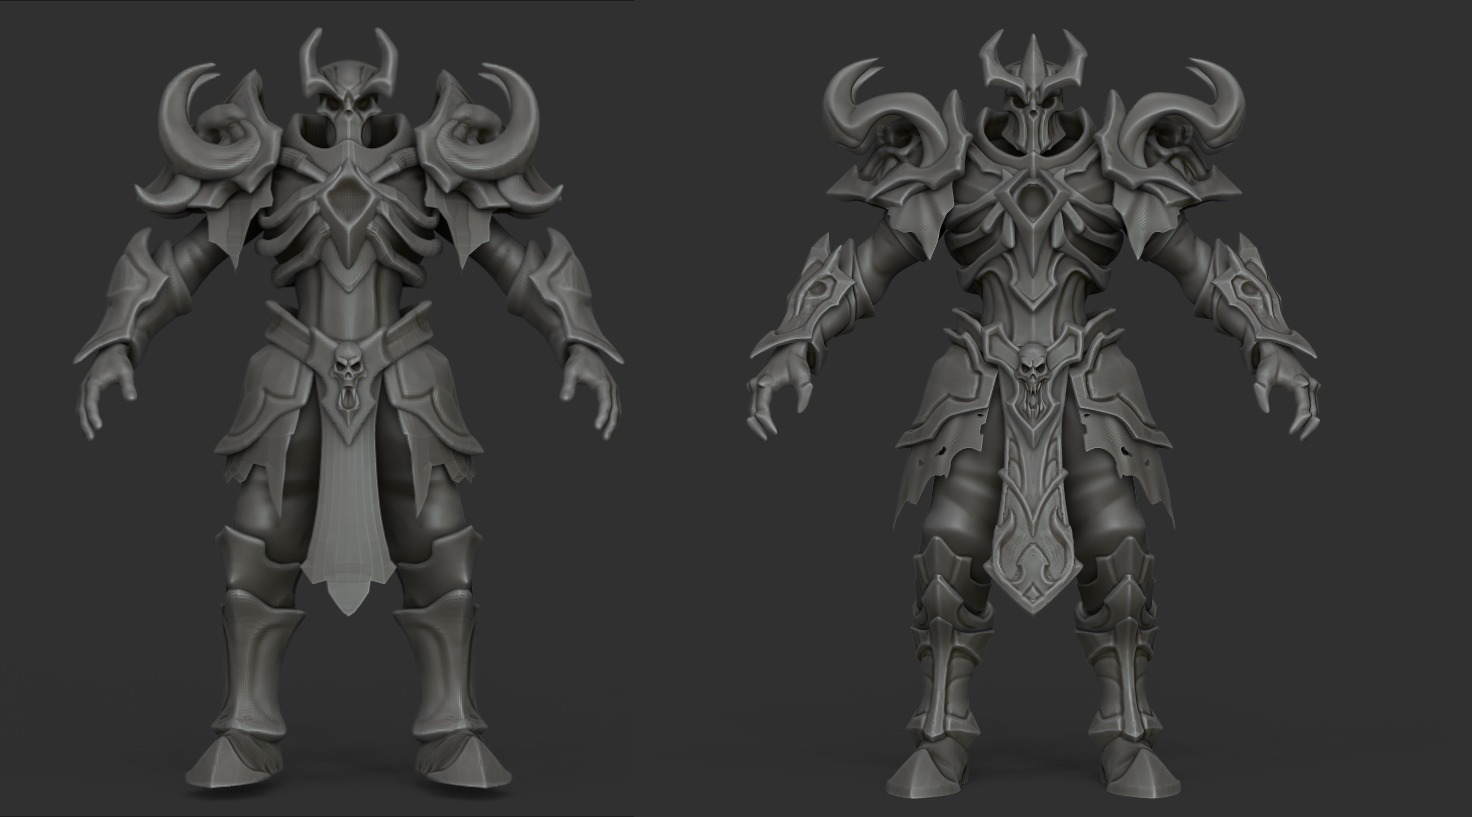
When the reference board was ready, I started by creating the big zombie body:
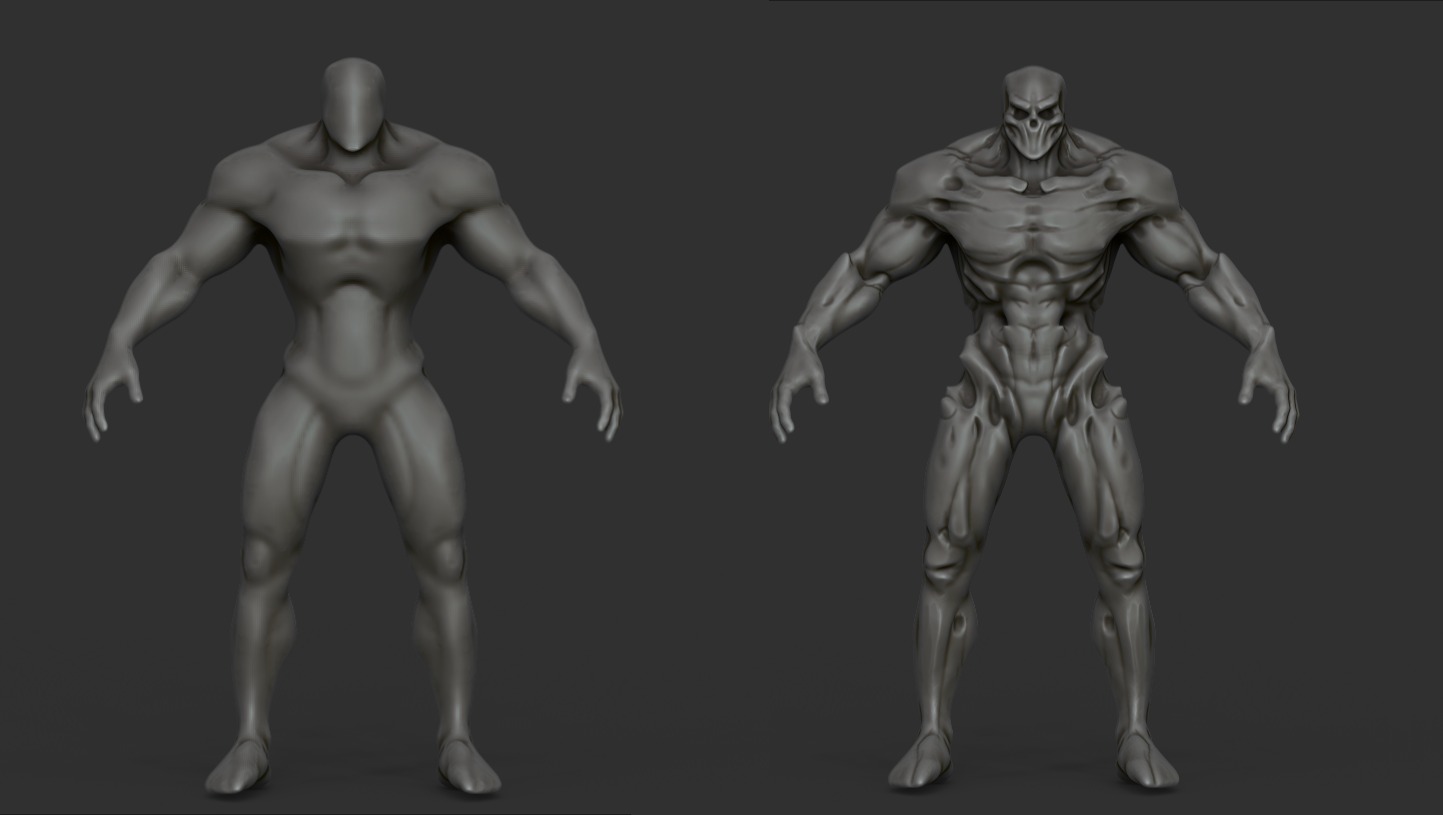
Then I tried adding some variation and different armor elements:
At this stage, I noticed the character started to look a bit like Skeletor!
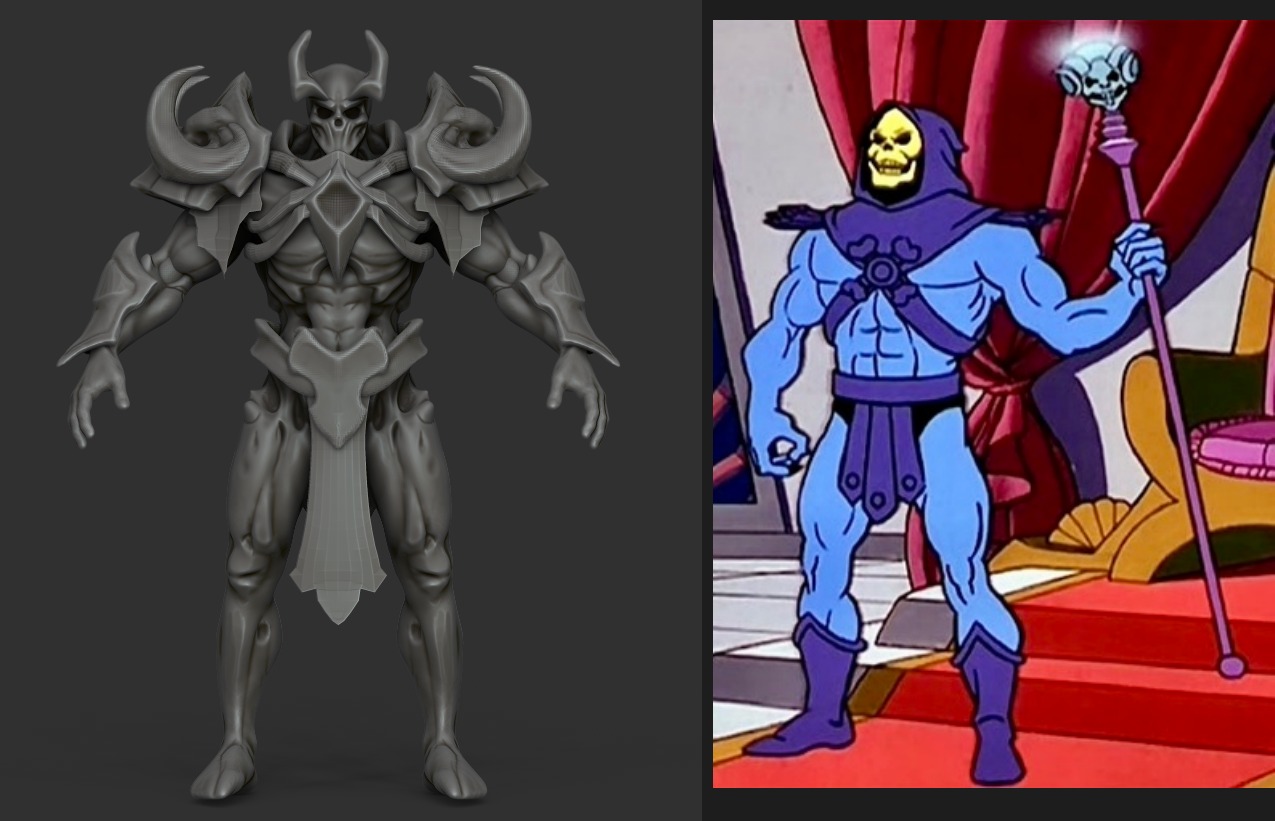
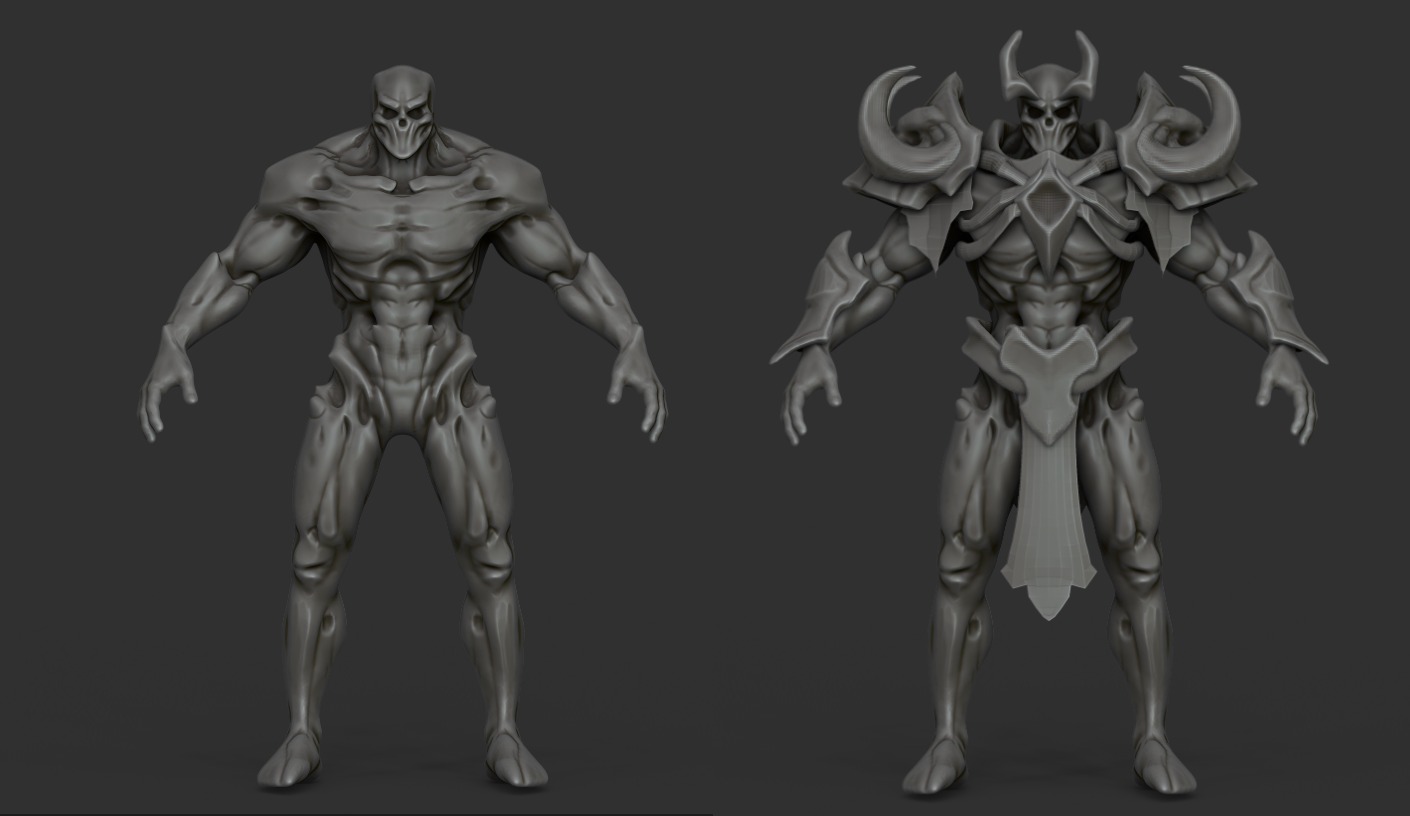
So I decided to cover the stomach area and add more armor pieces.
Since I didn’t have a concept sheet, most of the changes were done directly during the sculpting phase, based on the reference board and a bit of imagination.
After some tweaks, the character began to take shape, gaining better definition and looking more interesting:
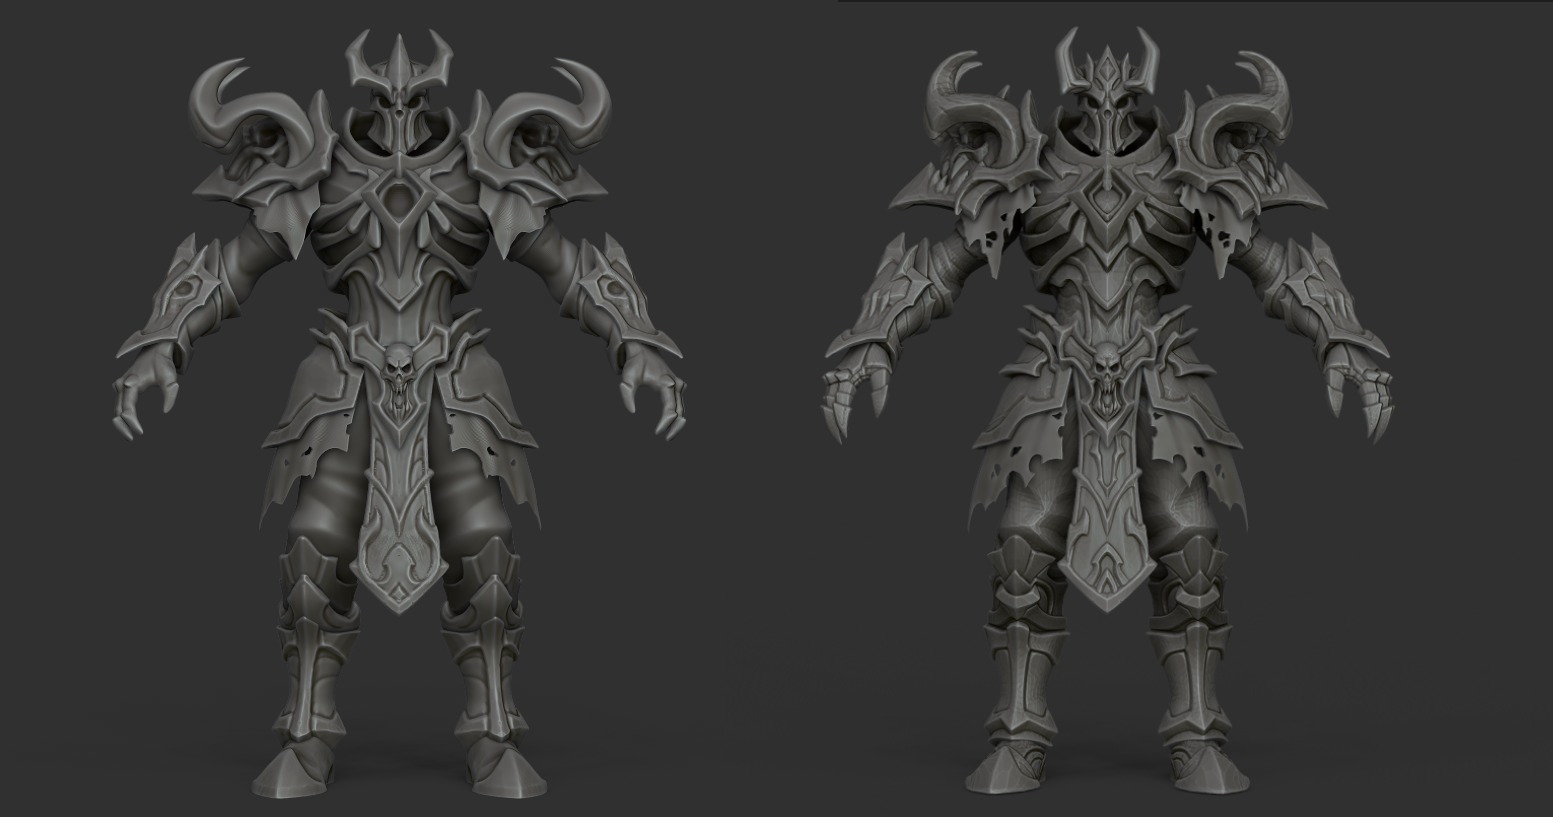
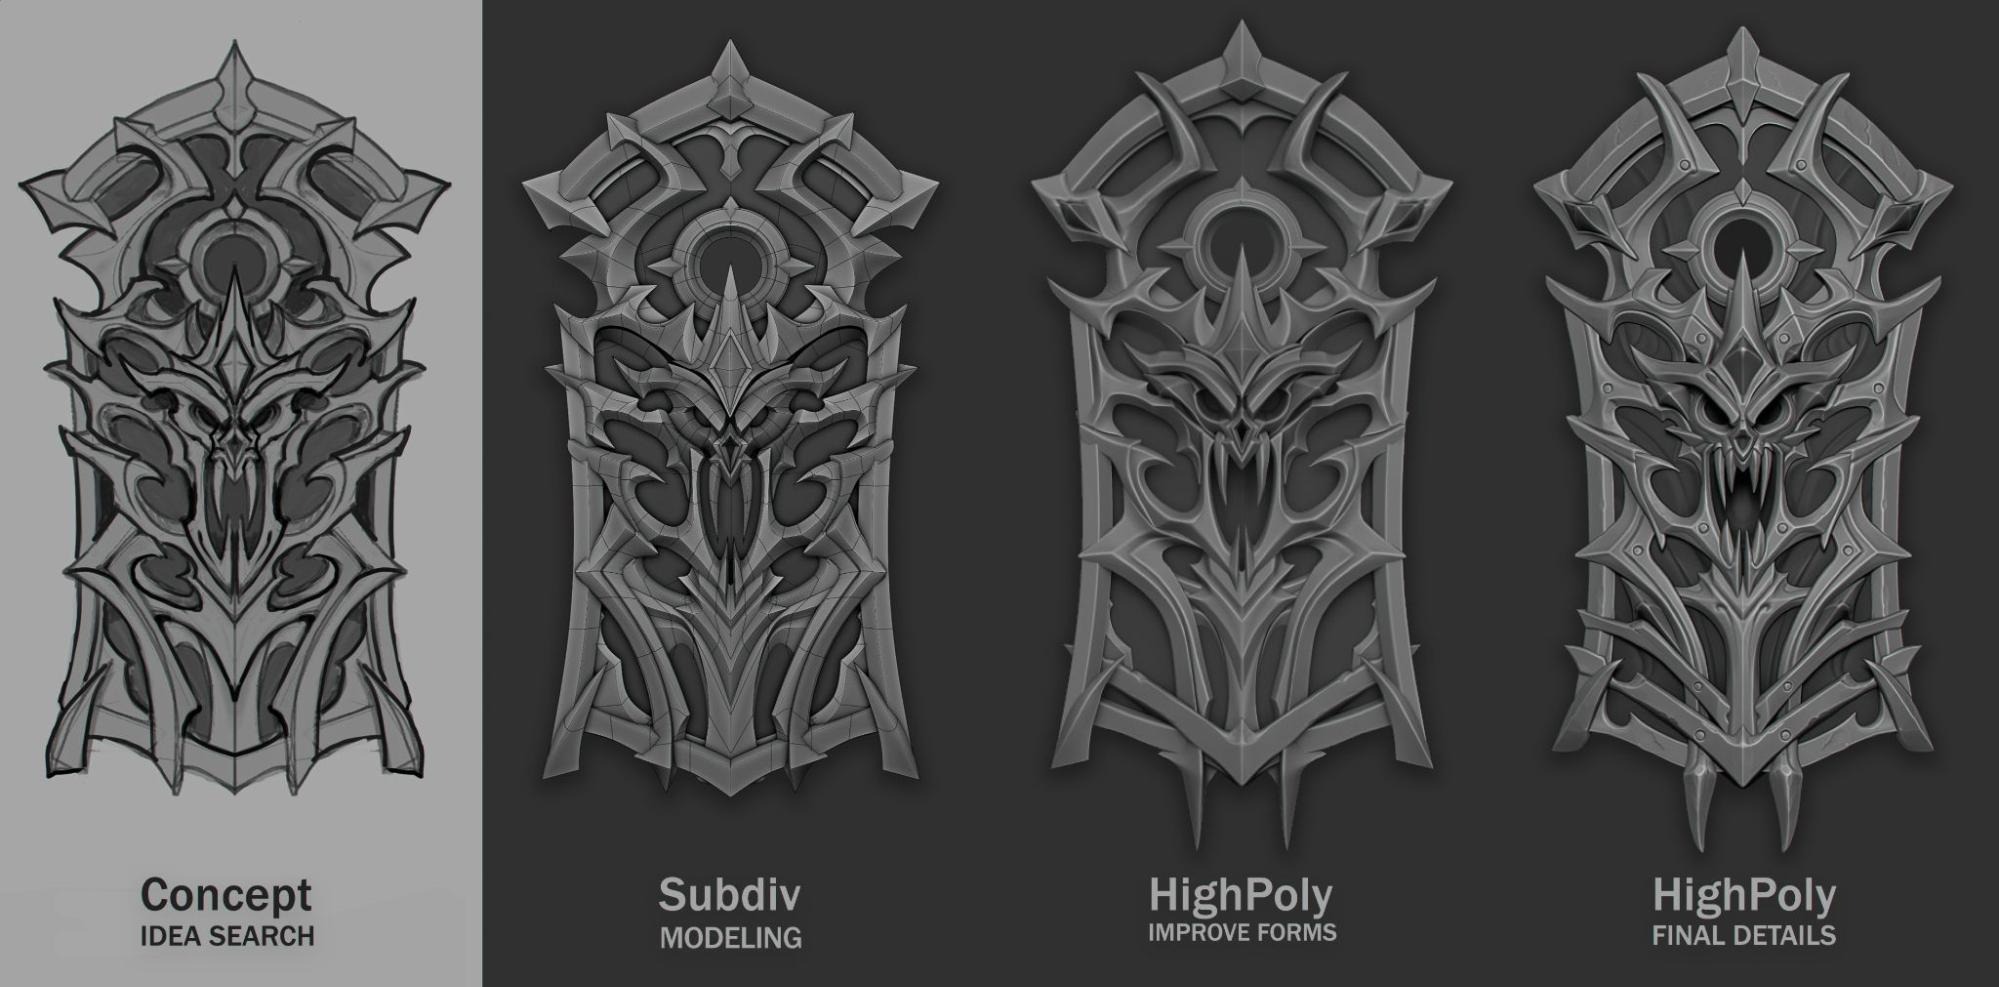
Once that was done, I moved on to the final detailing and small accents.
The easiest way is to separate each element using Masks and increase the DynaMesh density for cleaner sculpting.
For the most part, I use these brushes to quickly clean up shapes:

Here’s a short video showing how I clean up and detail shapes, using the shoulder pad as an example:
I hope you find this helpful and interesting!
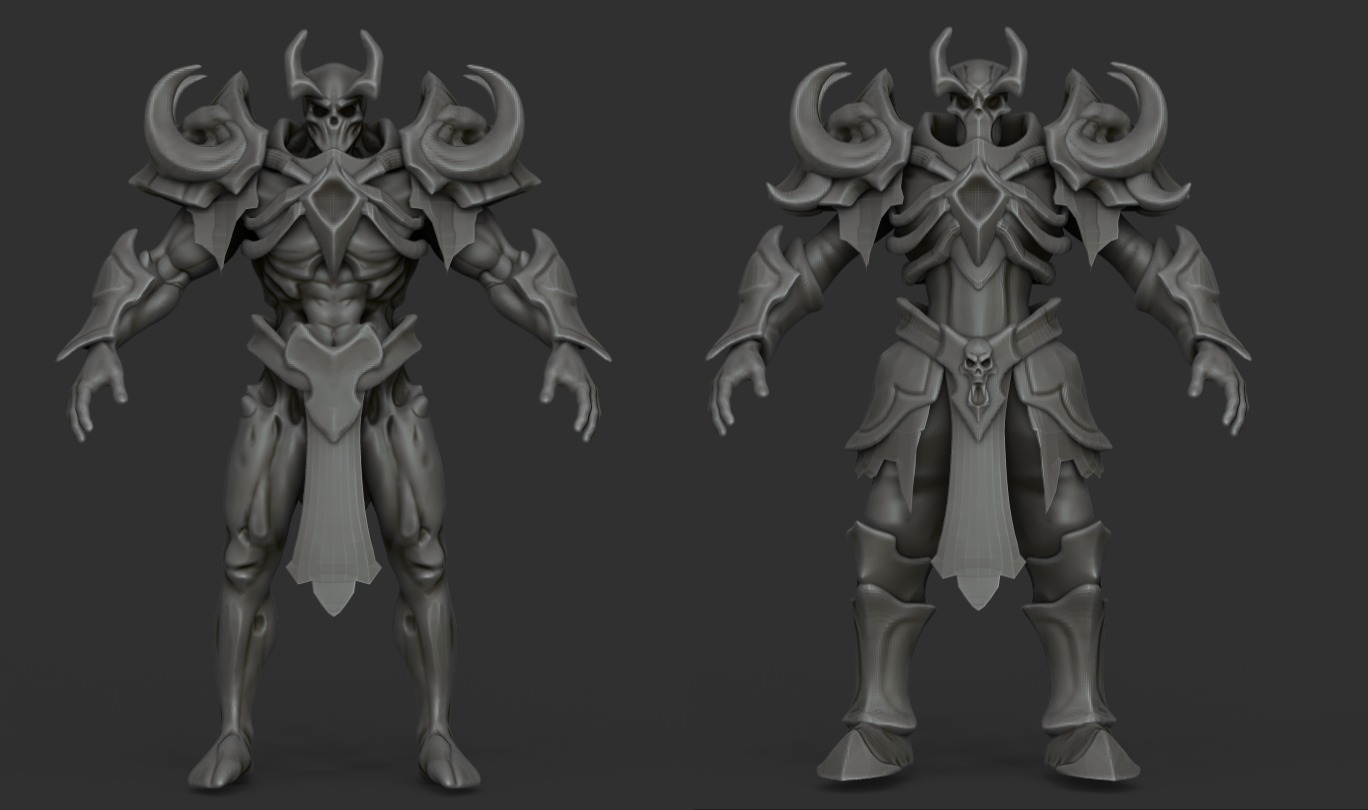
With this approach, I continued detailing the entire character. Since showing the full process would take too long, here’s the final version instead:
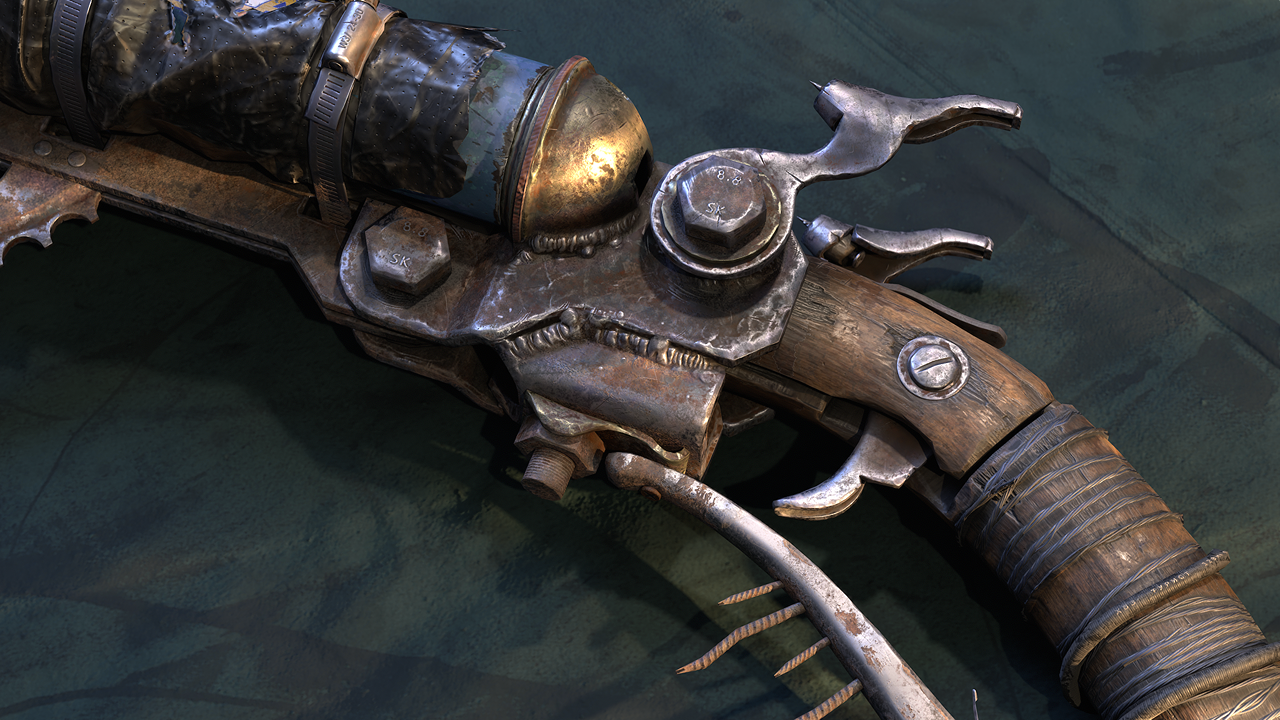
Weapons HighPoly
For the character’s weapon, I decided to refresh my concept-sketching skills and use subdivision modeling in Blender.
This allowed me to quickly build clean shapes and then refine the design while looking at the model in 3D.
Here are the work stages:
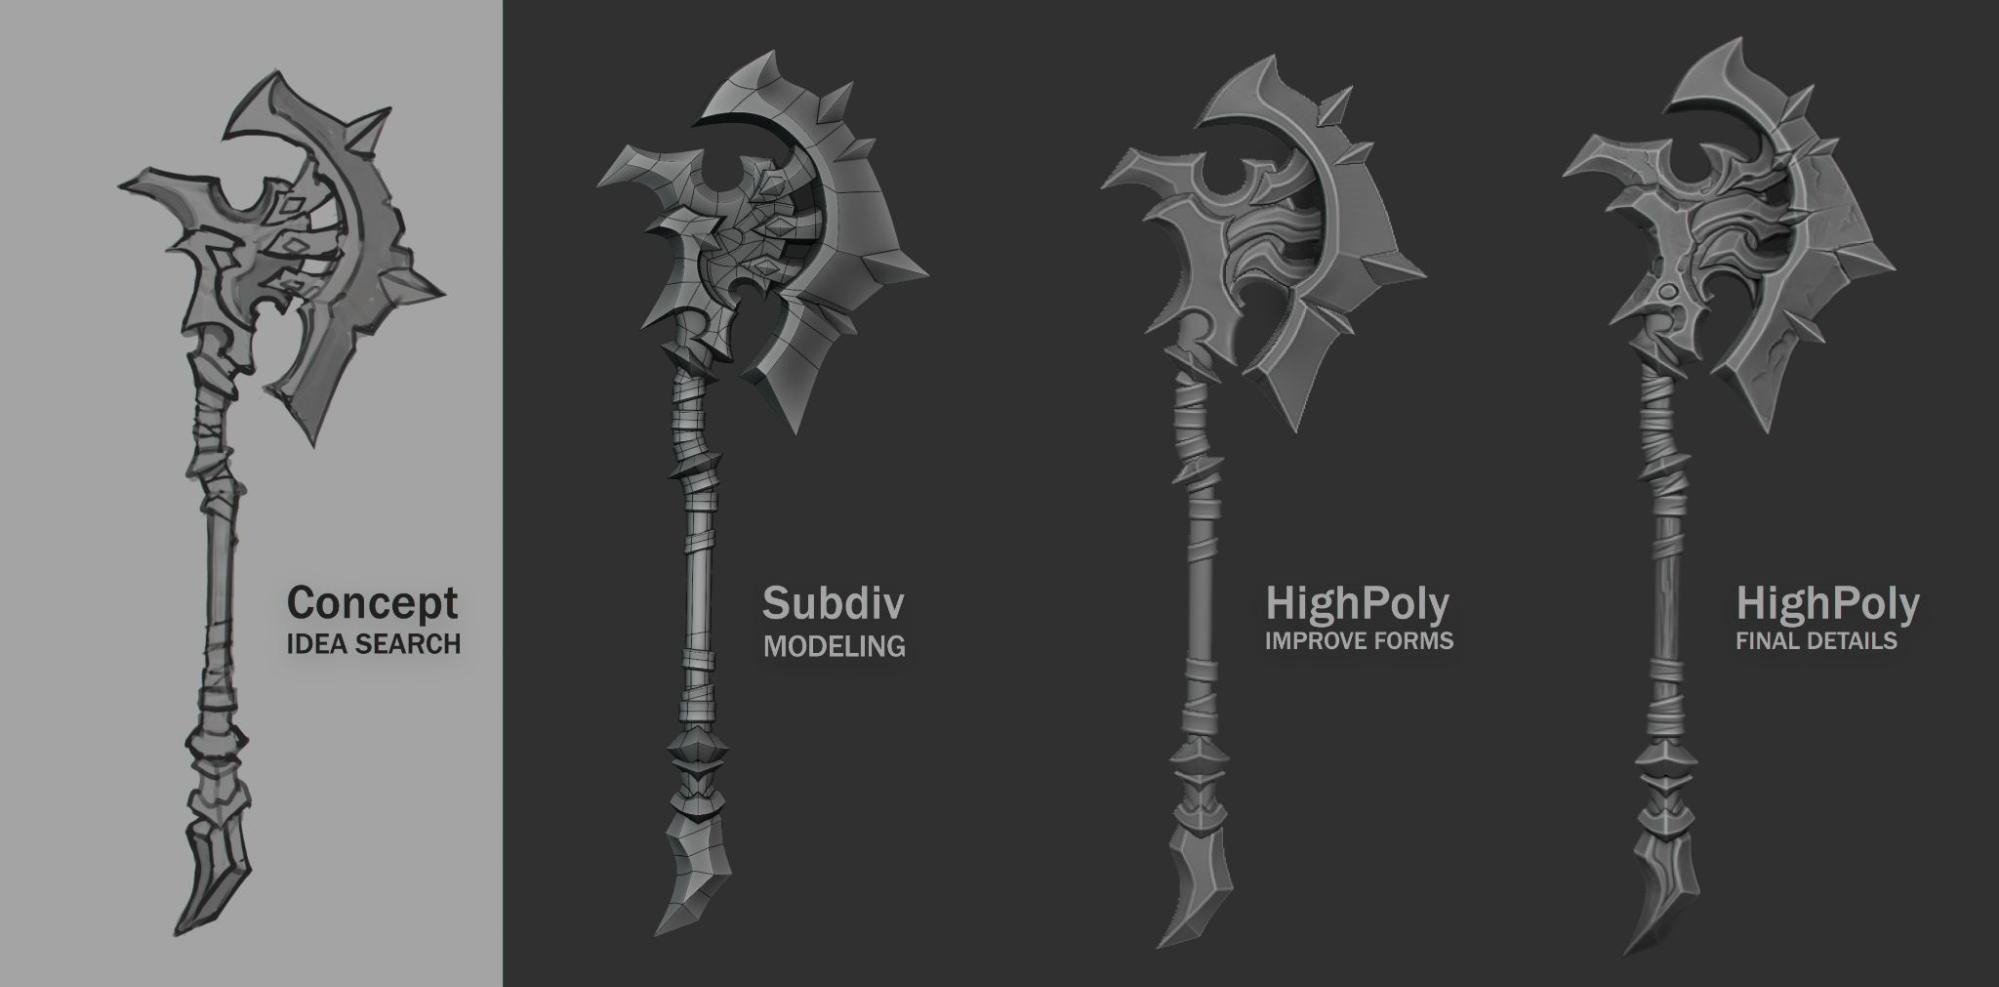
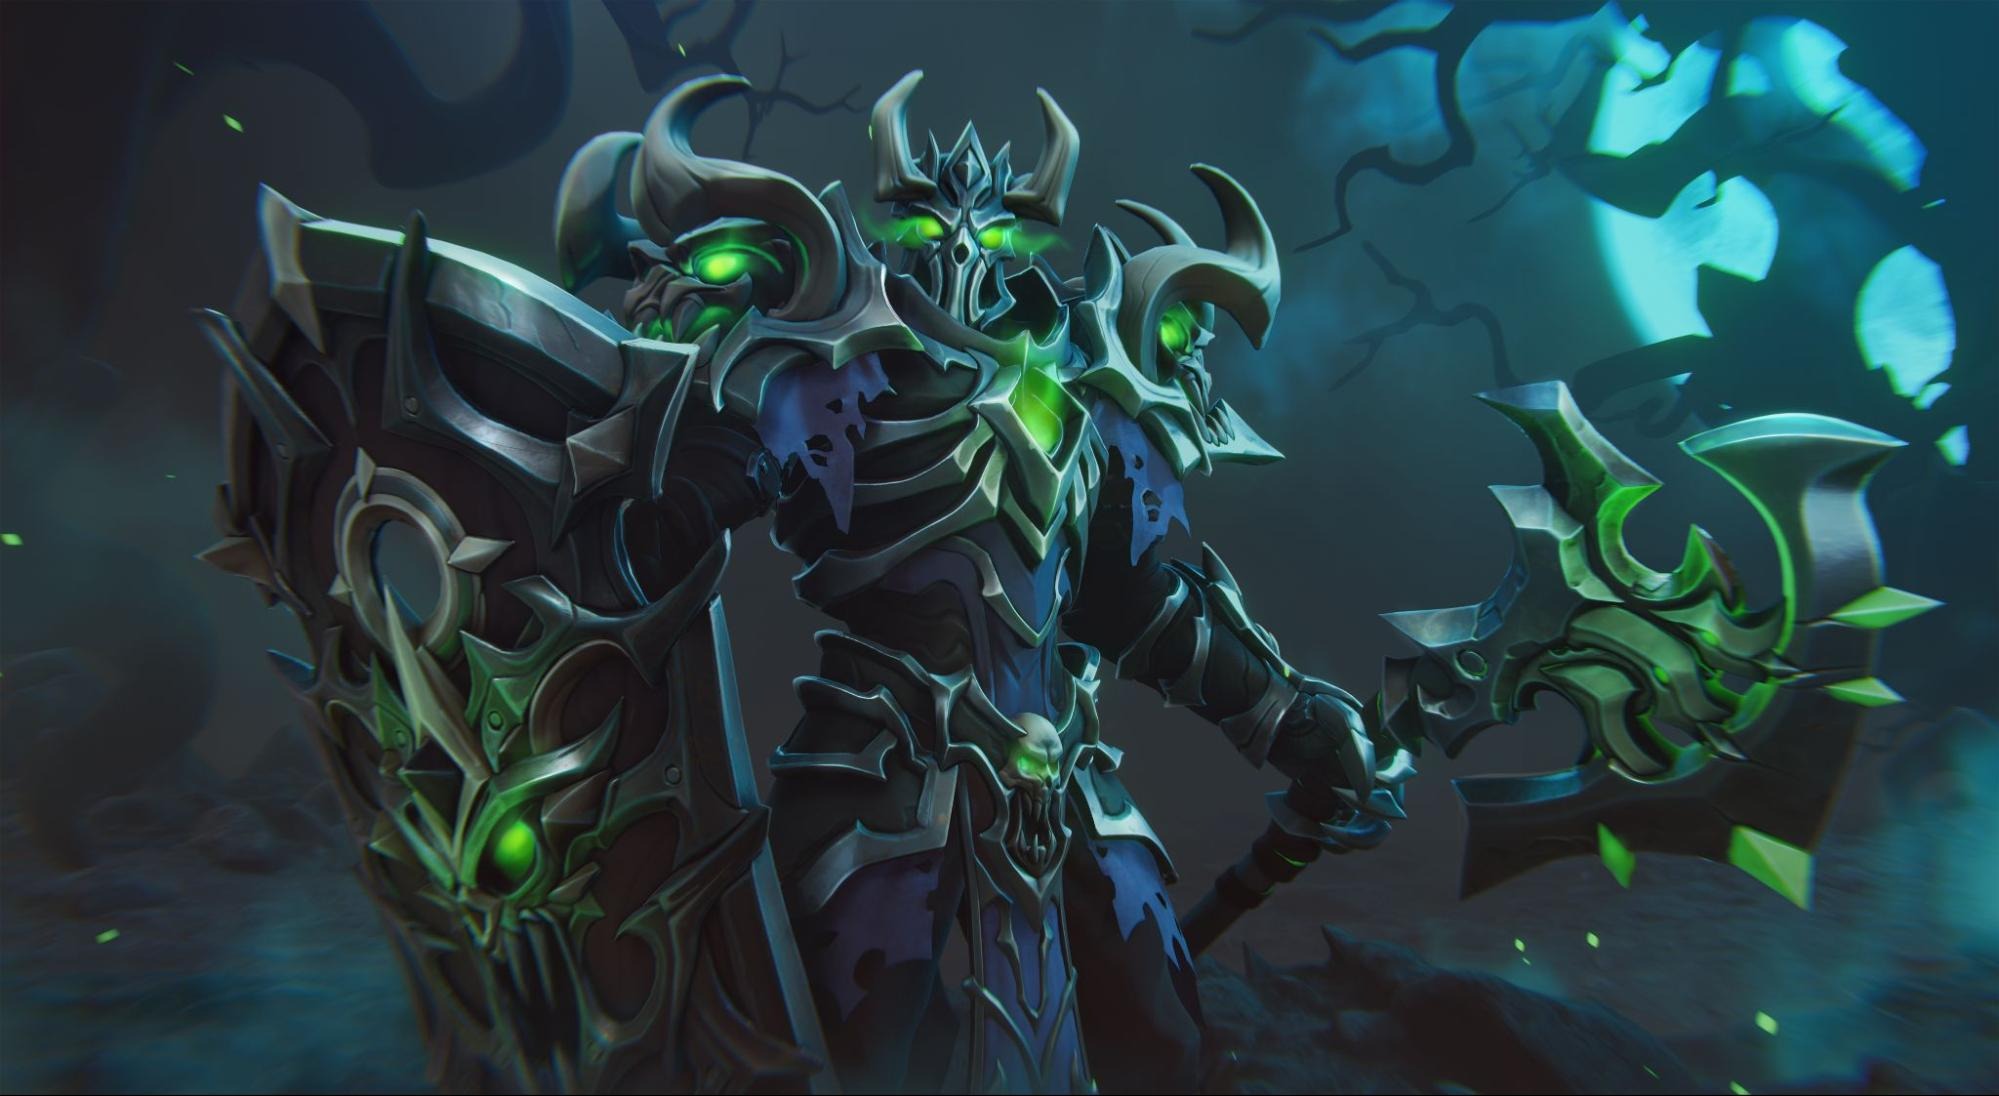
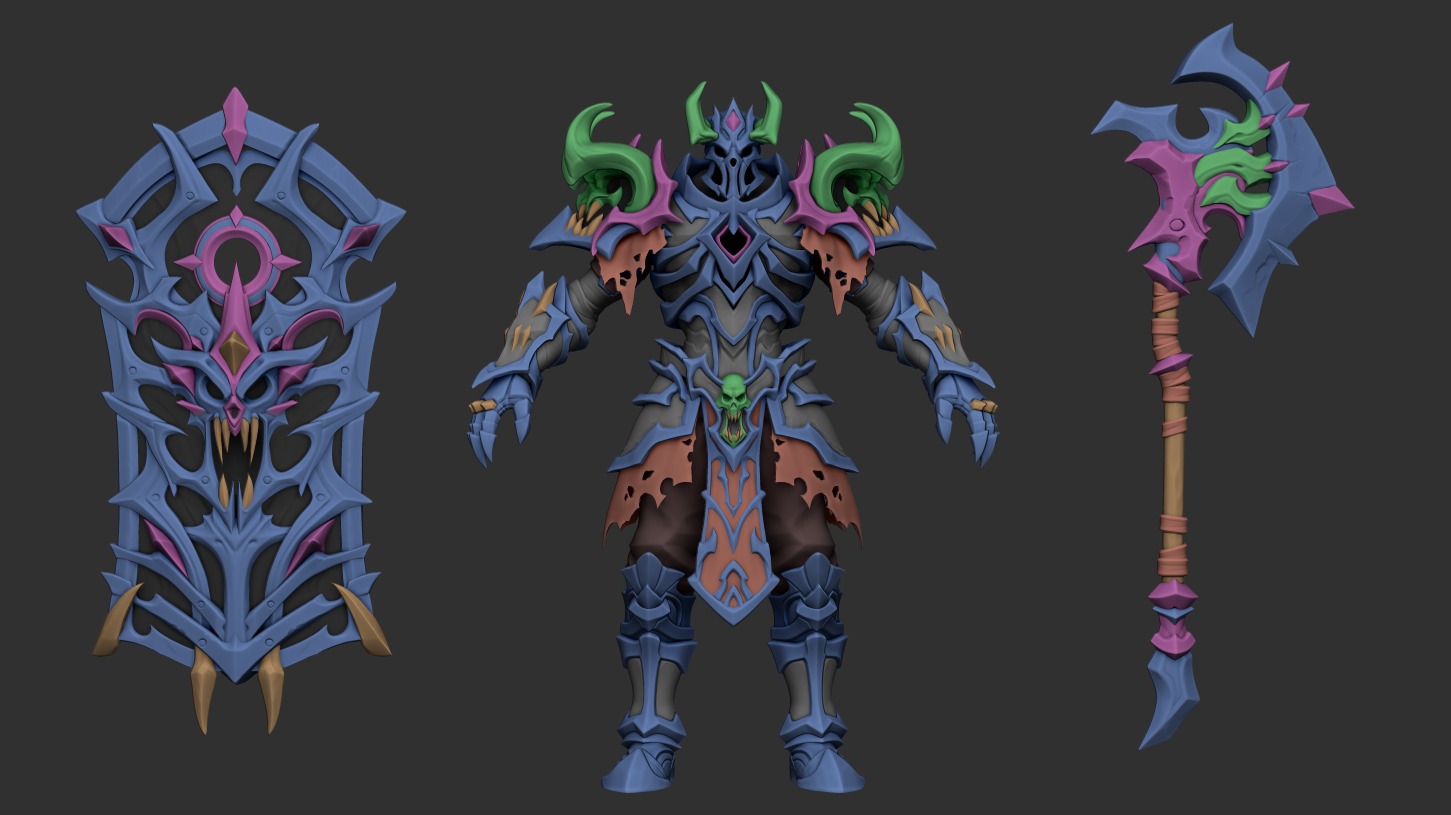
Final high-poly version of the character and the weapon:

Texturing
Retopology is the most boring part, and I don’t think anyone needs an explanation on how to move polygons with snap-to-mesh enabled 😅
Since the article is already getting long, I’ll jump straight to texturing.
It’s all pretty simple: after baking the model, I add an AO layer to bring out additional volume.
Then comes the color and material breakdown. For that, I use an ID map generated earlier in ZBrush from vertex groups:
Next, with some hand-painting, I add gradients and highlights to emphasize the details.
For the final pass, I add glowing elements using Emission for visual appeal and for easy control over the glow strength and color. The GIF below shows the process step by step.
And here’s the final textured model:

I also experimented with different color variations:
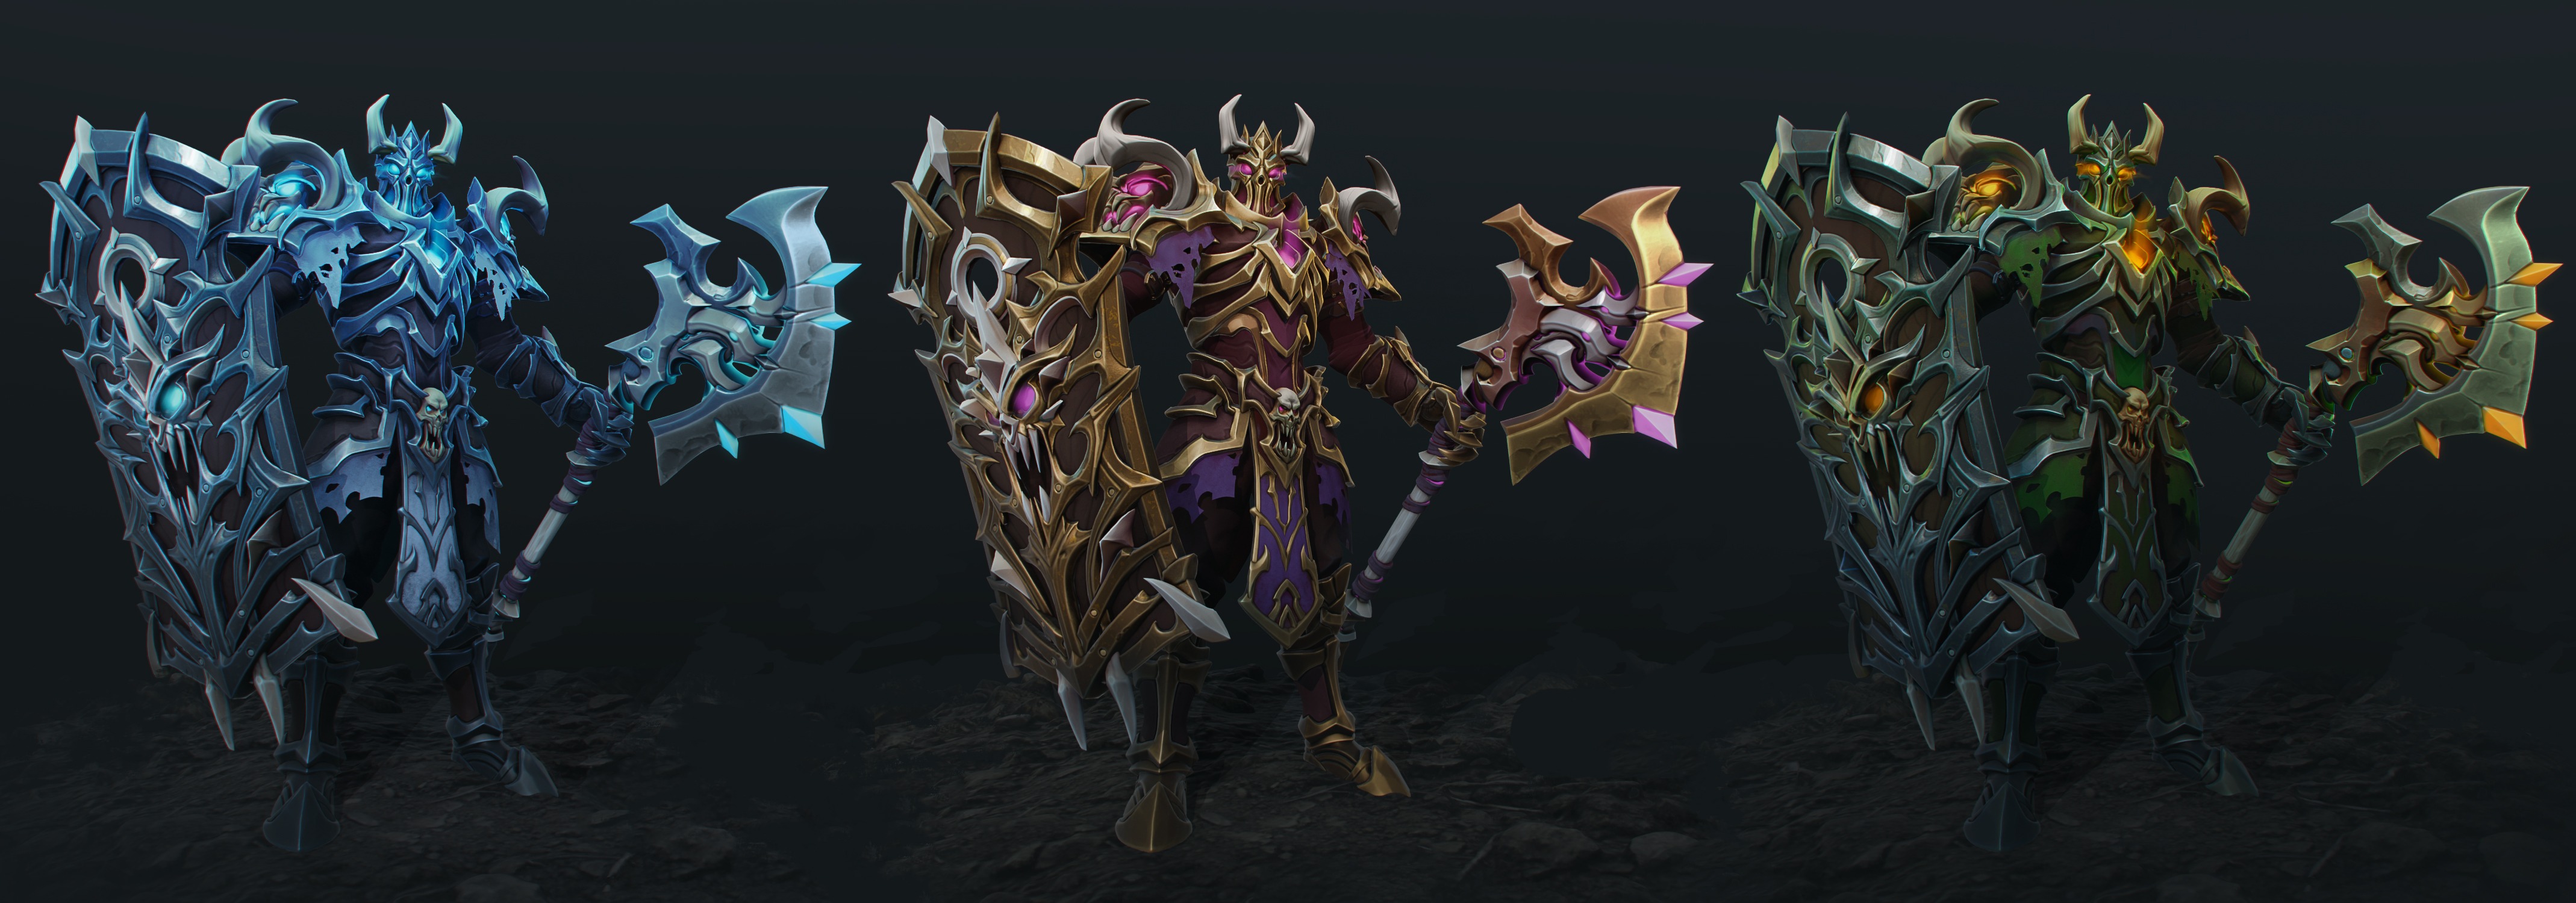
But for the Undead location, I ended up choosing simple colors with a green lighting setup:

Rendering
For presenting the character, I chose Blender. Rigging there is extremely easy using either the free Rigify add-on or the paid Auto-Rig Pro.
I’m not a great animator, so instead of spending time creating a complex animation, I just put the character into a pose and animated a simple camera movement with a bit of subtle motion on the character itself.
The scene setup was pretty simple – I took some trees from the actual game location.
To better illustrate what I had in mind, I made a quick overpaint:

Using a few point lights and planes with smoke textures, I created the atmosphere and composition I wanted:
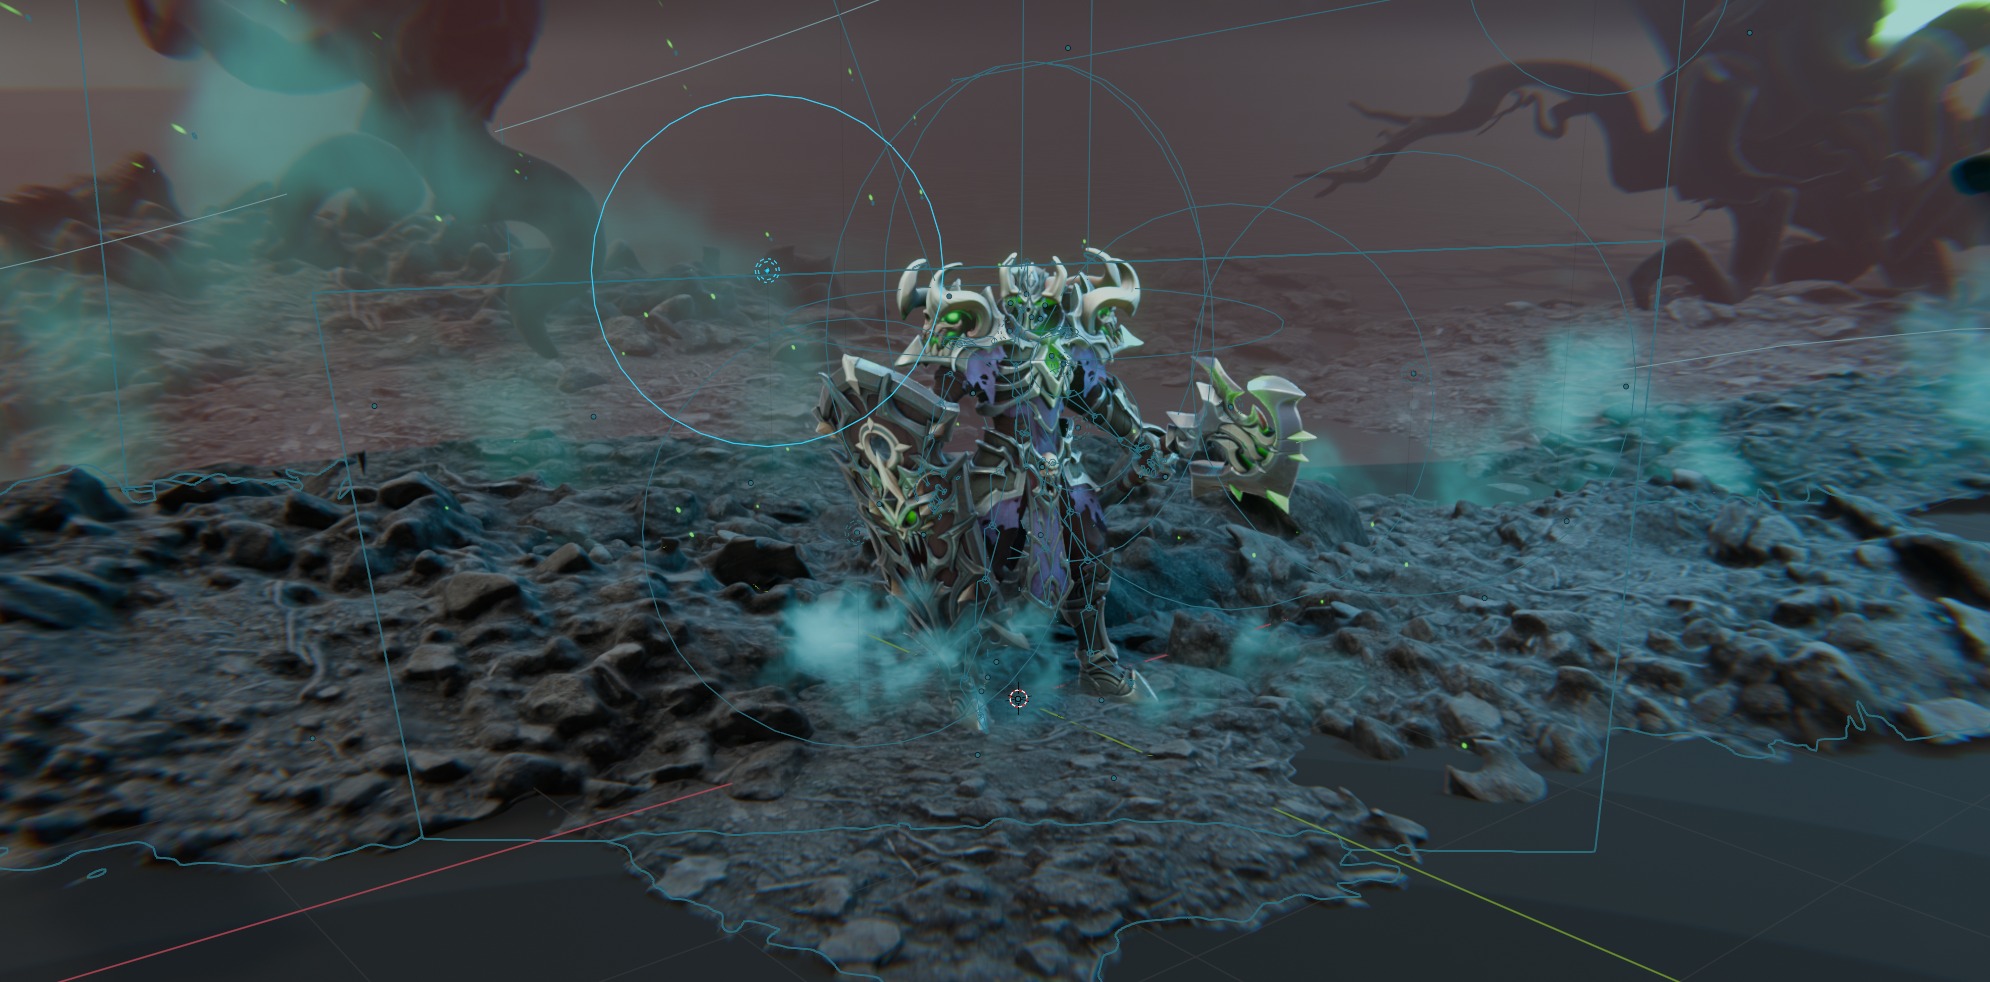
Video overview scene:
Conclusion
And here is the final result!
Thanks for reading! If you enjoyed this project and the article, feel free to check out my other work or reach out to me on any of my social media:
Read more articles
You might also like these articles.