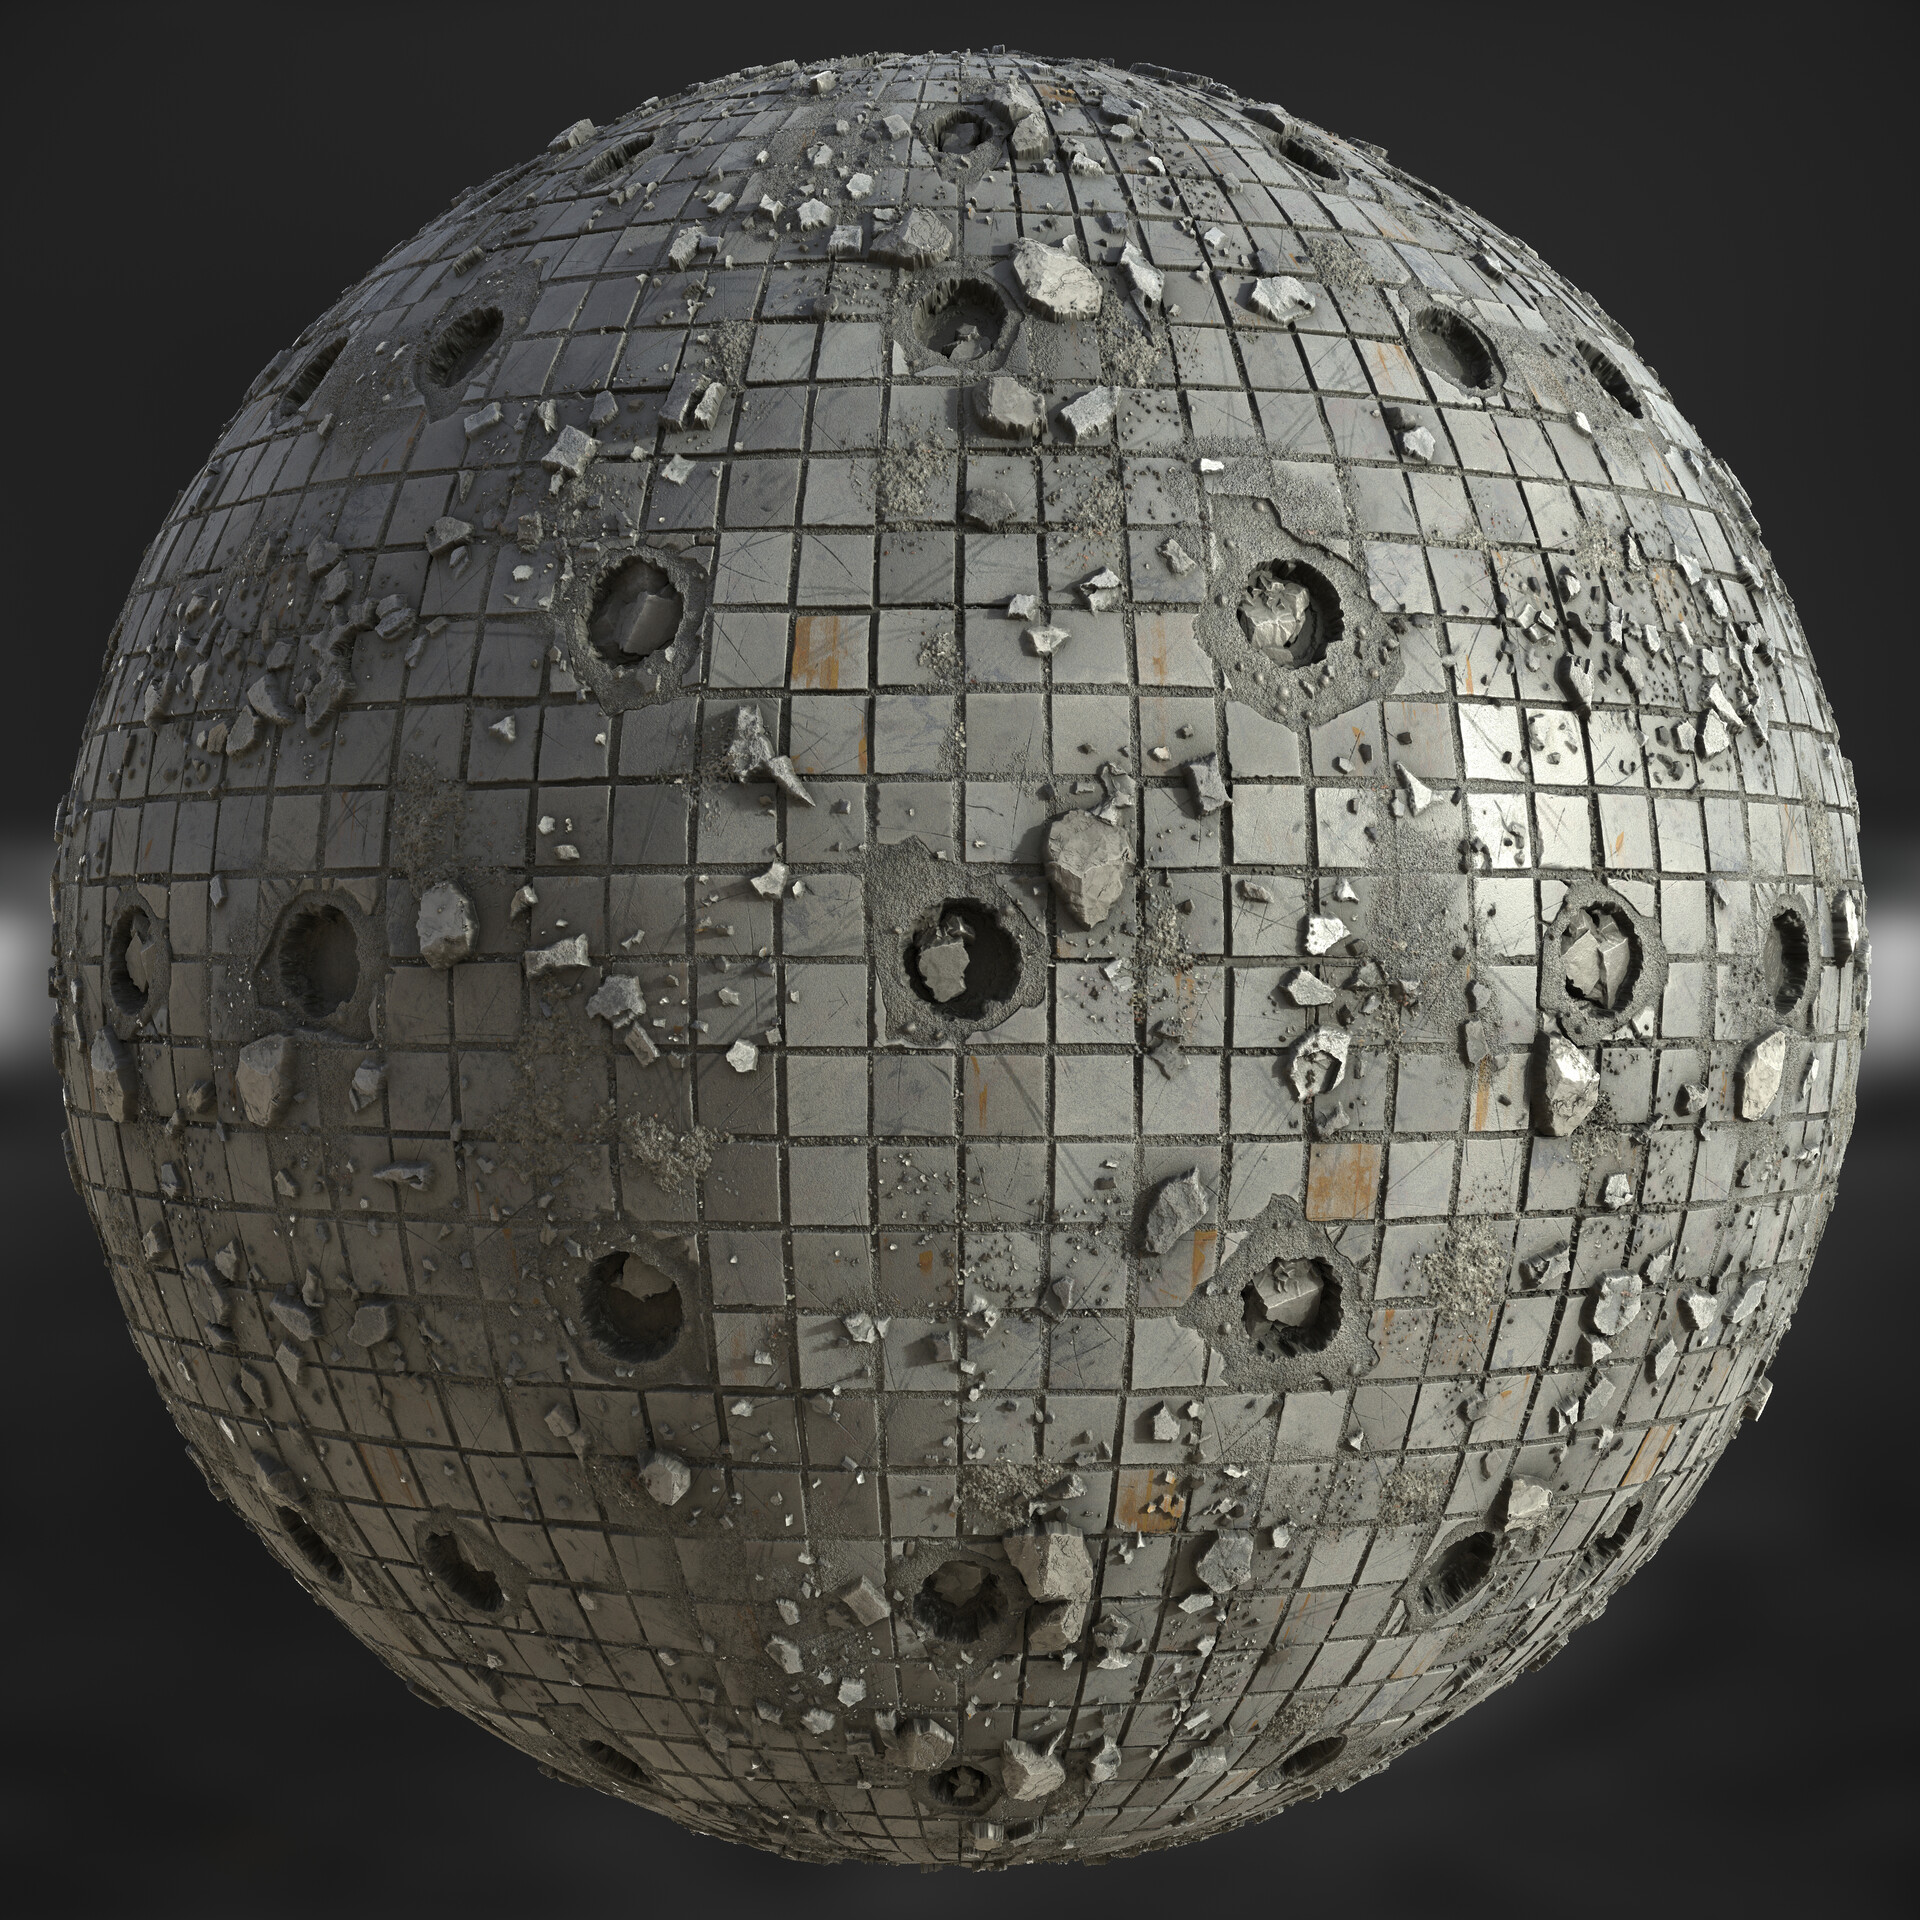
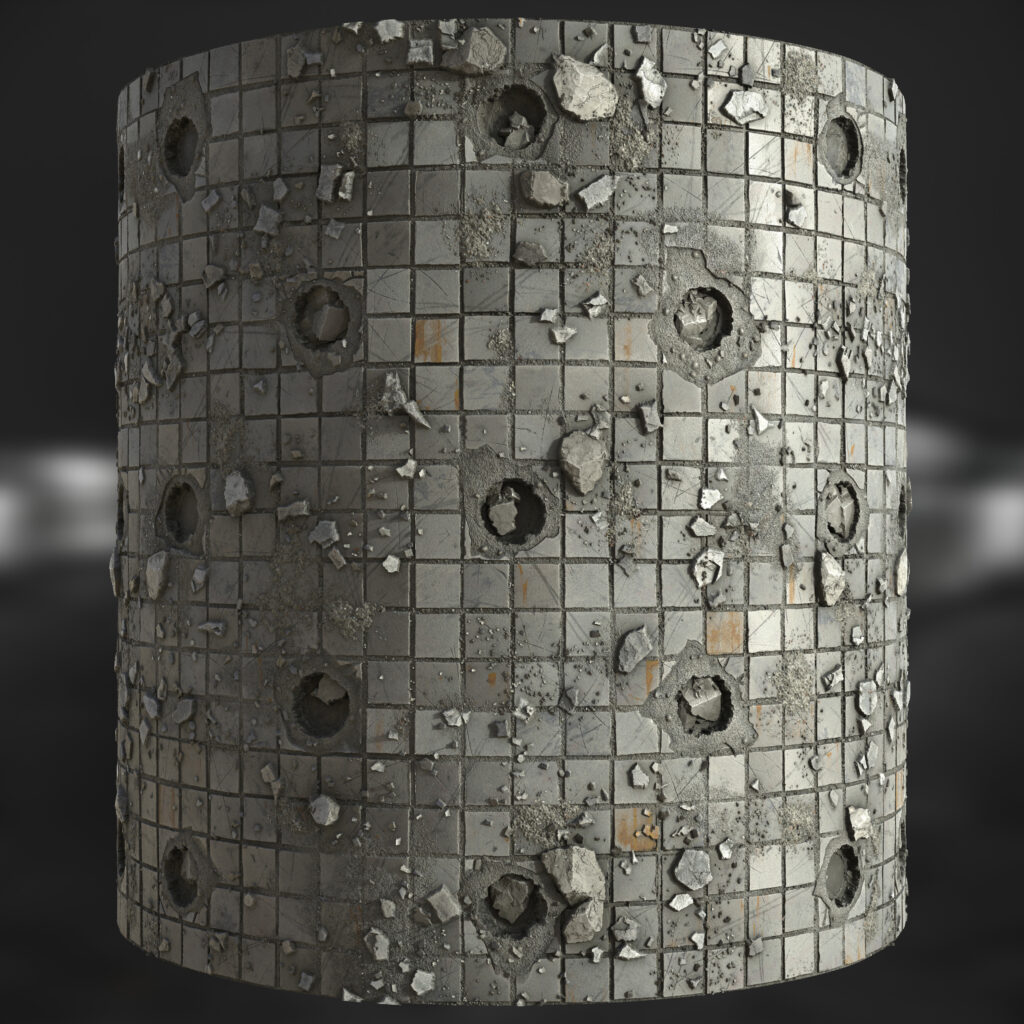
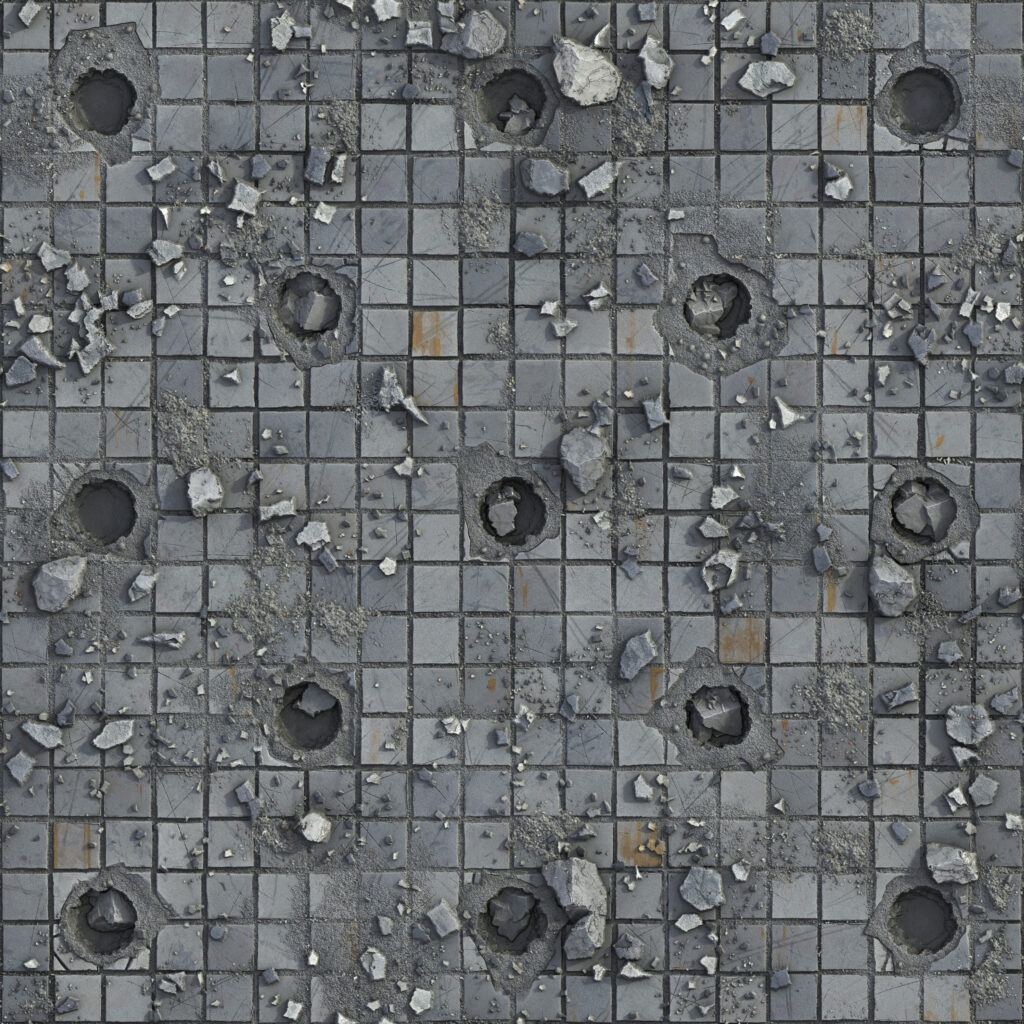
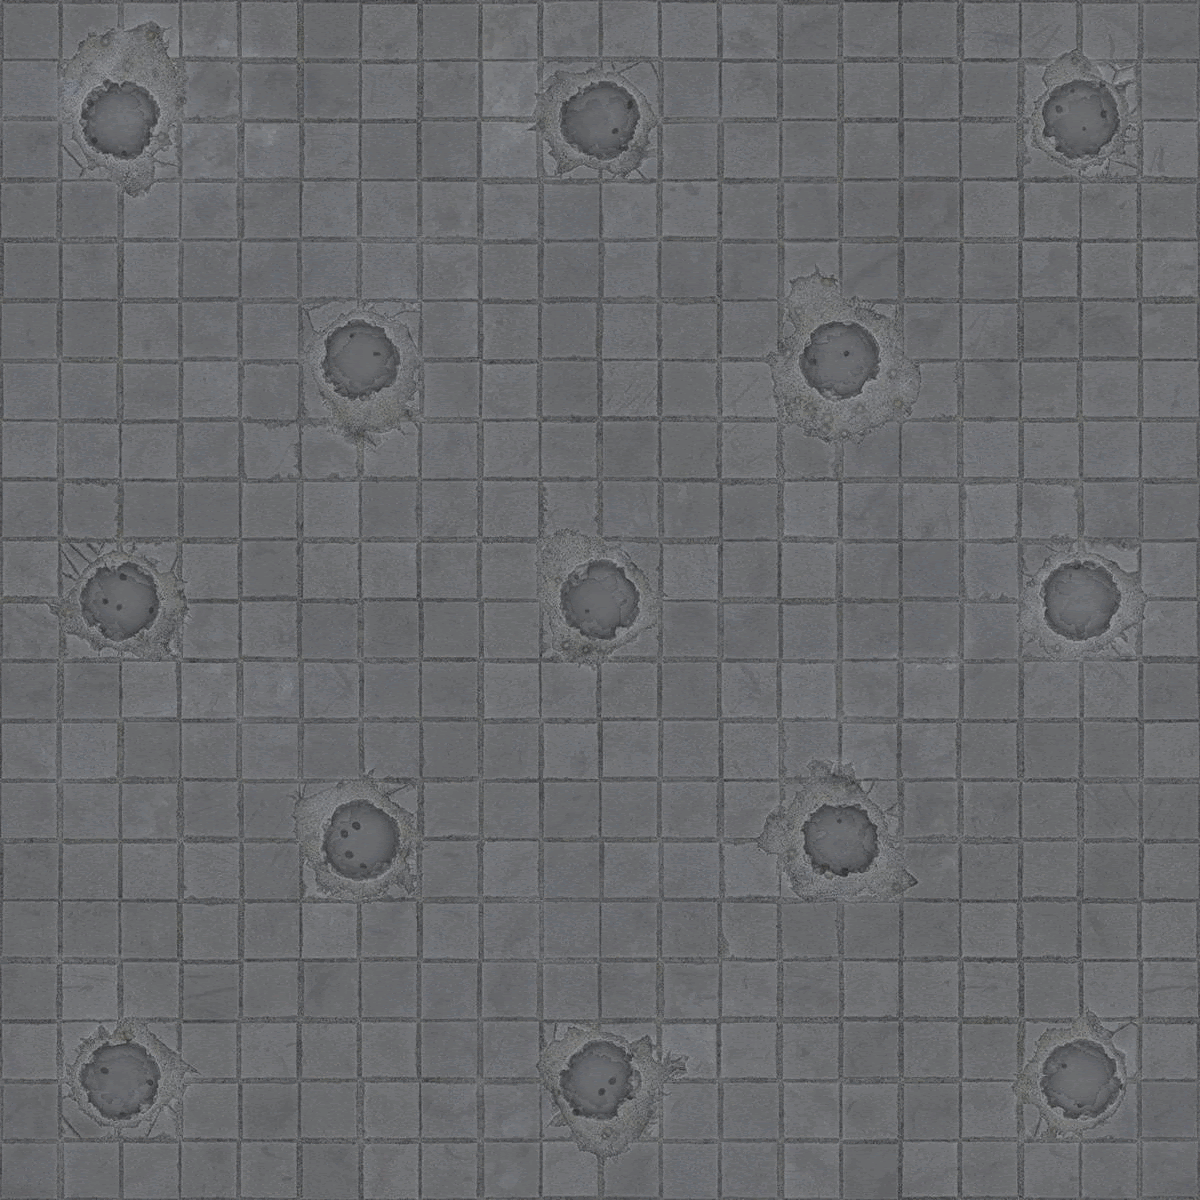
Damaged Concrete Tiles

Introduction
Senior Material Artist with 5+ years experience in the gaming industry, MCV Develop Rising Star December 2019 and Mentor (Think Tank Training Centre, Vertex School).
Goals & Software
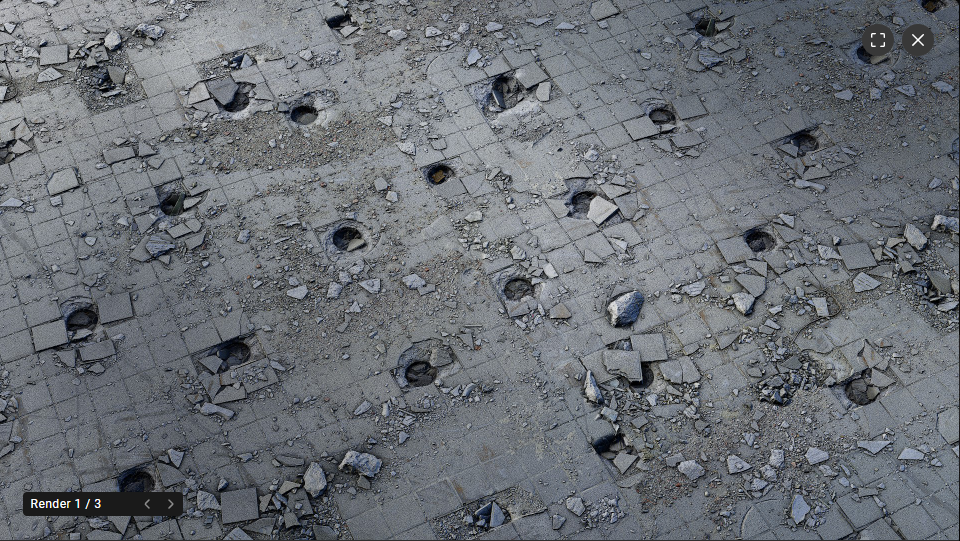
I wanted to challenge myself in creating a near 1:1 replica of the existing Megascans material. I also wanted to create a really high-quality heightmap to give 3D definition, to achieve this I scattered multiple assets on top of the surface and incorporated strong shadows and displacement.
I used Substance Designer 12.1.0 and rendered it directly in the PBR Render node.
Materials
When starting material, I typically break down the reference and analyze what makes it unique. By focusing on smaller components initially, it avoids feeling overwhelmed by the complexity of the surface.

The individual components of the material weren’t difficult to create, however blending the elements together was challenging at times. There was a lot of back and forth with adjustments, as I had to make sure the height map and displacement were representatives of the original Megascans. I tried to match the heightmap style as closely as possible.
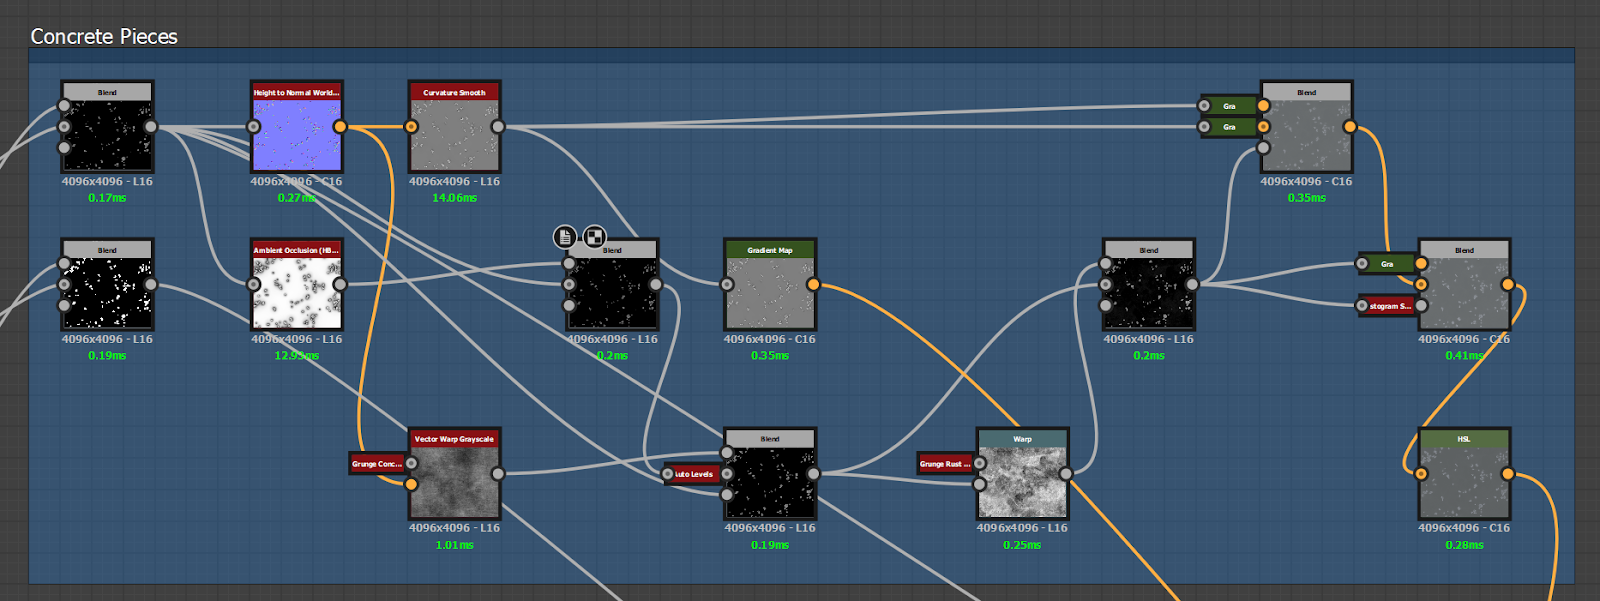
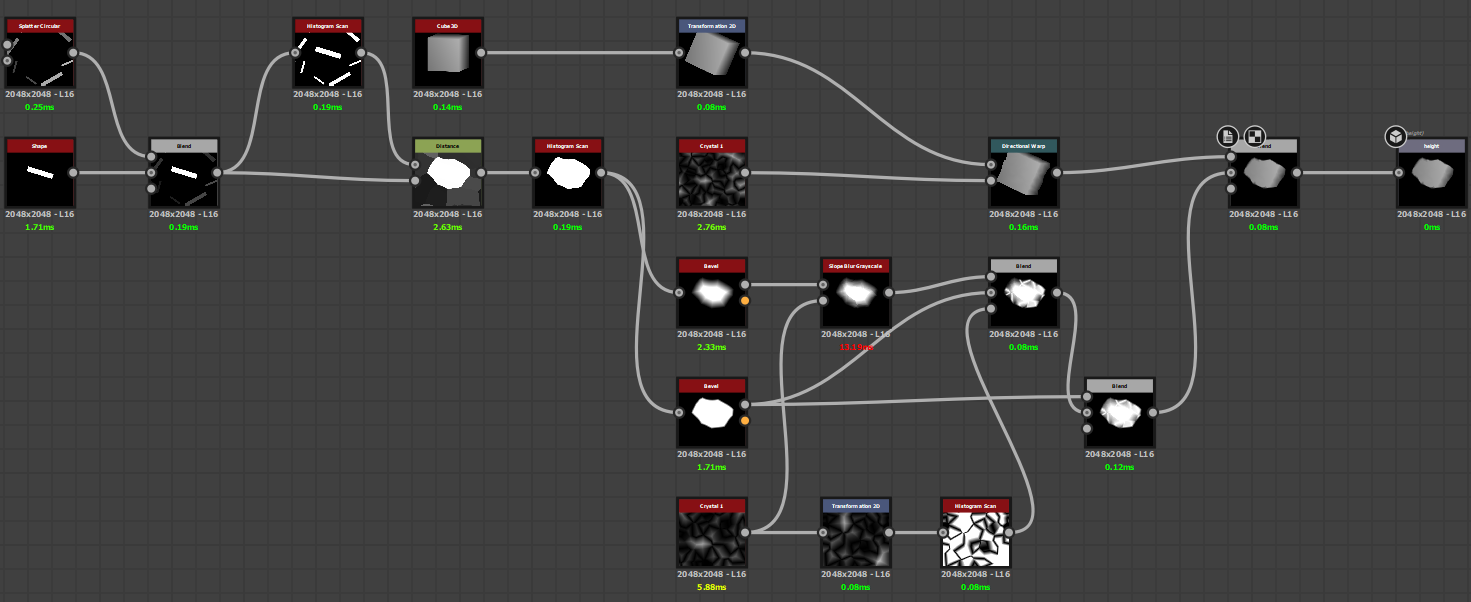
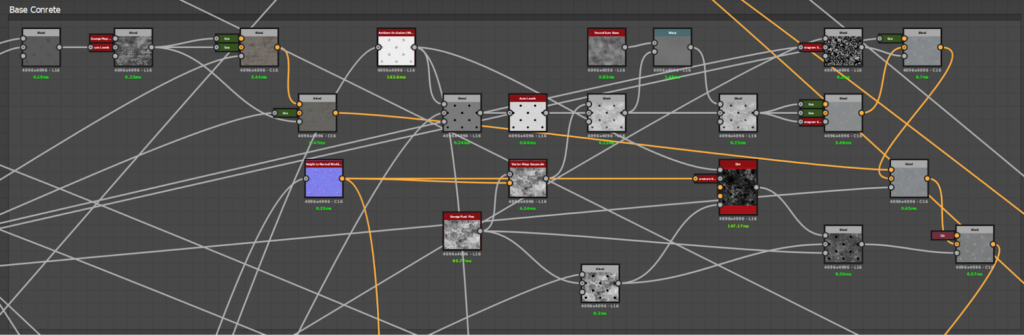
Below is an example of various components within the material:
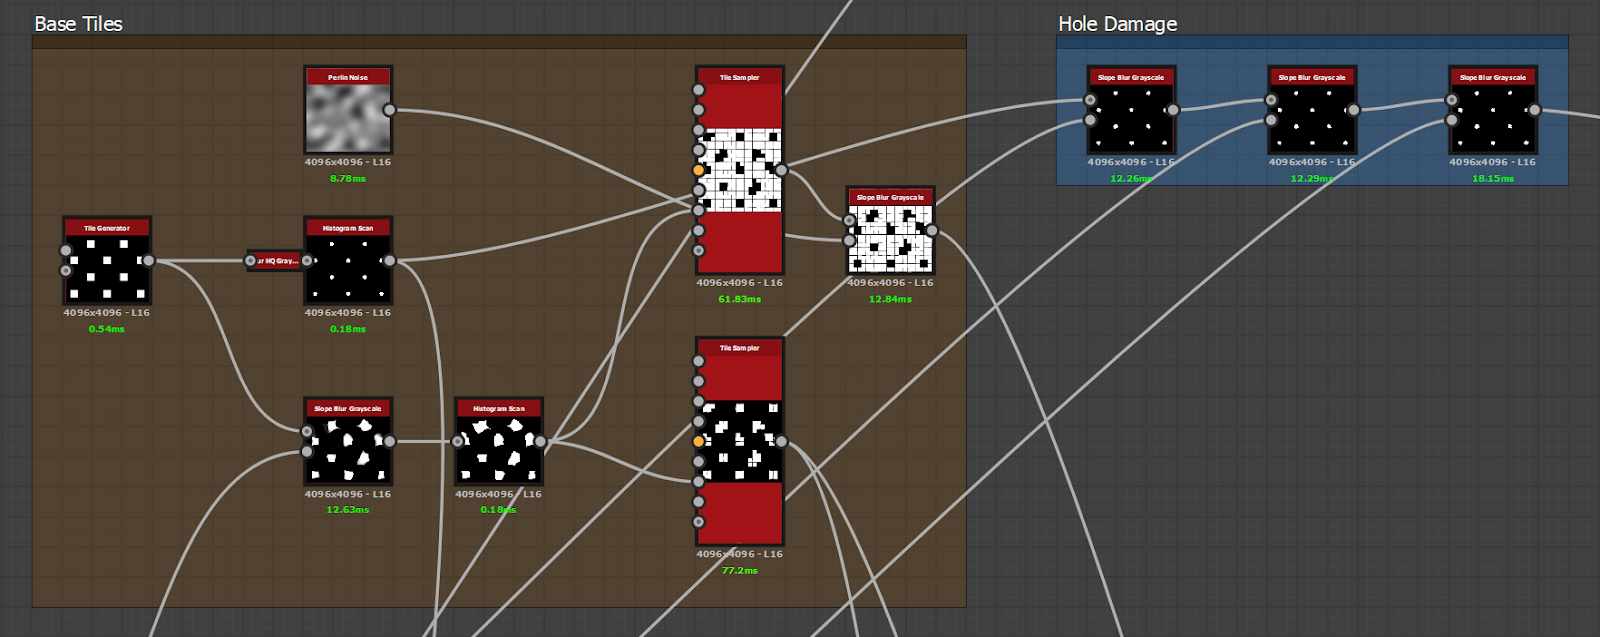
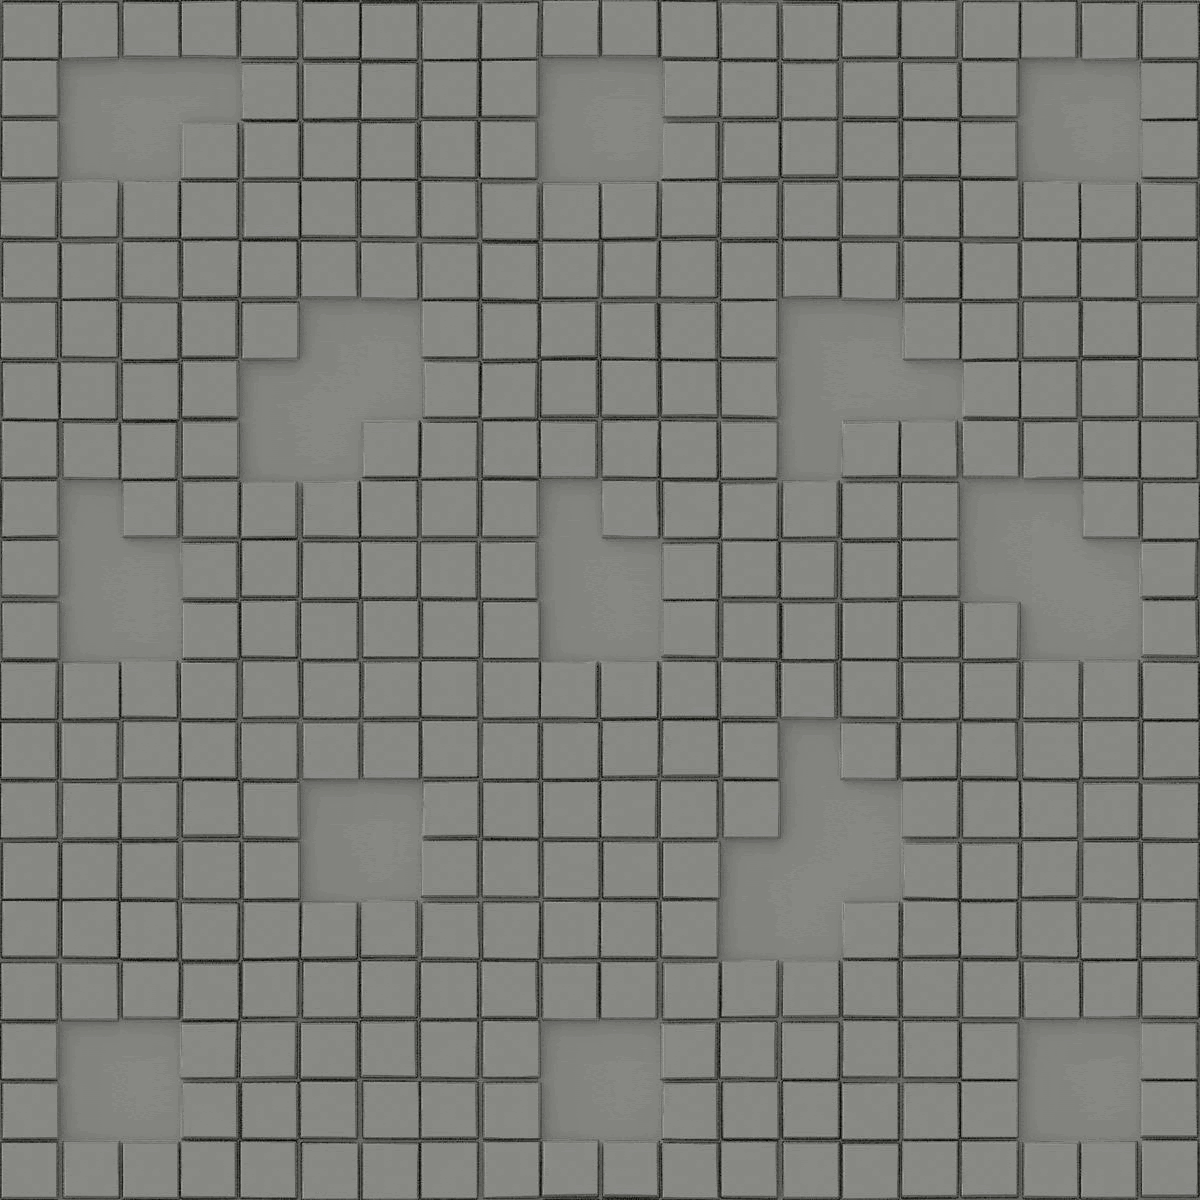
As you can see in the screenshot above, I split damaged tiles from those not damaged. I used a tile generator to create the offset pattern, with a slope blur to break up its form and make it more irregular and organic.
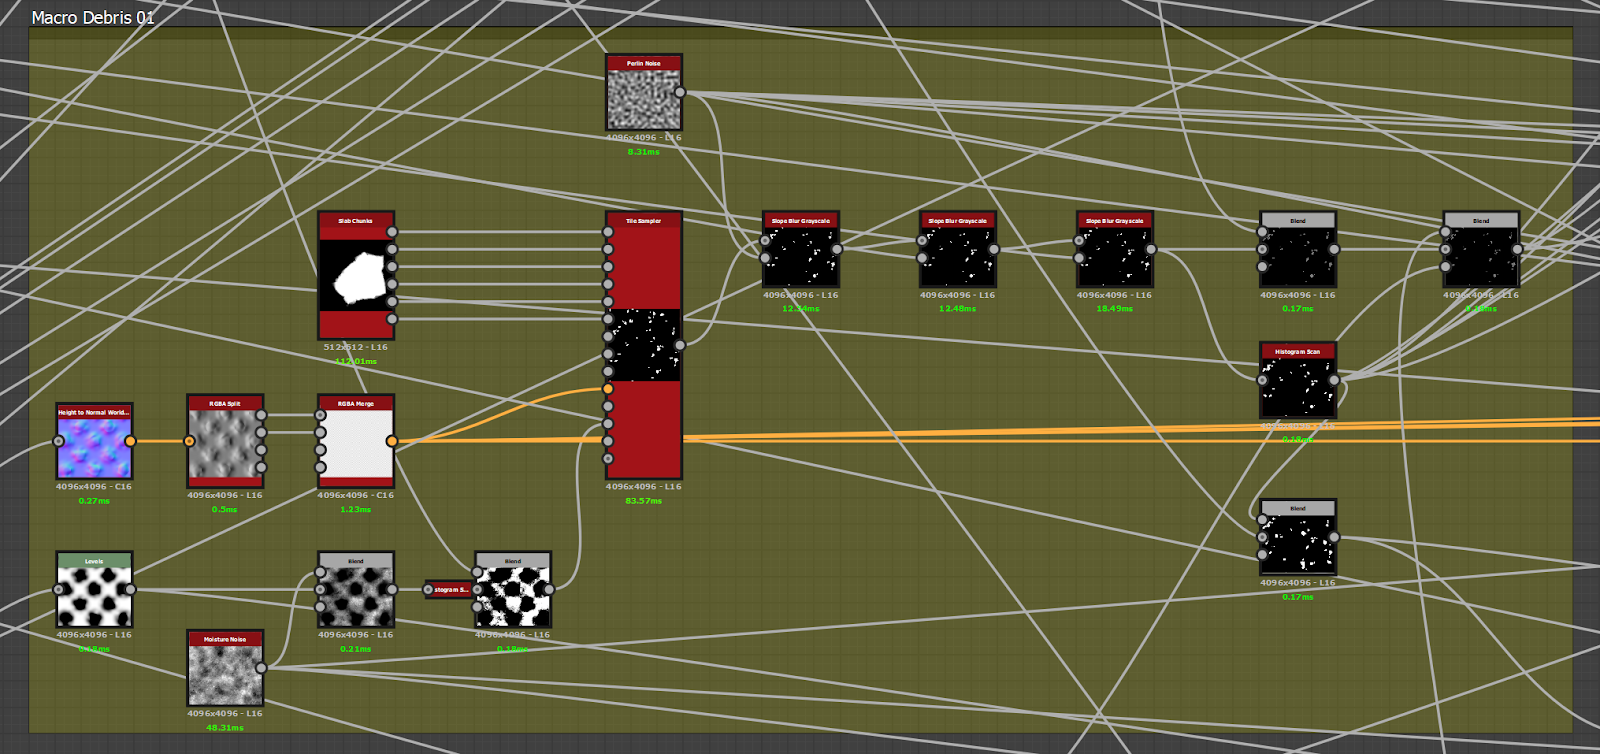
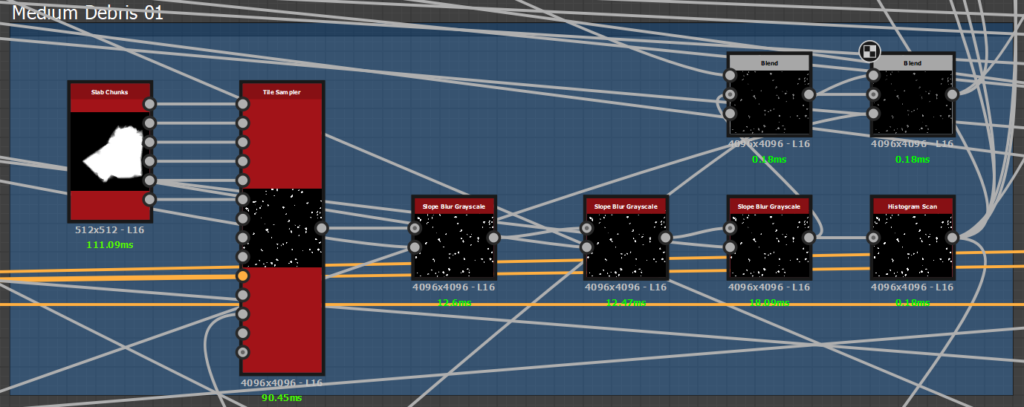
In the above screenshot, you can see a section where the medium debris chunks are scattered around the tiles, avoiding the main holes. This is to ensure the medium debris chunks do not overlap.
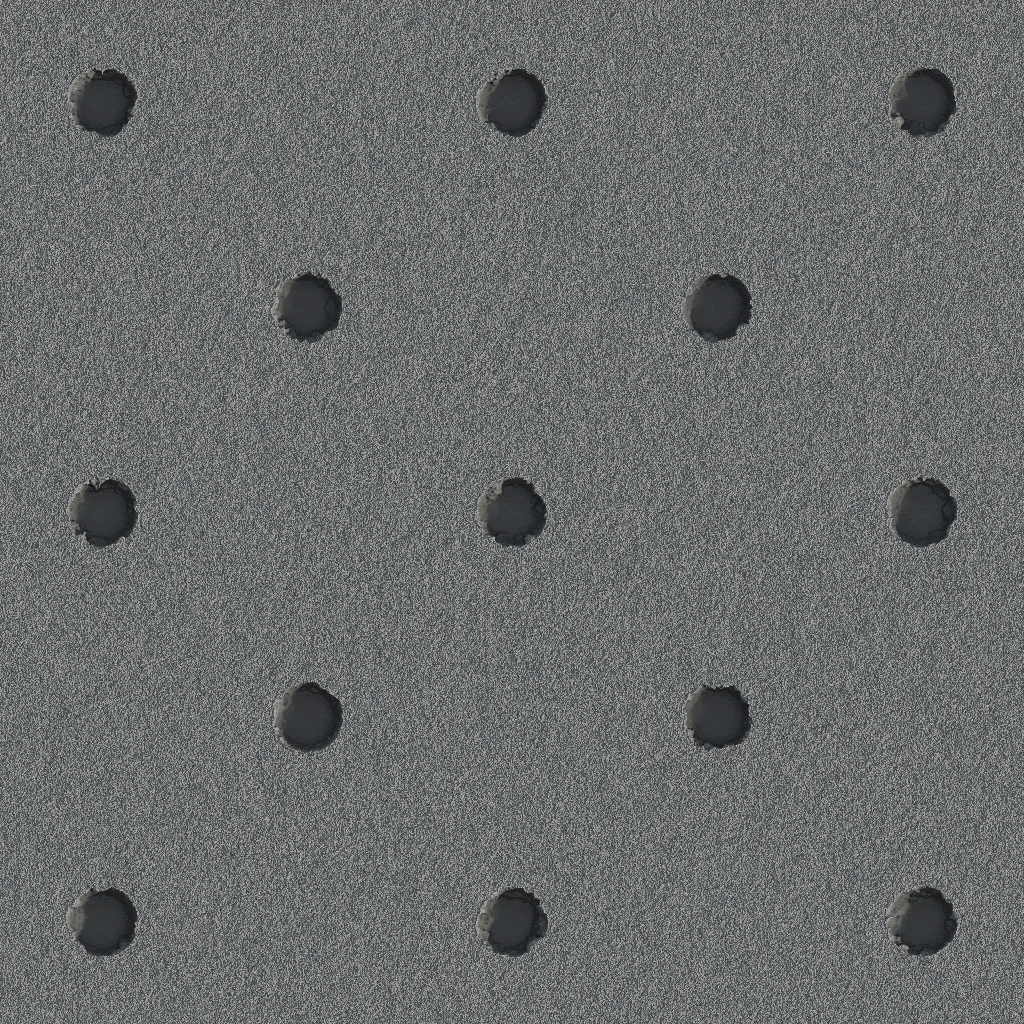
I added subtle noise for micro-detail and applied random tilt to the tiles, however I was careful not to add too much as I still wanted them to look flat. The source textures provided by Megascans offered an insight into the type of noise used on the tiles, as well as what other context details (such as pock marks, scratches, etc) would be useful to apply.
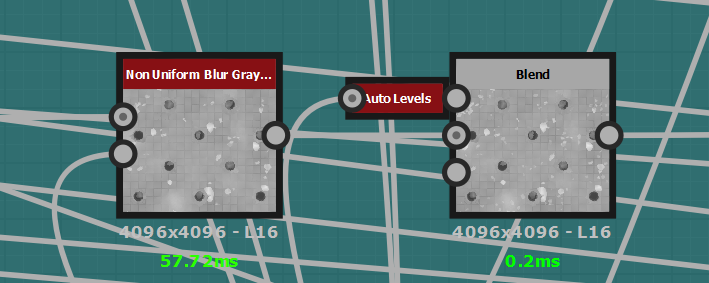
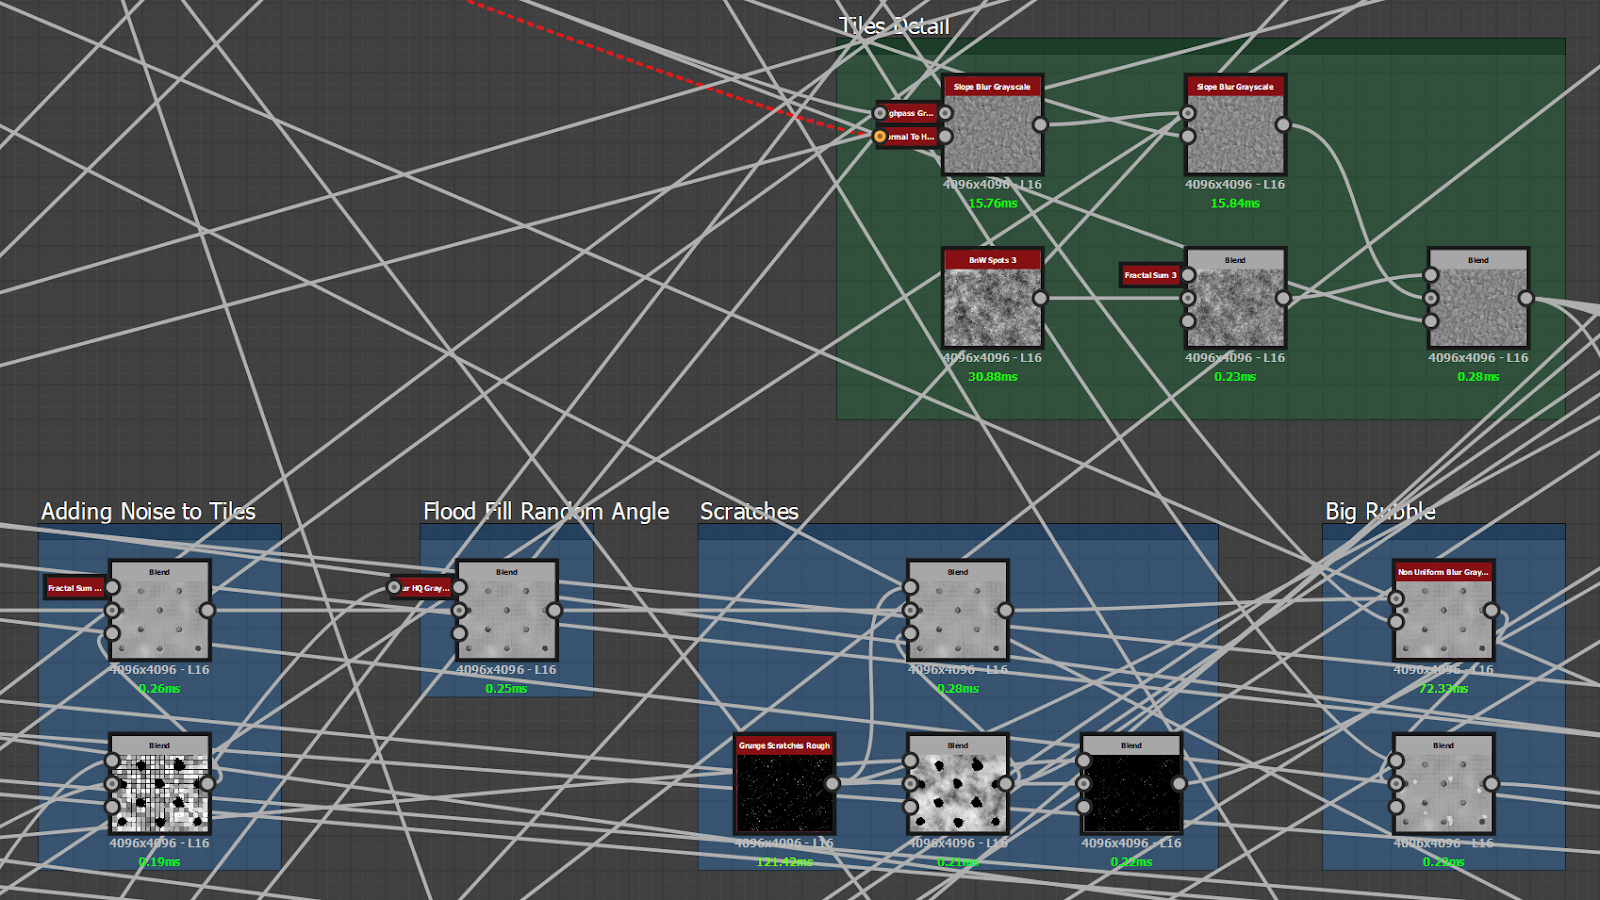
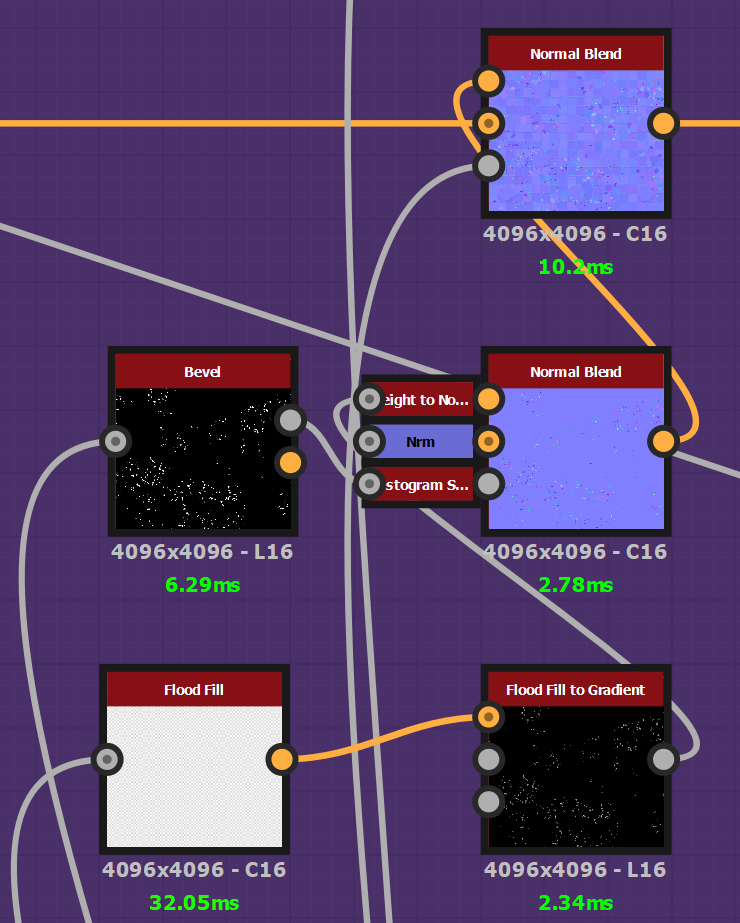
Once I was happy with all of the elements, it was time to start blending them together. I used the Non-Uniform Blur node to stack my elements together while preserving the underlying heightmap.
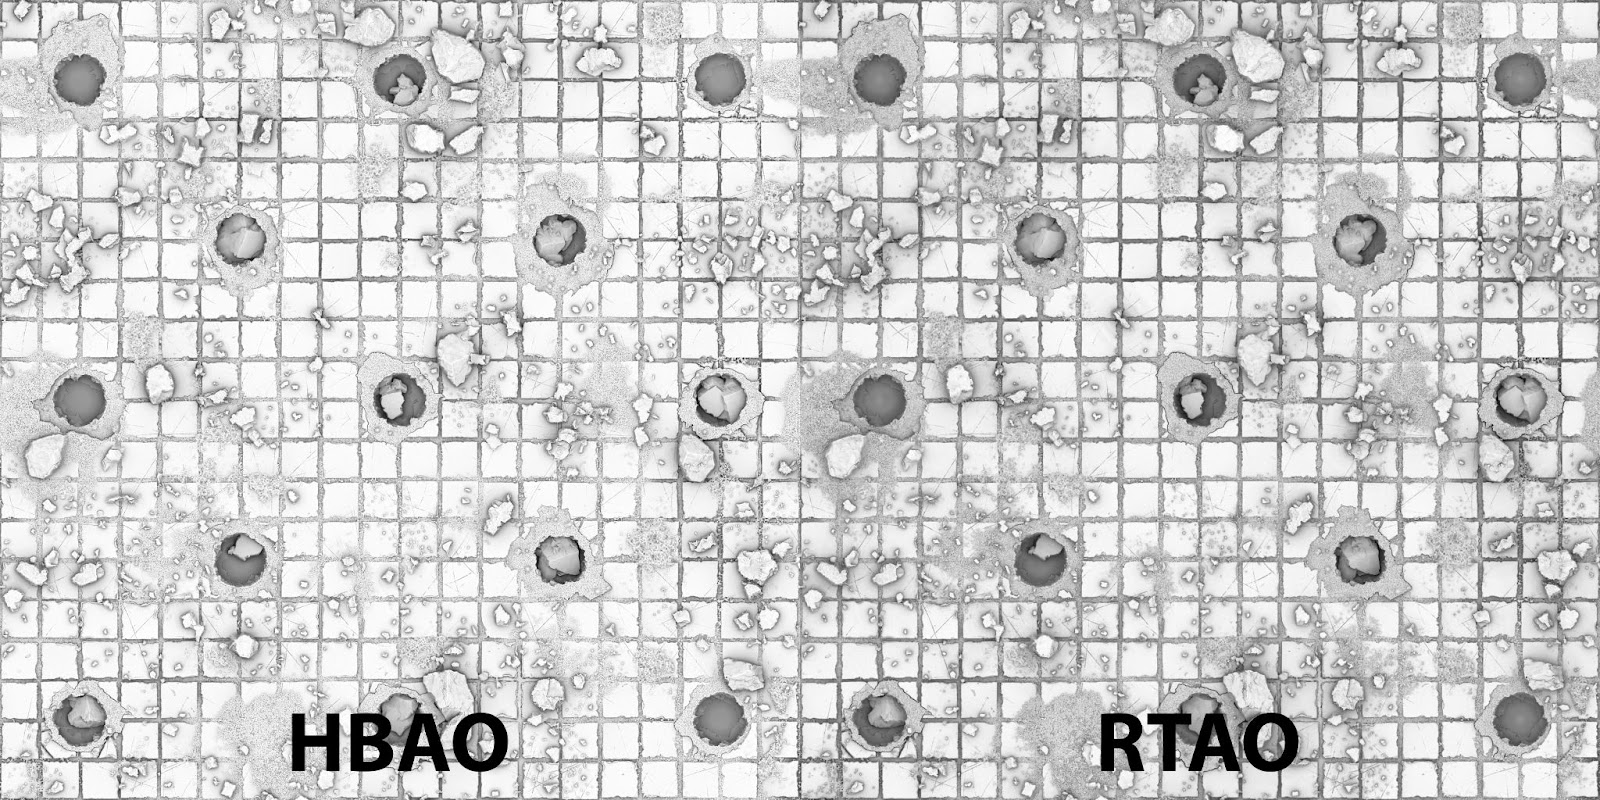
I continued with this until I had a near-completed height map. I then iterated on it and finally created a normal and ambient occlusion map. I used the RTAO node to generate my AO, as I felt the millisecond cost was worth the high-quality final result (I tend to think the quality is improved with this node in comparison to a standard HBAO node).
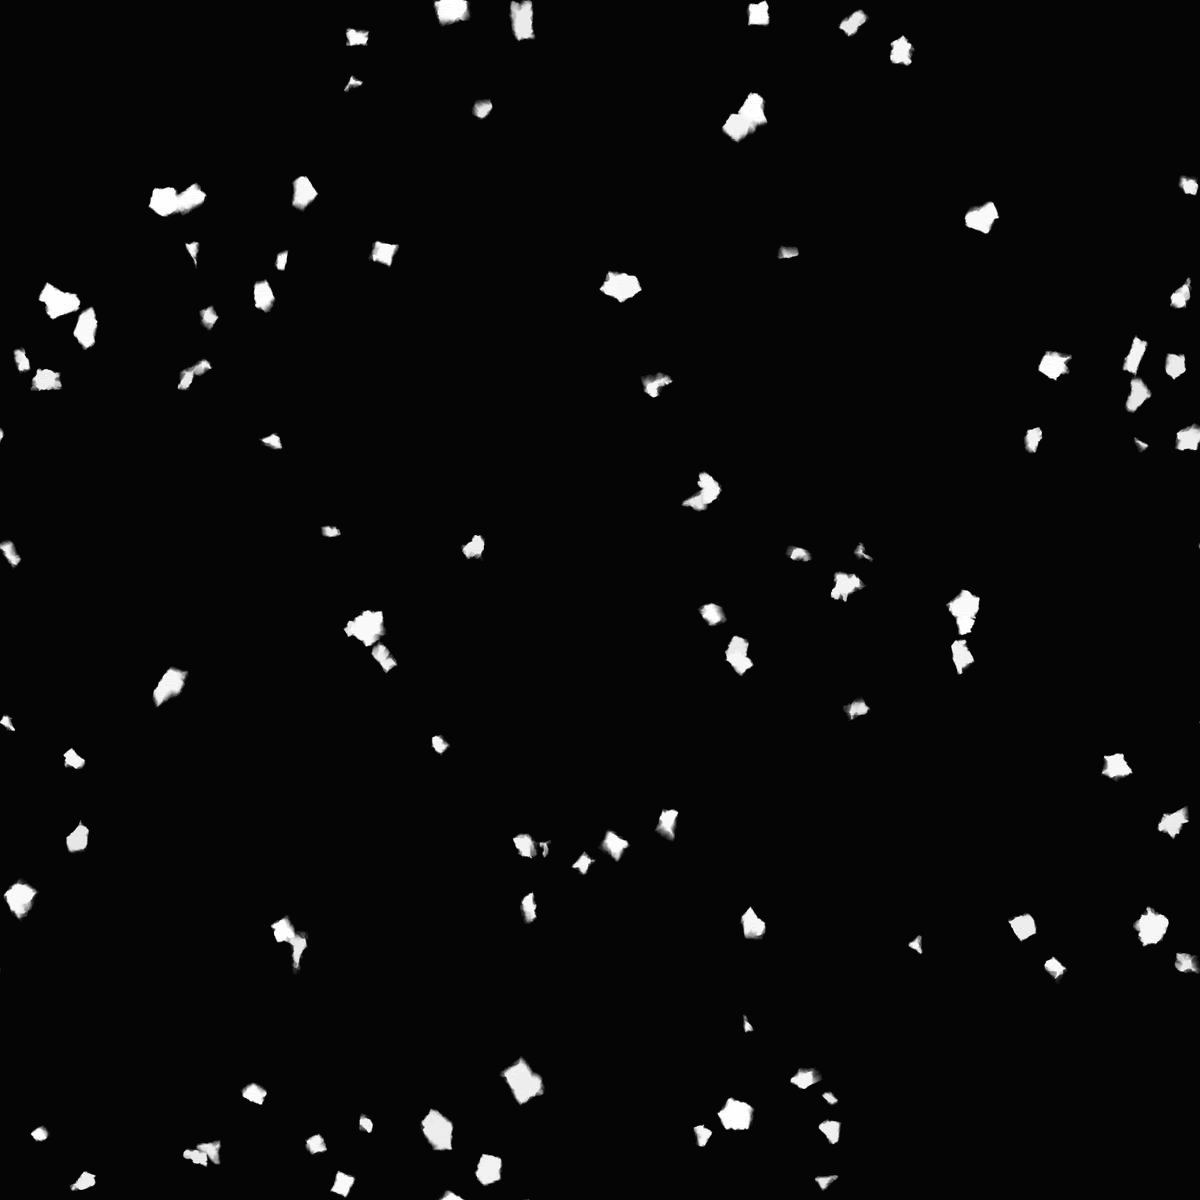
Additionally, I wanted to incorporate features such as tiles and debris into the material to make it look like the normals are angled. I did this by creating unique masks from each single scatter item, running through a floodfill and creating a random gradient, before converting to a normal map and blending.
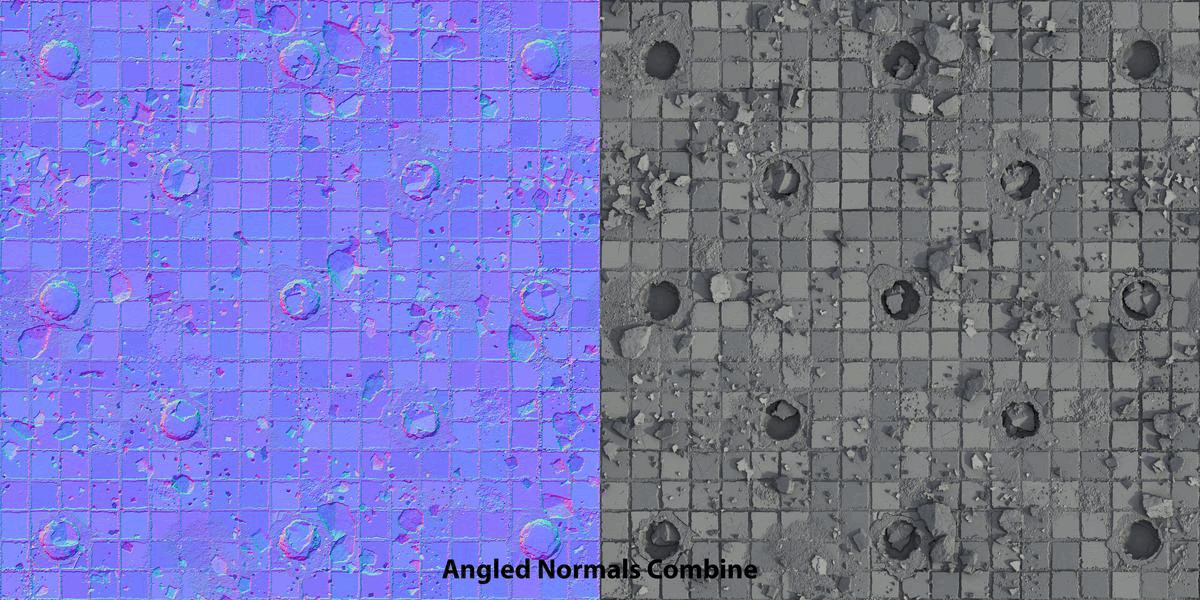
Overall, I feel this effect makes the result look more interesting.
When thinking about the base color, I based the color map on the same principle as before – different components blended together using masks. Source content like Megascans can be really useful and worth looking out for, as you can obtain gems of insight and apply these learnings to your own materials.
The texturing of a single component was made up of a HBAO node, so that I could extract microdetails that would later be captured in the gradient map. Alongside this, I used a grunge map and vector warping with the original parent shape, resulting in the overall noise becoming broken up and organic.
I always try to use at least two gradient maps to capture enough color information.
After I blended the primary color, I overlayed ambient occlusion to give better surface depth and make the shape stand out. Once happy with the appearance of the base color, I added dirt and edge wear. Adding these two details really helps to combine and ground the surface elements. Typically at this point, I would either add a range of colors via a gradient map or do a simple uniform color.
Finally, I added some last touches with a HSL to control the brightness and saturation, with curvature blended on top. The roughness map was simple to create, as I converted the color map to grayscale, inverted it and used levels to balance it out. Overall, I feel the material represents the Megascans material and I’m pleased with the result.
Tips & Tricks
My number one tip is – to break things down step-by-step, and ensure that you are always employing best practices so that as your materials become more complex, your way of working remains simple and manageable.
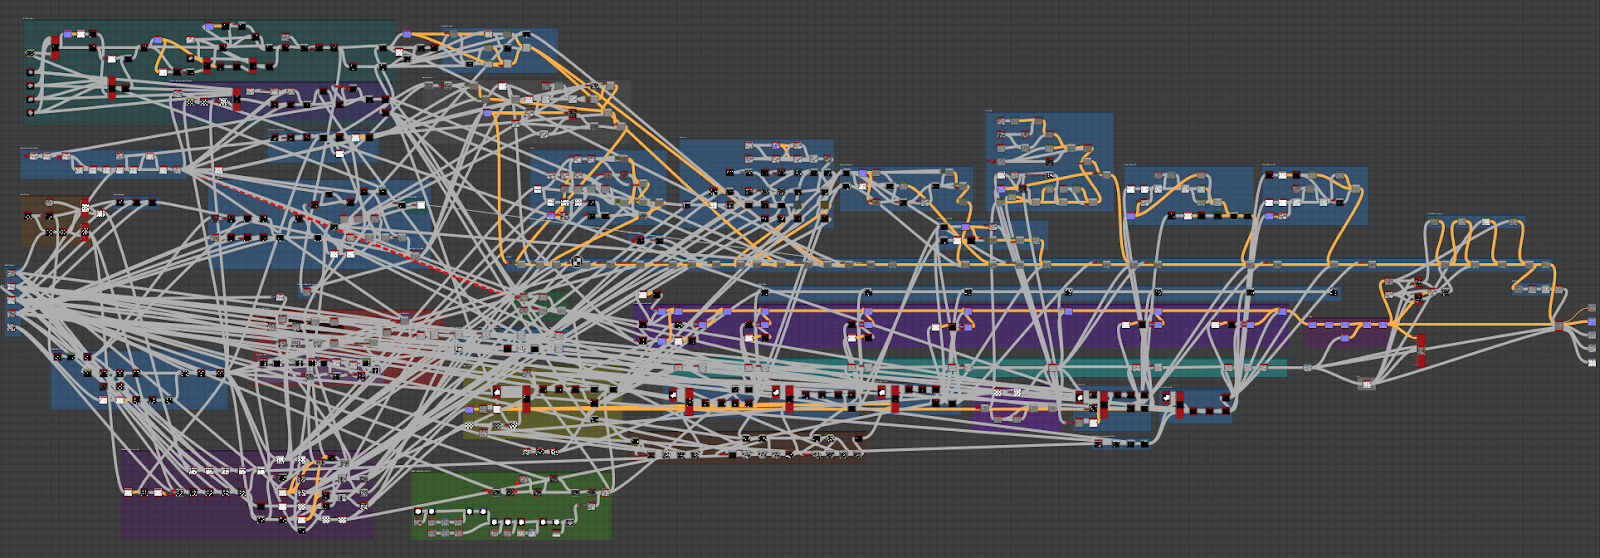
For example, add comment boxes with a title, description and unique color. Or take more significant graph sections and break them down into sub-graphs. To do this, select your nodes, right click and ‘create a graph from selection’.
Be sure to consistently check your height, normal and ambient occlusion in a 3D render so that the surface looks realistic
Polish & Final pass
I used the height blend node to ensure there was correct blending between the ground surface and tiles. It was tricky finding a balance as the underlying concrete base needed very subtle undulation so as to not make it perfectly flat. I found the leak of noise over some tiles to simulate that initial damage pass worked particularly well for the height blend.

I had to ensure the edge wear of the tiles was kept really subtle to reflect the Megascans material, and so this was constantly updated.
However, in the end, I did want to make this stand out a little more. The damage on the floor and holes initially came from the inverted placement of the tiles. I generated rounded shapes from the square tiles (where the holes are), which I then started deforming using slope blurs.
I constantly checked my height map in 3D to ensure the displacement was correct, and this is one of the benefits of having source files like Megascans, as I was able to continually compare the two side by side.
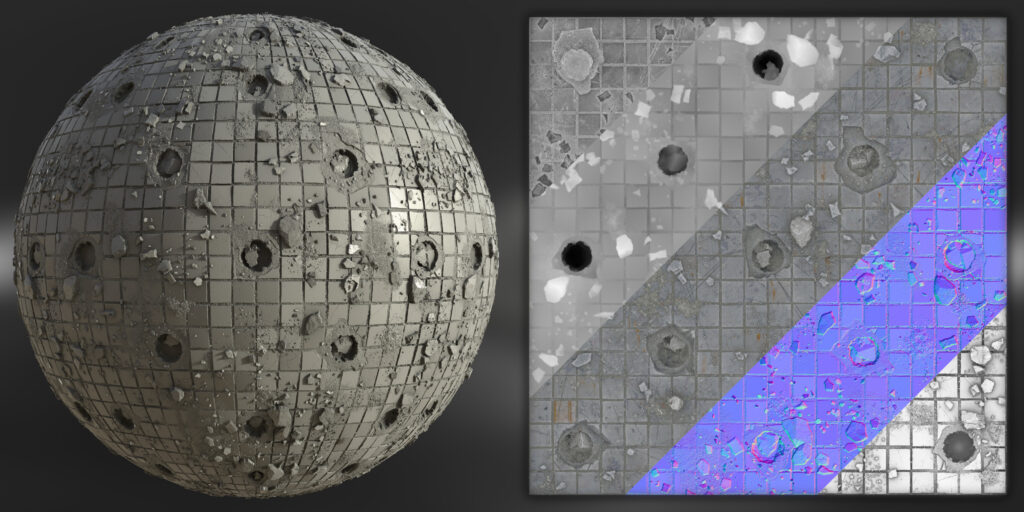
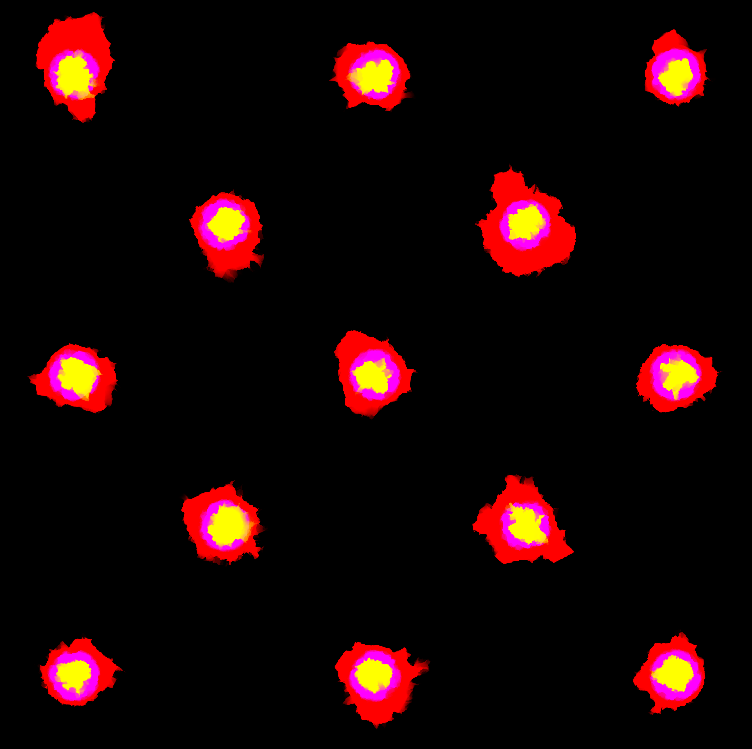
To recreate the Megascans material, you can see there are several layers that needed to be reconstructed. In the screenshot below, the red represents the overall damage to the outer tiles, the purple indentation surrounds the deeper hole in the center, and the yellow the very bottom of the central hole where the debris chunks would be.
The chunks of debris scattered across the surface were built from a sub-graph. I used the Cube 3D node to start off as it had great height variation options. I then created multiple variations to scatter using a Tile Sampler, with a mask to derive where they spawn.
The smaller pieces of debris were built from a similar graph, using a tile sampler and some slope blurs. I created a binary mask using a histogram scan, which was plugged into a non-uniform blur map input to blur the underlying surface, which was then blended with screen mode. I did this a few times throughout the graph to add variety.
A trick I used throughout was to add ambient occlusion to various details such as debris etc. to bring context and grounding to the surface. It also ensures you can read the different elements in the albedo.

Presentation
For the past few years, I have been using the PBR Render node built into Substance Designer to present my materials. It gives great results with very little effort and adjustment, compared to setting up a new scene in Marmoset or Unreal Engine each time. I’ve found I only need a HDR map to start playing with some settings. Typically, the main settings I adjust are:
- Displacement Intensity
- HDR Rotation
- Shape Profile/Scale
- Adjust Exposure
- Diffuse Quality to 128
- Ambient Occlusion 1
I also use the built-in camera presets to incorporate interesting angles. I make a duplicate of the node and render at 4K and hey presto – it’s ready to upload to Artstation.
I hope you enjoyed this breakdown and found my tips useful. I’d love to hear your thoughts in the comments, or you can tweet me @Stef0794.
Read more articles
You might also like these articles.