Cyber Hill PT

Introduction
Hey there! My name is Enrico Tammekänd and I’m a Material & Environment Artist from Estonia, currently working at That's No Moon.
Reference & Inspiration
This project was intended to be a proof of concept and visual target for my own game with a code name “Project: SOS”. I have been wanting to create my own horror game for years and with this project, my goal was to see what quality I can deliver on my own, what types of problems I’m running into, what does and doesn’t work visually, where I would need help from other developers and finally how to plan out the entire art production.
And of course, have fun creating something I’m really passionate about for a strong portfolio project.
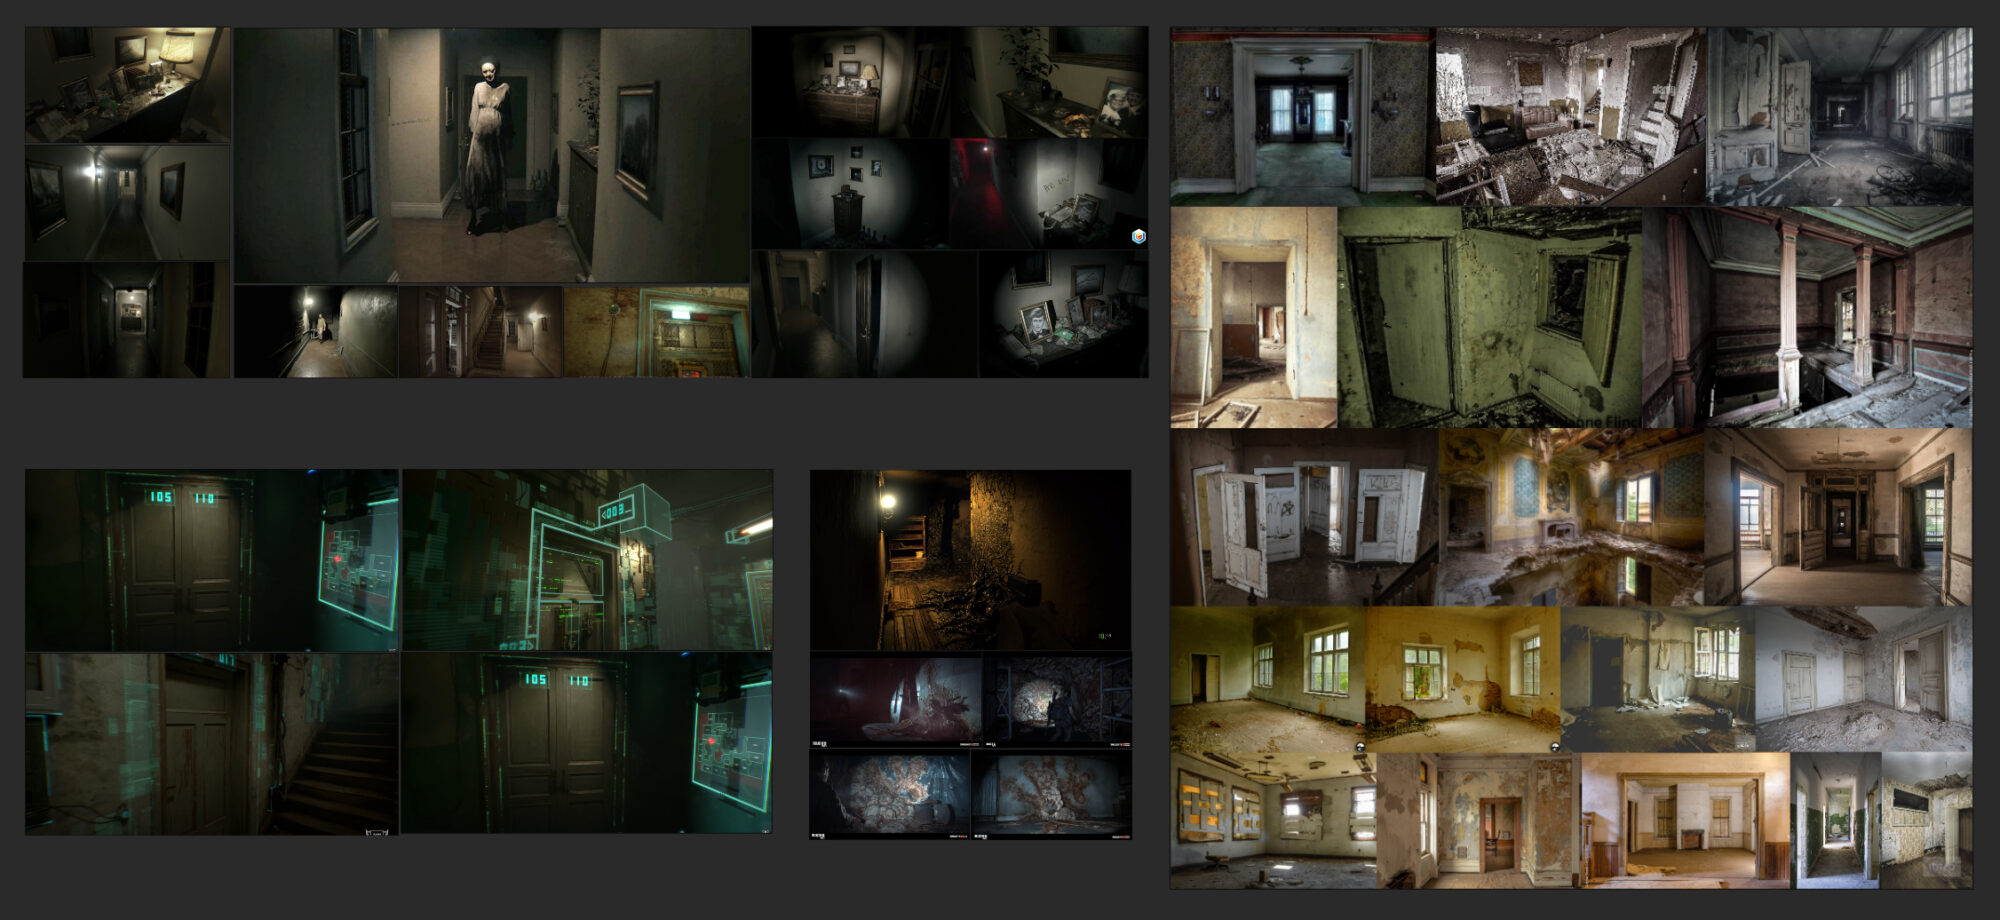
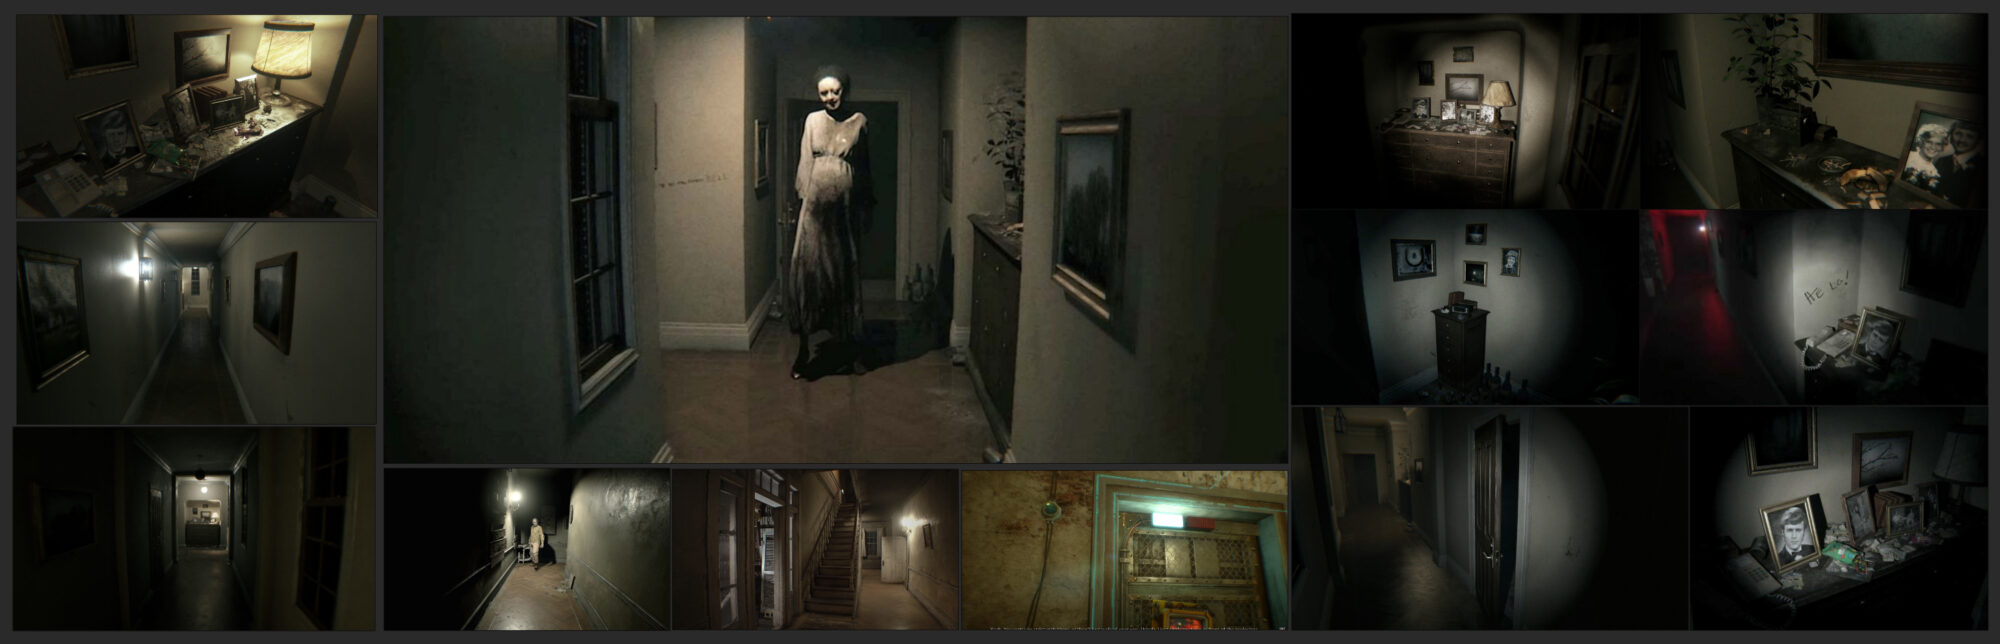
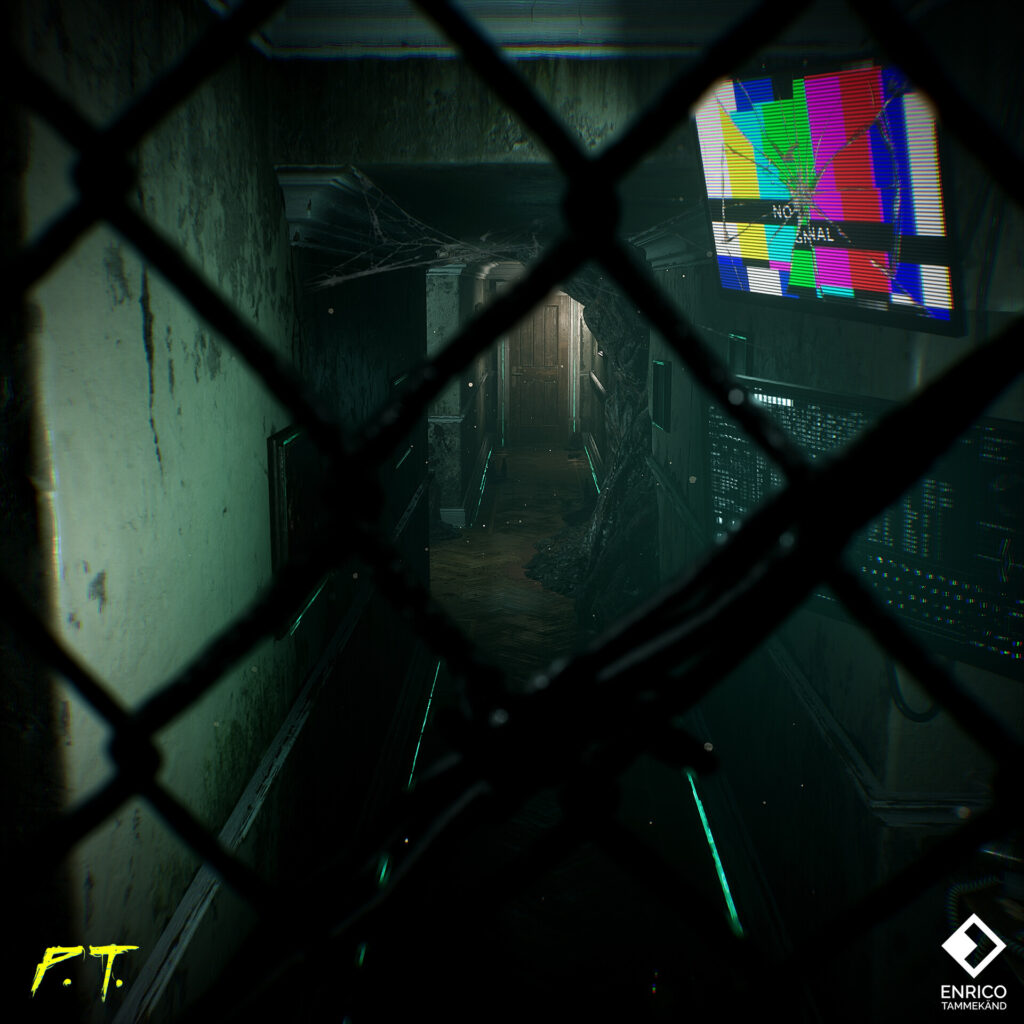
I have been a huge fan of the horror genre and some of the landmark games such as Silent Hill P.T., Outlast, RE7, Observer and The Last Of Us have been a huge inspiration to me and the reason why I’m in the game industry. I wanted to try and see if I could successfully combine elements from all of these amazing games into one cohesive environment.
This project also marked the development start of my game so I looked at a lot of gameplay to see what players liked, disliked and wanted to improve. I used that information to build out this environment while having in mind gameplay limitations and production goals.
I gathered a lot of references from mentioned games and combined real-life references to those areas, nitpicking specific distinctive characteristic elements from each game and finding ways to make them work together without being visually too distractive.
Blockout, Modeling & Sculpting
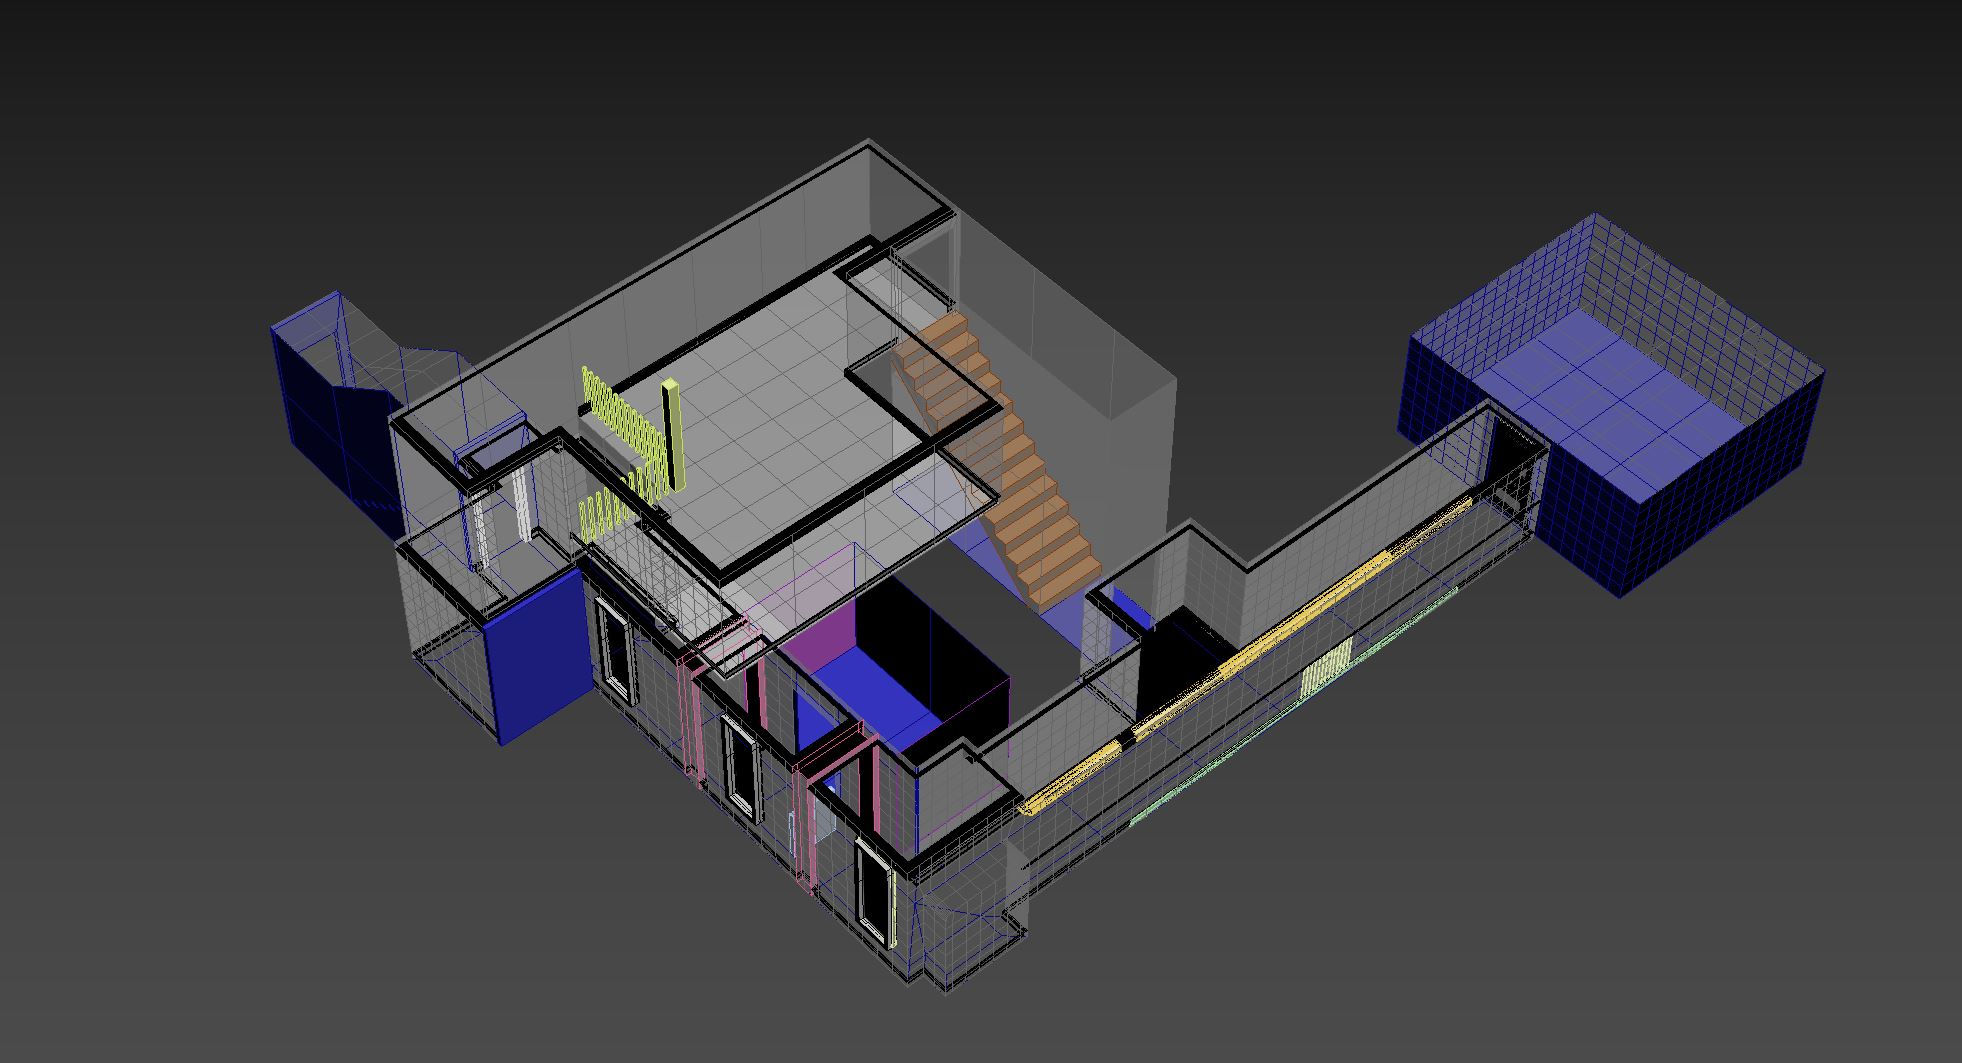
I started out with grey boxing the level with assets within UE4 to build a list of what I will need for the environment, trying to limit the assets as much as# possible to speed up the process but enough to get variety. Unfortunately, I lost the blockout screenshots of the progress so I only have to show some breakdowns within 3DS Max.
This project was meant to be more of an artistic freedom and exploration of ideas so rather than using trim sheets I painted each with unique textures. I wanted to refine my skills in texture painting and these assets were a nice excuse for that.
One of the takeaways from the asset paintings was that it doesn’t really work very well for large quantities of assets and requires too much time so for the game itself I am going to be planning out a proper trim sheet and tiling materials of scanned data to get higher quality results much faster.
I will try to find ways to automate the process so assets could use the same material setups but get procedurally different looks through the shader itself like having albedo overlay variance based on its location along with world space dirt overlay and same trim mapping to quickly swap out the look for a material variance.
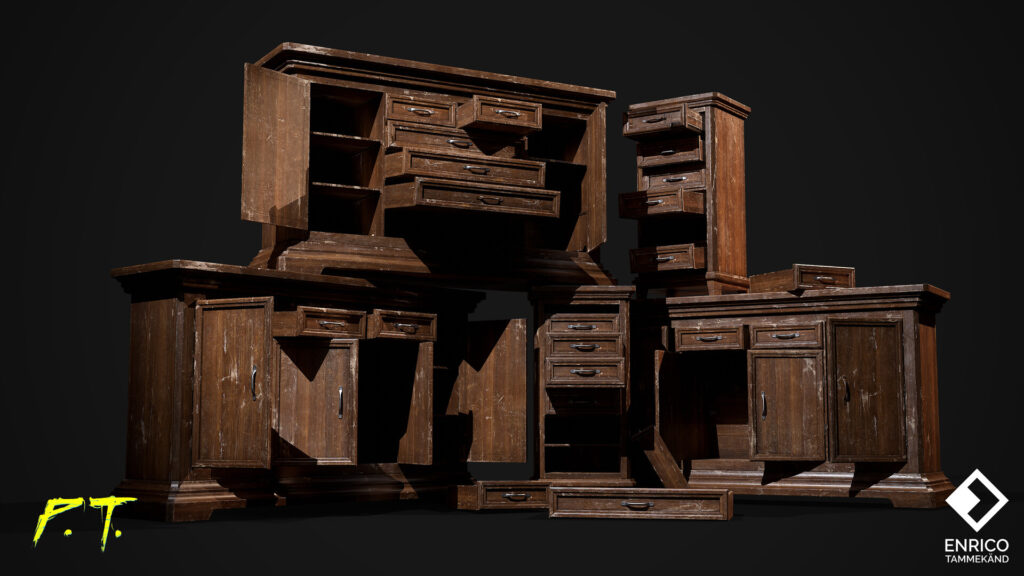
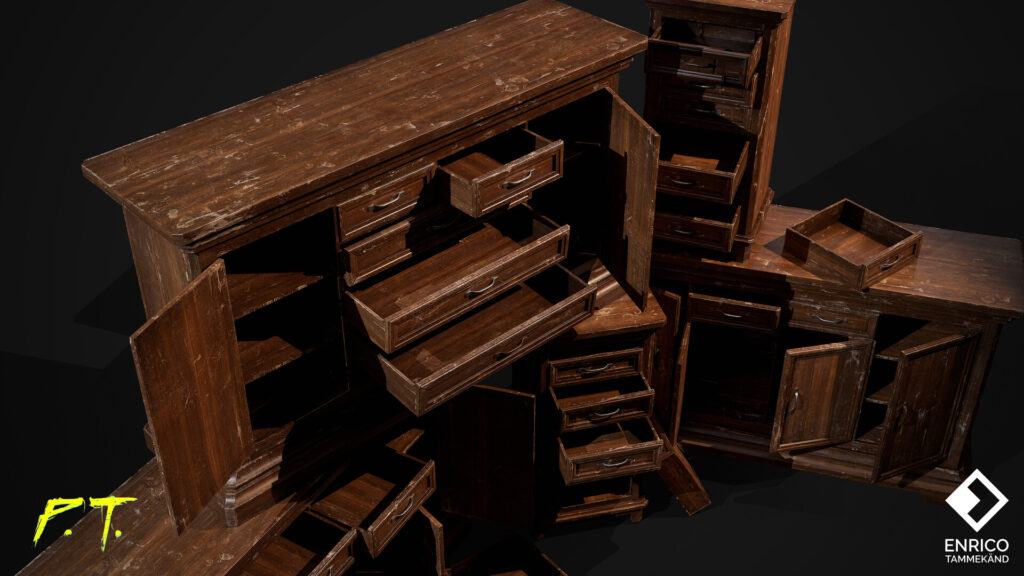
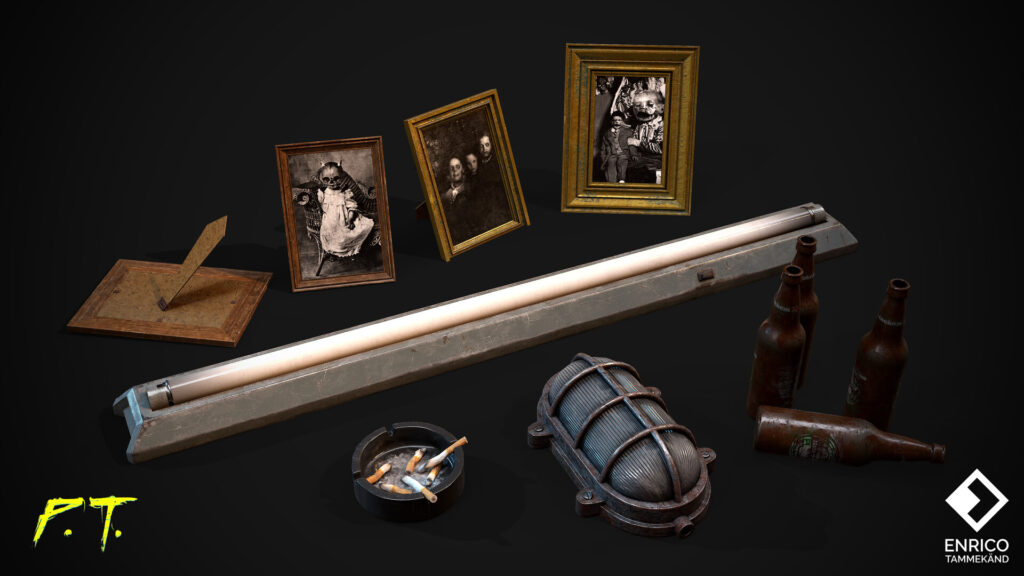
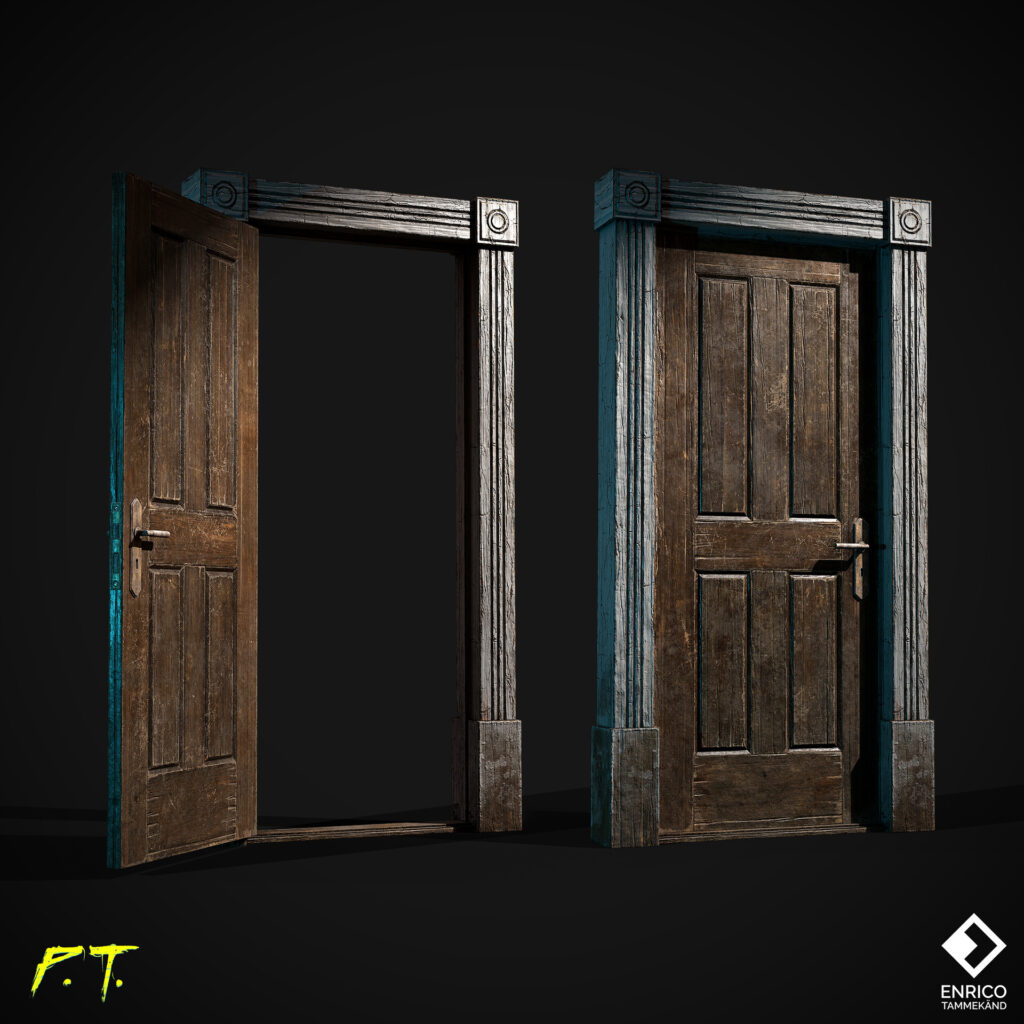
I did use a “semi-trim” workflow for the decorative profiles since they were tiling assets but mostly everything was done with sub-div modeling and unique texture sets. I mapped the assets ‘UVs as if they were trims and textured them in Painter.
I mirrored the assets as well so that I was able to paint out seams that might be too noticeable. Since they were using the same UVs it was really fast to fix up any bigger errors that I saw.
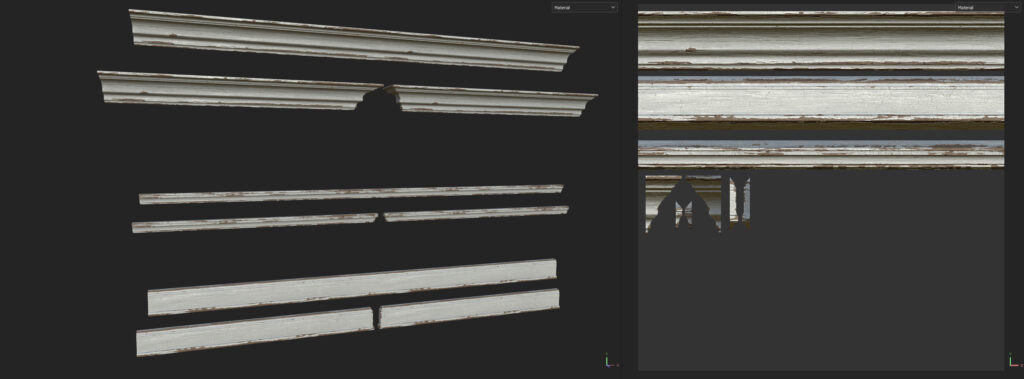
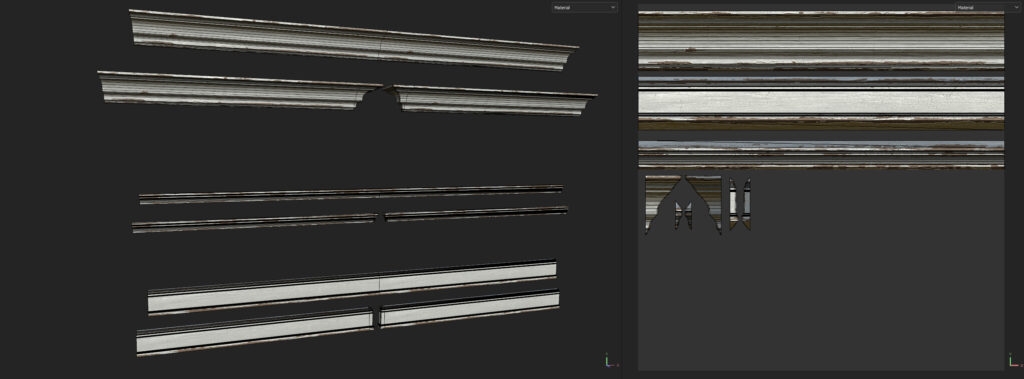
It’s important to take your time and create automated, quick-to-use workflows whenever possible to ease up your workload and focus more on delivering the highest possible quality without having to have to edit every asset over and over again.
It’s also important to keep in mind that the repetition needs to be broken when the same asset is used a lot, which in my case was a world tiling option for the stacked materials so I could easily apply dirt that gave a unique look in each section within the engine.
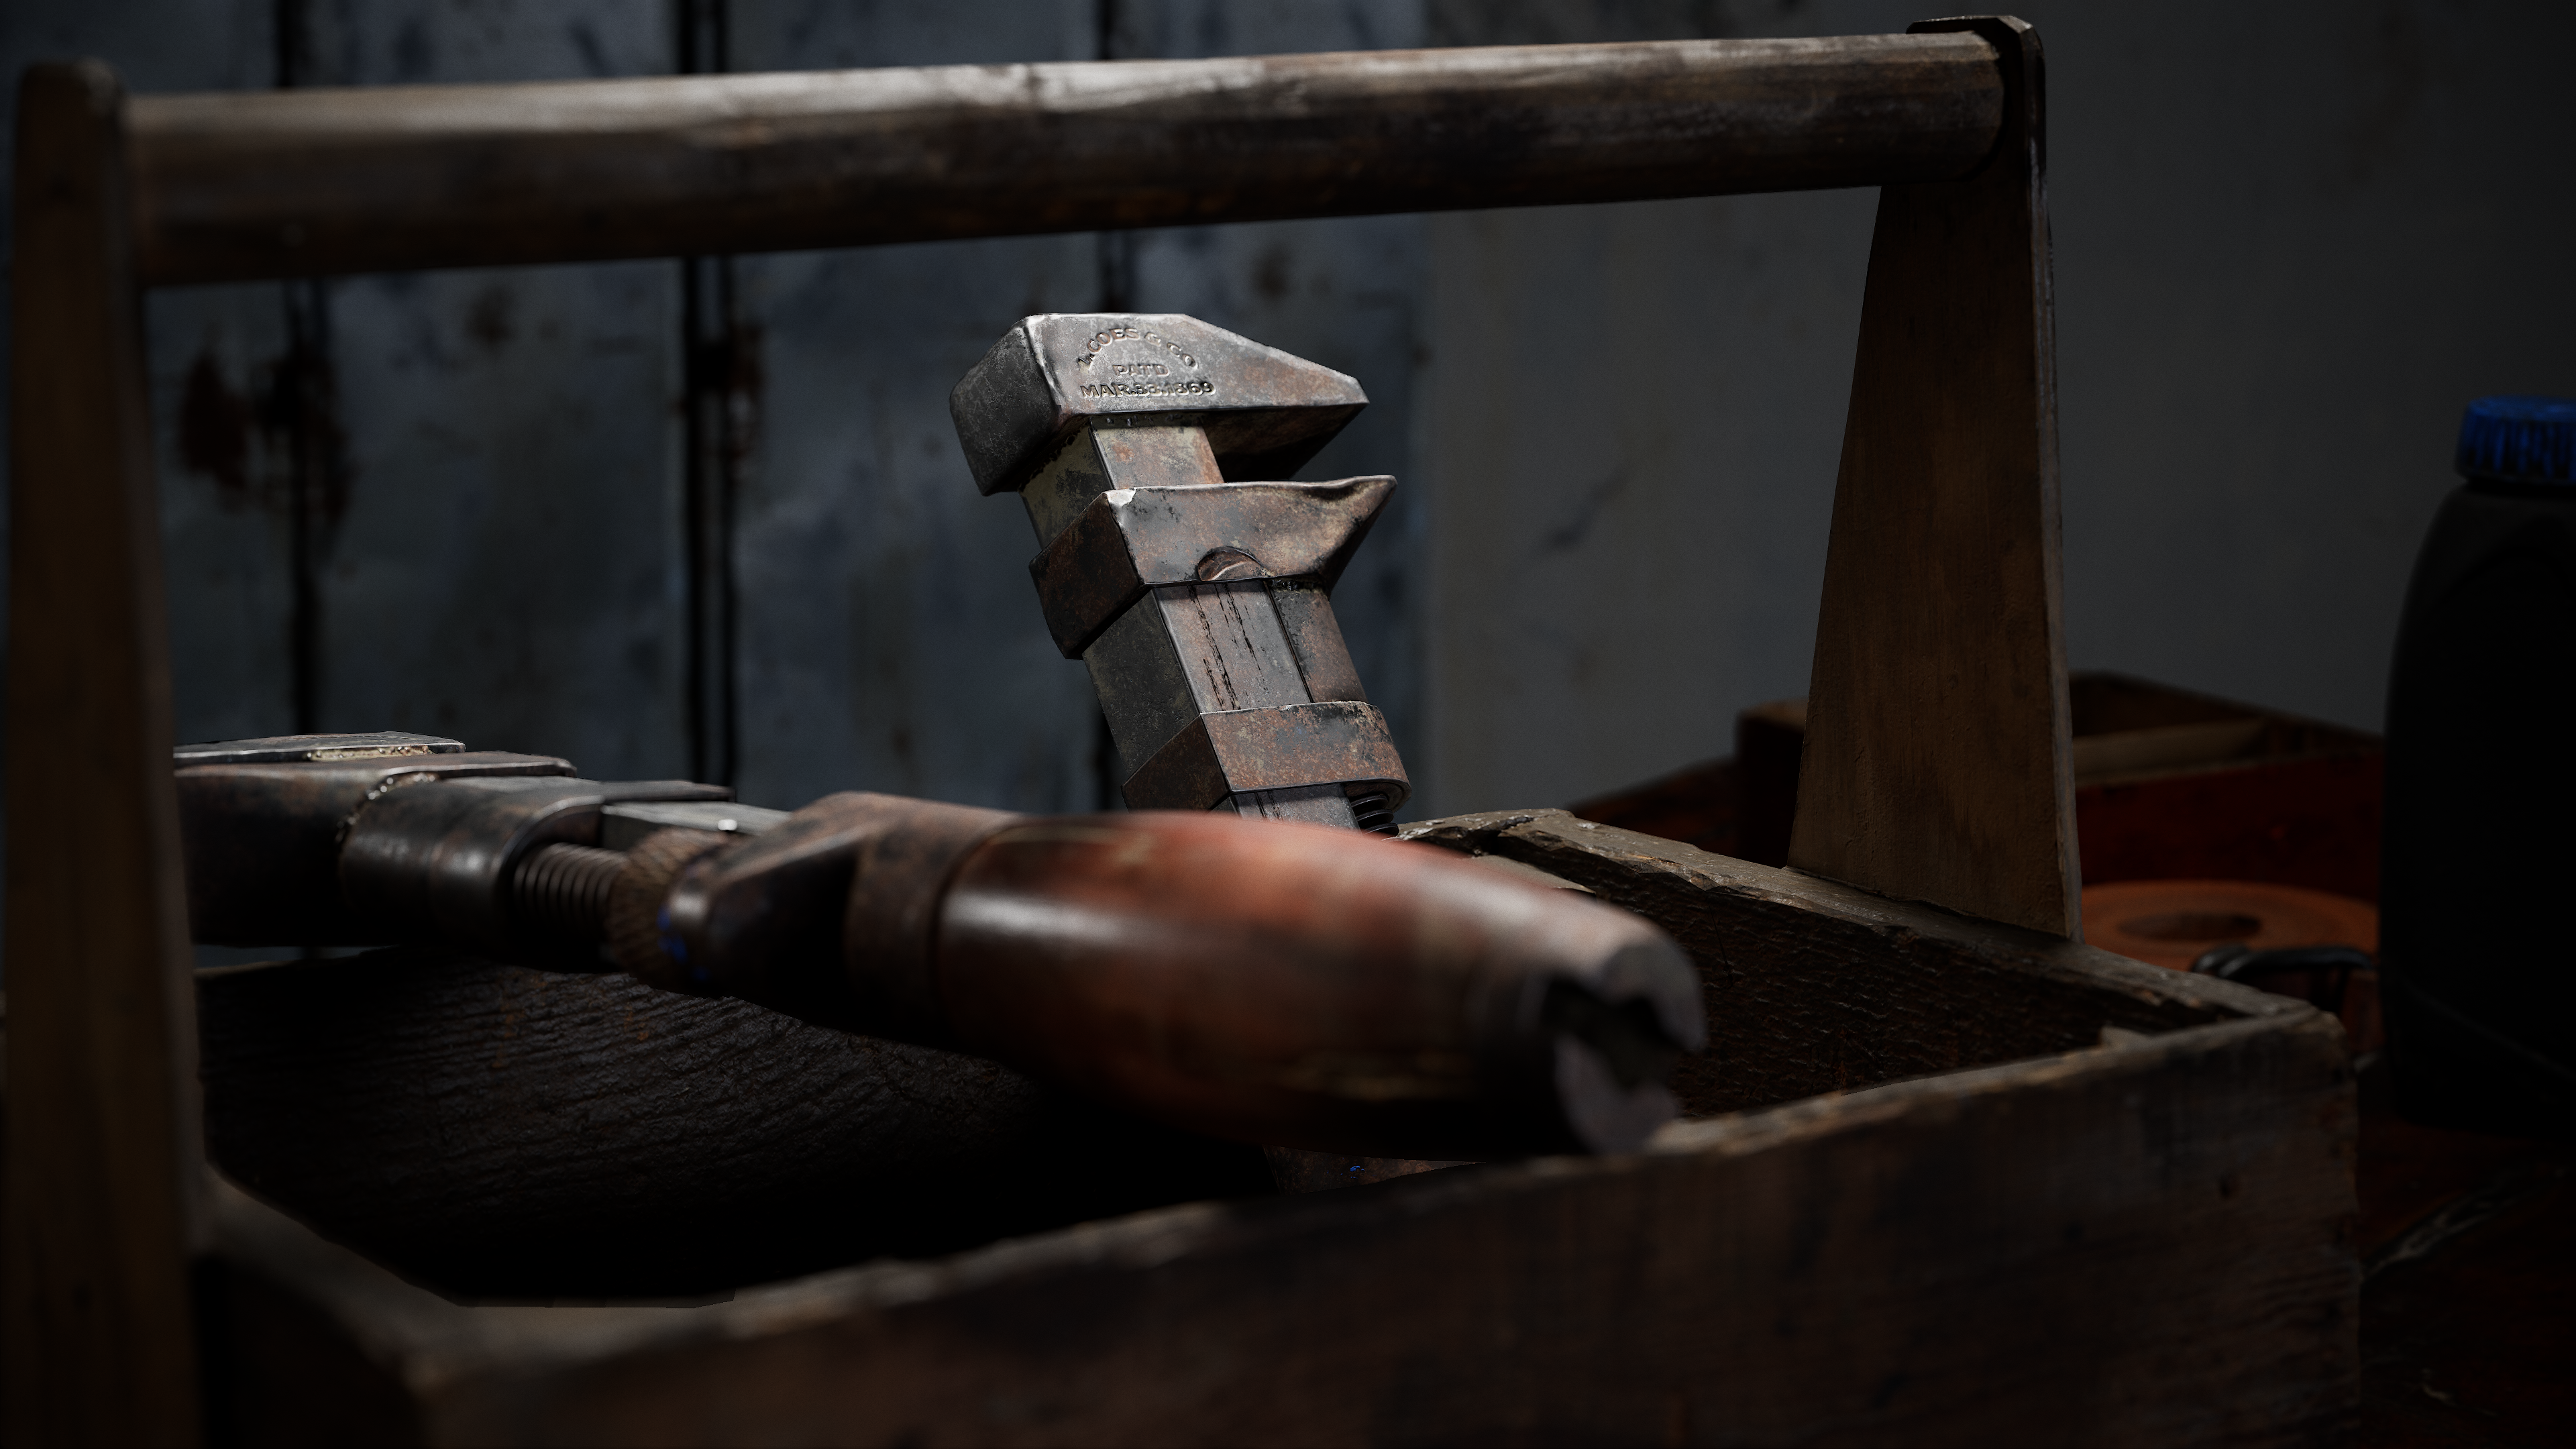
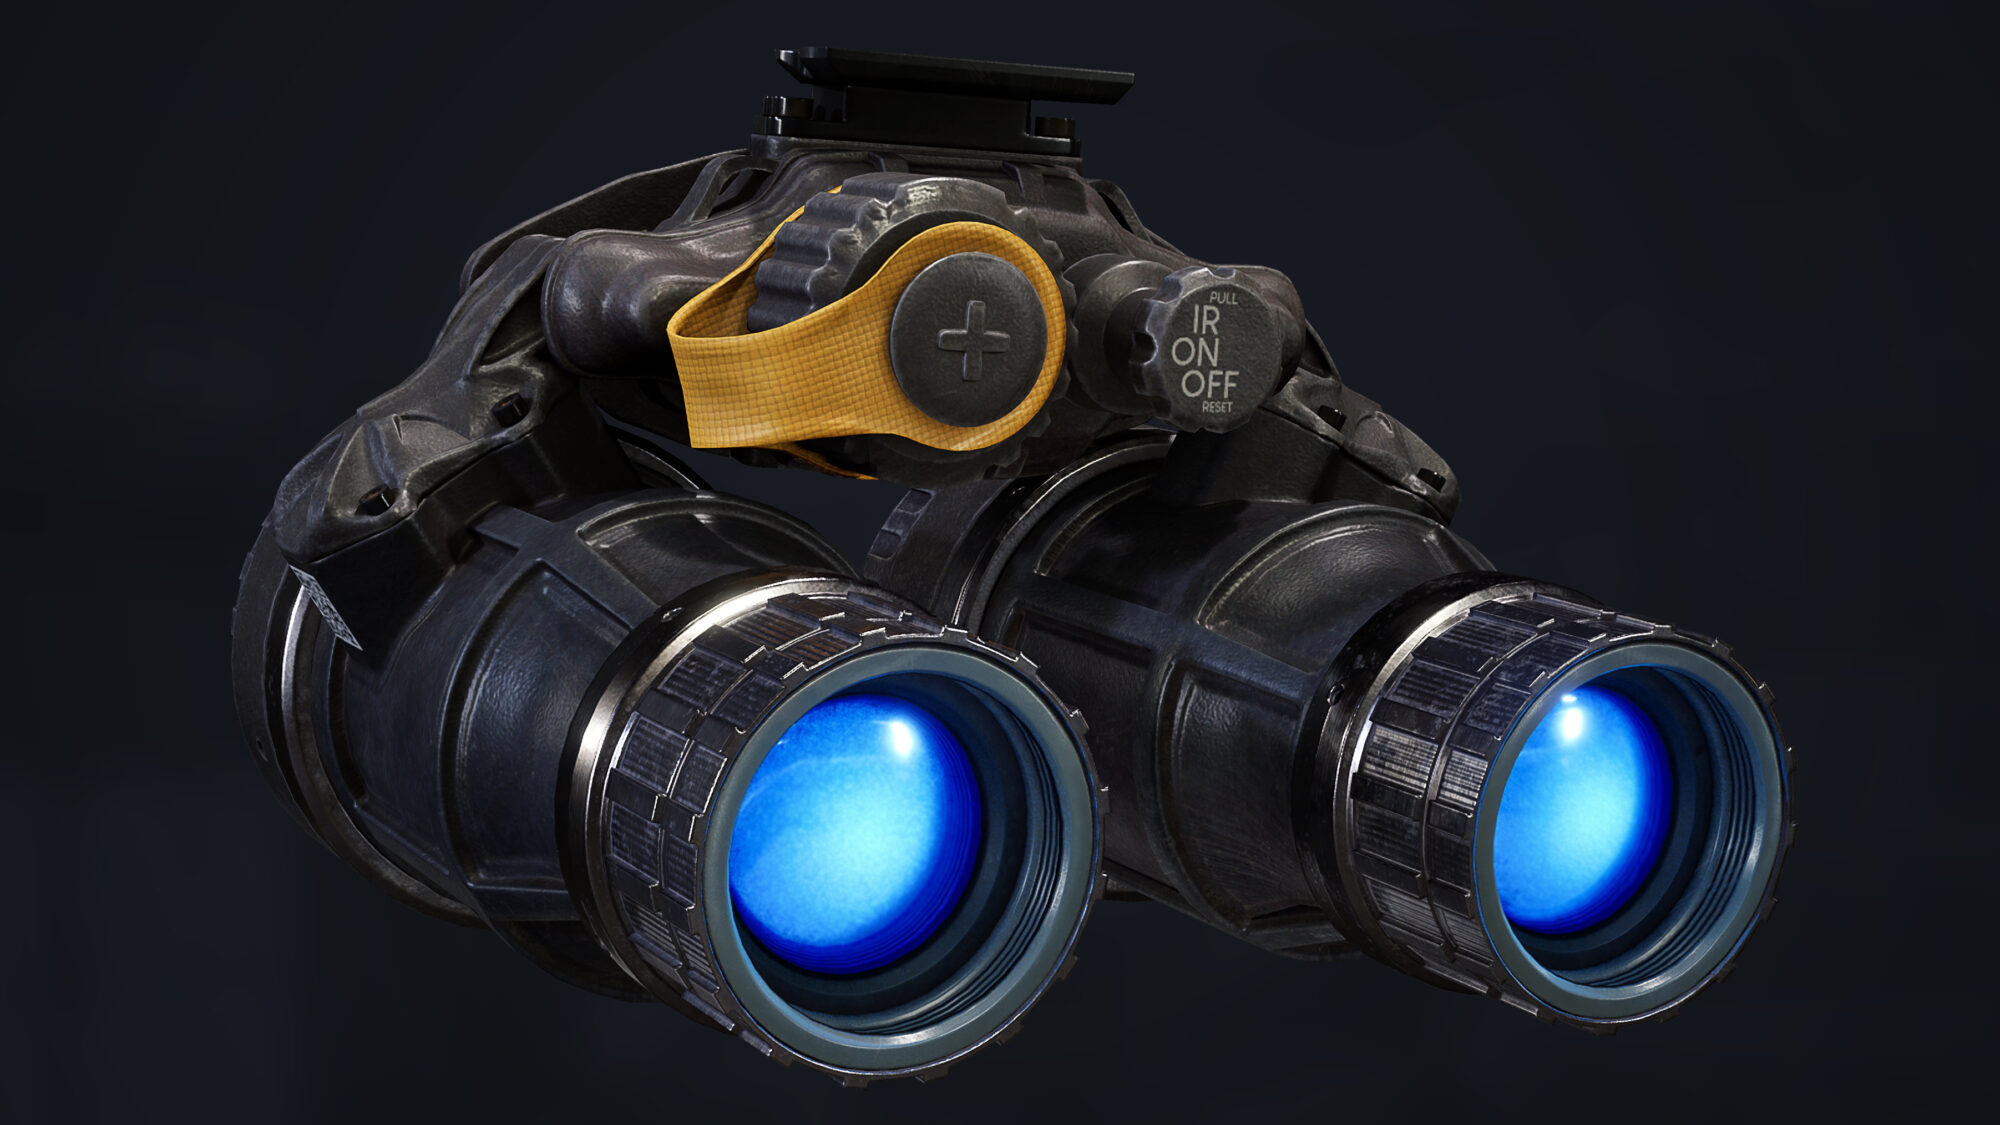
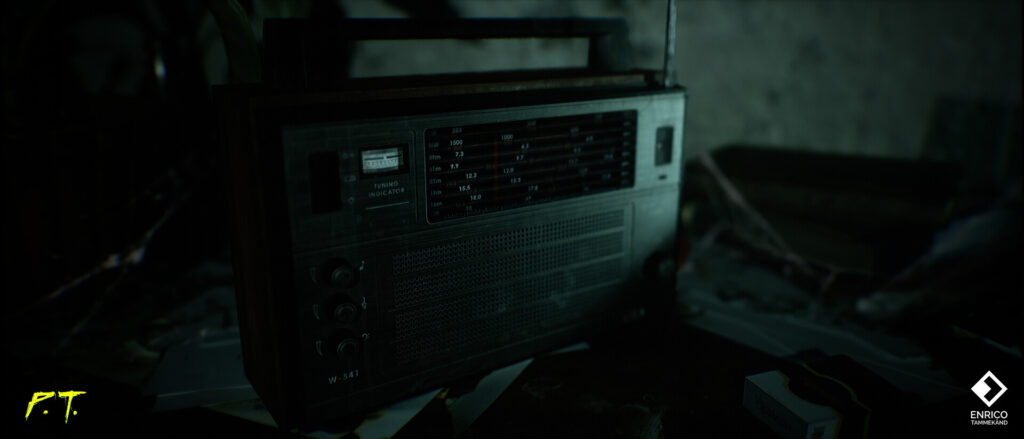
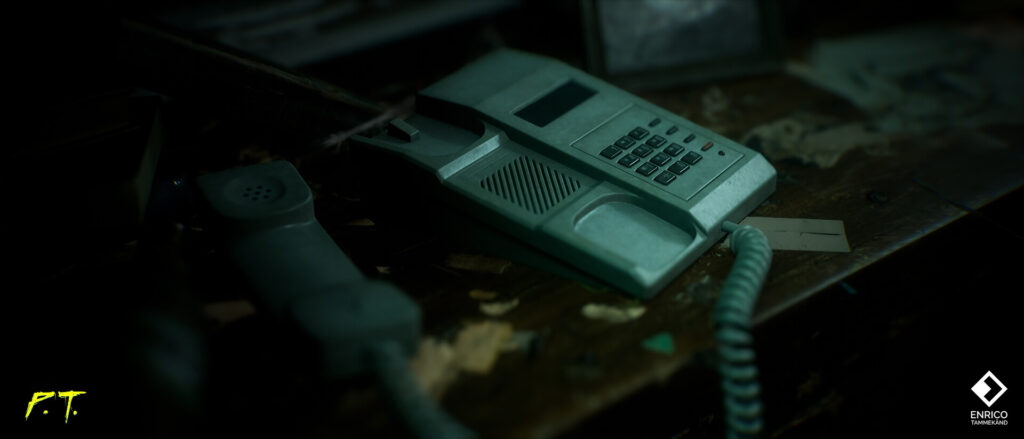
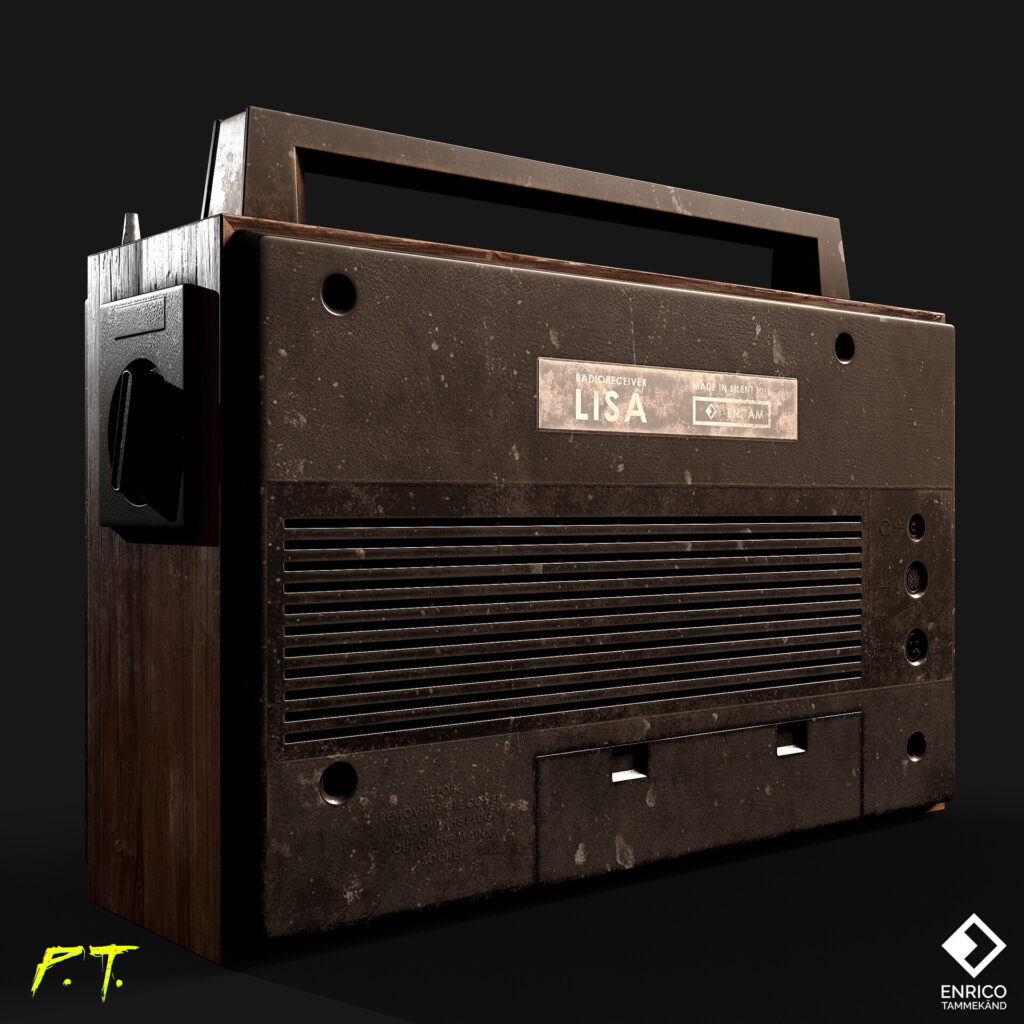
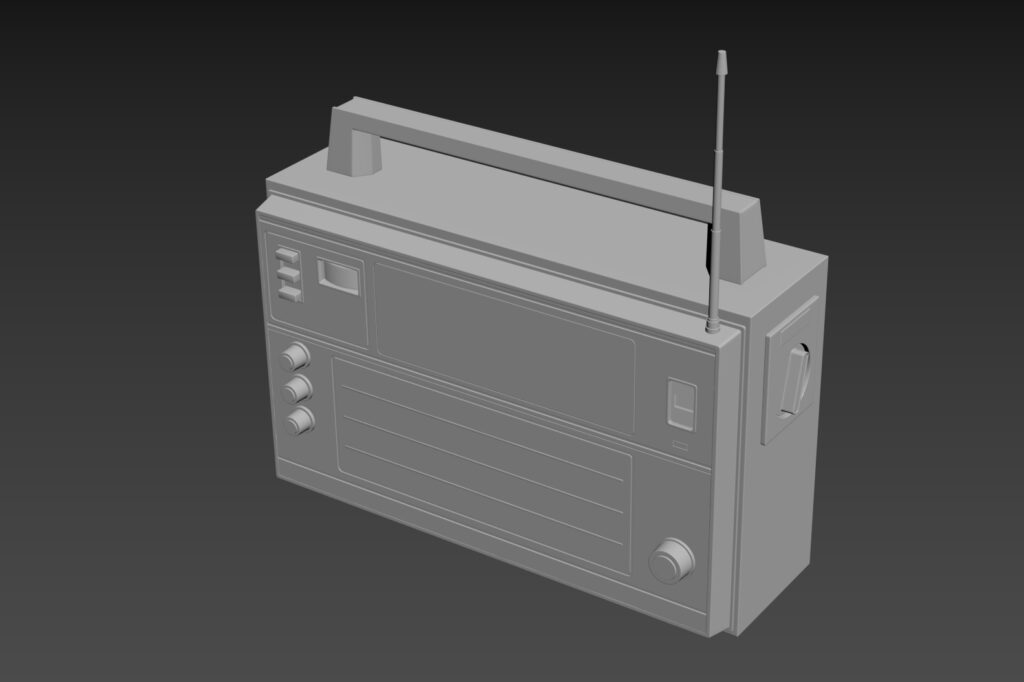
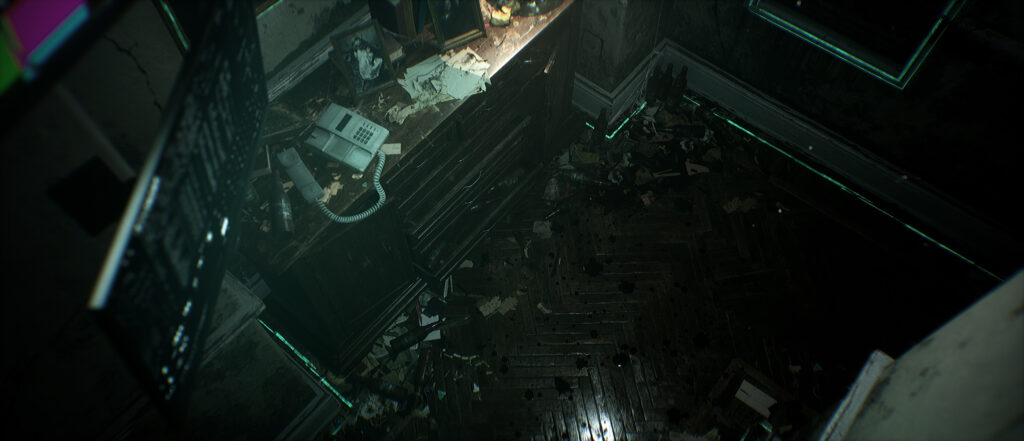
Radio
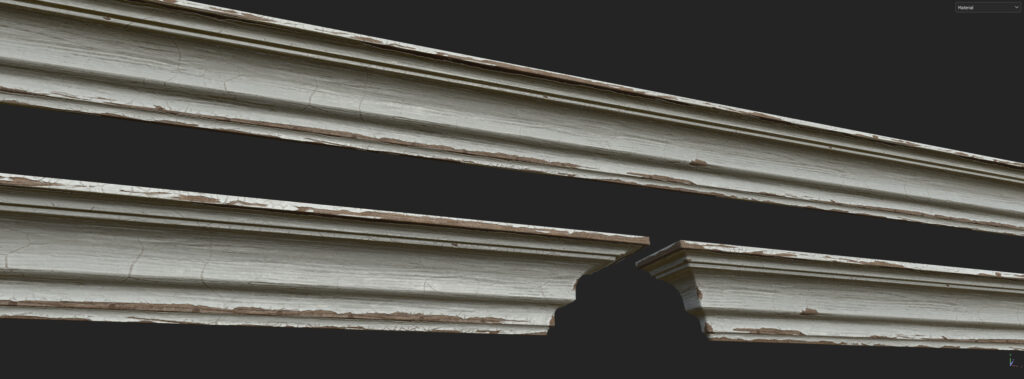
I really wanted to create a few hero props that use much more quality and time than others. One of those assets was the radio from “Silent Hill P.T.” on which
I spent most time building. I wanted to see how long it would take to build a highly detailed mesh so I could take it into account when building everything else.
My takeaway, in the end, was that depending if it’s going to be an interactable and close-up asset or just a filler object in the scene, the time allocated for creating it needs to be connected with its physical size and usability.
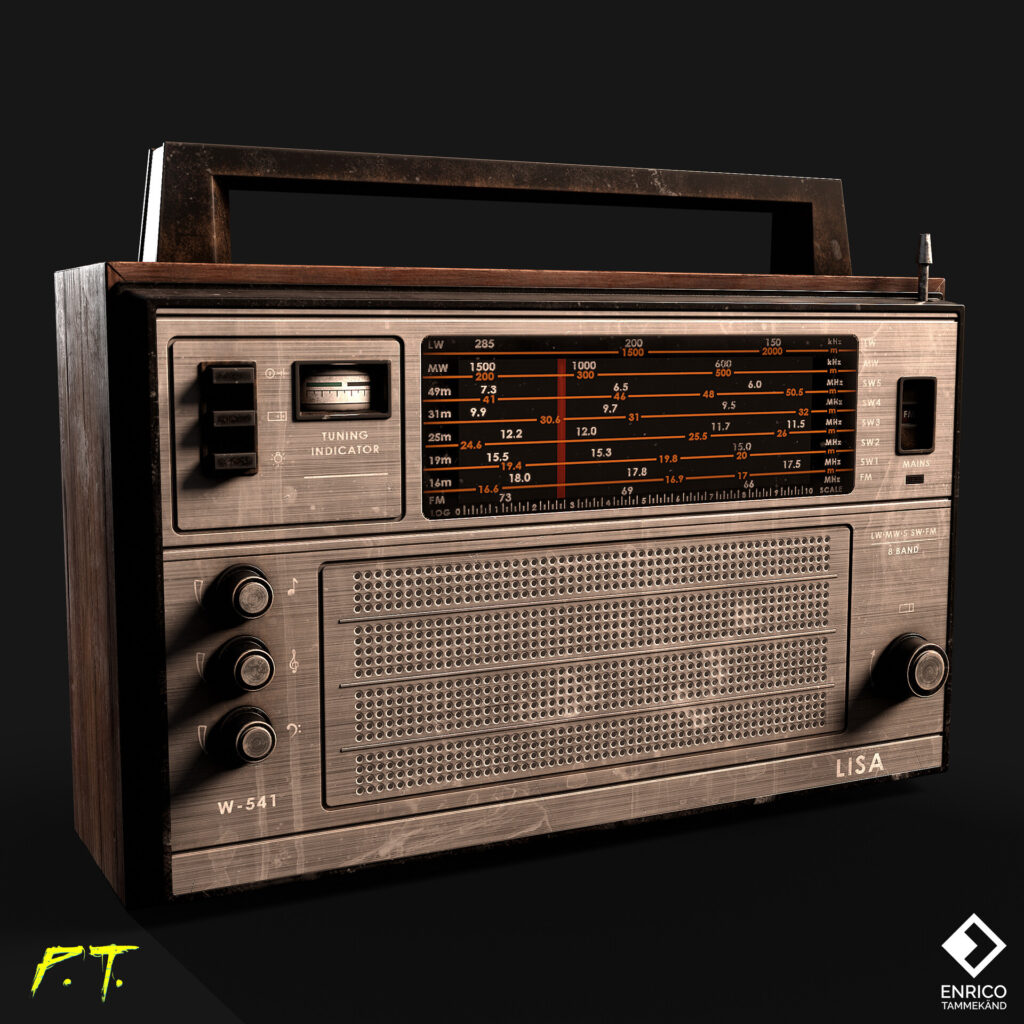
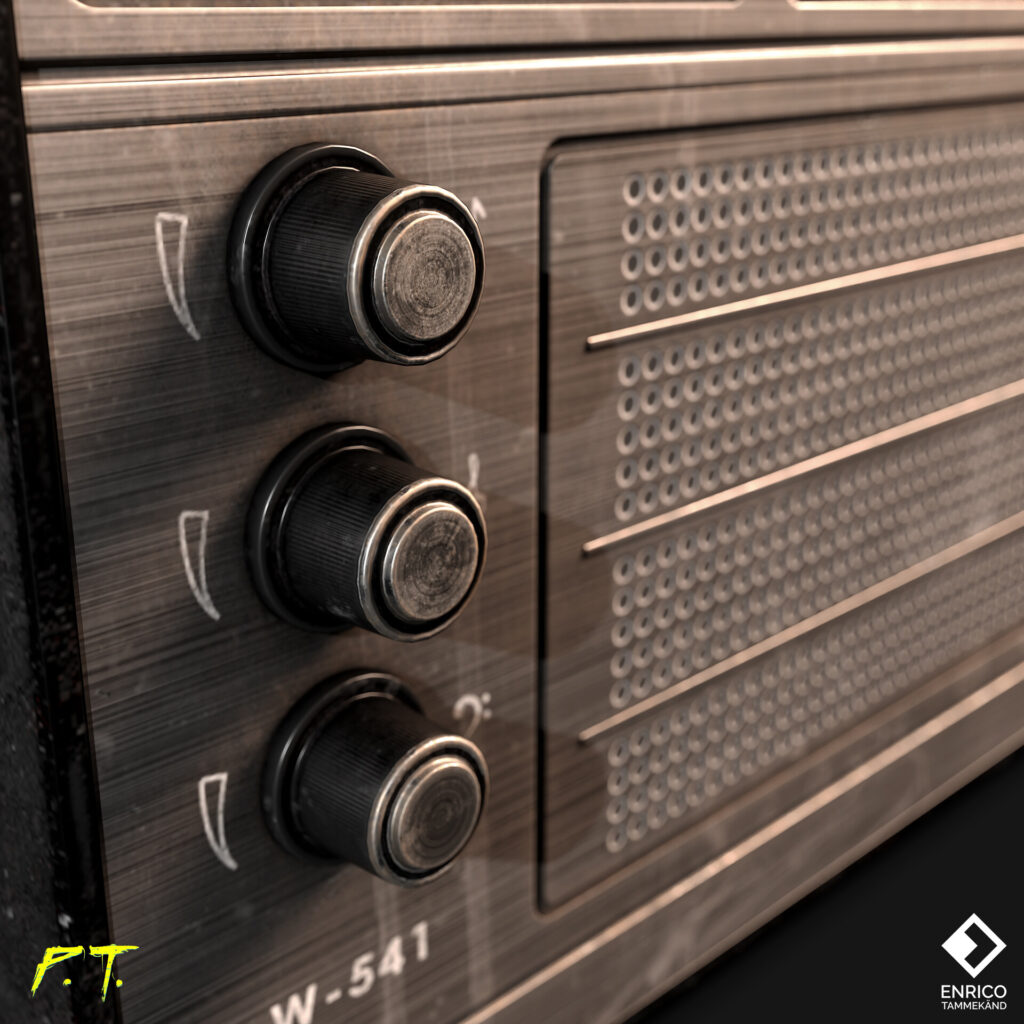
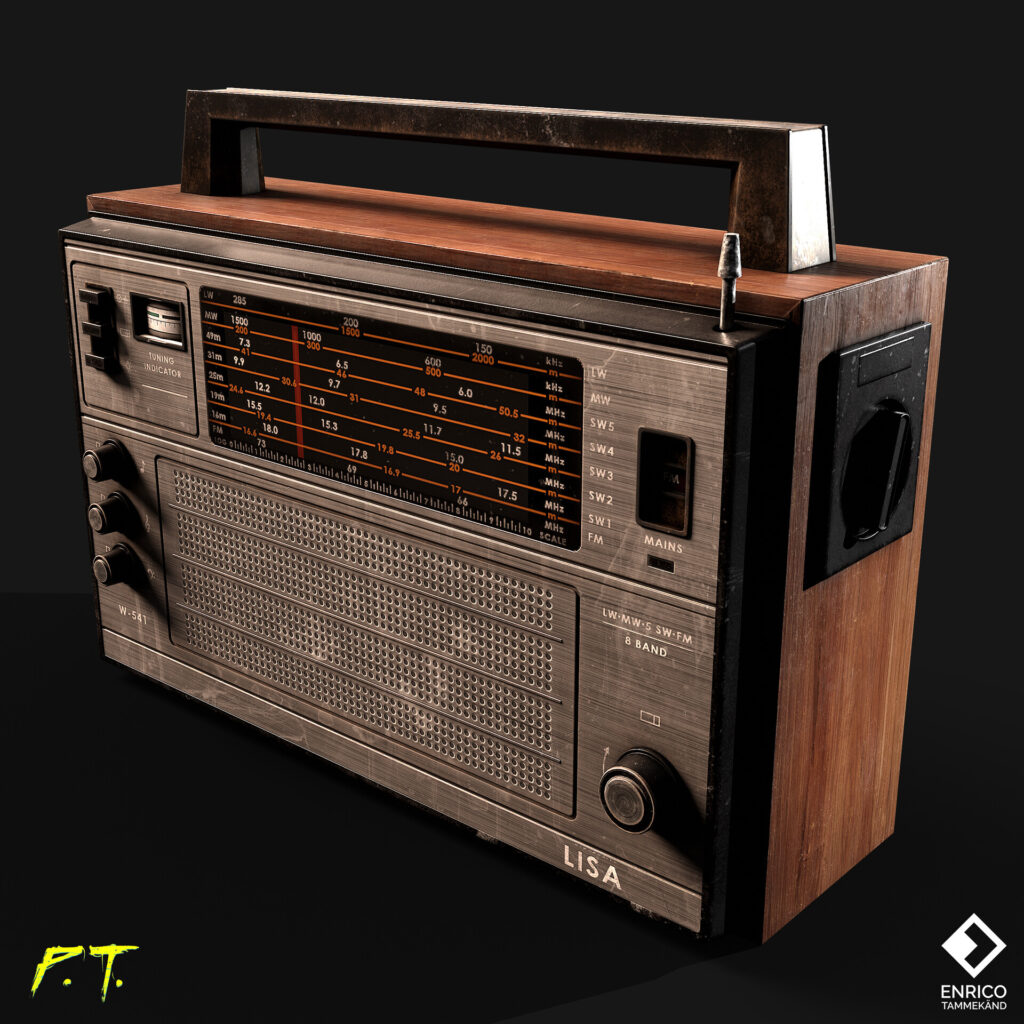
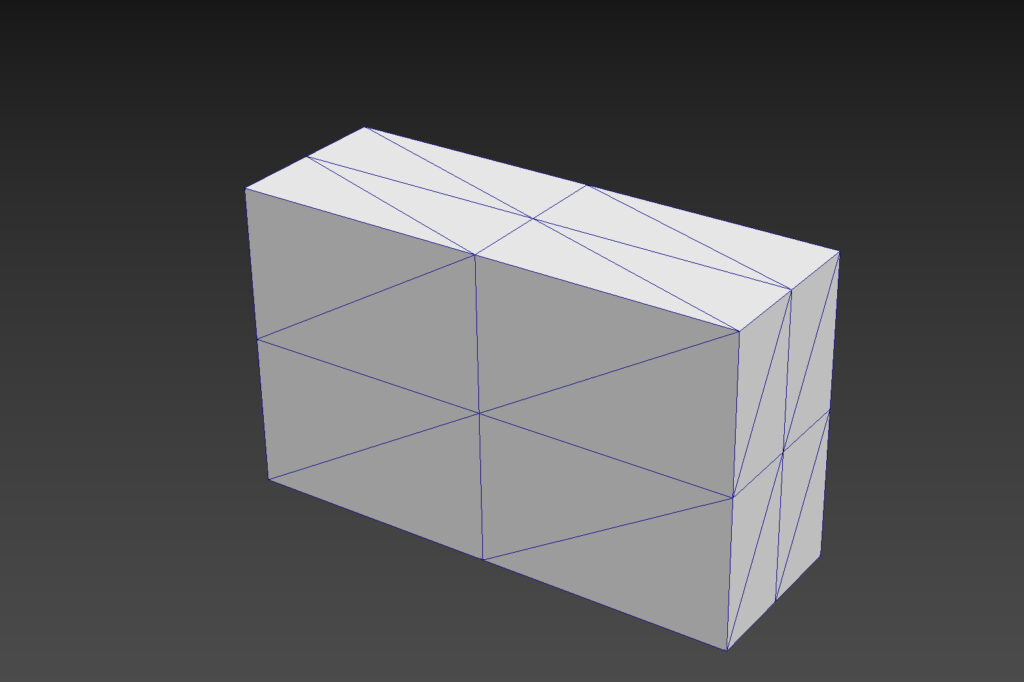
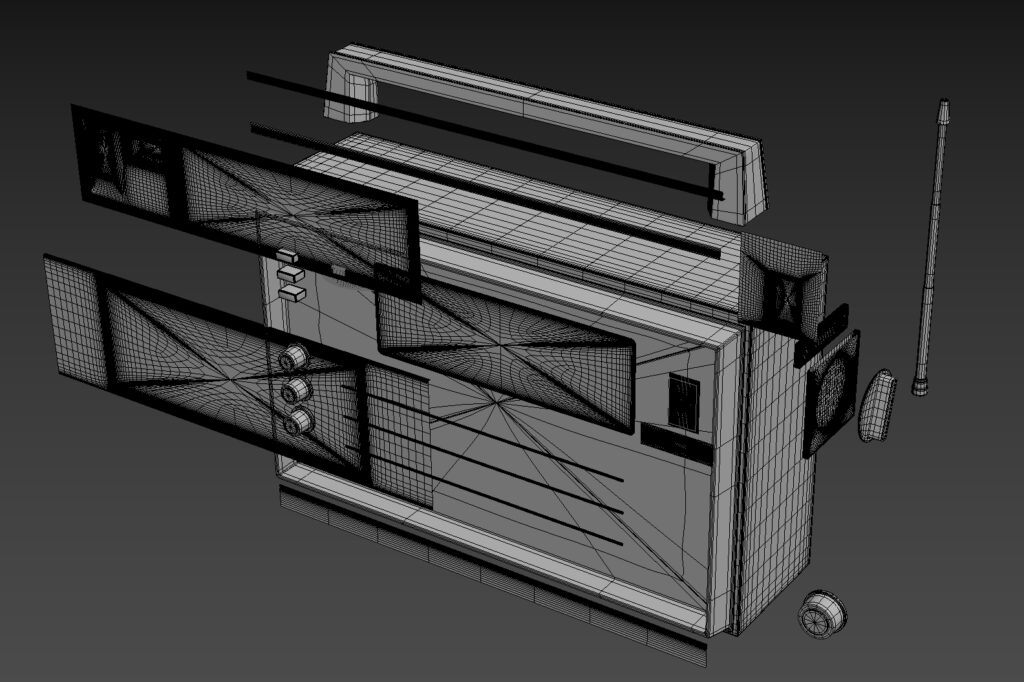
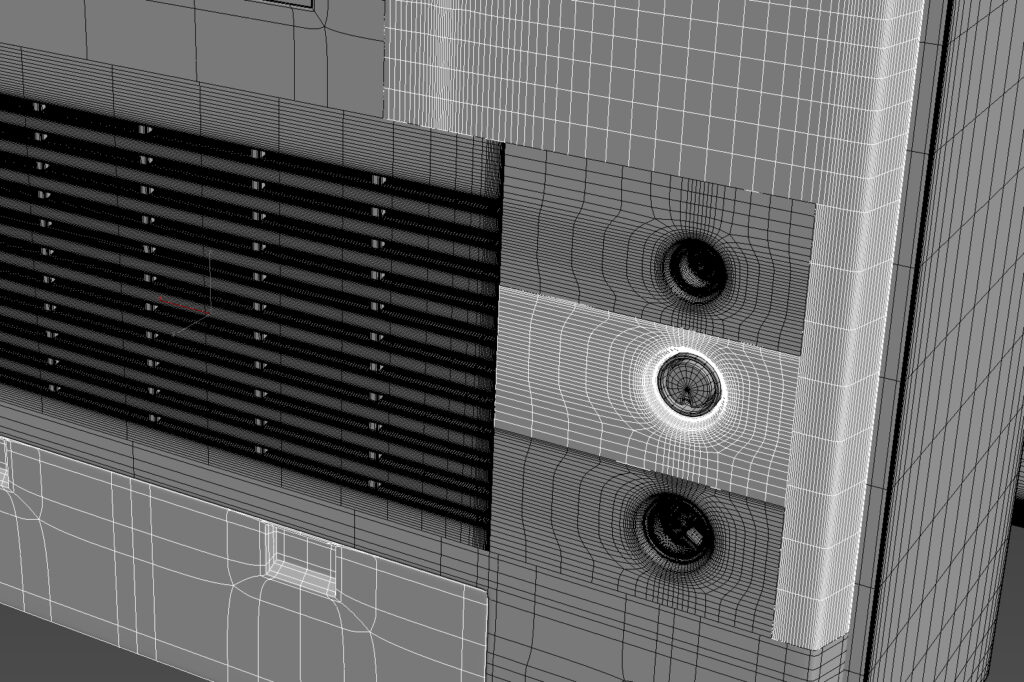
I started out with a simple size-reference grey box from the level design, brought it into 3DS Max and started modeling out the high poly version. This was just before UE5 came out with Nanite so now I’ve had to rethink how to model assets and think how I could’ve used extra detailing with ZBrush for some dents here and there.
I separated out different areas and elements on the radio and using Turbosmooth for subdivisions I managed to keep the edges sharp without bevels which allowed me to do different edge loops that the shapes needed while keeping the main surface flat for baking. This speeded up the hard surface modeling process tremendously and also made it more fun because I was able to add much more accurate details and do changes way faster.
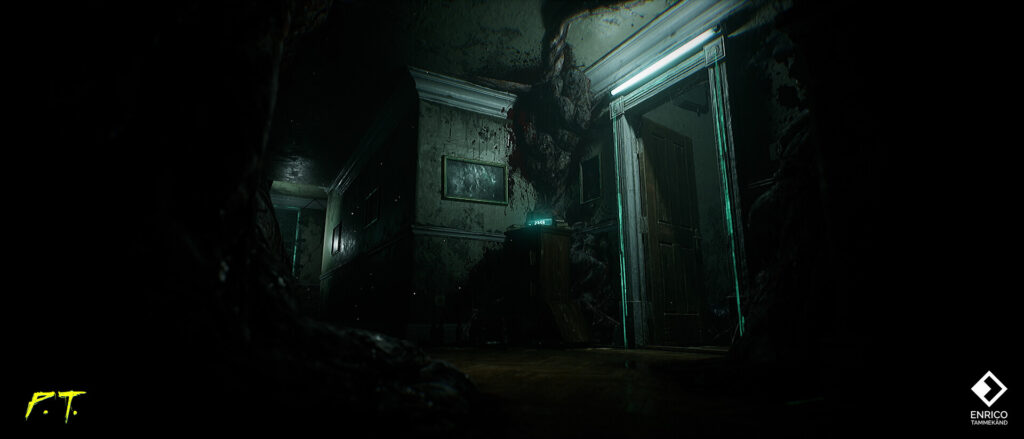
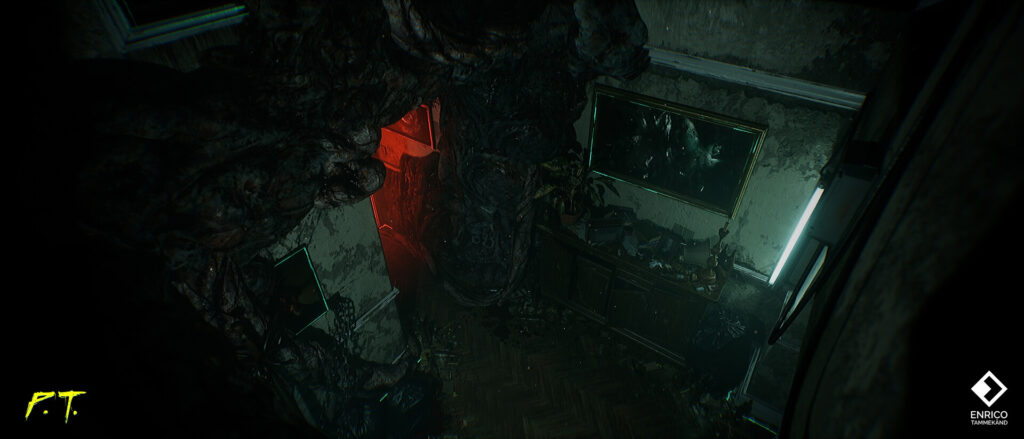
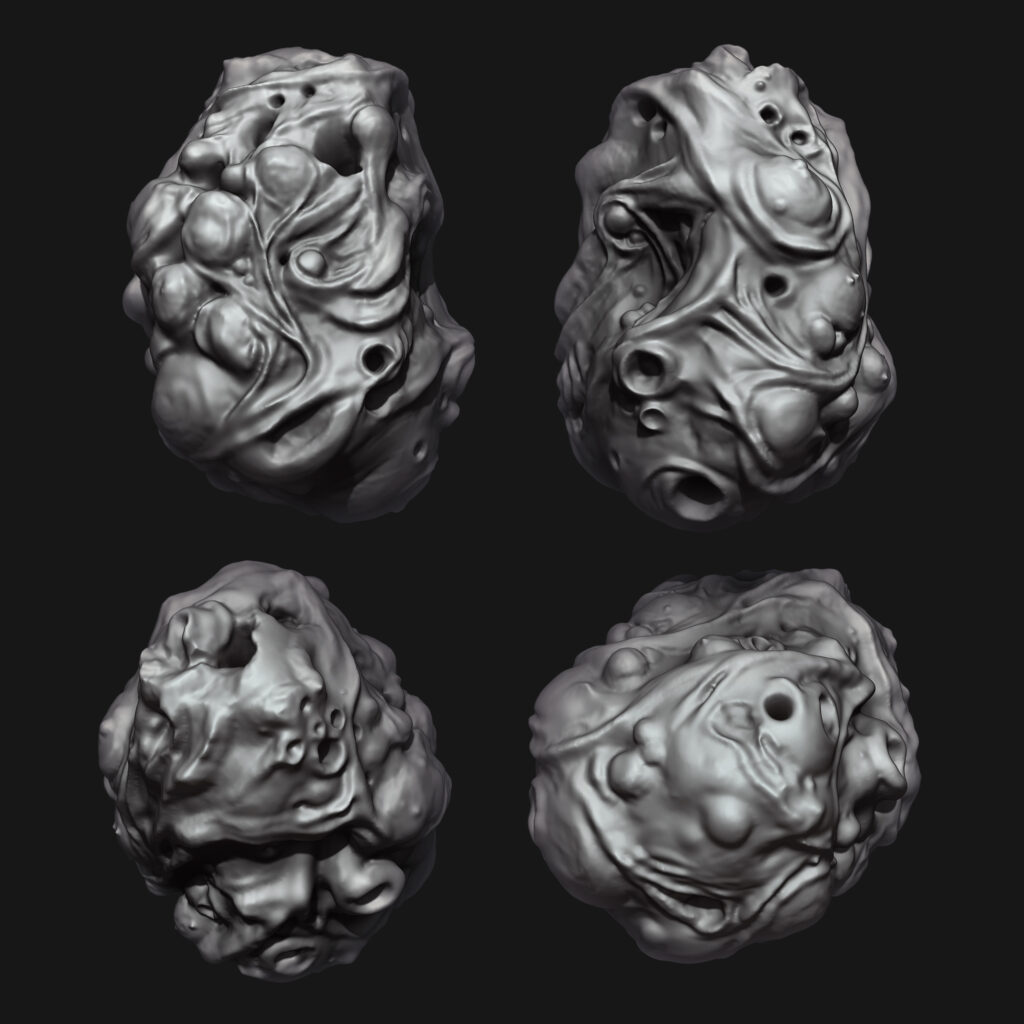
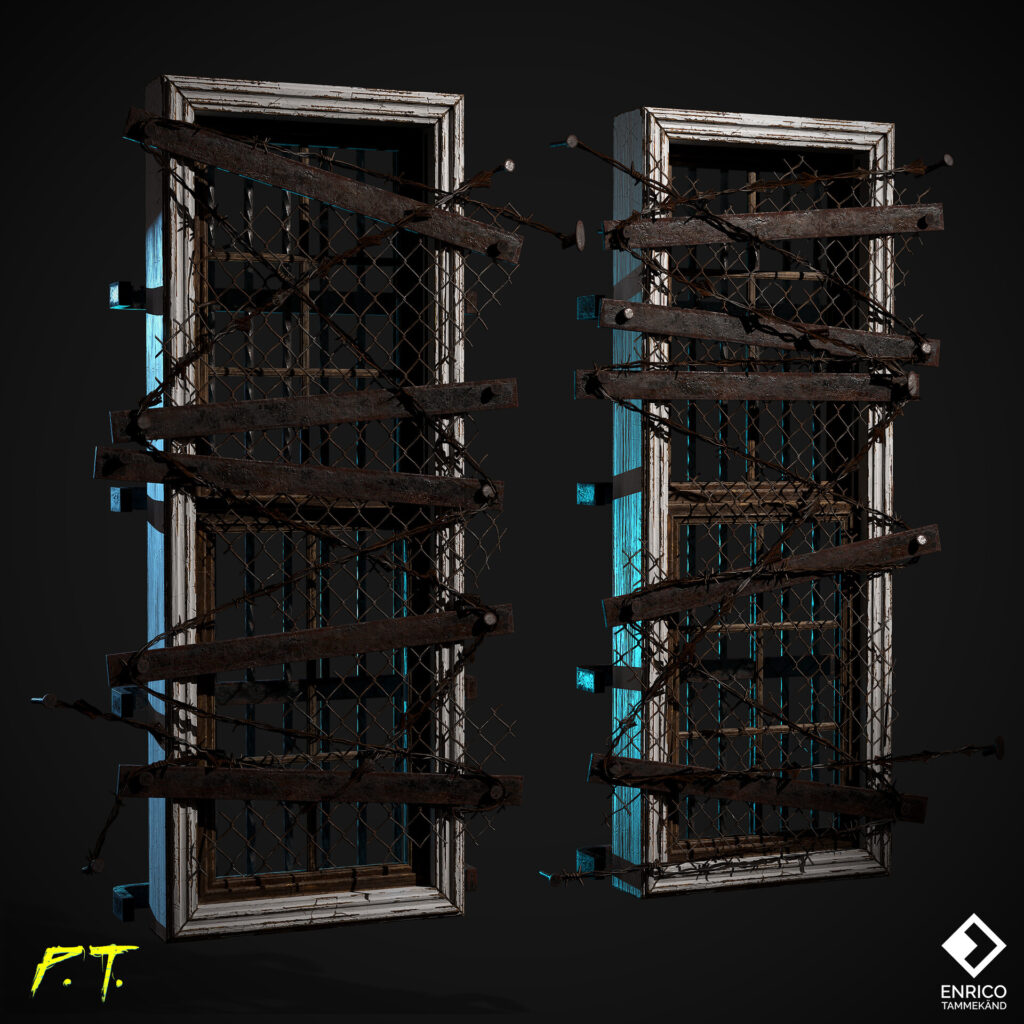
Infection
At first, I had planned out multiple different sculpts for the infection assets but found out that the texturing phase gave enough detail and the variety just on its own that I did not need any extra pieces. Plus, this was meant to be as fast as a possible testing ground to see what works and what doesn’t and I saw quite soon that I was on the right track for what I wanted to achieve.
For “Project: SOS” I will definitely be creating a few more different versions since the setup is going to be applying the details automatically through shader and getting different variations will be as simple as tweaking a few settings or replacing one tiling material to another.
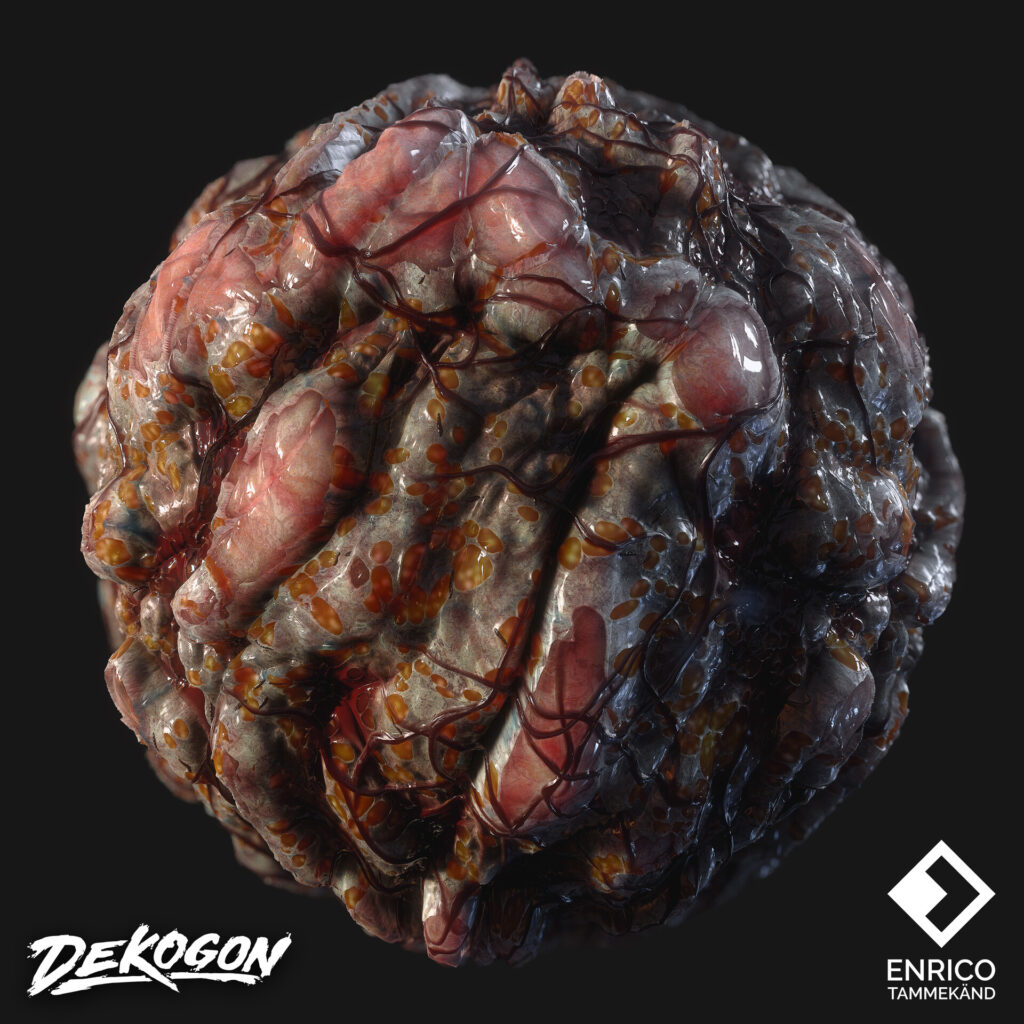
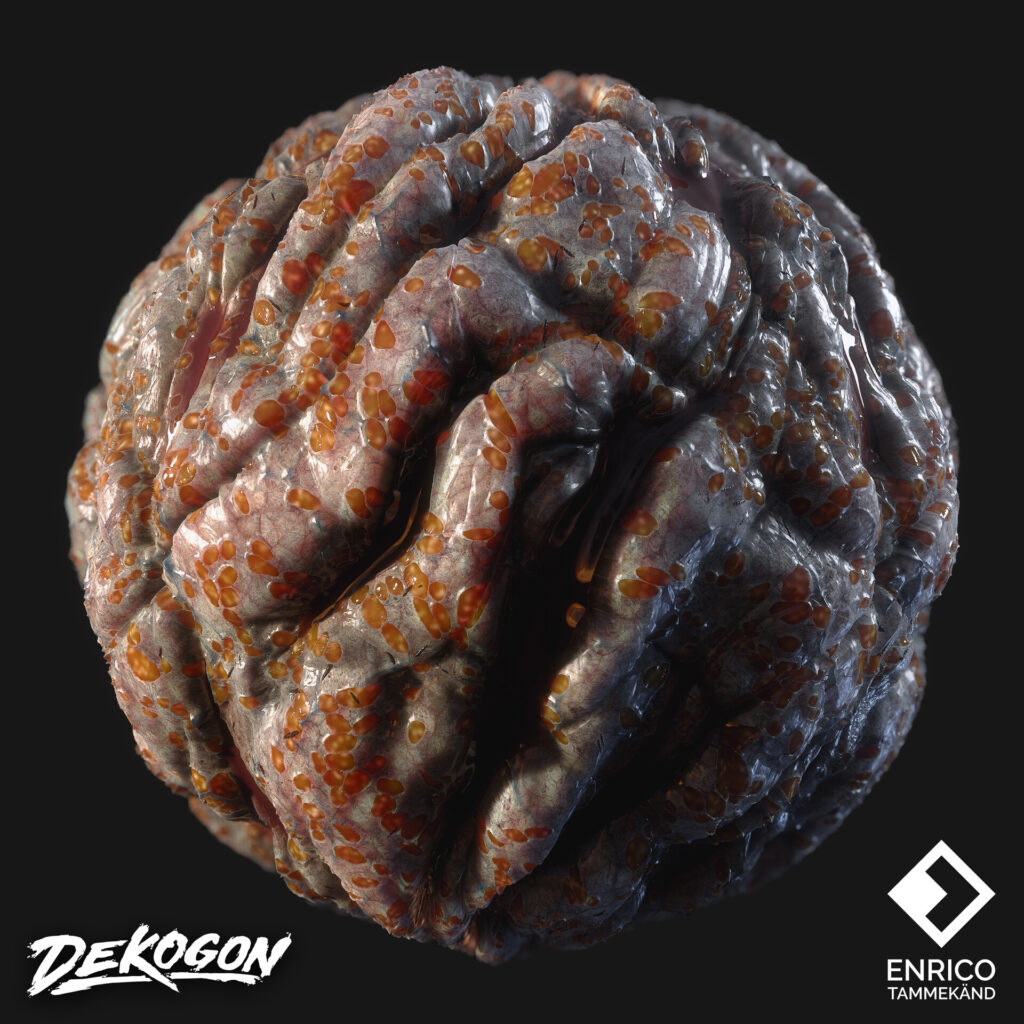
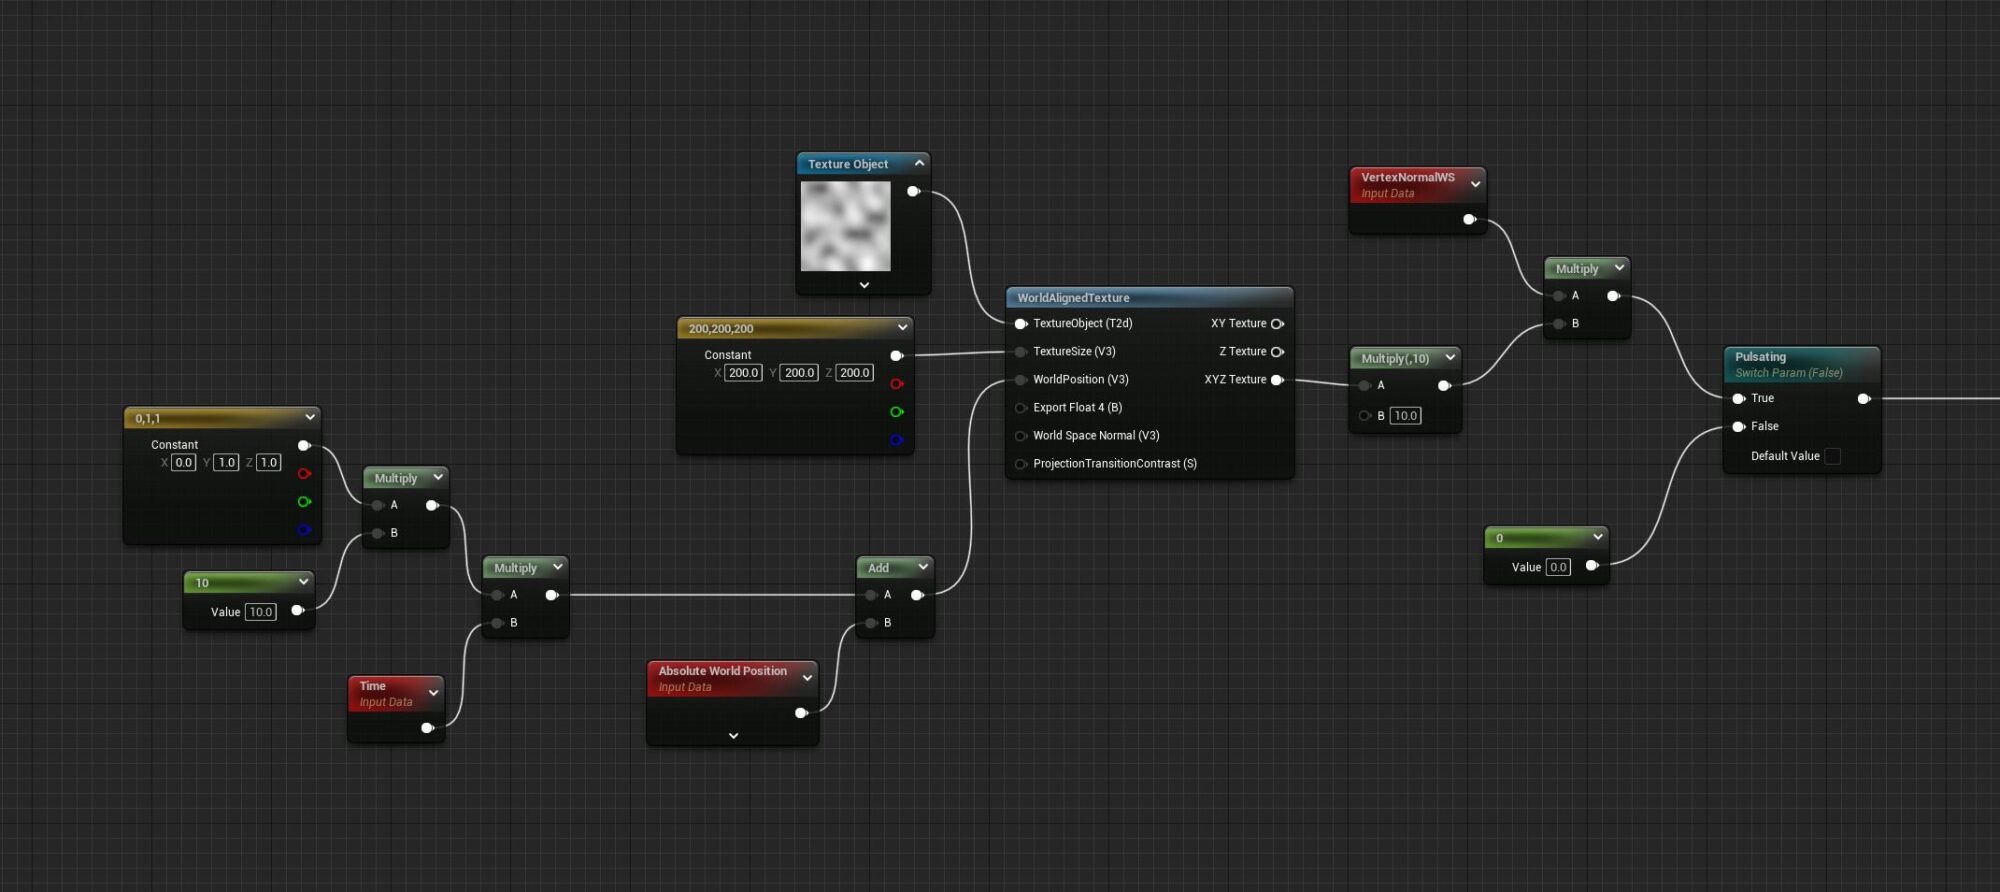
I used tiling textures that I created some time ago for Dekogon combined with a baked macro normal map. For the movement of the infection, I used a Perlin noise from Designer, combined that with world aligned panner in Unreal and got perfectly synced movement for them, no matter how or where I decided to place them.
Even though that detail was very minimalistic, hardly noticeable and at that time didn’t even work with Nanite, I liked the results I got and decided to leave it in even if it wasn’t the most optimal for performance.

UVs & Texturing
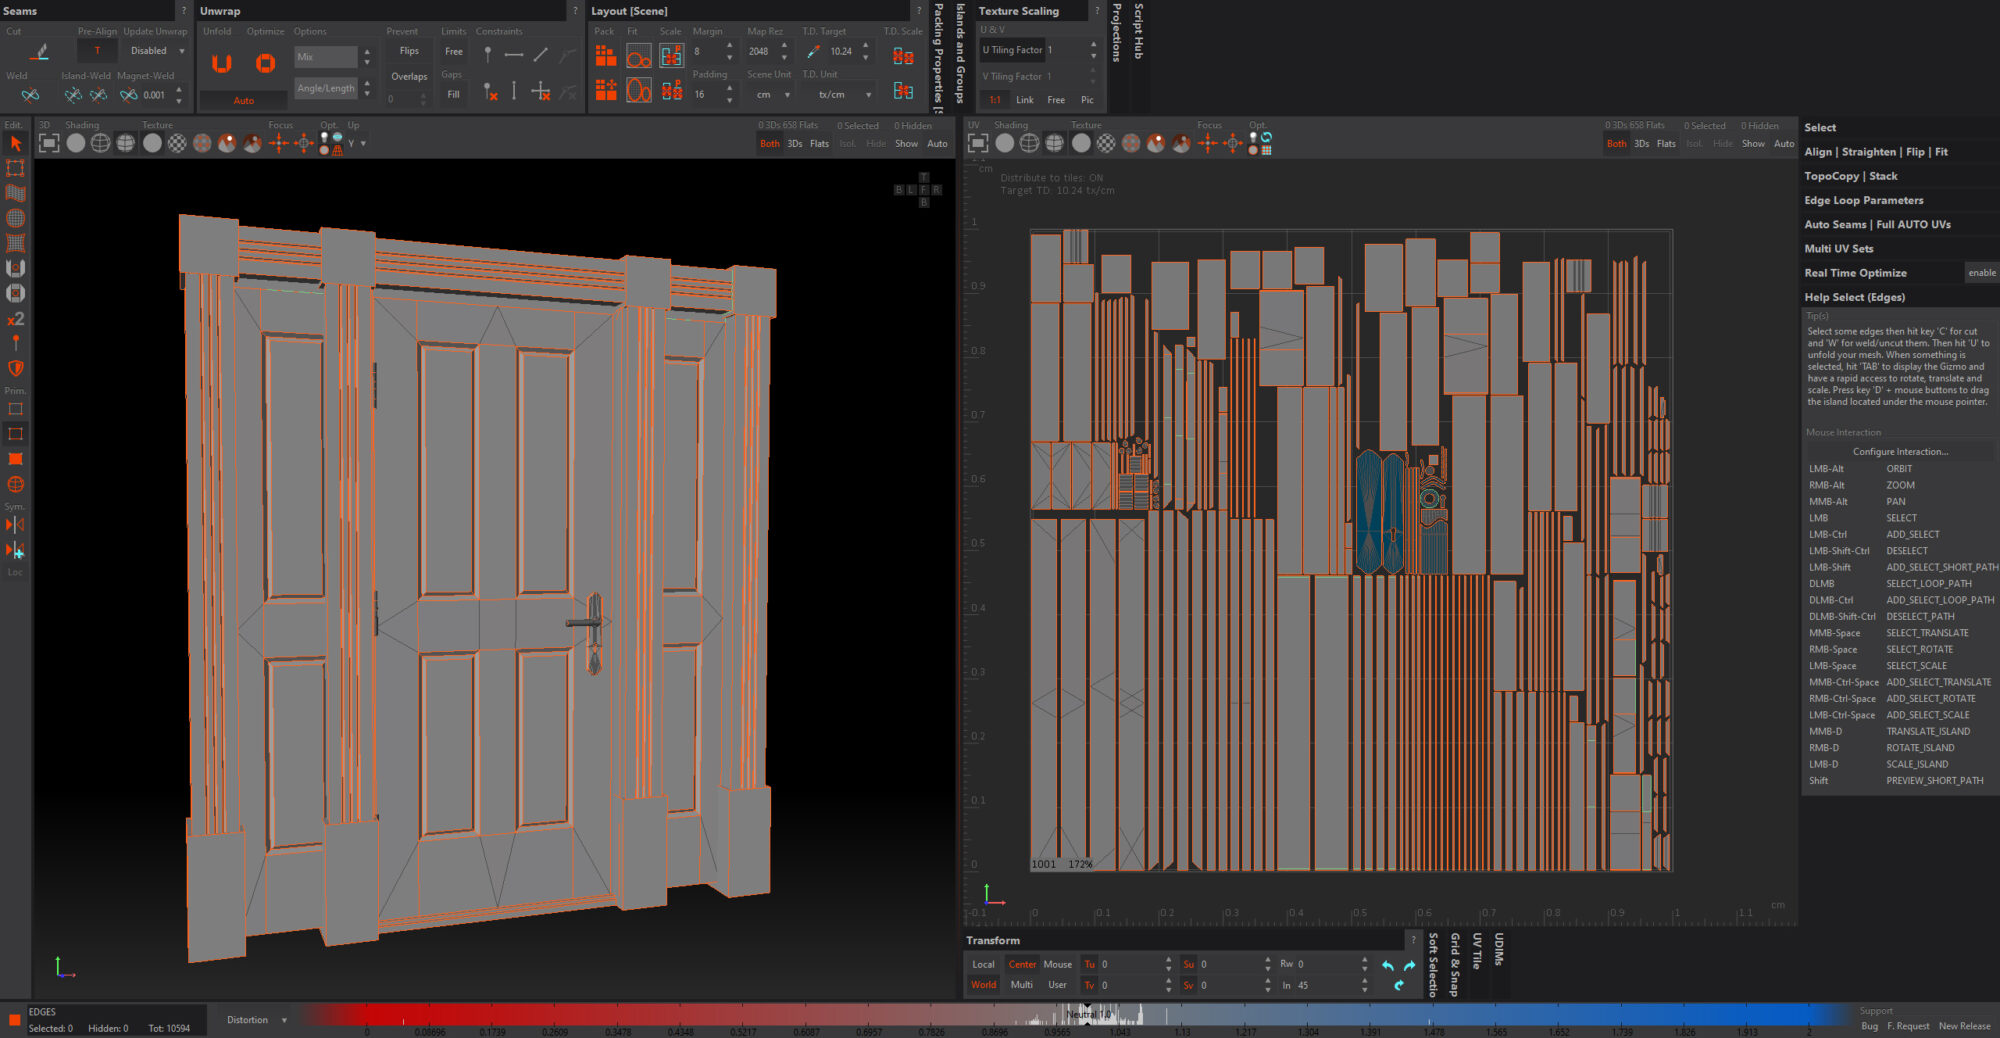
Most of my UVs were a combination with Rizom and 3DS Max where I would use the latter to cut the basic shapes out quickly and unwrap everything into straight clusters within Rizom. There’s a very neat plugin created by Titus that can send your mesh back and forward between Max and Rizom without ever exporting the mesh and that made it super easy to edit and create proper UV layouts.
I decided that all UVs should follow vertical alignment along with materials, which meant that I could replace any asset with any material and they would be perfectly ready to go.
This was a nice addition to my texturing process since now I didn’t have to worry about any faces being flipped so I could iterate and play around with the look much faster and not have to worry about errors occurring later down the road. This is automatically done by Rizom too which makes everything so much smoother.

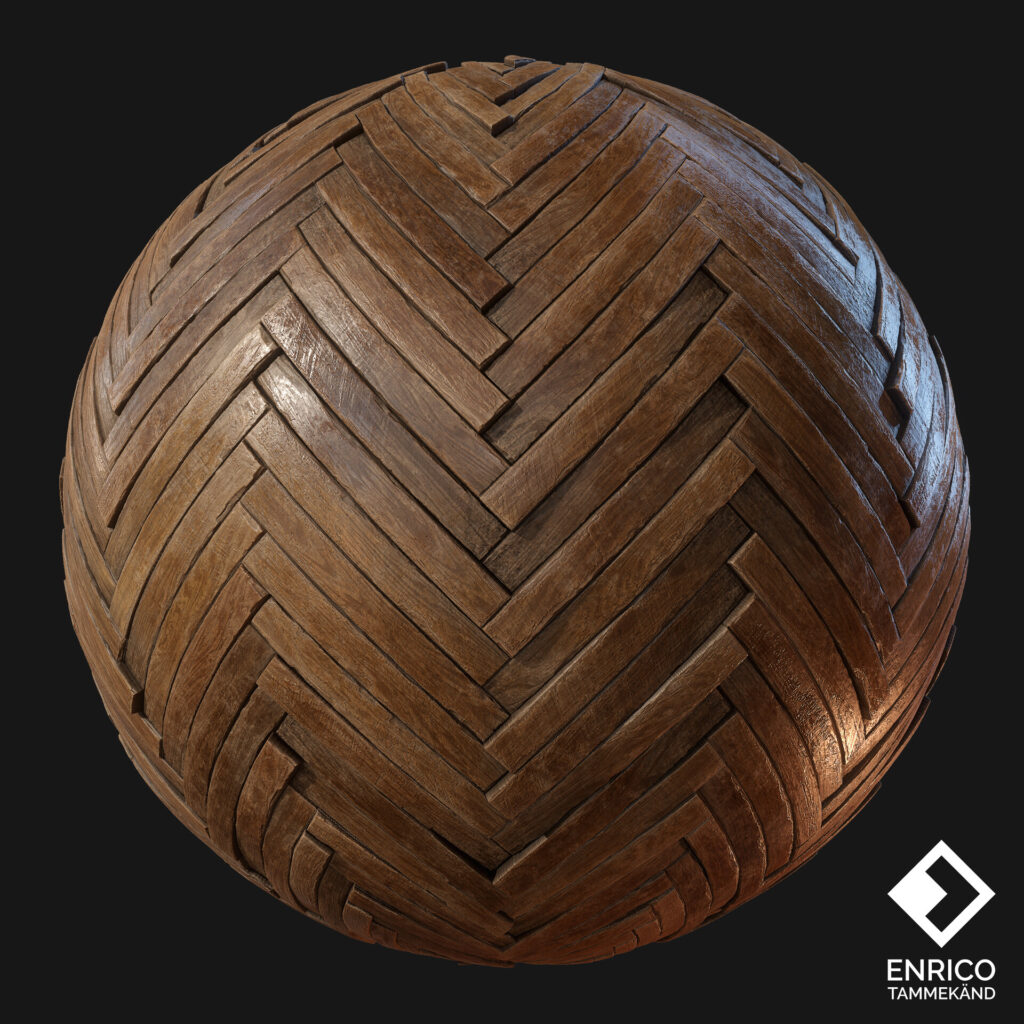
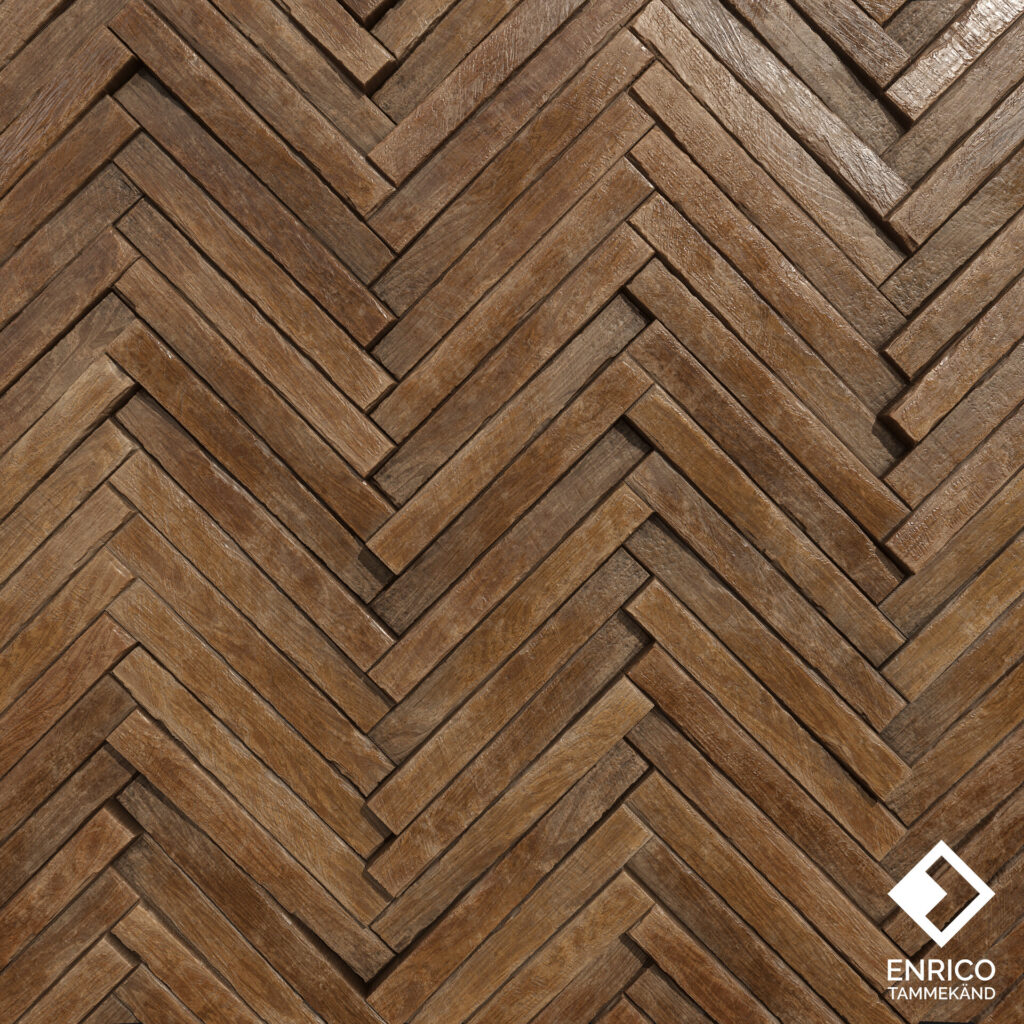
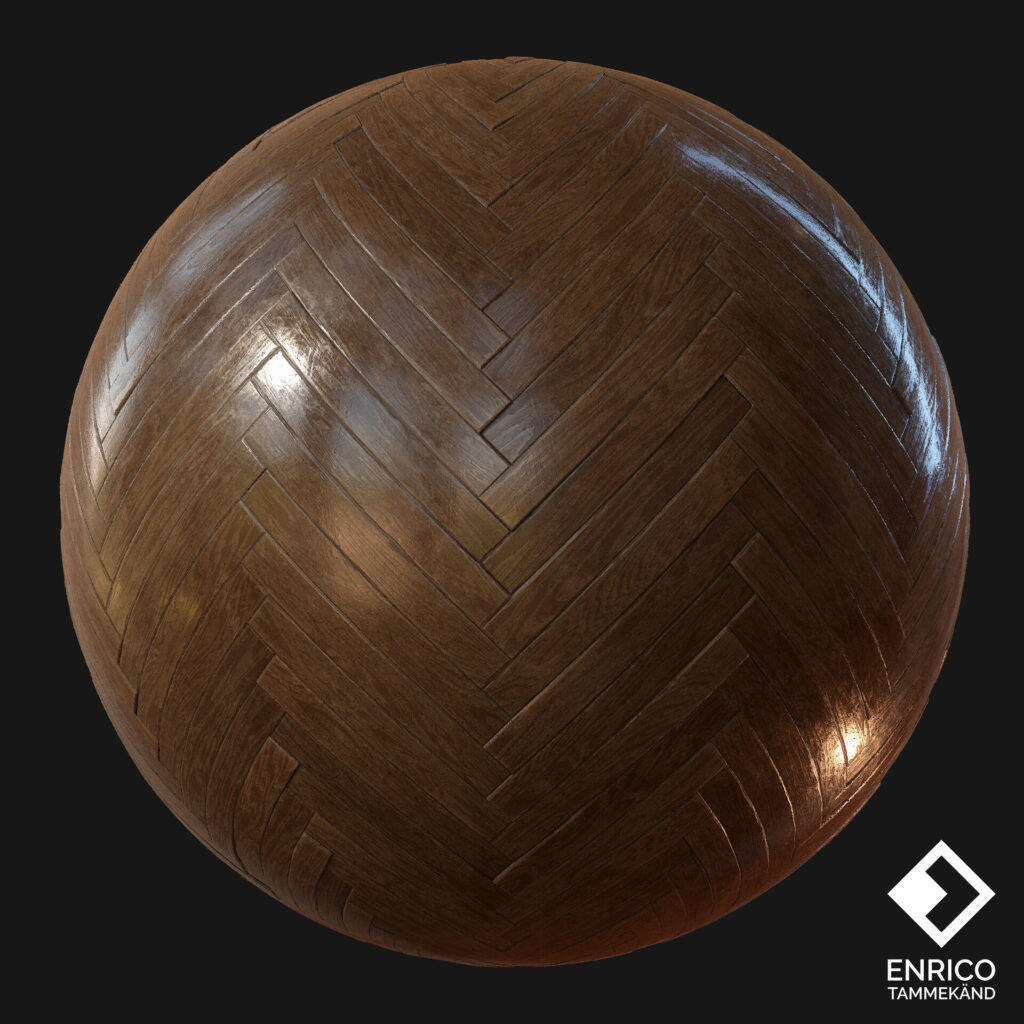
Environment Materials
With this project, I used Megascans materials most of the time but altered and reworked them to fit my needs. Things like roughness maps and ambient occlusion were changed along with normal map intensity to fit my needs and texel density. I removed noticeable distracting details in albedo and made them tile better.
Megacans has one of the best quality assets available and it’s all free! It would not be smart to discard this incredible resource since the goal was to stress test workflows and build a beautiful-looking environment. It’s also a very good practice to work with assets that are not fully made by yourself and know how to make them work in a given production.
I did work on custom materials here and there but only if I didn’t find anything close to my needs. So, if I found a material or an asset in the Megascans library that was 75% where I needed it, I just reworked it to fit the environment. If there was nothing usable out there, only then I would create a material or an asset from scratch. This gave me a head start on the environment and I was able to focus more on shaders and effects.
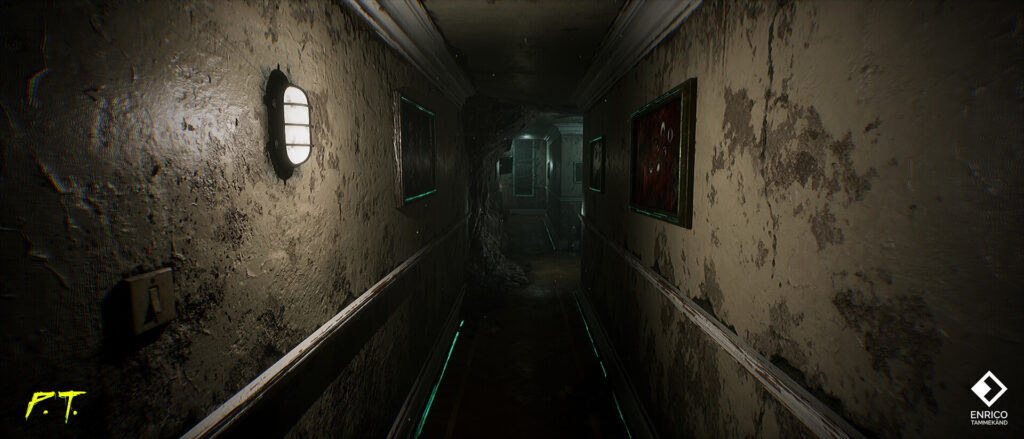
Level Design
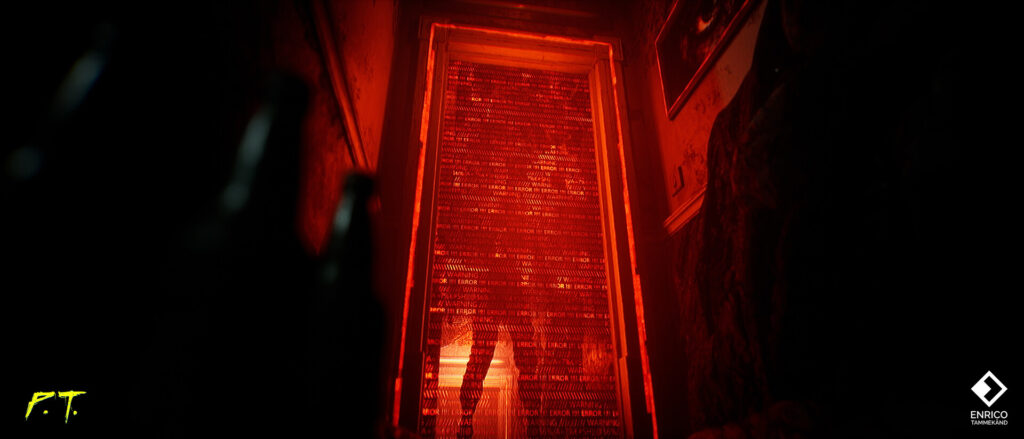
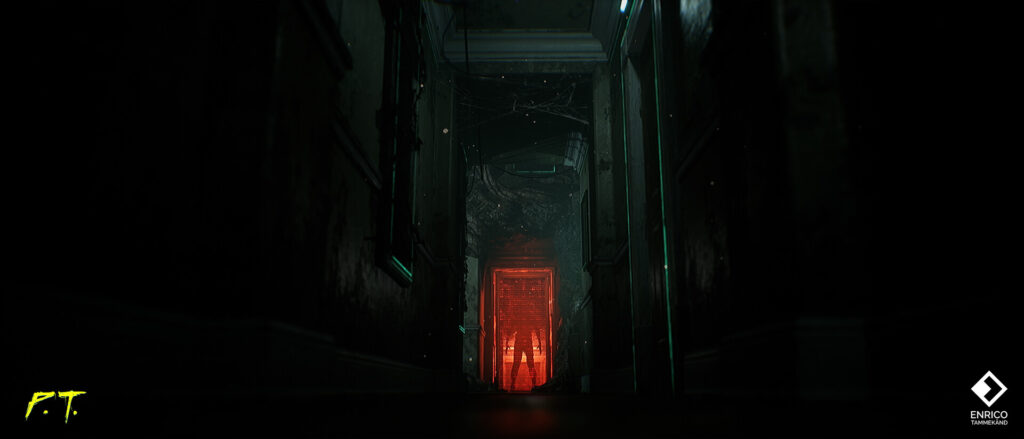
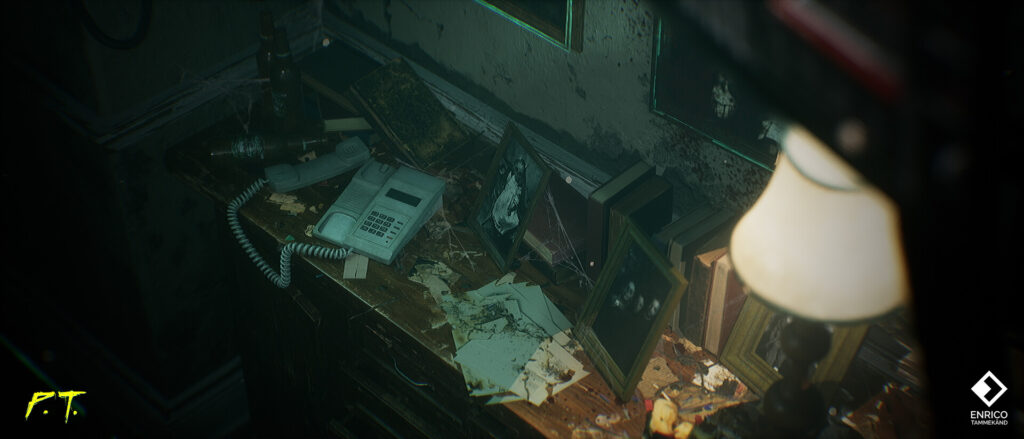
For the overall look, I tried to replicate “Silent Hill P.T.” as much as possible while adding an extra door to tie the whole area together. I’ve found that the technical breakdown for level design is extremely important, especially if it’s for games.
Personal artworks can have leniency for errors and small adjustments in order to make the composition look great but for games, every detail needs to be thought out very carefully. I had to take into consideration collisions, metrics for doors, walls, ceilings and how to combine different rooms. The size of the hallways for the player to fit there along with set dressing props.
I looked at a lot of abandoned buildings, how the debris gets scattered around and how objects are placed in games so the golden path is clearly visible. It’s very easy to add too much clutter everywhere and make it really noisy but it’s always better to go bigger and clean it up later than to leave the scenes empty.
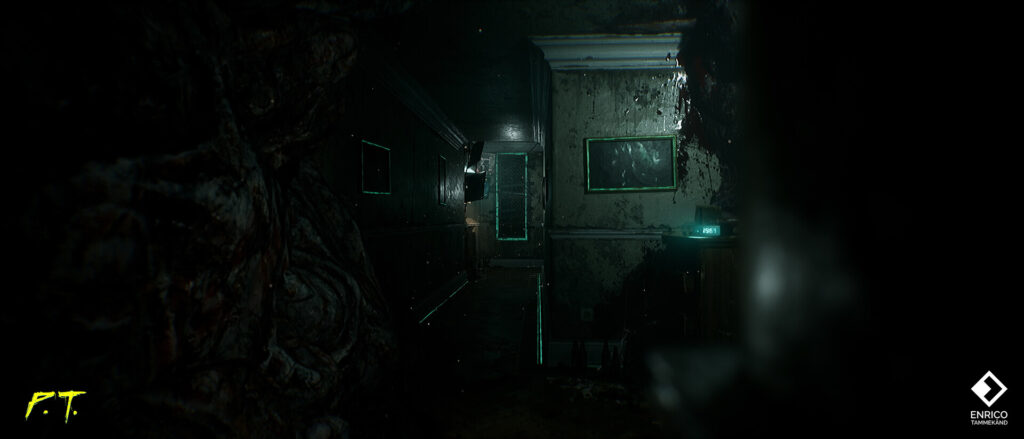
Shaders
I used very simple geometry for the walls and were letting all the hard work be done by the shaders. Using object-based gradients I was able to add wear and tear to the upper and bottom parts, increase or decrease the wear and used World Aligned UVs in order to be able to quickly kitbash together different hallways or rooms when needed.
My Vertex Blending setup also had a switch for a world-aligned mask with options to choose which channel to use. This combined with gradients and optional painted vertex colors gave me super powerful and easy-to-use wear effects that would’ve taken me forever to hand paint. On top of that, I used a few simple mesh decals for some cracks and edge damage.
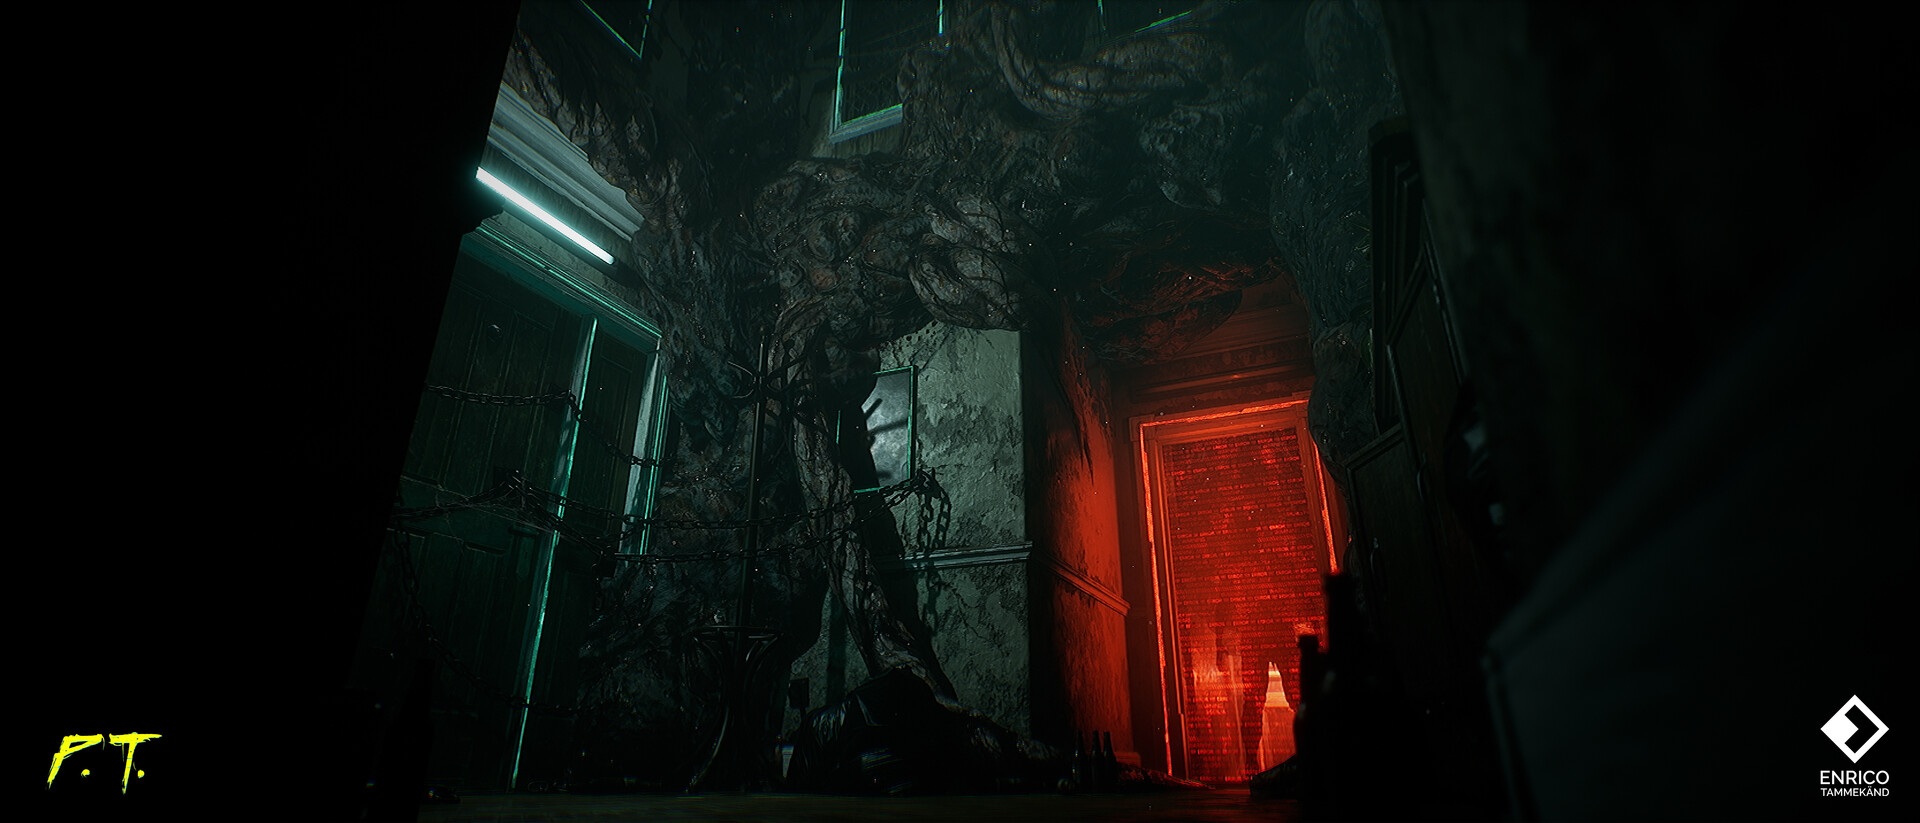
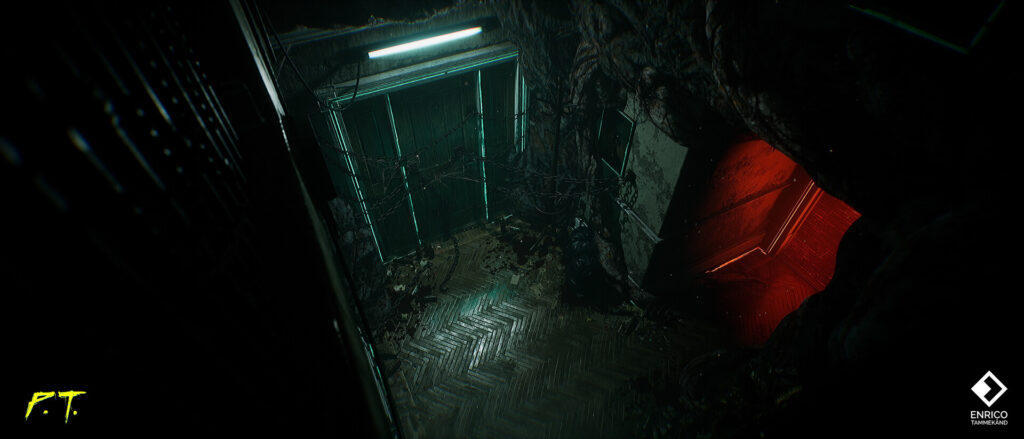
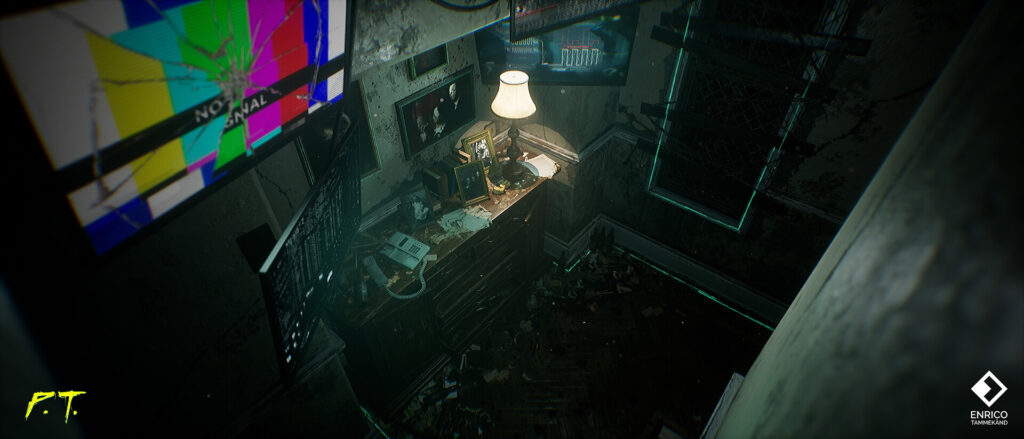
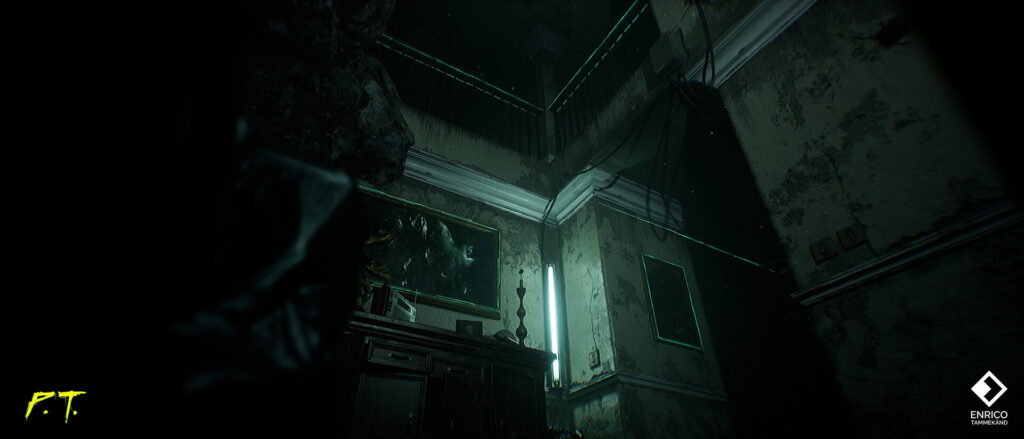
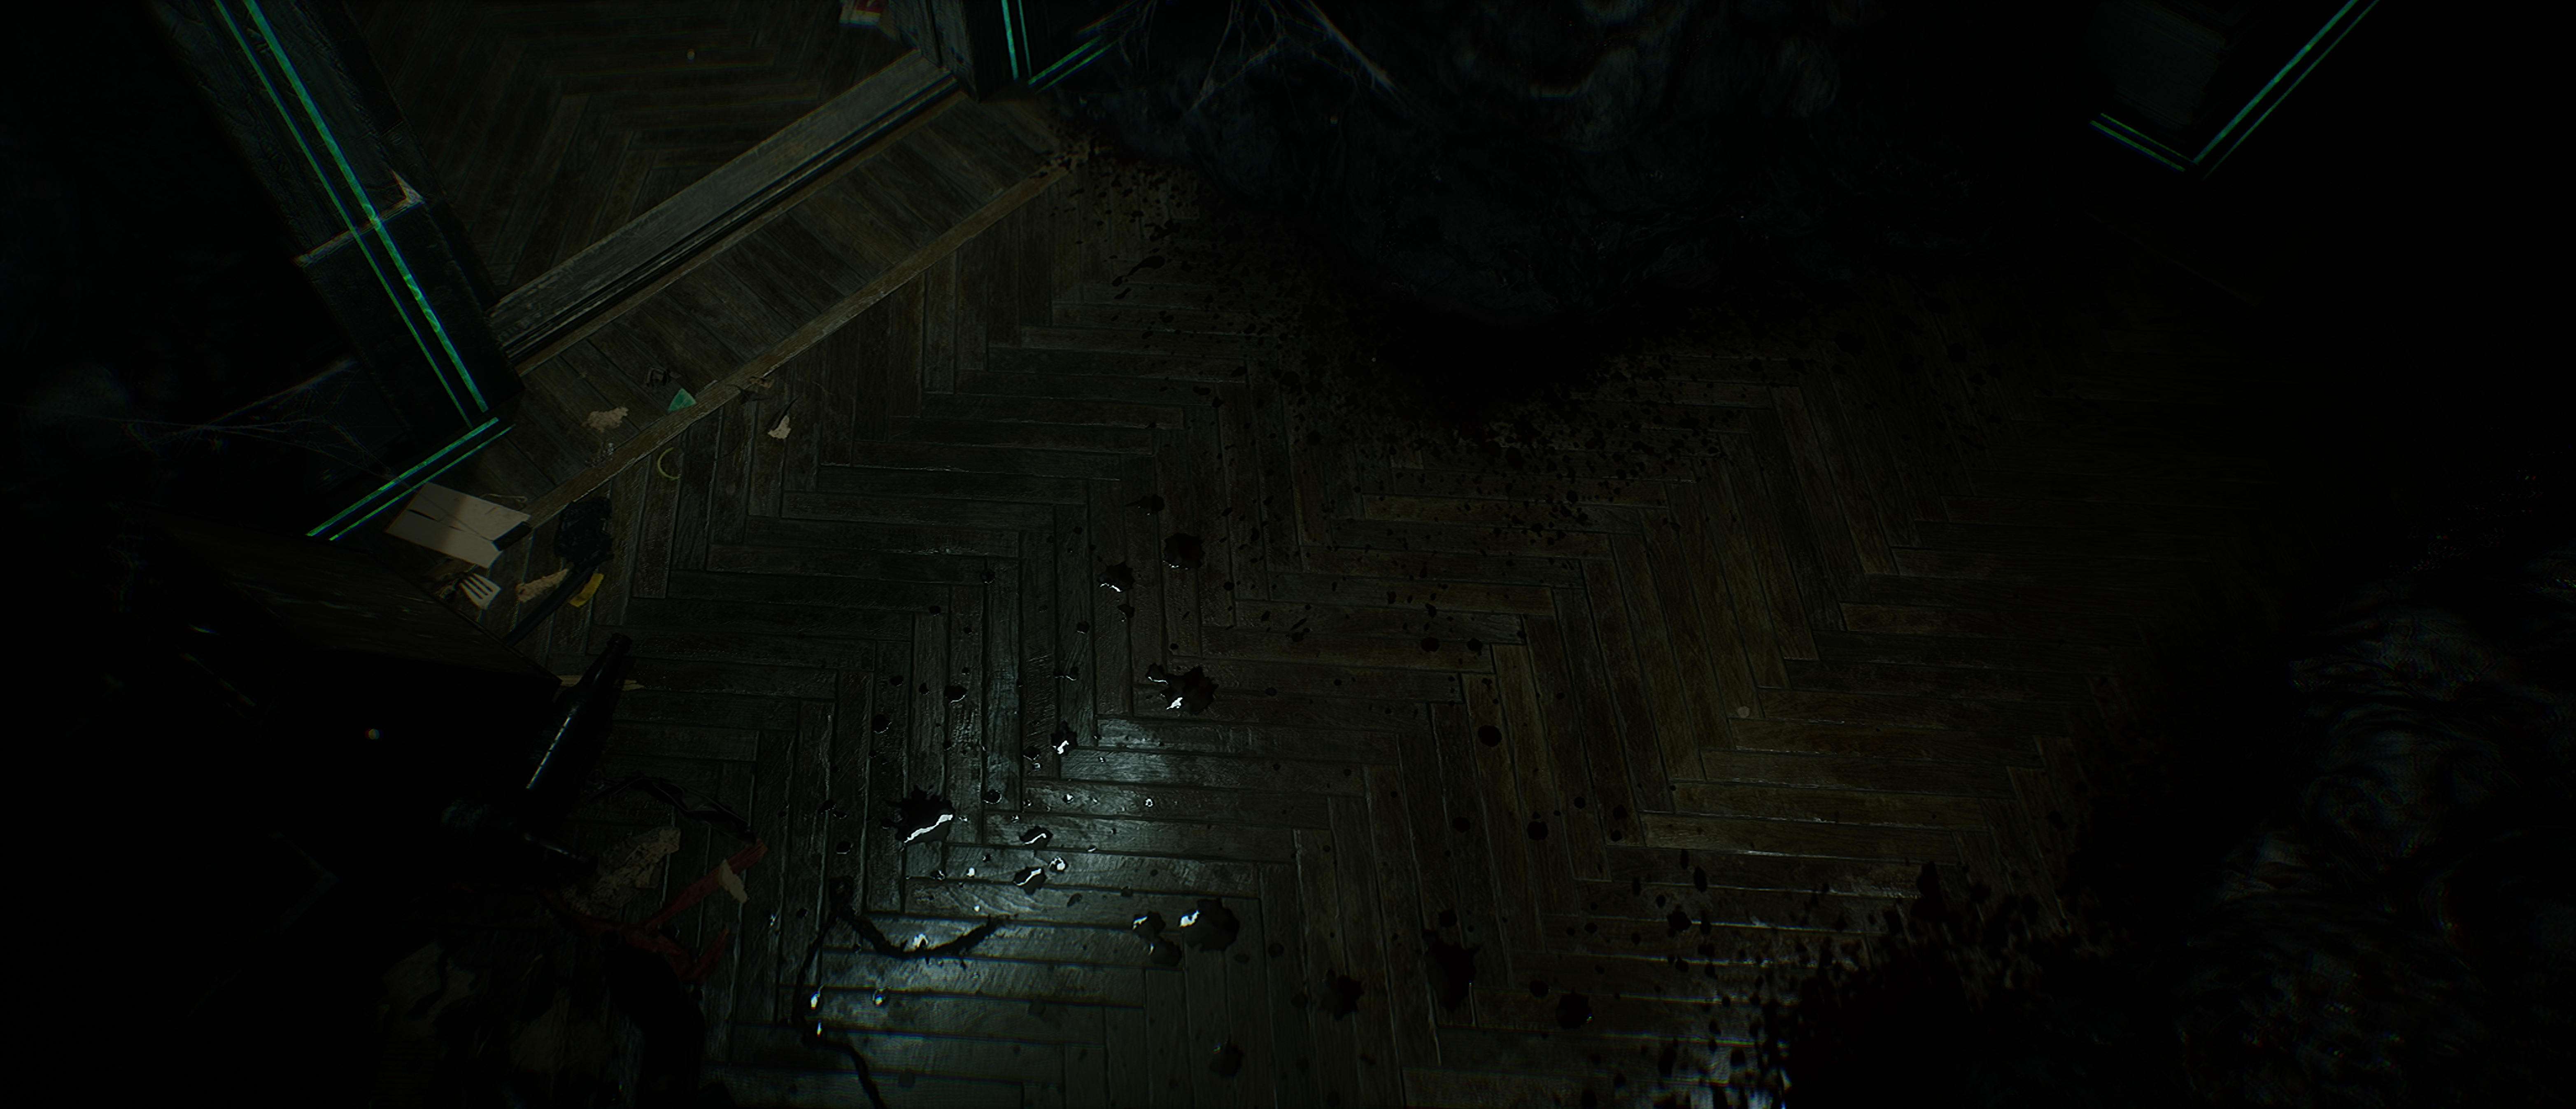
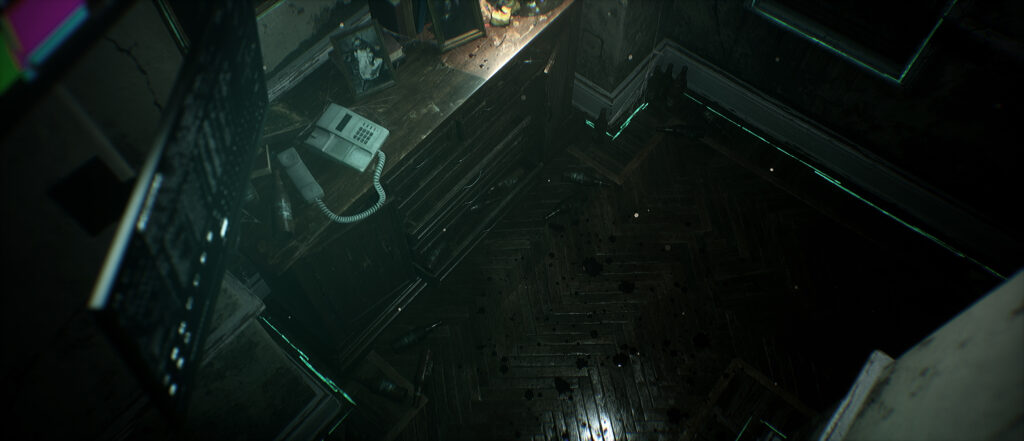
Lighting
I wanted to create a cinematic feel for the environment and saw how big of an impact proper lighting can make. I reworked the lighting a few times until I found a nice balance with red and greenish-blue colors that gave very nice contrast where to focus while also using more yellow or neutral white tones to give rest to the eyes and show non-threatening areas.
All of that combined with some Exponential Height Fog gave me the results that I was hoping for.
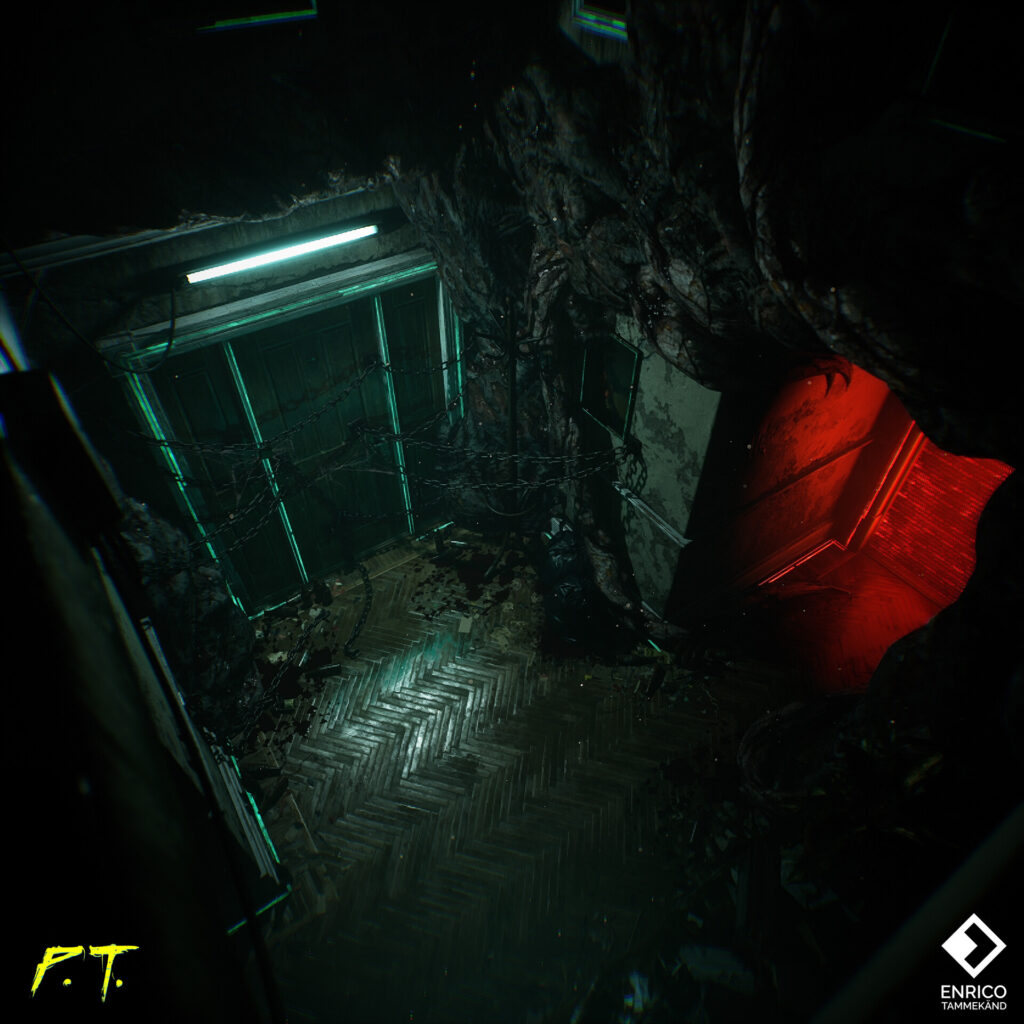

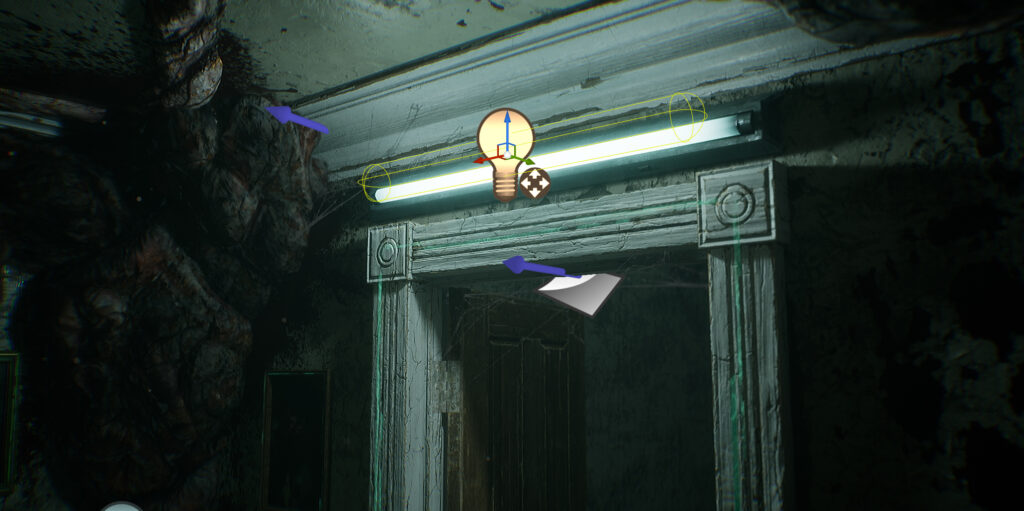
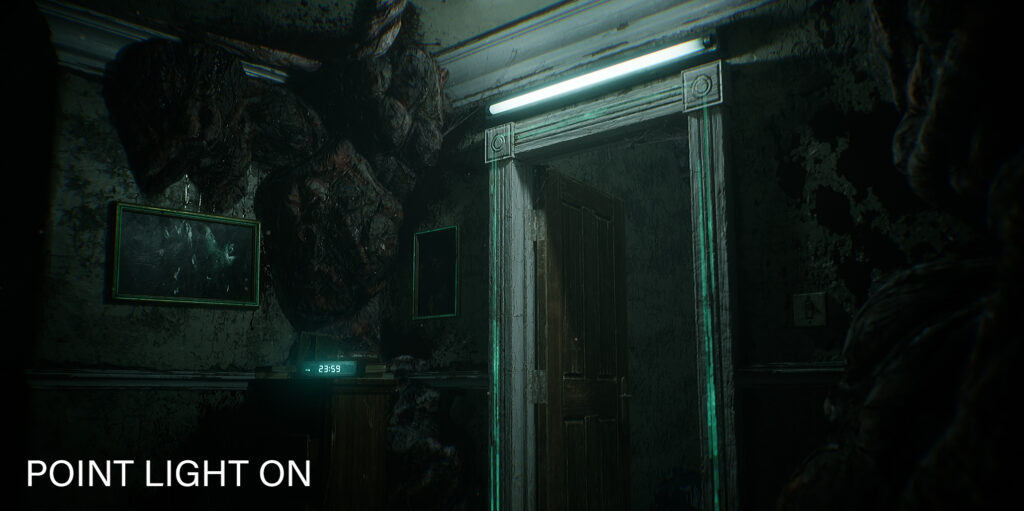
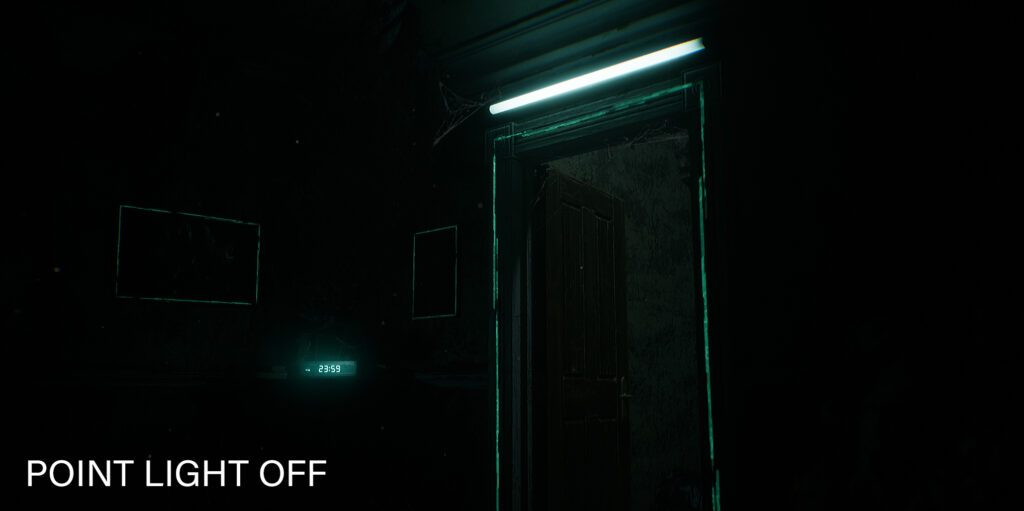
Changing the radius and height size for Point Lights I was able to get a similar shape for the fluorescent lights that helped me get nice reflections as if the light was casting directly from the lightbulbs themselves and used extra point lights where I needed to get that extra light bounce.
It was nice that I didn’t need to use Directional Light and was able to focus on very specific lighting scenarios which also complicated the dark environment. I wanted to showcase the props and level itself while keeping the horror aspect of dark hallways intact which made it tough to find the right balance of the lights but playing around with the settings a bit I got well-balanced results with just one Point Light.
Conclusion
This project was really fun to work on and served its purpose very well. “Silent Hill P.T.” was something I missed out on when it first came out and I love that I was able to recreate it in my own image while also being able to try out so many different workflows for my own game.
Along with testing everything out, I also wanted to have this as a strong portfolio project that demonstrates my skills not only in materials but more in lighting, composition, shaders and modeling. It took me quite a while to get it to its final shape but I’ve always believed in quality over quantity and taking more time to refine your art is definitely worth it. You can check out my Artstation for more pictures of this project and for updates on “Project: SOS”.
Thanks a lot to GameArtists for inviting me to write this article and to anyone that took the time to read it!
Read more articles
You might also like these articles.