City Streets

Introduction
Hi everyone, I’m Ye Rong from Beijing, China, I'm a student who loves games art and have been studying for more than a year, and I like environment art especially stylized environment.
Currently, I'm looking for a summer internship to further my skills.
Reference and inspiration
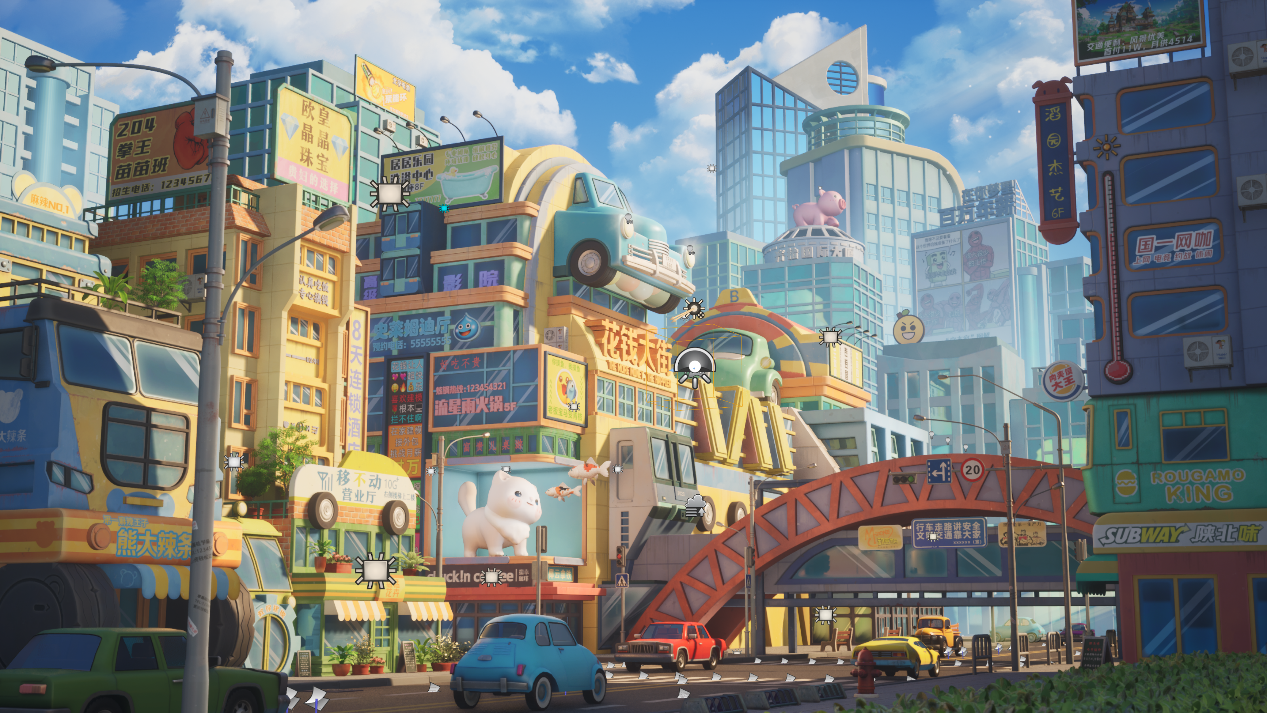
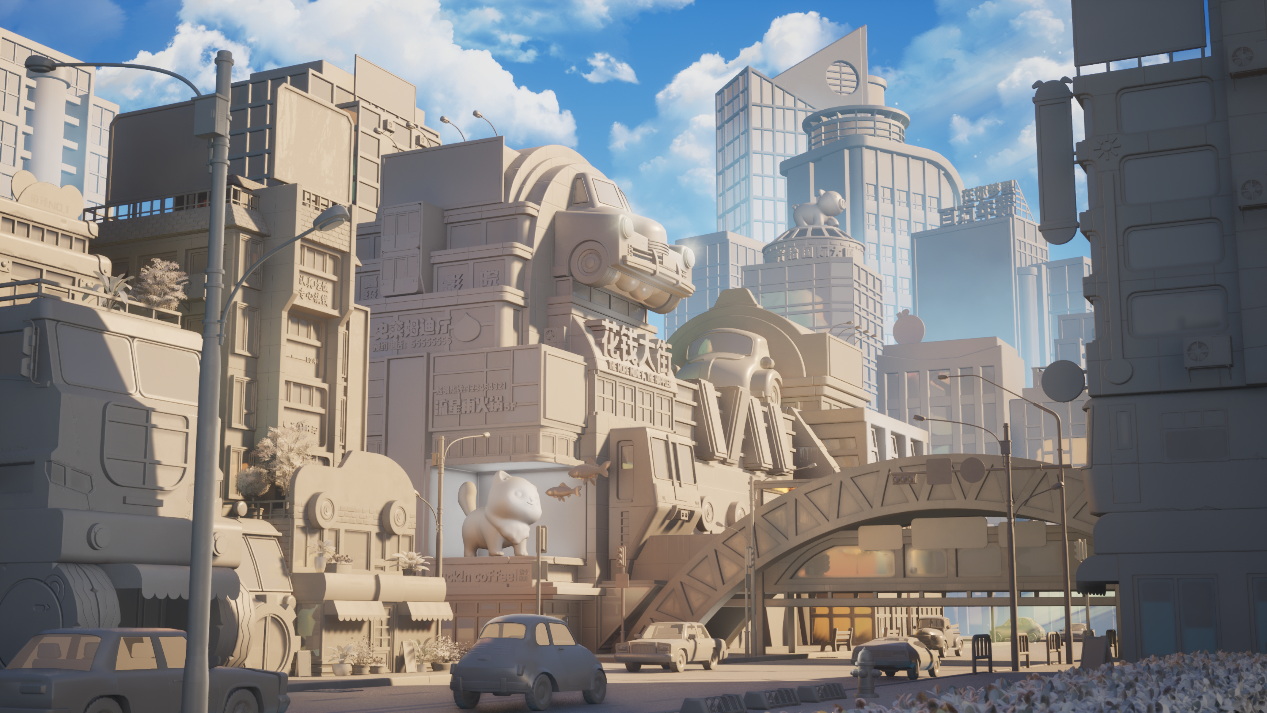
The work I bring to you today is to restore this painting, by artist He Dacheng.
Here is his link to their ArtStation. I really love the atmosphere of this painting, and I decided to turn it into a 3D environment.
Software
- Maya: Low-poly model and modular grouping.
- RizomUV: UVs unwrapping.
- Zbrush: Highpoly sculpting.
- Photoshop: Creating Logos, texts and some patterns.
- Substance 3D Painter: Material performance of the model.
- Unreal Engine: Final composition of the engine, lighting performance and rendering.
References
The painting is excellent and full of details, but in order to turn it into a 3D environment, I still need to gather more ideas.
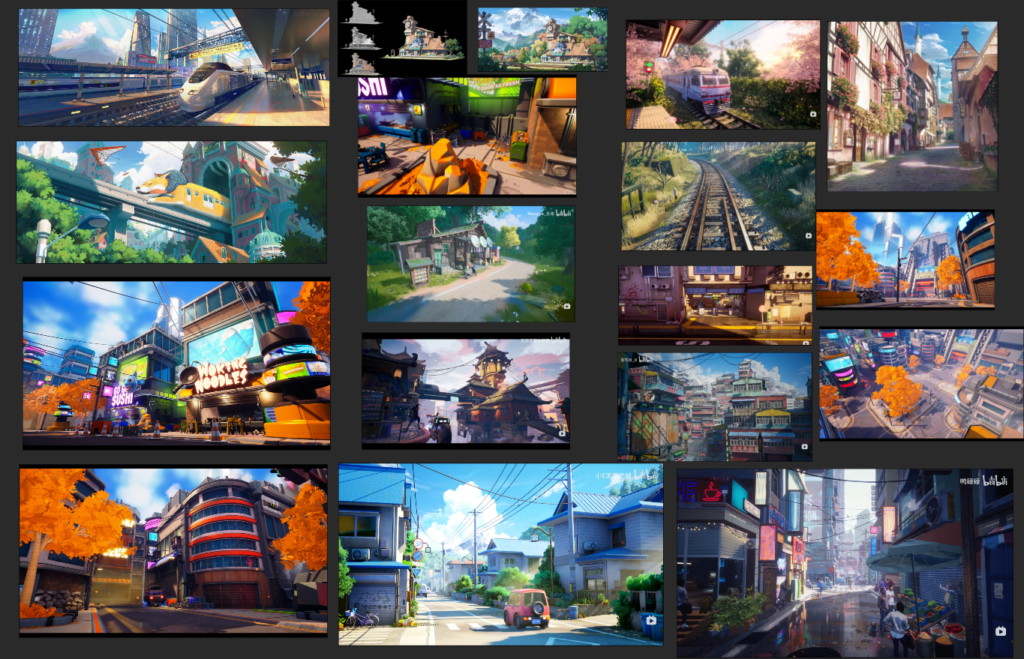
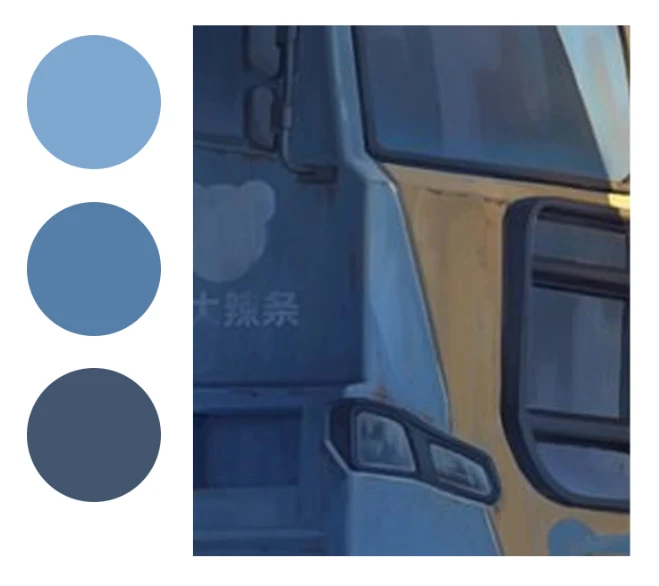
I have collected some stylized and Japanese anime-type references to draw inspiration from.
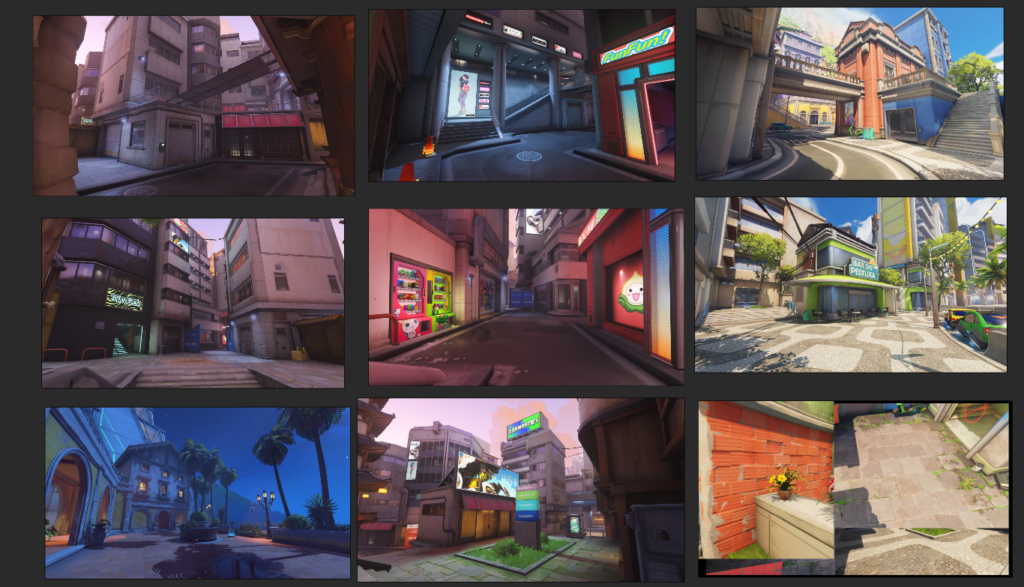
The painting is excellent and full of details, but in order to turn it into a 3D environment, I still need to collect more references.
I gathered these stylized and Japanese anime preferences to inspire me.
Blockout
During the blocking process, I used a software called Fspy. I found it very useful for reverse-seeking the camera parameters of the painting.
Using this software, you can obtain the focal length and camera position of the painting.
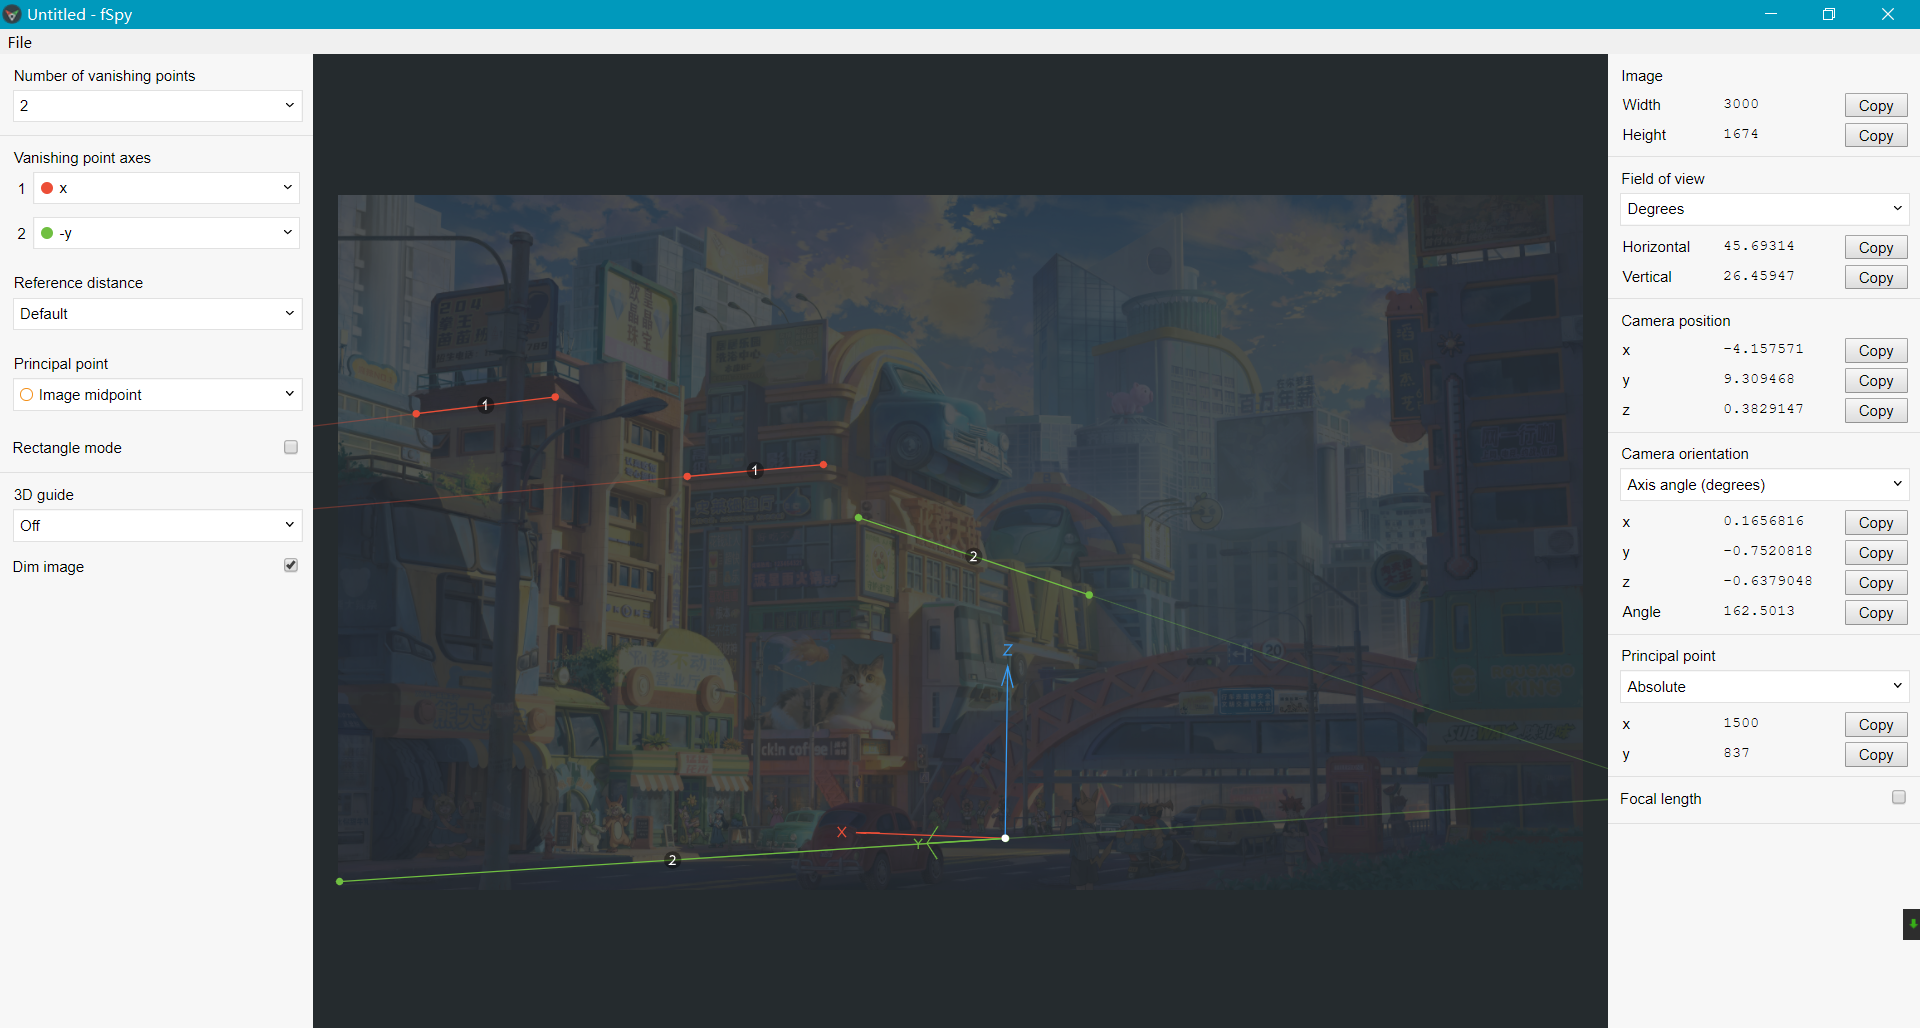
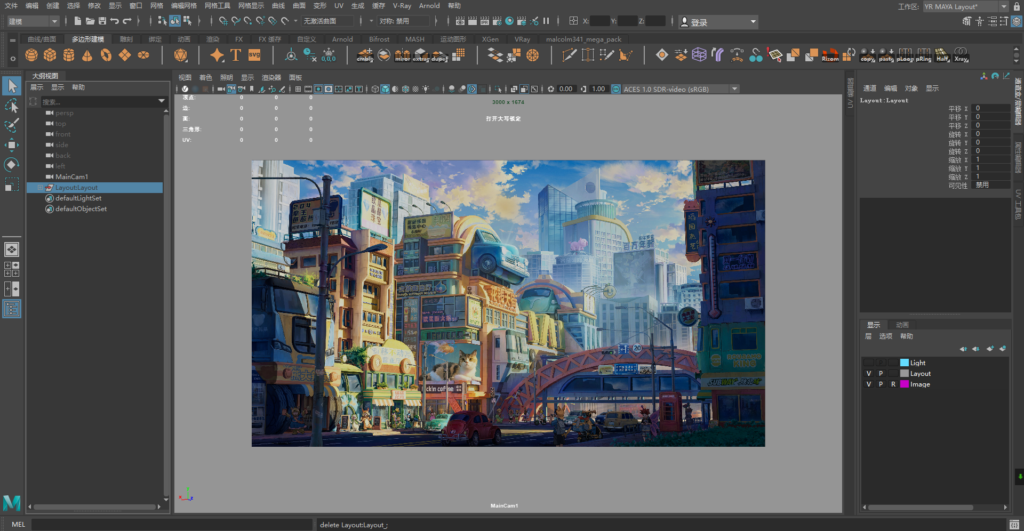
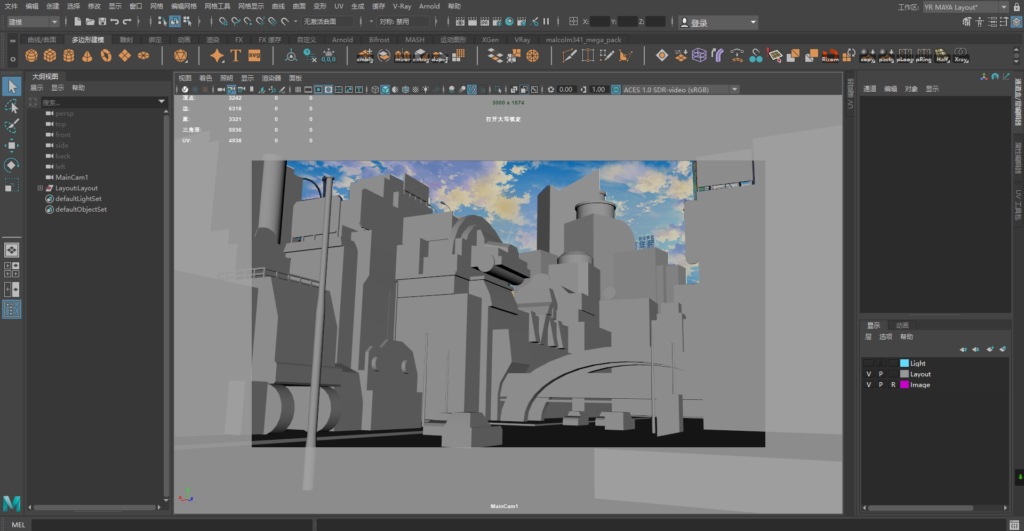
After determining the camera parameters, I began the modeling and blocking process in Maya. I imported the image into Maya, then created a camera with the parameters obtained from Fspy.
I used some basic cubes and cylinders to locate the position of the main buildings.
Modelling
During this process, I did not choose the sub-D workflow because it requires a lot of time to focus on wireframes, and I did not want to spend too much time on modeling.
Additionally, I skipped the baking process to save time, so all of the objects are high-poly meshes without normal map baking, which I applied in Unreal Engine.

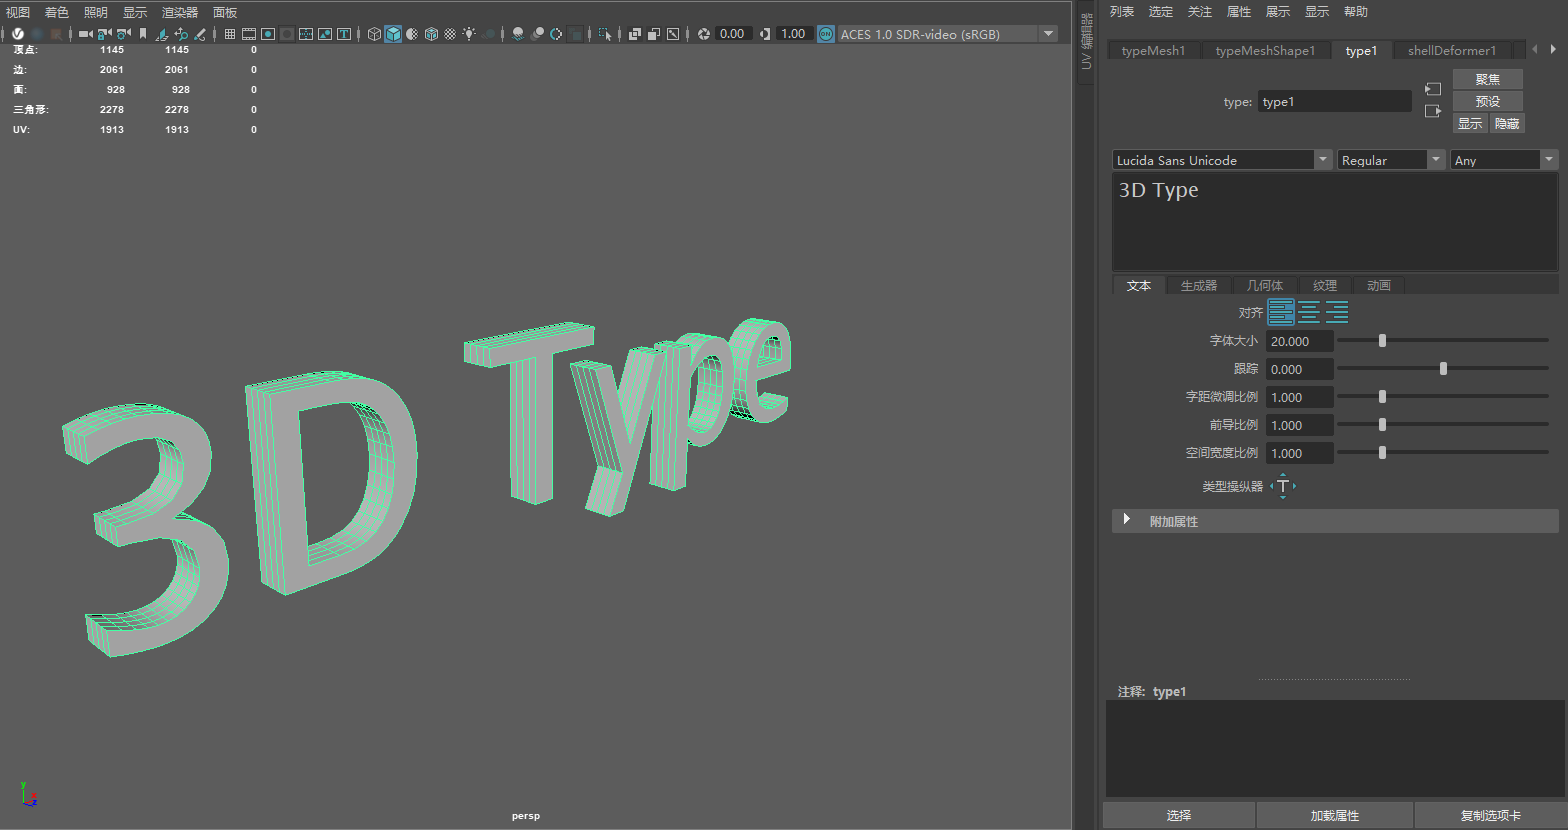
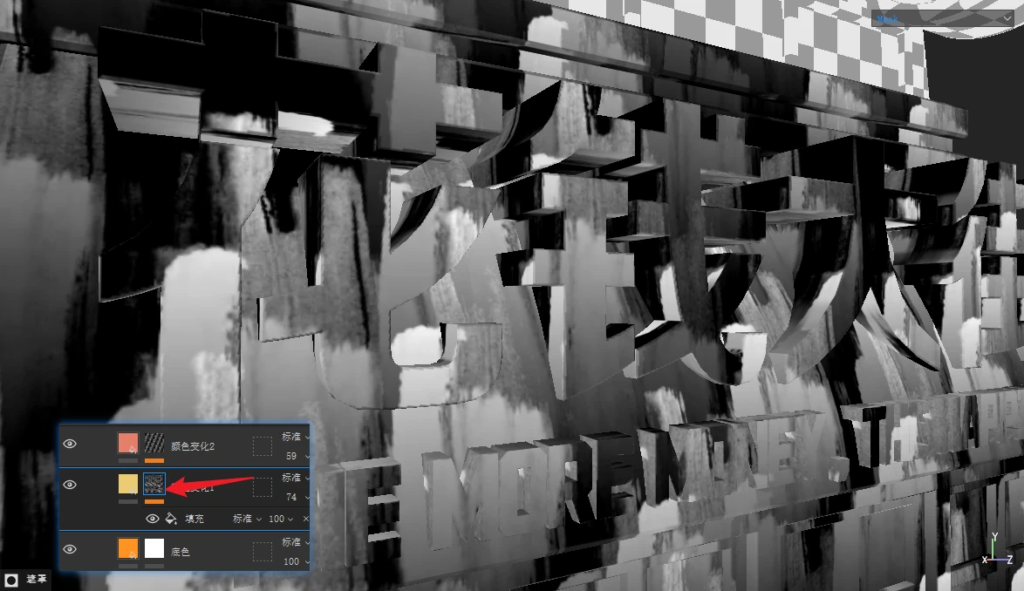
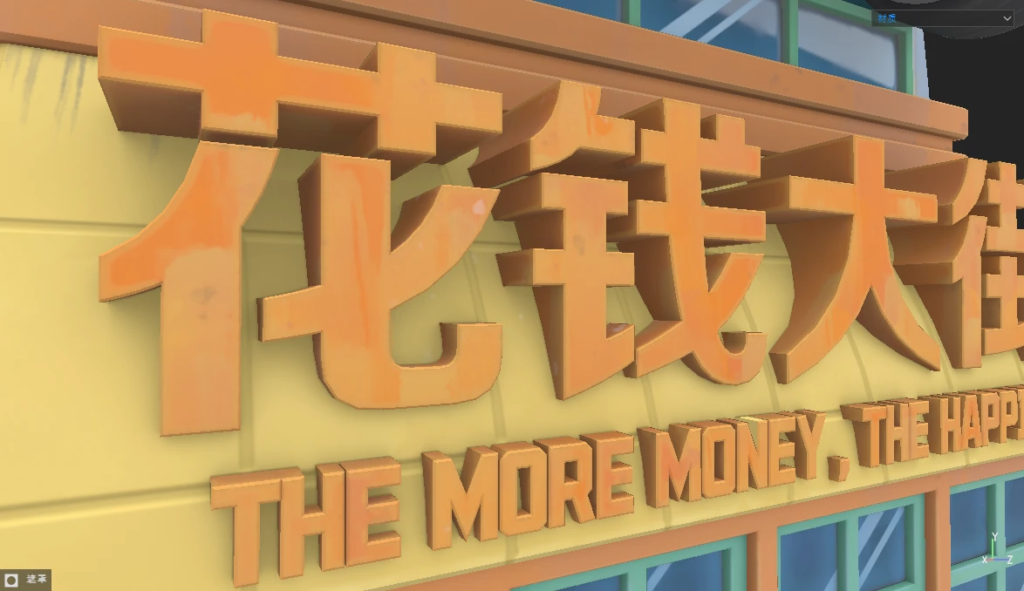
I used the Polygon Type function in Maya to create text models. It’s very convenient for creating text meshes.
UV Unwrapping
I use Rizom UV to unwrap the UVs. Its packaging function is really convenient.

Texturing
This is one of the most important parts of the whole process. I found that the painting has beautiful color variation.
To make the colors of the buildings look more stylized, I made some hand-painted masks using Substance 3D Designer.
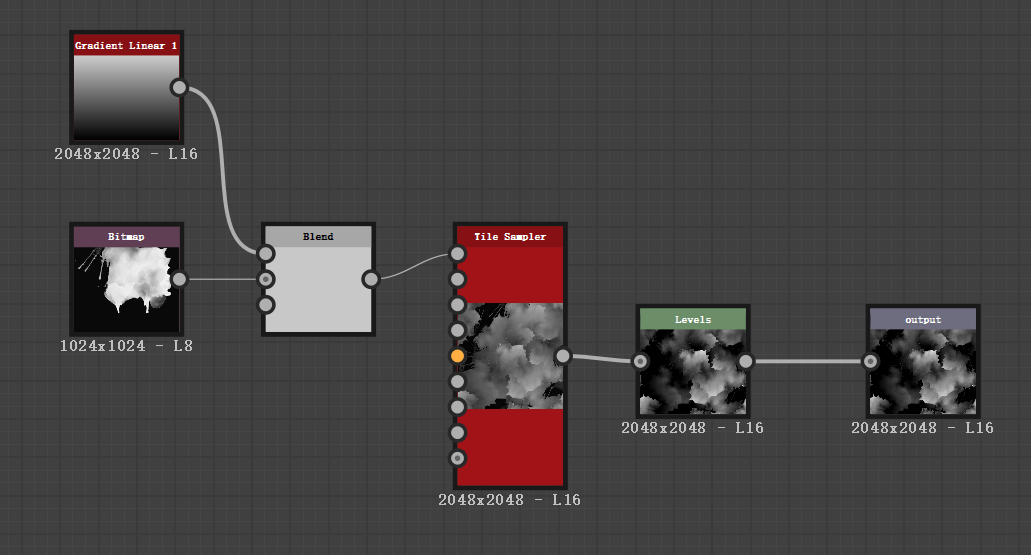
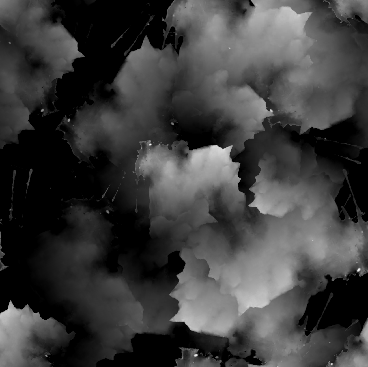
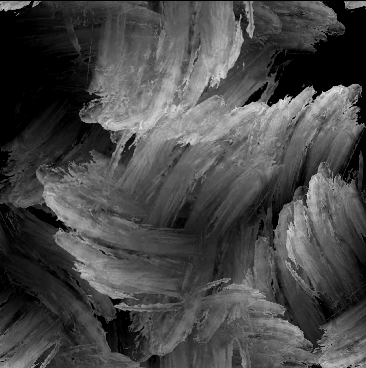
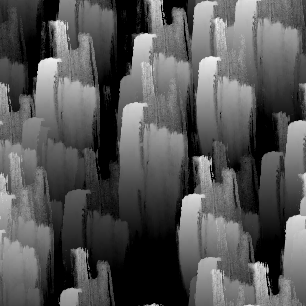
I used these three masks in Substance 3D Painter to create color variations on the buildings, like this:
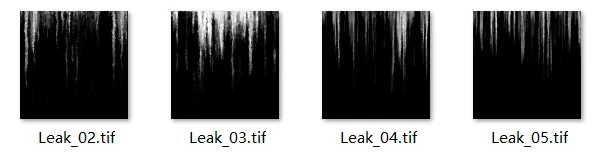
I used some texture masks that I downloaded from Texture.com to create the effect of leaks and rust on the buildings.
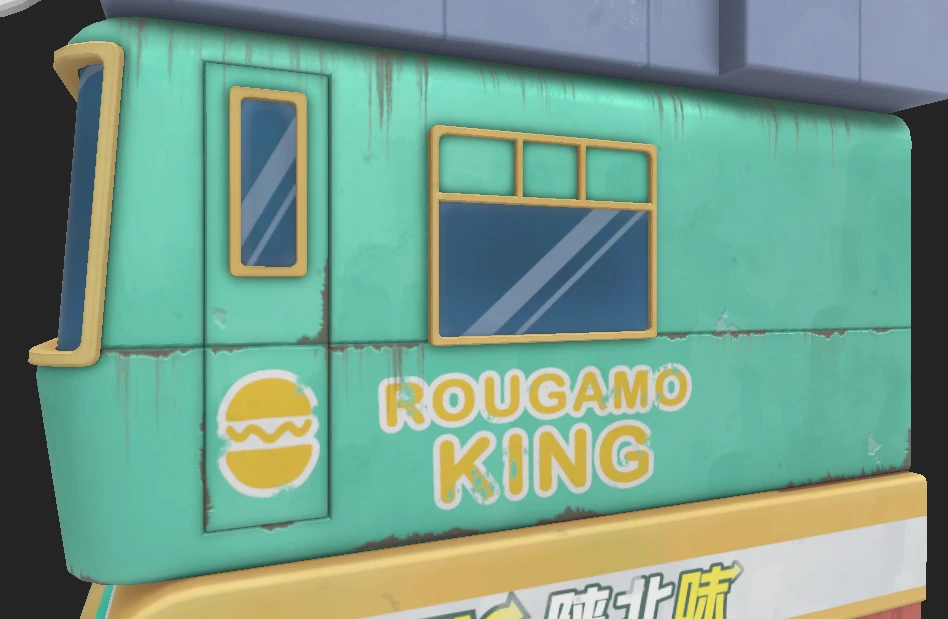
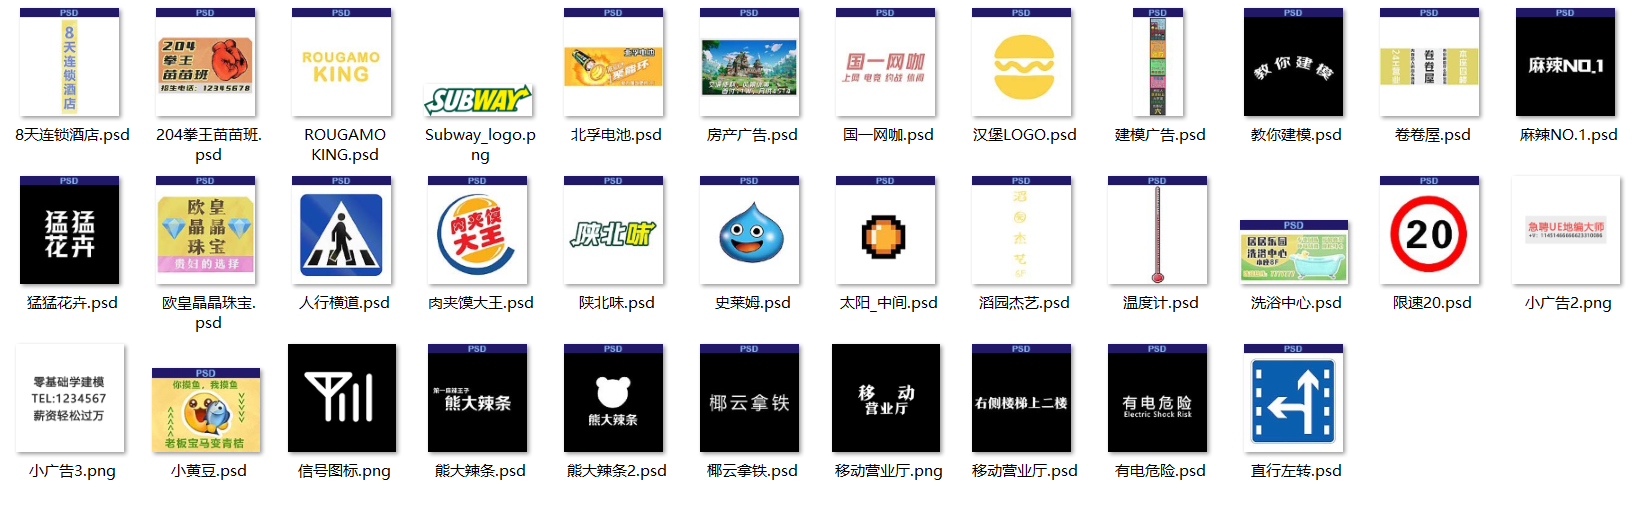
For the logos, patterns and texts on the building, I created them in Photoshop and imported the PSD files directly into Substance 3D Painter.
Lighting and Atmosphere
I used the lumen of Unreal Engine 5 to light up my scene. Lumen is really powerful and convenient and can create realistic lighting effects in just a few minutes.
But for the stylized scene, being too realistic is not a good thing. Stylized environments are usually cleaner, brighter and highly saturated according to the preferences that I collected.
To make my scene more stylized, I used a lot of rectangle lights to fill the dark places of my scene.
The fog is also essential to enhance the scene’s sense of layering. Additionally, I used the Post Process Volume to fine-tune my scene.
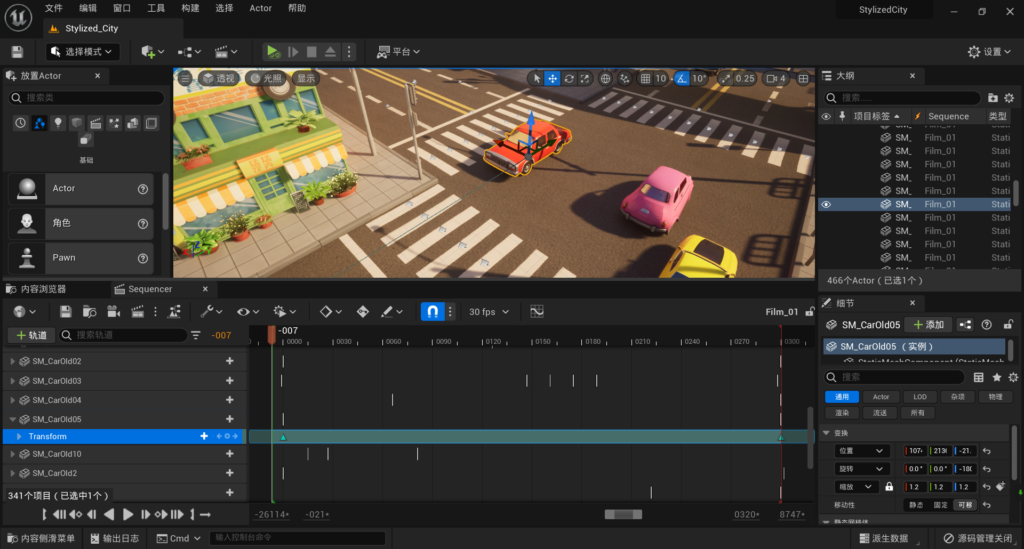
Animation
The animations of cars and fishes are simply made in the sequencer. I also suggest using blueprints to create car animations.
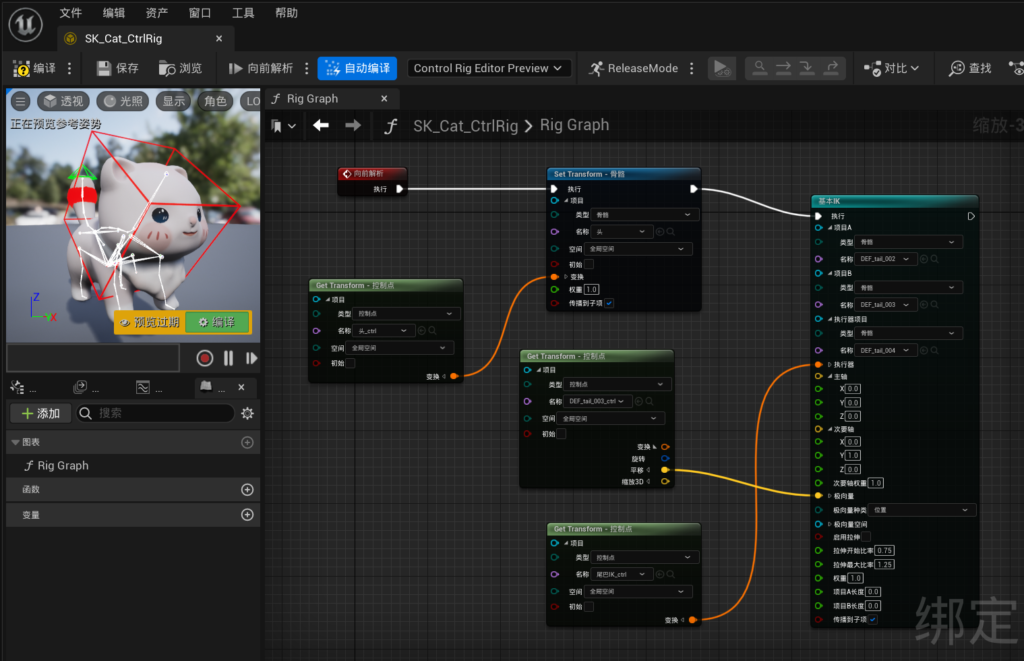
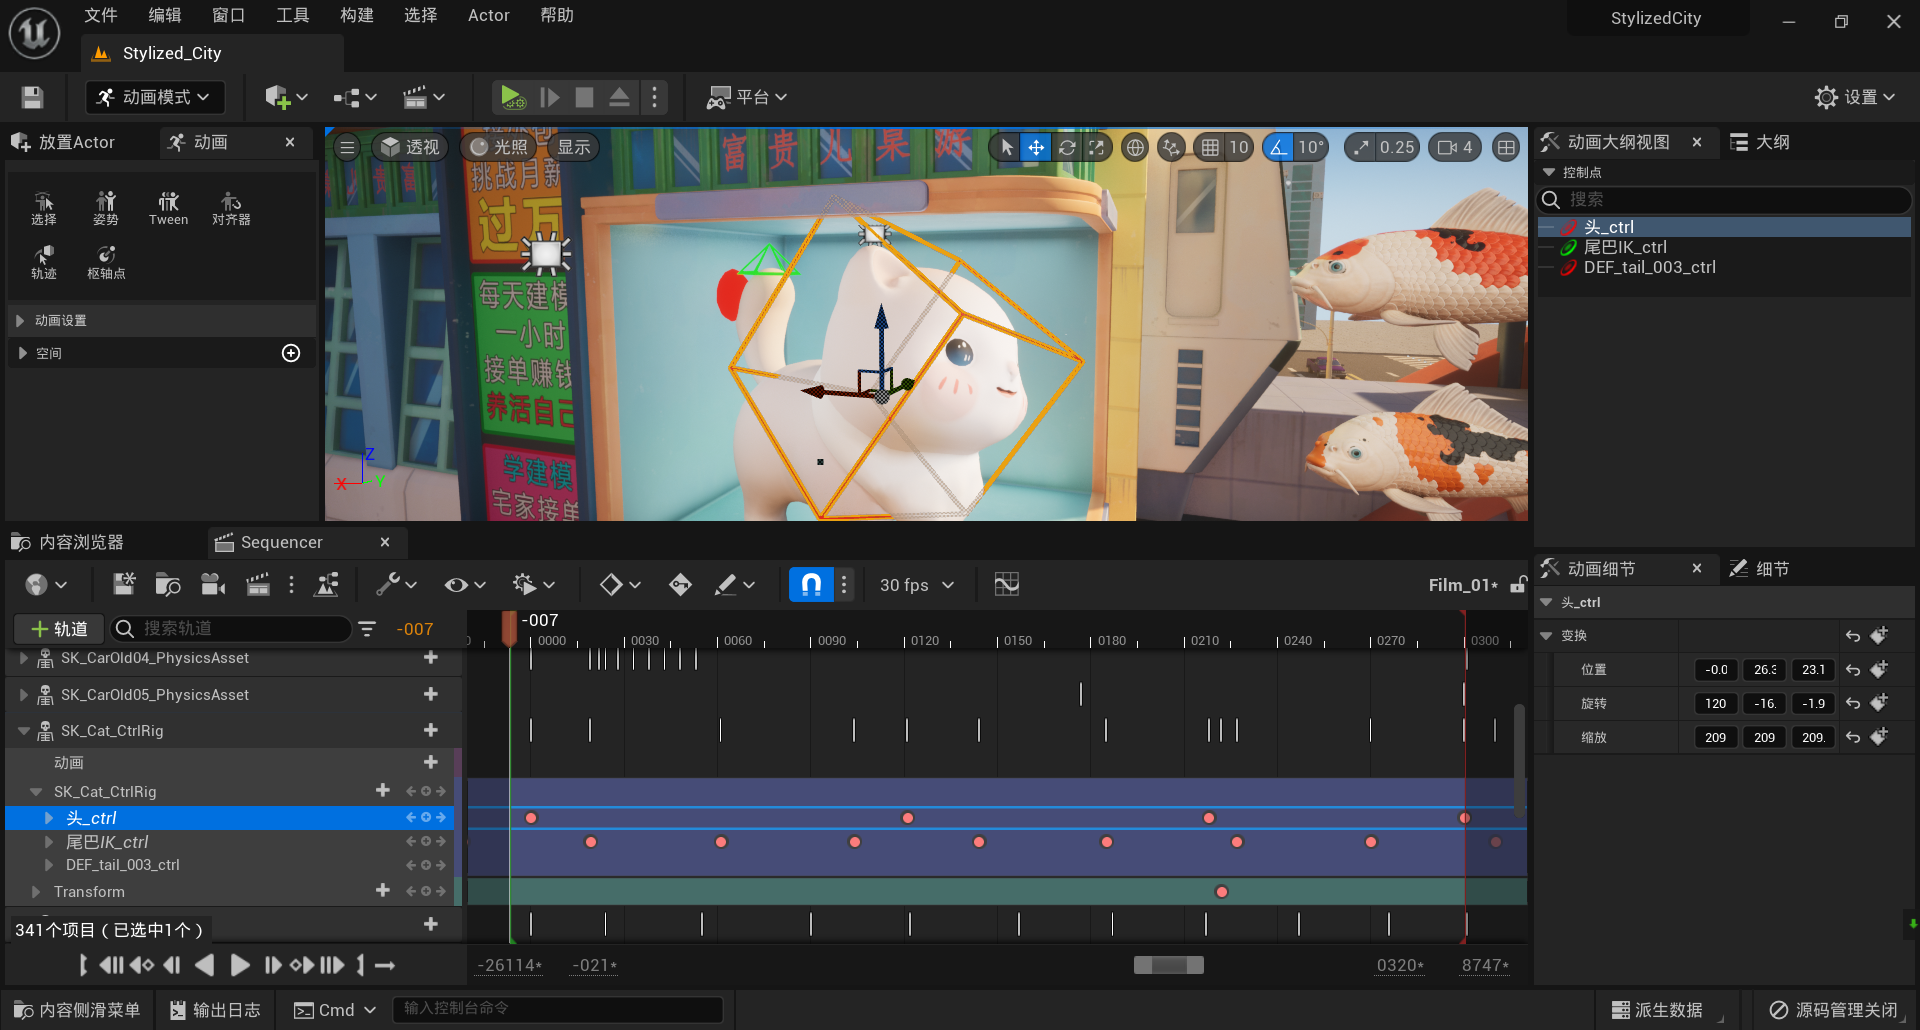
I used the control rig and basic IK rig to create animations of the cat. I’m not an expert in animation, so I only made two simple animations for the cat’s head and tail.
The control rig was really convenient. After creating it, I added it to the sequencer and made the animations.
Now, my kitty can finally turn its head and look at the swimming fish!
Rendering
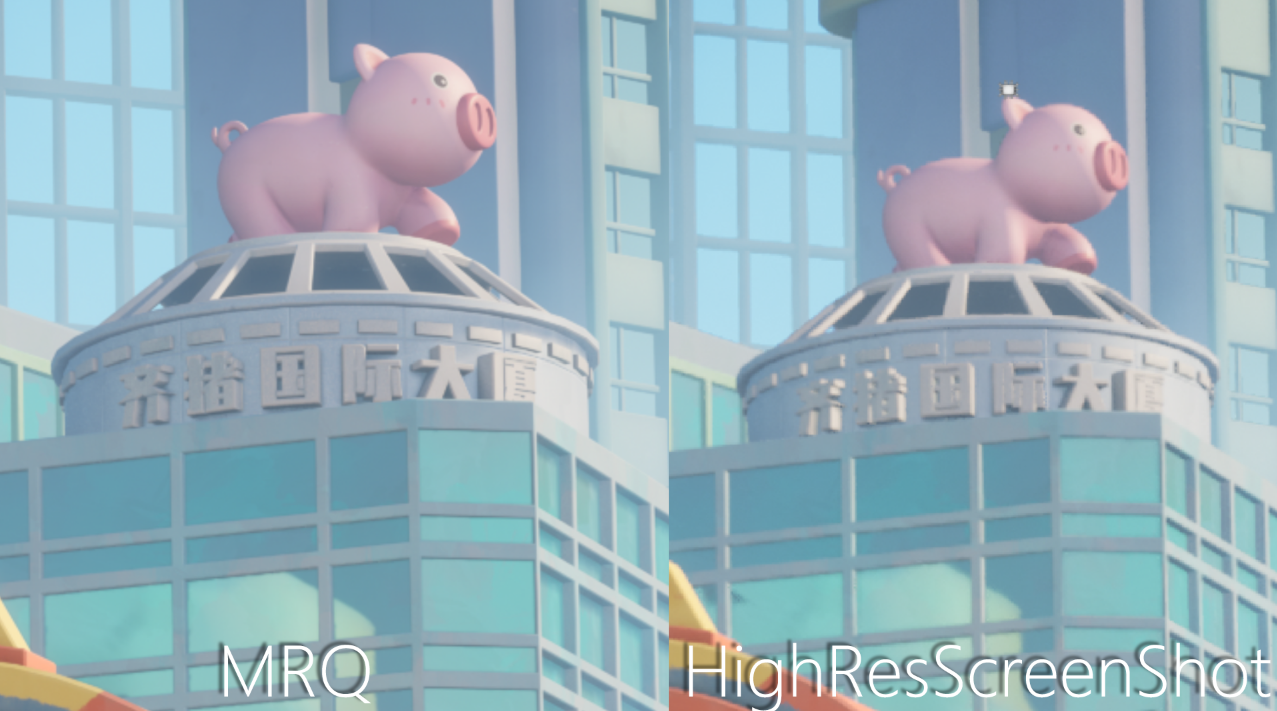
I used the Movie Render Queue in UE5 to render my sequences instead of rendering them directly using the sequencer.
MRQ has a much better anti-aliasing effect than high-resolution screenshots and sequencers.
Conclusion
Thank you for reading, I hope you enjoyed reading my process of this environment!
Read more articles
You might also like these articles.