Wizards Library


Introduction
Hello, my name is Eugenio Galdeano, I have more than 10 years of experience in 3D and I am currently looking for a job in the Video Game Industry.

Goals
The objectives for the Wizard’s Library, are to create an environment to have a good portfolio, to put into practice different techniques of creating environments, and above all to
enjoy and tell a story.
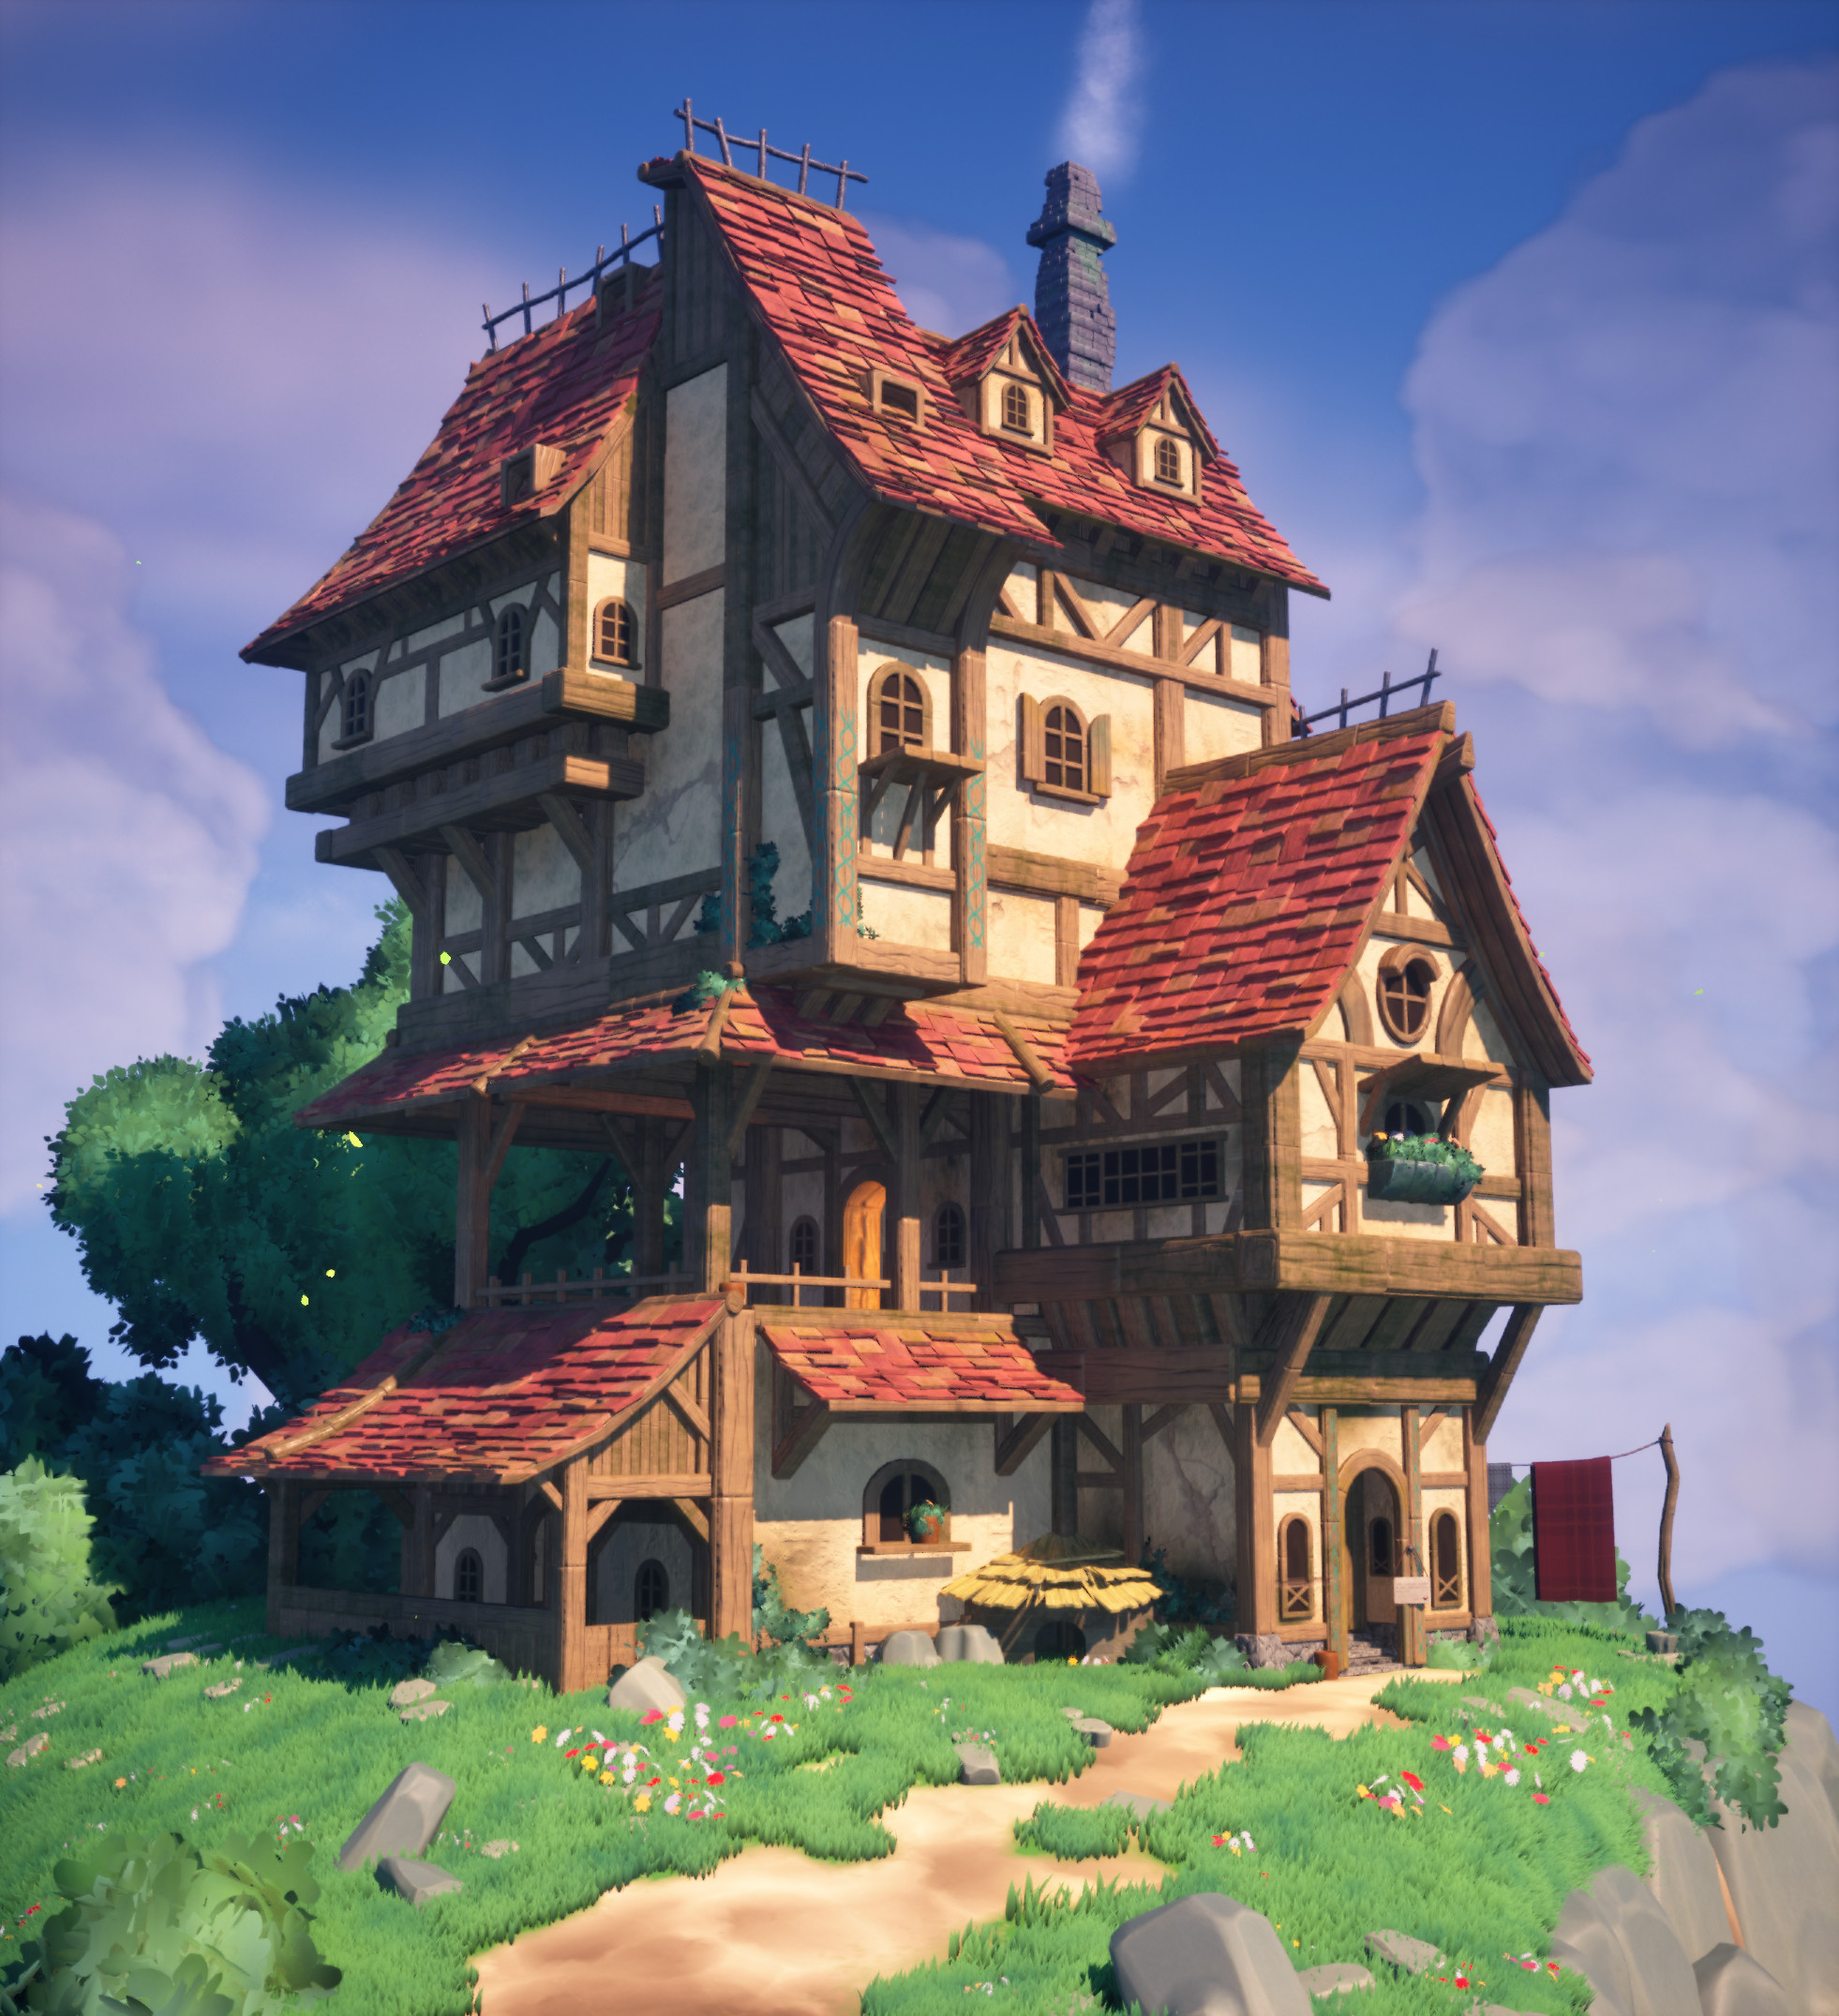
That’s why I chose a Diorama as a project, it’s something small and with a lot of freedom that allows you to give a lot of quality.
Software
For the creation of modeling, textures, etc… I have used Maya, ZBrush, Substance Painter, and Marmoset Toolbag as main tools, I have also made use of Photoshop and Marvelous. In the end, everything ends up inside Unreal Engine 5 and that is where the scene takes shape.
References & Inspiration
The idea was to work with someone else’s concept, to create the workflow of a game studio, I found inspiration in the design environment of Natcha Ngamtweerat which made me fall in
love at first sight.
I was working on it for a few months but it wasn’t until my mentor Mak Malovic, from The Mentor Coalition, in the two months that I was with him, he showed me that I could step out of the original design and explore further, that I realized how much the 3D Environment Artist can bring to the original design.

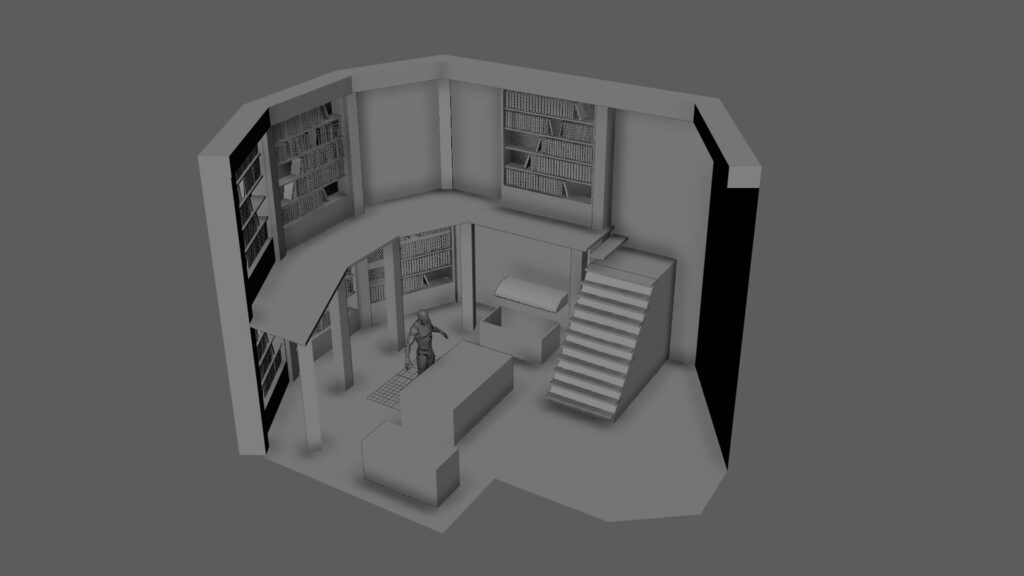
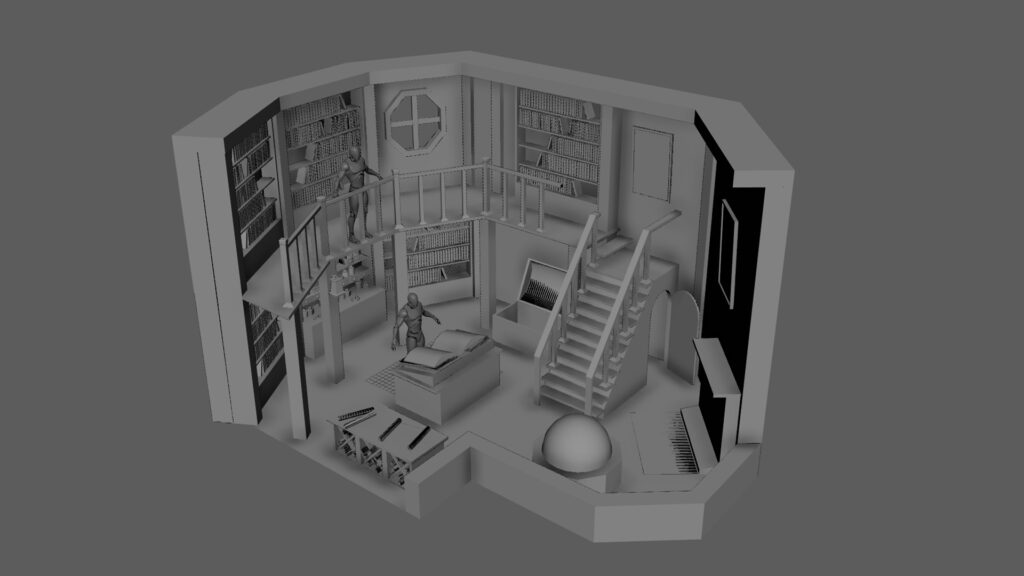
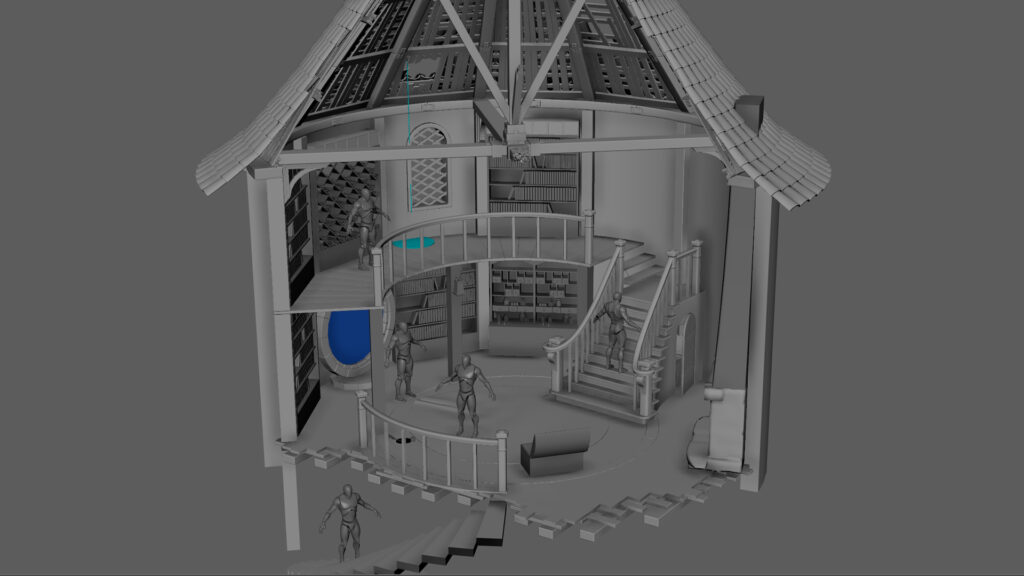
Blockout
You cannot fully imagine the needs of an environment until you have done the complete process of one, because of this Blockout has had major changes throughout the creation of the environment, all to improve and save time later.
When you get to the end you can see that all the time you spend on the Blockout of an environment is better for you and the final result.
In my case it is something I had to learn during the process of creating the project, we all know the rule to start working from higher to lower, but when you do not have a clear final result it is difficult to work without changing the Blockout. Because of these difficulties when you really learn something and you realize the value of a good Blockout.
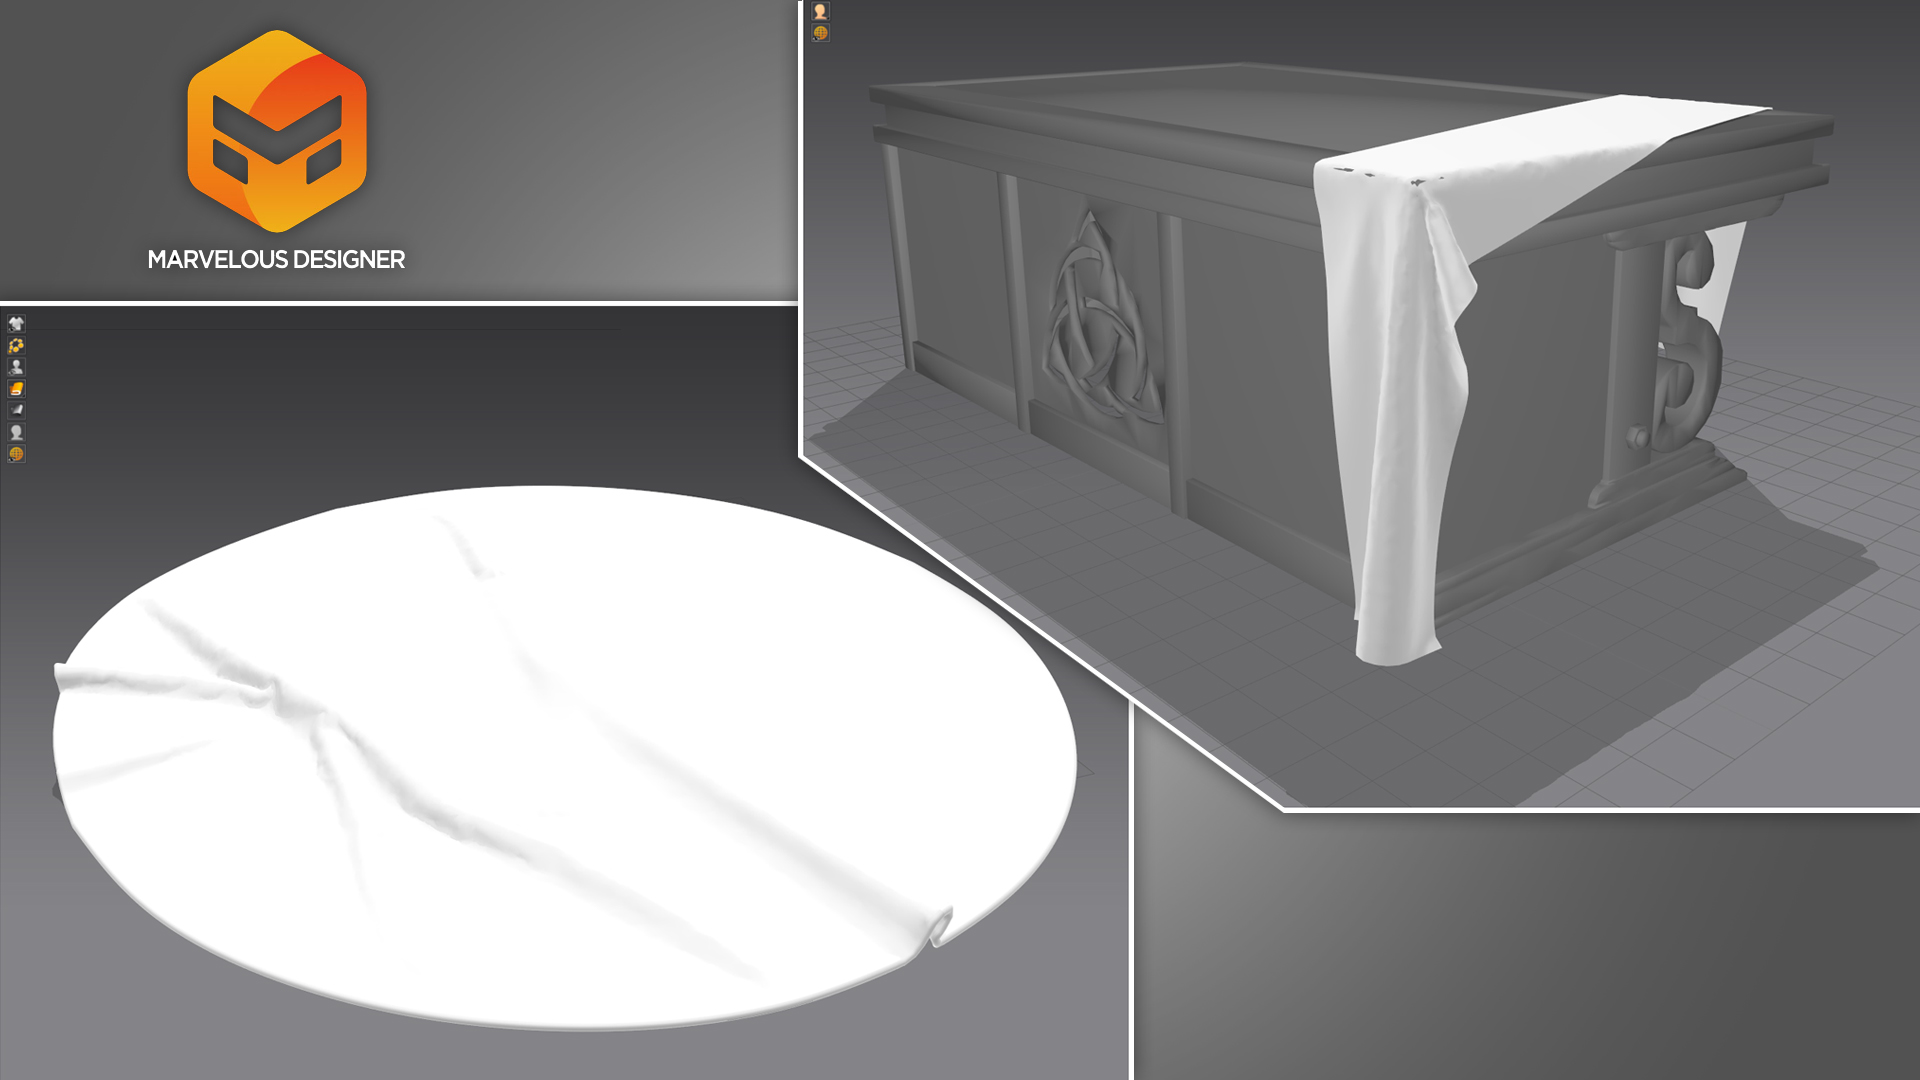
As a 3D Environment Artist, it is important to know about several programs, they can be of great help in some moments of the production.
For example, with Marvelous Designer, I was able to create the carpet and the fabric on the table in much less time than modeling it by hand.
Texturing
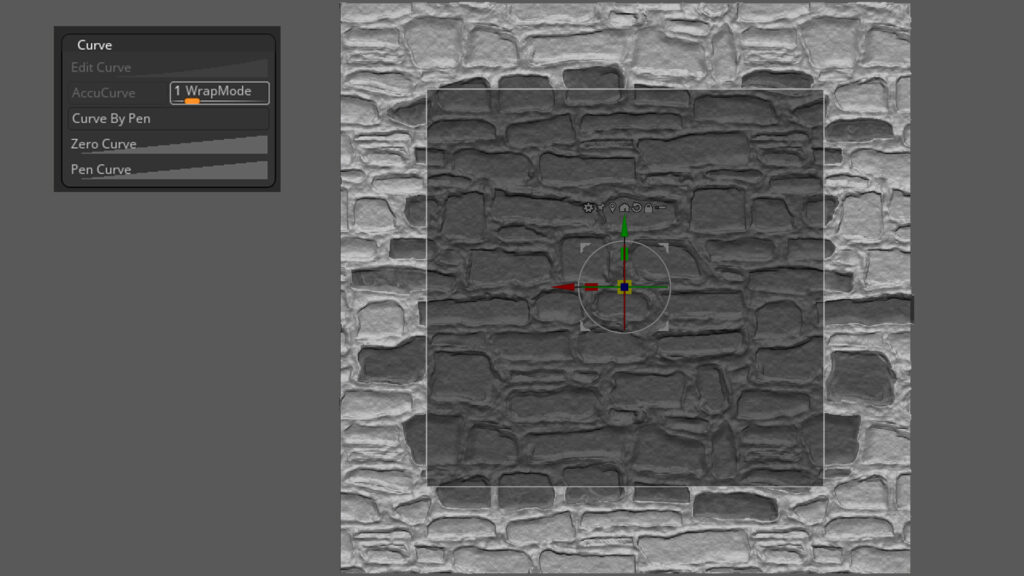
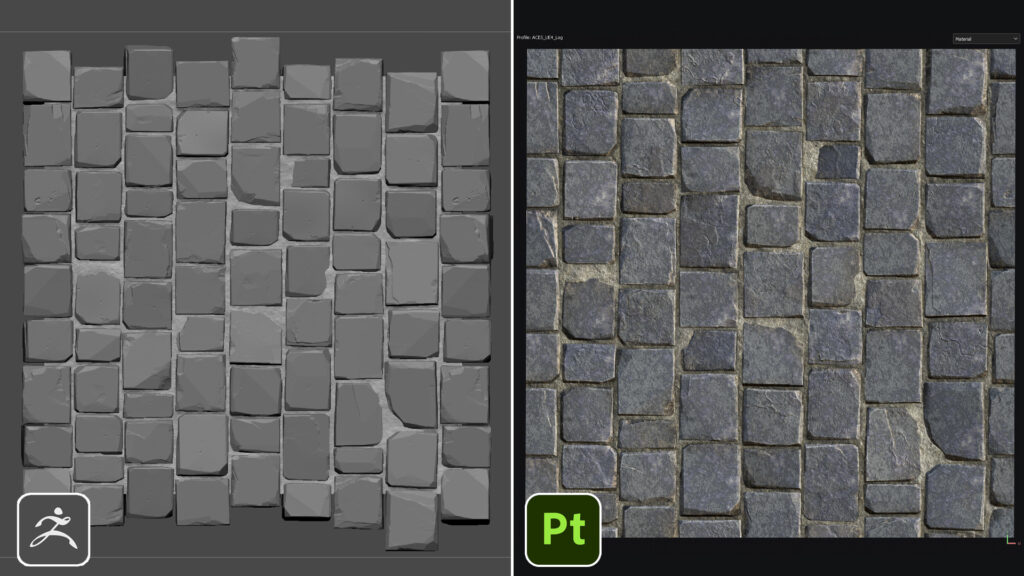
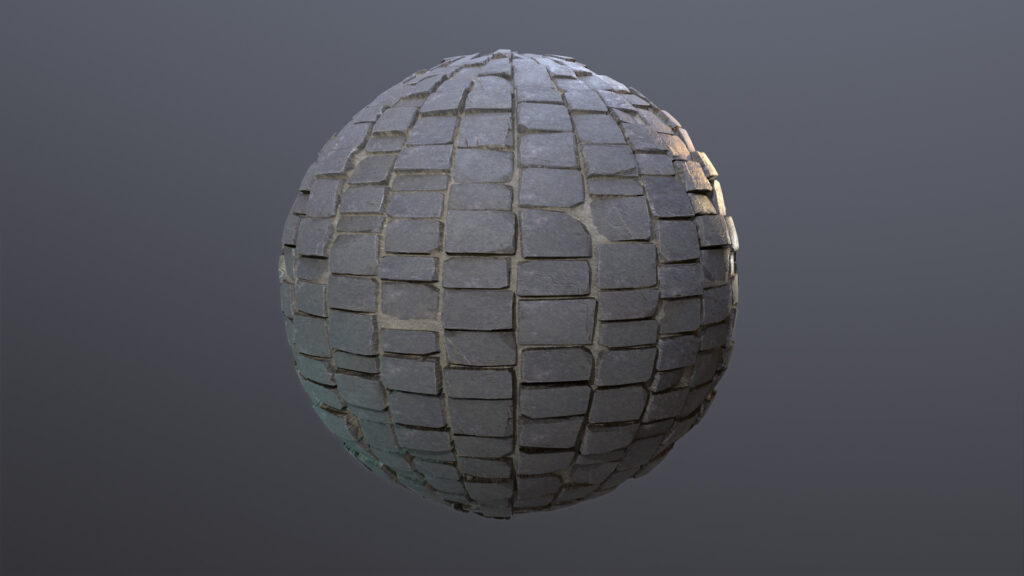
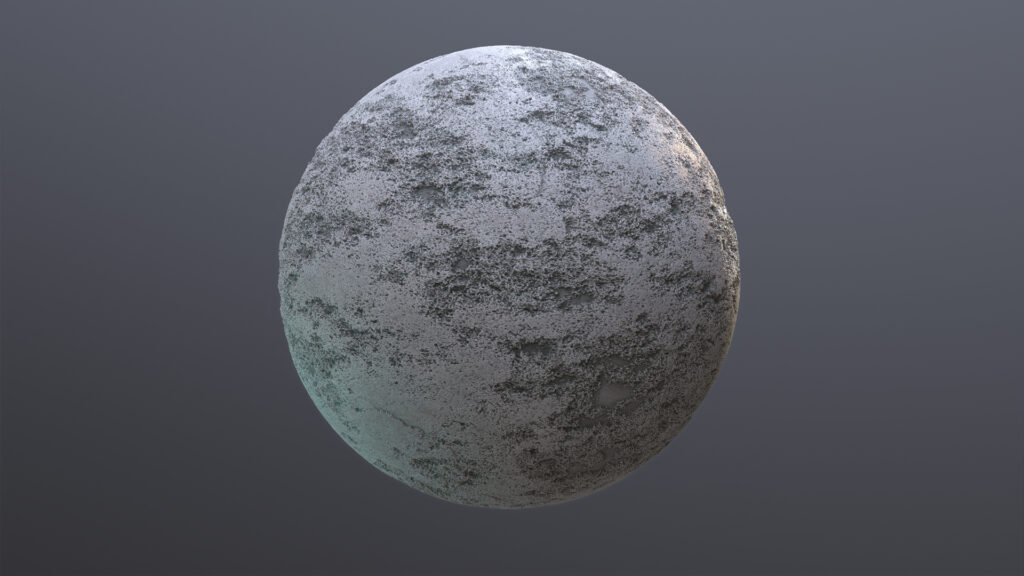
For texturing I used ZBrush on the tileable textures and then Substance Painter to texture them, I am interested in this workflow because I think it gives more artistic freedom.
In ZBrush I use Curve and WrapMode 1, to be sure that there are no problems with the limits I make sure to work on a bigger surface than the one I’m going to Bake.
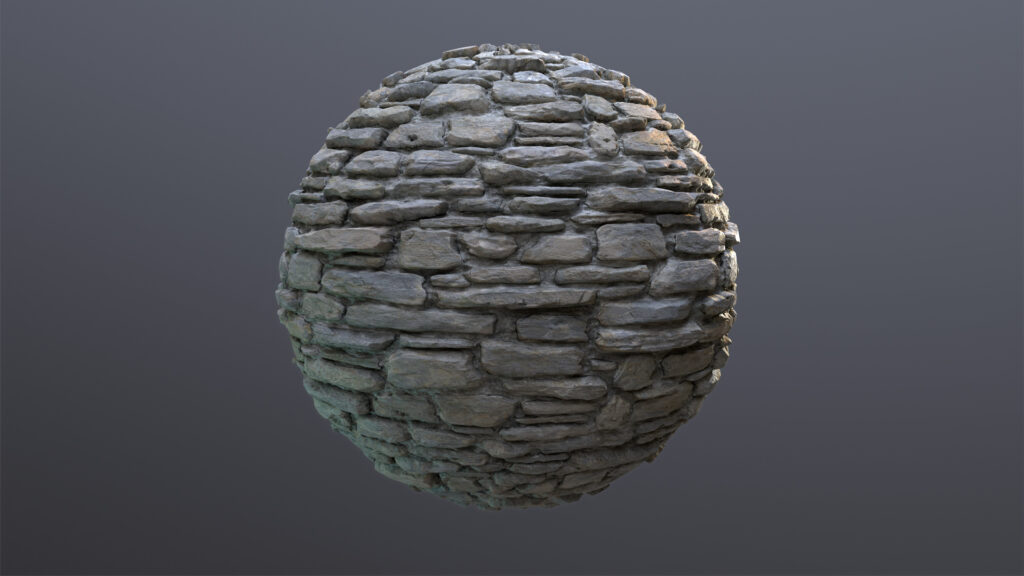
I have to admit that I the texture of the stone wall I repeated it up to 5 times, I was not happy with the results and I knew I could do a better result, don’t give up so easily.
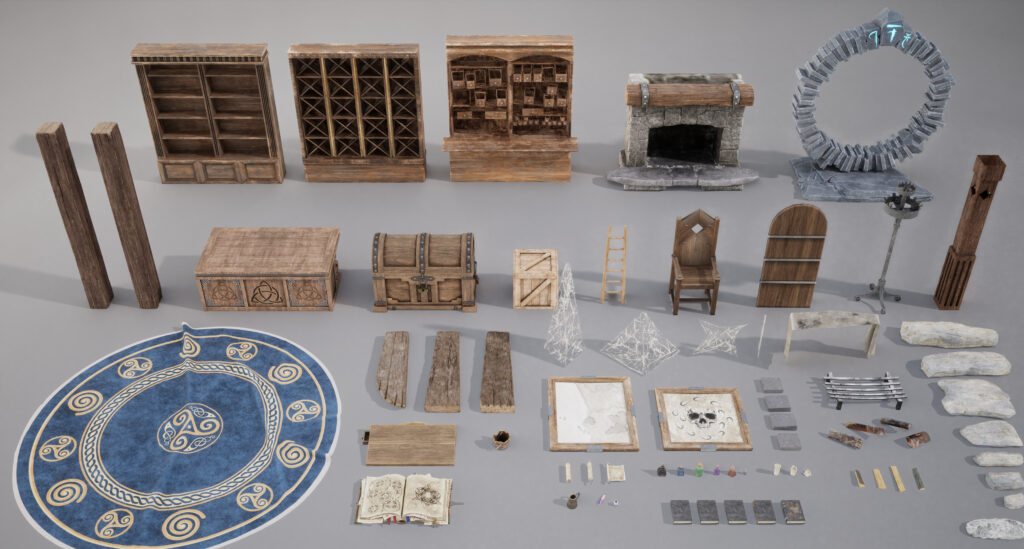
Props Workflow
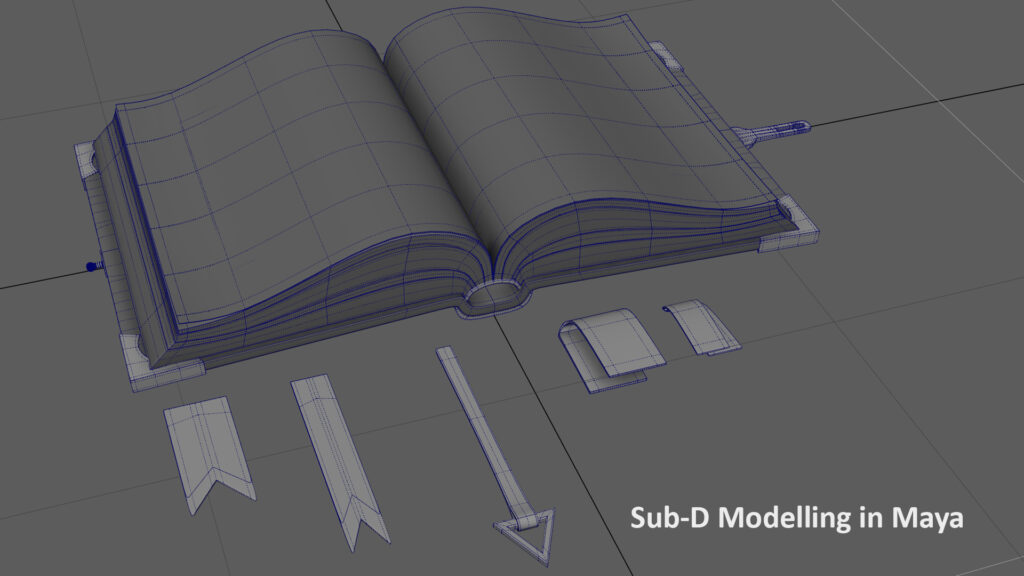
My Props workflow starts in Maya, where I create the first version of the object. Thinking that later I will export it to ZBrush I smooth the mesh for a better result, but I keep an
unsmoothed version to use later for a low version of the prop.
In ZBrush, depending on the type of prop I work in two different ways, if it is a simple prop I try not to go too much out of the original shape because this will help me to save time in the retopology phase.
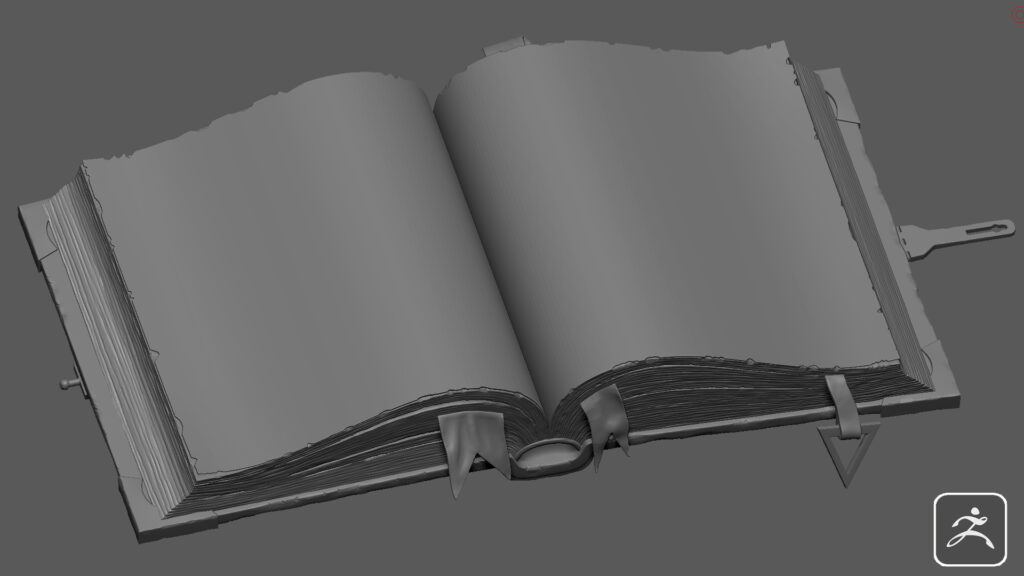
On the other hand, if it is a Hero Prop the initial shape is only a reference for me, I try to get
the best result without thinking about the inconveniences that I will have later, I put artistic
creativity above technical problems. I will face them when the time comes!
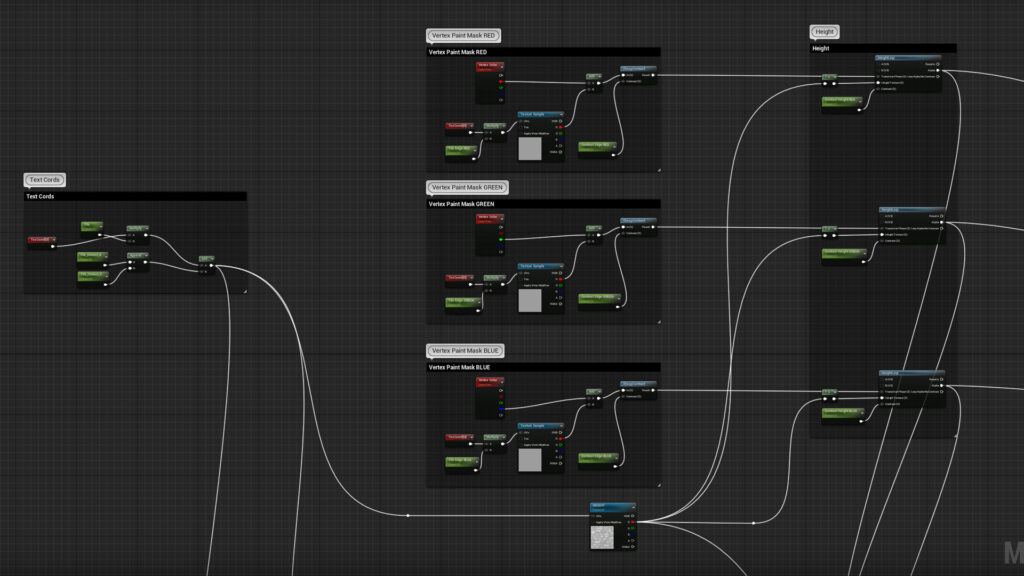
Shaders & Tech
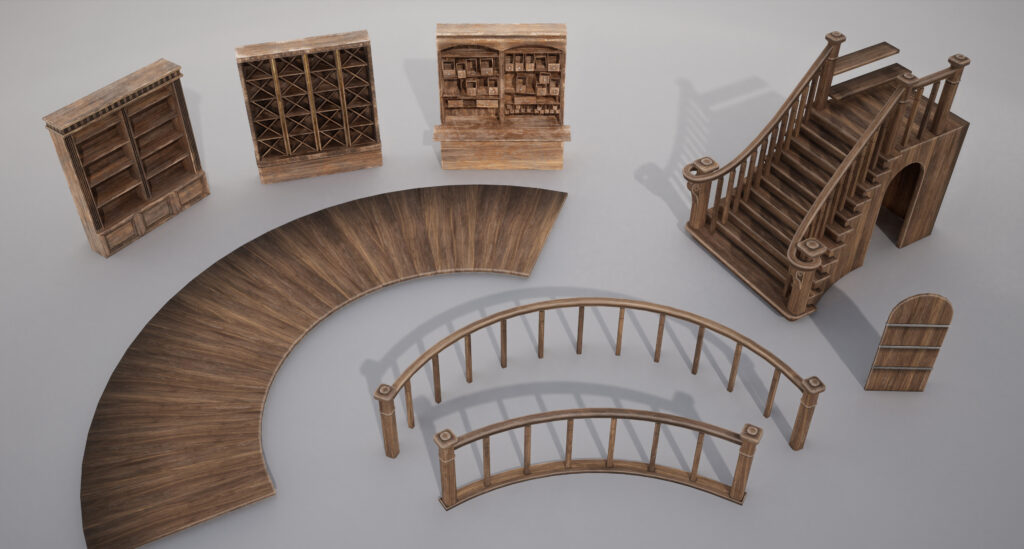
As I said in this environment I wanted to improve my knowledge of the techniques to create 3D environments, thanks to the fact that in Maya you can color the vertices this information can be imported in UE and used to create a Shader that takes advantage of this and apply different textures to each color.
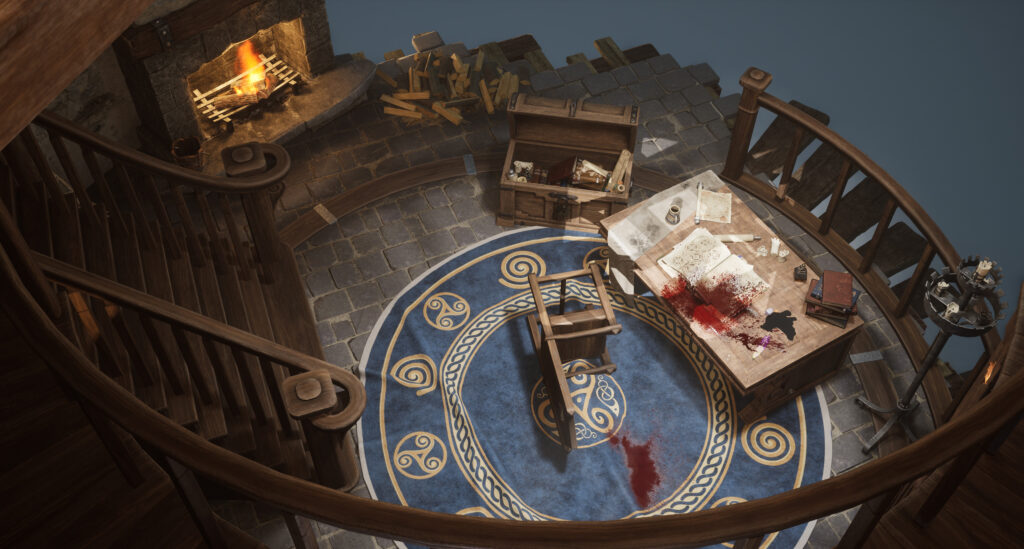
For example, in the stairs, I use the wood Trimsheet that I created for the environment, but to go further I use Vertex Paint in such a way that the red color is the base of the texture, the green color is for the older or worn parts and the blue color is for the darker or dirty parts.
Another example is in the stone walls, when I saw how the texture of the rocks was, something didn’t convince me, I needed to give rest to the scene. Putting on top of another cleaner mortar texture gave the necessary rest to the walls and added more storytelling to them.
Don’t forget that whenever possible it is very interesting to use a height map so that the texture adapts to the shape and looks more realistic.

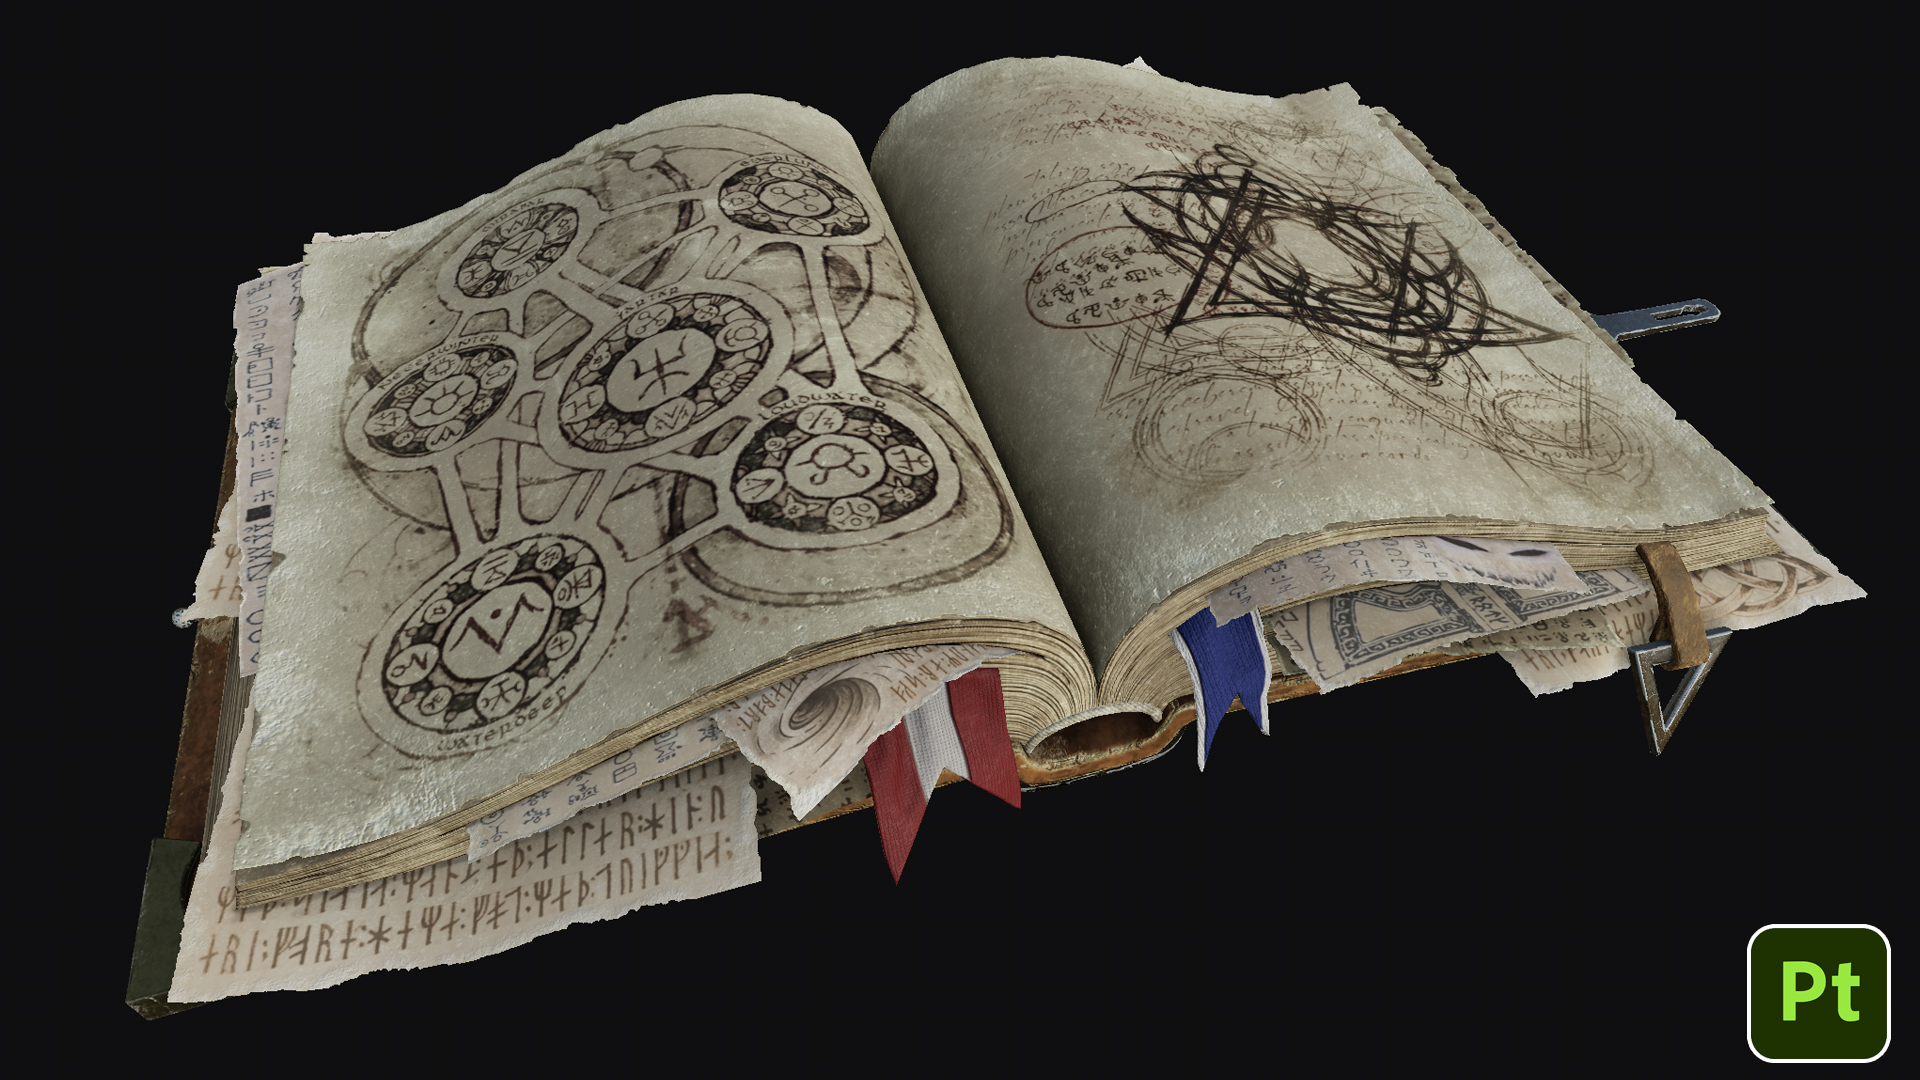
Storytelling
I think it is important to think about the history behind each object, when you are modeling a prop you have to imagine what use it has been given, has it spent years in a basement? Has it suffered weather damage such as sun and rain? These are important questions to ask yourself when you are working, I think it is the way to give life to objects.
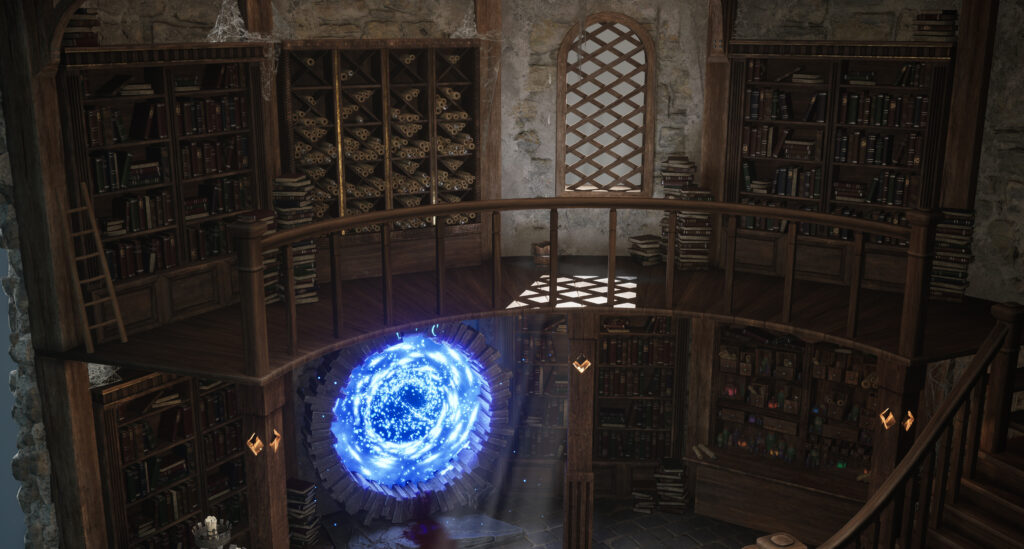
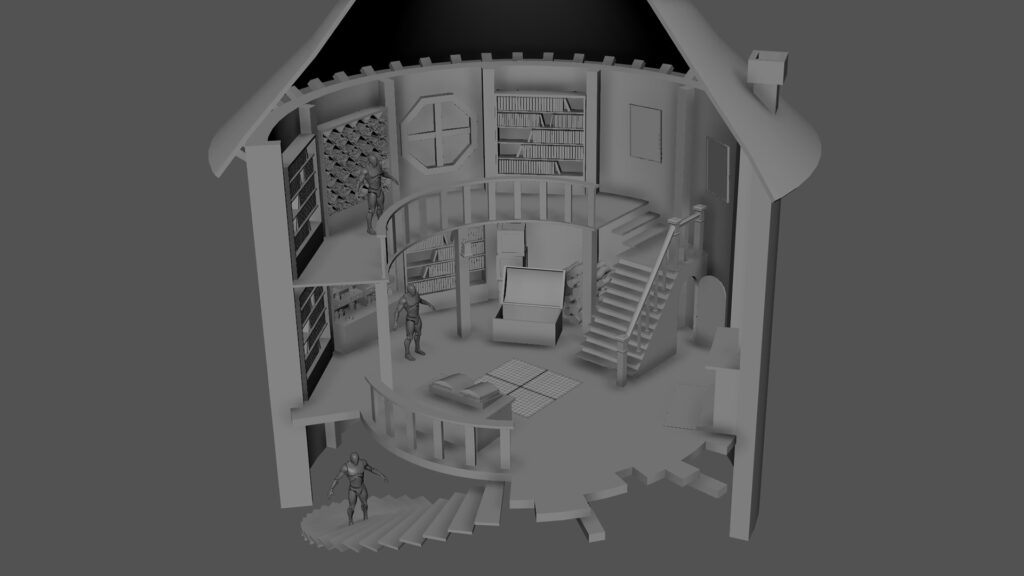
Of course, the environment must also have a story, in this case, I wanted to recreate an old tower, which a wizard has occupied to use as a library and do his research away from the eyes of others. But these investigations have attracted the attention of some demon who did not want him to stick his magical nose into the affairs of other planes.
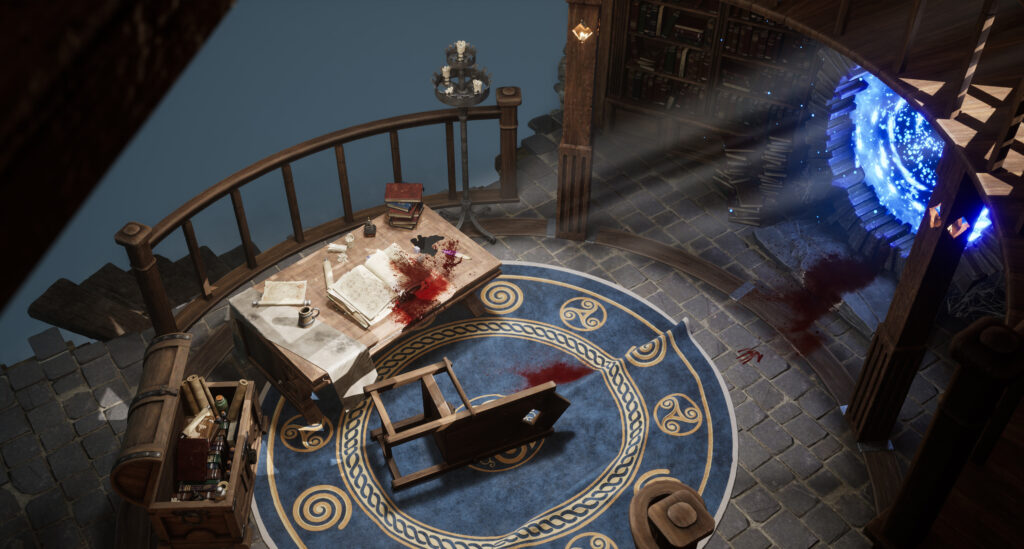
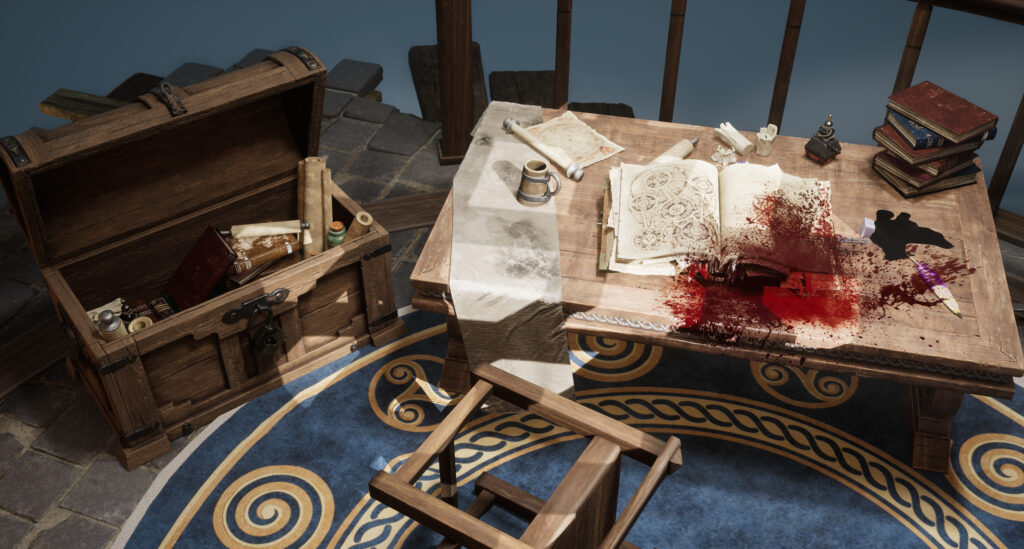
With this in mind, it is easy to imagine the environment, the wizard was working on his book and someone came from behind and surprised him, with no chance of escaping the demon pulls a wounded magician towards the portal through which he arrived.
In this case, not only is the placement of the props important, but I also had to add Decals to help with the storytelling, which can be found in Megascans in the blood section.
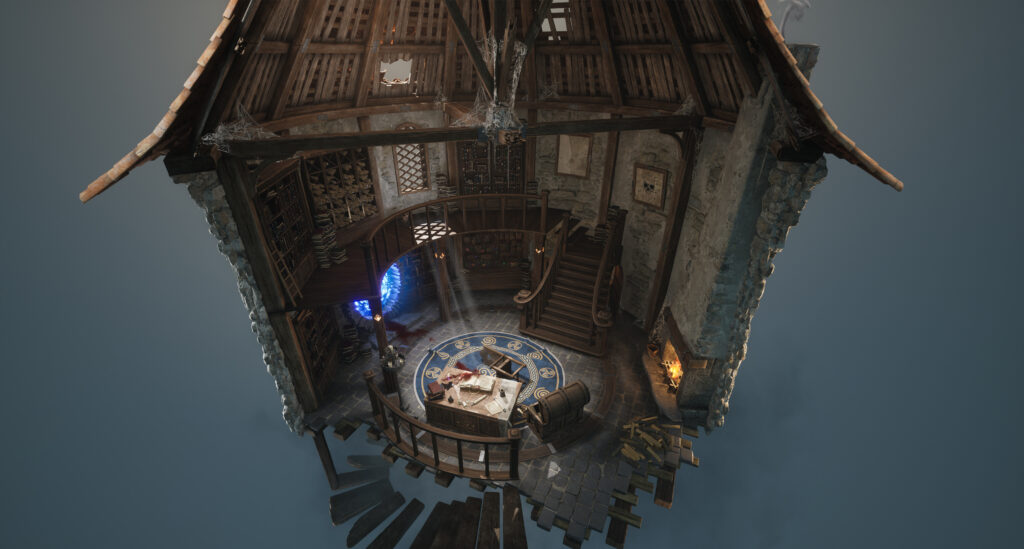
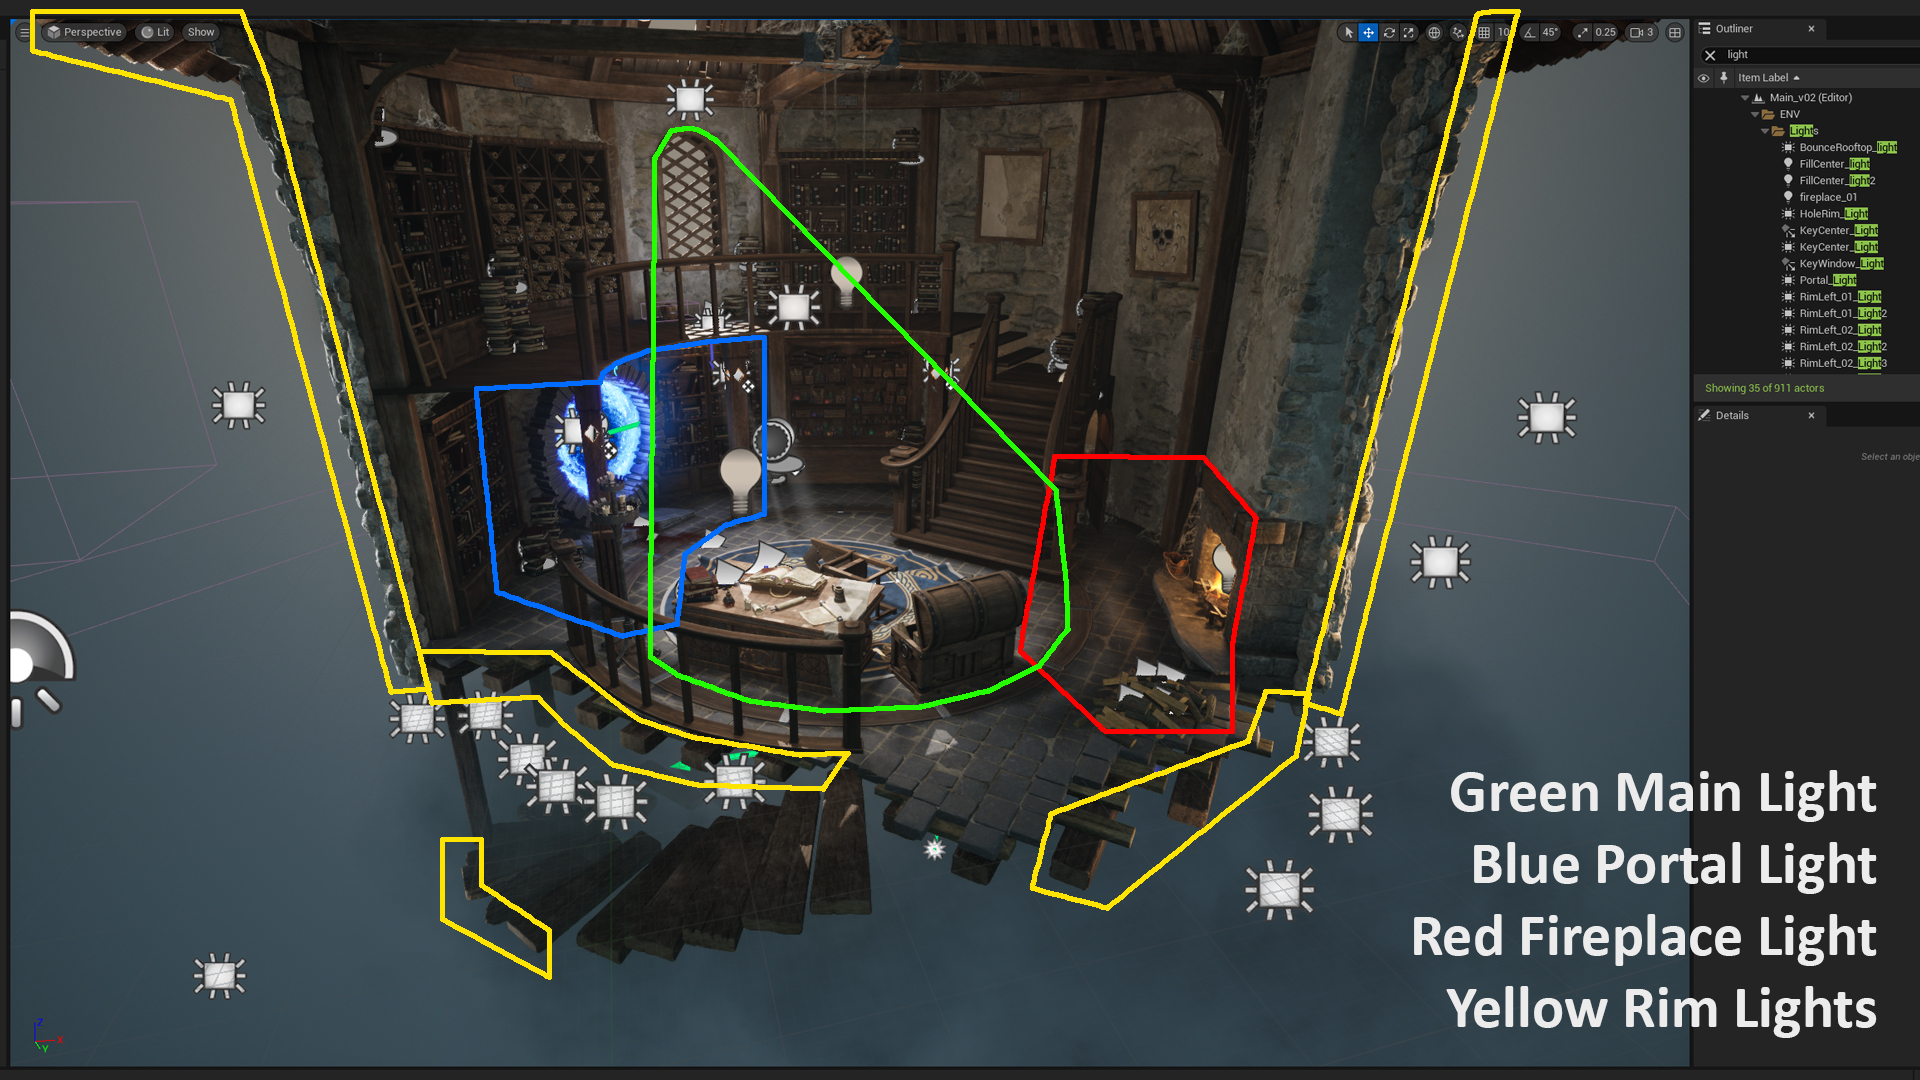
Lighting
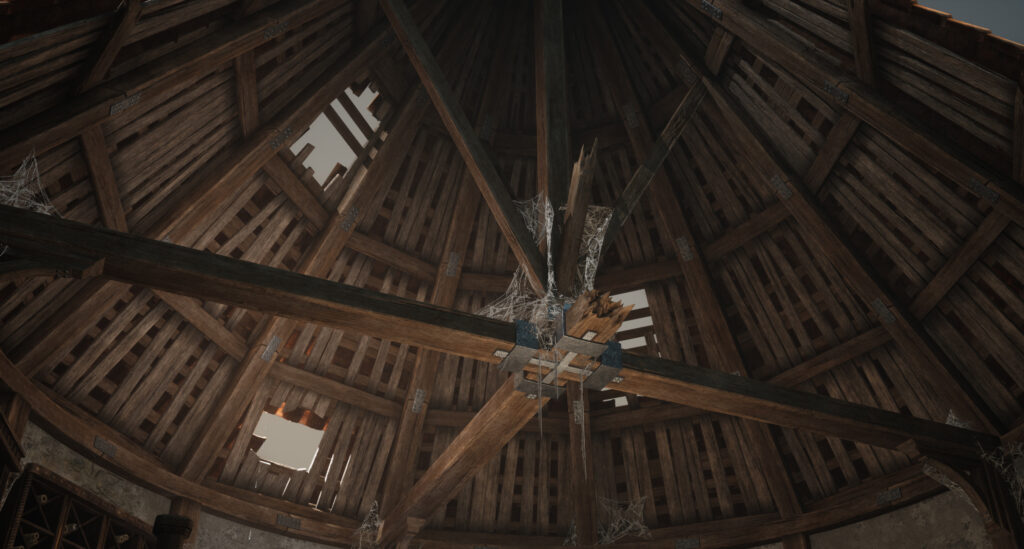
The lighting of the scene is between 3 points, the most important being the daylight coming through the window and the broken parts of the roof. The doorway and the chimney provide
the other 2 points of interest for the lighting.
It is very common to find renders where warm and cold lights are used to illuminate, they combine very well. In my case I wanted to think more of a more functional type of lighting, like the one used in the game Divinity: Original Sin 2, you have to create an atmosphere without forgetting that the players are going to play in those environments and you have to favor their game experience.
Rendering
The final result is created with Unreal Engine 5, the lighting is dynamic and uses Lumen, the shadows are RayTrace and the reflections also use Lumen.
Conclusion
I am happy with the result, it could have been better. No doubt, but it is also very important to set a deadline and try to arrive on time as well as possible. I must thank all the support that my mentor has given me during the whole process, thanks Mak!
In this environment because of everything I’ve done, improving workflow, learning new techniques, trying different things… it can become a disaster. It is important to focus and have a a site like Trello where you can write down the tasks you have to do and be organized.
Thank you very much for this opportunity to Games Artist and all of you, I hope you enjoyed reading this breakdown as much as I enjoyed creating the environment.
Read more articles
You might also like these articles.