
Introduction
Hello! My name is Vsevolod Ushaev. I’m 16 years old. I make Weapons and Props in 3D. Before this, I worked as a Designer.
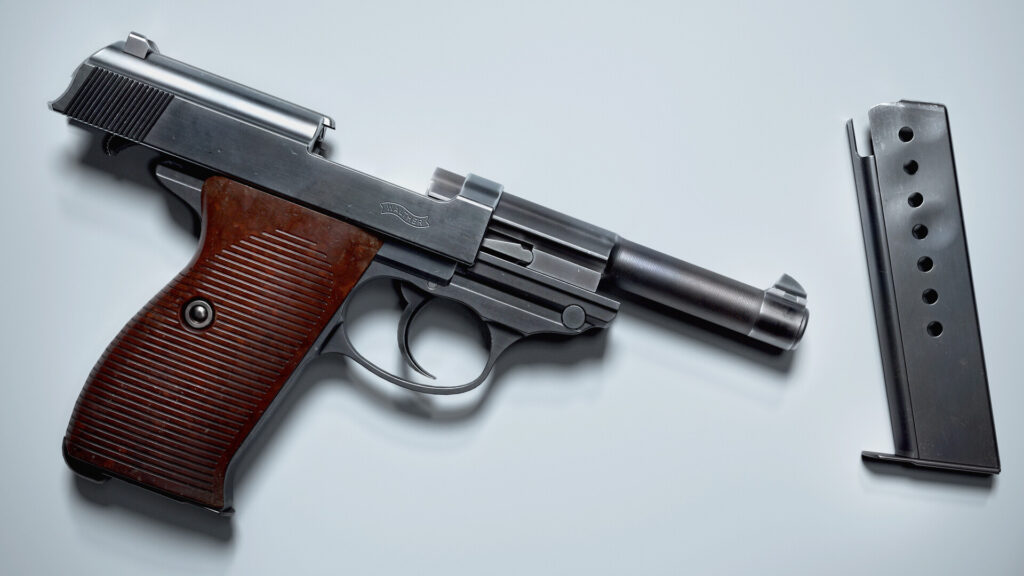
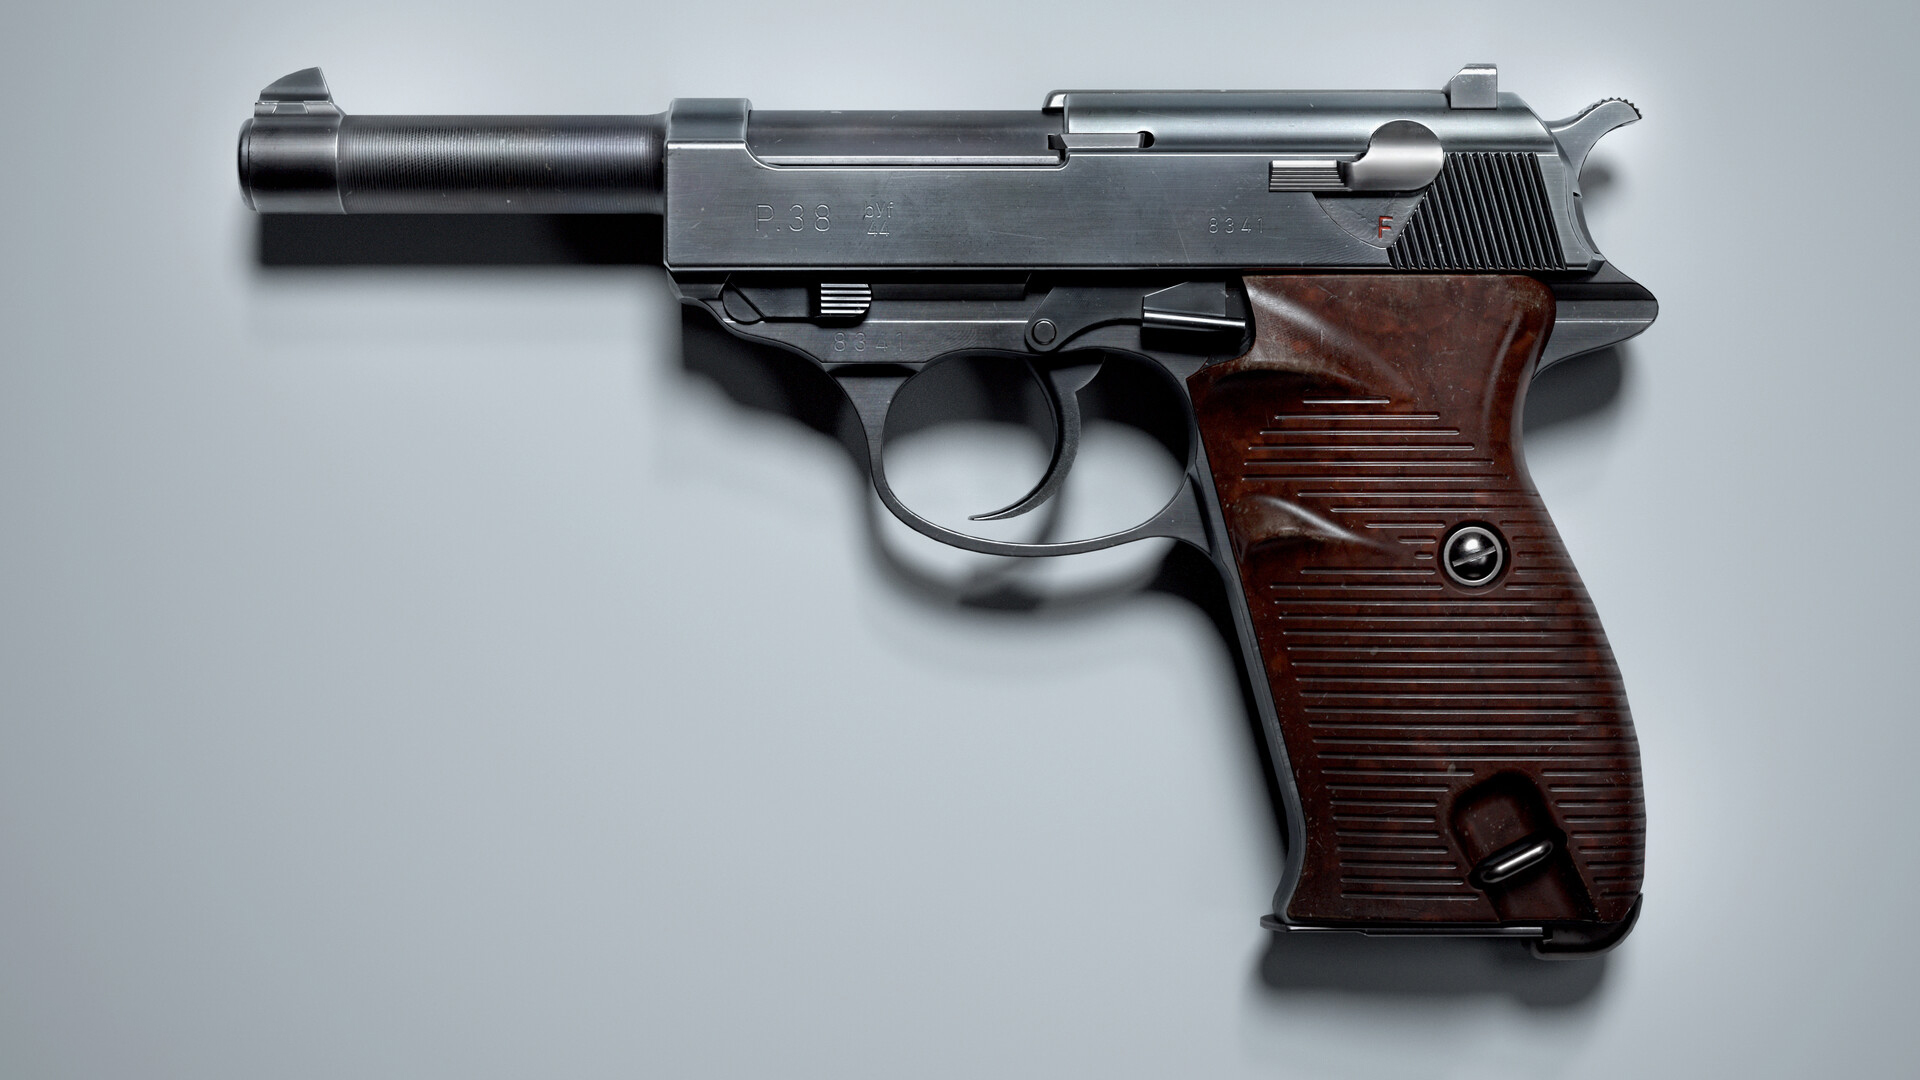
Here, in this article, I’ll tell you how I made my Walther P38. The workflow, software and some tips here and there.
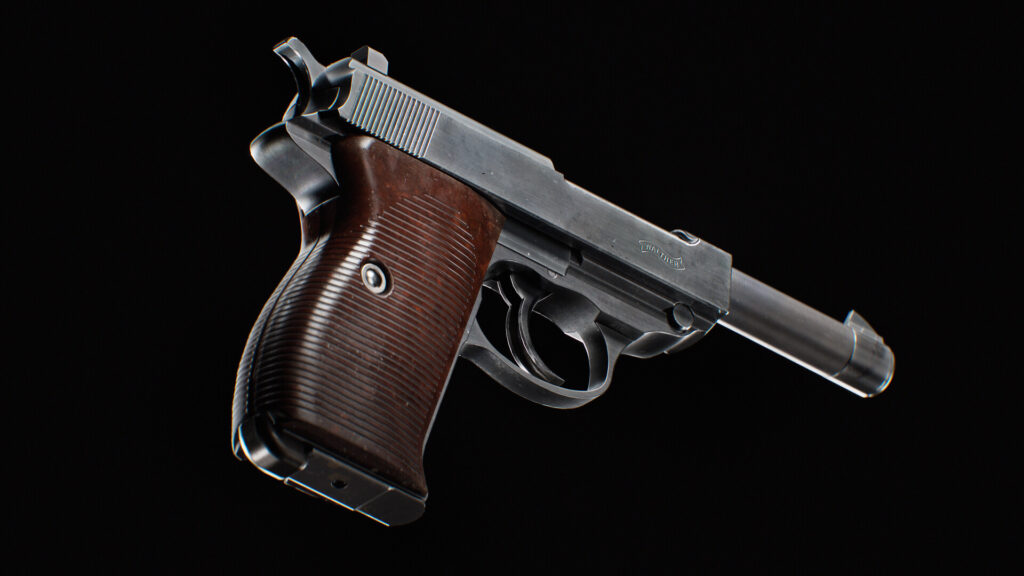
First of all, how I chose the gun I made. I opened random websites from Google that had some decent references of weapons, after the creation of my AR-15 I wanted to make a little gun like a pistol. And I saw the Walther. It’s a little bit ugly. But every gun is beautiful in its own way!
And here starts the first stage of gun creation.
References
I use the Bing browser because there you can choose the image resolution. And also I use some seller websites.
https://investmentsinarms.com/
https://www.rockislandauction.com/
https://collections.royalarmouries.org/#/objects
https://dinustyempire.notion.site/6-1-Weapons-library-0ab1d28137e749f0abfca738d93a9222
And any other online auction. there are a lot of them.
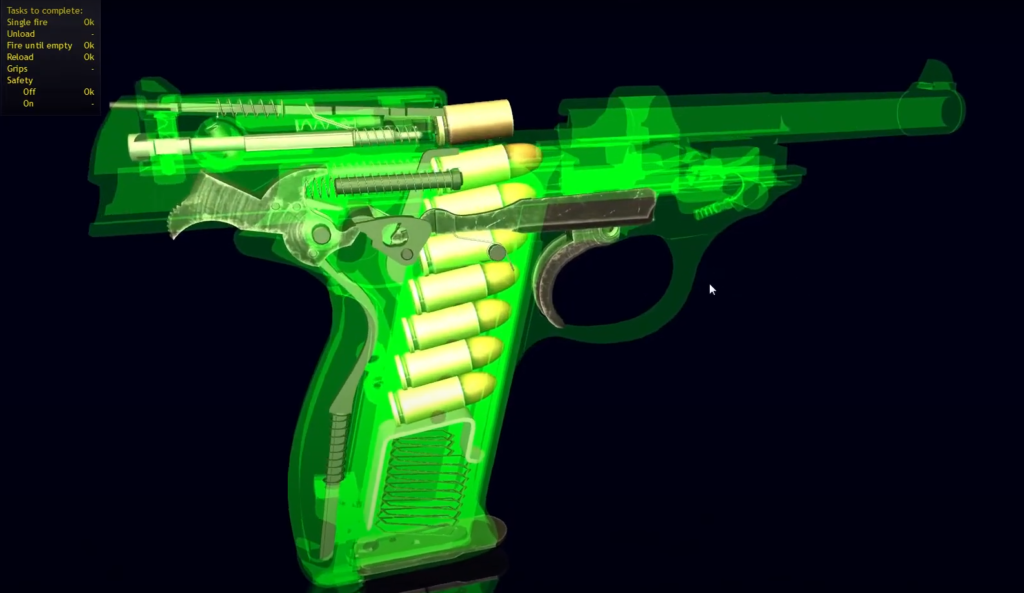
But photos don’t allow you to understand how your gun works. Every time I watch many disassemble videos until I find out how it works. What does every detail do? Besides videos I recommend you to use the World of Gun application on steam.
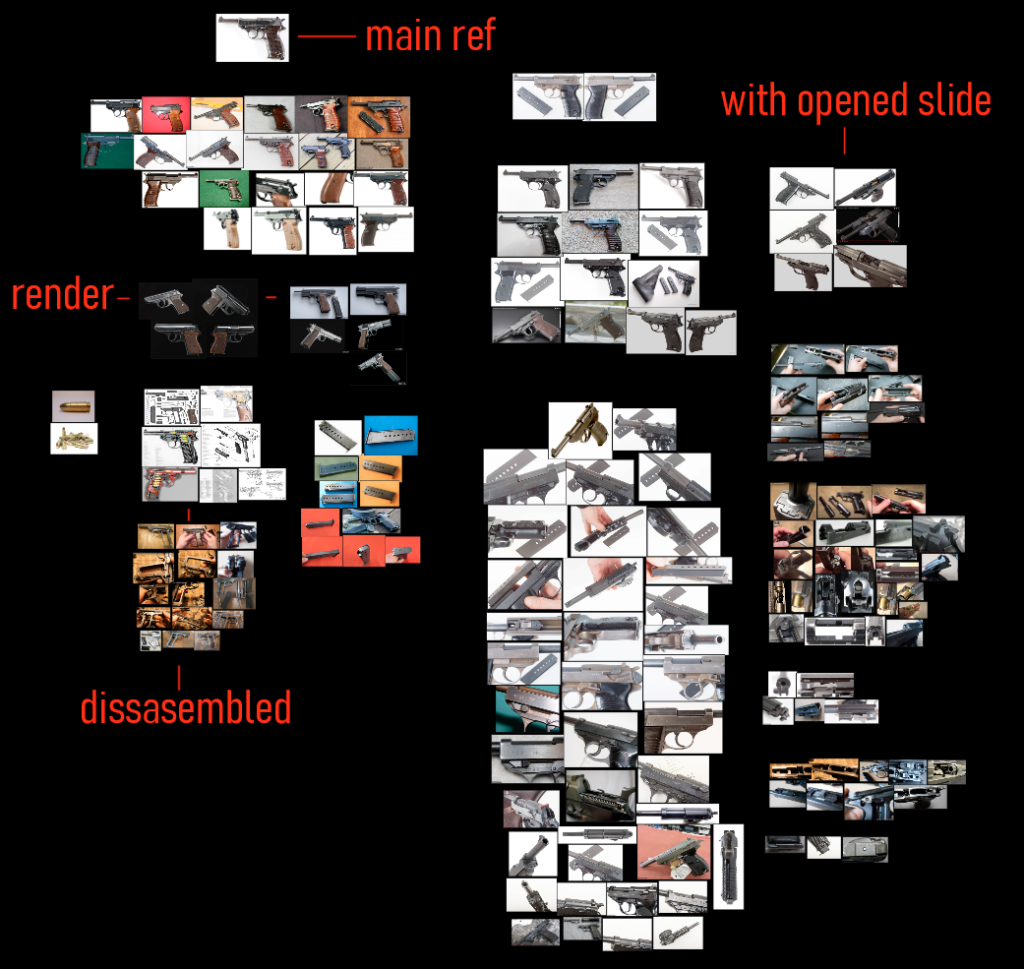
All my references I keep in PureRef program. It’s free and necessary for weapon artists.
It’s very important to select one main ref. If you look at different refs you can combine different types of gun accidentally. For example, Walther’s and Mauser’s models. They can have different barrels or slide stop in my case.
Modelling
Since I watched Duard Mostert’s course I make guns in Fusion 360. I watched his every tutorial and recommend you to check them out too.
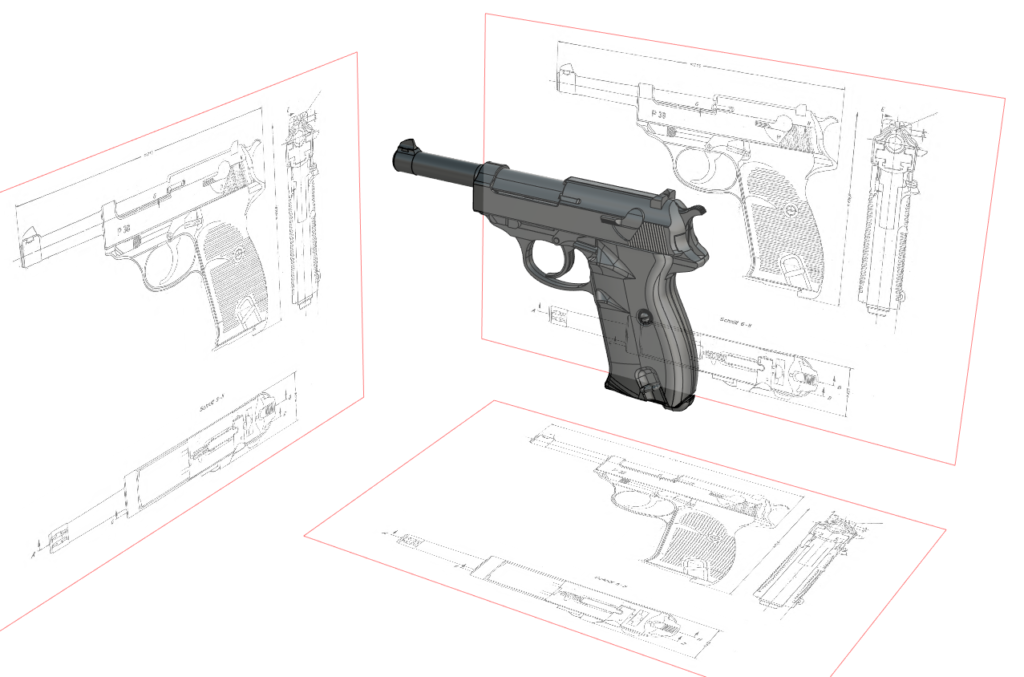
At first, I imported blueprints to my scene. I found them simply on google. I heard about the Google patent but honestly, it hasn’t helped me yet. Or I just don’t know how to use it. Make sure your blueprints are correct. Check metrics on the Wiki.
In Fusion, you make guns like in real life. You make a base and using Boolean you cut off all unnecessary.
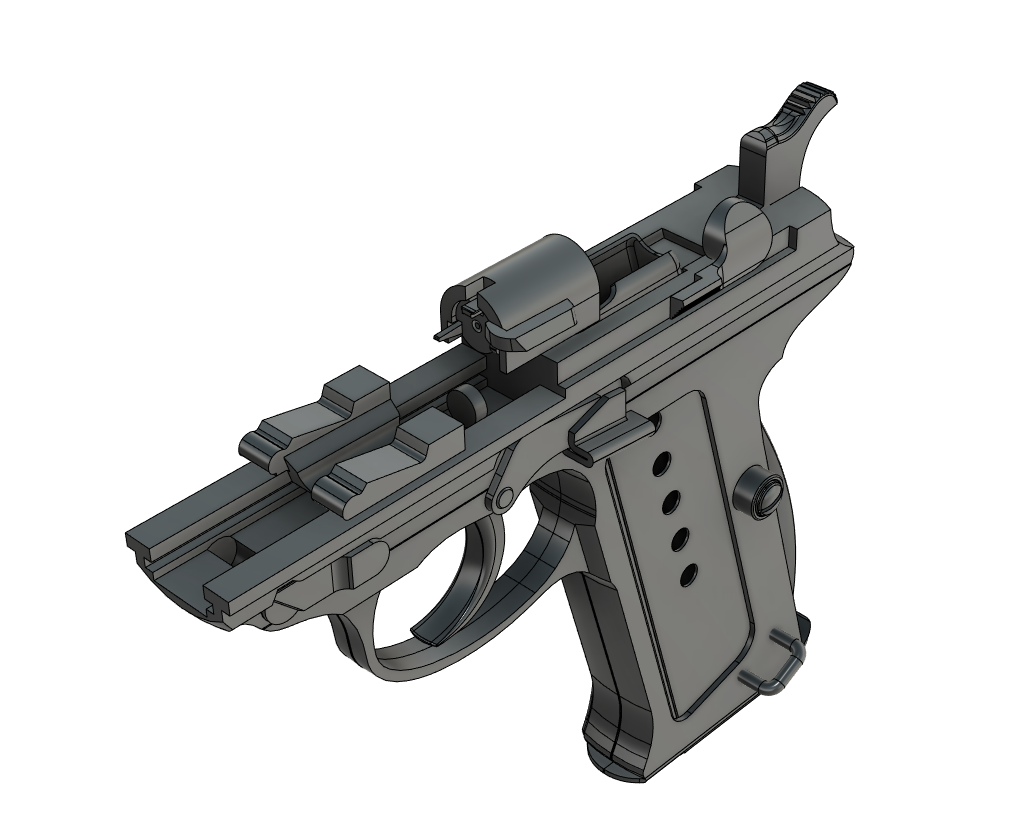
This time I decided to model almost every part.
After Fuison, I export model (Iges file type) to Moi3d. In Moi, you can adjust the polycount you want.
Low poly
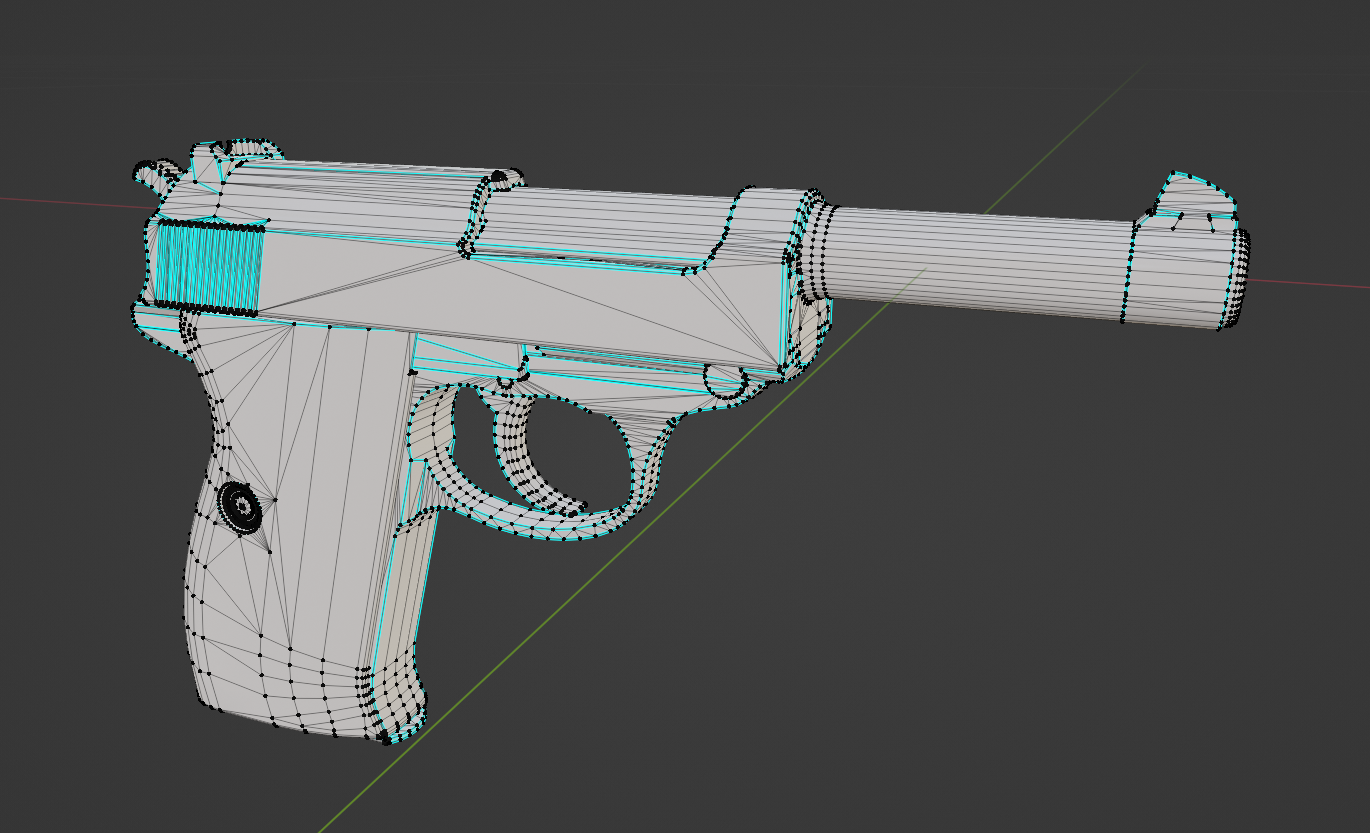
After export from Moi I open 3D soft like Maya. But this time I used Blender because I want to learn it better. Don’t forget to unlock normals and select angles like 40 degrees to set hard edges. After that I clean the mesh. Merge vertices and delete unnecessary loops. For my portfolio, I tried to reach 10-20k tris. Think and find polygons players will never see and delete them.
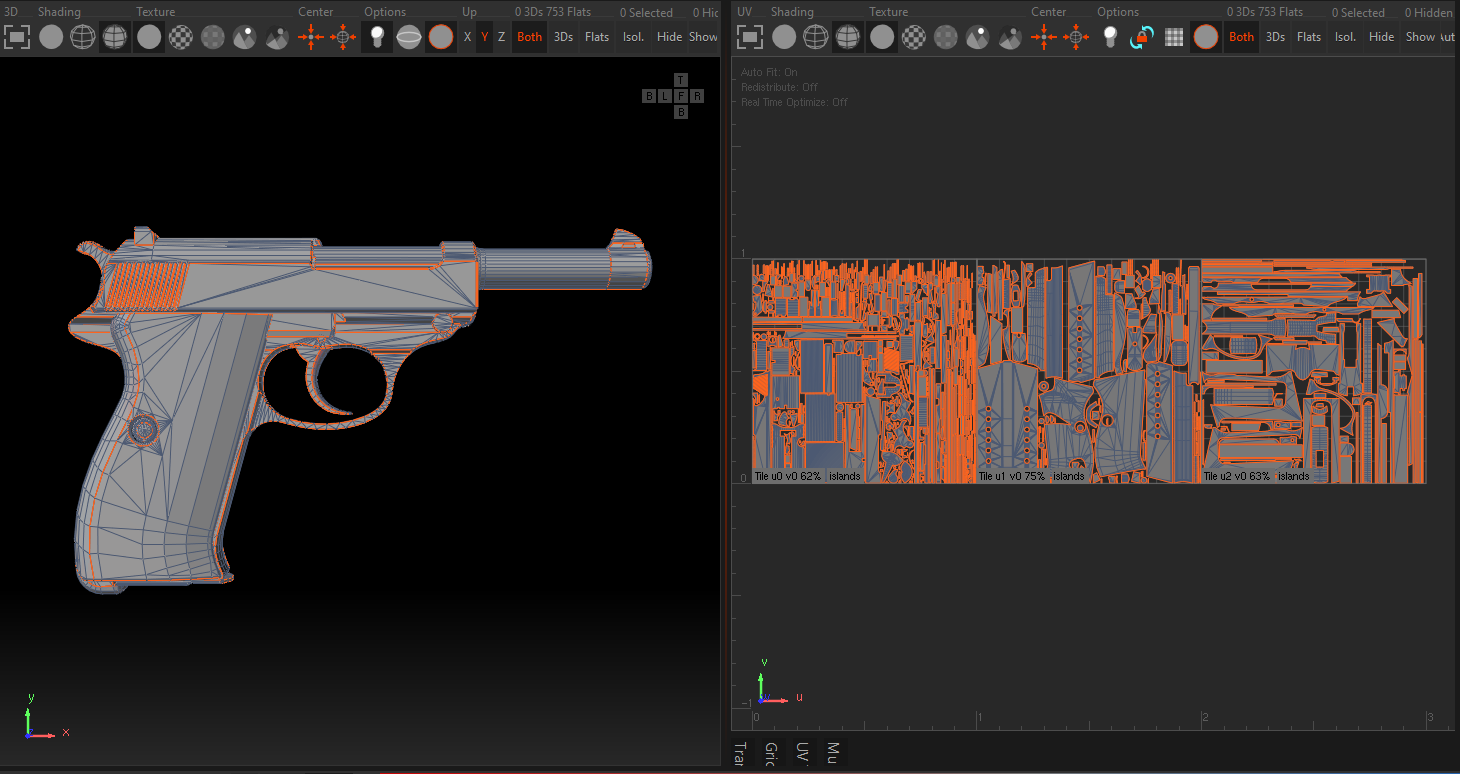
UV
For UV I use RizomUV. Nothing special about it. Just remember to straighten every rounded shell. My friend JakeArt taught me that. Constraints in Rizom.
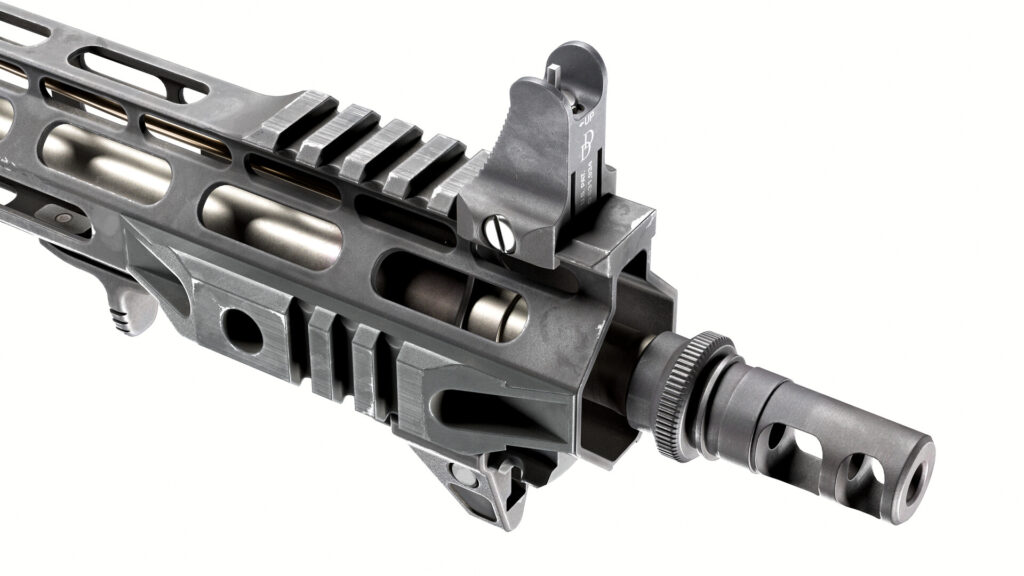
I used 3 UV sets to get maximum texel. It lets me make very close renders.
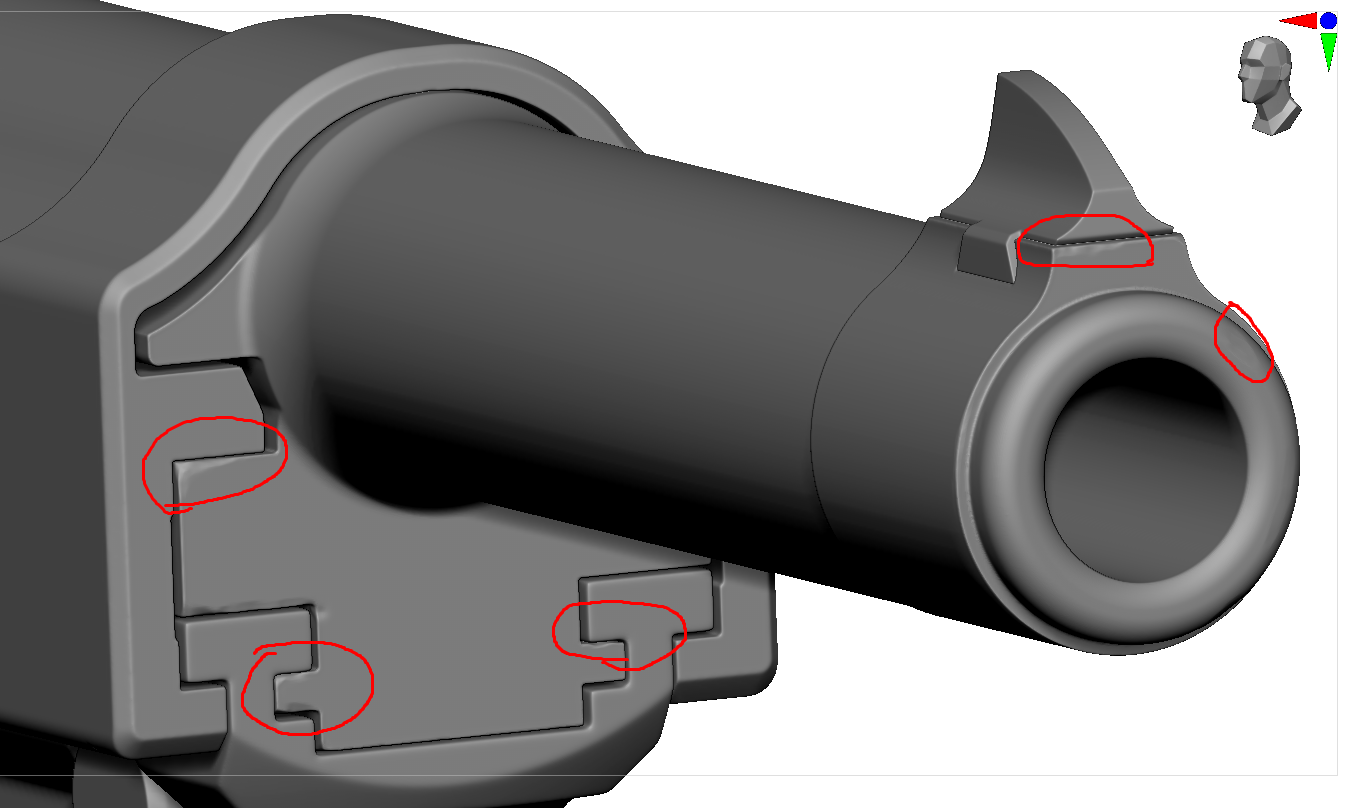
High Poly
Same as low poly I exported the model from Moi to make high poly. But for high poly, I used as many polys as I could. Then I import my model to Zbrush, DynaMesh it and smooth everything using Polish and ClayPolish. After I add little damage with a trim dynamic brush. Of course, by checking damage on refs.
I decimate big parts and export my high poly to Marmoset. There I will bake maps
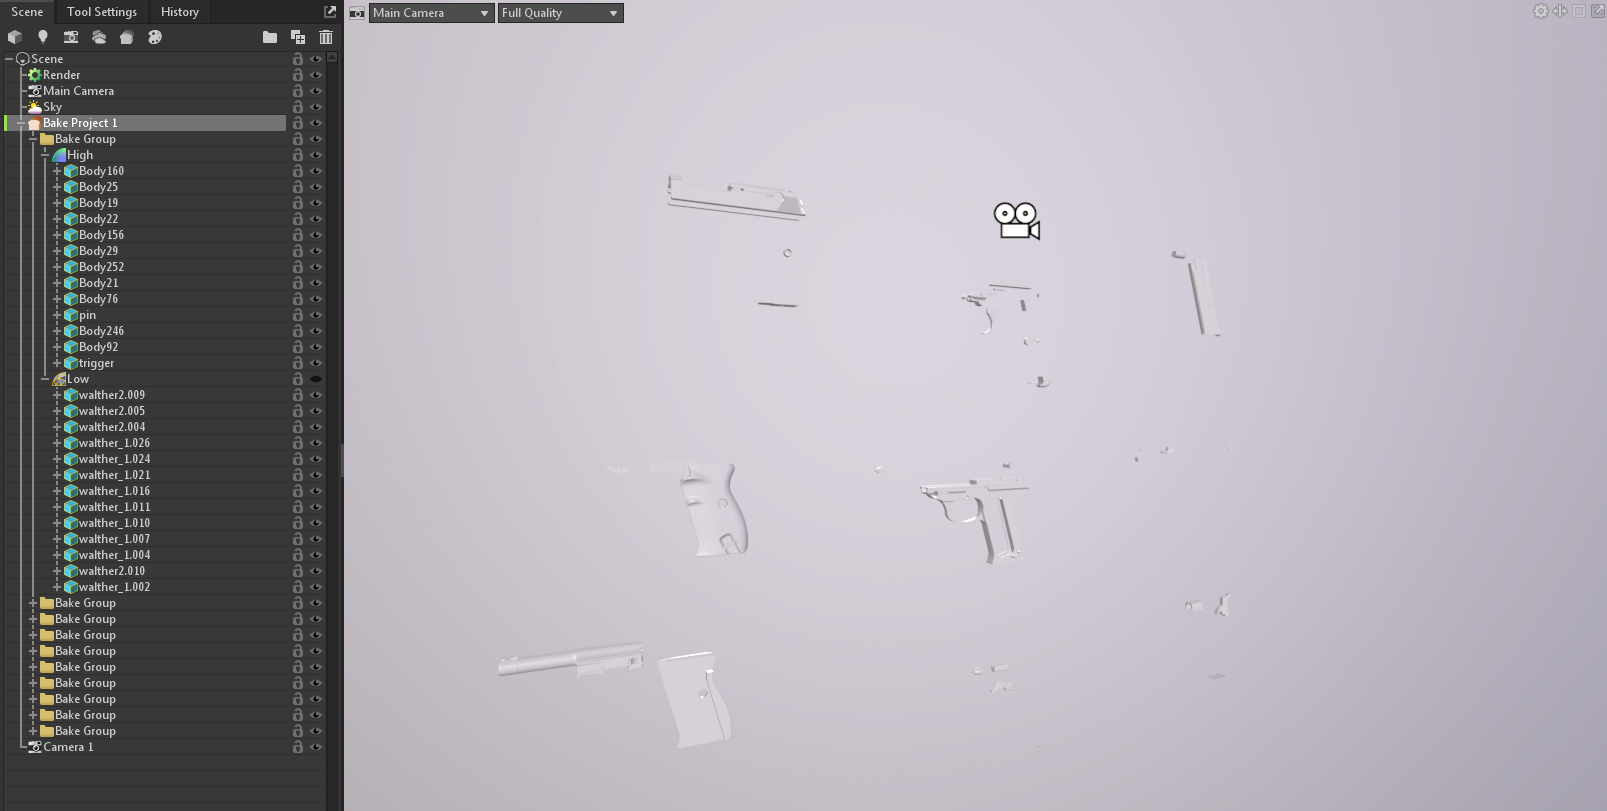
Baking
Usually, I make bake groups in Maya and export low poly with suffix _low and high poly with _high to Marmoset. But in this case, I imported hp parts and lp parts to marmoset and distributed them to bake groups. After I exposed them. No objects should touch each other.
Some maps I bake in substance painter. Depends on your purposes. Just choose what you like more.
Texturing
The most interesting and artistic part. Before you start texturing choose ref with materials you like. The same gun can be made of different materials. There are a lot of them.
I chose bakelite. I like how it mixes with the metal side and receiver. But before creating materials you should set up your scene in painter.
I got a new version of Painter with a built-in aces tone mapper but I still use my aces color lut from Gumroad.
https://app.gumroad.com/d/b6add49a0a5532fafc41251f11abfadd
As for the HDRI, I used a modified environment from PolyHaven. Thanks to Iskander Galyamov for help with that!
Here it is – https://www.dropbox.com/s/zsvsqfszuaanalt/VU_custom_studio_small_03_2k.hdr?dl=0
When my scene is ready I make height details. To get these lines I used stripes texture and draw a mask. But also, I could make it in fusion or ZBrush.
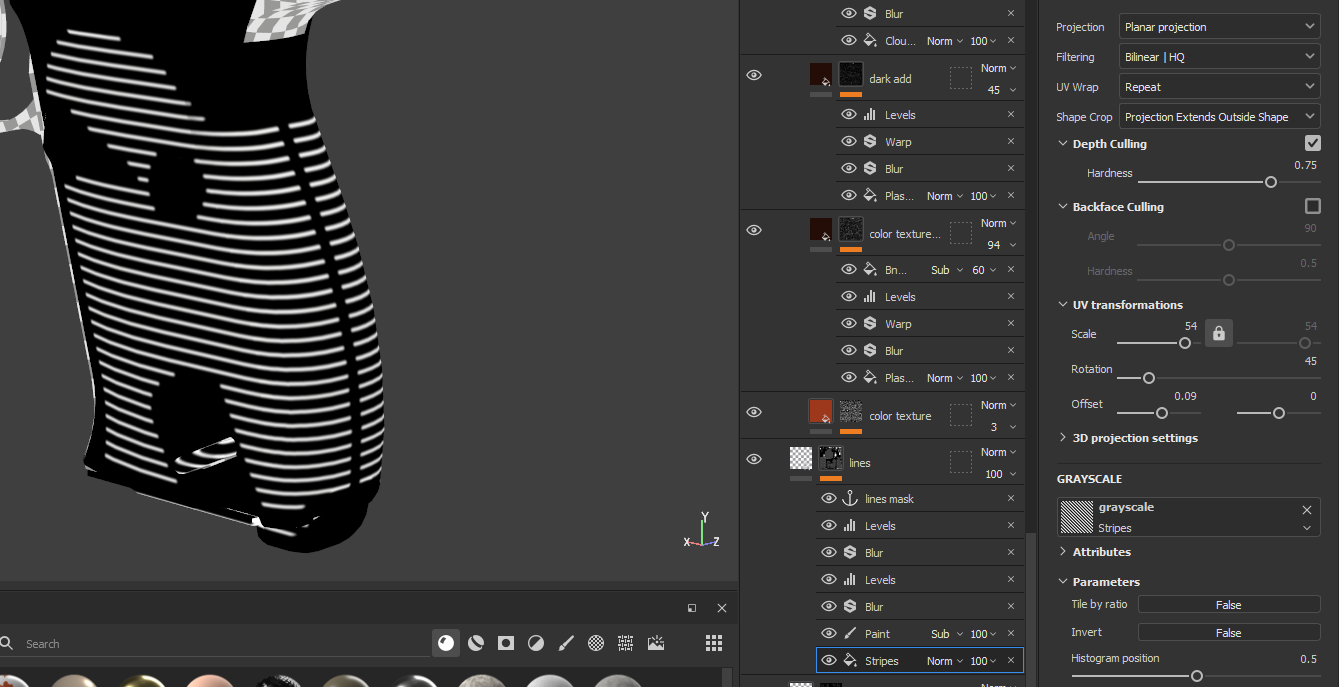
Now I’m gonna create base material. Dirt, dust and scratches are just addition but all magic in basemat.
I start with a fill layer. Sometimes I use Quixel textures.
After filling the layer, I add noises. Color Sum texture to color channel, white noise to rough and sometimes I add flakes texture to the normal channel. Usually for anodized metal. But in my case, it’s just aluminum.
I make geometry edges more glossy and lighter using a curvature generator. And for deepening I add a dirt generator, to make lines on the grip more contrast.
Also, I use a huge amount of color variations. You can even download random pictures with good colors and blur them. Use it with tri-planar and it will be your color variation. Don’t forget to try all the blending modes.
About damage and scratches. I’m trying to use photo-based textures. And don’t use generators for damage. Generators help to get little dots or stains, not everything.
Besides real photos, I analyze other artists’ works. How they distribute damage, height noise and dust. Because your work should be not just realistic but also artistic. If we talk about video games.
Interesting article about materials – https://www.gameartblog.com/howel-ganuchaud-guide/ Rafael Prado shared it with me.
Below is a gif with every layer of every part.
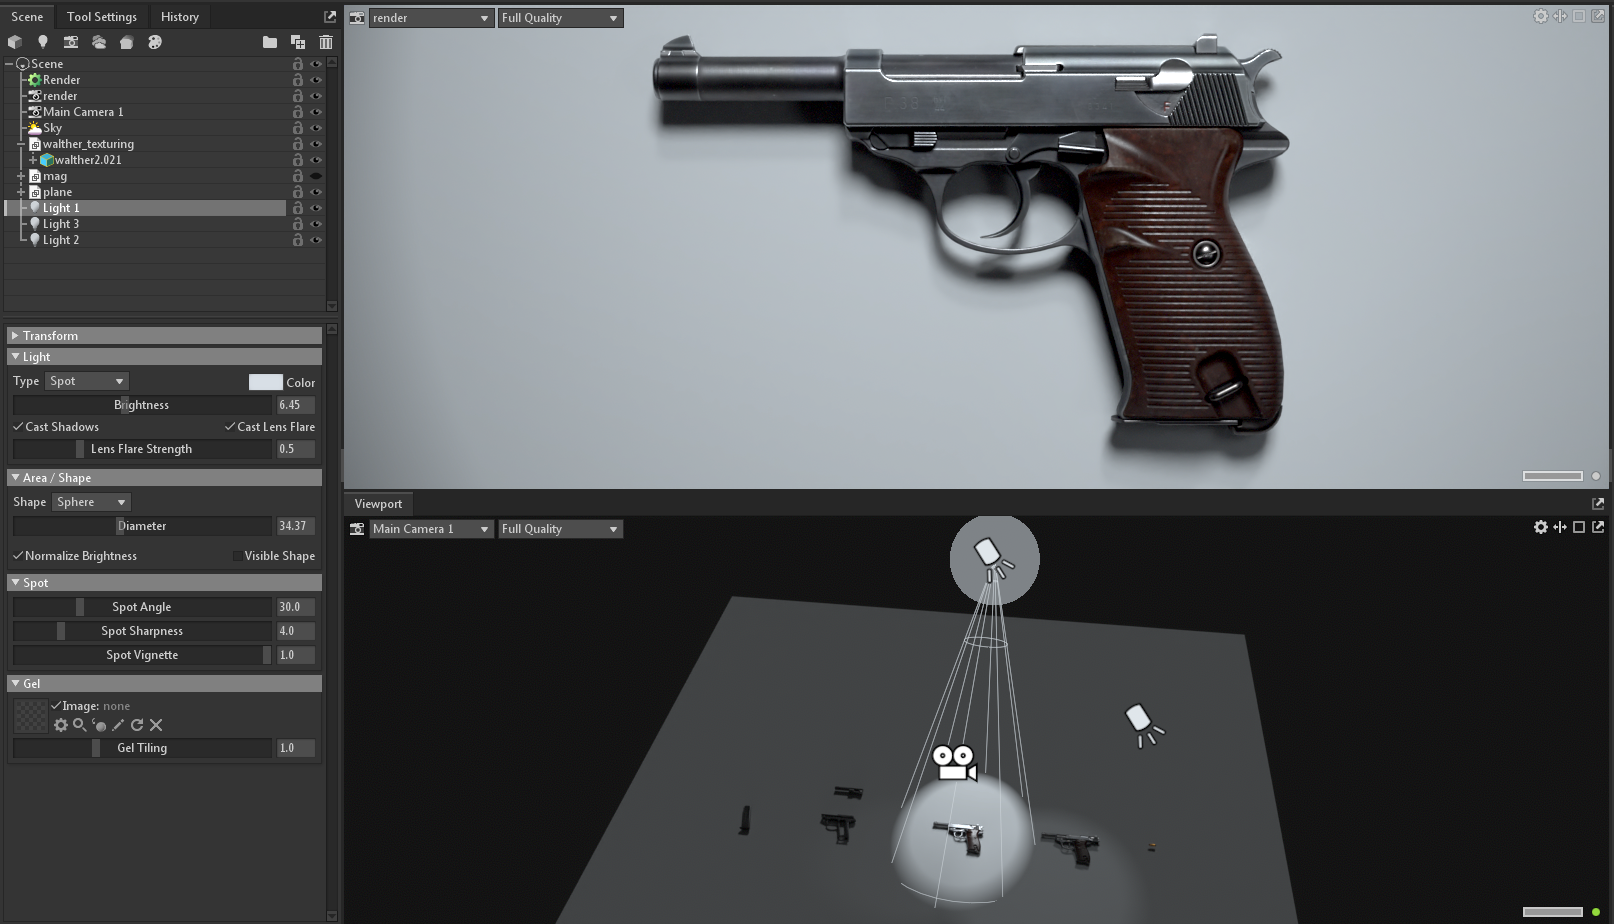
Render
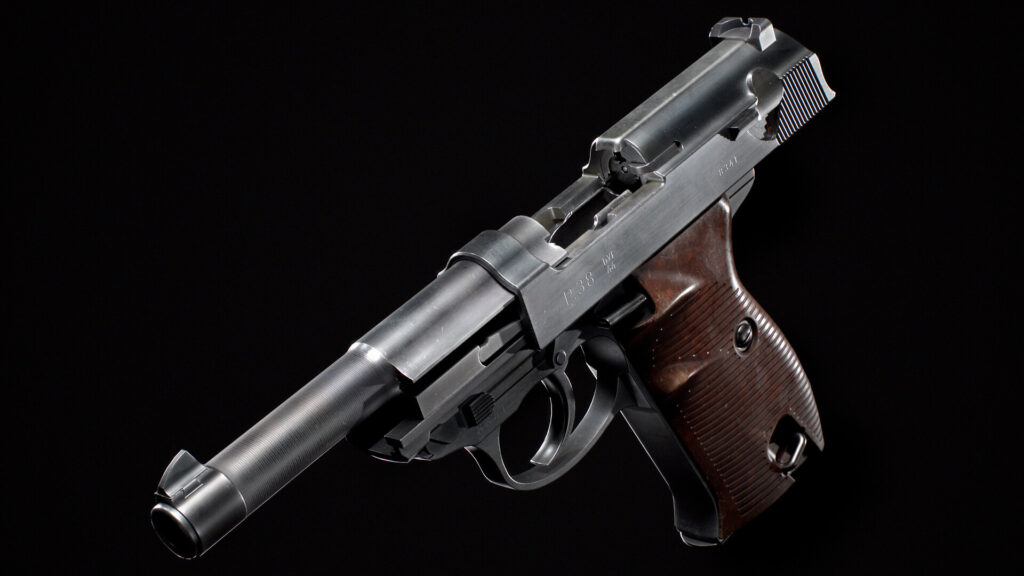
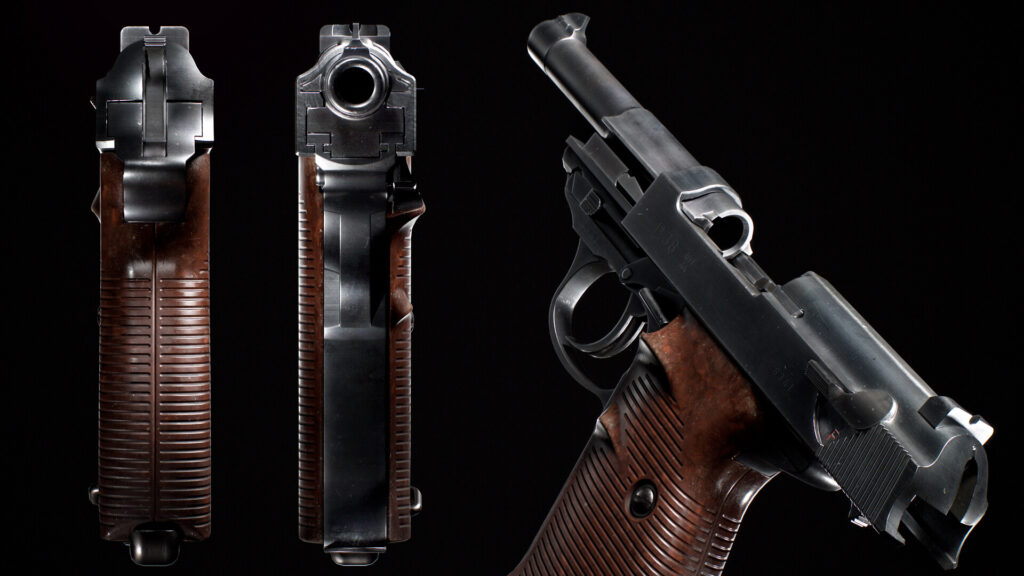
This time for a render I used Ryzin’s style as ref. With white floor and one-two light source. I love how Alan presents their work.
I render in marmoset toolbag 4. It’s easy, fast and convenient. Also, it has curves and other useful parameters.
Post-processing
I put my render in photoshop and gave it a contrast using Camera Raw. I made some areas brighter and some darker. To make it more pretty for my eye. There should be an active point that you see the first and a dark area that does not catch the eye. Also, I add Posterize in Image – Adjustments to get a photo look.
That’s it!
Never stop learning. New techniques, new features in programs, new pipelines. There is a lot of useful information in Artstation learning or Gumroad.
And the main thing — ask for feedback! Share work in progress and ask the experienced artists what you can improve. Use discord channels like DiNusty or Wardog for comments on your gun.
Thanks to everyone who helps me! I mentioned them in the description of my AR-15:
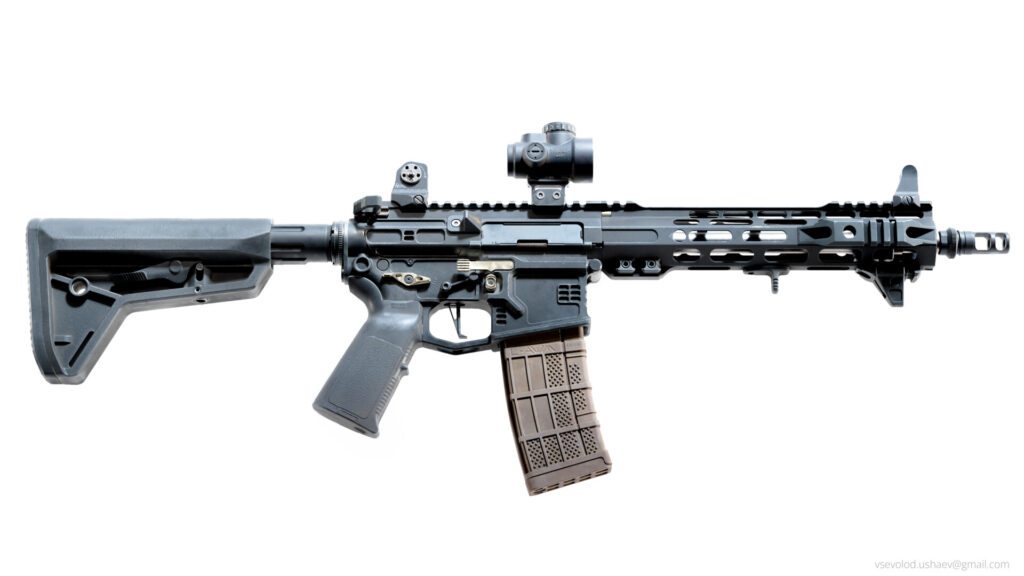
https://www.artstation.com/artwork/YKz4YX
Especially thanks to Nikita Morozov, Iskander Gallyamov, Kirill Lyalkov and Ohle Mathiebe.
Read more articles
You might also like these articles.