
Introduction
Hi there! My name is Nikolay Andrianov. I’ve been working in the gaming industry for 5 years. I started my career as a level artist at the Allods team studio working on an Armored Warfare project.
After that, I worked on the Caliber project as a 3d environment artist at the 1C Game Studios. Currently, I work as a senior 3d environment artist at the indie studio Berezki (ex. Alter Games).
Goals
I wanted to make beautiful artwork, unlike most others. But, first of all, I created this project for a training course. Based on past experience, I understood what difficulties beginners face and over the past 3 years, I have received a lot of feedback from my students.
And when I was making a new course, I took into account all the pros and cons in relation to this project.
Software
- Modeling – Autodesk Maya in conjunction with ZBrush.
- Texture map baking – Marmoset Toolbag.
- Working with textures – Substance 3D Painter and Adobe Photoshop.
- Rendering – Unreal Engine 5.
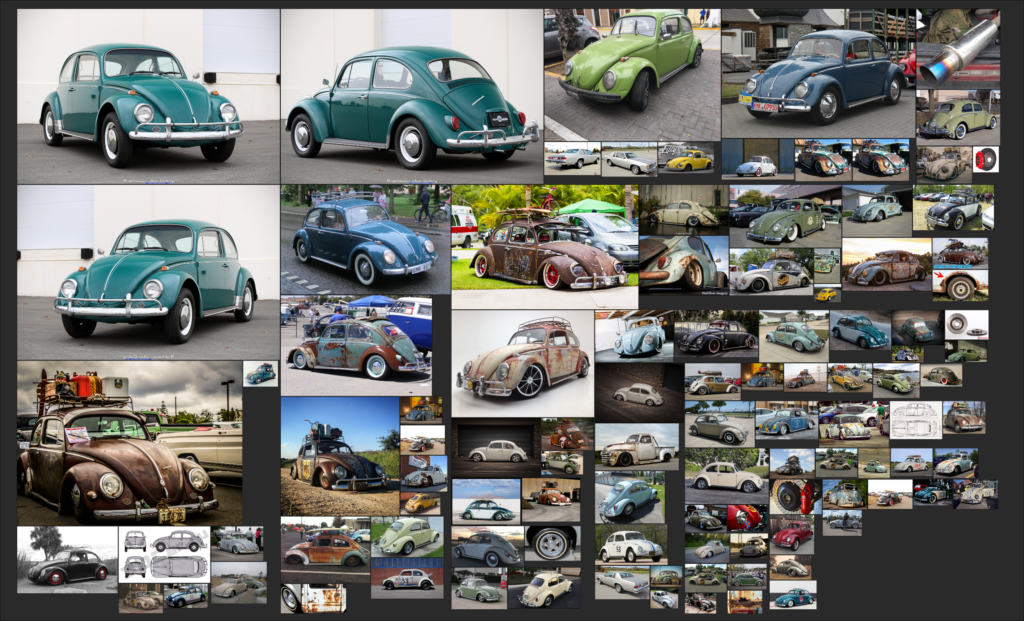
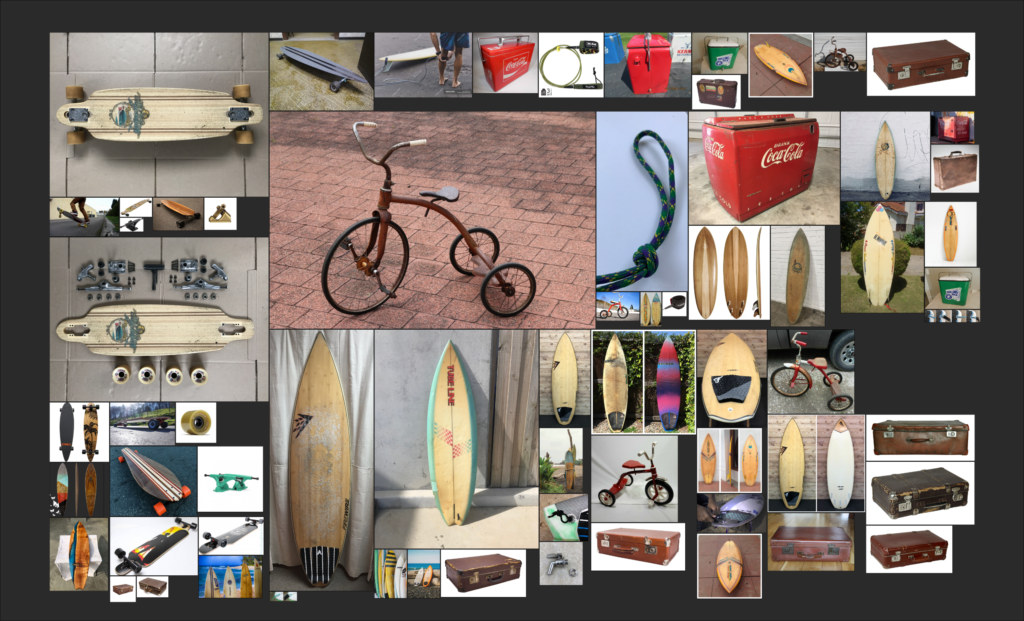
References
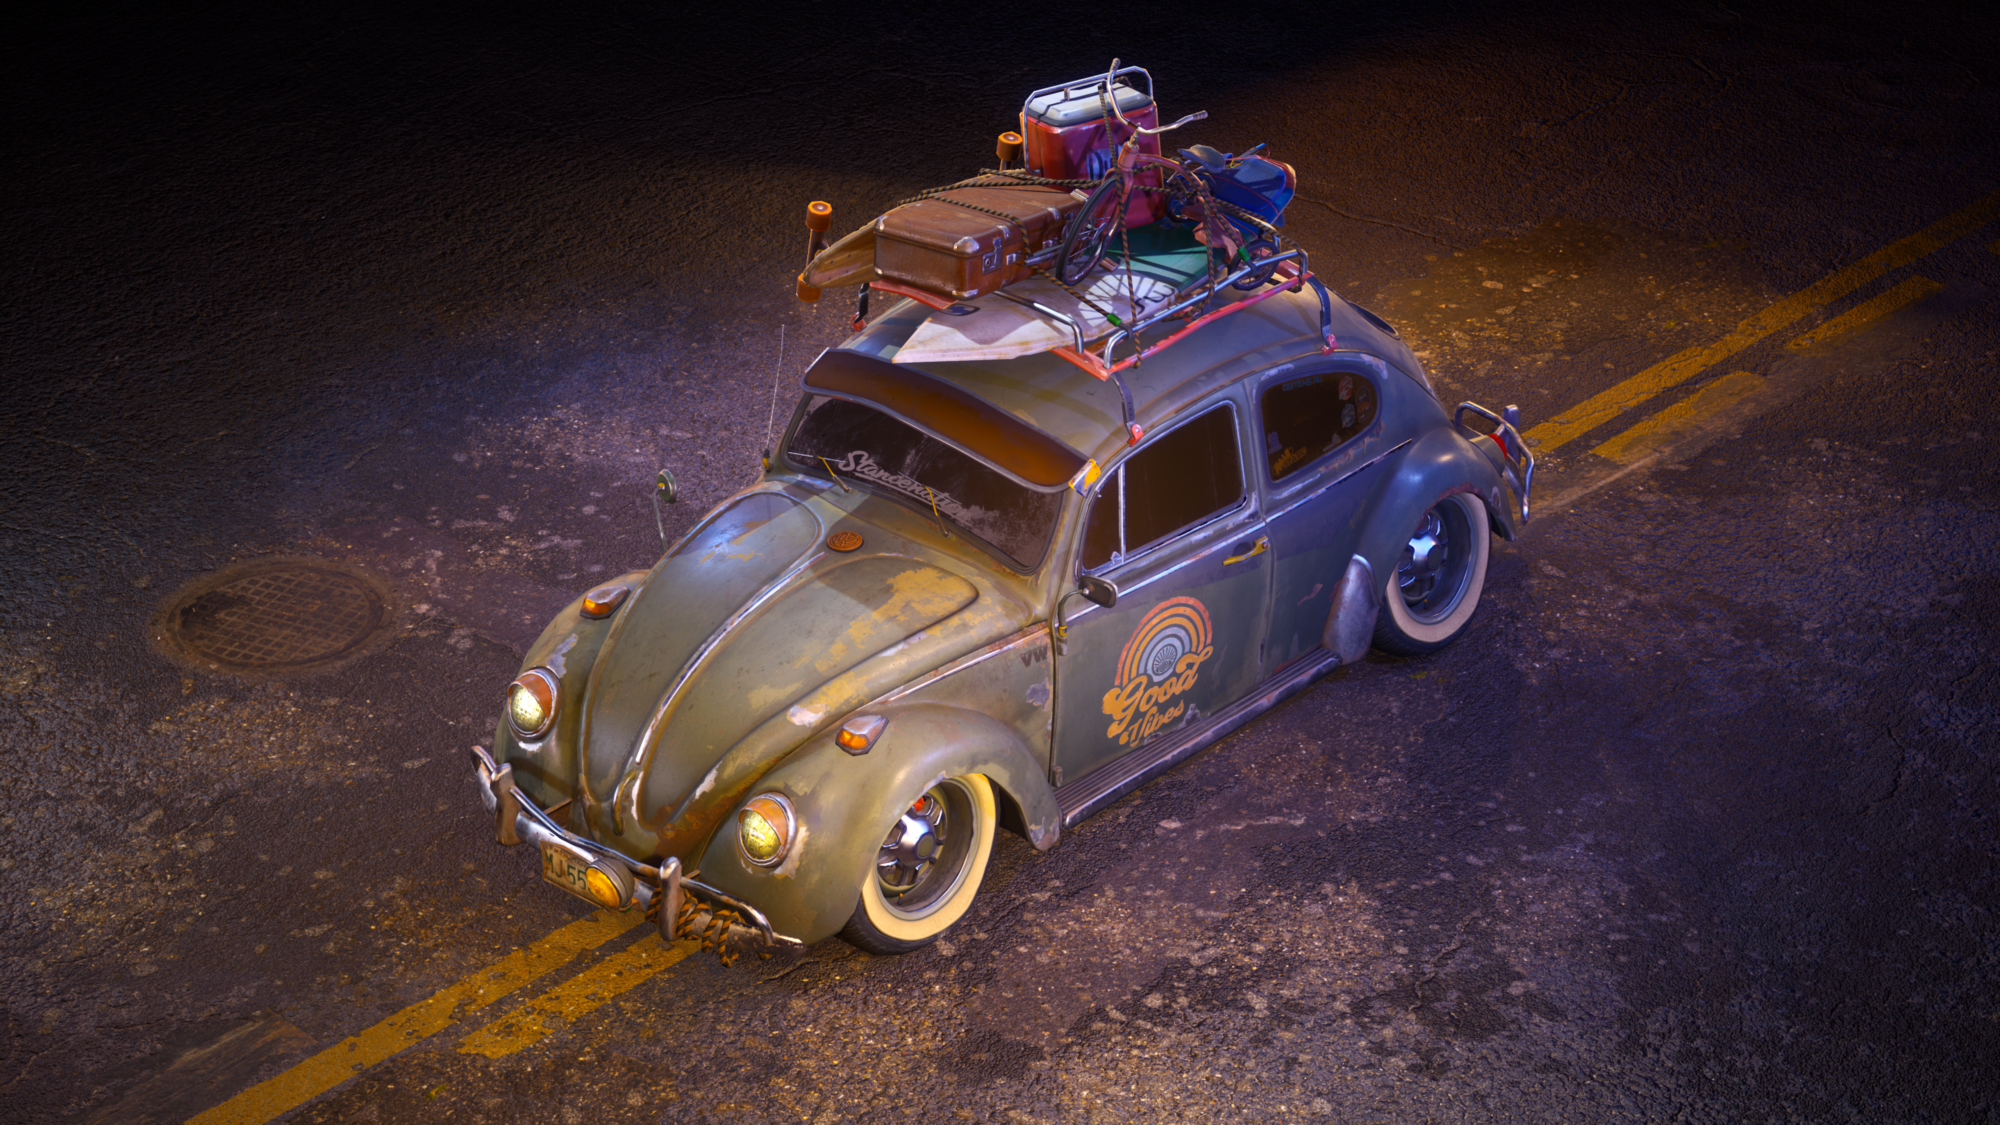
I have loved cars since childhood. My first car was a Volkswagen Golf II.
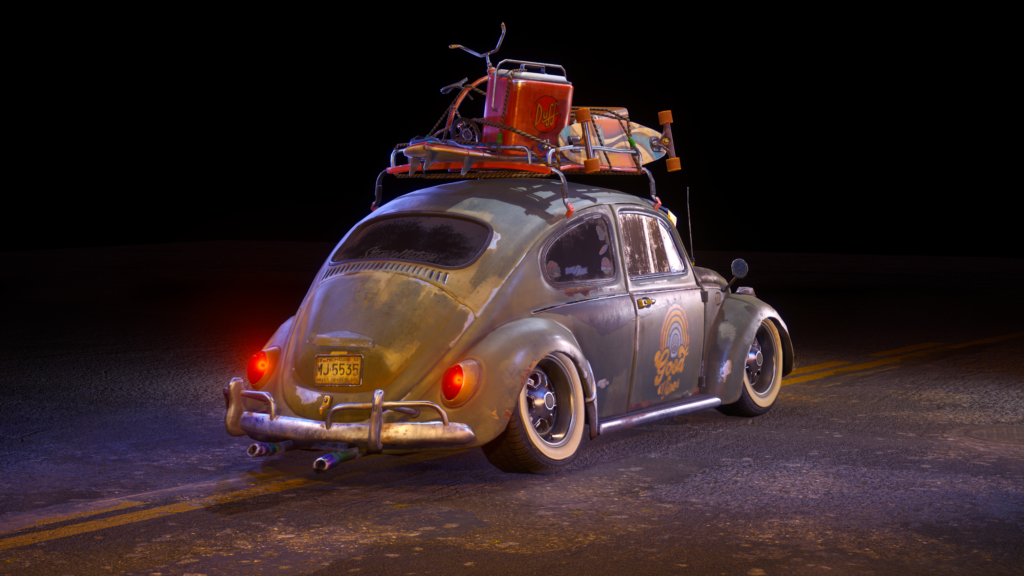
At one time, I was inspired by the owners of retro Volkswagen, and I liked to attend festivals on this topic. Also, I like air suspension cars and the rat look style, and I decided to make my project in this style. I used search engines and Pinterest to collect references.
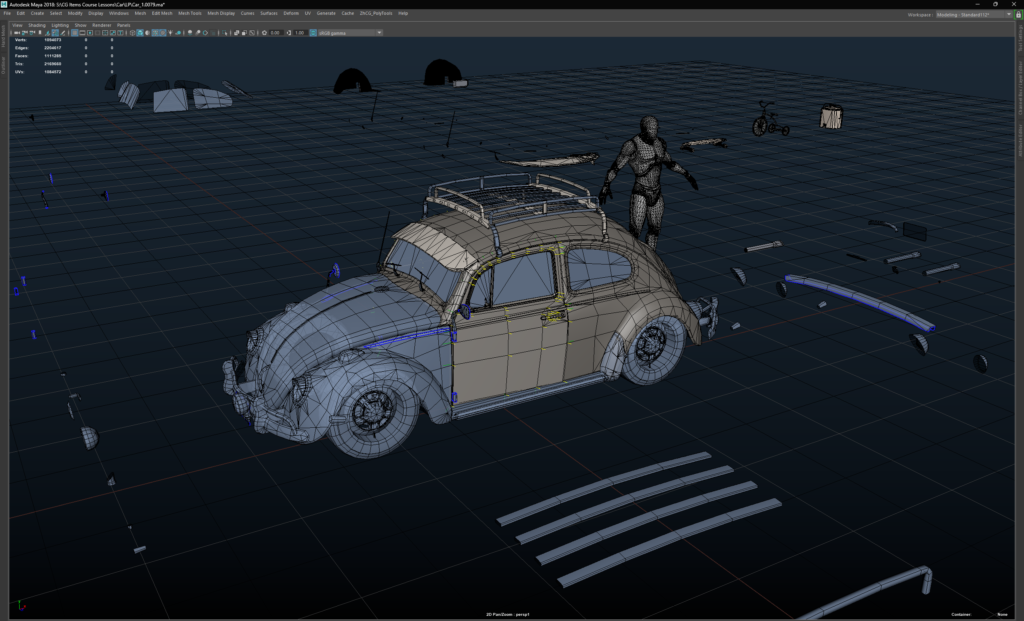
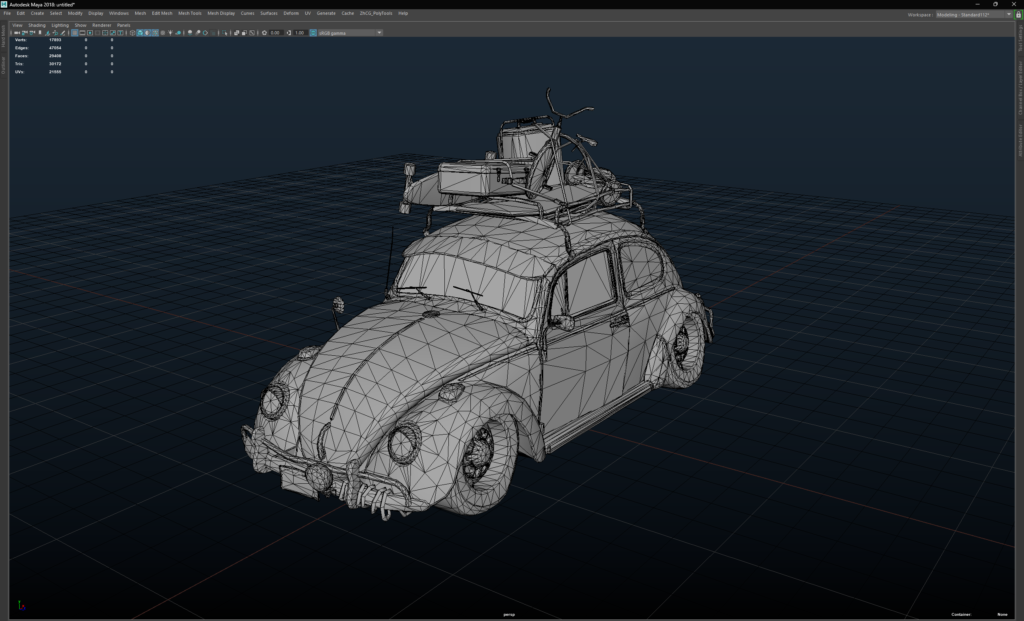
Blockout
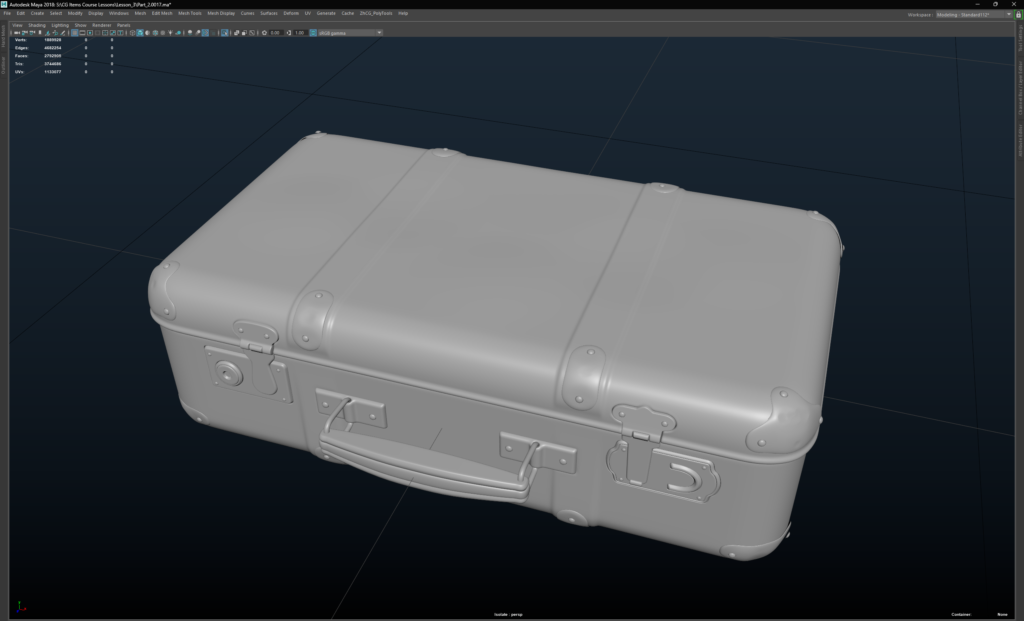
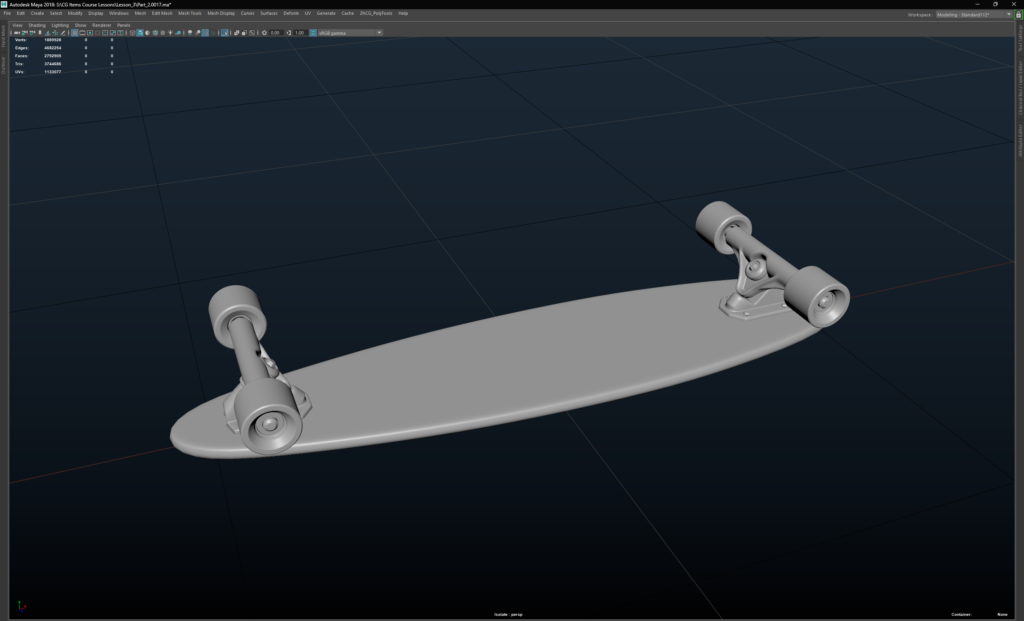
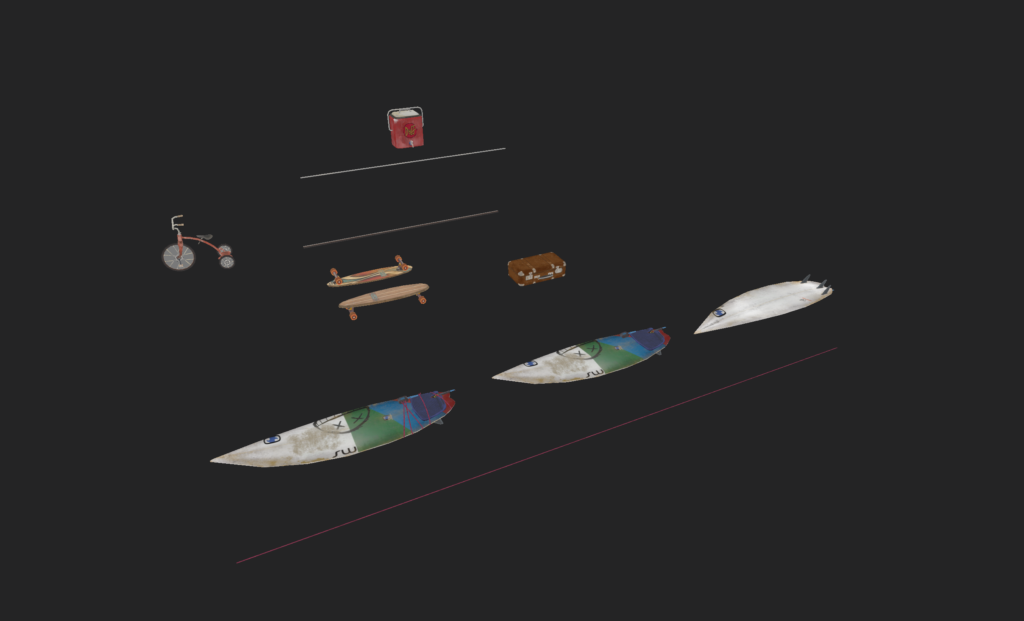
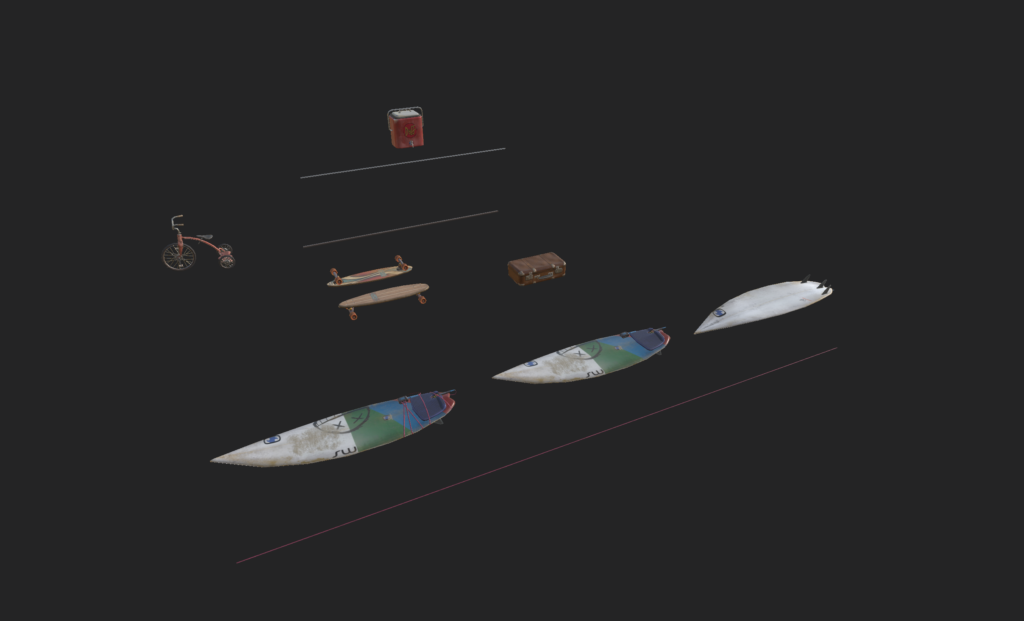
I first created a fairly large blockout of the car and proceeded to create props.
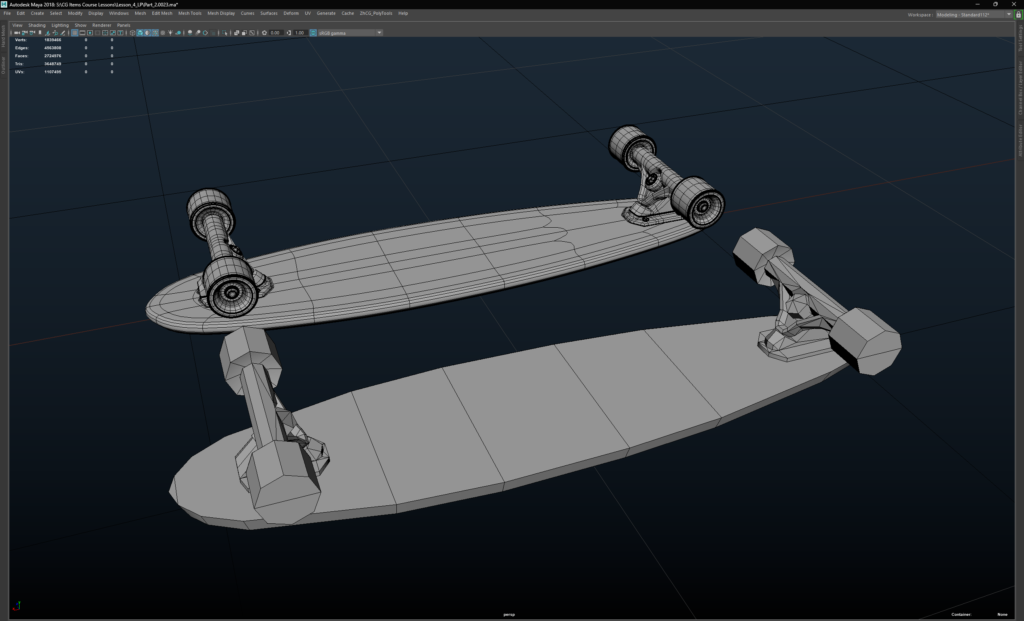
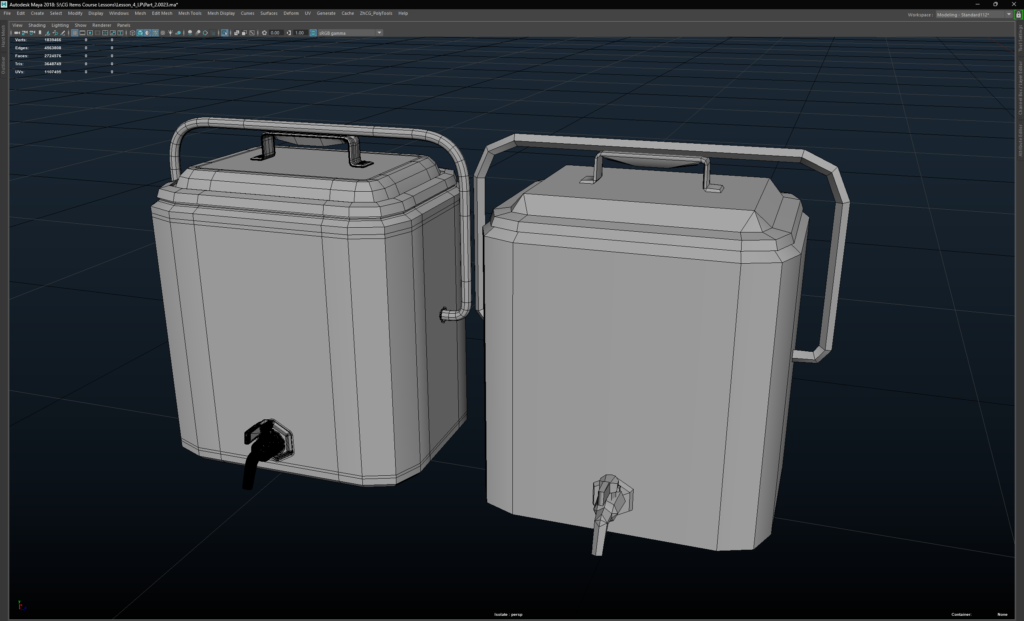
In the beginning, I made simple models (a bicycle, skateboard, surfboard, beer box) and then more complex ones (a car).
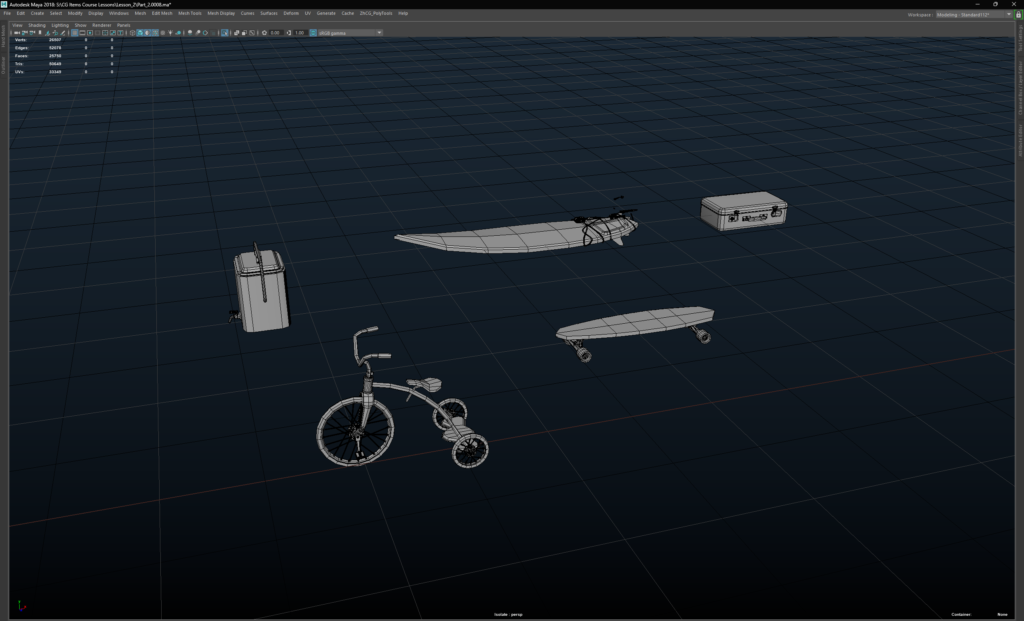
Tip
At the draft stage, I recommend working from general forms first and then moving on to specific ones. It is important to immediately understand the scope of the model with which you are working.
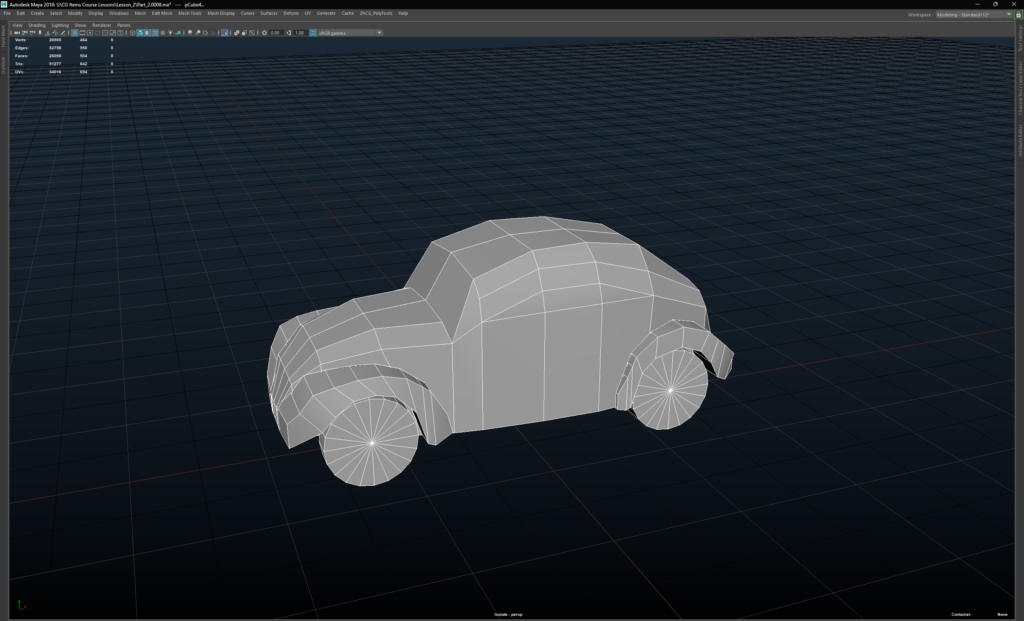
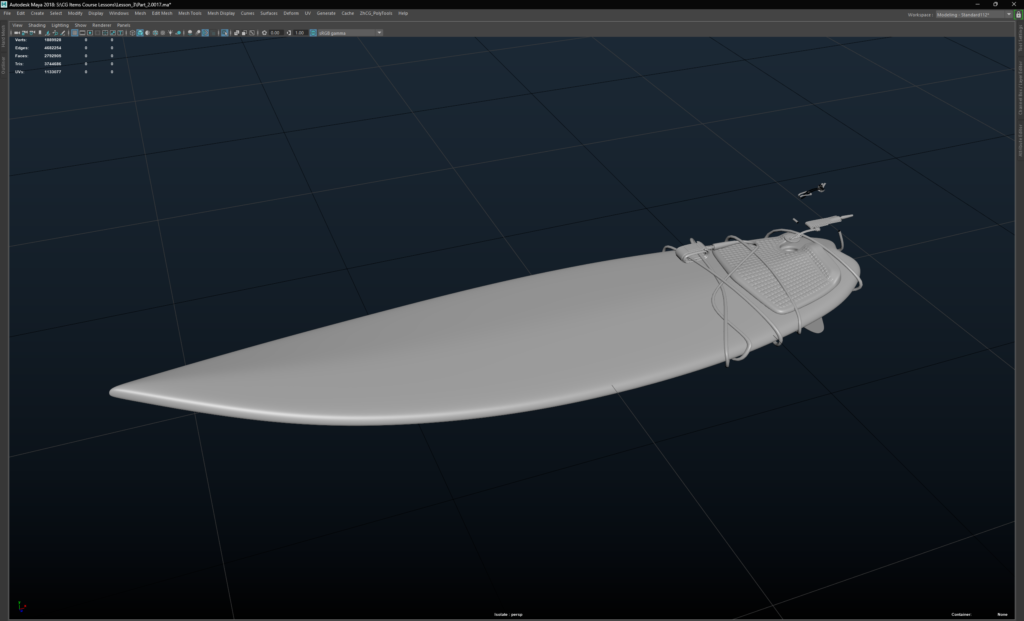
High poly
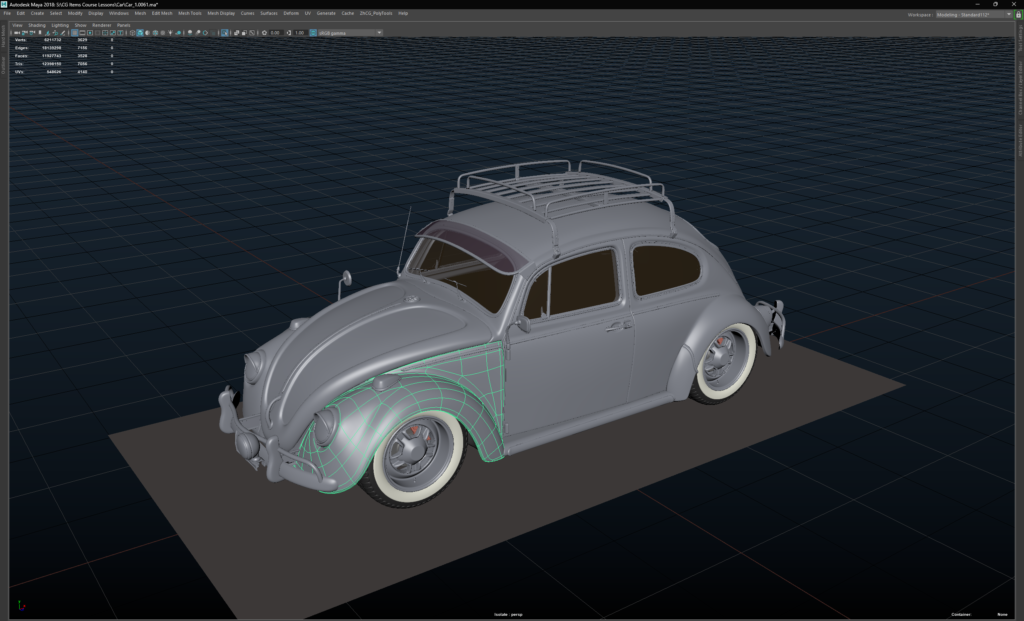
For high poly, I use the subdivision technique.
It is important to use the correct topology of the object when creating the draft, then the high poly stage will take you much less time than if the topology of the object in the draft were dirty.
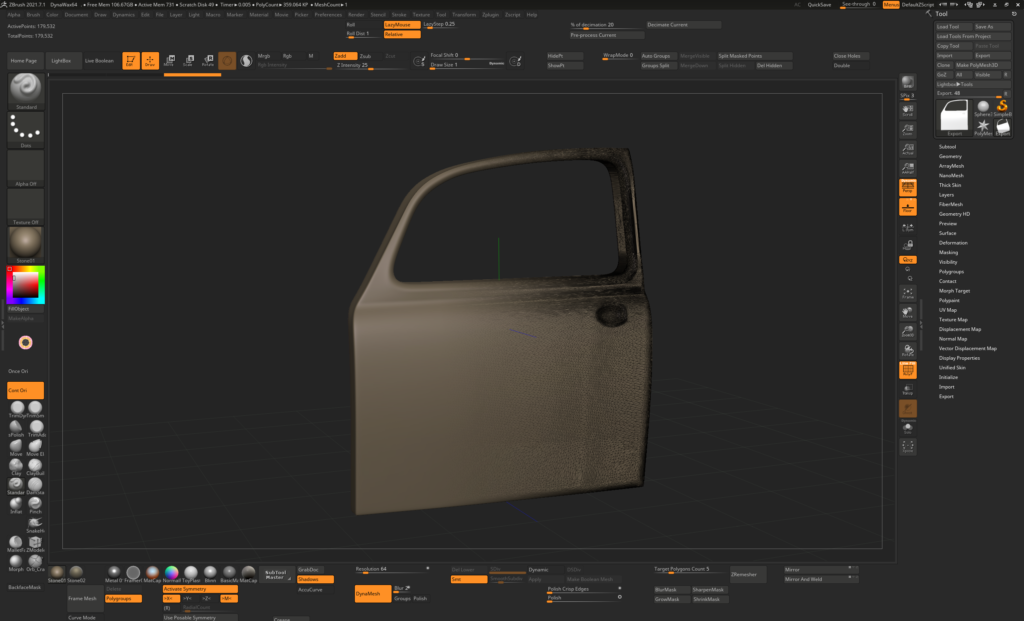
For the High Poly stage, I used a combination of Maya and ZBrush to work out the welds on the model and created Boolean operations through zBrush as it saves a lot of time.

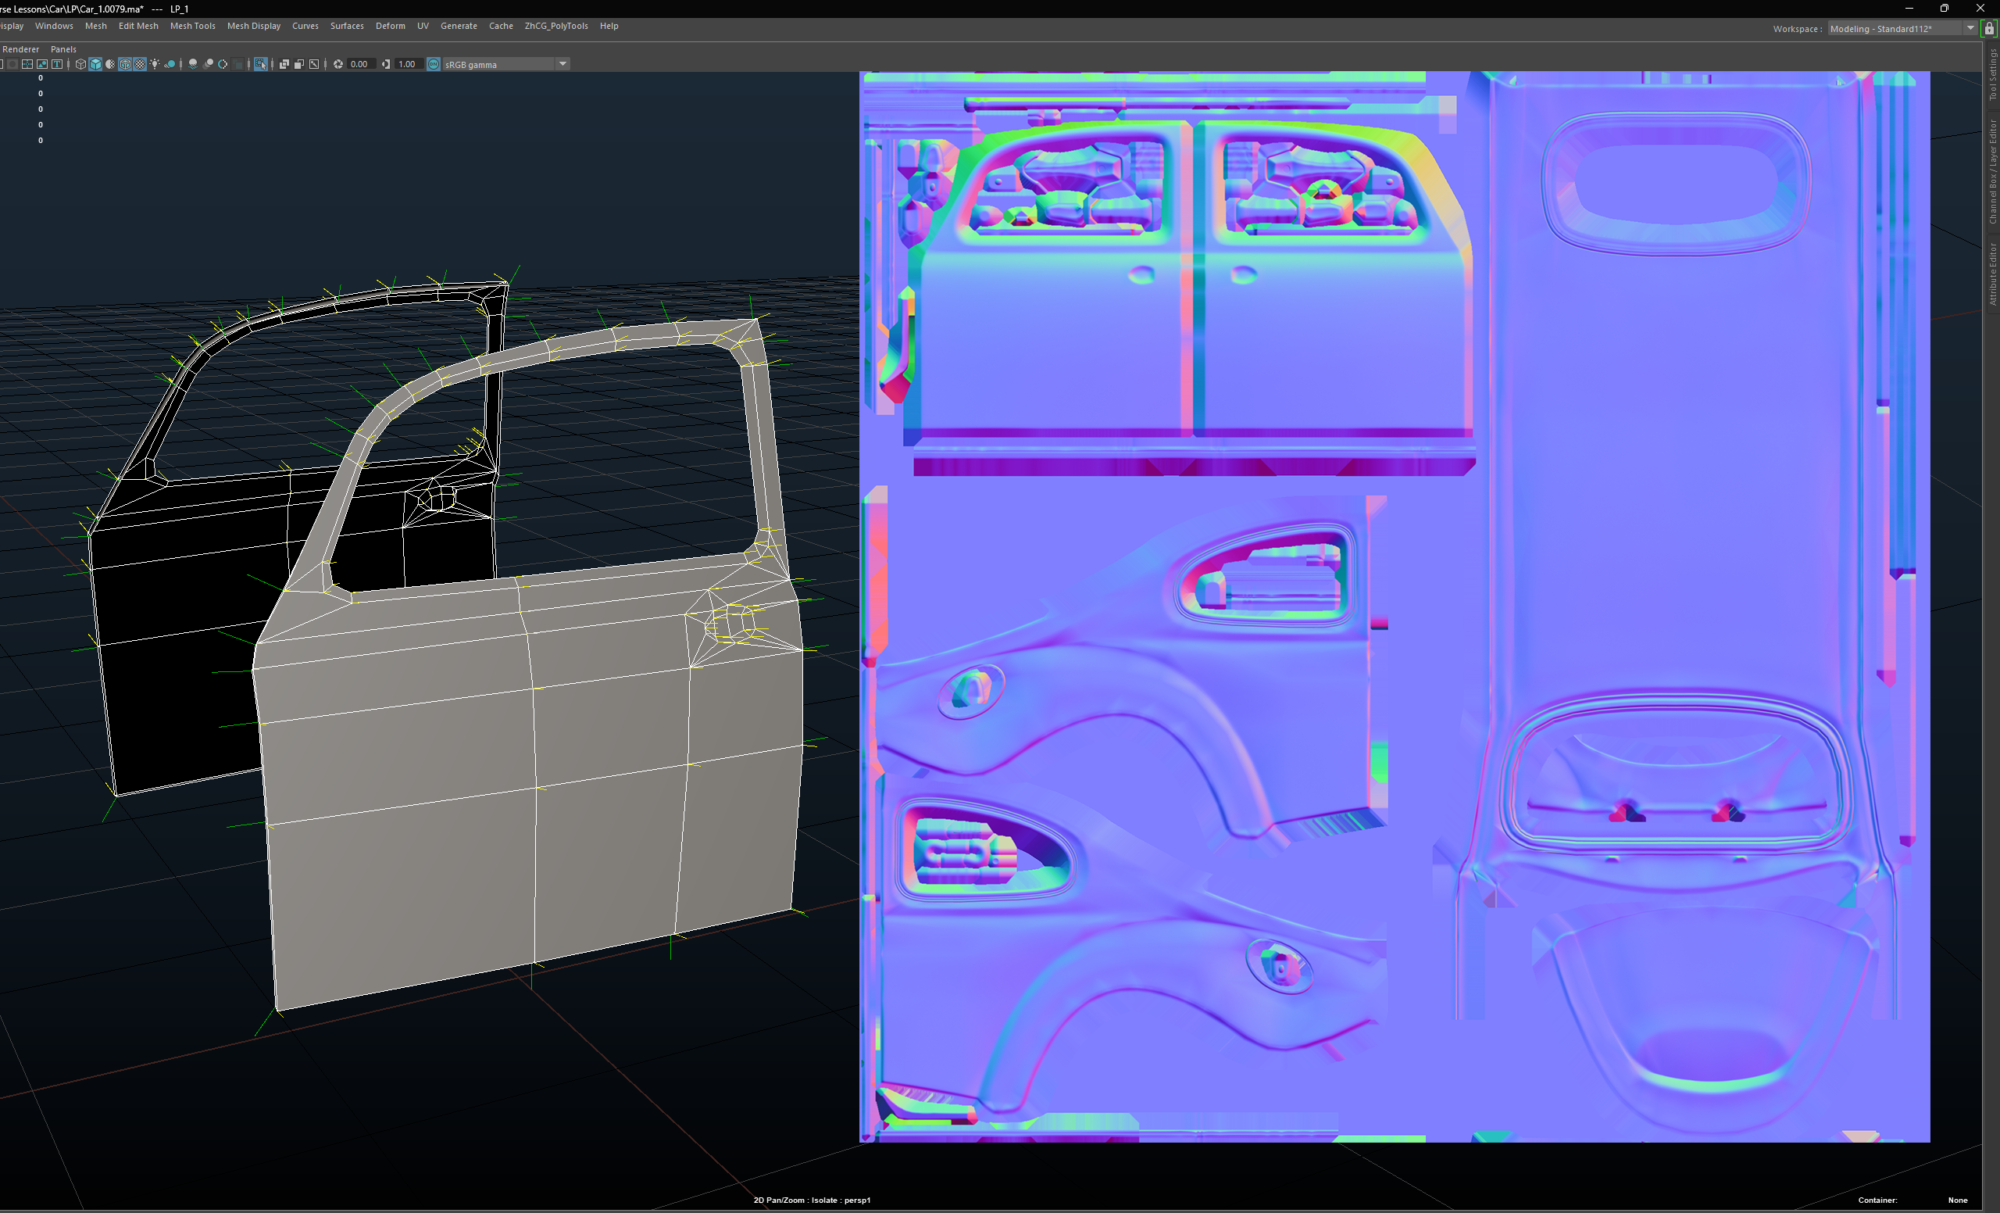
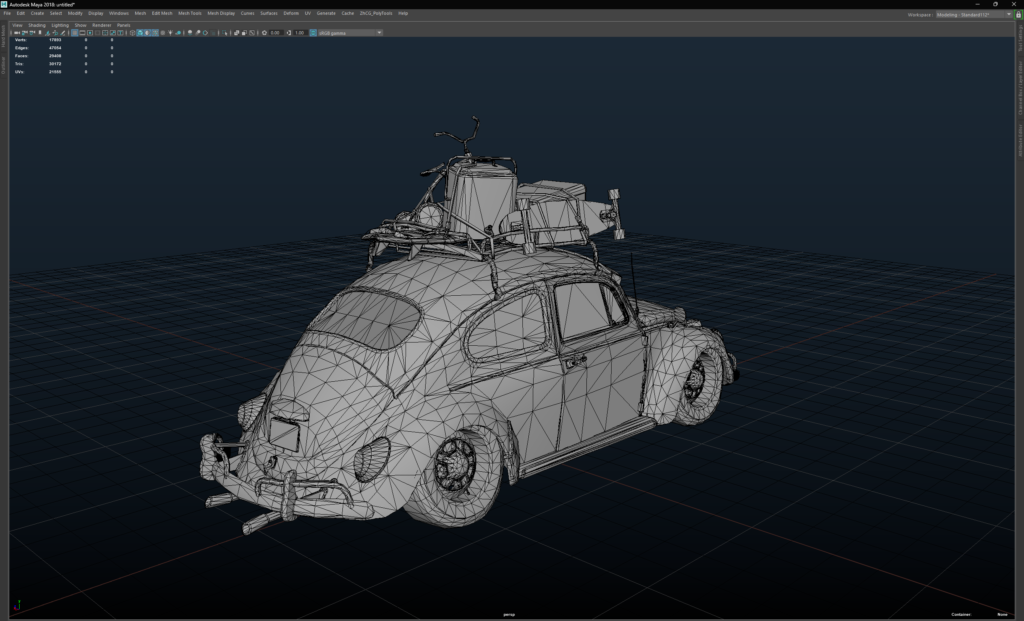
Low poly
When working with Low Poly, I simply remove unnecessary loops that I used in the subdivision technique and adjust the grid model, fitting it to High Poly.
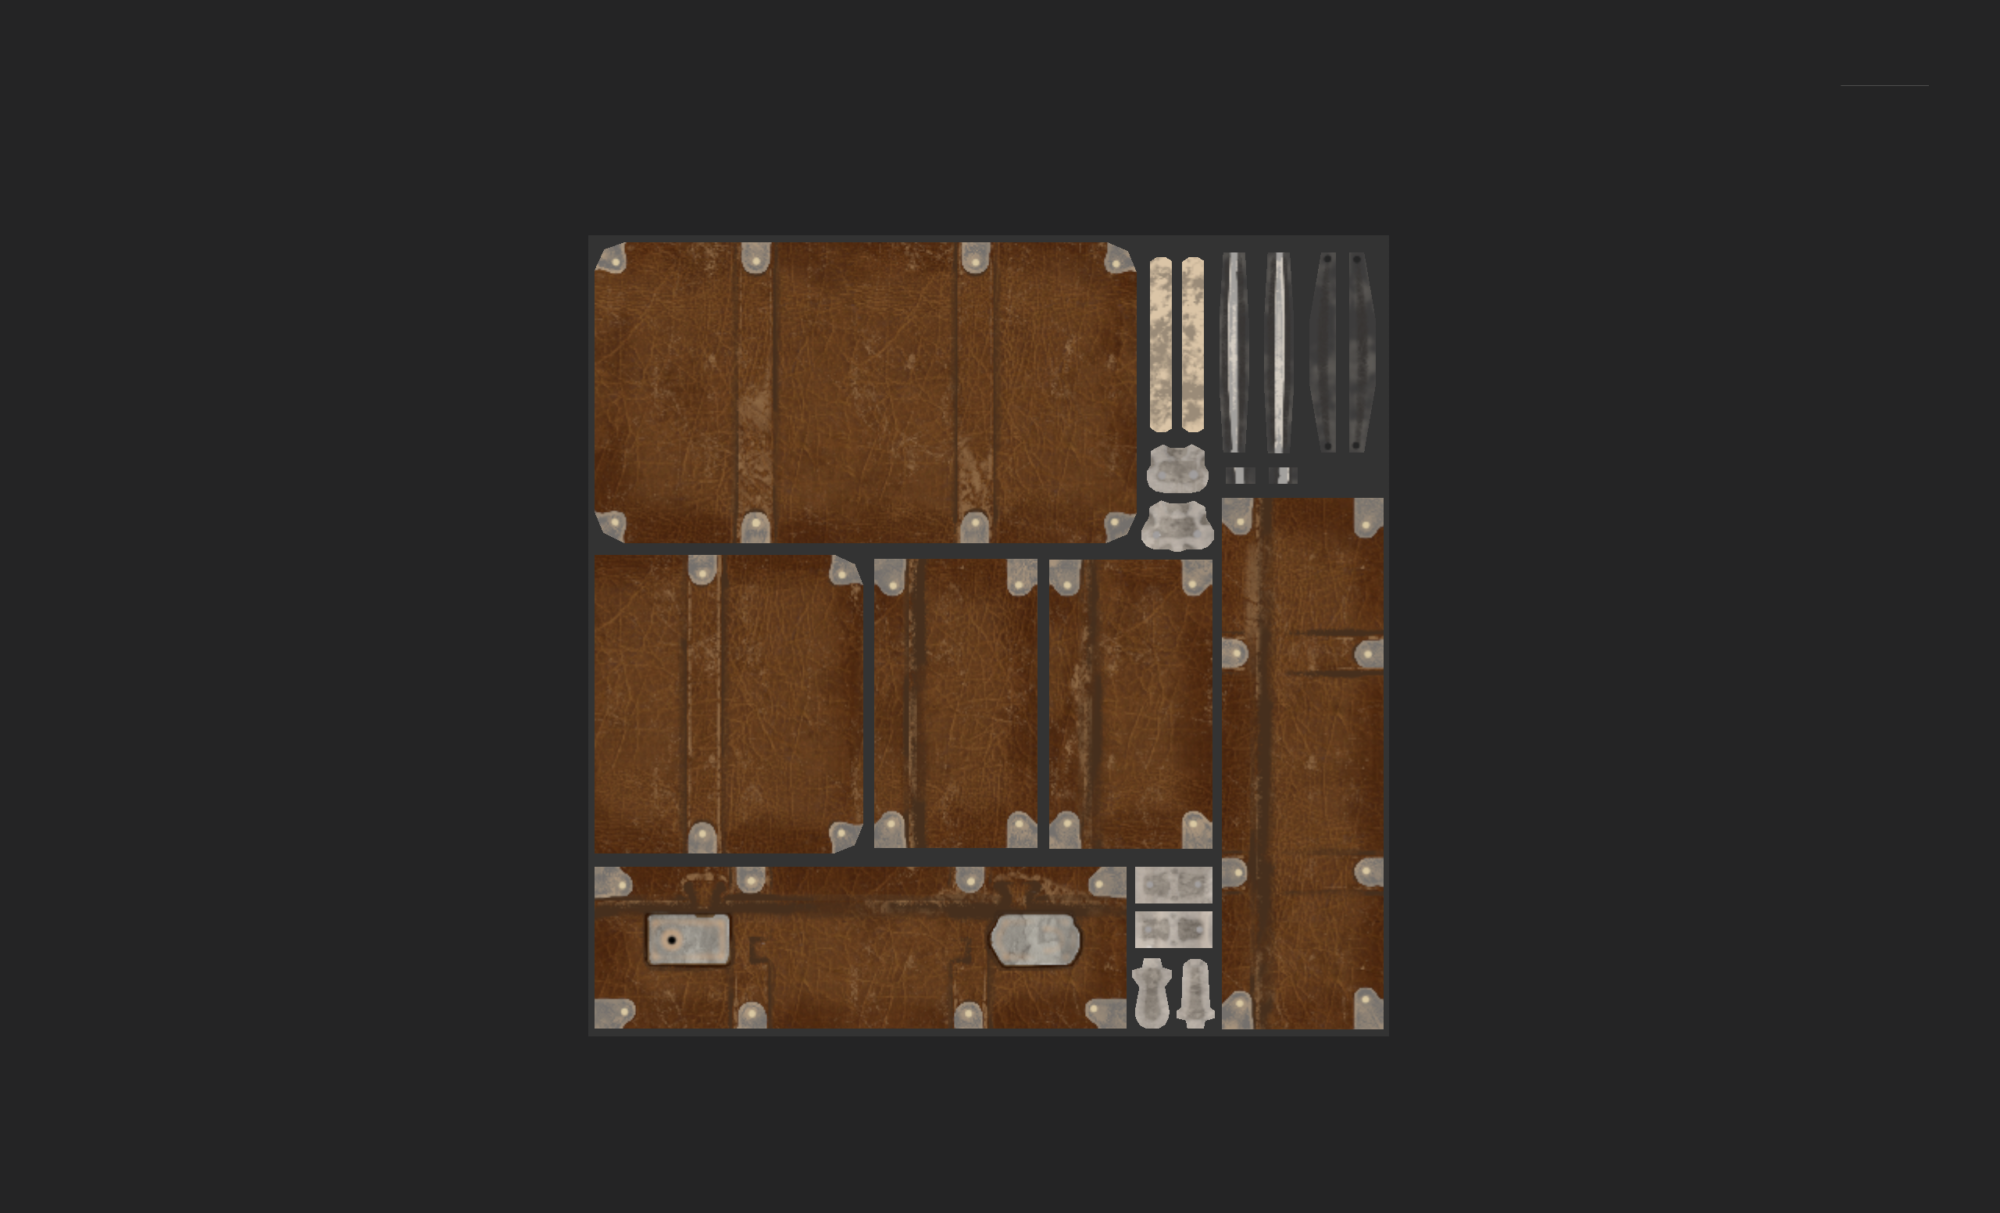
UV
I worked with Texel density. My task was to put small objects on a small texture of 512 and 1024 pixels. To save texel density, I used overlapping
Tip
In order for the model to look the same quality, you need to follow the texel density for all elements of your project.
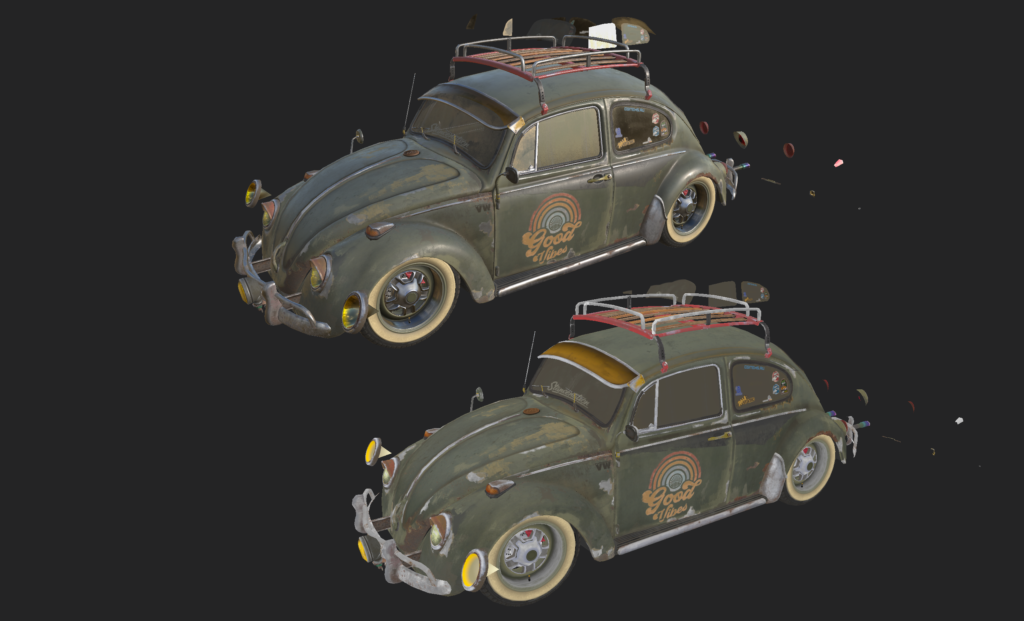
Texturing
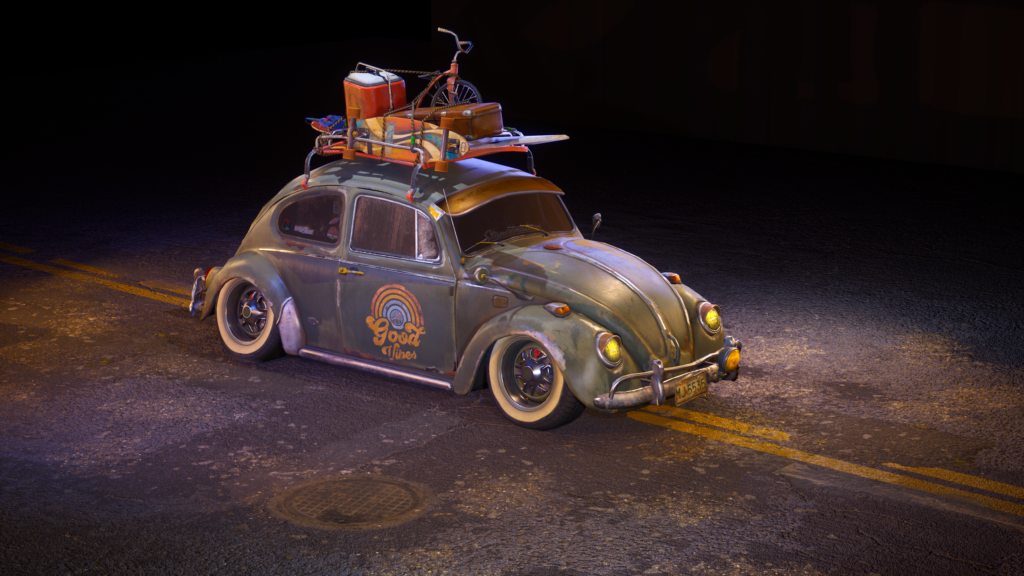
When I texture, I always use real-life logic. We have a vehicle that goes through the following steps during production at the factory. Bare metal is galvanized, then primed, then painted and varnished.
And I approached the texturing of my model in the same way. Plus, metal will rust over time. Therefore, when texturing, I try to show naturalness and realism.
Tip
To achieve a beautiful and realistic result, try to use more layers of texture. There is no pure color, so in each color, I use 4-5 shades.
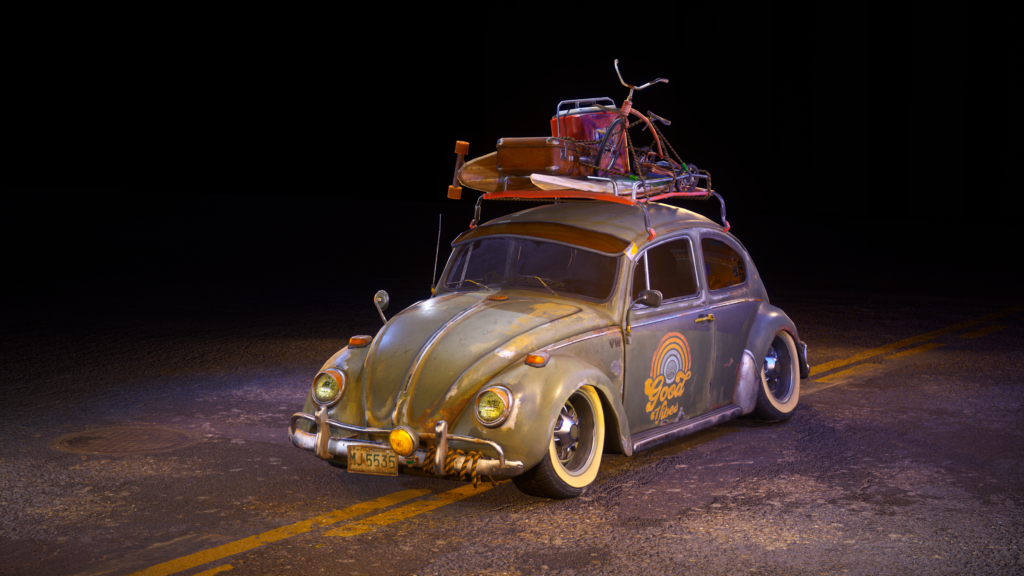
Lighting
I have worked as a photographer for a while and am familiar with various lighting schemes. This is what helps me to easily adjust the light. I never use standard lighting schemes, but always add my own flavor based on the goal that I need to achieve in this or that case.
Tip
Read books on lighting and see how world photographers work with light in studio shooting. I like our contemporary – photographer Oleg Zotov, at one time I watched a lot of his videos on youtube and practiced it in real life.
Rendering
I used regular Vertex Paint, Tile tile textures and decals in Quixel Mixer. For rendering, I use static and dynamic lighting.
Conclusion
If you want to see your growth and improve your portfolio work, then your next model should be better than the previous one.
You must be able to analyze what is better in the new model, only then progress will be visible.
Read more articles
You might also like these articles.