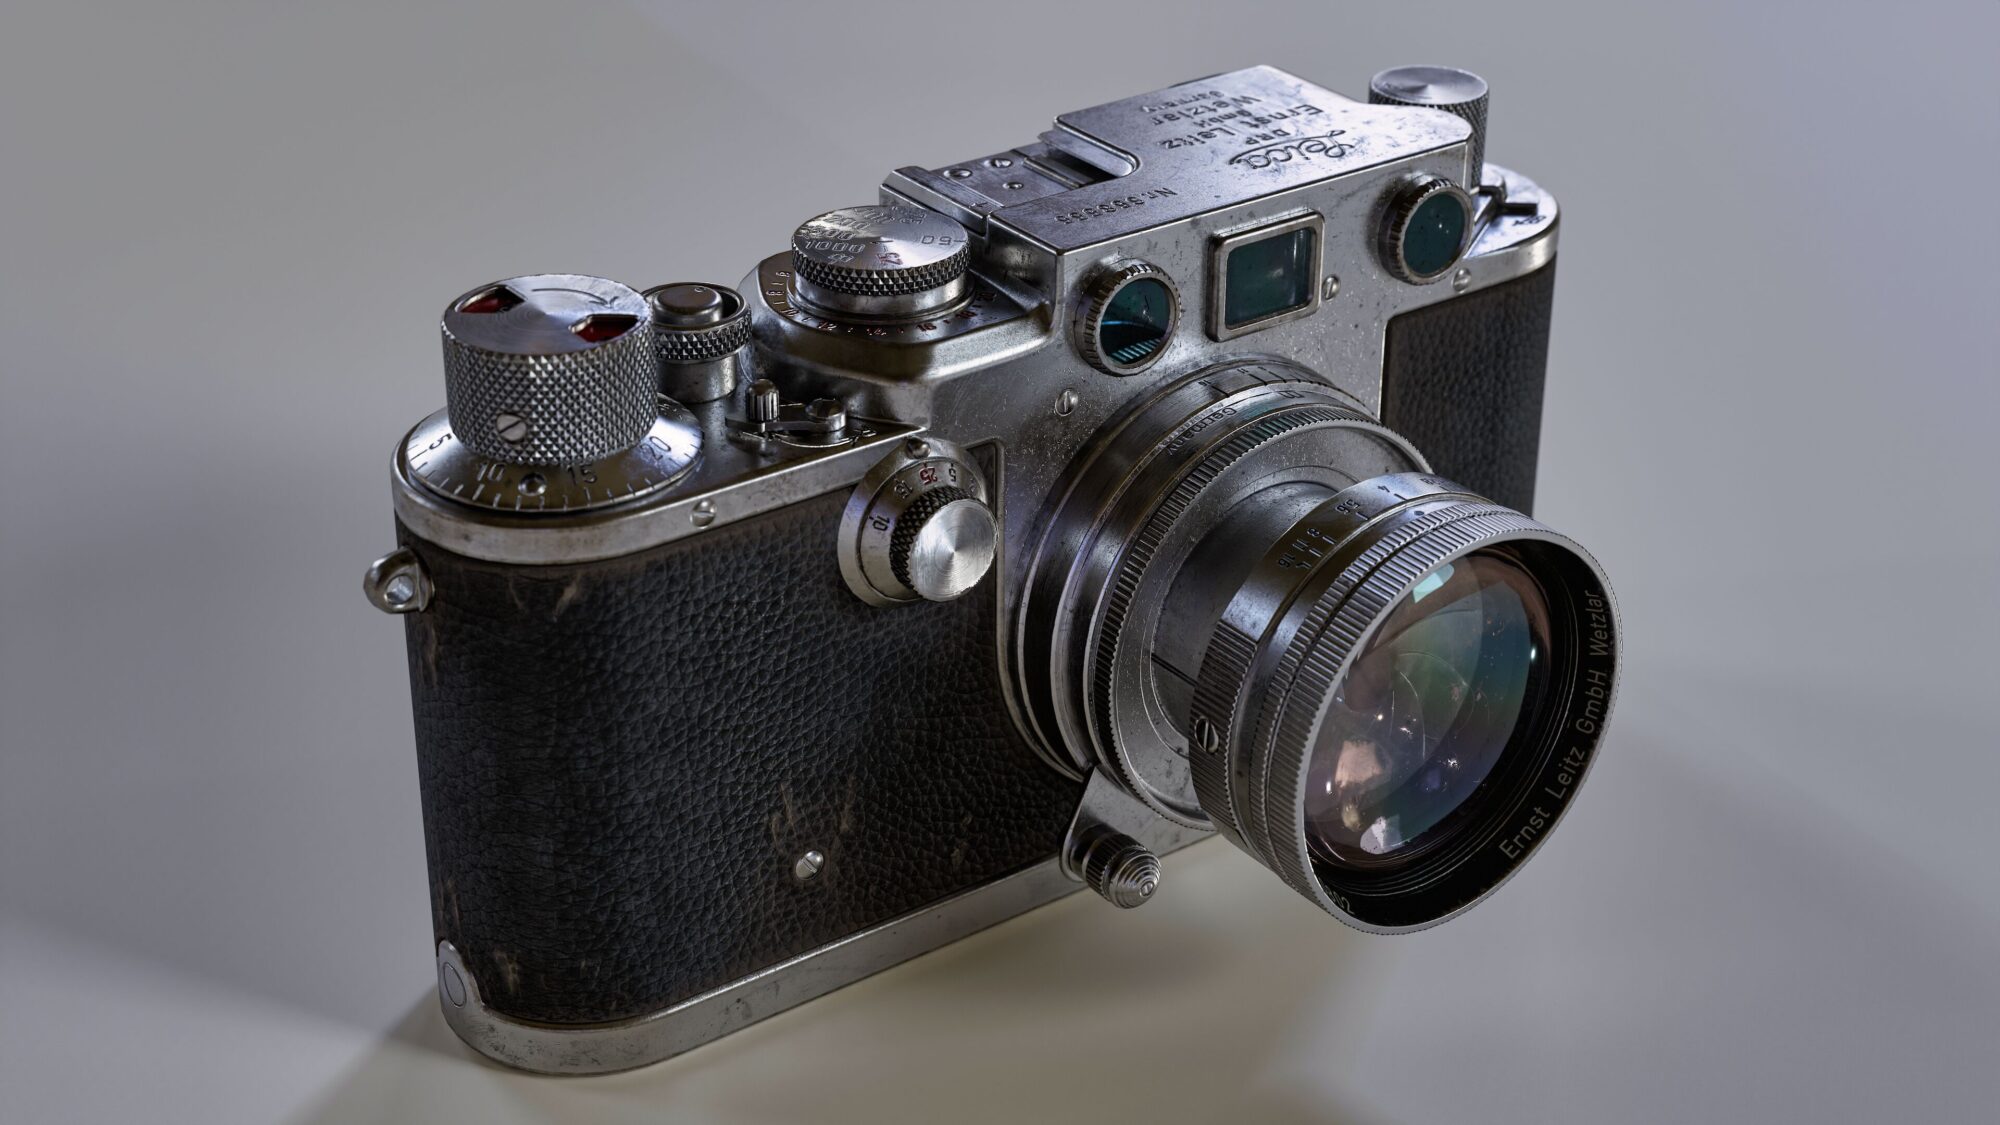
Vintage Camera
Introduction
Hey there! I'm a freelance 3D Artist from Kharkiv.
I began my journey in 3D two years ago, and ever since, I've been continuously improving my skills, striving to make each project better than the last.
Goal
In this project, I decided to practice modeling pure metal. This became a real challenge for me, as it is quite difficult to make metal detailed and interesting, yet not overloaded.
Additionally, it was important to achieve maximum realism.
Tools
● PureRef (references)
● Maya (high-poly, low-poly)
● Photoshop (creating alphas)
● ZBrush (detailing and adding wear elements to high poly)
● RizomUV (UV Mapping)
● Marmoset Toolbag 4 (baking and rendering)
● Substance 3D Painter (texturing)
● Luminar Neo (render post-processing)
References & Inspiration
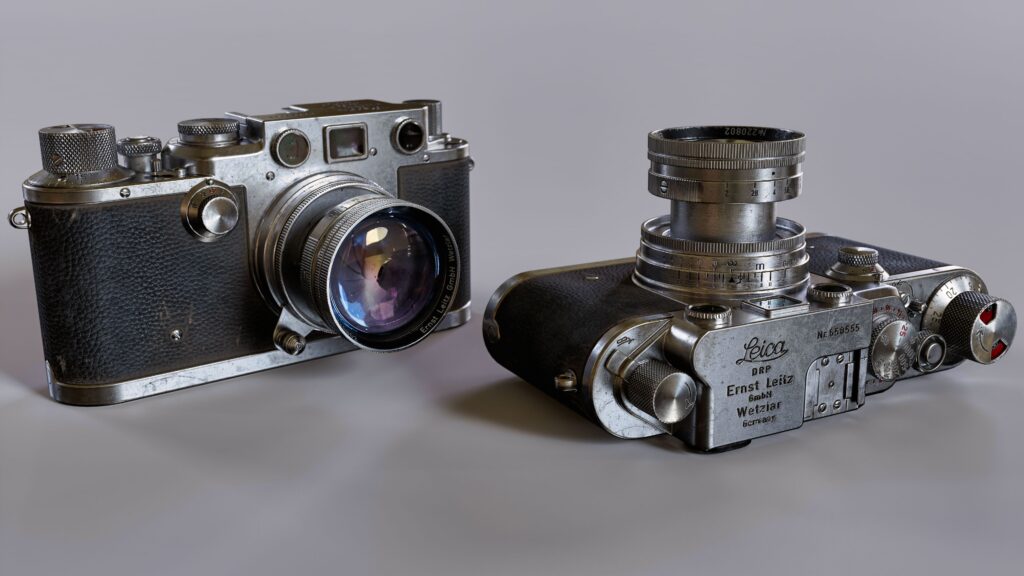
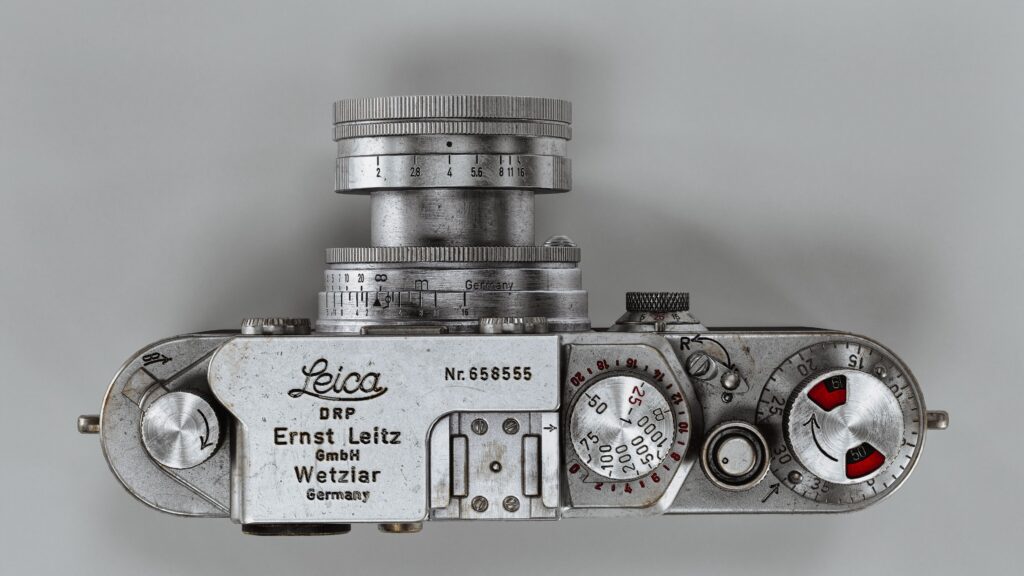
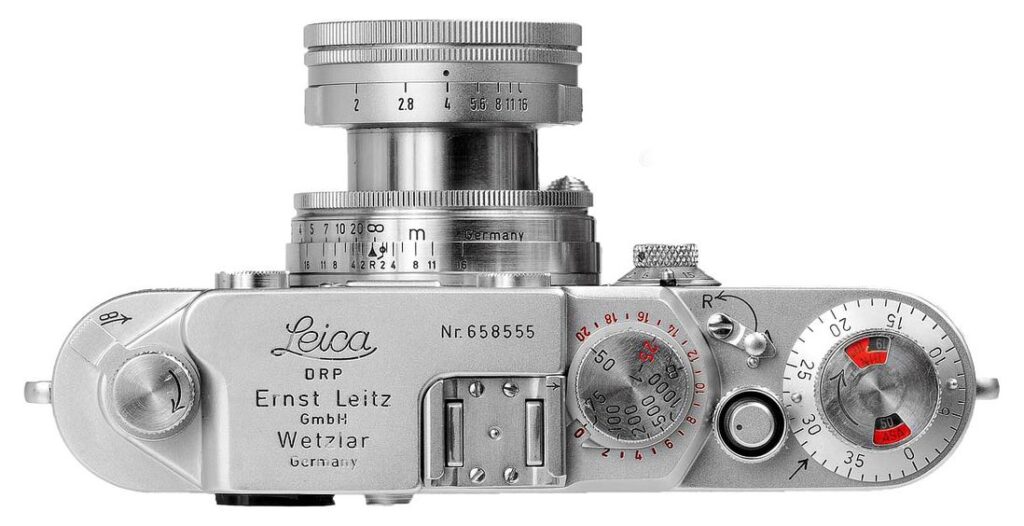
Based on the purpose of the project, I found a primary reference that perfectly combines two types of metal (main body and lens), engraving that adds to the model’s appeal, and harmonious colors—the red contrasts beautifully with the metal.
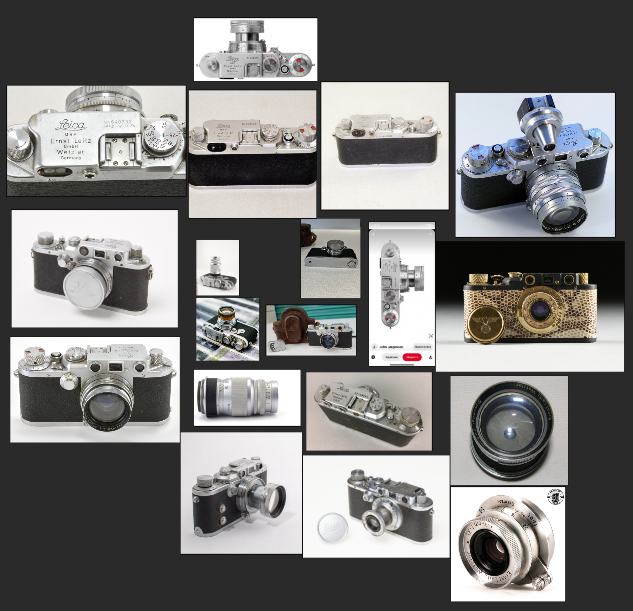
After that, I compiled additional modeling and texturing references based on this main reference.
Blockout
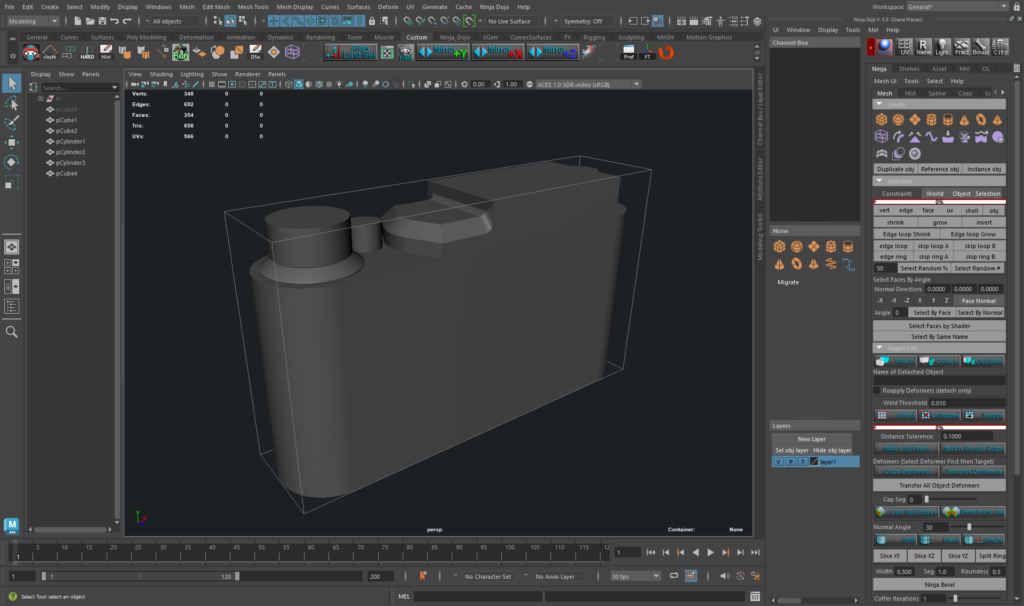
Even before the blockout stage, it was important to determine the dimensions of the object and set a framework to simplify the work later. I started with a blockout, gradually adding details.
This process smoothly transitioned into creating a base for high-poly, as well as an almost-ready low-poly model.
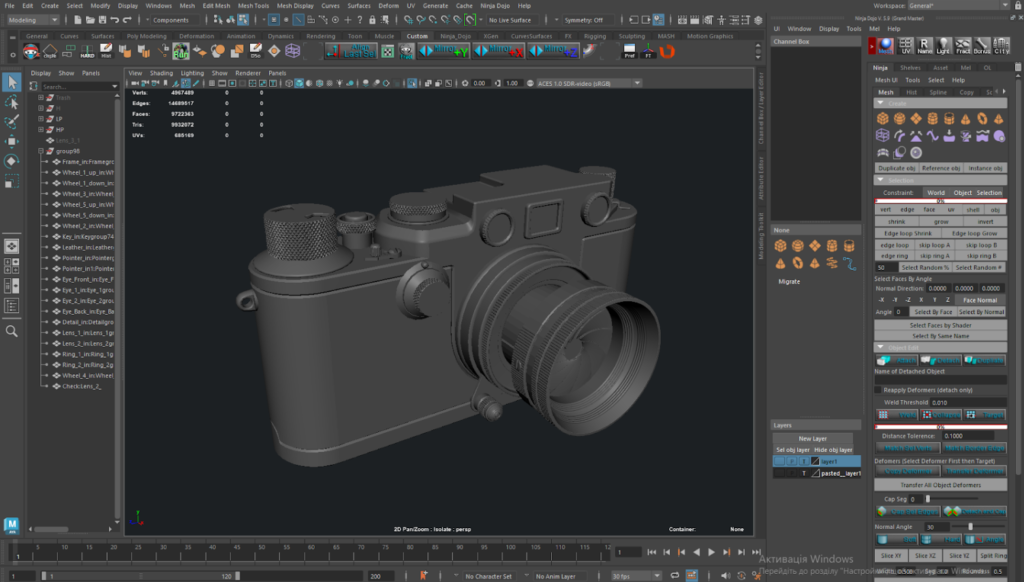
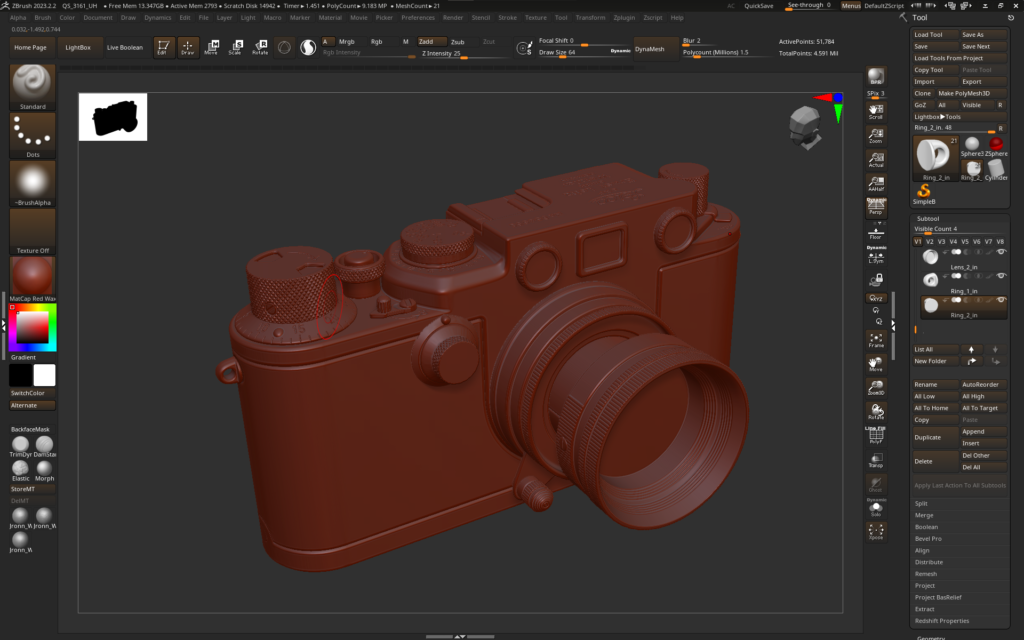
High-Poly
After the blockout came the stage of working on the model for smoothing or adding creases. In this project, I decided to add a crease in ZBrush.
After that, I used Divide to smooth through DynaMesh and added some smoothing with Polys. The engraving was done using an alpha map extracted from the reference in Photoshop.
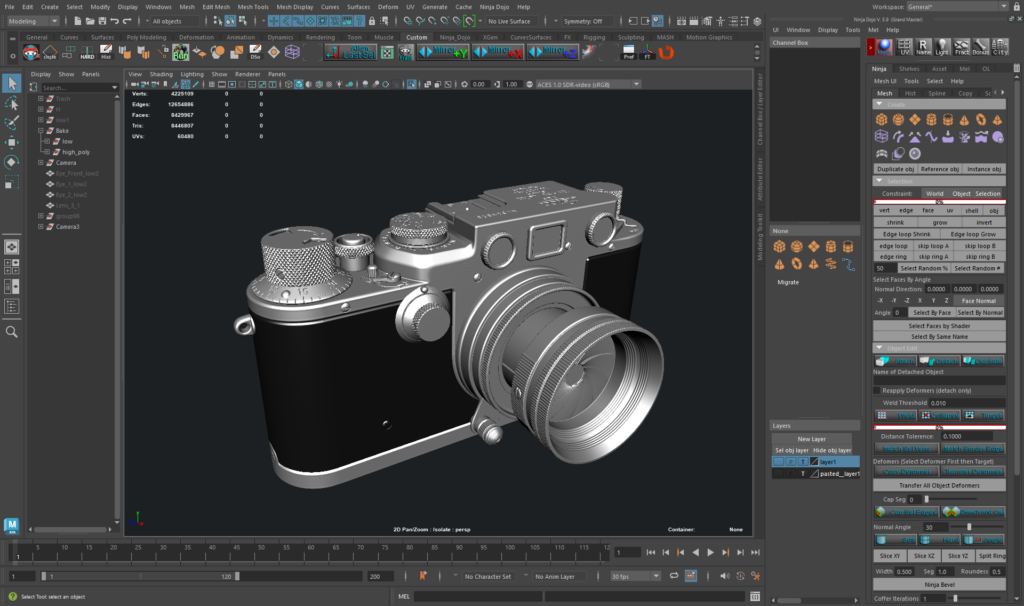
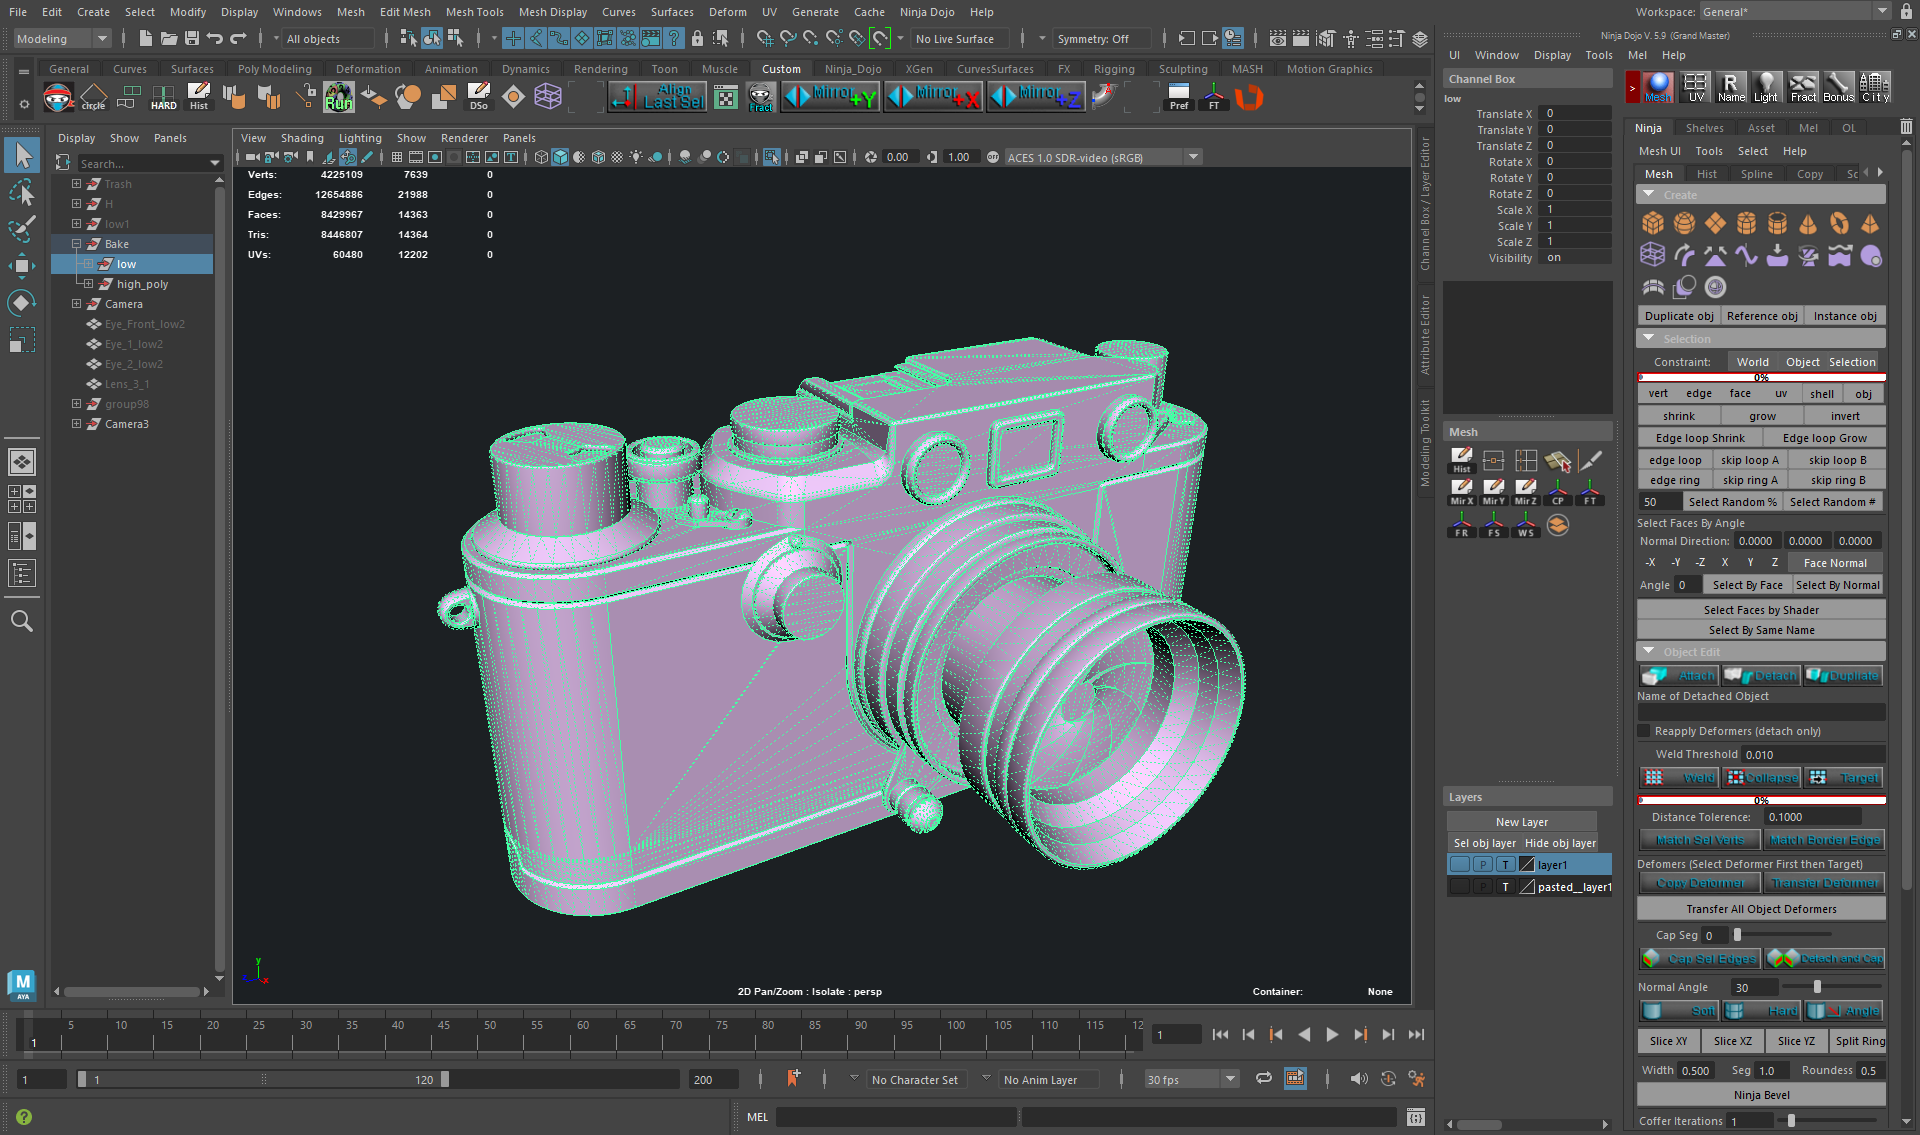
Low-Poly
Creating a low-poly version didn’t take long, as there was already a base after the blockout. The main task was to clean and optimize the mesh.
UV Mapping
I used RizomUV in conjunction with an export/import add-on for Maya. I first created a basic UV sweep in RizomUV and manually placed the large parts in Maya to achieve maximum UV density.
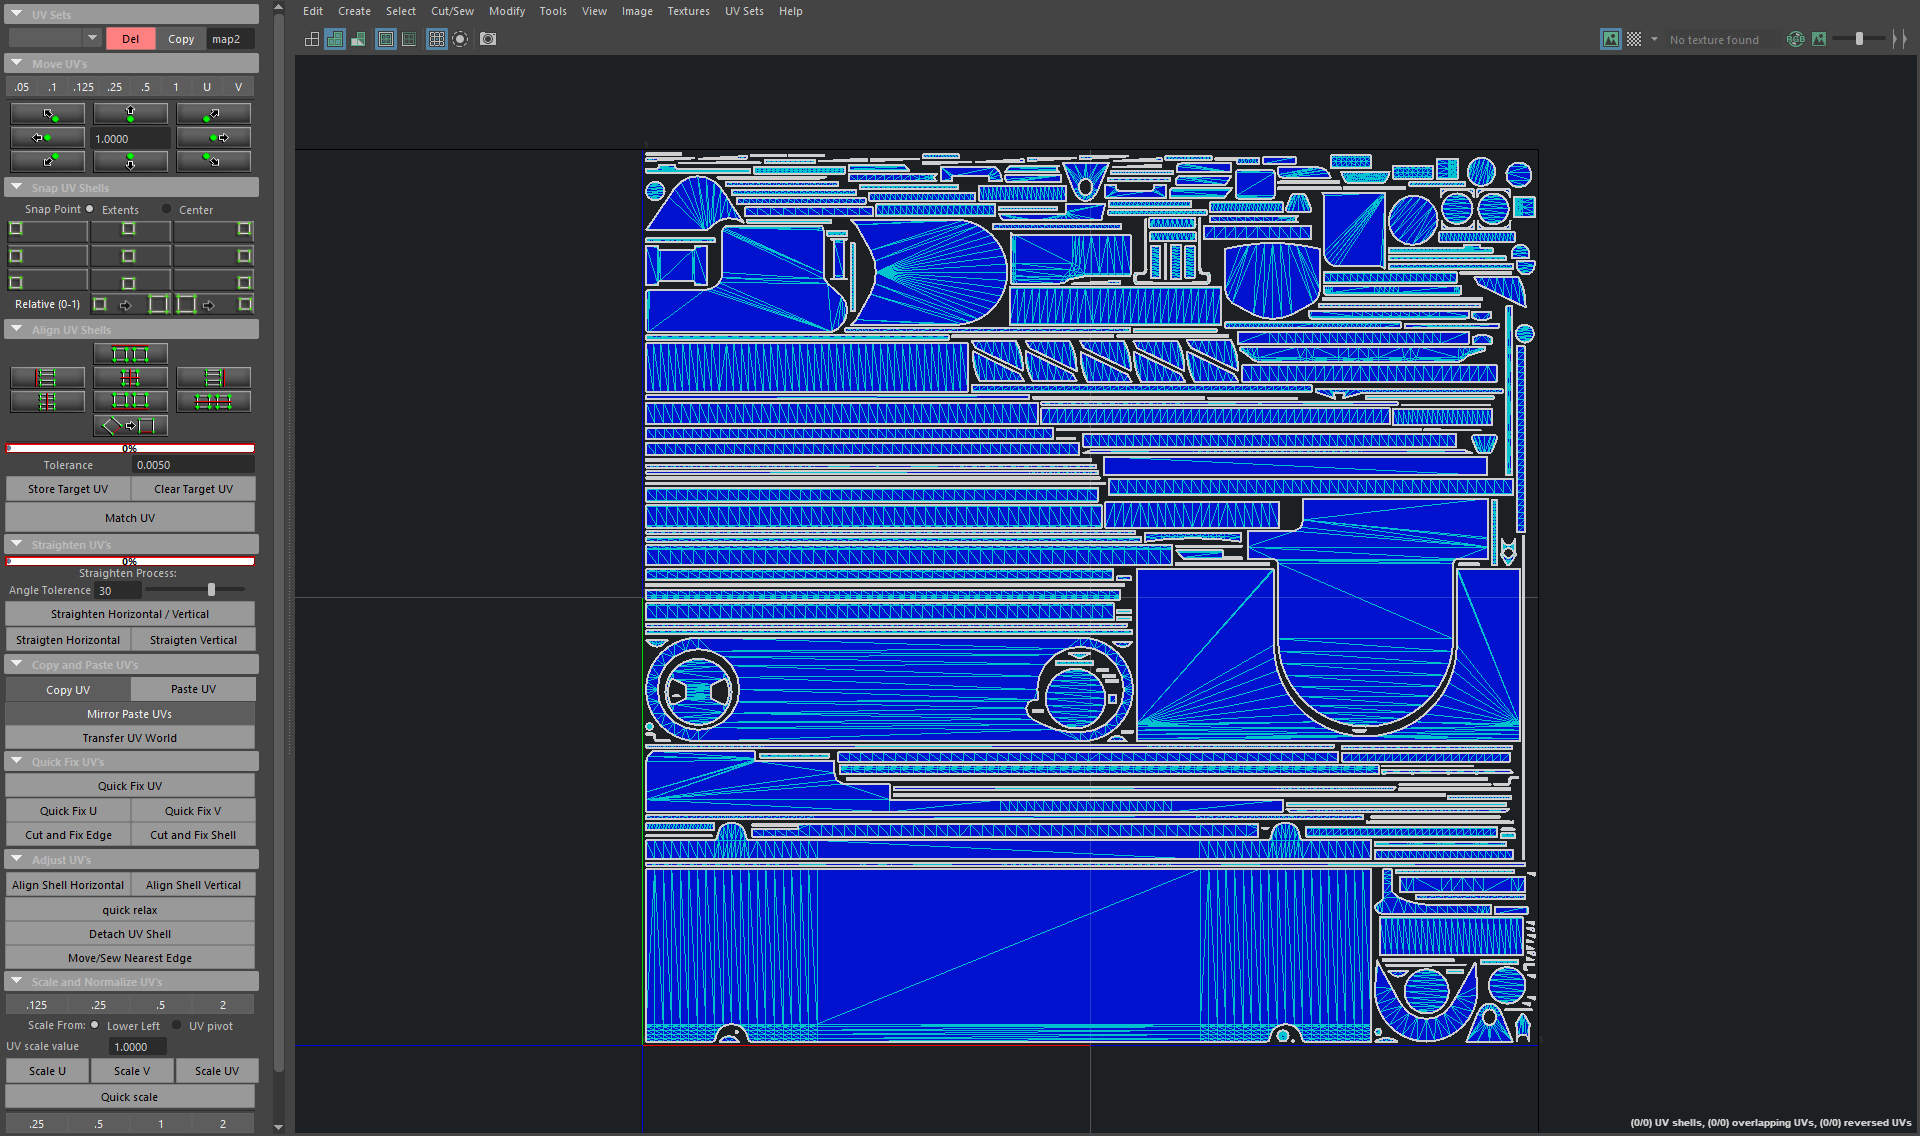
The texel density was set to 160 pixels per centimeter, and the final texture size was 4096×4096 for a better showcase.
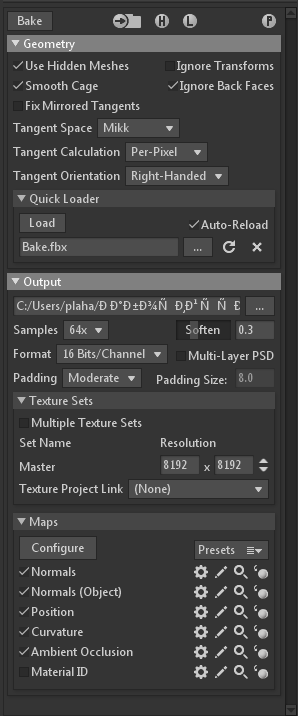
Baking
At this point, I aligned the normals and cage on the etched and baked geometry areas.
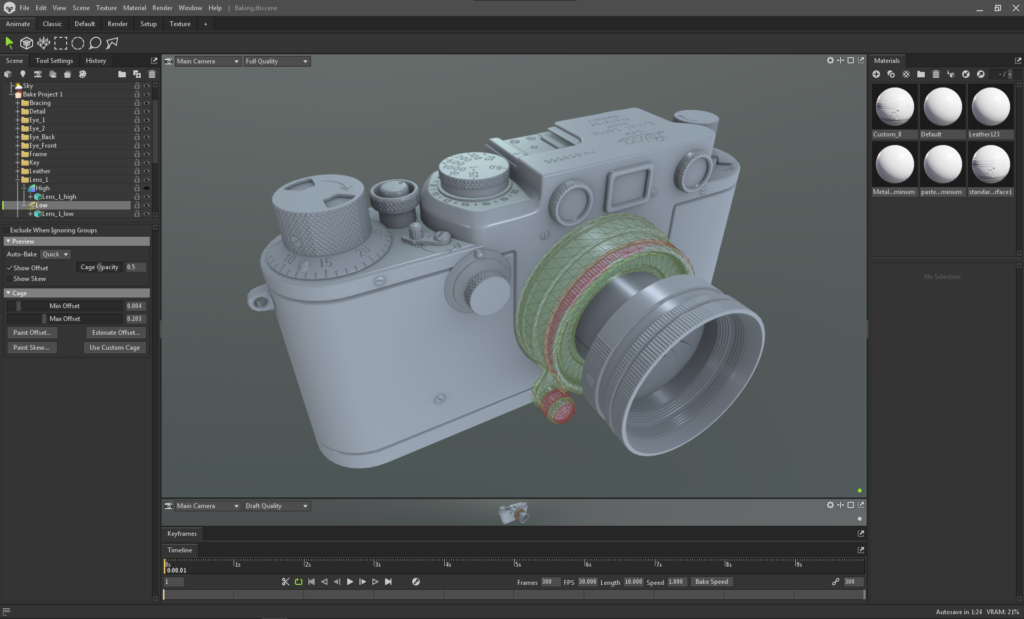
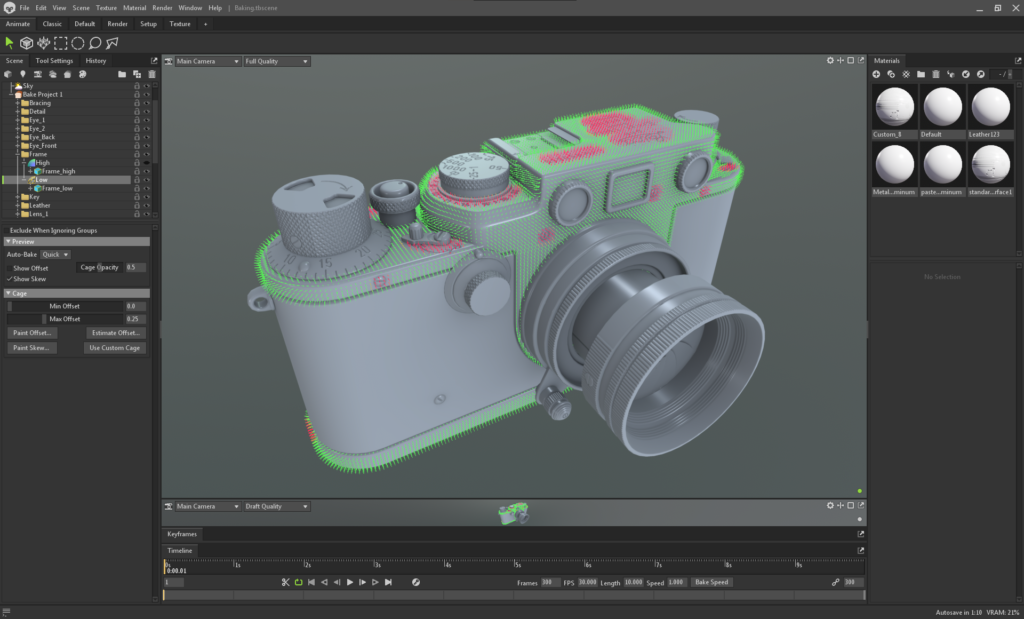
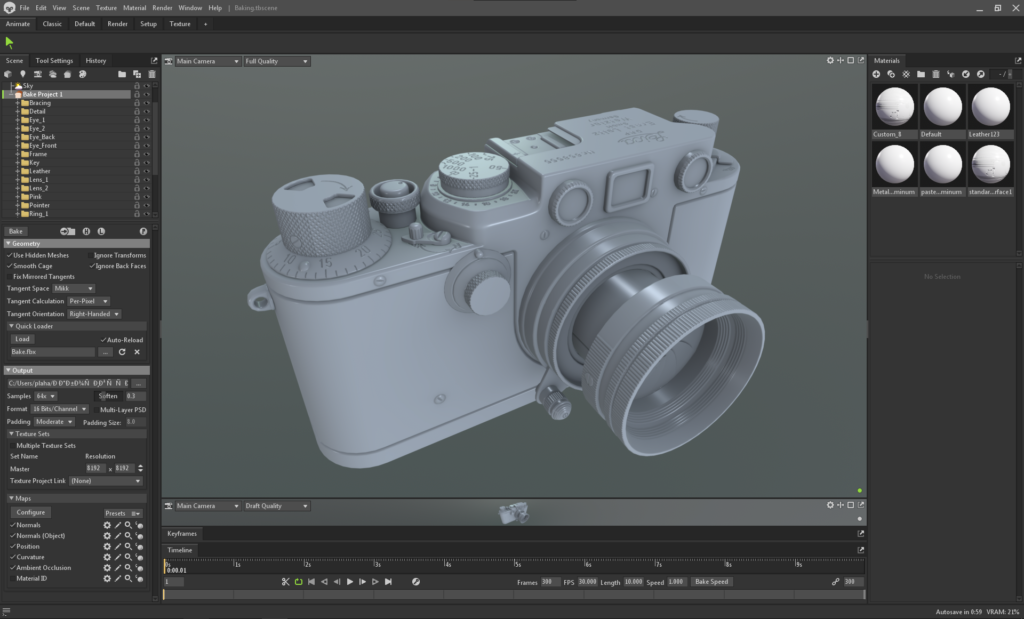
Afterward, I baked all the necessary maps with preset parameters.
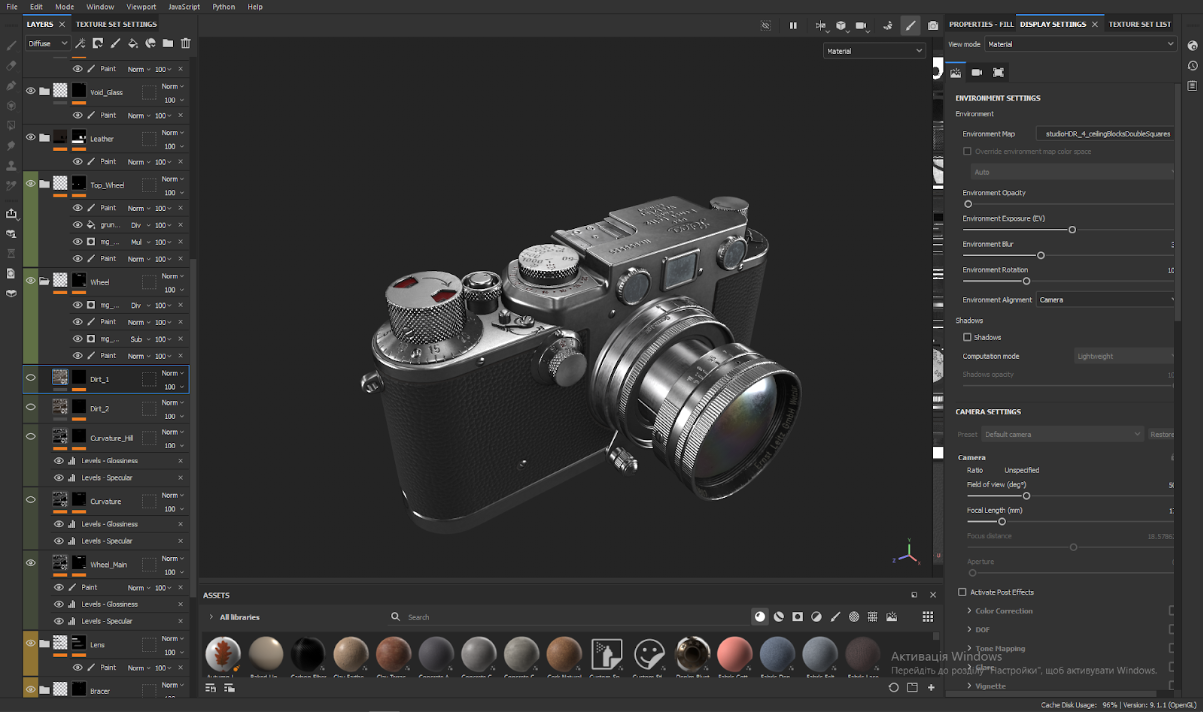
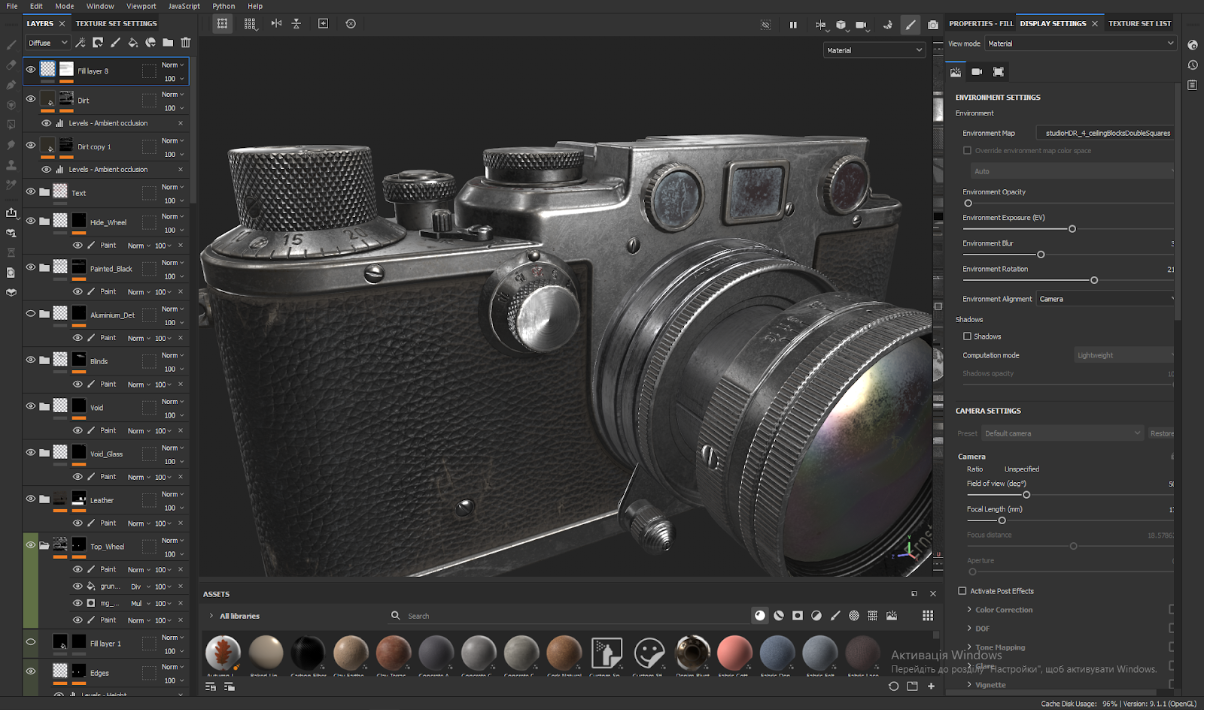
Texturing
The first step in texturing was choosing a PBR shader (Specular Glossiness or Metal Roughness). For this project, I chose Specular Glossiness due to its convenience in creating metal surfaces, although it lacks an anisotropy map, which would be helpful in Metal Roughness.
I added the basic materials: two types of metal for the body and lens, and a pattern for the skin. Next, I worked with textures, adding gradients and variations to the metal.
The next step was choosing the object I would work on first.
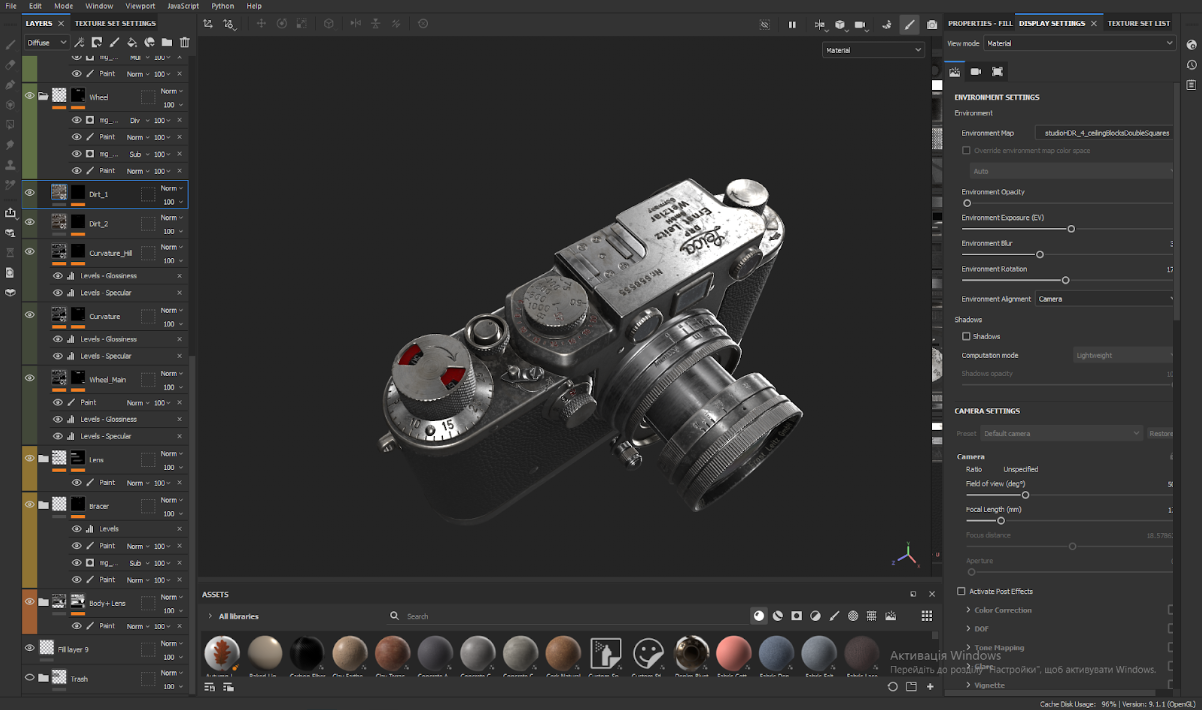
After selecting the case, I started working on it, adding various grunges and variations of metal and leather.
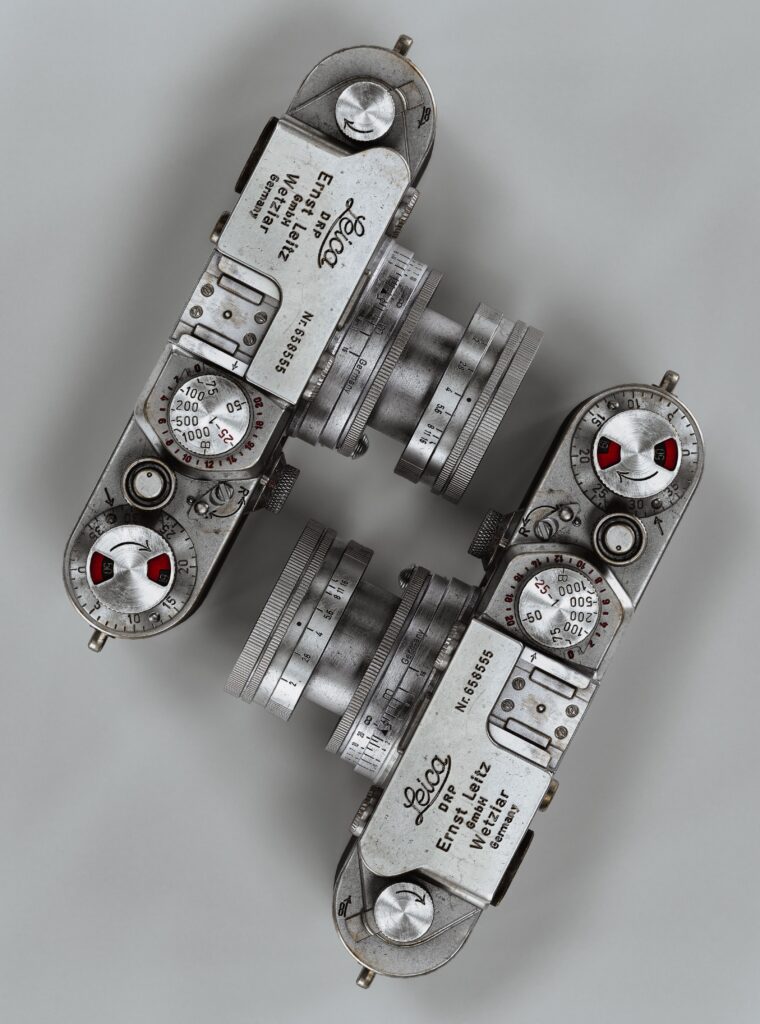
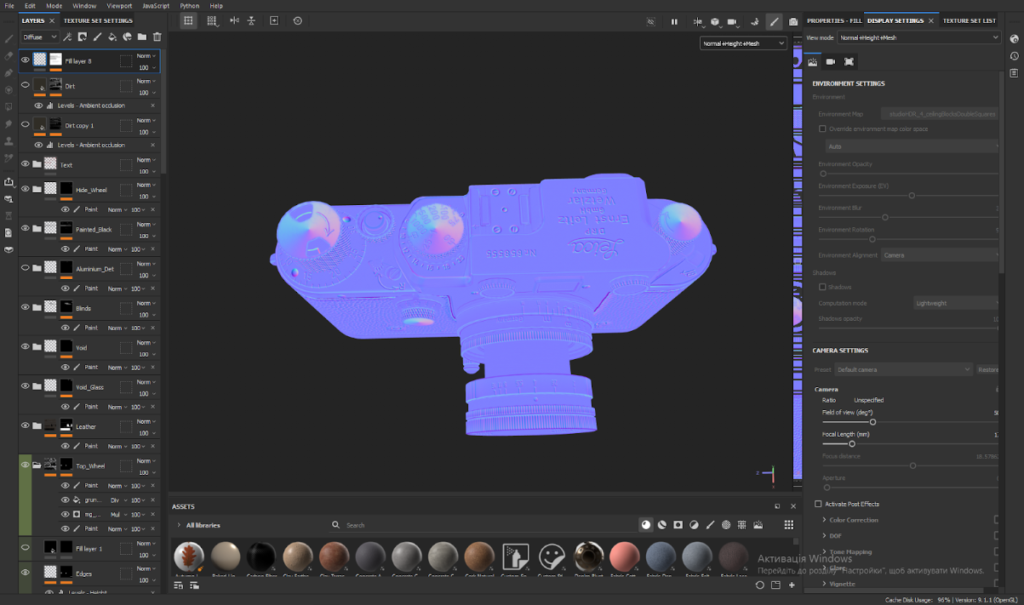
The main challenge was texturing the mode wheels, for which Specular Glossiness wasn’t suitable.
I decided to create this effect using “fake” anisotropy through the cone’s normals. This provides a similar effect when properly exposing light and adjusting the intensity of the three channels of the normal map.
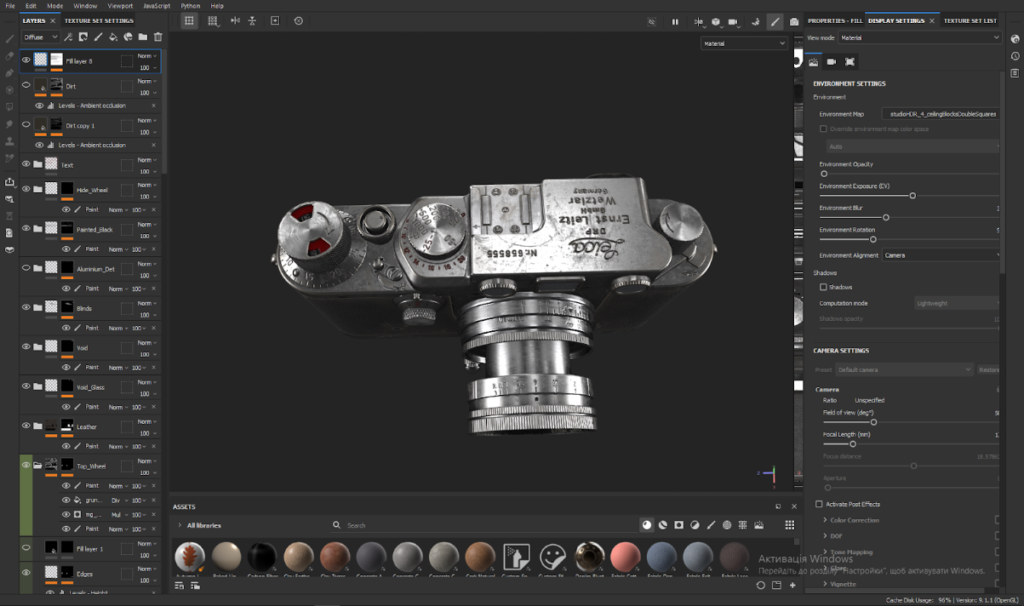
At the end of the texturing stage, after adding all the necessary damage and scuffing effects that enhanced the model’s realism, I added contour dirt and dust to create a sense of use and authenticity.
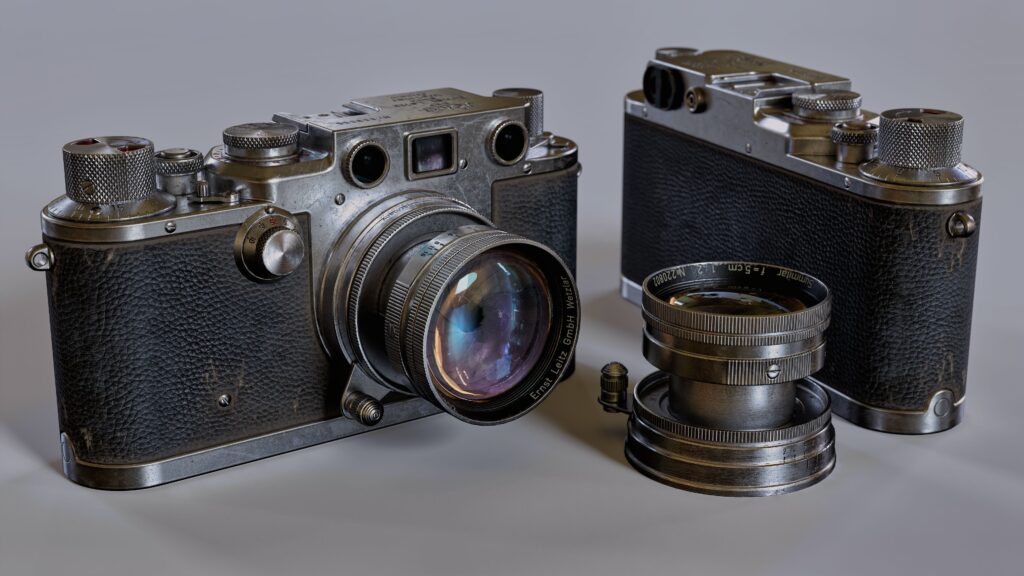
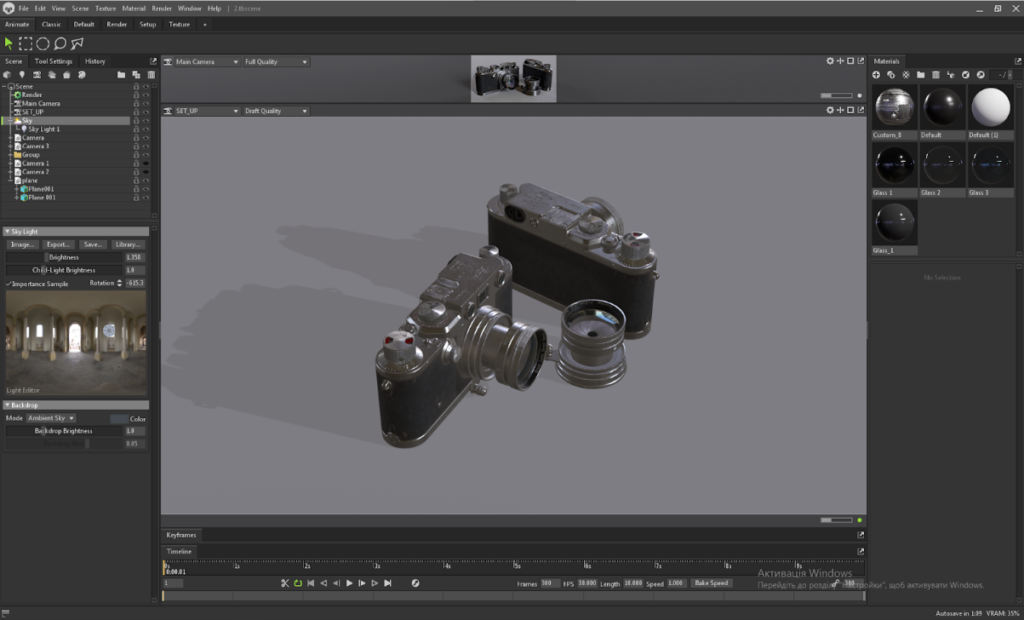
Lighting & Rendering
Rendering is crucial for bringing out the fine intricacies of textures. My challenge was to add only the necessary light sources without over-lighting the model.
This emphasizes the depth of the surface and the authenticity of the materials, creating a realistic feel.

Conclusion
Thank you to everyone who took the time to read this article. I hope you found valuable insights and inspiration in the work I’ve shared. Thanks to my colleagues who provided me with useful feedback throughout the project.
Also, a special shout-out to Games Artist for giving me the platform to showcase my skills and passion.
Read more articles
You might also like these articles.