UFO Hunter

Introduction
I'm Kushtrim Brahimi, a 3D Asset and Environment Artist currently based in Amsterdam, The Netherlands. I grew up in a city called Malmö, in the south of Sweden, where the games industry has for long been a cultural product.
These days, I’m actively looking for my next role in the games industry, while also working on my own game on the side.
Goals
This project began as something small and focused. My original goal was to create a single asset that would allow me to push and showcase my modeling and texturing skills.
While that remained the core objective behind UFO Hunter, as I started thinking more about the final presentation, my ambitions grew, and what began as a simple asset showcase evolved into a much larger project.


Tools
- Blender: General modelling and UV mapping
- Zbrush: Sculpting where necessary and using the Polish deform option to get nice and even bevels.
- Marmoset Toolbag: The environment was rendered in MT4. I also like to use it for baking more complex geometry and for transferring textures from dense photogrammetry assets to a lower poly version.
- Substance 3D Painter: Used for all the texture work.
- Reality Scan: Used photogrammetry to get my delicious IRL pizza into the scene.
References & Inspiration
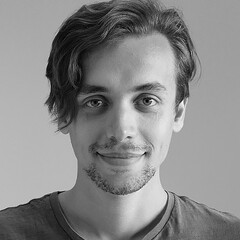
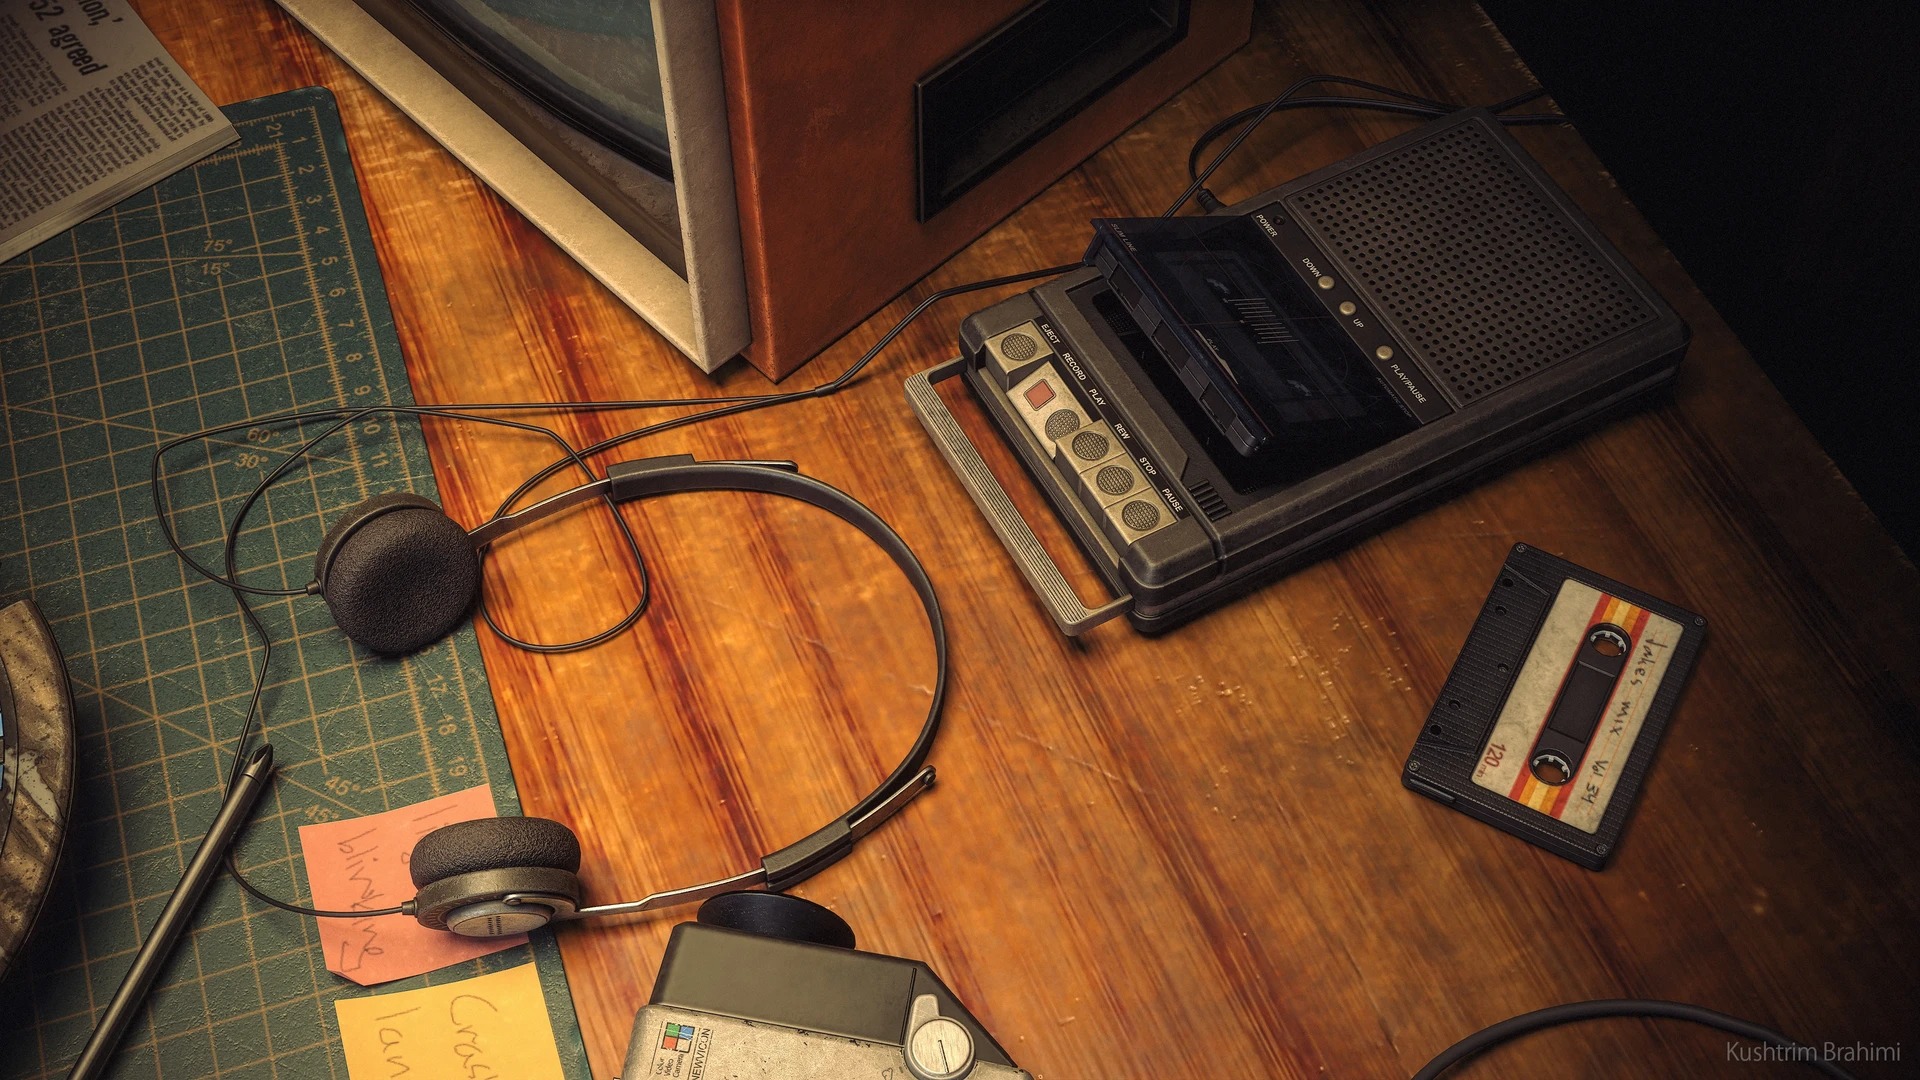
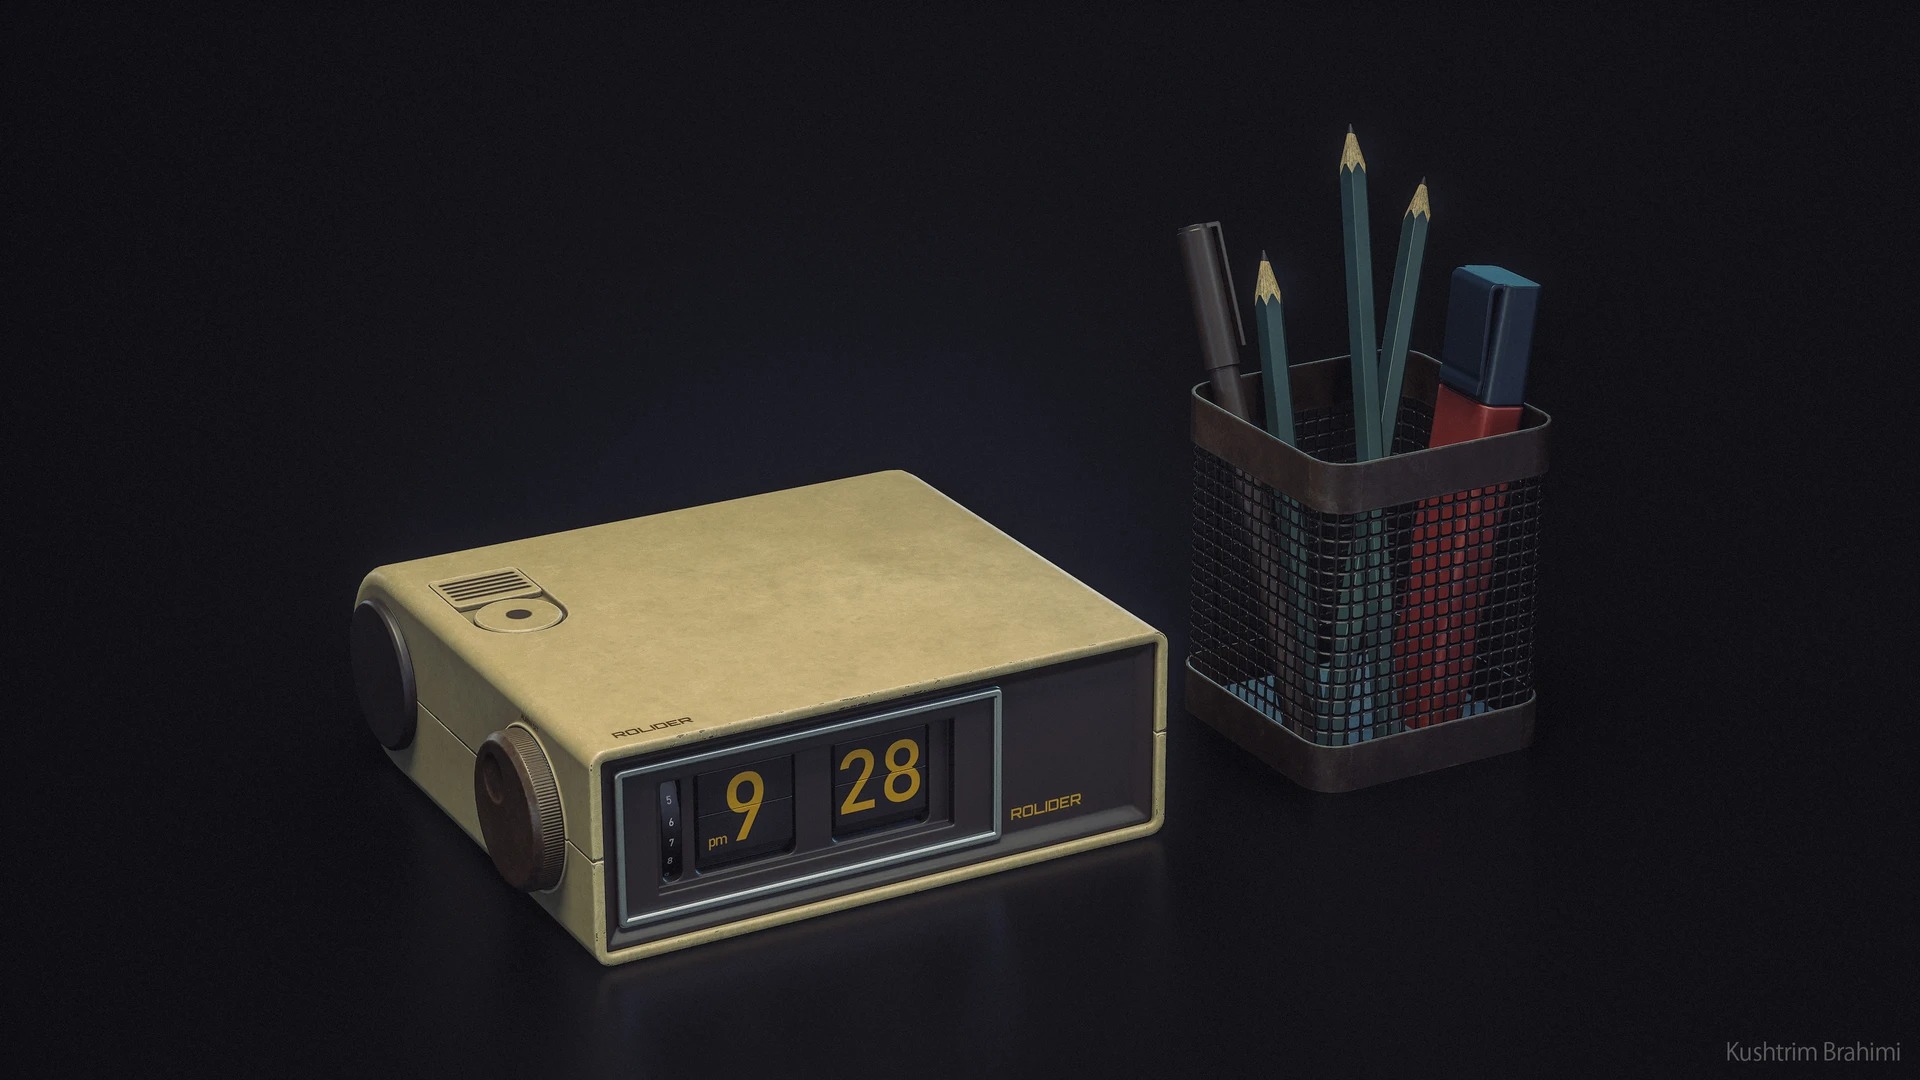
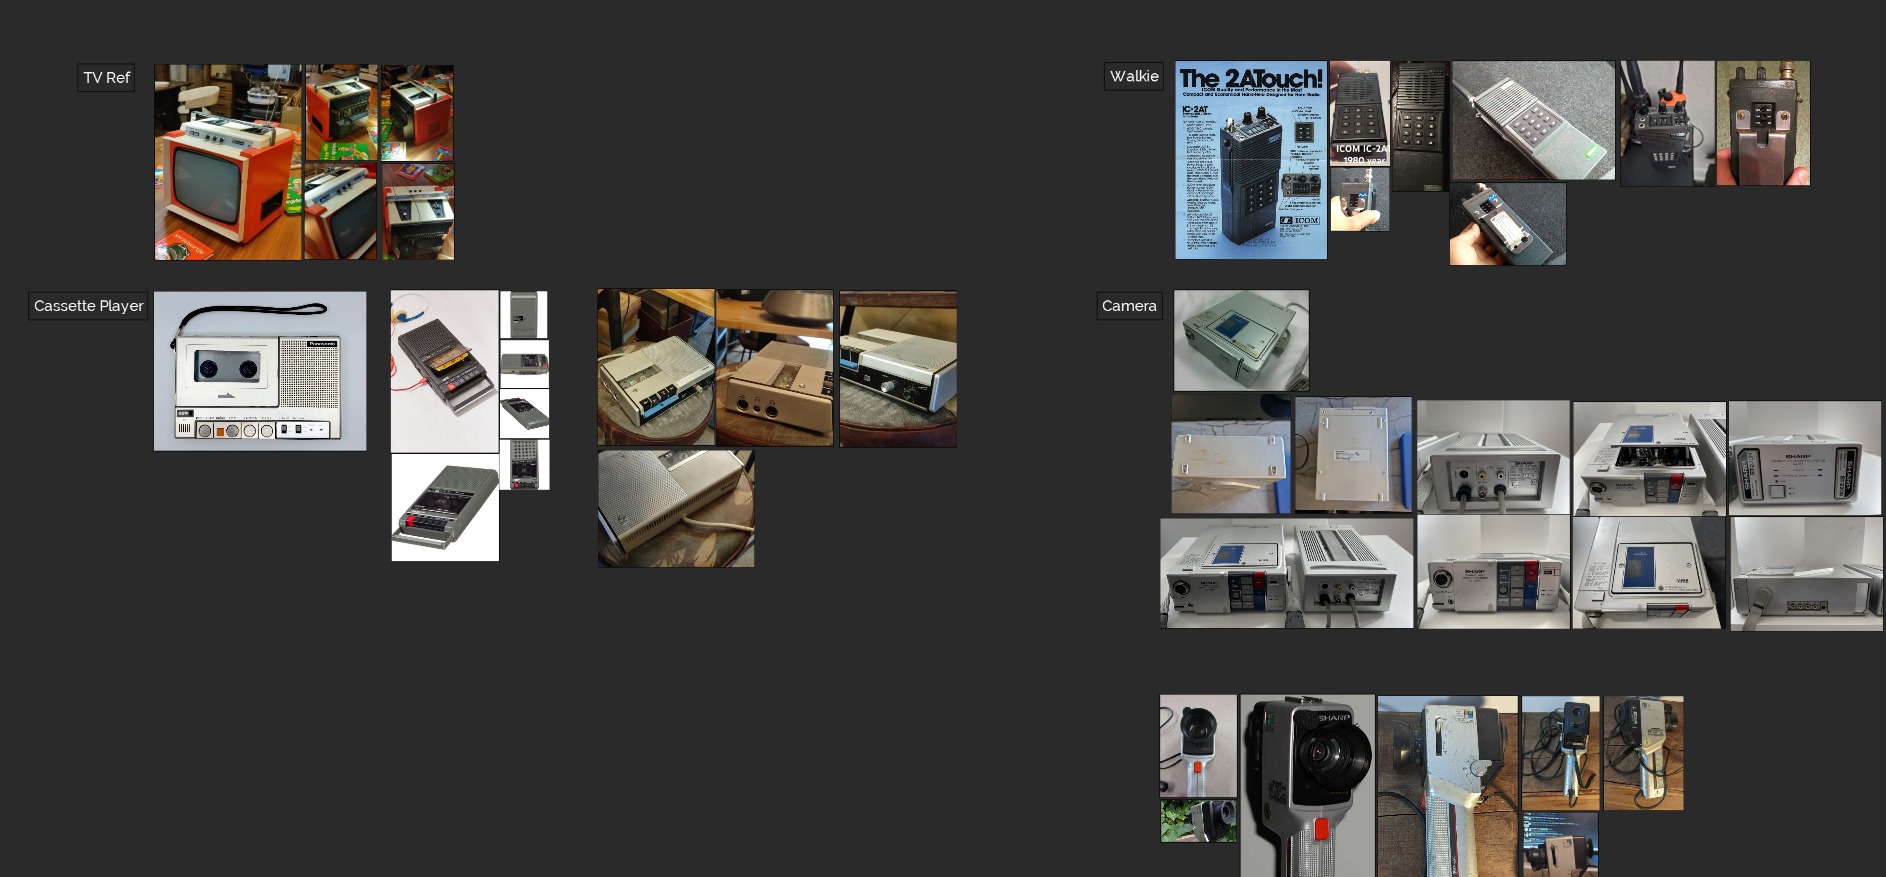
I’ve been a fan of 70s and 80s aesthetics for as long as I can remember, especially when it comes to technology. This project started as any other 3D project would, with finding references.
Usually, I’d go browsing Pinterest and Artstation for that, but I had a rare opportunity in that I have a vintage shop close to where I live, and I decided to start my hunt for references there.
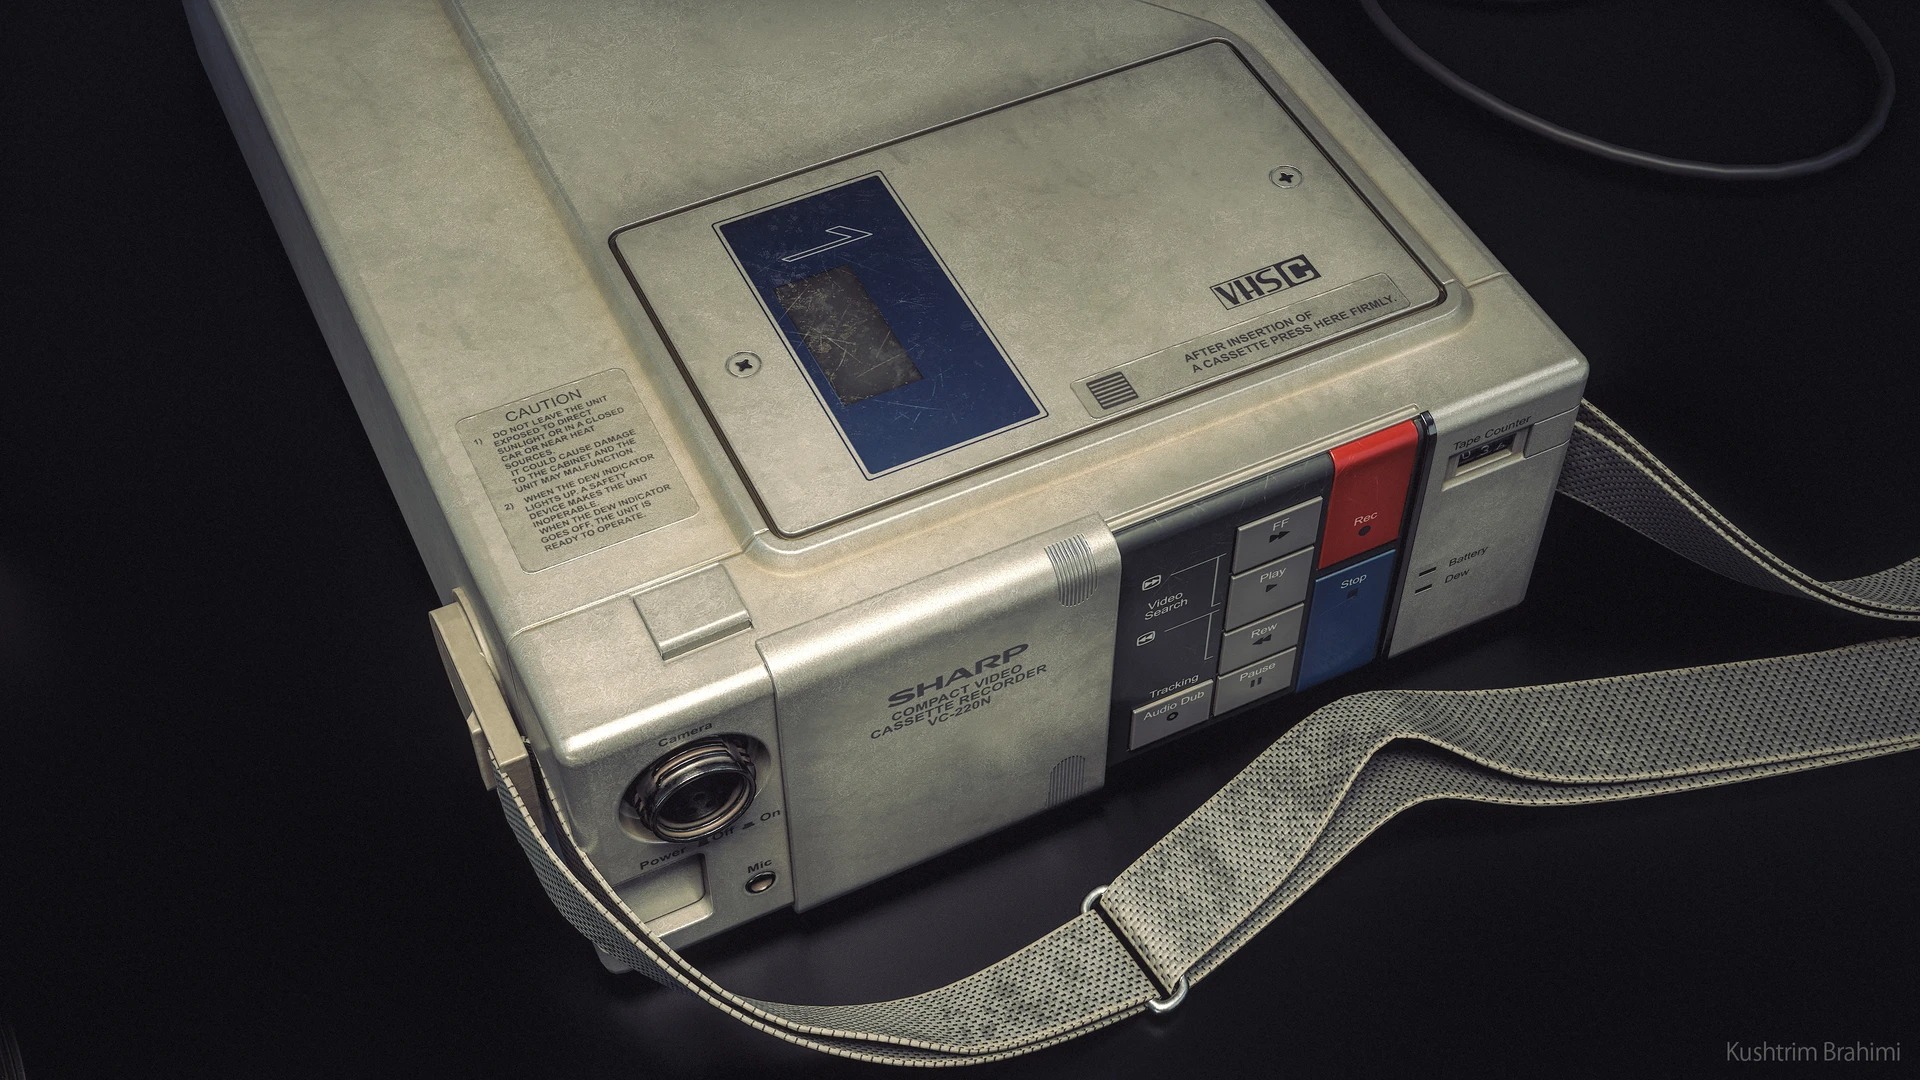
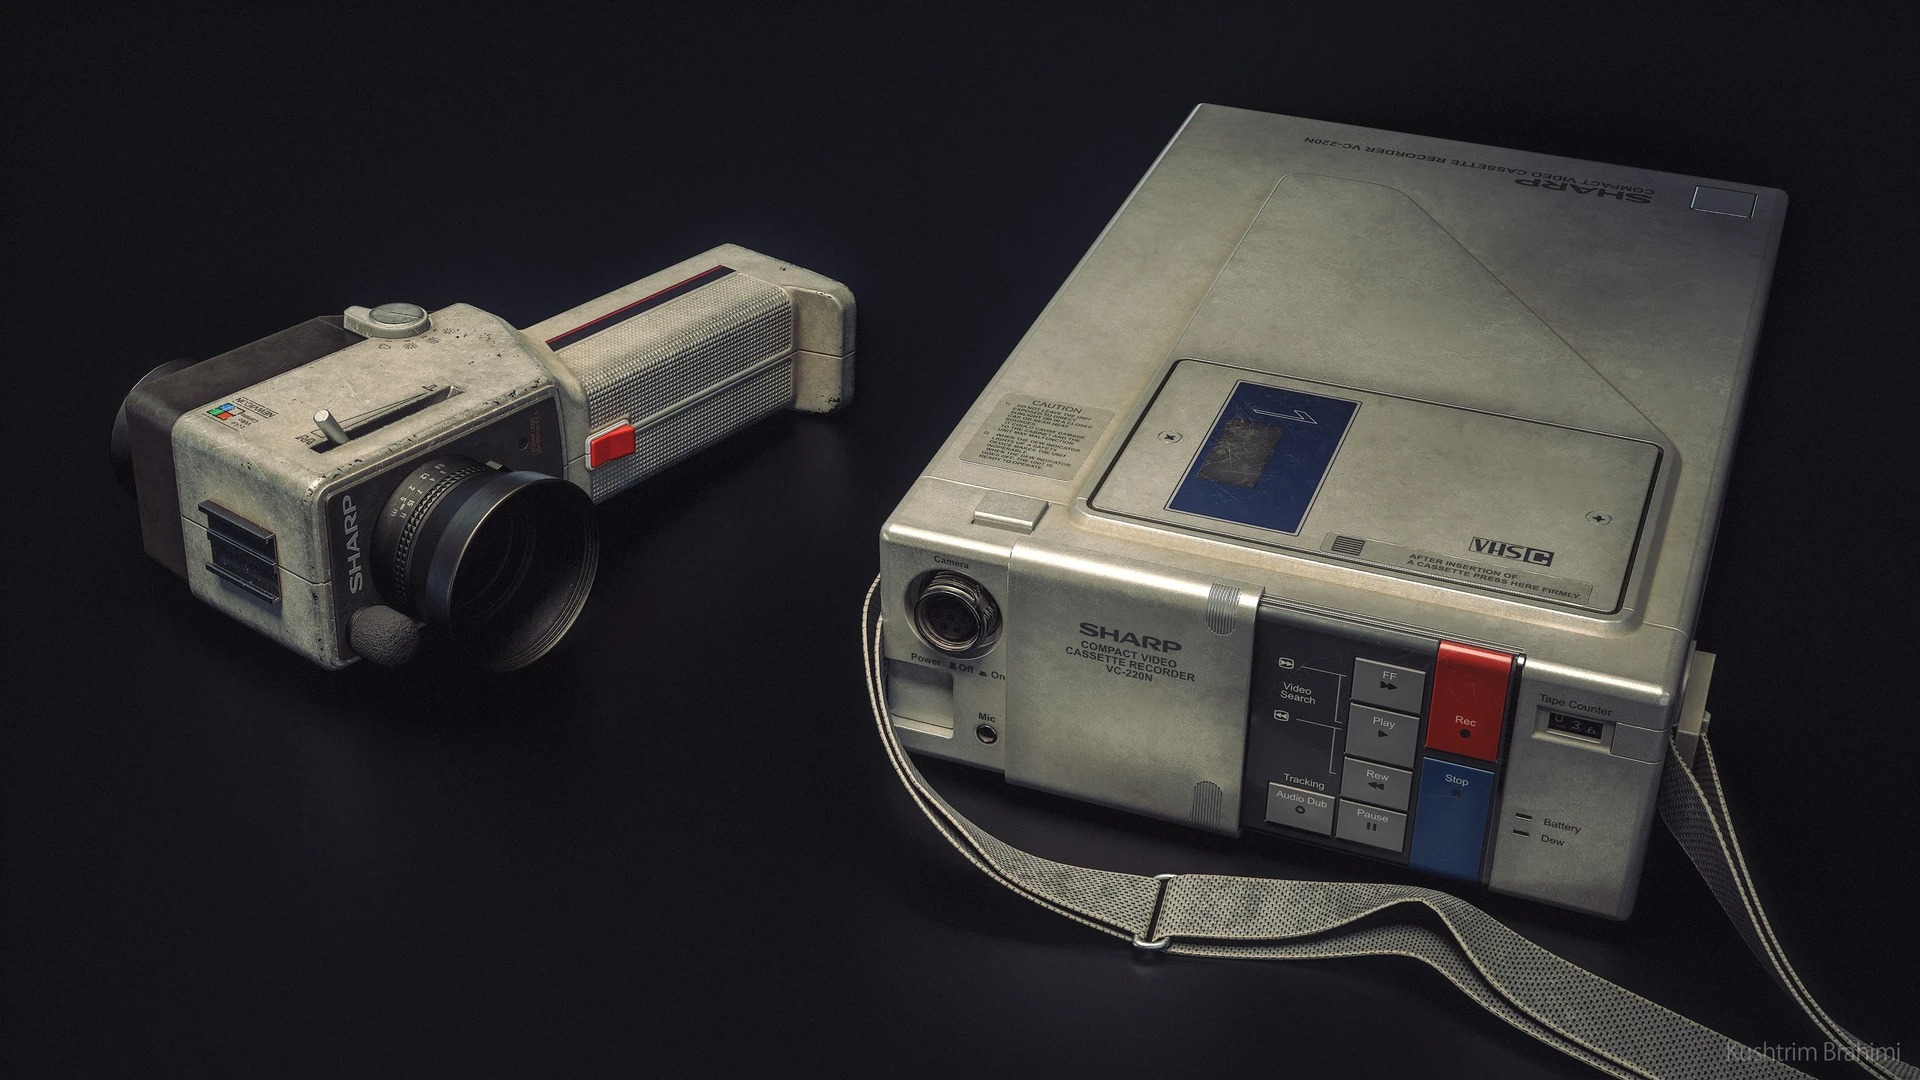
I ended up taking quite a few reference photos at the vintage shop. These places are filled with old industrial “junk”, which is perfect for what I was doing.
While the different devices I found there were interesting on their own, I didn’t think they complemented each other visually, so I ended up using Pinterest to scour for alternatives.
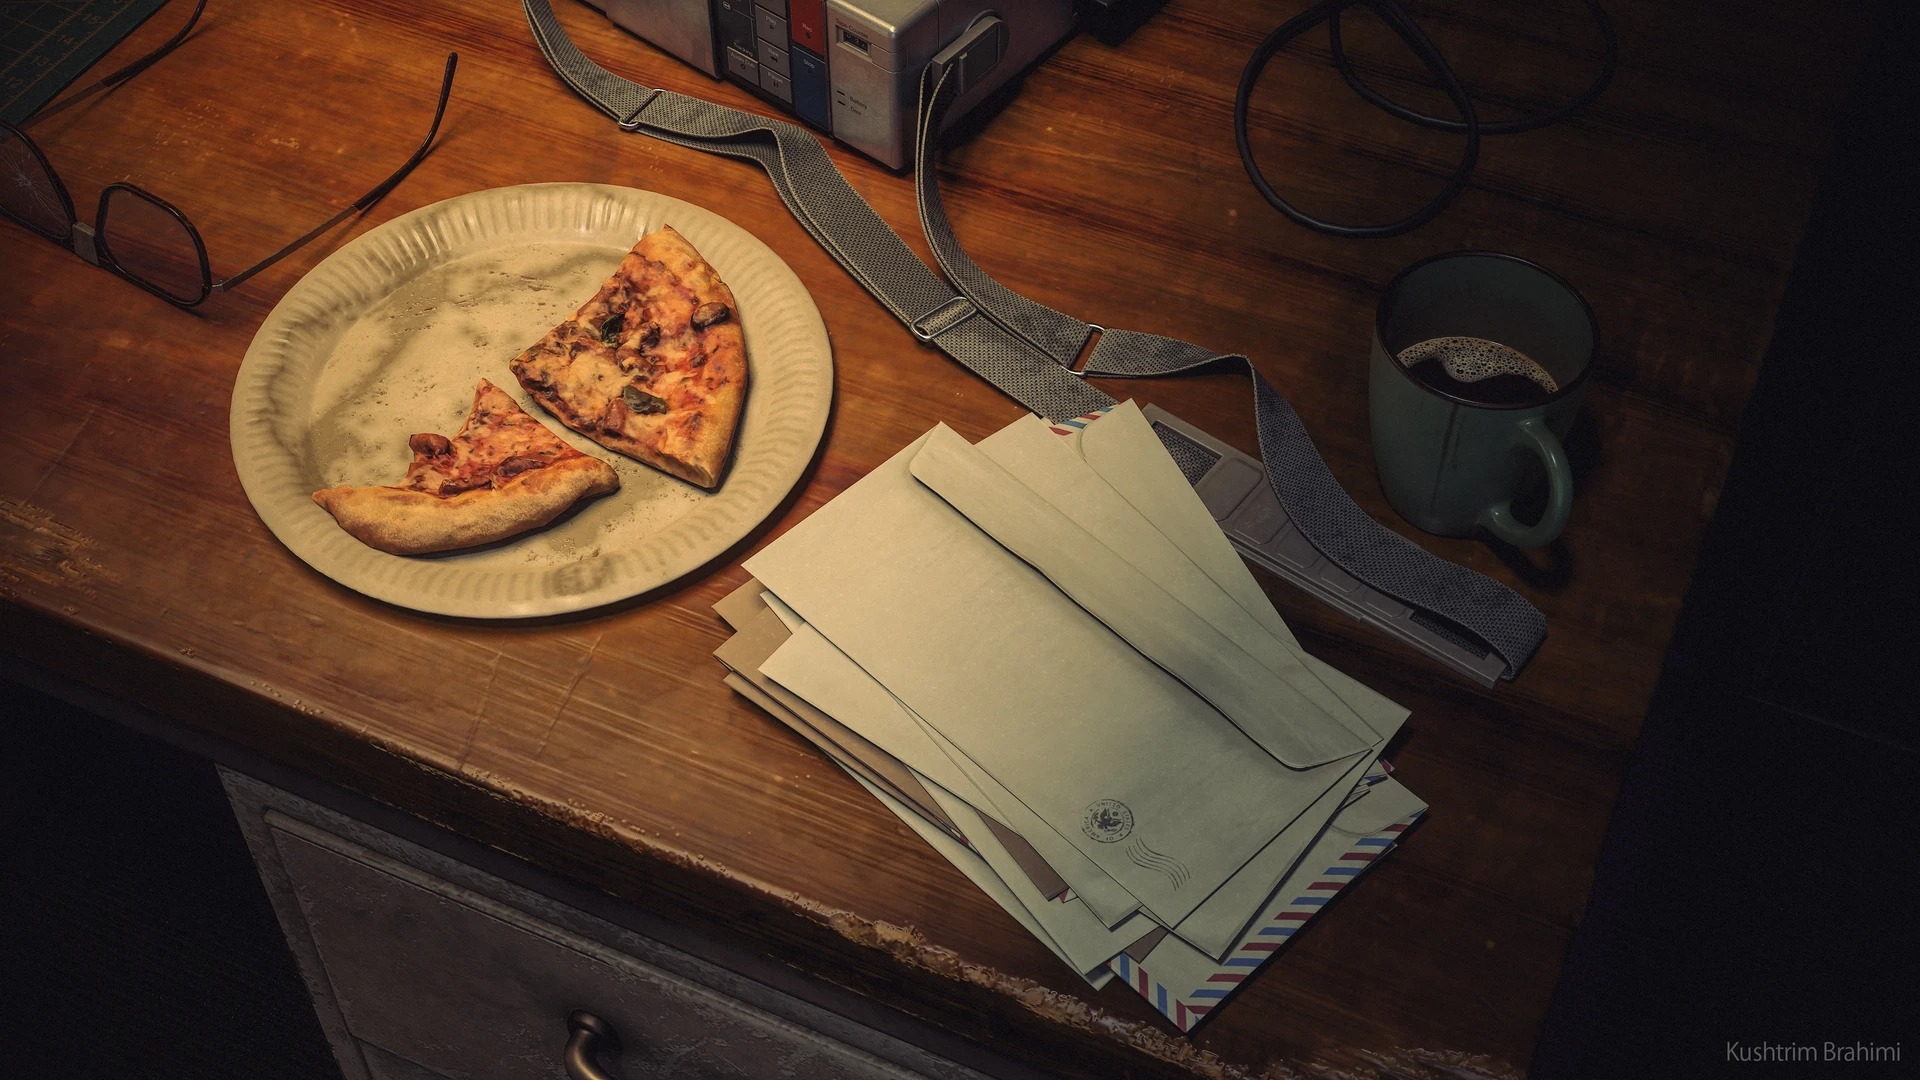
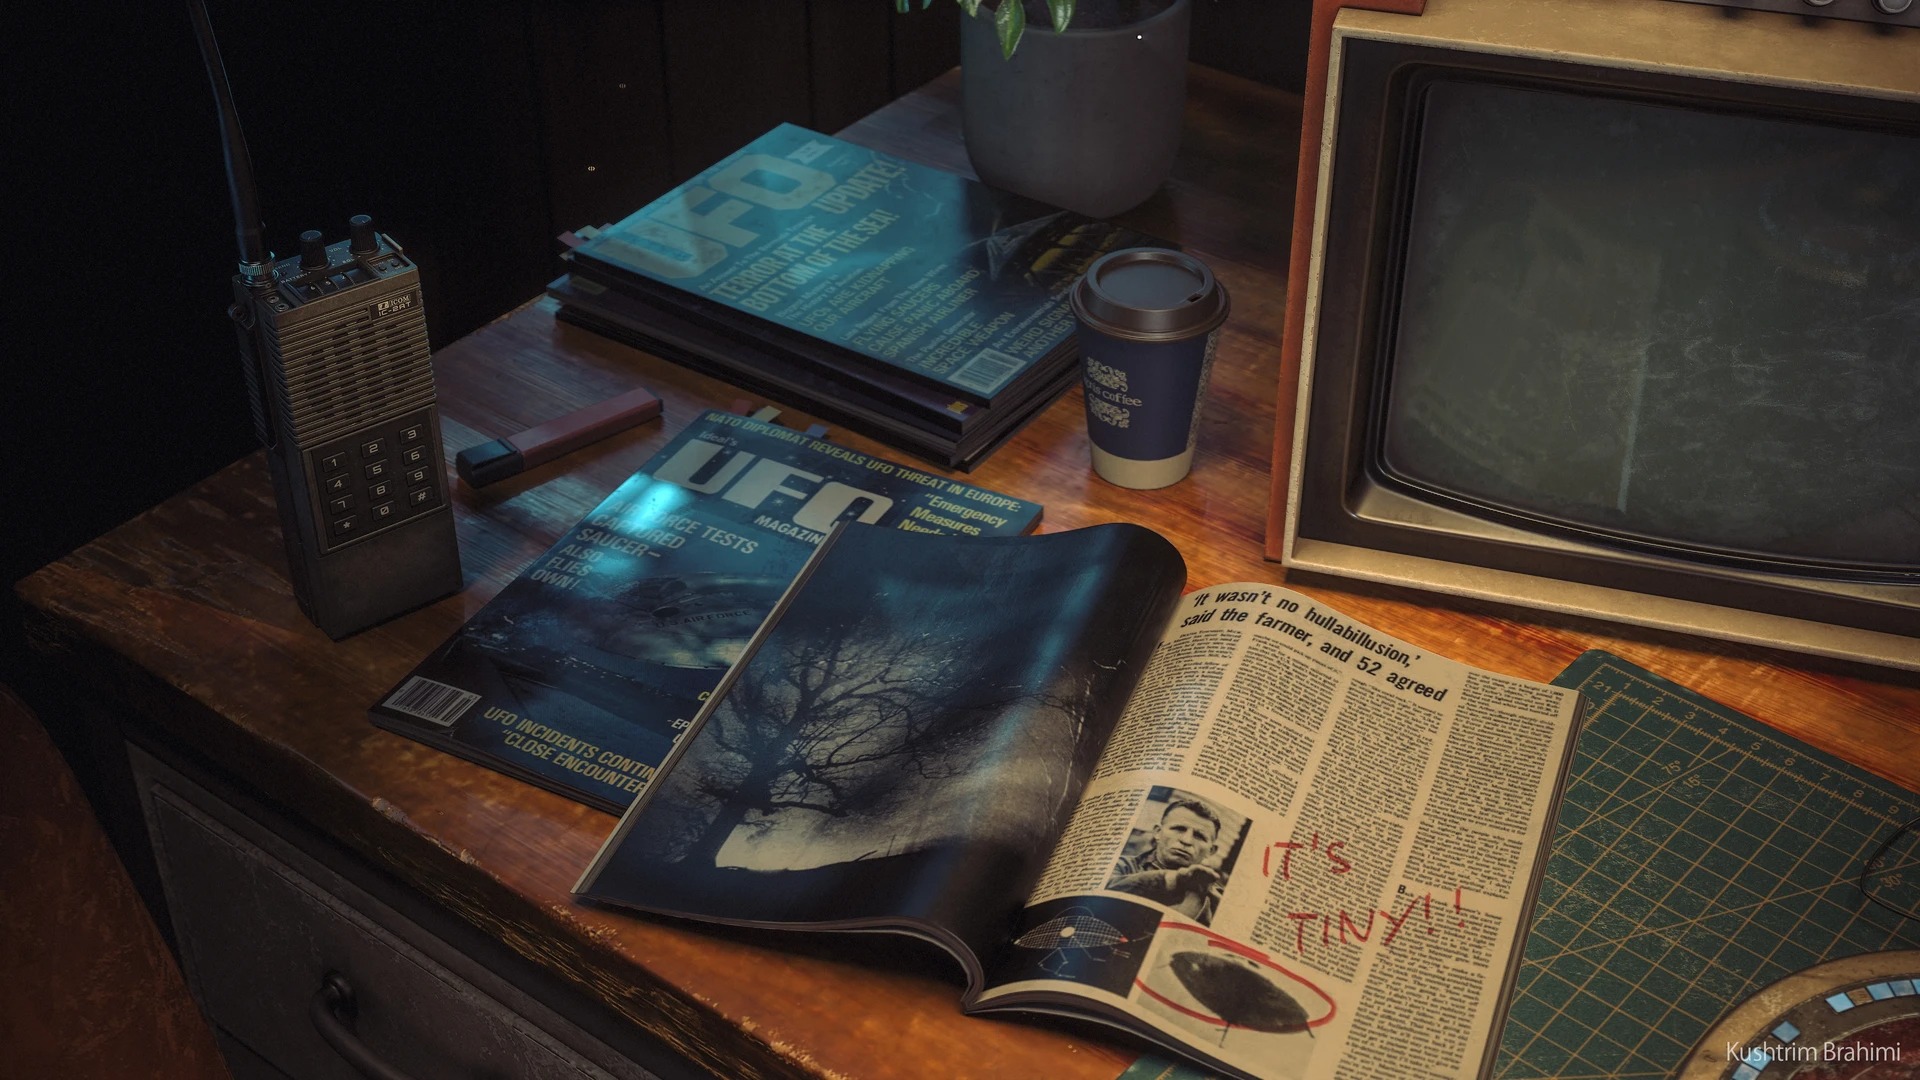
For the presentation, I drew inspiration from the team at Remedy Entertainment and the work they did on Control and Alan Wake 2.
There is something about that rural American town-look that speaks to me. More specifically, I looked at the Oceanview Motel level in Control for inspiration on lighting and interior design. I also looked at Morgue, by Carl Shedd.
I felt I wanted to achieve a similar vibe with UFO Hunter.
Asset Breakdown
I followed a similar method when creating most of the props for UFO Hunter, so I’ll only go through a couple of them and then jump over to the lighting and presentation.
When creating an asset, I’ve developed my own little pipeline throughout the years that prioritizes time efficiency and tries to eliminate tedious steps like blockout and retopology.
The pipeline I follow looks like this:
- Lowpoly
- Highpoly
- UV Mapping
- Baking
- Texturing
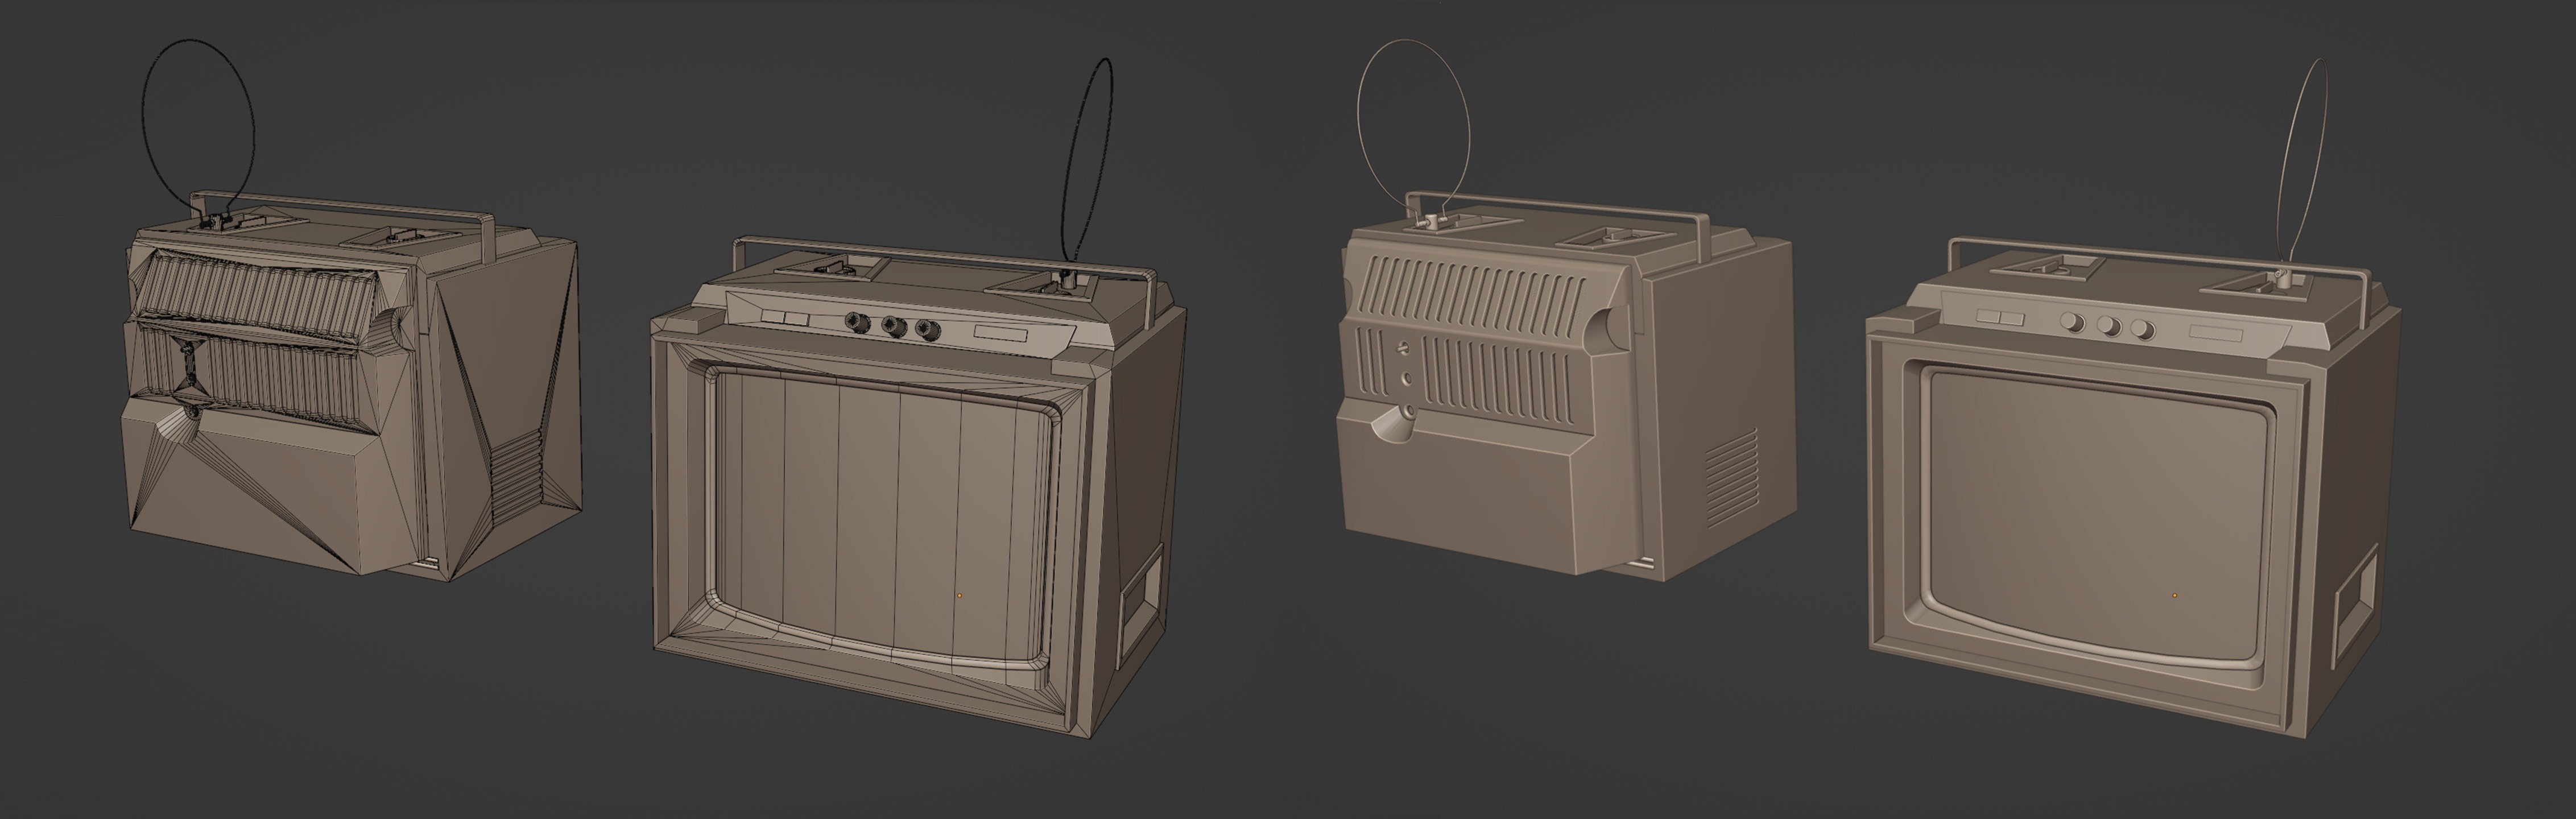
Lowpoly
I do all my modelling in Blender. I find Blender’s modifiers allow for a reasonably non-destructive workflow, and there’s a plethora of addons available that make modeling faster and more customizable than ever.
I use edge loops and booleans to get my shapes down quickly. Once I’m happy with the results, I do a clean-up pass where I delete any face that isn’t visible and any edge that doesn’t affect the silhouette of the asset gets deleted or merged to the closest vertex.
Some elements, like the knobs of the TV, are duplicated to not take up unnecessary space in the UV.
Highpoly
To create my Highpoly, I use Zbrush, where my goal is to add more geo to the mesh so that I can use the polish deform option to get nice and even bevels.
I add more geo by going to Geometry -> Divide, but without creasing our edges first, this will cause the geometry to collapse.
A simple way to crease these edges is by taking advantage of ZBrush’s polygroups feature. More specifically, the Groups By Normals option.
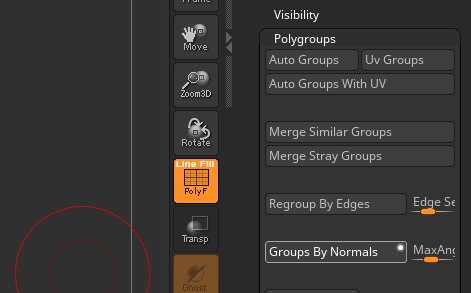
After I’ve grouped my mesh, I use the ZModeler tool to apply creases to the border of all groups.
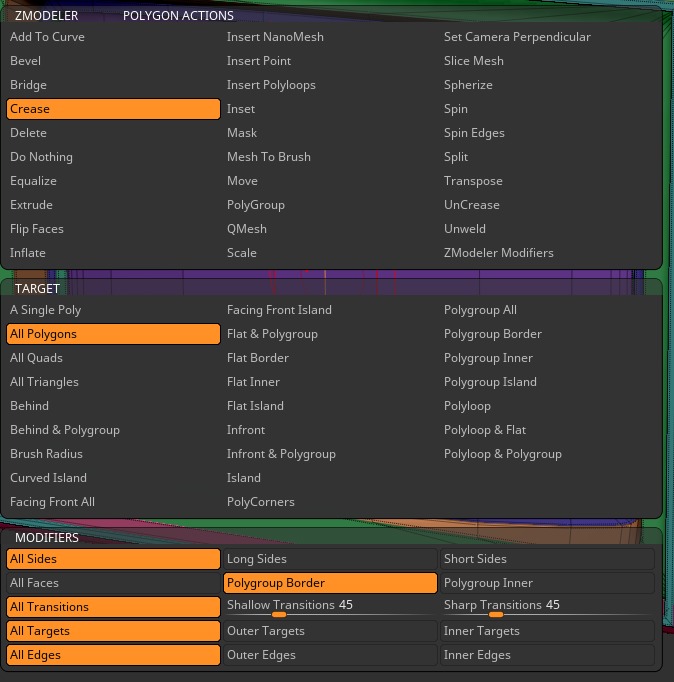
Using this method, we can crease around 95% of the edges we need to crease. If the mesh is still collapsing in certain places, I’ll manually add more creases to those areas.
At this point, I can safely divide the asset while keeping all your shapes intact.
For the final step, I want to apply a deformation -> Polish so that I can get nice and even bevels on my assets. However, there’s a problem: I have a bunch of triangles all over the mesh, and the geometry is more dense in certain areas and less dense in others. This results in very uneven bevels, some being very smooth and others very sharp.
To fix this, I either apply a ZRemesher or a Dynamesh to make the geometry universally dense everywhere. After some experimenting using both methods, I find that a high-resolution Dynamesh gives me more consistent results and is the quicker solution to what I’m trying to achieve.
At this point, I can safely apply a polish deform to my edges and get perfect bevels. Before exporting my new highpoly I decimate the mesh to ensure a faster bake process.
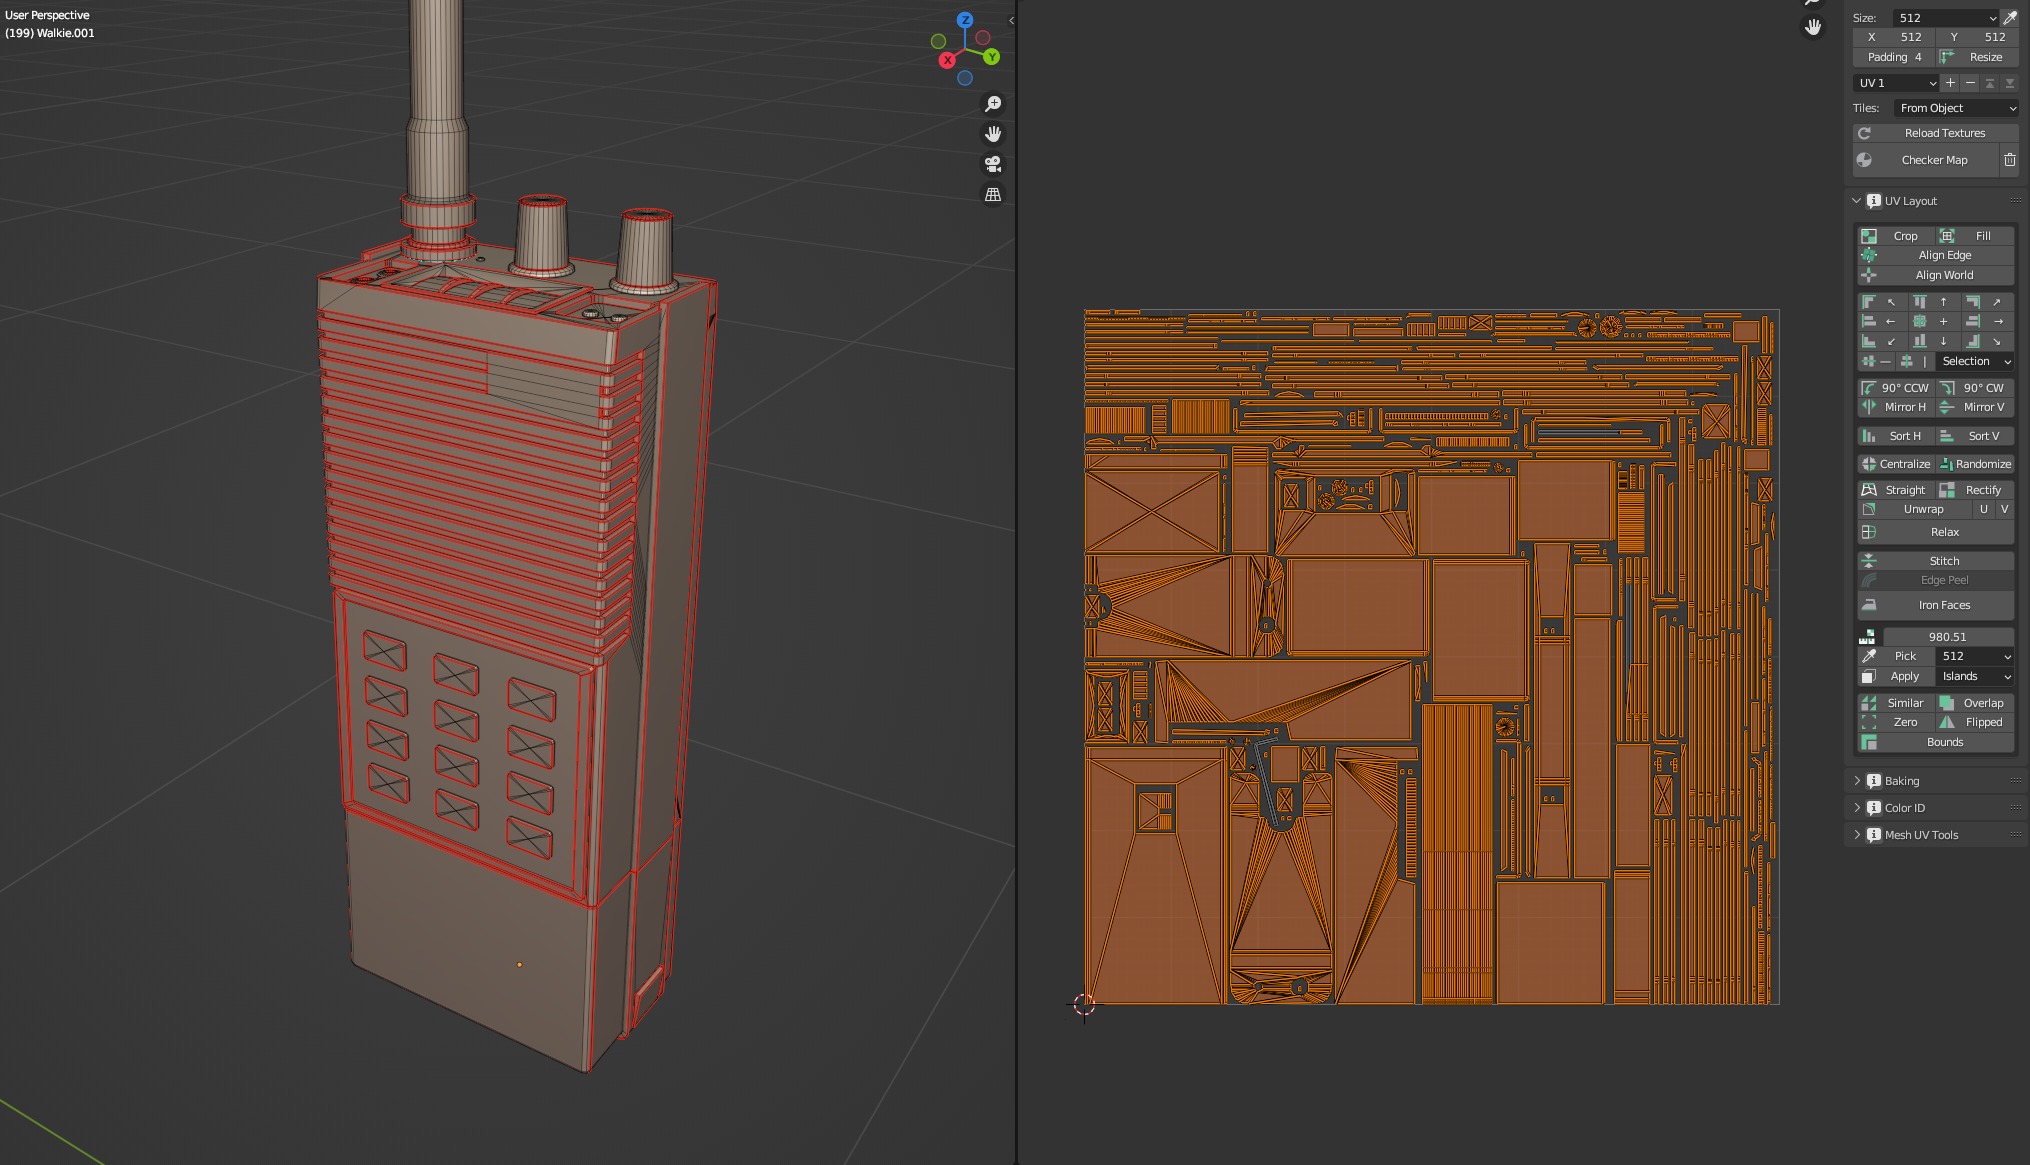
UVs
For my UVs there are two things I try to prioritize to keep my seams as clean and invisible as possible. One is having an even texel density, and because of the nature of how pixels work, I try to stay away from diagonal UV islands as much as possible.
A high texture resolution also helps, but we don’t always have the luxury of getting to use one of those, especially in game development.
I use a combination of addons when UV unwrapping, namely TexTools, UV-Packer and Texel Density Checker.
Baking
For baking, I like using Marmoset Toolbag. I think it handles complex meshes a bit better than Substance, and it comes with some unique tools for manipulating the bake cage, which give me that bit of extra control when baking.
For simpler assets, I feel like Substance 3D Painter works fine and is faster to set up. I ended up using both software to bake different assets.
Textures
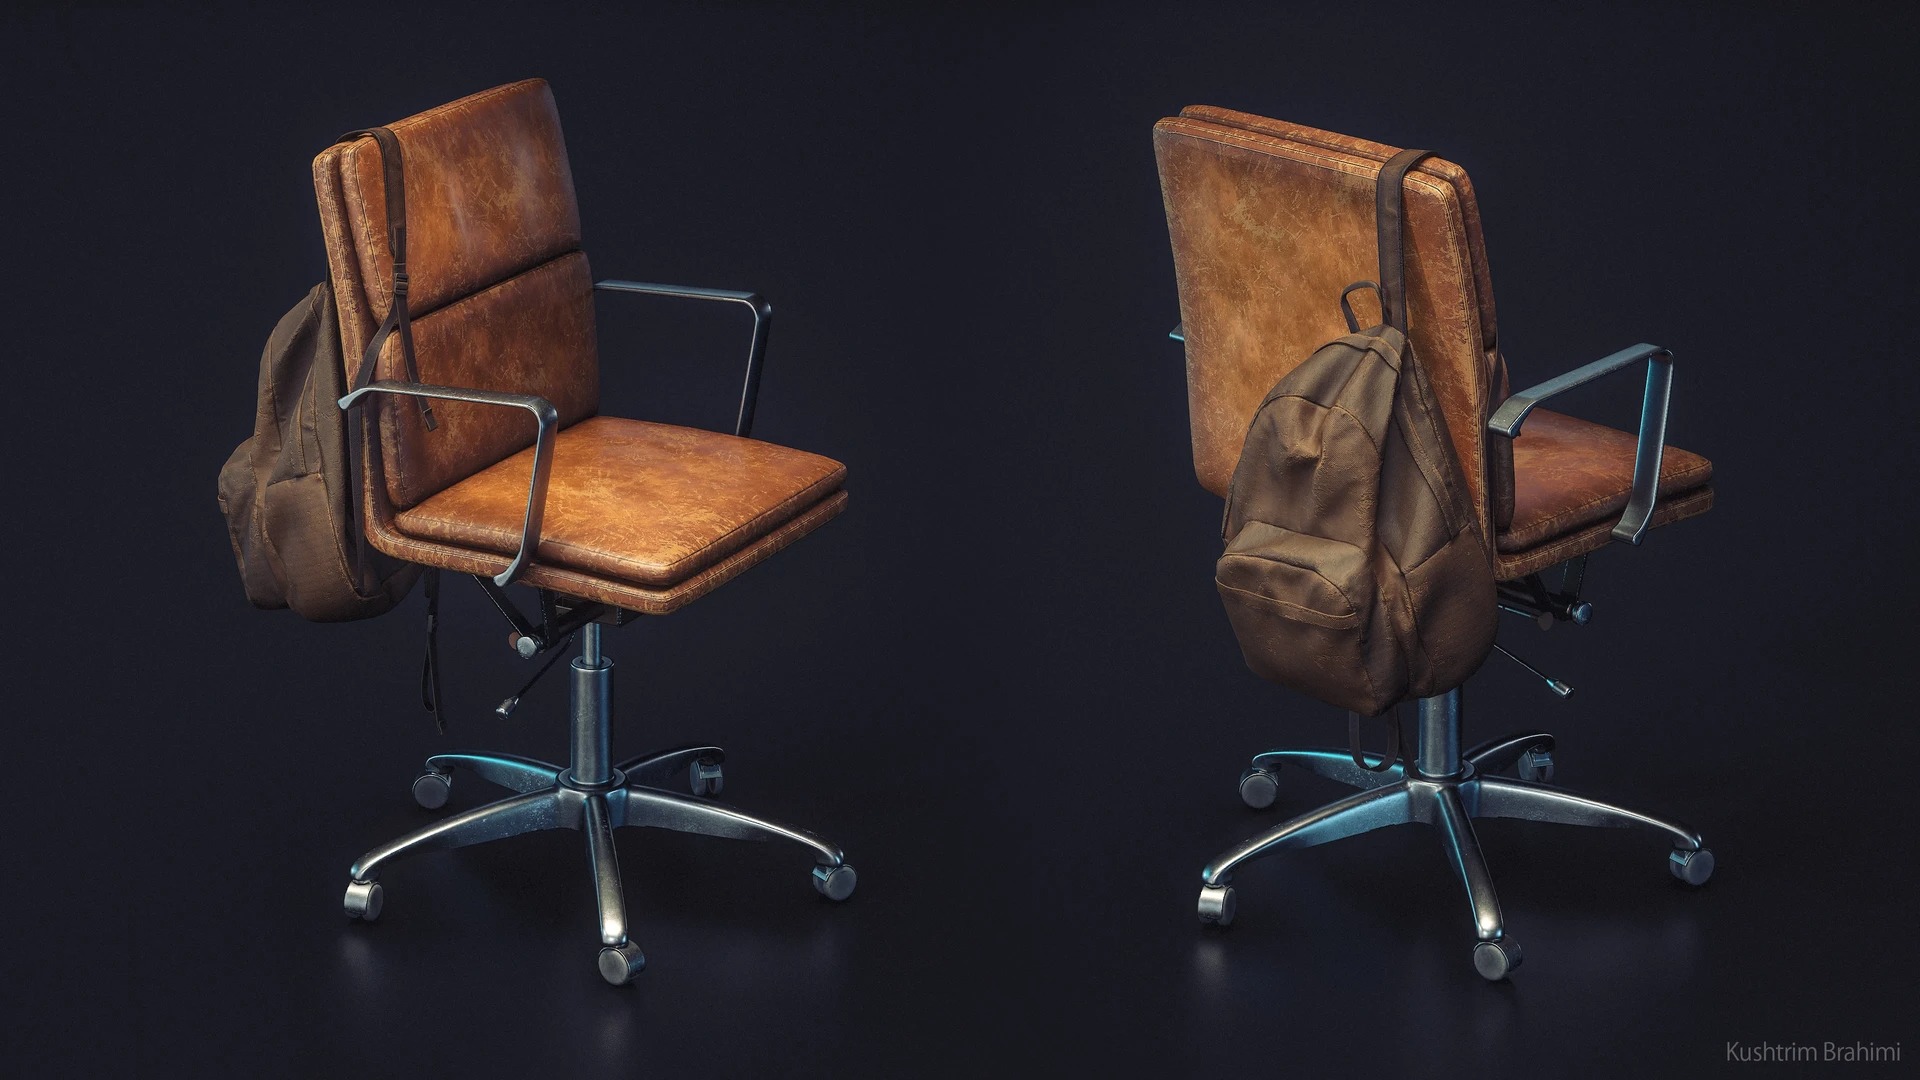
For texturing, I use Substance 3D Painter. I start by applying a Smart Material I’ve created as a base. The idea behind the Smart Material is to quickly get rid of that new and clean feeling in the texture.
It adds some color variation and yellowish tinted spots to simulate the material changing over time due to wear, sunlight or oxidation. I also try to stay away from total black and white values, instead giving everything a yellowish tone.
So instead of whites and blacks, I get more browns and beige colors, which helps get rid of that clean, digital look. Using an empty layer with a passthrough blend mode and an HSL filter, I can adjust the colors without having to do so for every individual layer.
This is how I’m able to use this smart material for different colored assets.
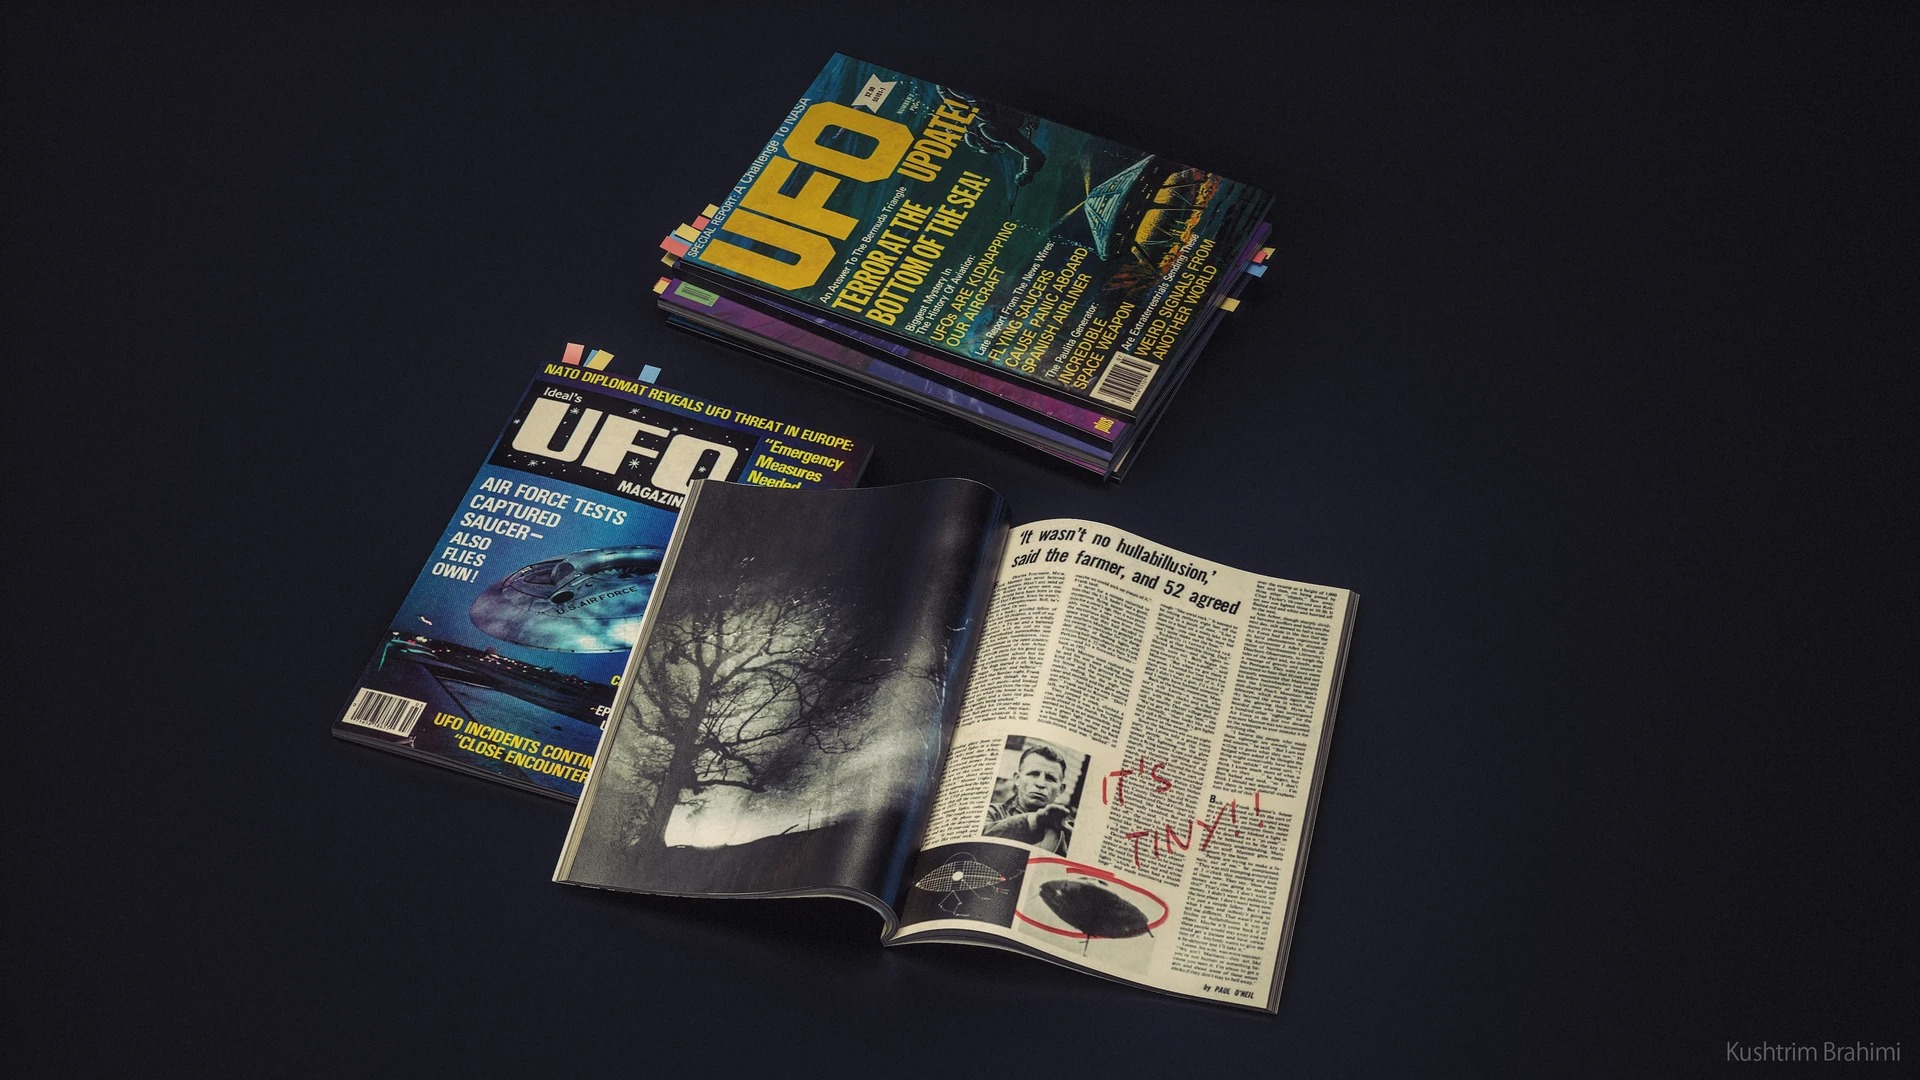
When deciding what color to give my assets, I first thought about how it would affect the overall composition of the scene.
The wood of the table and the TV both had a warm hue, so the rest of the assets needed to have either a complementary blue or green color or something neutral like black or white. Nothing too distracting.
Next, I apply my alphas for decals, logos and stickers. I create most of my custom alphas in Photoshop, but sometimes I’ll use Substance’s library of alphas and fonts in combination to make something new.
I apply my alpha with a planar projection, which allows me to get visual feedback for more precise placement, and it’s non-destructive, allowing me to swap it out for something different in the future should I need to.
Last up is the dirt masks, scratches and any other type of damage. This part tends to make or break the textures, so I spend a lot of time looking at my ref to try and get these just right.
This is also where I start thinking about the history of the asset, how it was used and for what purpose. This will influence how much wear and tear I apply to the texture. I try to be very intentional with how I add every scratch and stain.
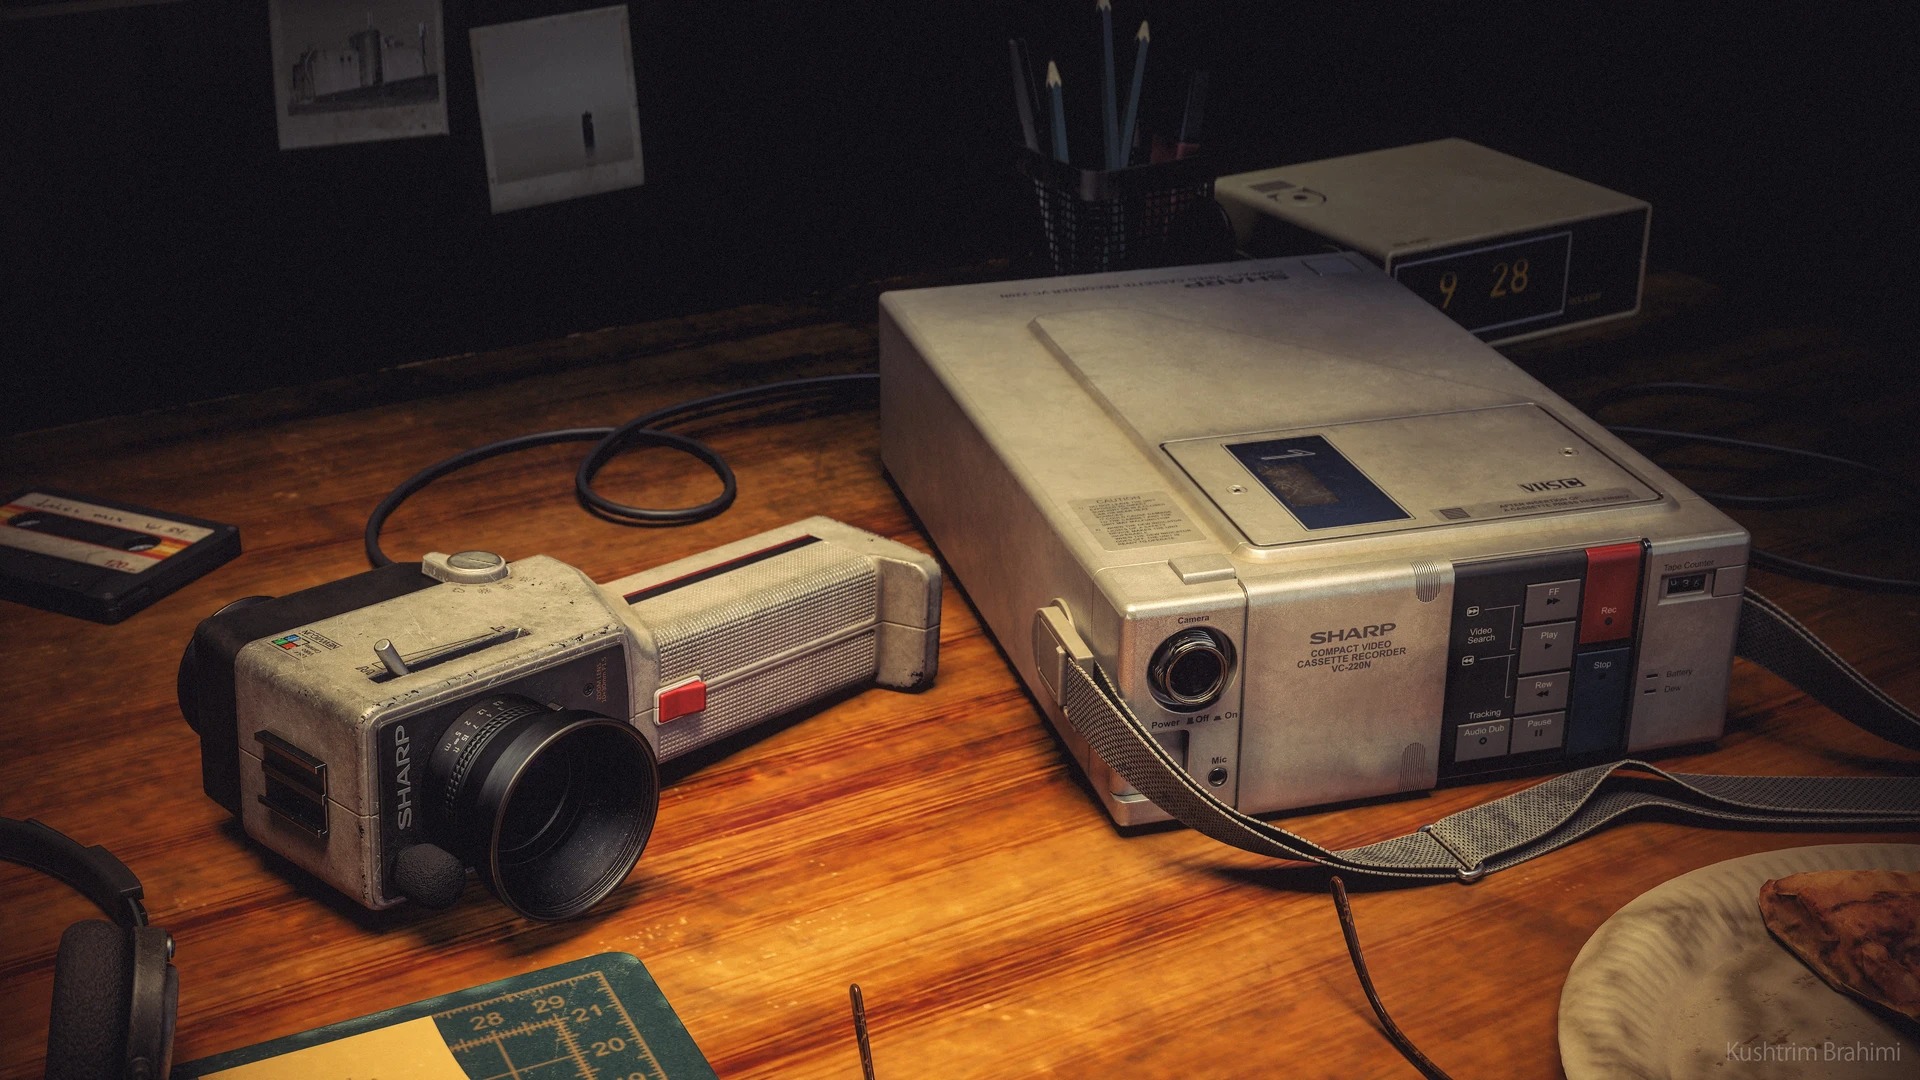
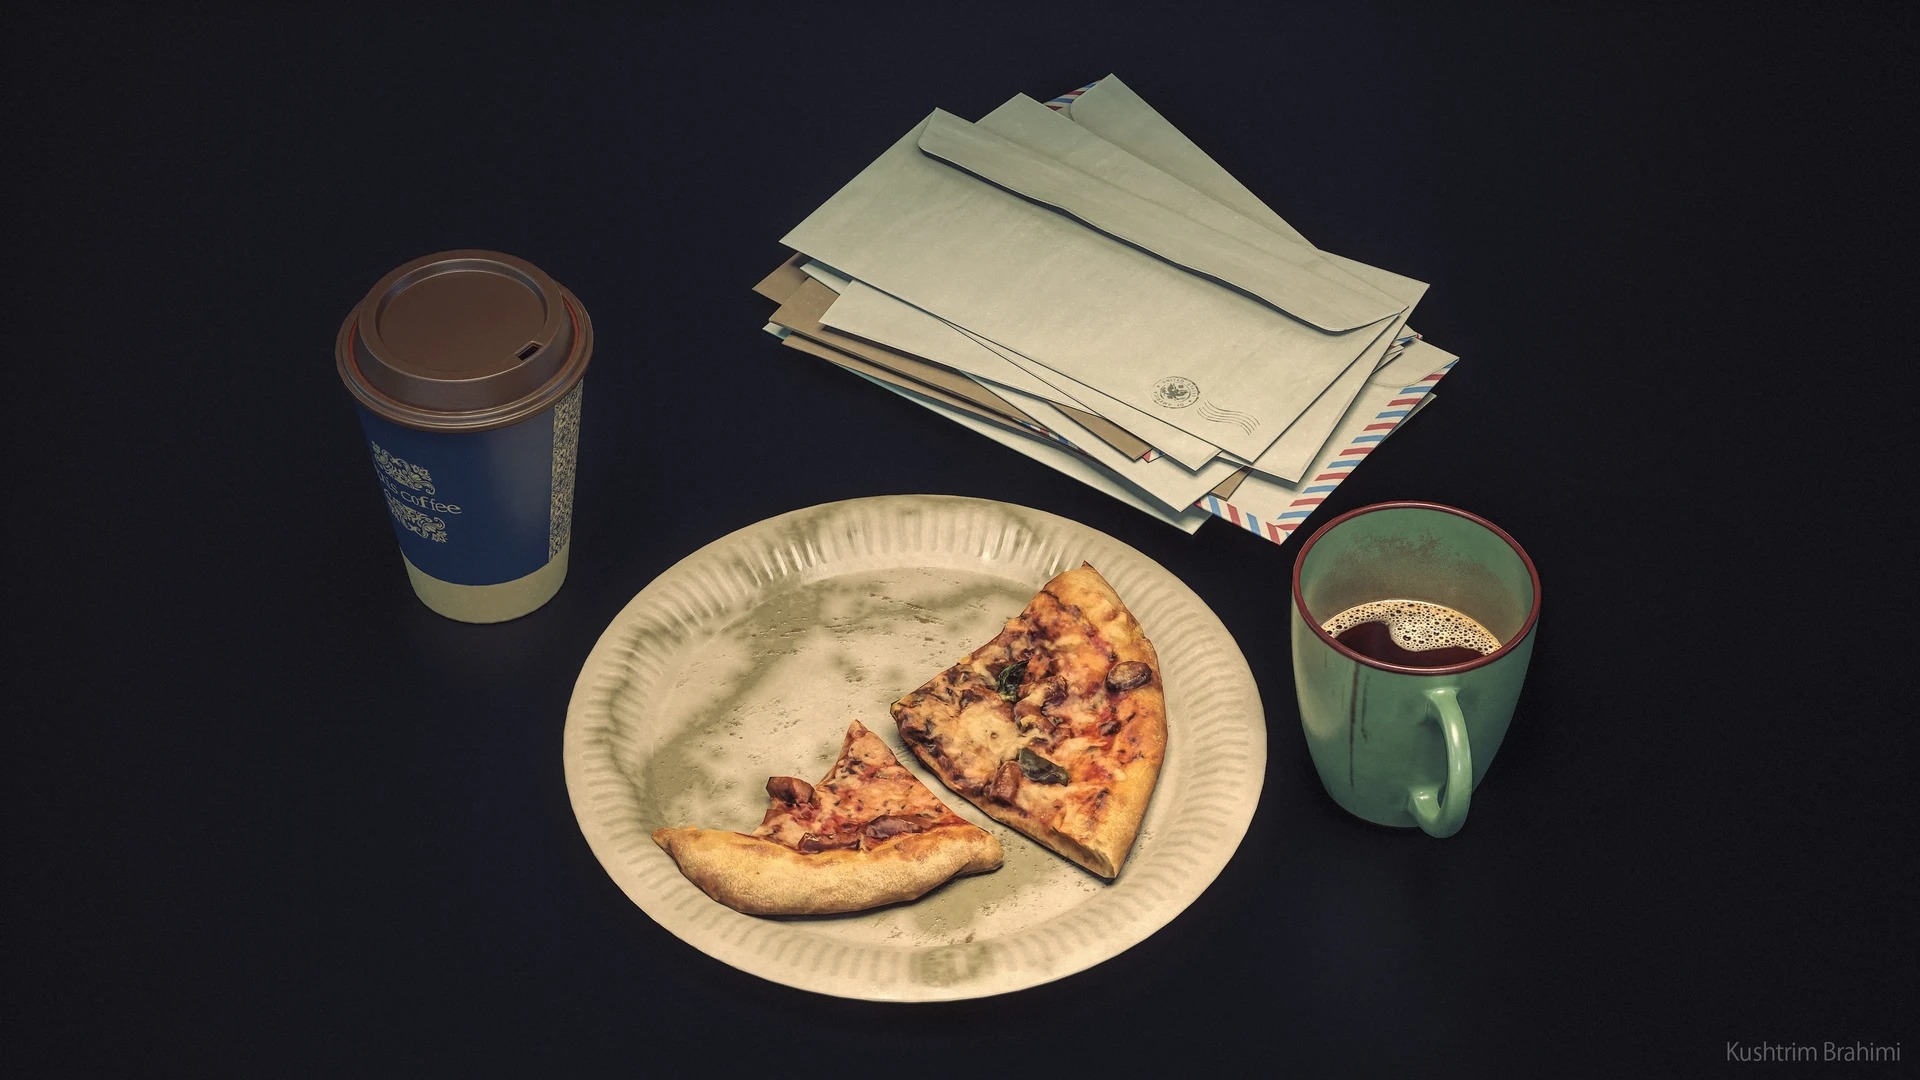
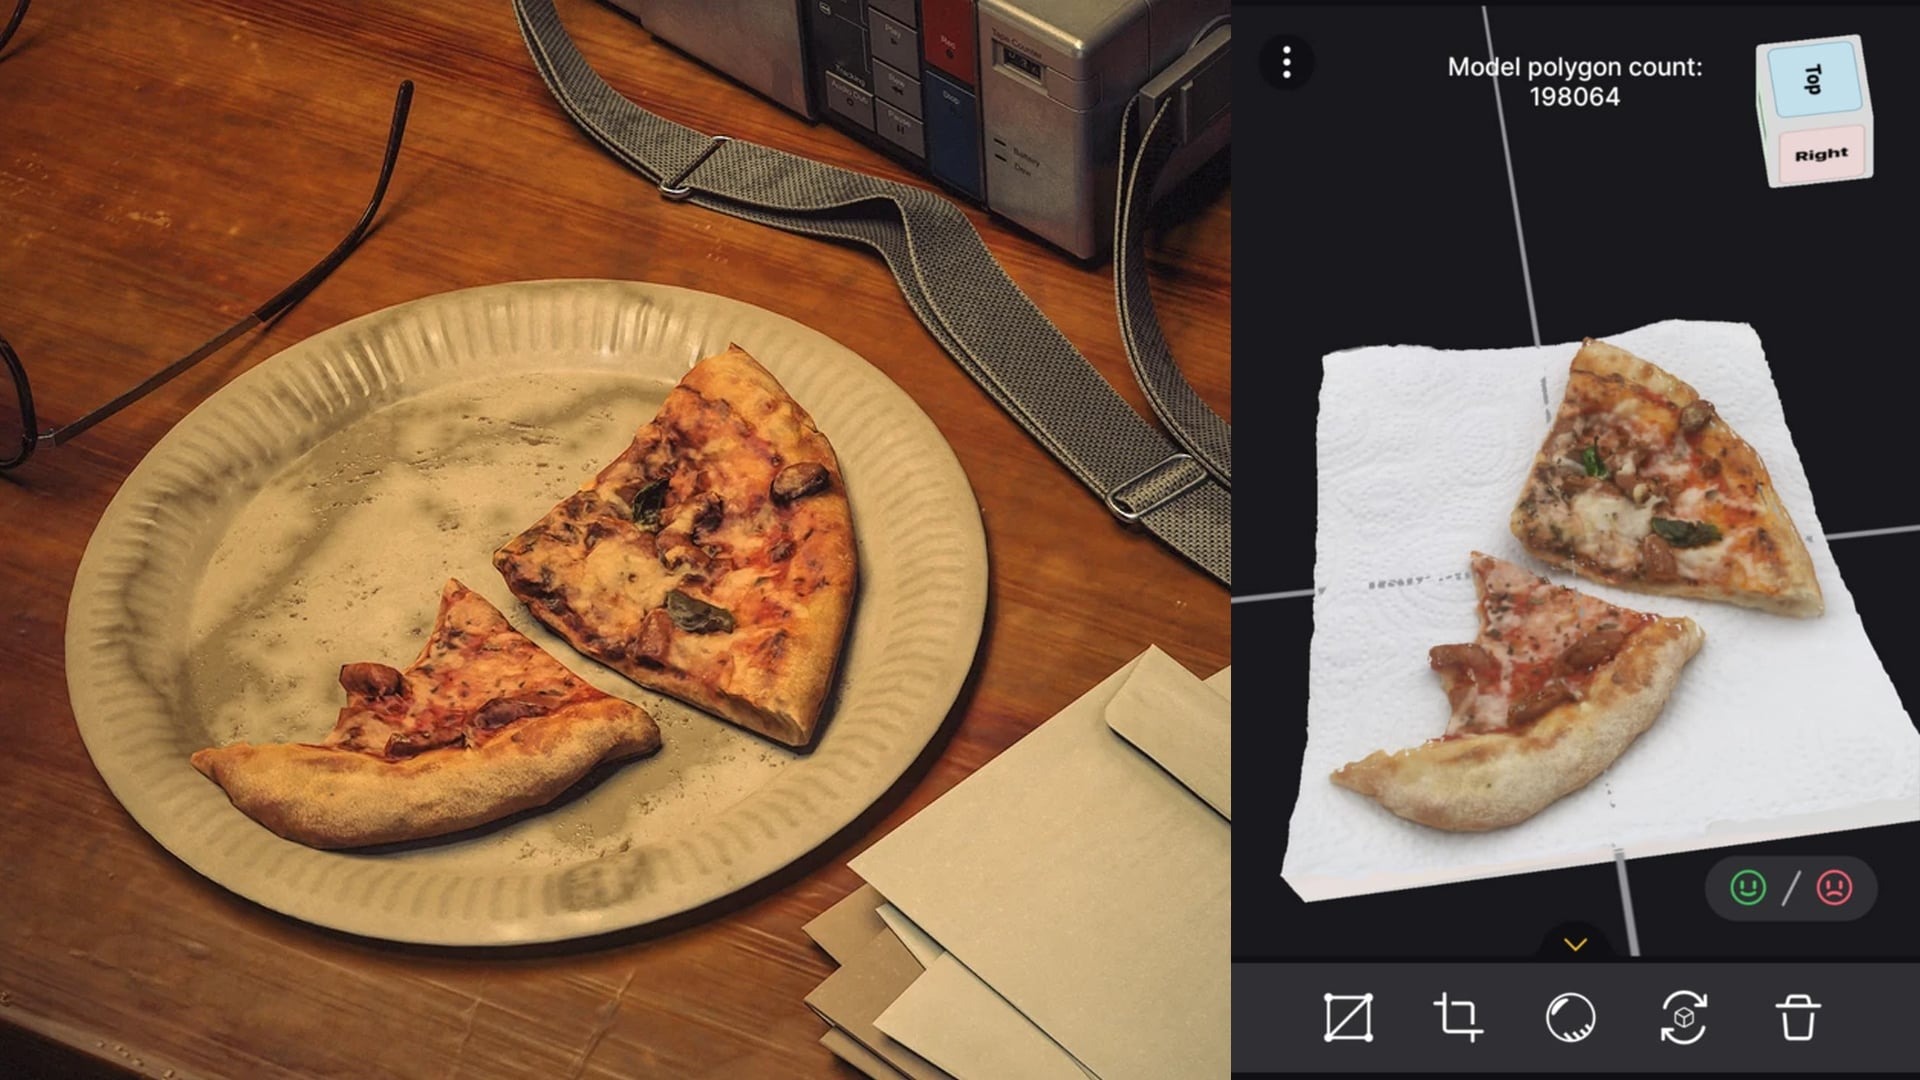
Photogrammetry
I don’t work with photogrammetry a lot. I much prefer creating assets from scratch, but I wanted to use this method for the pizza asset. Apps like RealityScan have made photogrammetry so simple that it starts feeling like a cheat code.
Cooking is an art form in and of itself, and it’s something I enjoy doing, so I decided to bake the pizza IRL and import that into my scene. I was really inspired by games like Out of Words and The Midnight Walk for this step.
The assets in those games are all created and sculpted in real life and then scanned and imported into the engines.
Photogrammetry assets are quite dense in geometry, and so to make a lowpoly I simply decimated the original asset in ZBrush. I then baked my Albedo texture from the original asset to my lowpoly asset using Marmoset Toolbag.
For the roughness map, I desaturated the Albedo texture into a black and white version and tweaked it slightly in Substance 3D Painter. I was quite happy with the results.
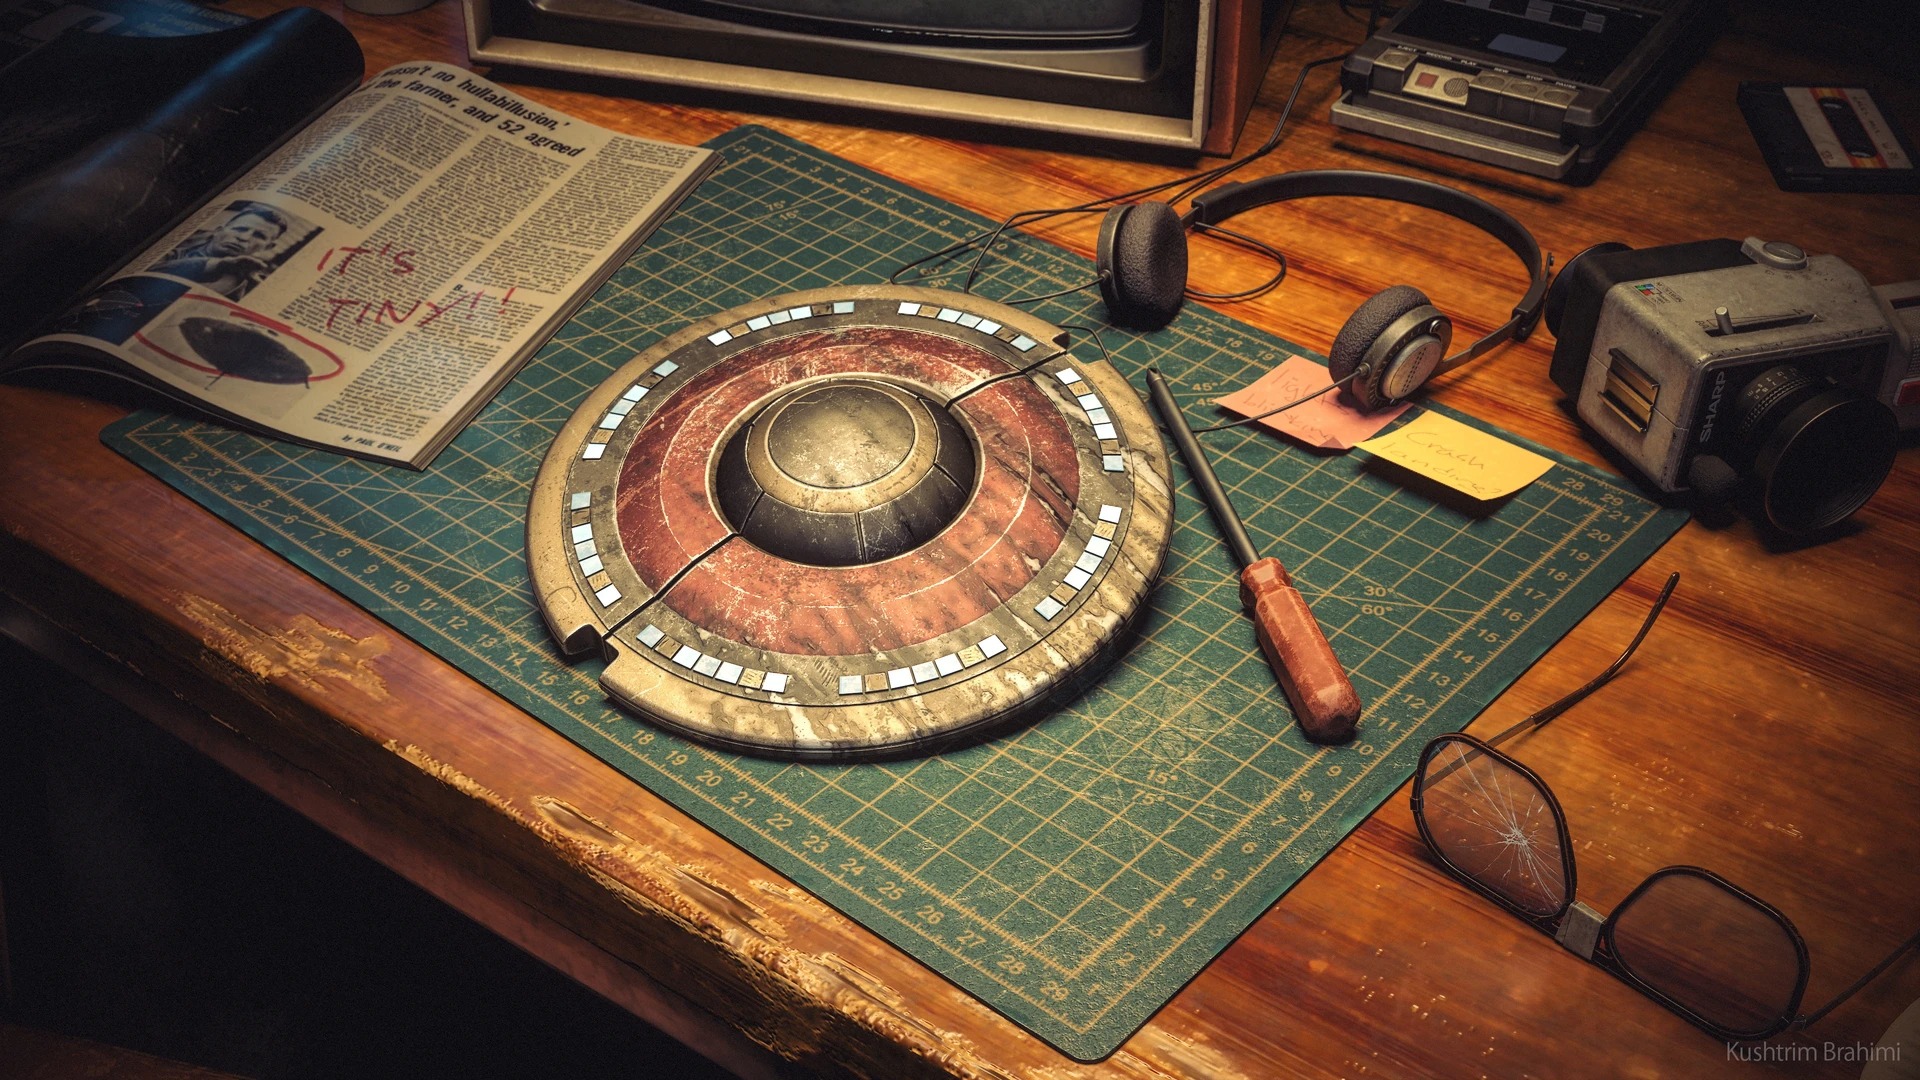
Presentation
I thought a lot about the composition of the scene before setting it up. I used a warm spot light as my main light source and a complementary cold blue light leaking in through the window and bouncing around the rest of the room.
I placed some more spotlights around the scene to highlight individual assets where I felt the main lights weren’t doing enough.
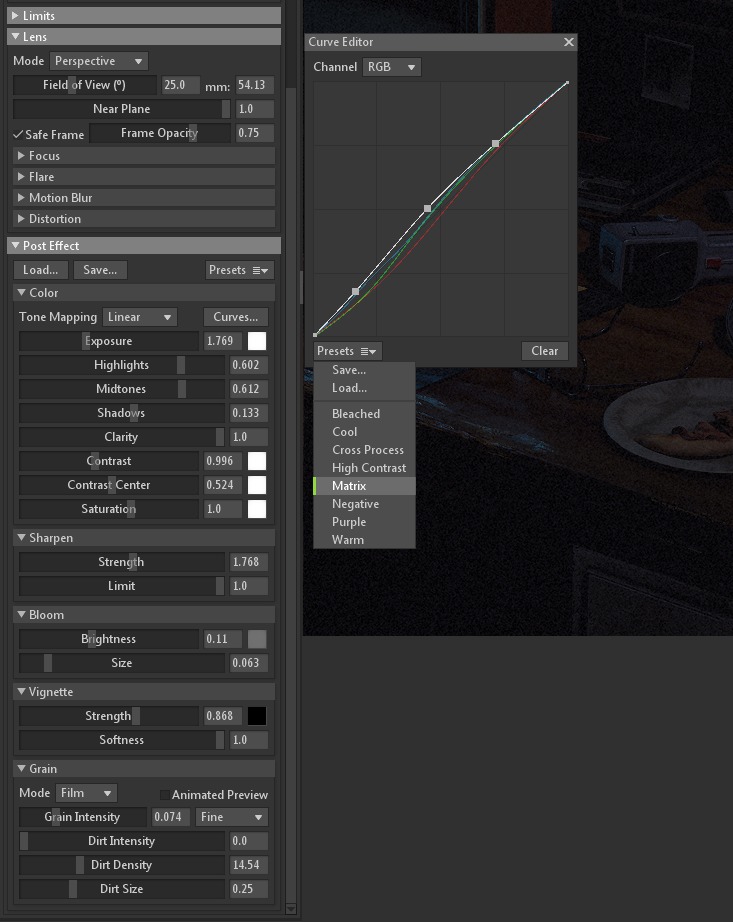
The post-processing did a lot of heavy lifting as well. I started by applying the Matrix curves preset and tweaking it until I got a result I liked. I also dialed down the contrast slightly to lighten up my shadows a bit.
The rest of the post-process effect settings really came down to personal taste and trial and error. You can see the settings I ended up using in the following screenshot.
Conclusion
Thank you for reading!
If there is something I left out that you’d like to know more about, I’m usually available to chat over at my Artstation.
Until then, thanks to GamesArtist.co.uk for having me and thanks for reading.
Read more articles
You might also like these articles.


