
Introduction
Hello there!
I am Javier Torralba (aka Zak Toro), a 3D Character Artist from Spain. I have been working in the video game industry for 8 years.
I have contributed as a 3D artist for smartphone game companies, worked as a freelance 3D Character Artist, and most recently, I was a Mid 3D Character Artist at Pendulo Studios.
Project
My dream is to join a top-tier game studio, so I create AAA-quality characters for my personal projects. My main goal is to push myself to higher levels of quality and keep my pipeline updated.
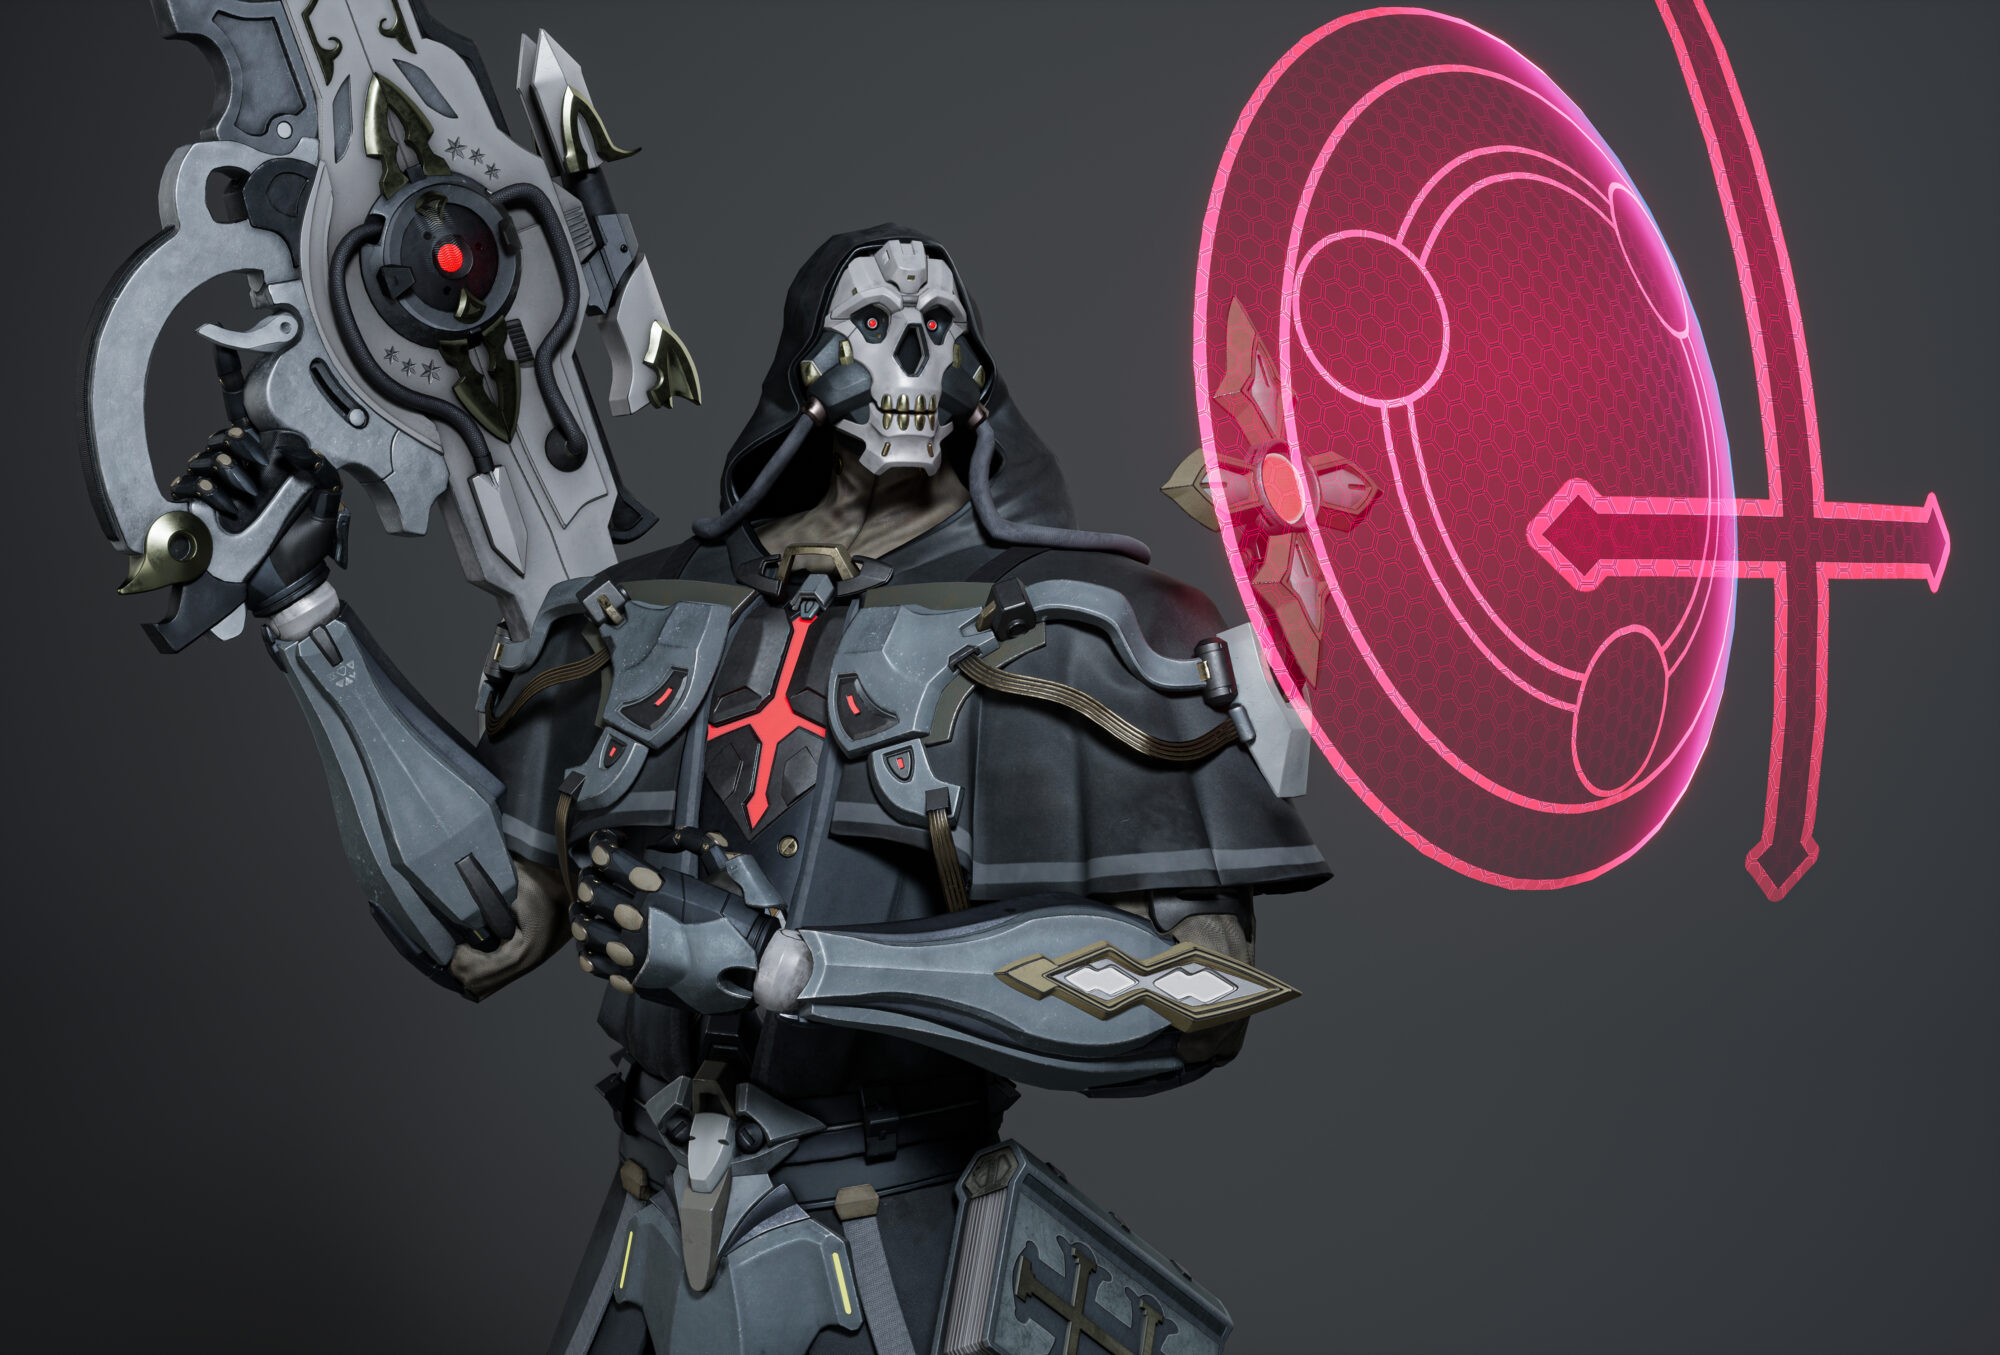
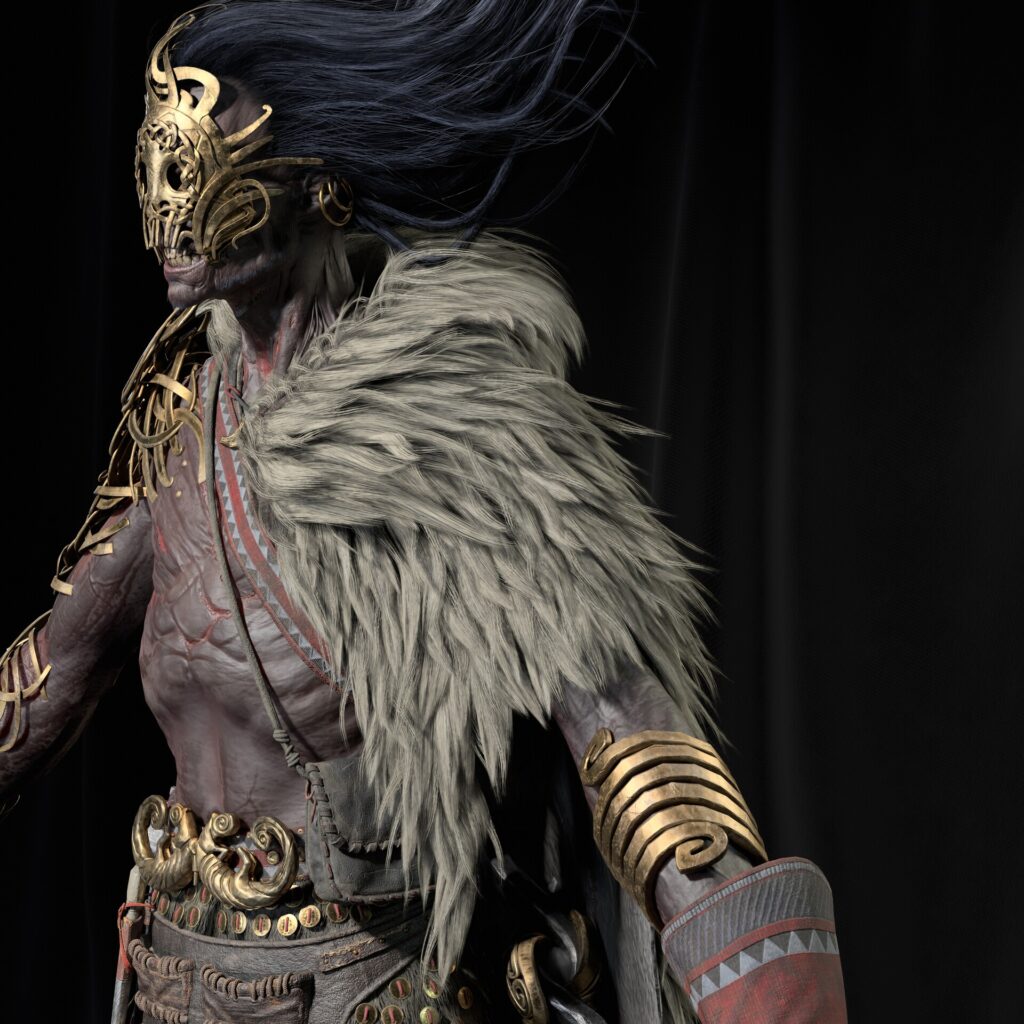
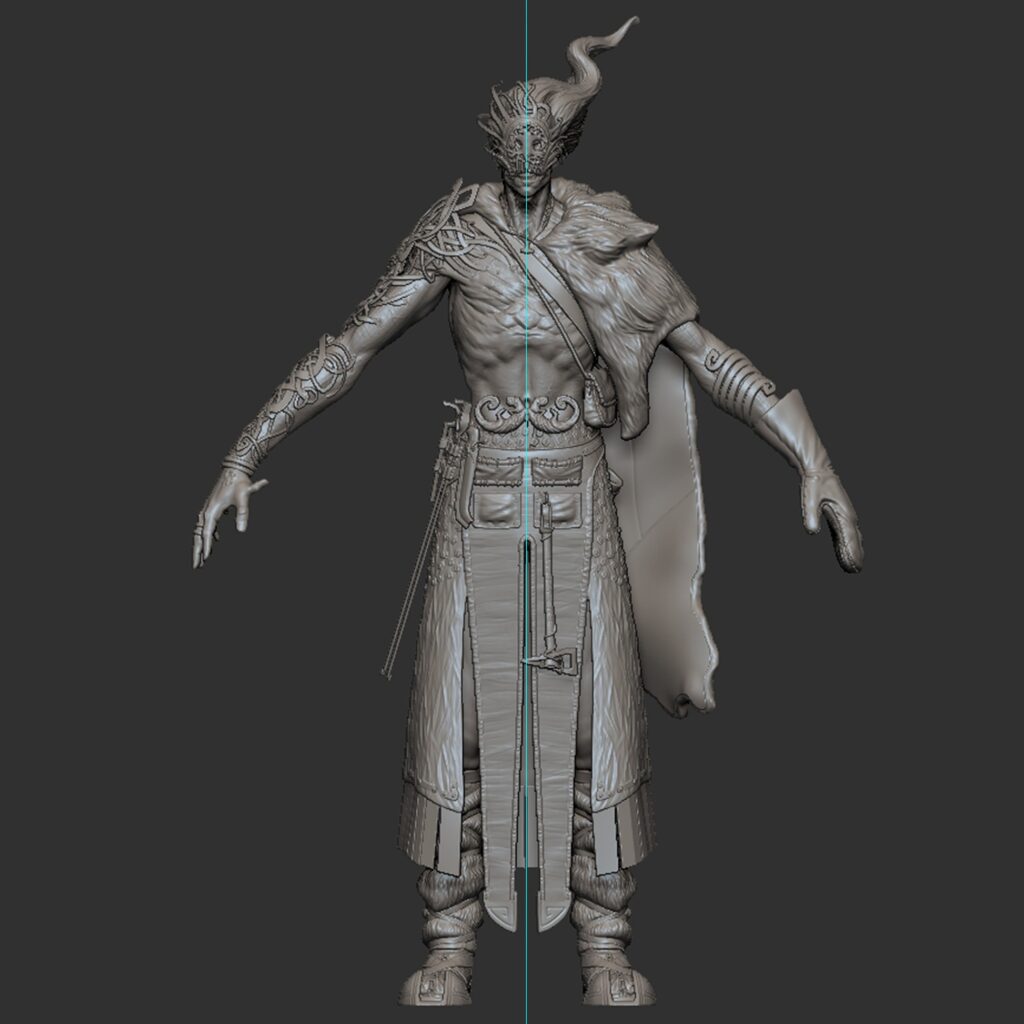
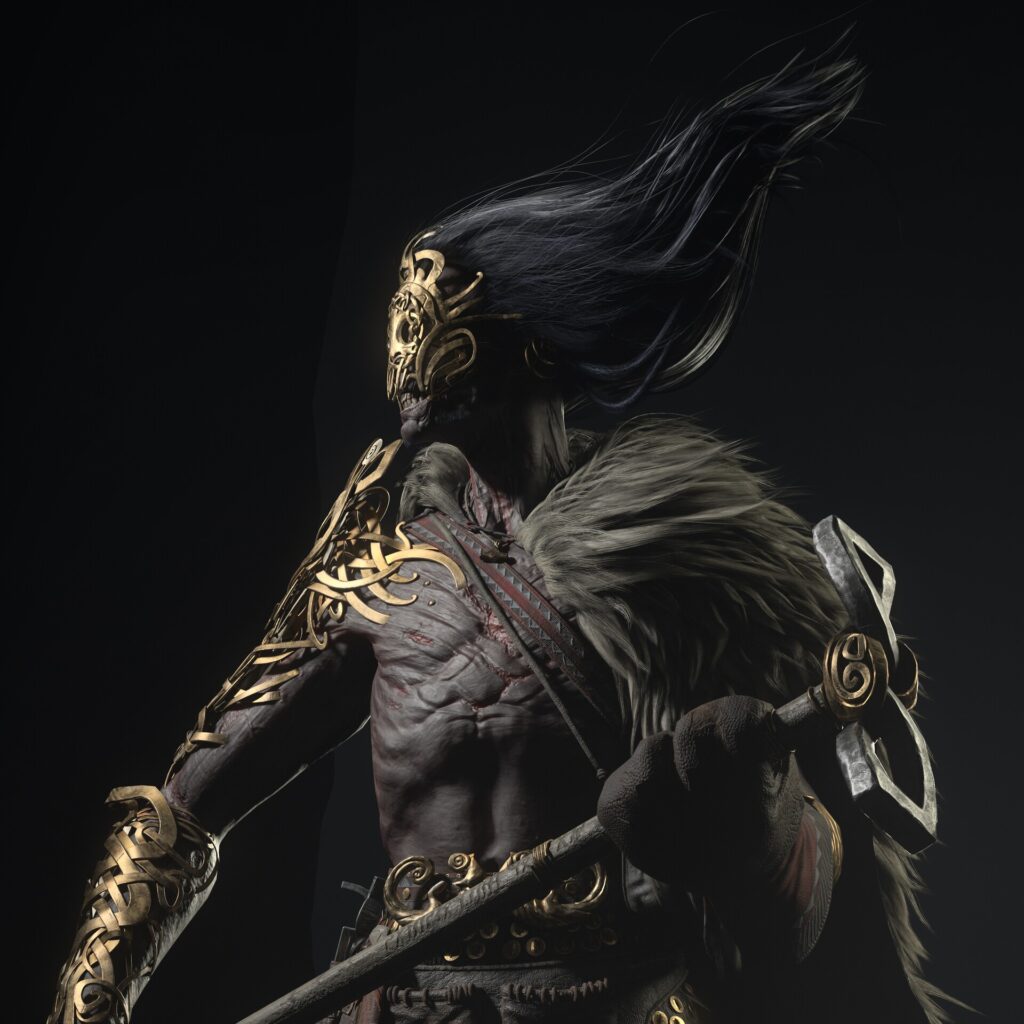
Therefore, I chose this concept because I found it a great challenge to accomplish. The original concept was made by Regin Wellander.

Goal
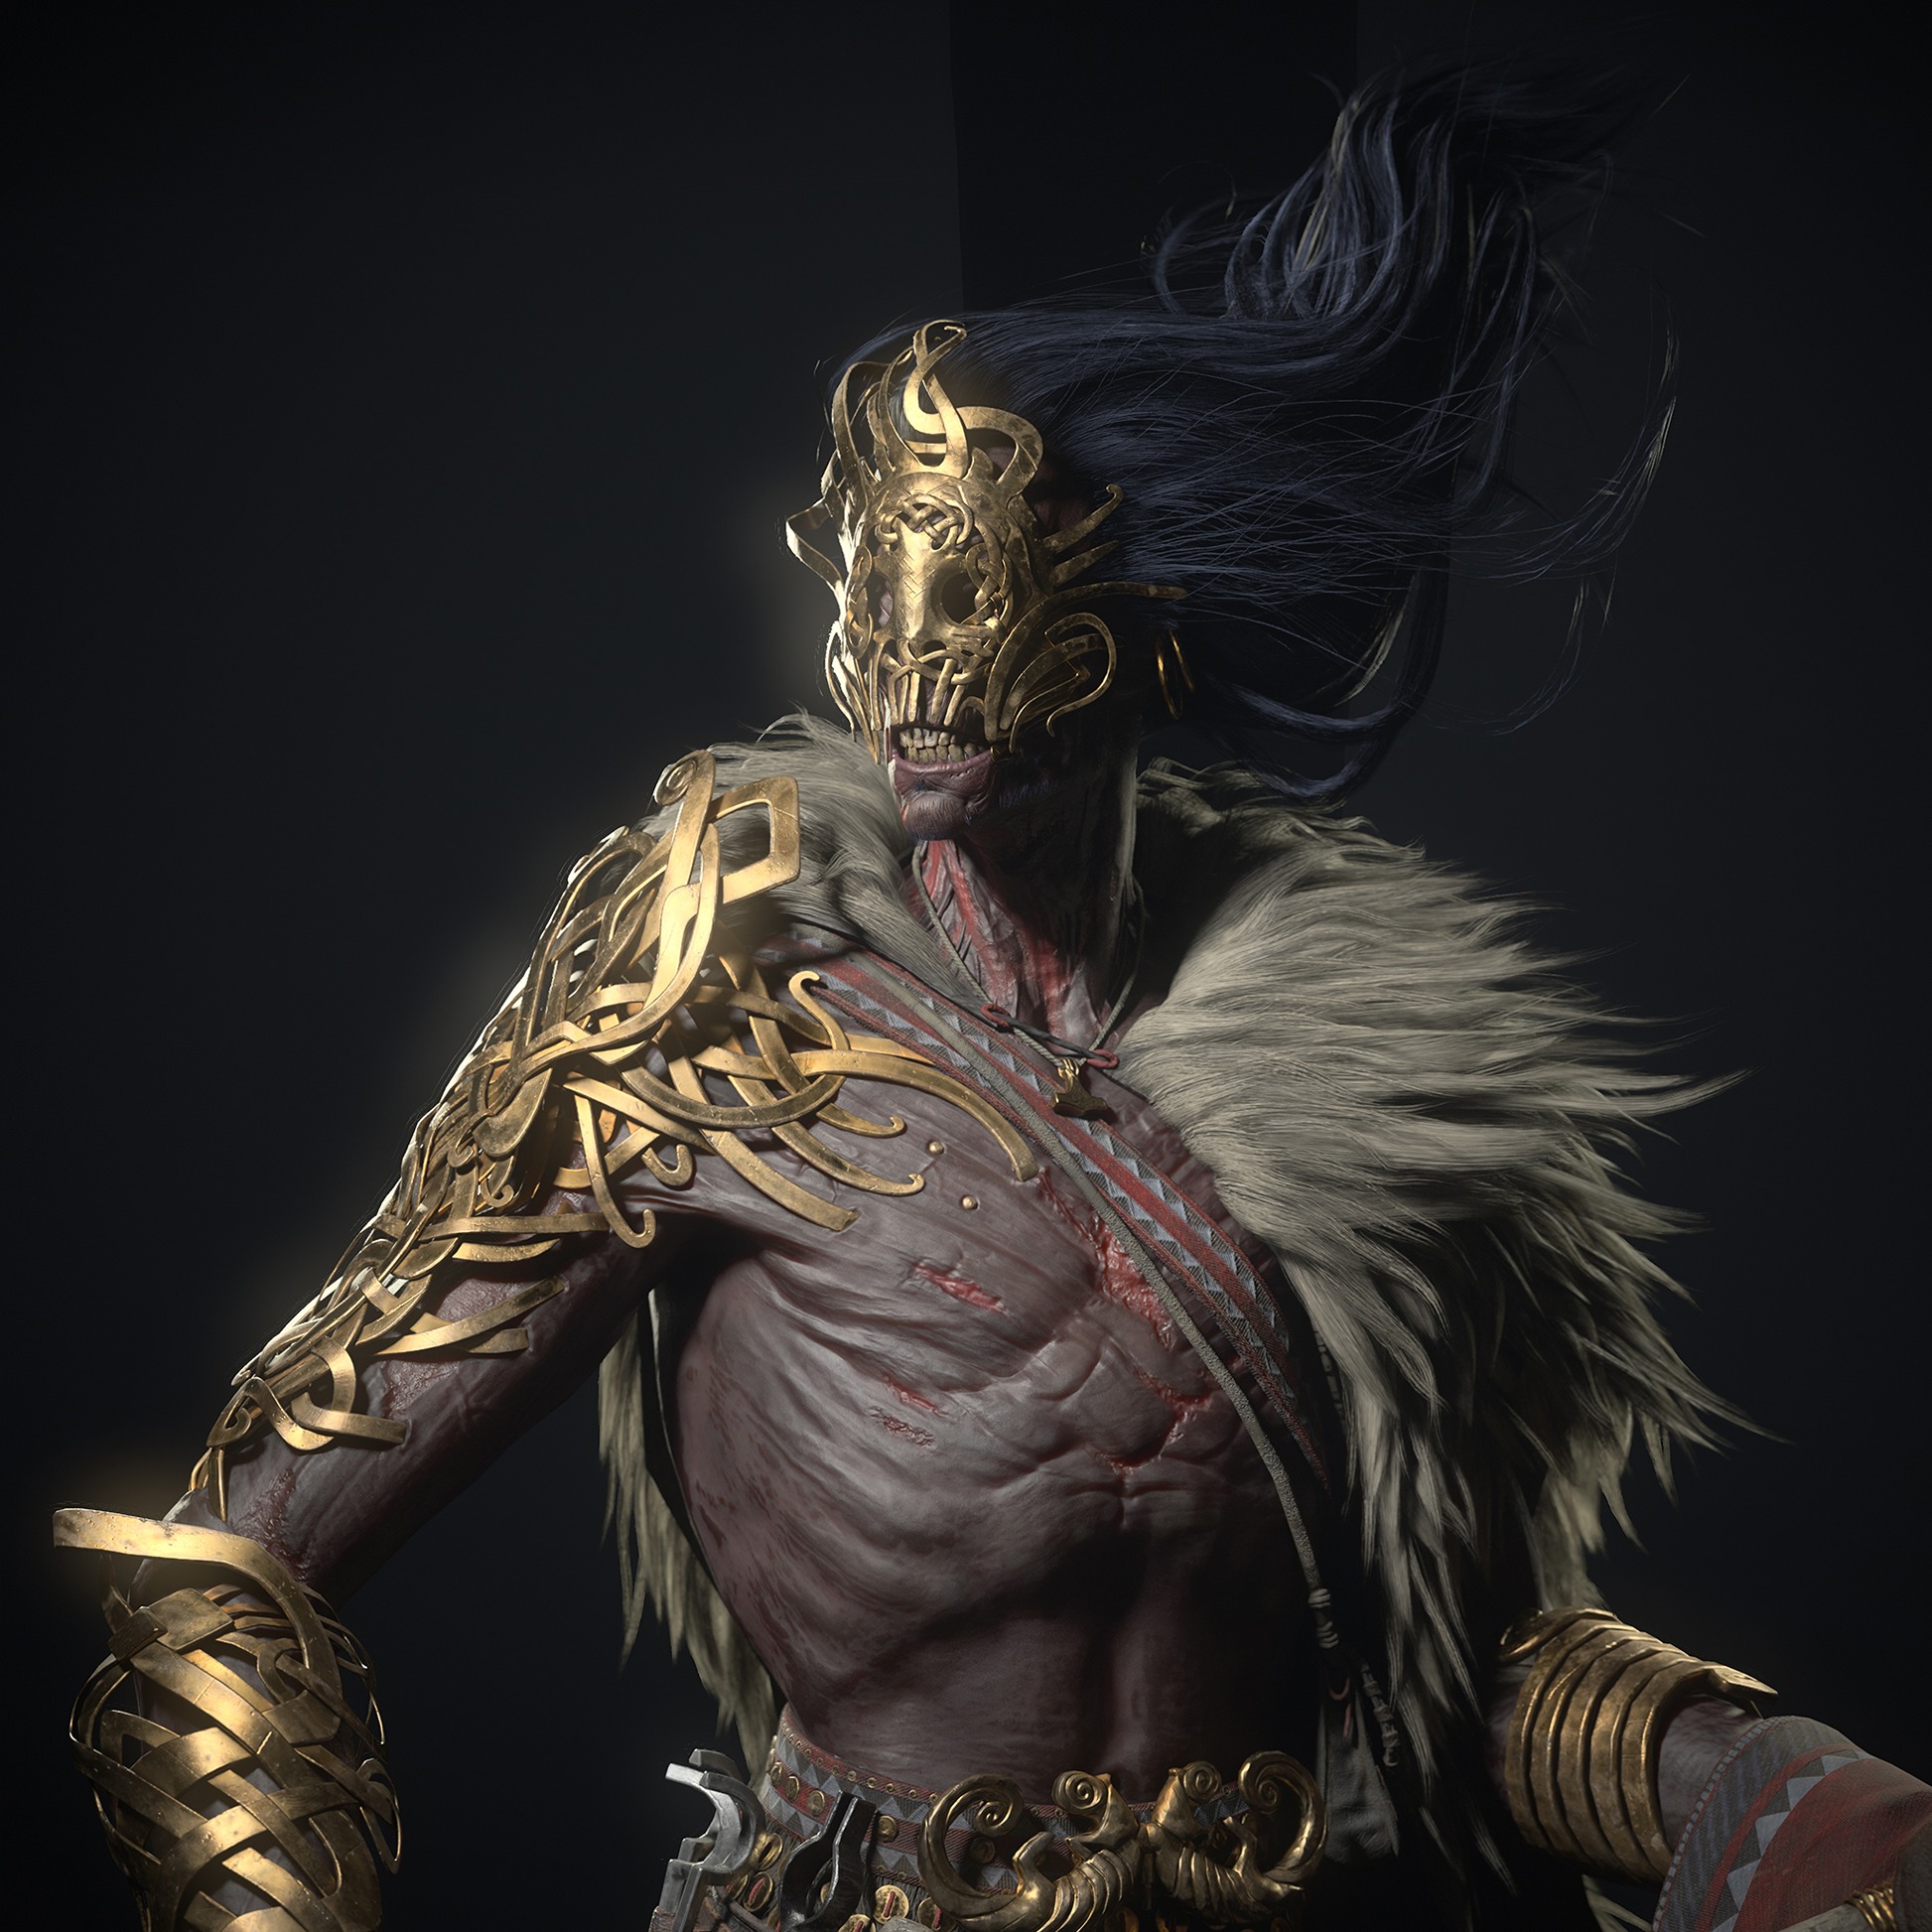
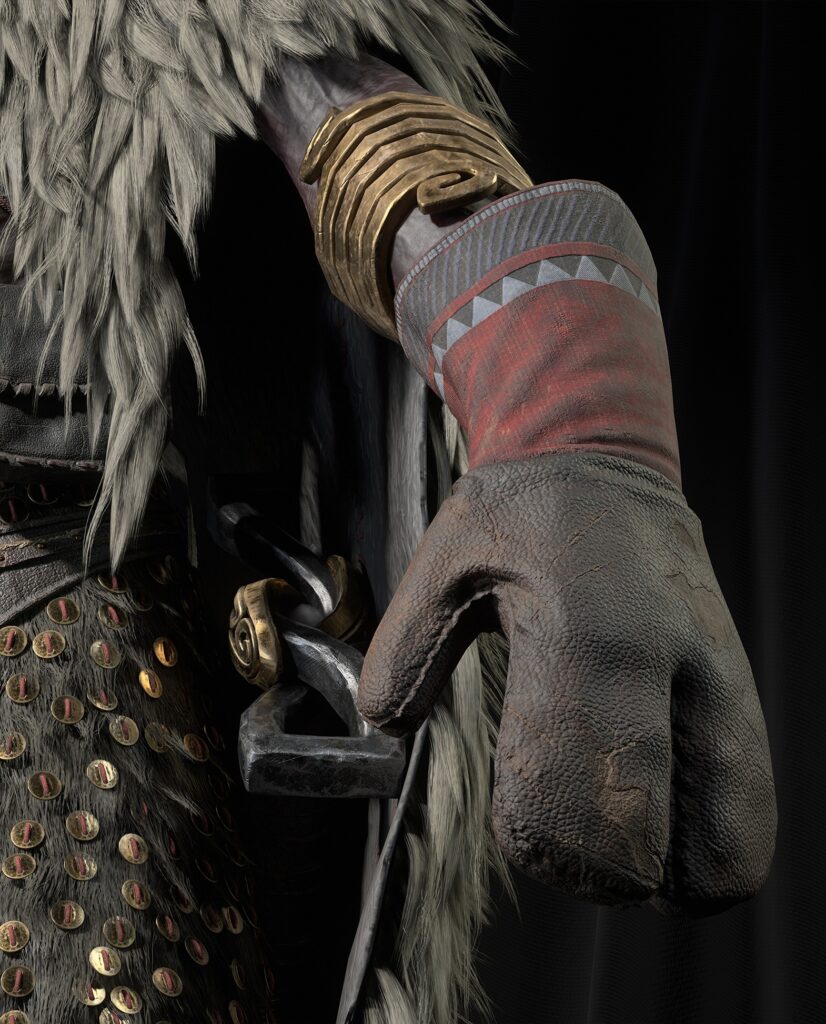
I aimed to follow the concept as precisely as I could. The Reginn character is fascinating because it incorporates many different materials, such as gold, metal, bone, skin, hair, fur, and leather.
So, this was a great opportunity to test my Substance Painter skills and my “patience” while placing a lot of hair cards.
Before this project, I felt like I had a good foundation to work in a AAA studio, but I needed to build on my skills and create a character that stood out from my previous projects.

Tools
- Blockout – ZBrush and Blender
- Sculpt – ZBrush
- Retopology – TopoGun
- UV – RizomUV
- Texturing – Substance Painter
- Hair and Fur – xGen and GS Curve Tools (Maya)
- Posing – ZBrush
- Lighting and Rendering – Marmoset Toolbag 4
References
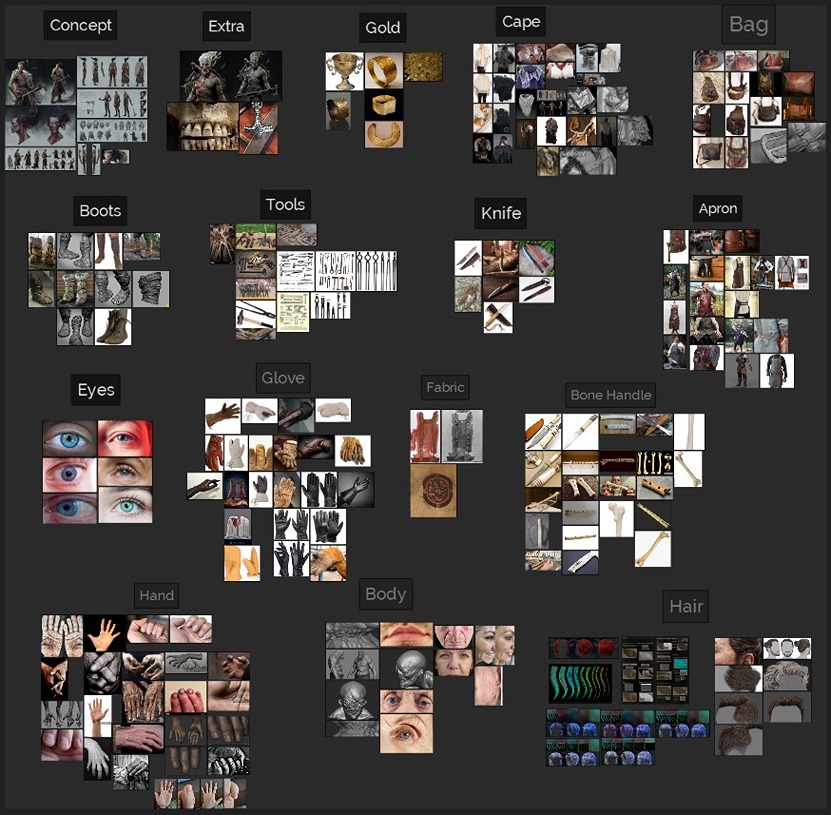
Finding good references is becoming harder as the main sites like Google or Pinterest seem to have more AI-generated images and fewer high-resolution photos.
Patience is key, and you should search for references everywhere.
I recommend organizing your references well and allowing your reference panel to evolve alongside the project. Start with the main references and over time, add more detailed images of what you need.
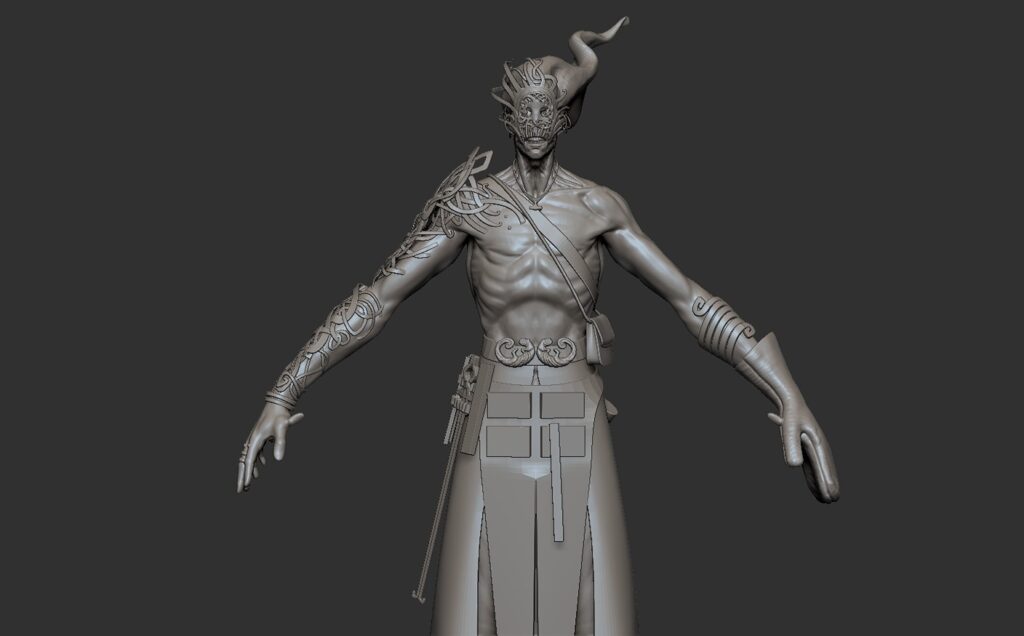
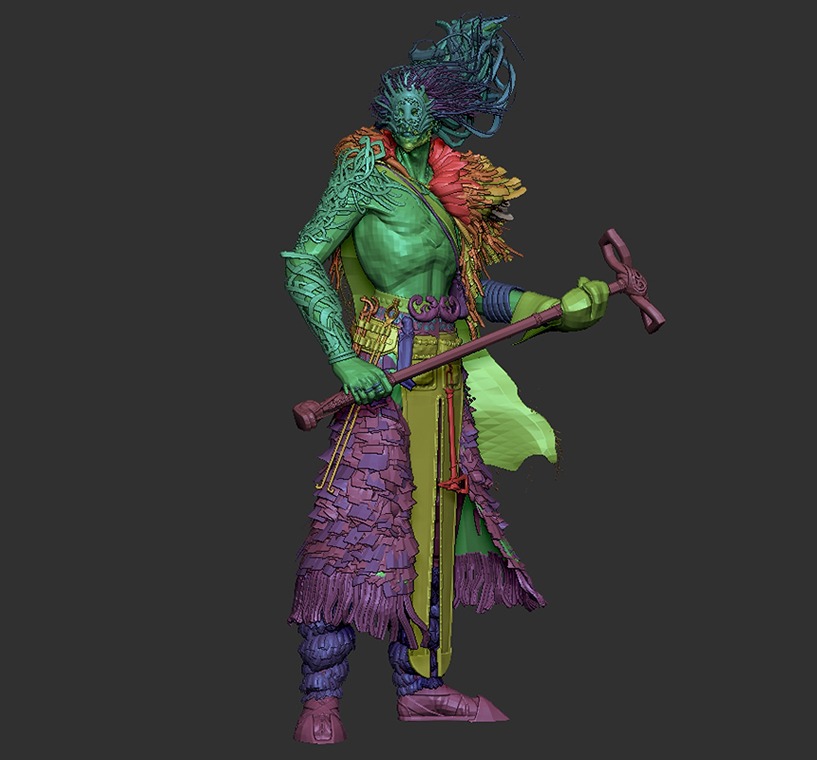
Blockout
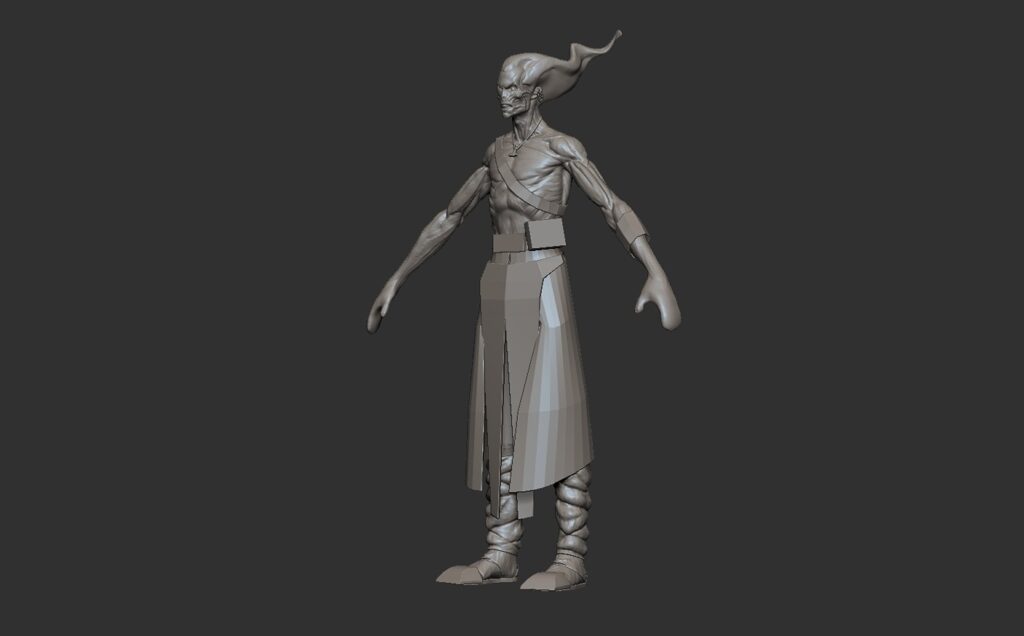
A tip to know that you are working with the correct scale is to export an avatar from Marvelous Designer, so you know that you are working with a character of 180 cm.
Having that, create basic shapes and play with Dynamesh to sculpt different parts of the character. From now on, you should keep an eye on the shape and proportion of the character.

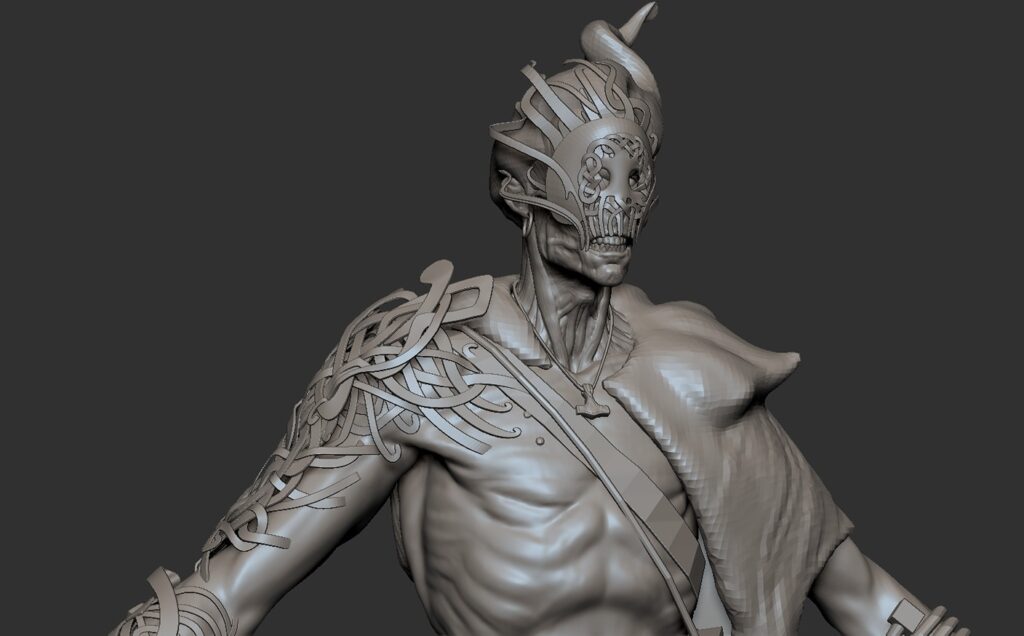

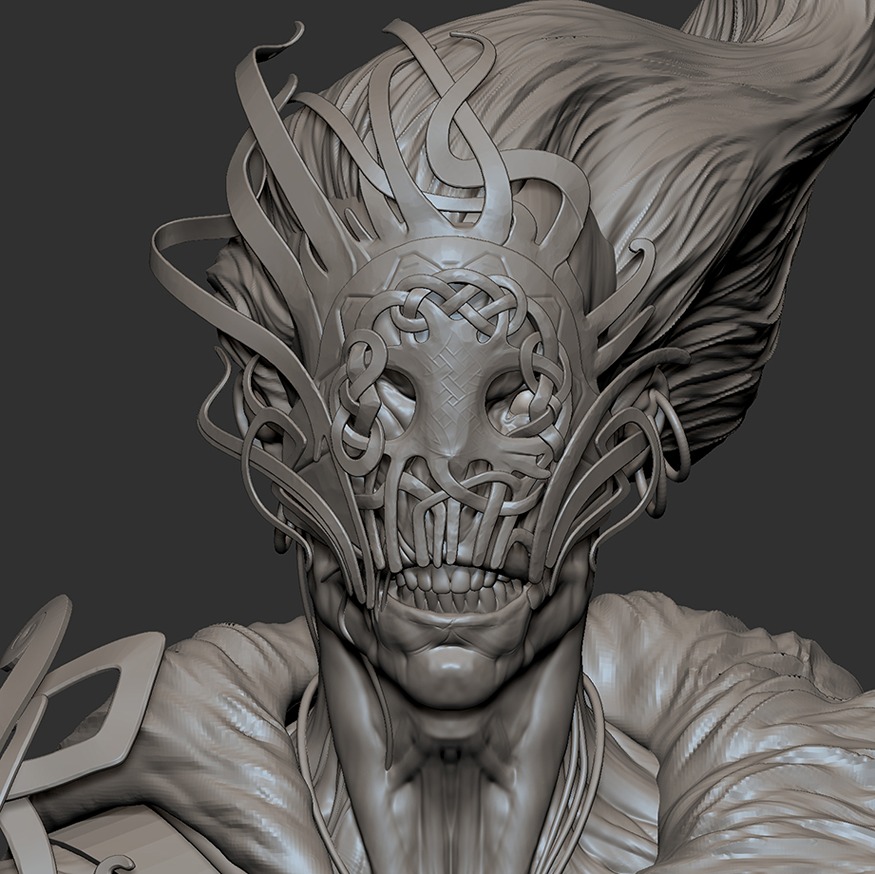
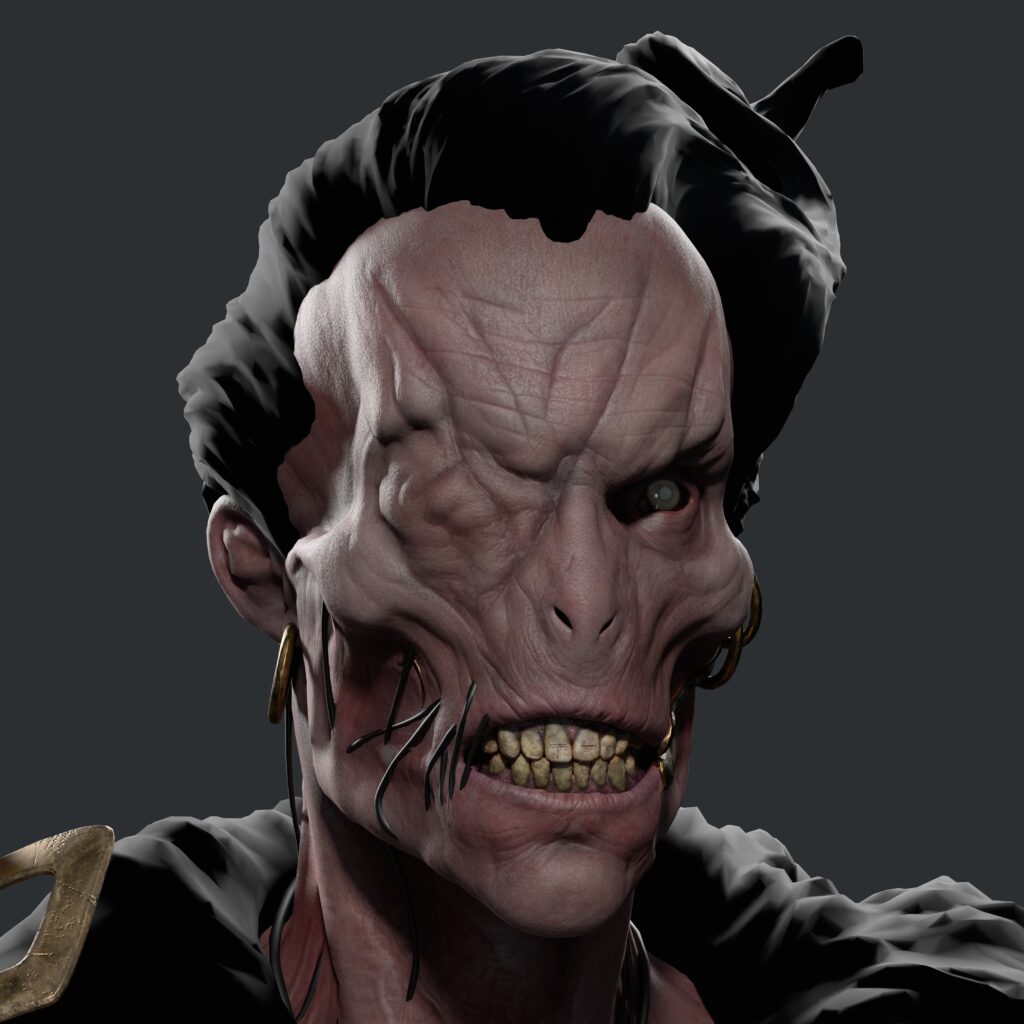
Sculpting
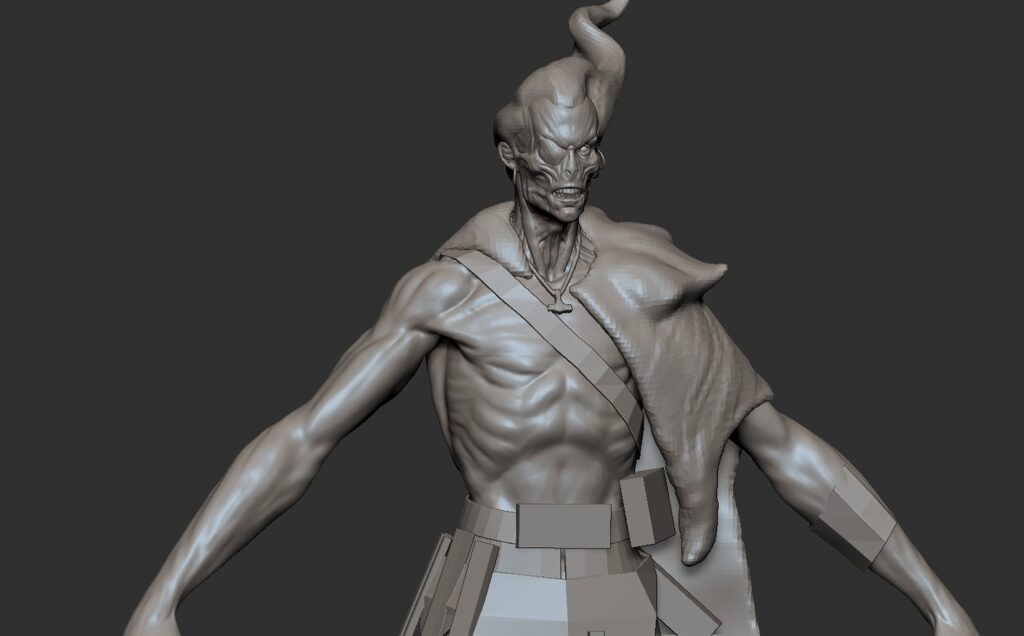
Now, I have to choose which details I want to sculpt or texture. What helps me categorize this is to separate large details for ZBrush and smaller ones, like cuts or general damage, to be textured in Substance Painter.
This ensures you won’t encounter resolution problems with any details.
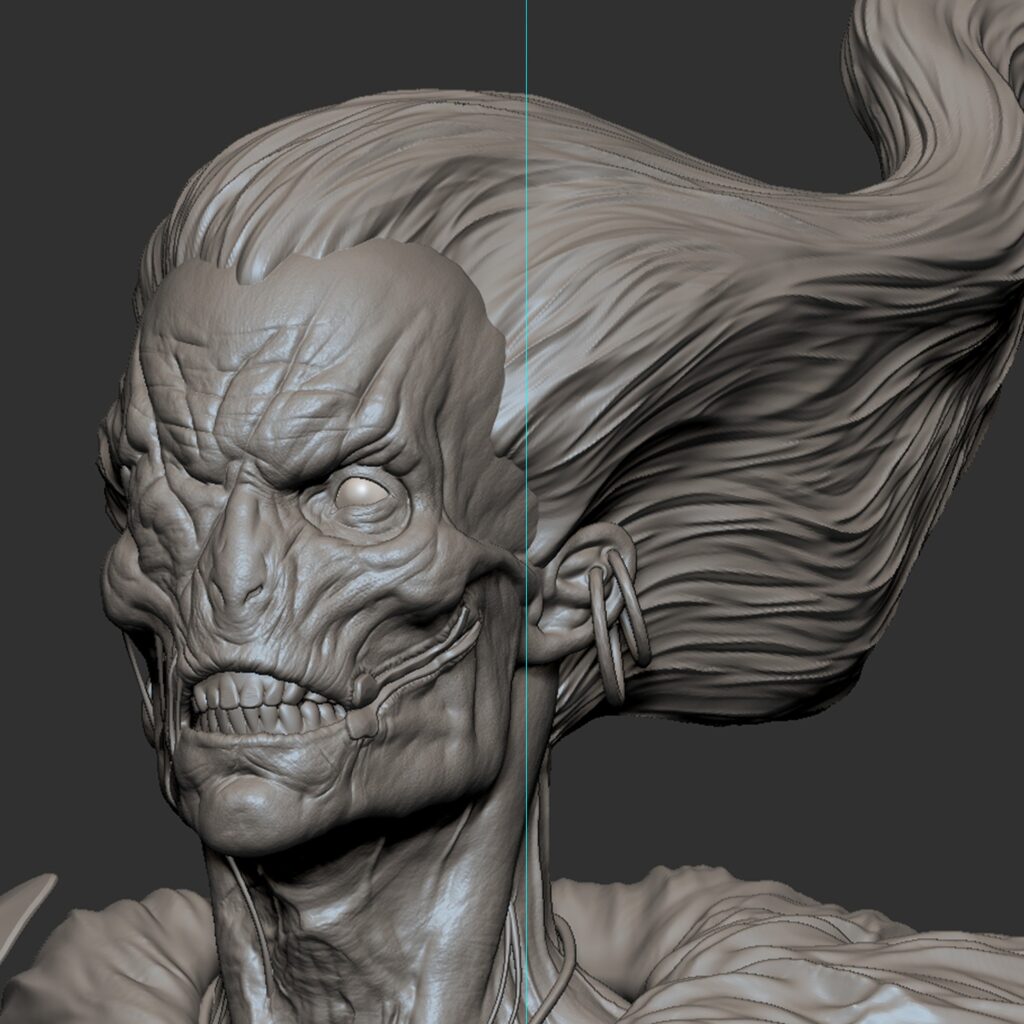


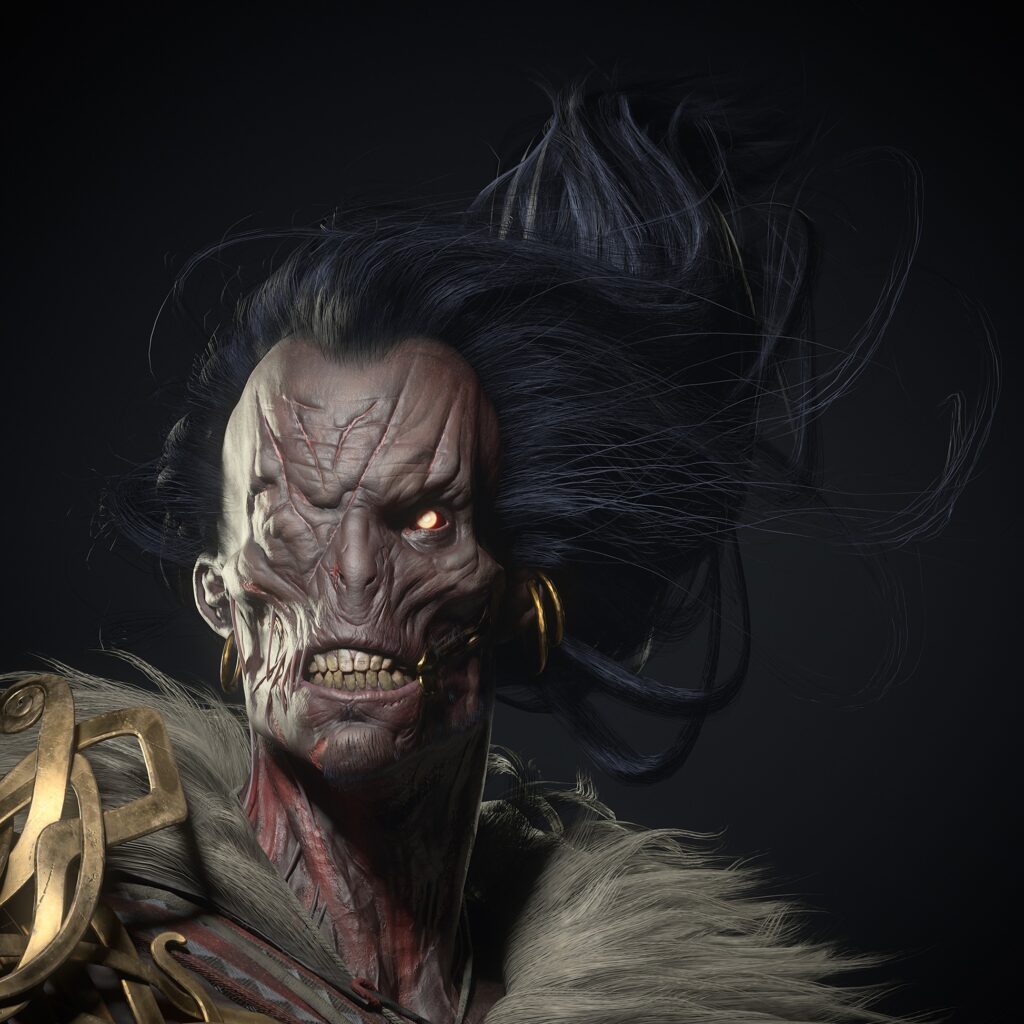
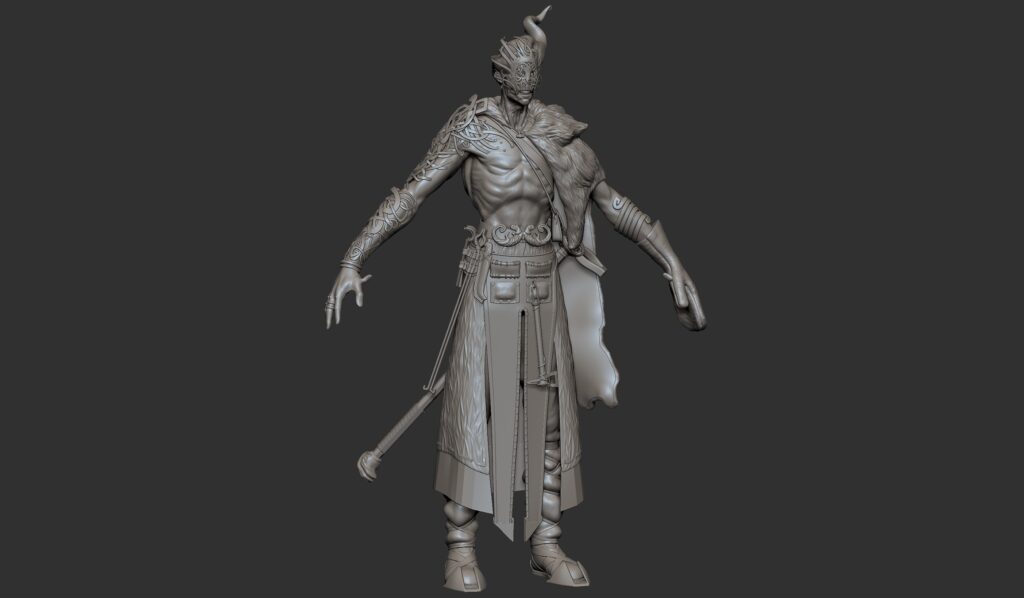
Hair & Fur
I created the hair textures in Maya with xGen. I needed two textures, one for the head hairs, eyelashes, and beard, and another one for the skirt, legs, and cape.
The best advice when placing hairs is to avoid crossing hair cards and finish where the hairline begins, placing higher detail hair cards there.
The best ally for placing cards is GS Curve Tools, a powerful plugin for Maya created by George Sladkovsky.
He teaches how to use it on his YouTube channel.
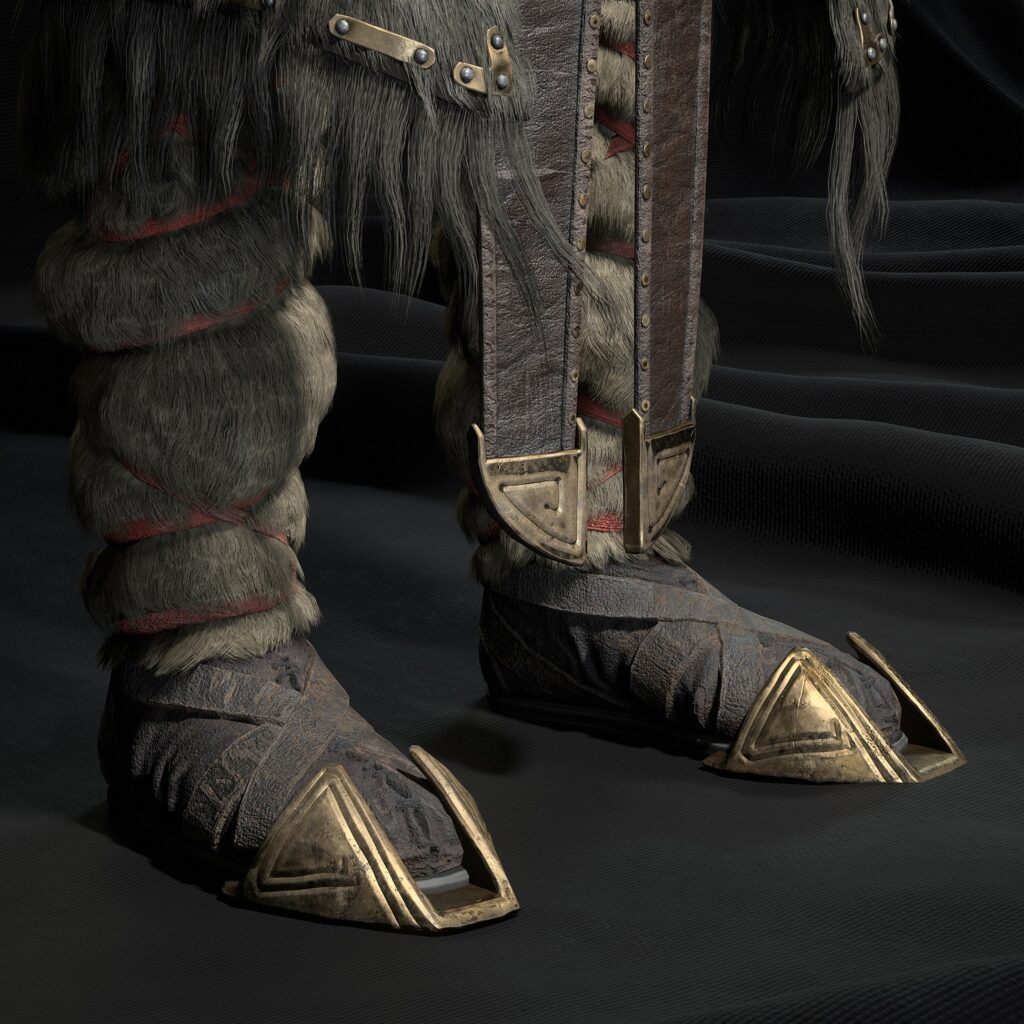
For placing the fur on the skirt and cape, I used a mixed technique that combines GS Curves and xGen. Tomos Hywel Evans explains it here.
Armor & Weapons
When creating hard surface meshes, I strongly recommend starting with a very simple low mesh. Depending on how complex the piece is, I use ZModeler or Blender.
In the future, we will have a well-established Low Poly and the retopology times will be reduced. For the thickness of the parts, it is better to use Dynamic Subdivision, and we shouldn’t apply this option until we are certain that our blockout is finished.
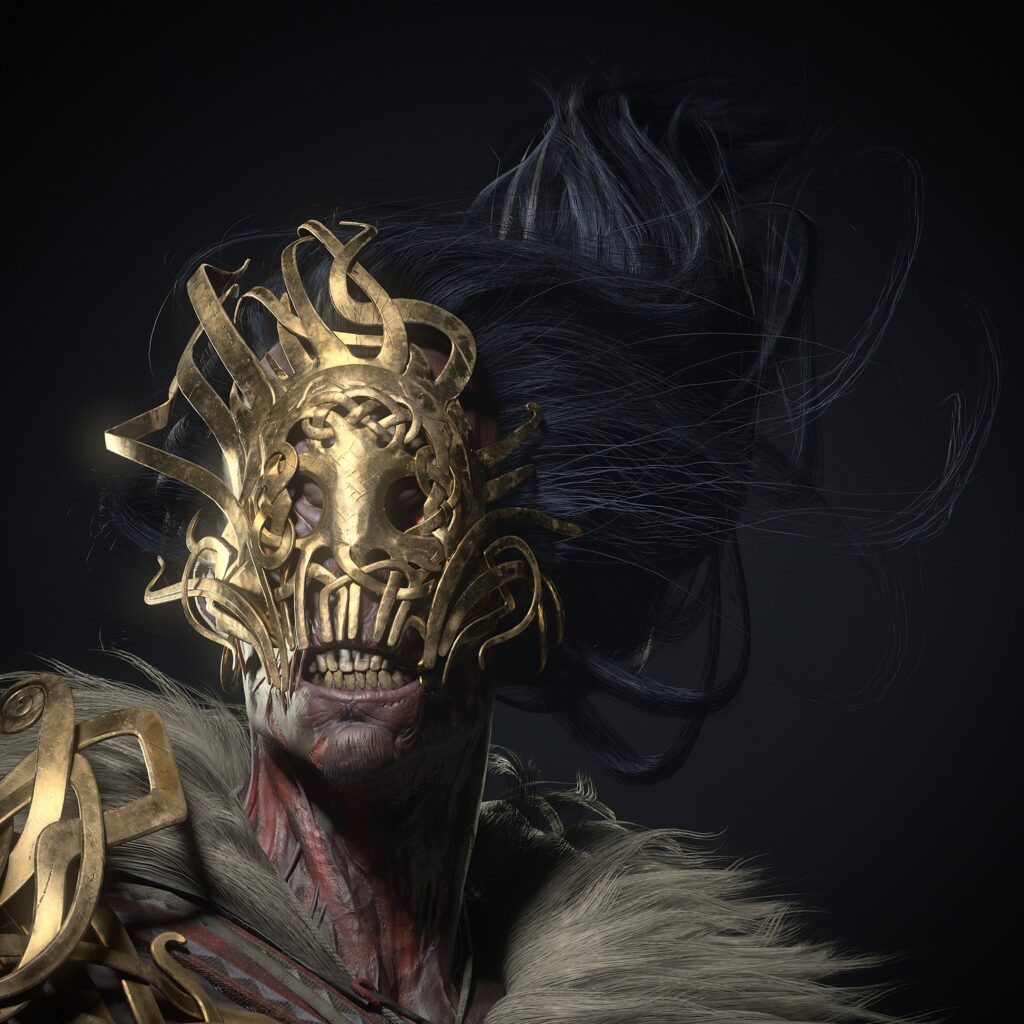
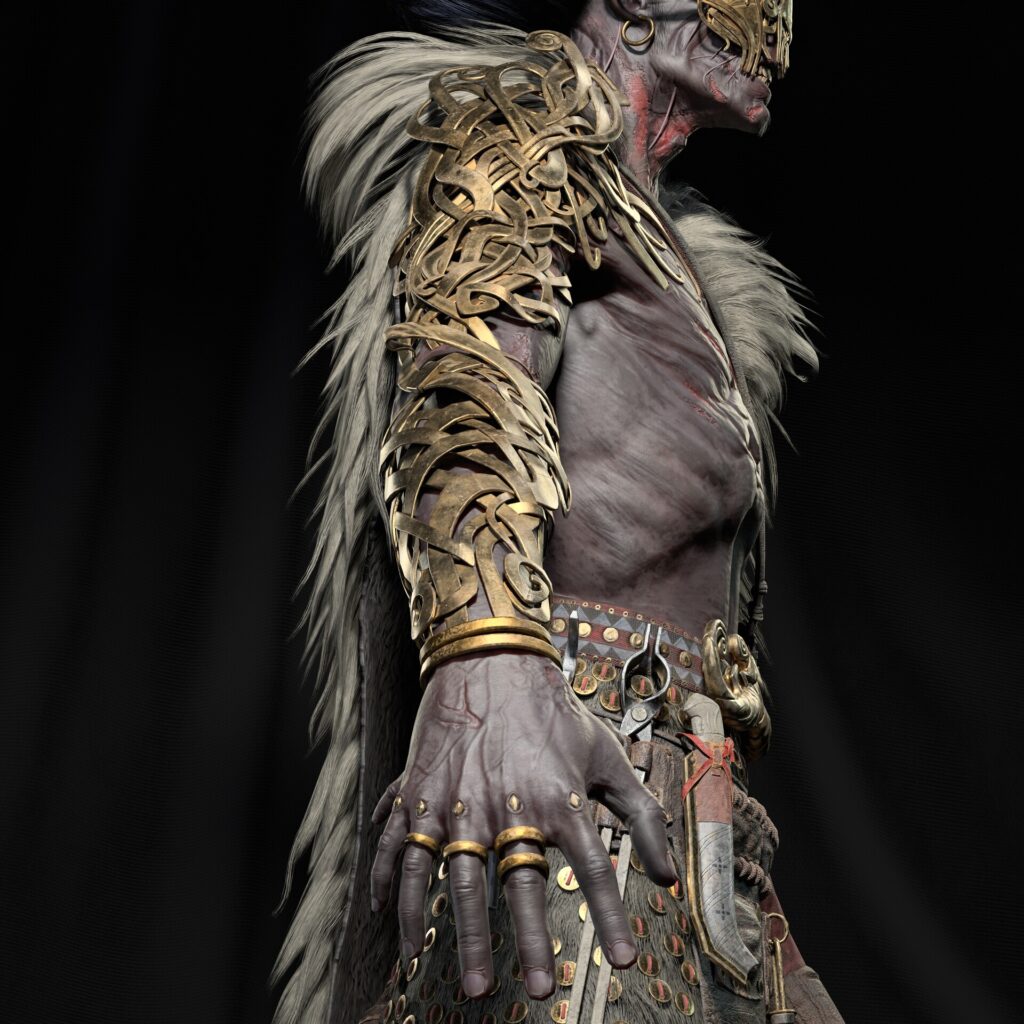
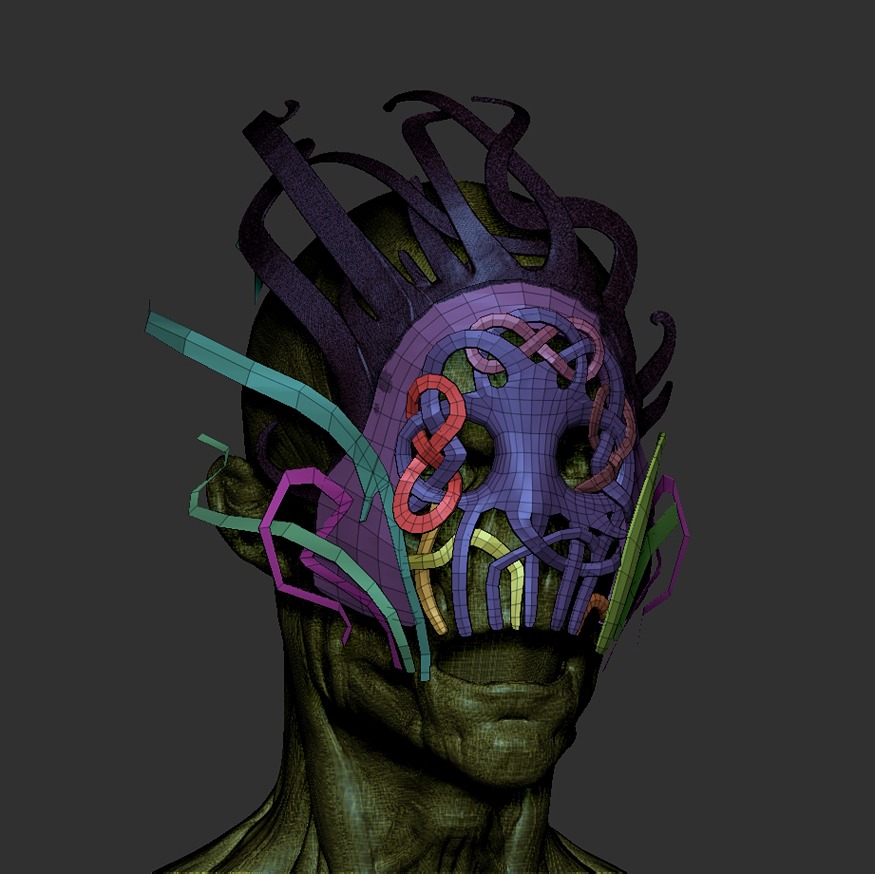
Face (Helmet)
Though it is a hard surface, the helmet has elements that can be considered organic due to their fine and delicate forms.
I used both Blender and Dynamesh to complete this helmet.
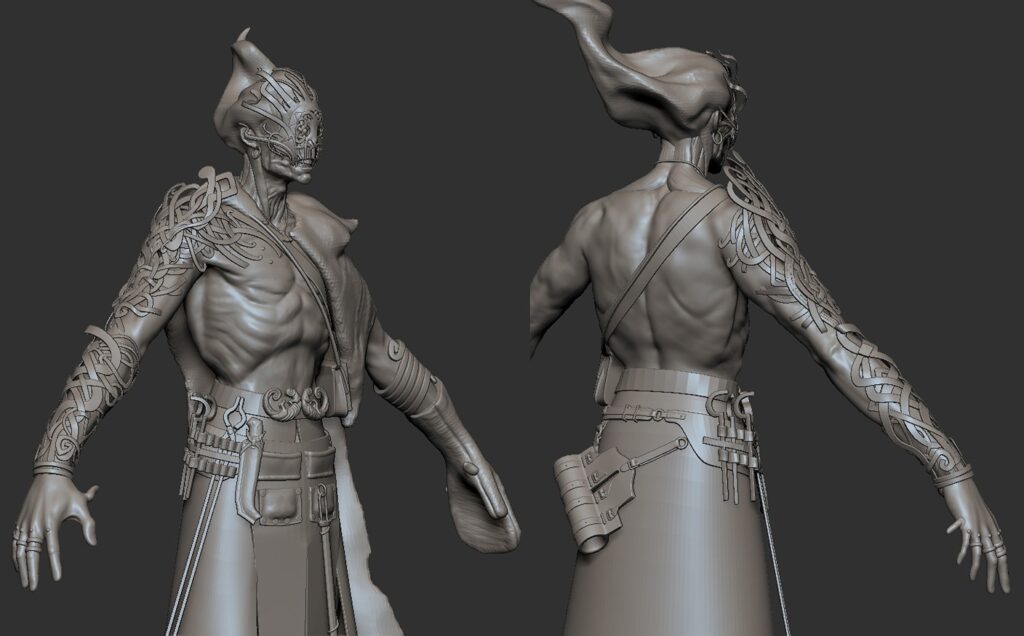
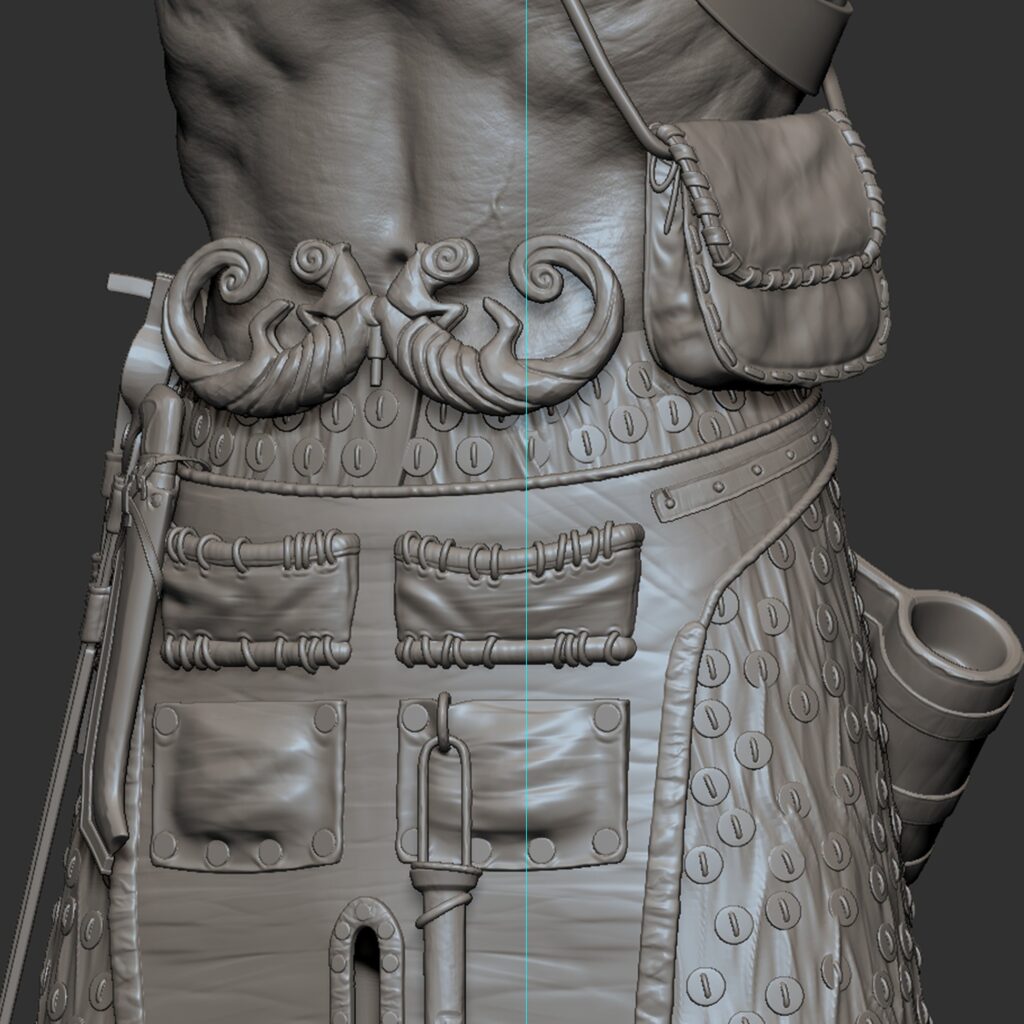
Cloth
I usually model the clothes using Marvelous Designer. However, since this concept doesn’t have many complex fabric elements, I sculpted all the clothes directly in ZBrush.
The main focus on this character is the skin, gold, and hair materials, so I decided to keep the cloth material simple. I started with a base of a smart material called “Fabric Baseball Hat,” and then I added different layers to have variations of color and roughness.
Trust me, cloud alphas are your best friends.
Accessories
Just like the helmet, keep accessories as simple as possible, and later decide if the details will work better in sculpting or texturing. Make a list of all character elements to ensure none are forgotten. Working with a notebook next to your PC is the best decision you can make.
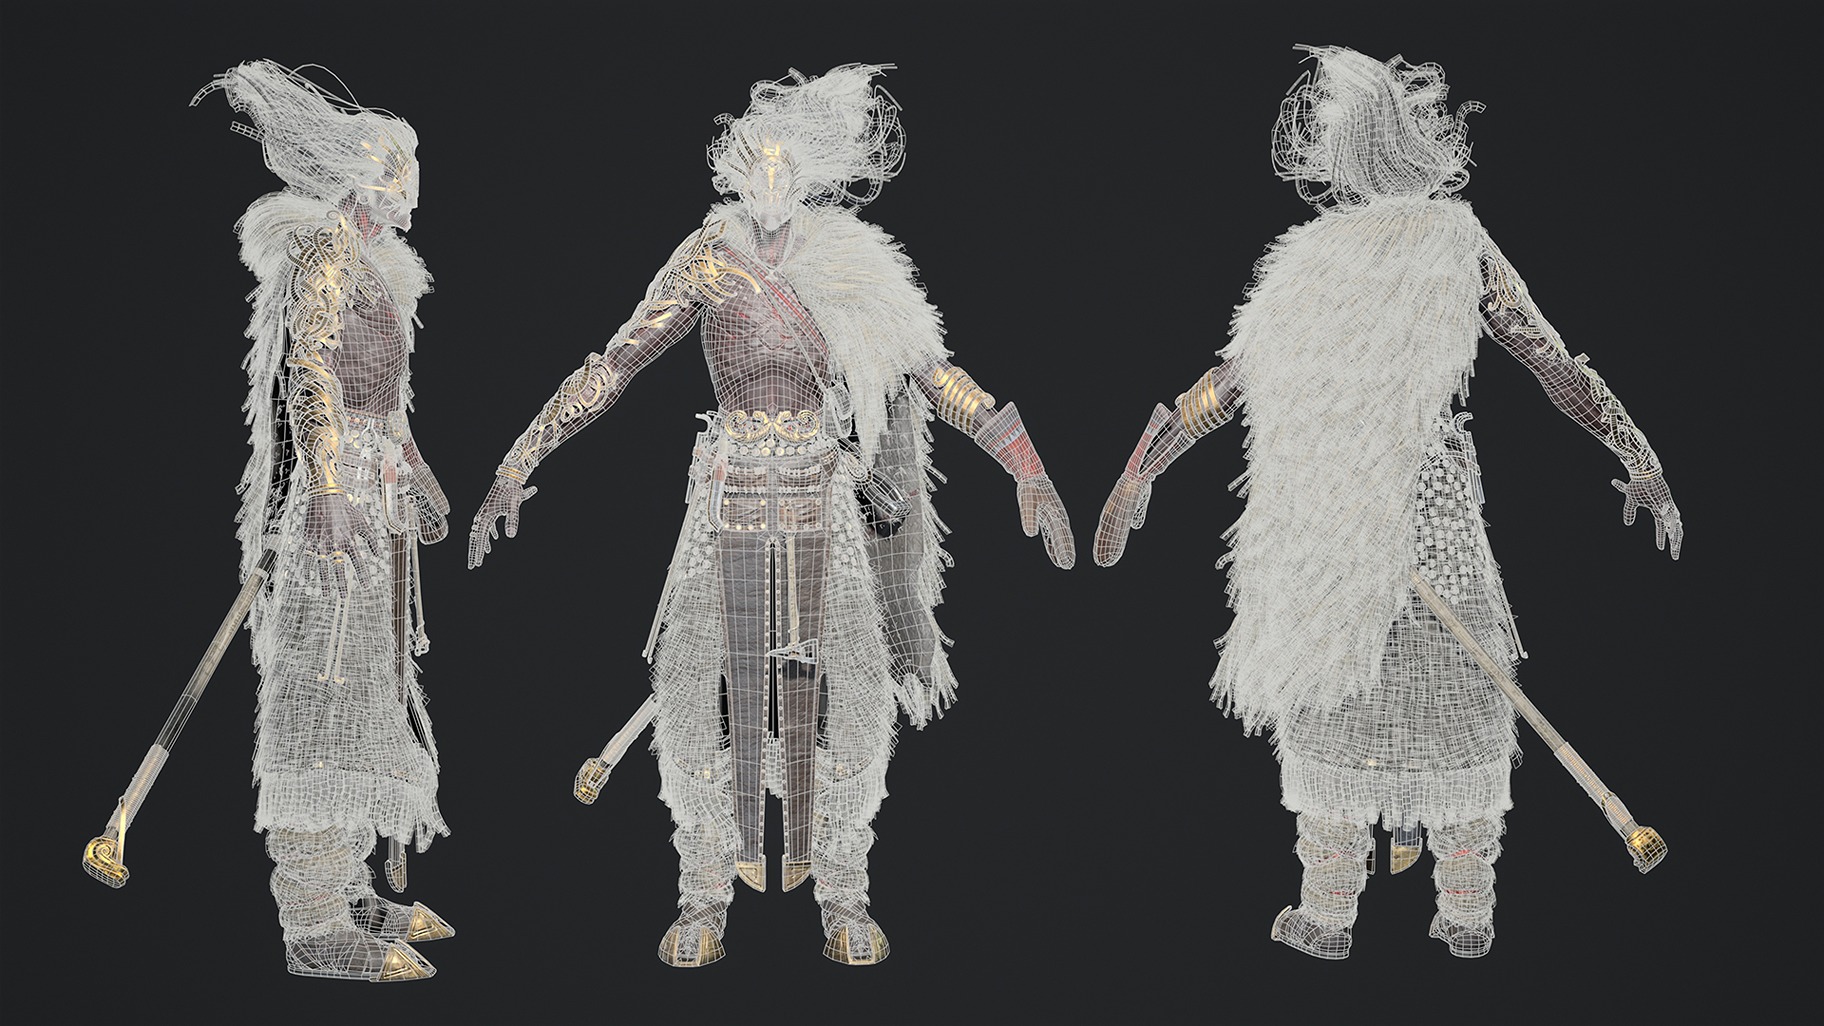
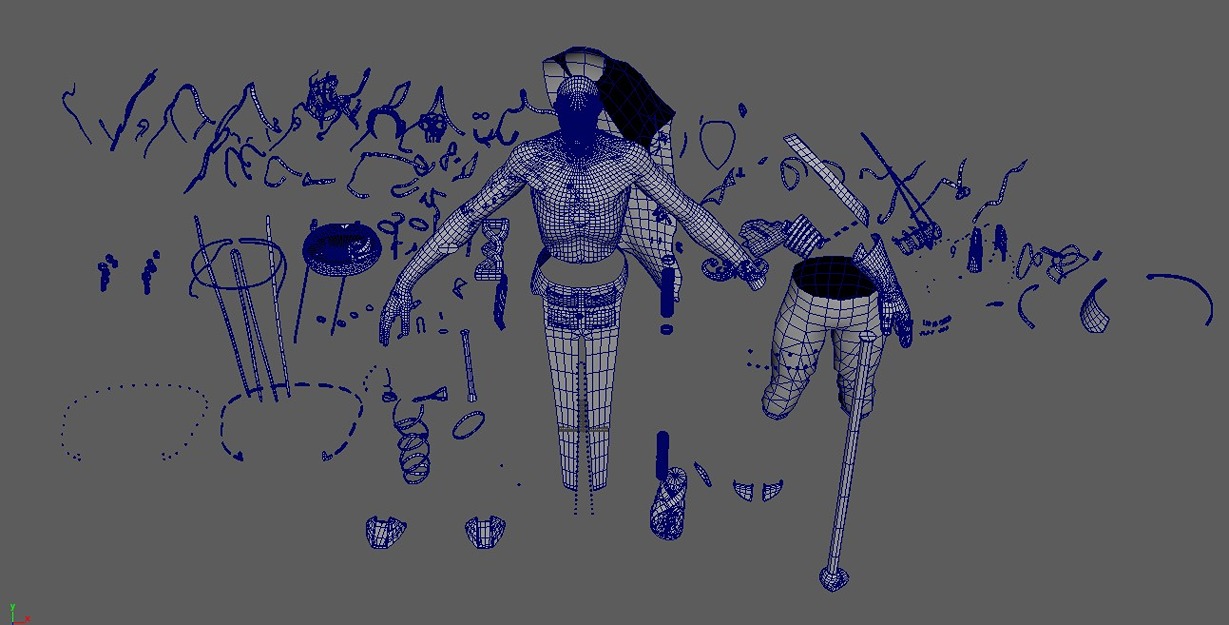
Topology, UVs & Baking
It is very important to start with very few quads and over time add as many as necessary.
If we start with high density, it will be very difficult to edit our mesh. Just use the software that is most convenient for you. I did the retopology with TopoGun.
For UVs, this was my first time using RizomUV, and its official YouTube channel offers plenty of guidance. In a studio, their pipeline specifies how many UV maps you must use.
But, for personal characters, just make them optimal and use all you need to bring nice resolution details.
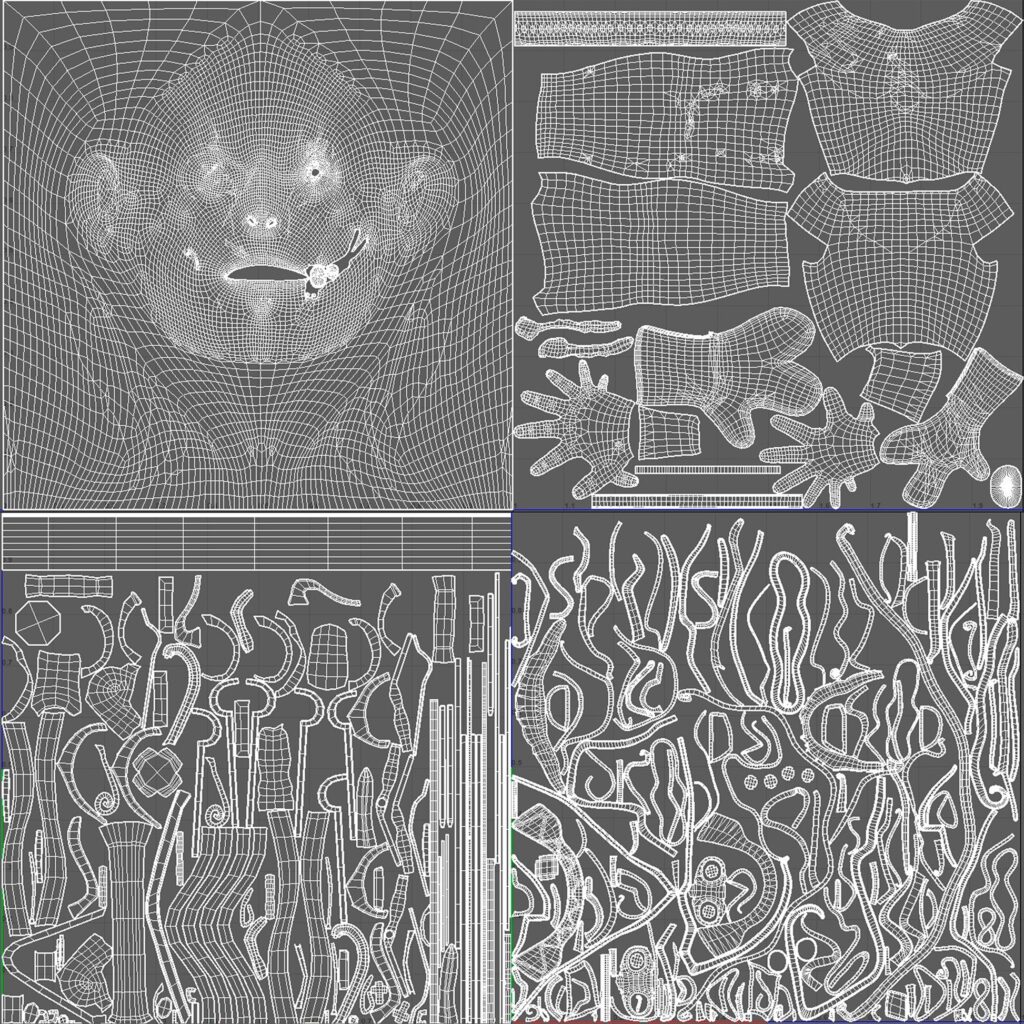
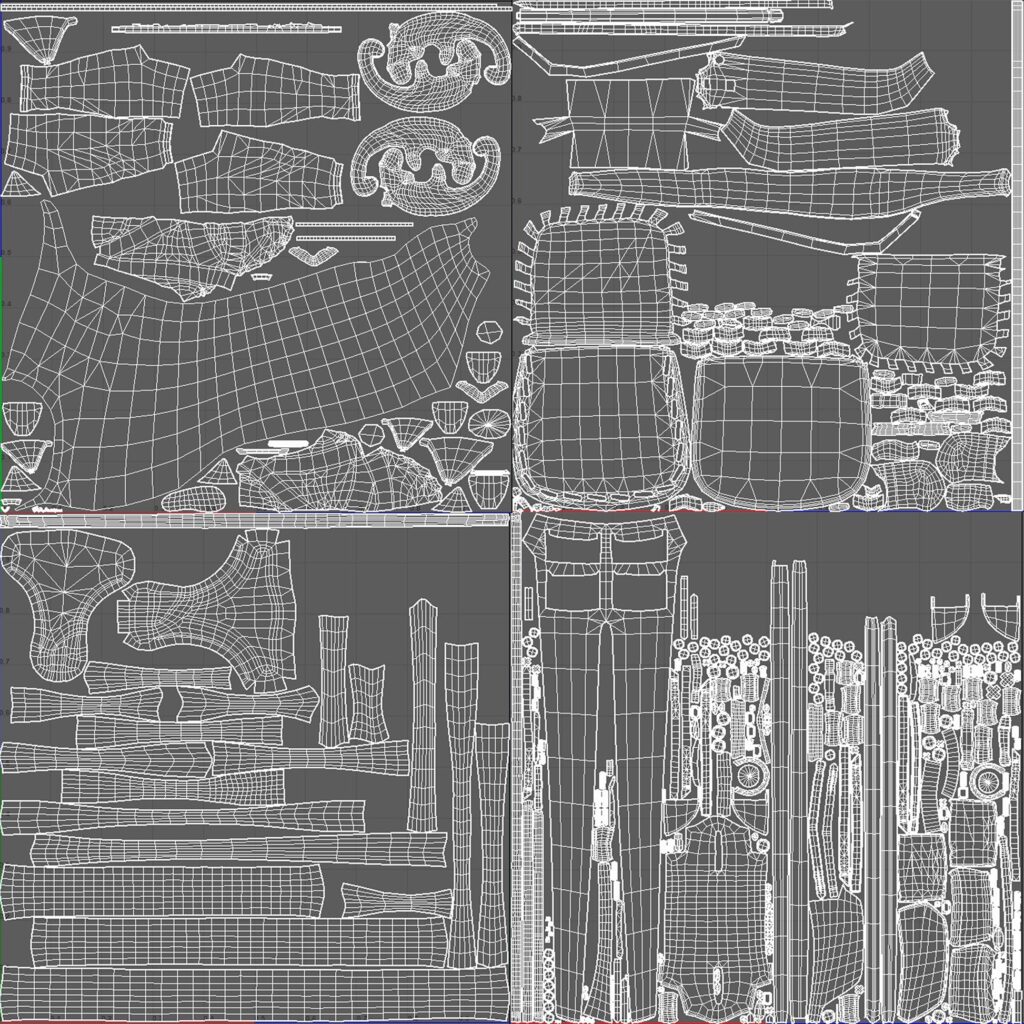
To avoid artifacts in baked textures, separate and rename all the low and high elements in the 3D editor, making sure that the meshes with the same name _low and _high have the same position in space.
Finally, I use the “Bake by Mesh Name” option in Substance Painter. Then, play with the cage width. Now it is ready for texturing.
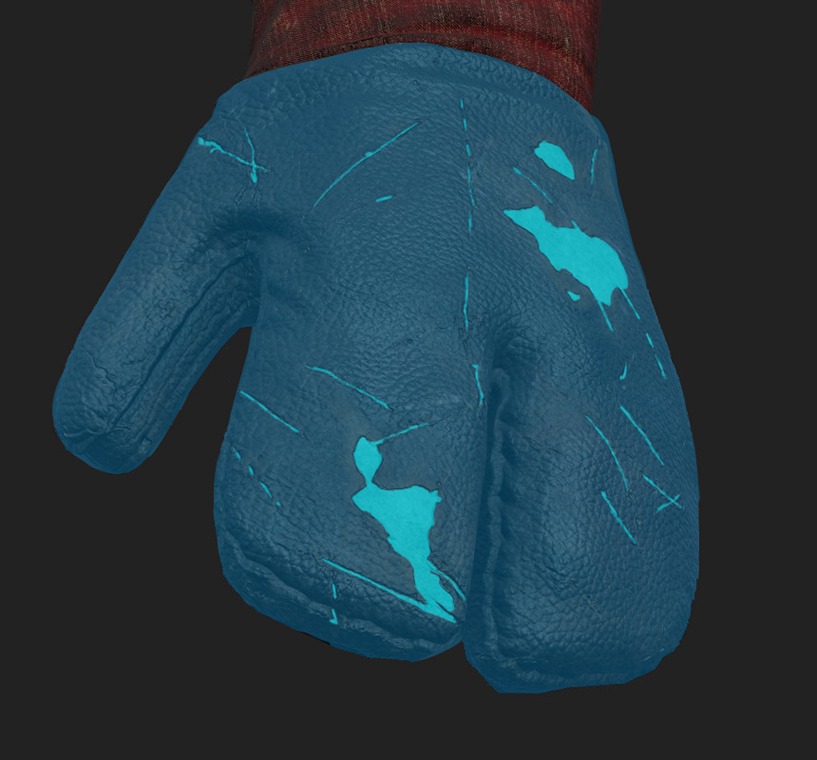
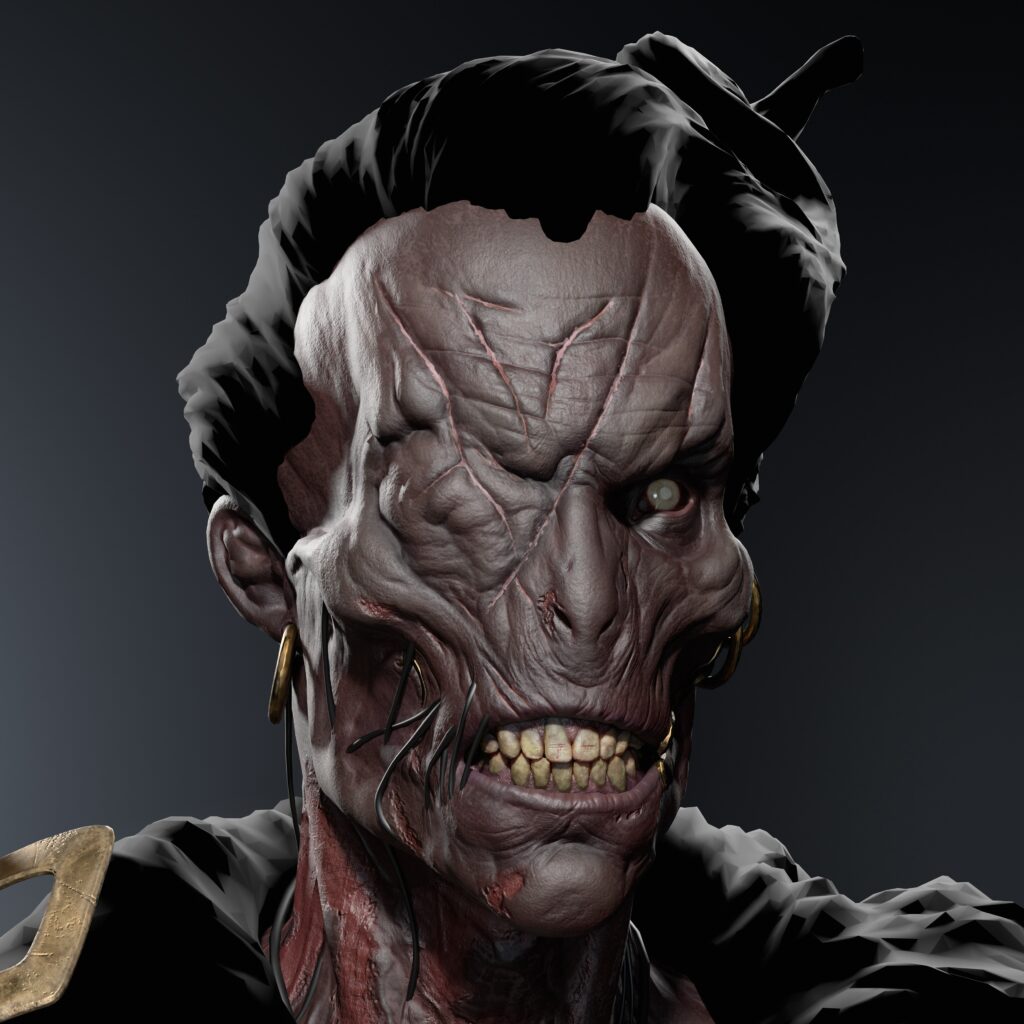
Texturing & Adding Details
You won’t believe this, but as always, I start with something simple and then make it more complex. Jokes aside, it is a great methodology.
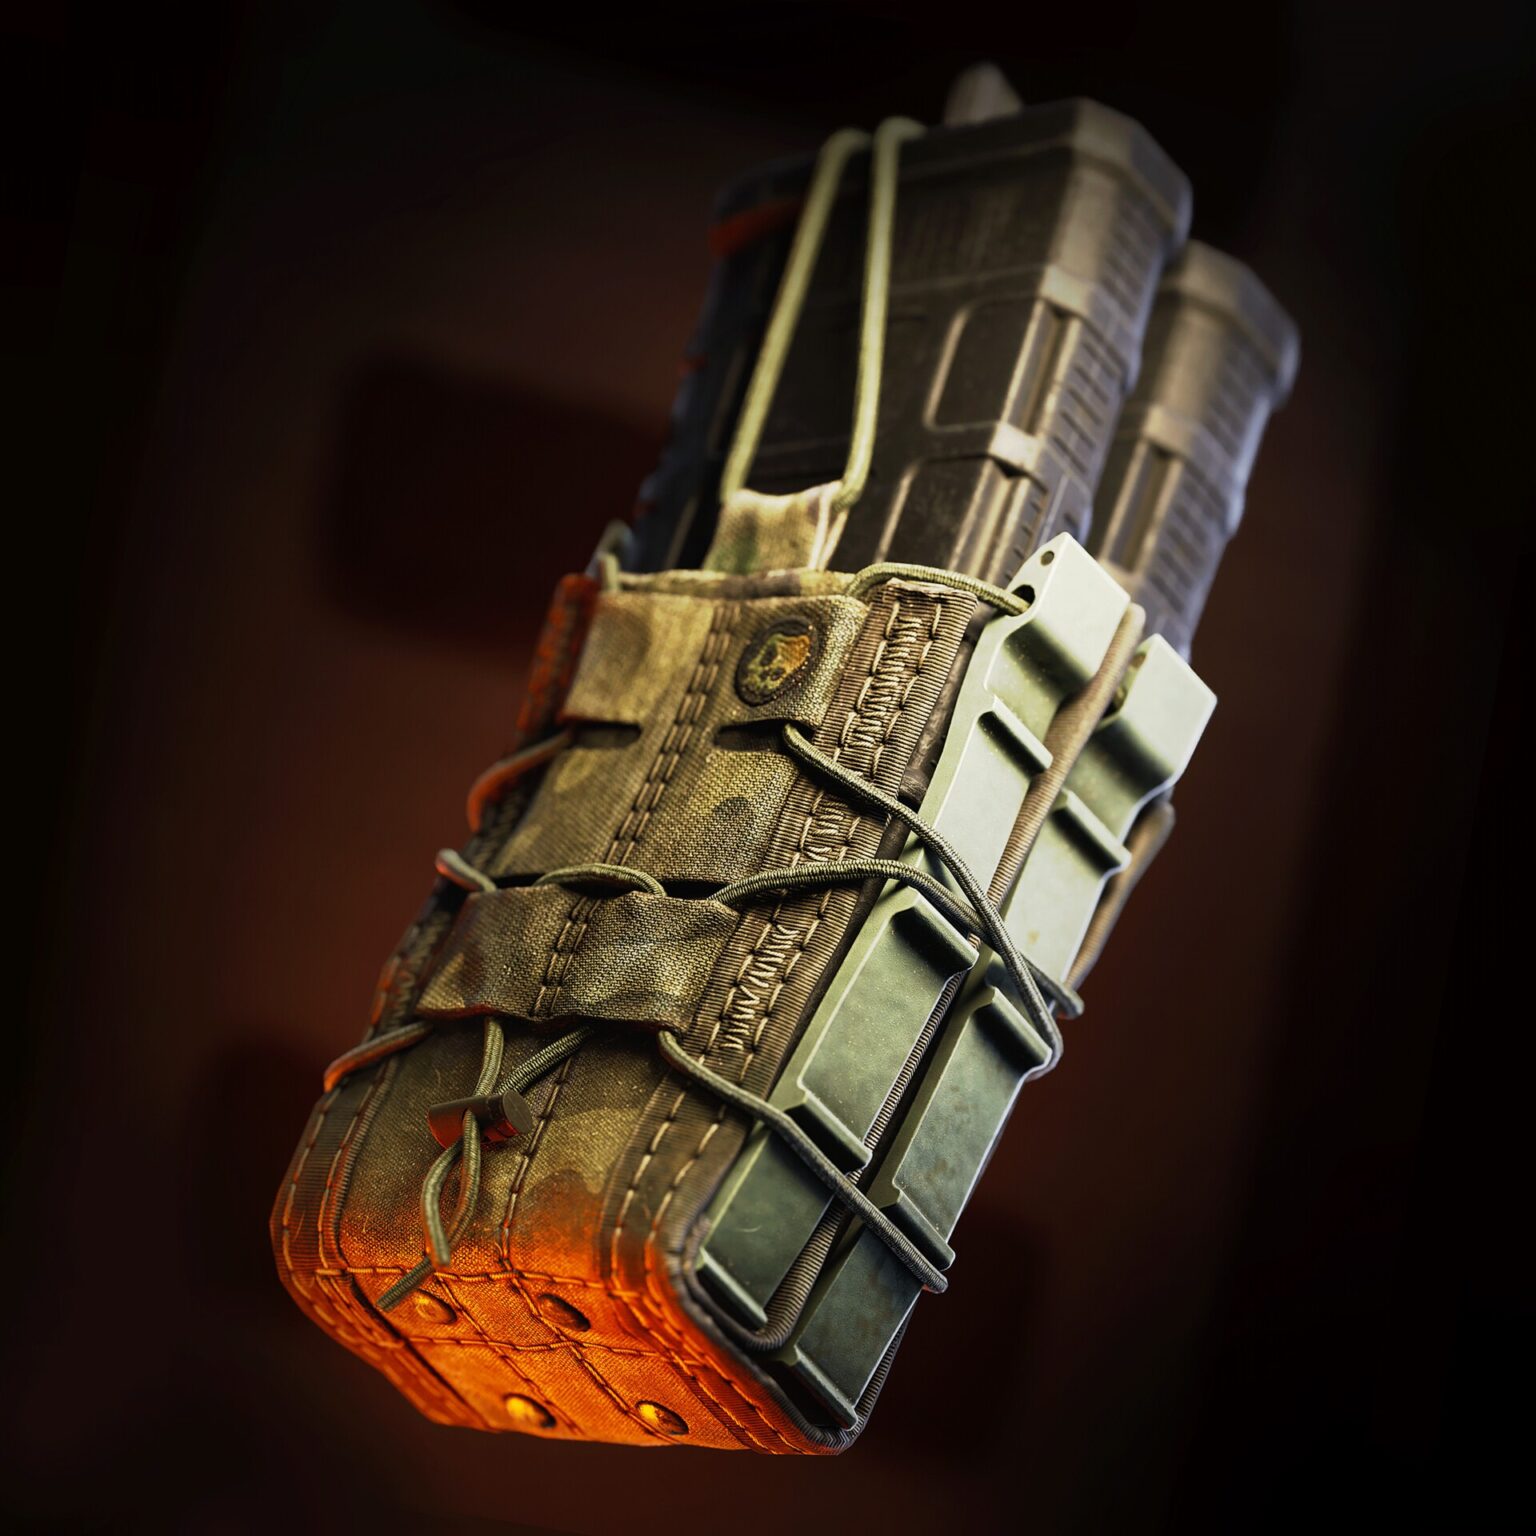
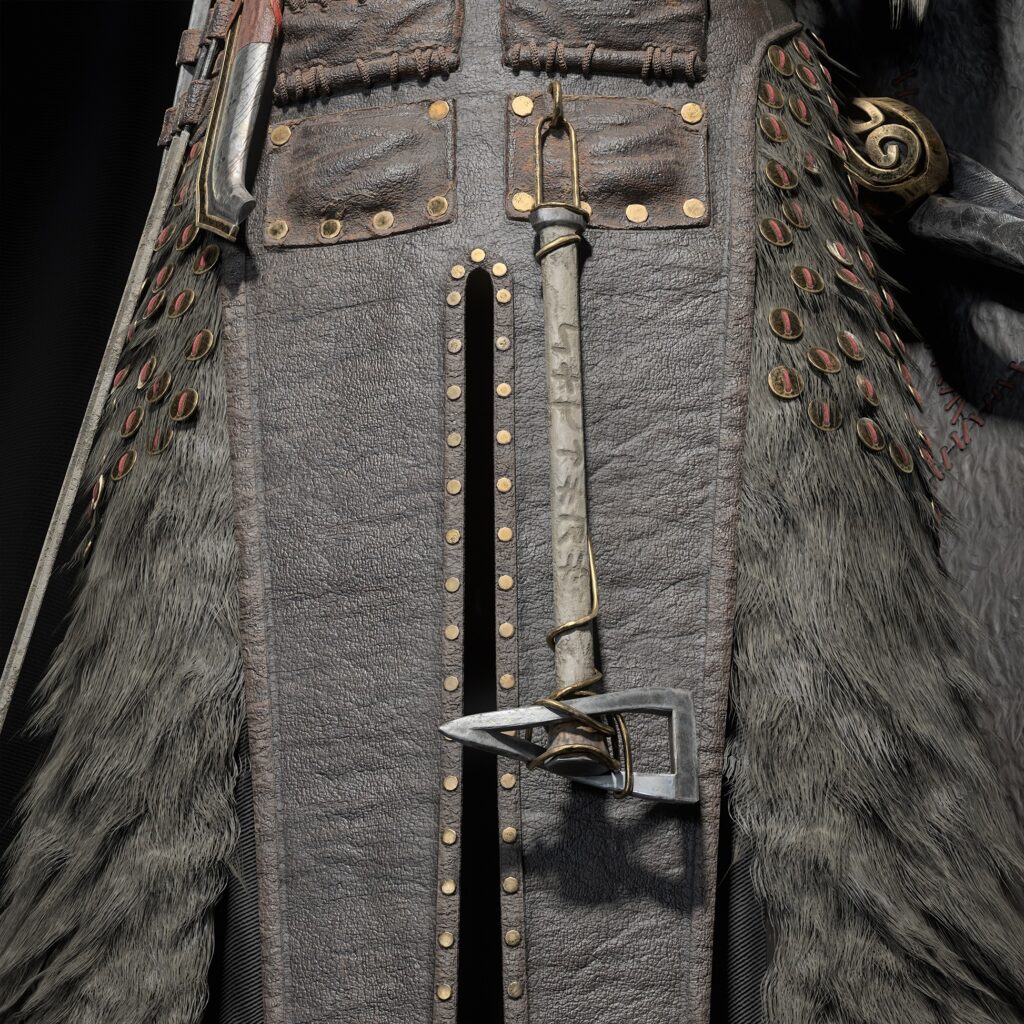
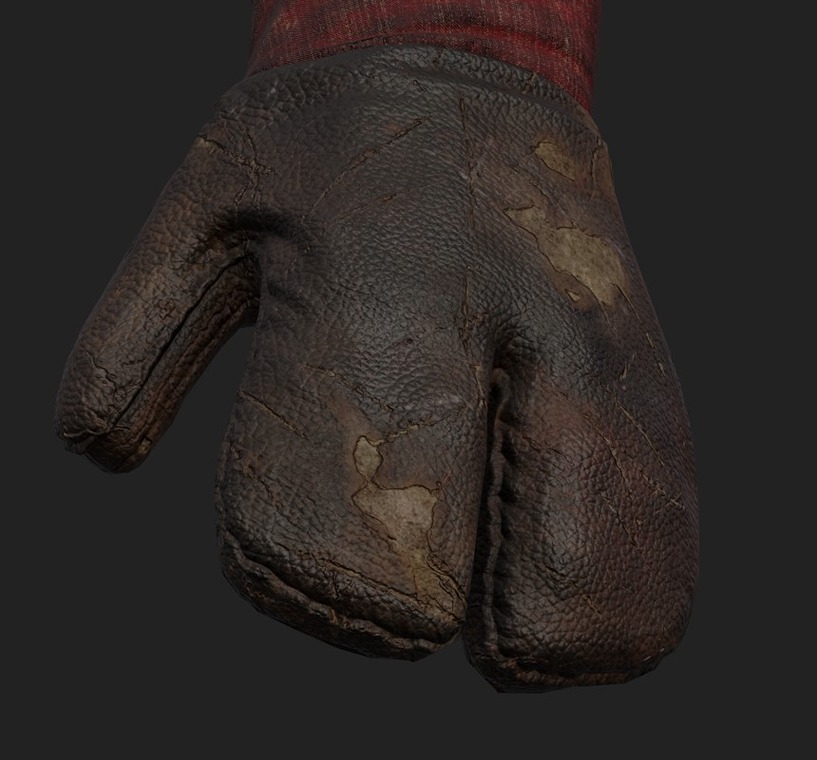
Something nice to step up when making leather or metal is to work with 2 folders per material.
An example with leather: a layer of new leather with a height value of 0.1 in the top layer (dark blue), and another of worn leather, with a different color, roughness, and with a height value of -0.1, below the other layer (light blue).
Thus, when adding scratches and wear, these will show the bottom layer.
Use YouTube tutorials by creators like JHill, Esmail Ghadrdani, or Javad Rajabzade for guidance on skin, leather, or metal.
The last layer I add is a cavity created from the curvature and the “HSL Perceptive” modifier to adjust color, saturation, and tone values easily.
Last but not least, I usually split my character into two Substance Painter files, so I can load materials and paint masks faster, so it doesn’t take too long to open/save files.
Note:
It is important that when you see the roughness textures, you are able to distinguish each material because they need different grayscale tones since they have different glosses.
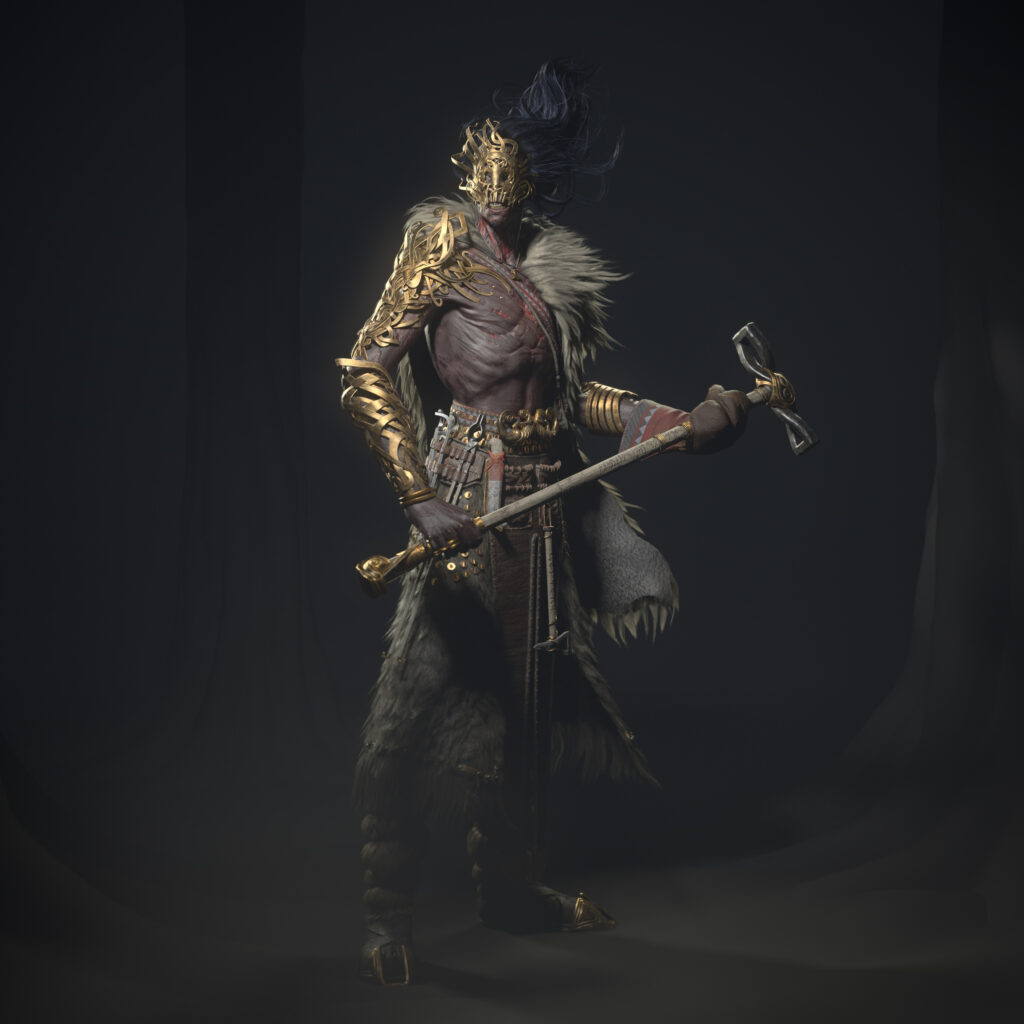
Pose & Final Pass
To match the concept pose, I used ZBrush with Transpose Master and See-through. You have to take into account the perspective of the scene to fit it as well as possible.
A piece of advice: a pose must work in at least 3 of the 4 views. Of course, the front view is crucial, but side and rear views also impact the overall appearance.
To me, character faces are paramount, so I always review them when the project is almost finished. I can change High, Low Poly, or even textures.
Properly name all elements and files to facilitate updates without starting from scratch.
Sometimes, it may happen that colors, noise, or roughness don’t match between Substance Painter and Marmoset, so now is the time to change values to maintain textures in the render as close as possible to the concept. (HSL Perceptive is your best friend now).
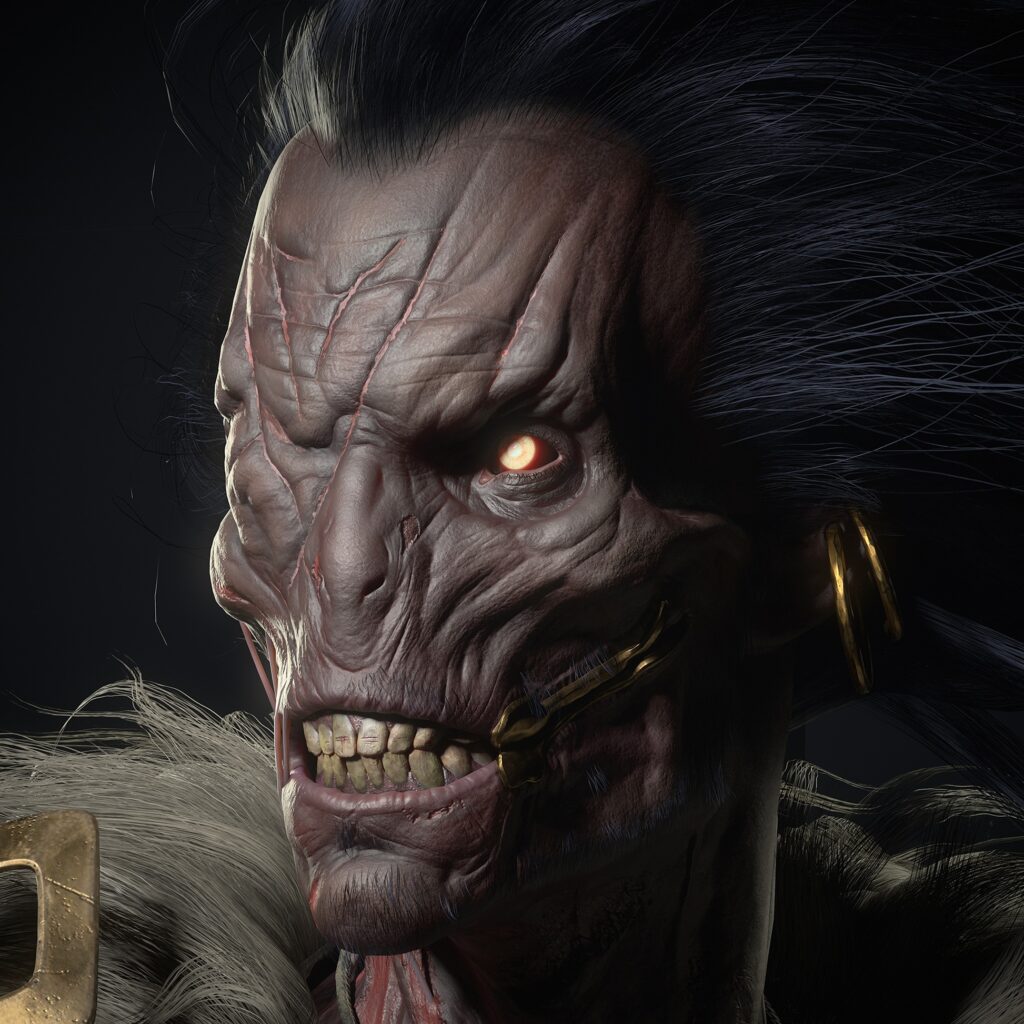
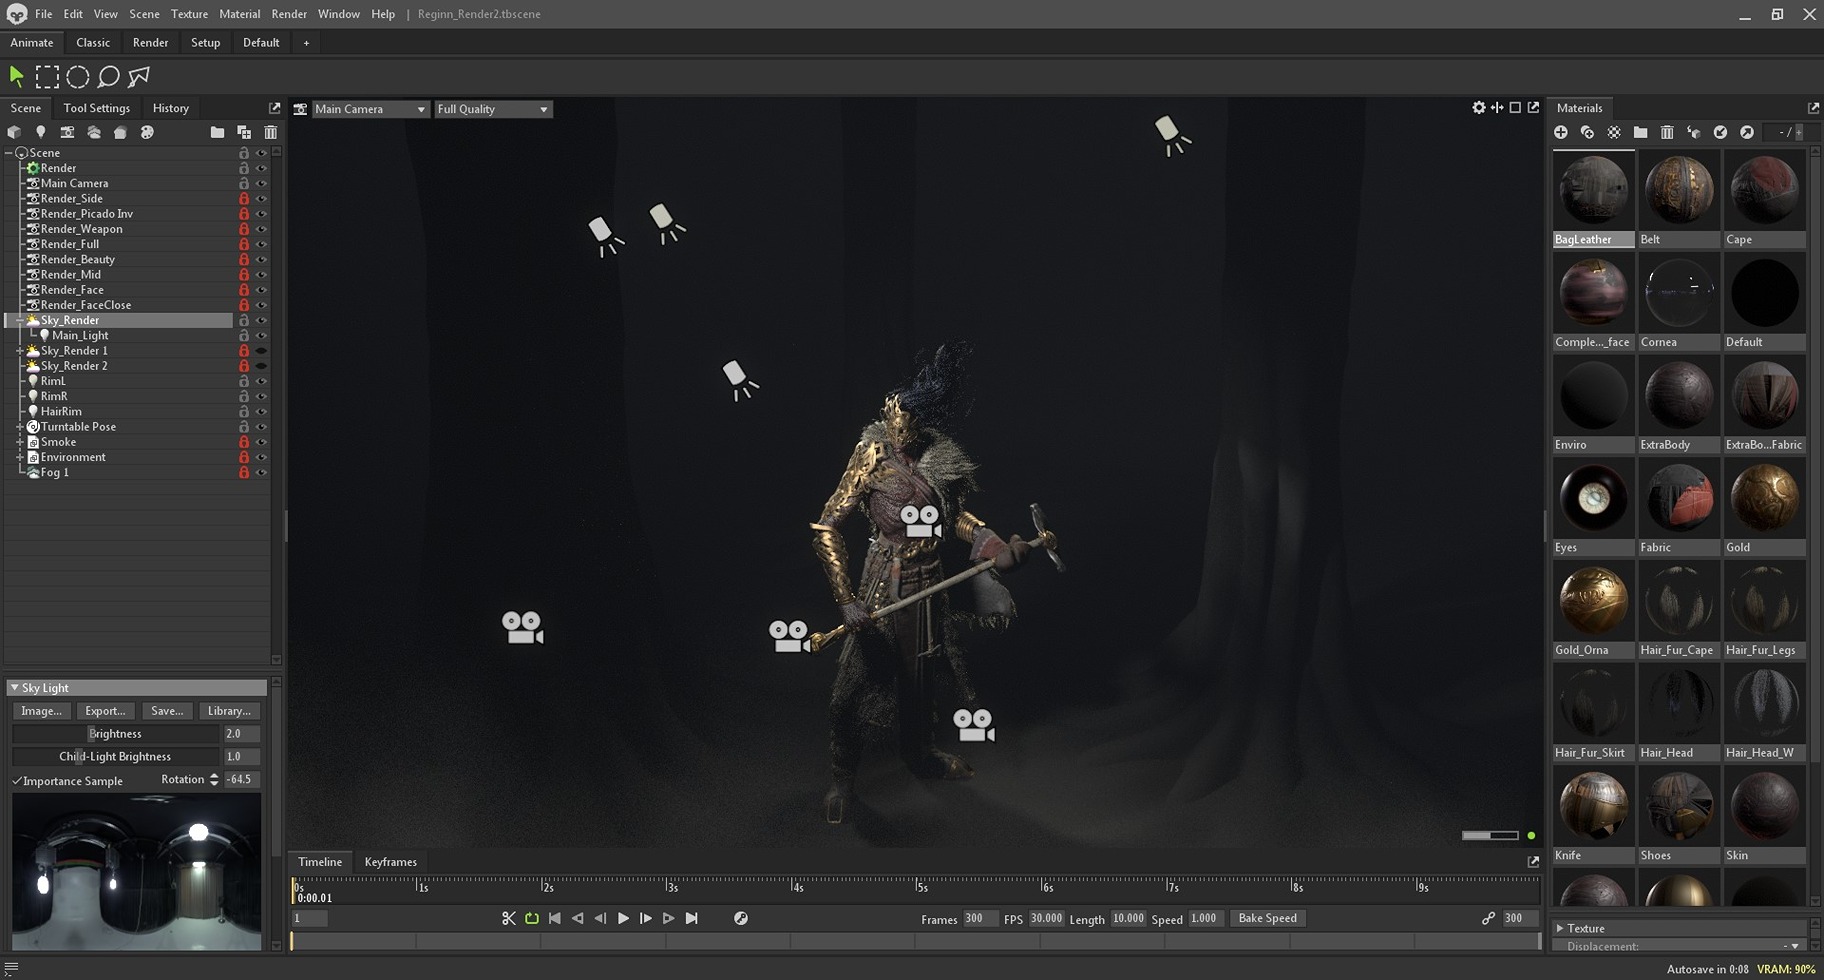
Rendering
A good tip for lighting: you don’t need too many or too powerful lights. The higher the number of lights, the more chances you have to get a flat character that doesn’t stand out from the background. I started with a studio HDRI and set a brightness that allowed the shadows not to be pitch black.
Then, I created a main light and two rim lights on each side of the scene to make it stand out. Finally, I added an extra light for the hair, because it was too dark to be appreciated.
To submit my projects on Artstation, I always render images at high resolution, frame them in Photoshop to highlight key elements, and compress the renders without losing quality.
Conclusion
This project has been a perfect opportunity to refine everything I have learned over the past few years.
My recommendation: no matter how long you have been studying 3D, keep it up! Look for tutorials, mentorships, Discord communities, bigger goals, etc.
Always stay active, keep moving, and don’t ever lose your goal. As 3D artists, we only need time and passion to achieve great things.
Thanks to my family and the 3DMonkeys for all your support!
You can see the whole process in my Instagram stories.
I am thrilled with the final result, and I hope you love it as much as I do!
If you are interested in my work, please feel free to contact me at:
Artstation.
Email.
Read more articles
You might also like these articles.