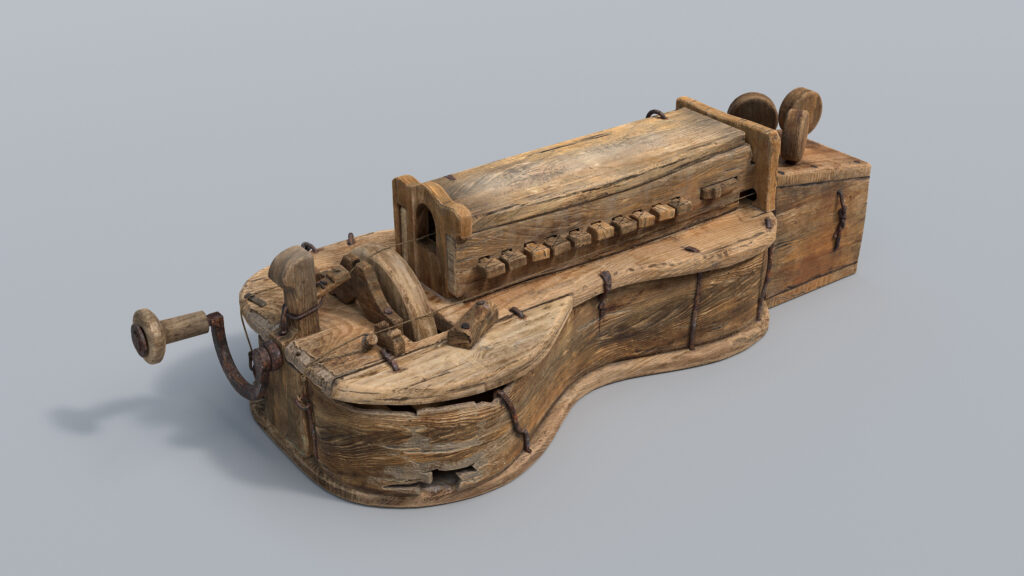
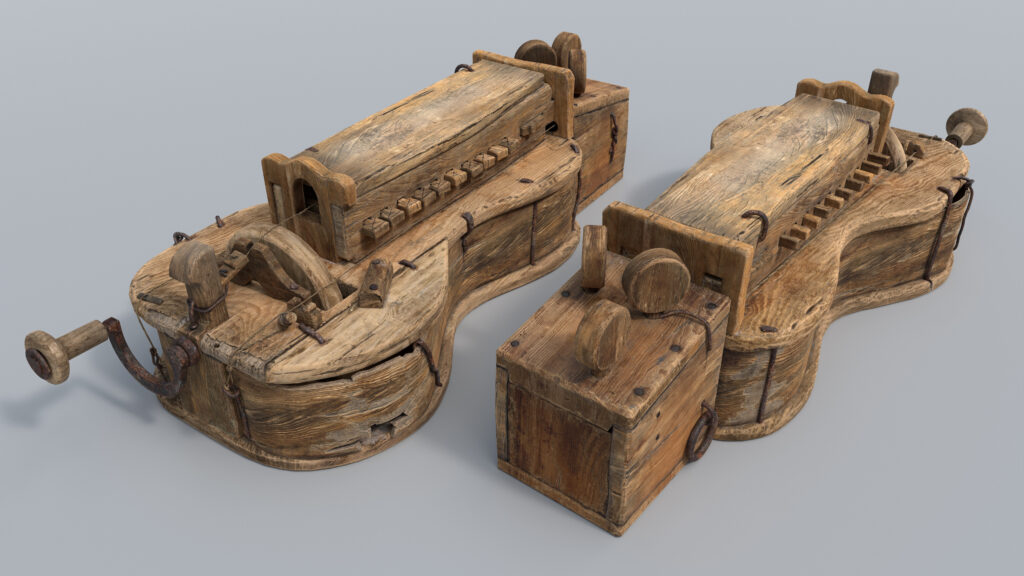
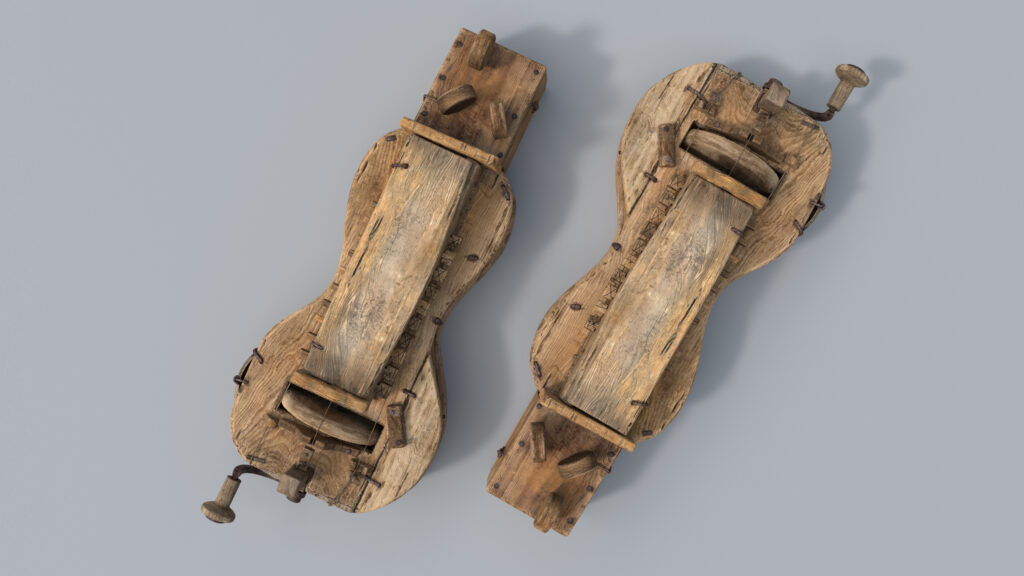
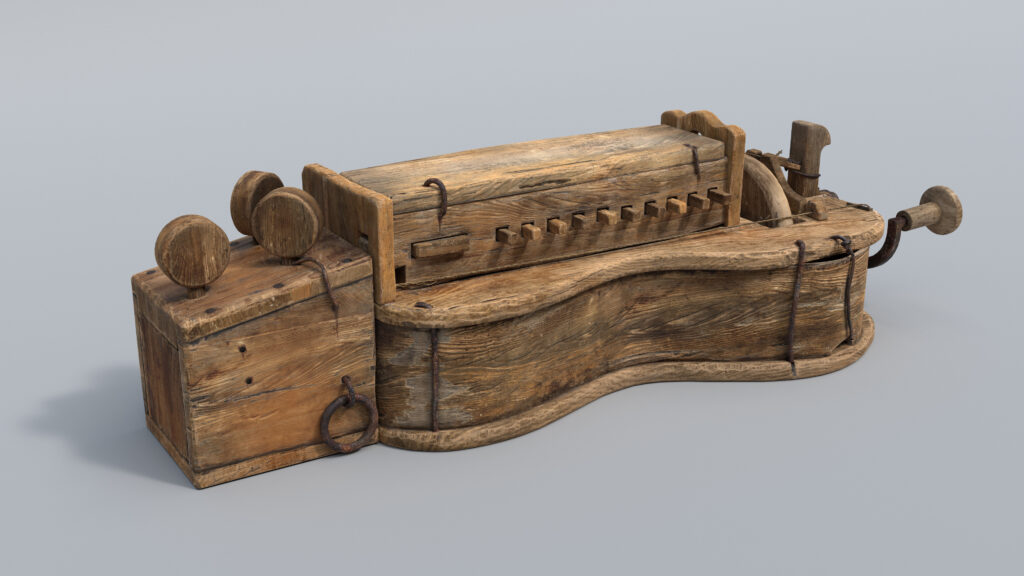
The Hurdy-Gurdy

Introduction
I'm Yevhen, a professional 3D Artist from Ukraine. I embarked on my journey in 3D nearly a decade ago, primarily focusing on film and VFX. I've worked on various projects including films, docudramas, commercials and video clips.
However, my passion for game development has always been strong, prompting me to transition my career in that direction at a certain point.
For nearly four years now, I've been employed as a 3D Artist at Ubisoft Kyiv.
Goals
I stumbled upon a hurdy-gurdy while browsing the website of one of Ukraine’s national museums, specifically the Ivan Honchar Museum.
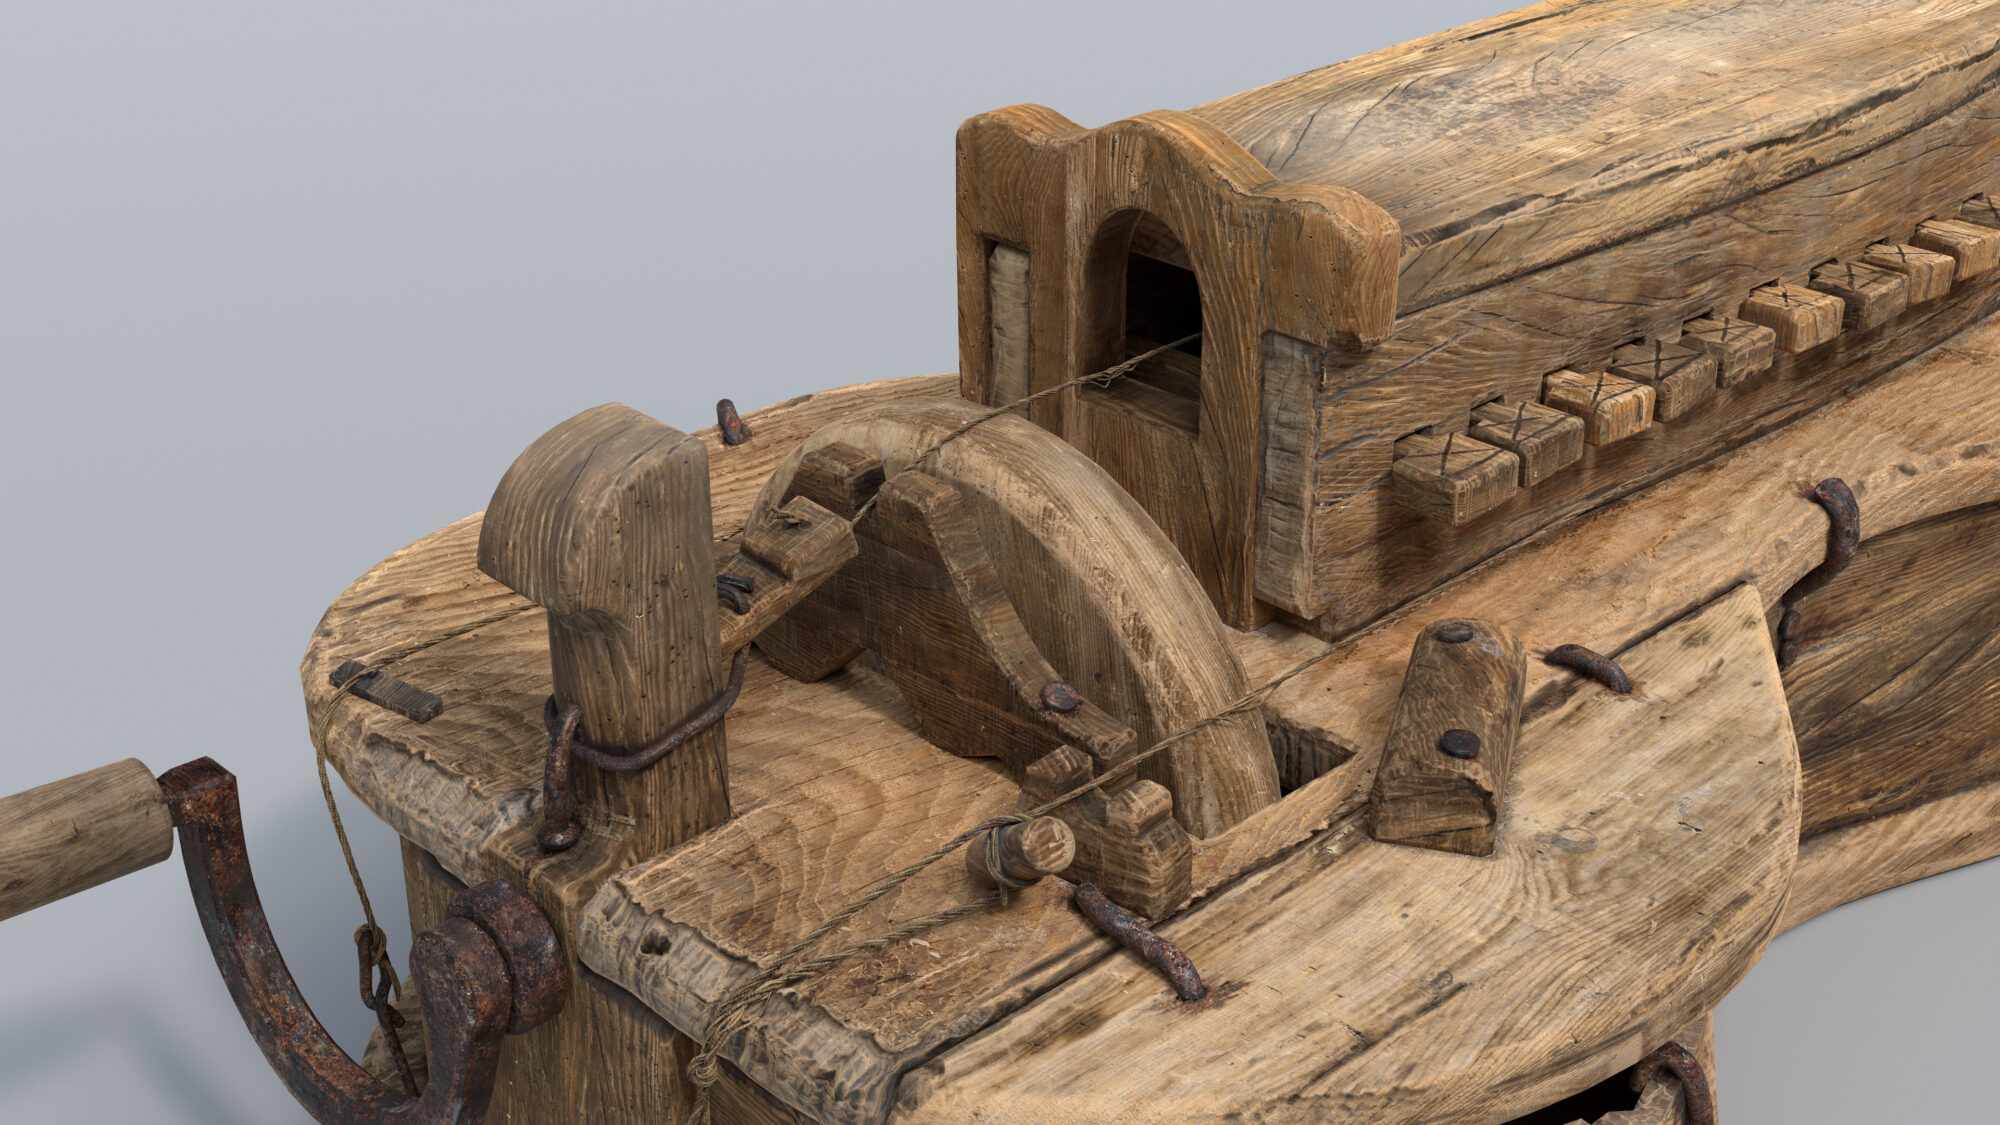
The site displayed numerous high-quality photos of various exhibits, which intrigued me. I decided to make this hurdy-gurdy my next personal project because I sought to create an interesting and unconventional prop that would entail extensive work with wood.
Software
Maya, ZBrush, Substance Painter & Marmoset Toolbag.
References
Having an adequate number of references is essential for producing quality work, whether it’s for personal projects or directly related to a specific project.
Fortunately, I was fortunate in this instance, as I found nearly all the necessary references on the same portal mentioned earlier.
It’s worth noting that I didn’t attempt to replicate the exact texture and appearance of this particular hurdy-gurdy. Instead, I relied solely on the concept and base forms.

Blockout
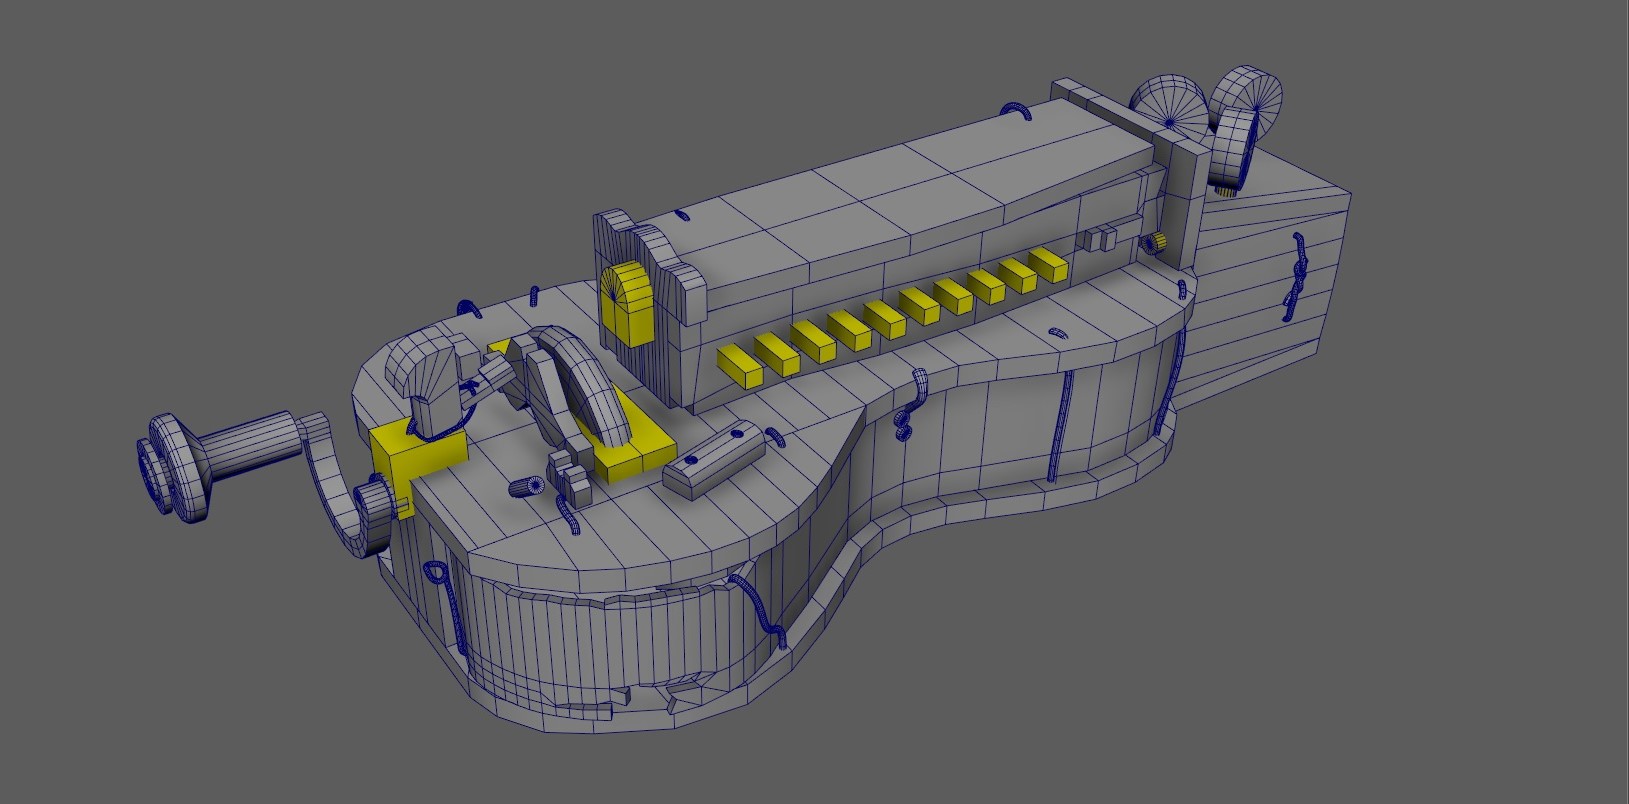
This is the initial blockout created in Maya, where I primarily concentrated on the model’s silhouette.
The yellow objects will serve as Boolean elements in ZBrush. Additionally, this blockout mesh will form the foundation for the low-poly model.
High Poly
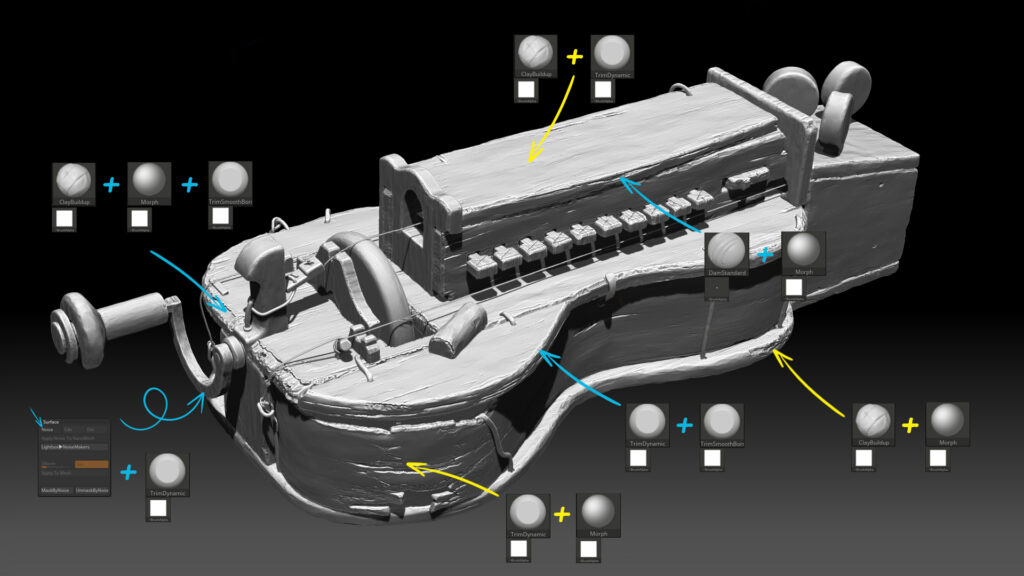
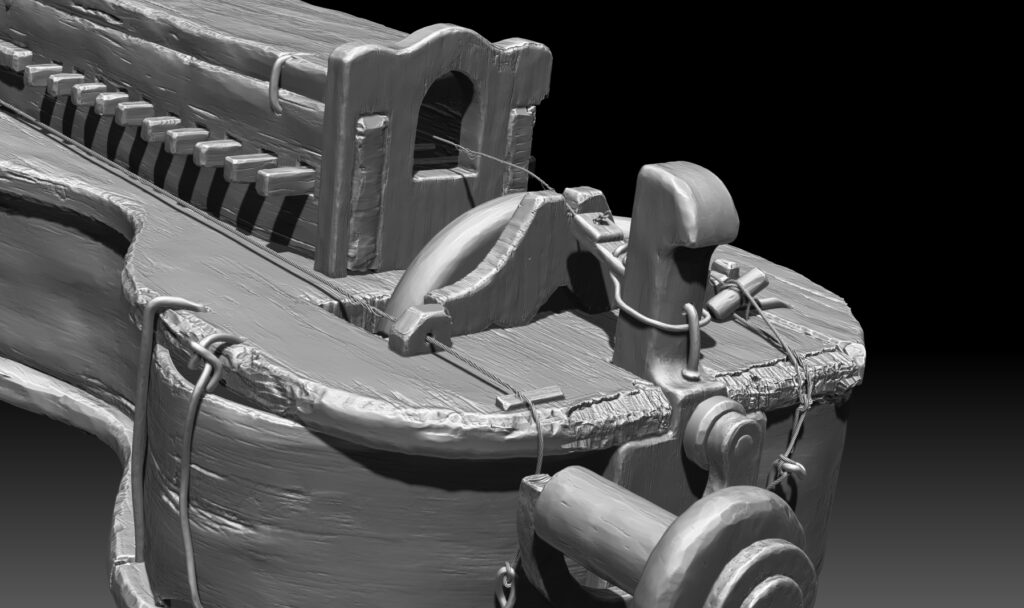
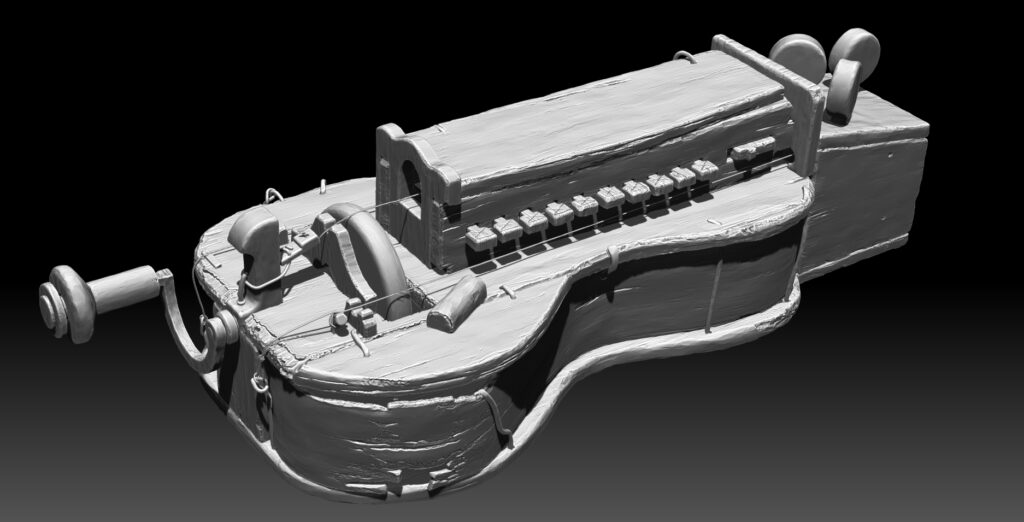
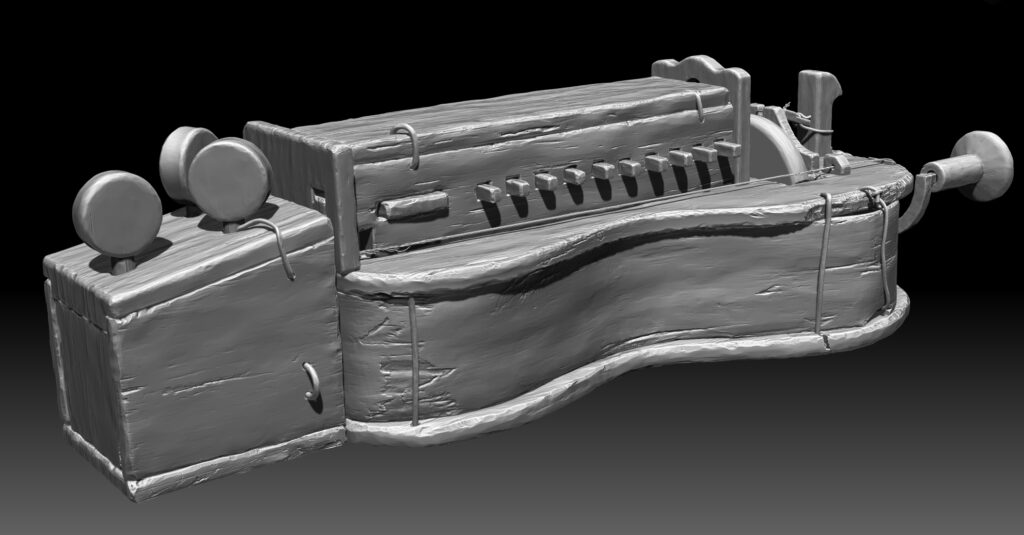
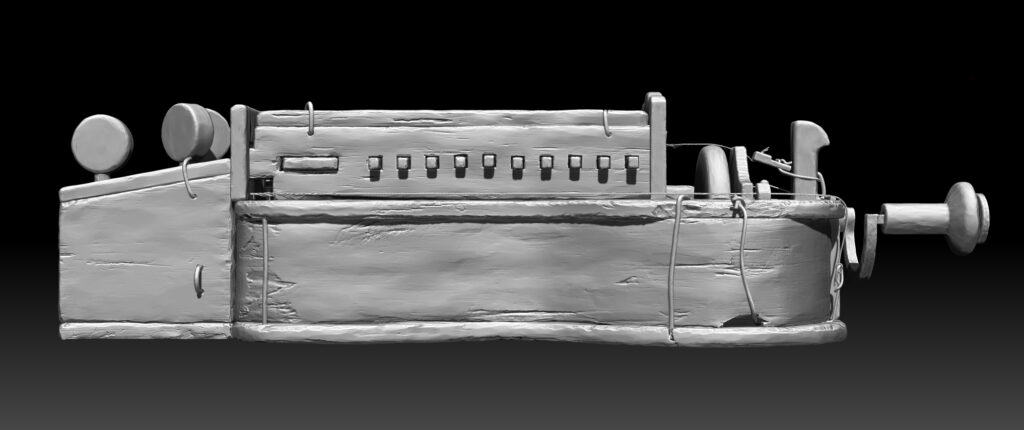
Working with the High Poly model in ZBrush, my primary tools were TrimDynamic, TrimSmoothBoard, and Morph.
To create the rust effect, I employed the Noise tool along with the Morph brush.
Here’s a short video demonstrating the process of sculpting a basic wood texture. While the result may not be perfect, it should give you an idea of the technique.
Low Poly
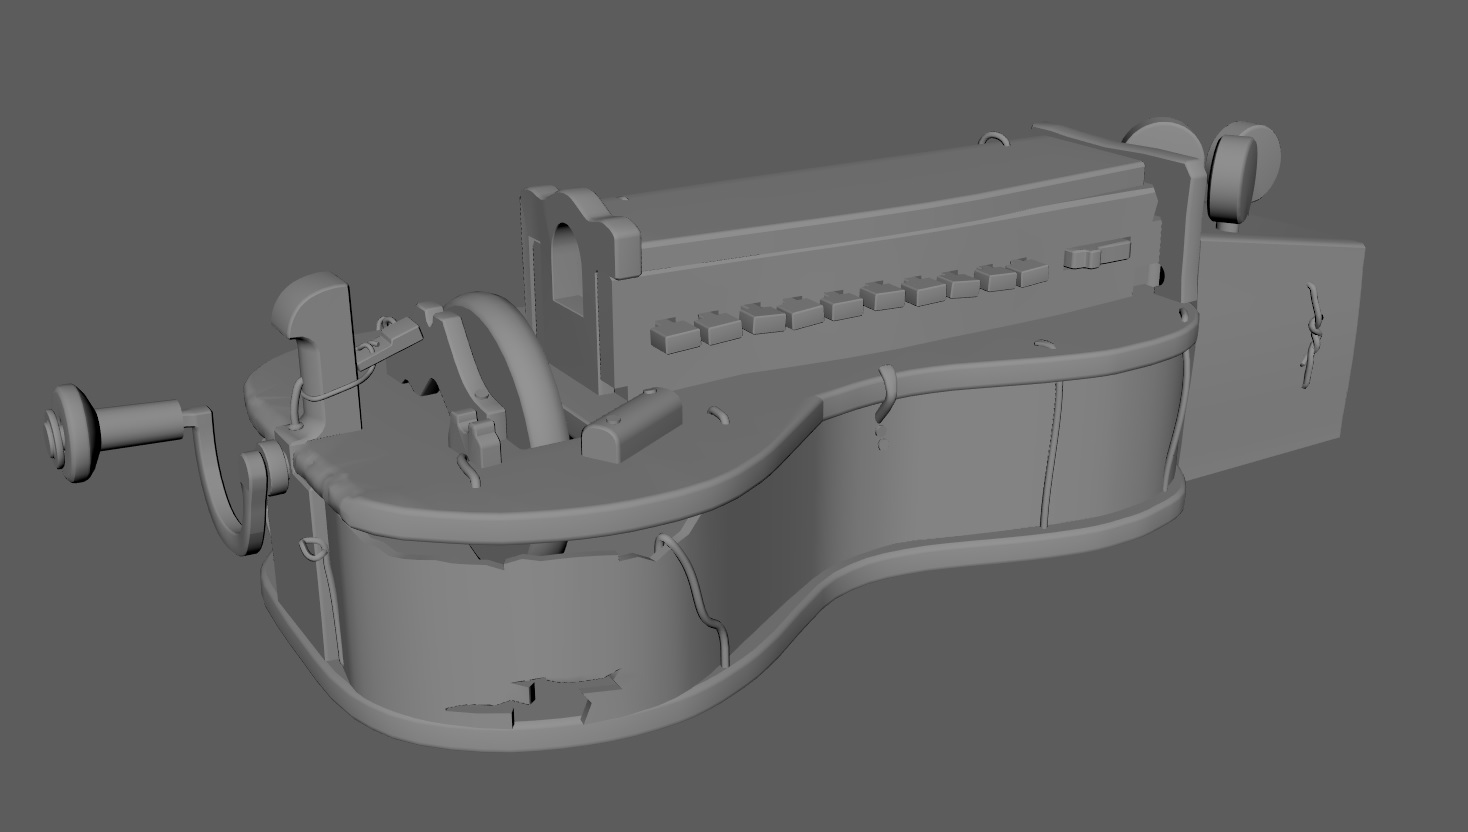
The Low Poly model was created based on a blockout mesh.
As this was a personal project, I didn’t have any restrictions on polycount, and to improve close-up shots and avoid angularity in objects, I added extra polygons.
Baking
For baking, I used the Marmoset Toolbag. The only thing I would like to advise is to bake additional maps, such as Cavity.
And also two Ambient Occlusion maps, with enabled and disabled Ignore Groups function, this will help you when working with textures.
And as it is a personal project, I was able to use 7 texture sets.

Textures
An important guideline in texture work is to steer clear of ‘generator’ textures. For instance, it’s crucial to use multiple grunges for color or roughness instead of relying solely on one, as real-life details are not consistent like a generator.
Additionally, it’s beneficial to ‘break’ generators such as Curvature with additional grunges. Furthermore, I consistently aim to utilize unique alphas for additional Stencils when working with textures, rather than relying solely on standard brushes.
Also, when working with textures, I used additional maps such as Cavity.
The process of texturing one of the main elements I would like to show in this short video. I created the textures based on the method shared by my friend and colleague Dmytro Mykhailyk, which he discussed in his video.
The Rope
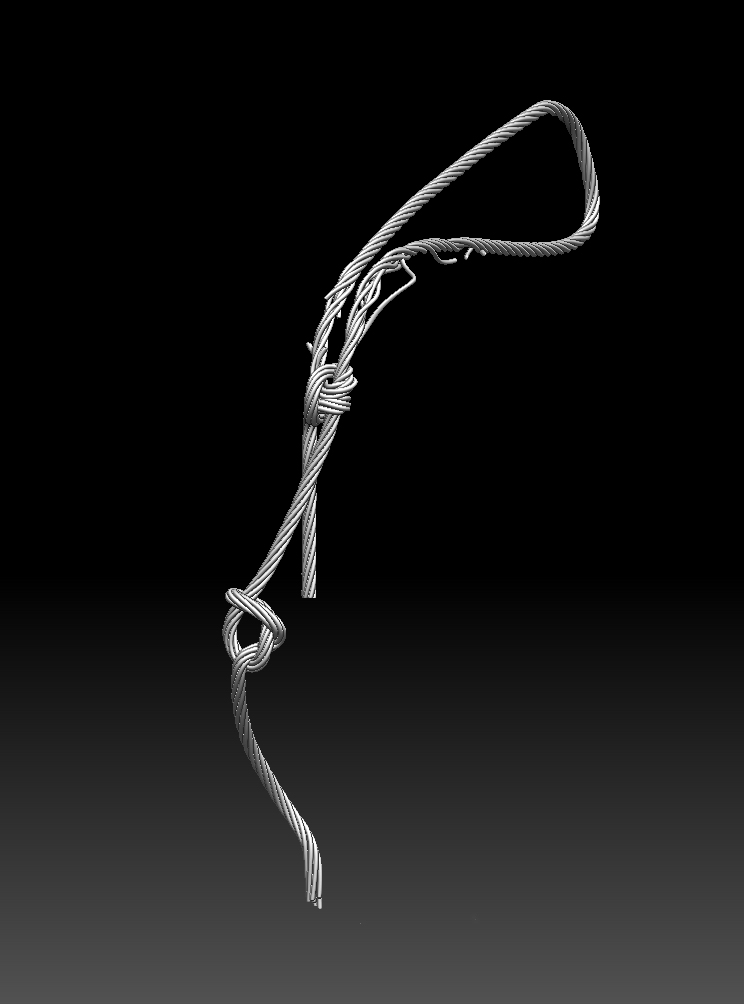
I created the rope using standard Maya tools such as the Curve Tool, Rebuild, and Extrude. Later, I exported the mesh to ZBrush for additional refinement.
Rebuild is also an important stage of working with Curve Tool.
This is how the rope appears after being worked on in ZBrush.
Animation and Rendering
Here’s what the scene looks like for rendering in Marmoset.
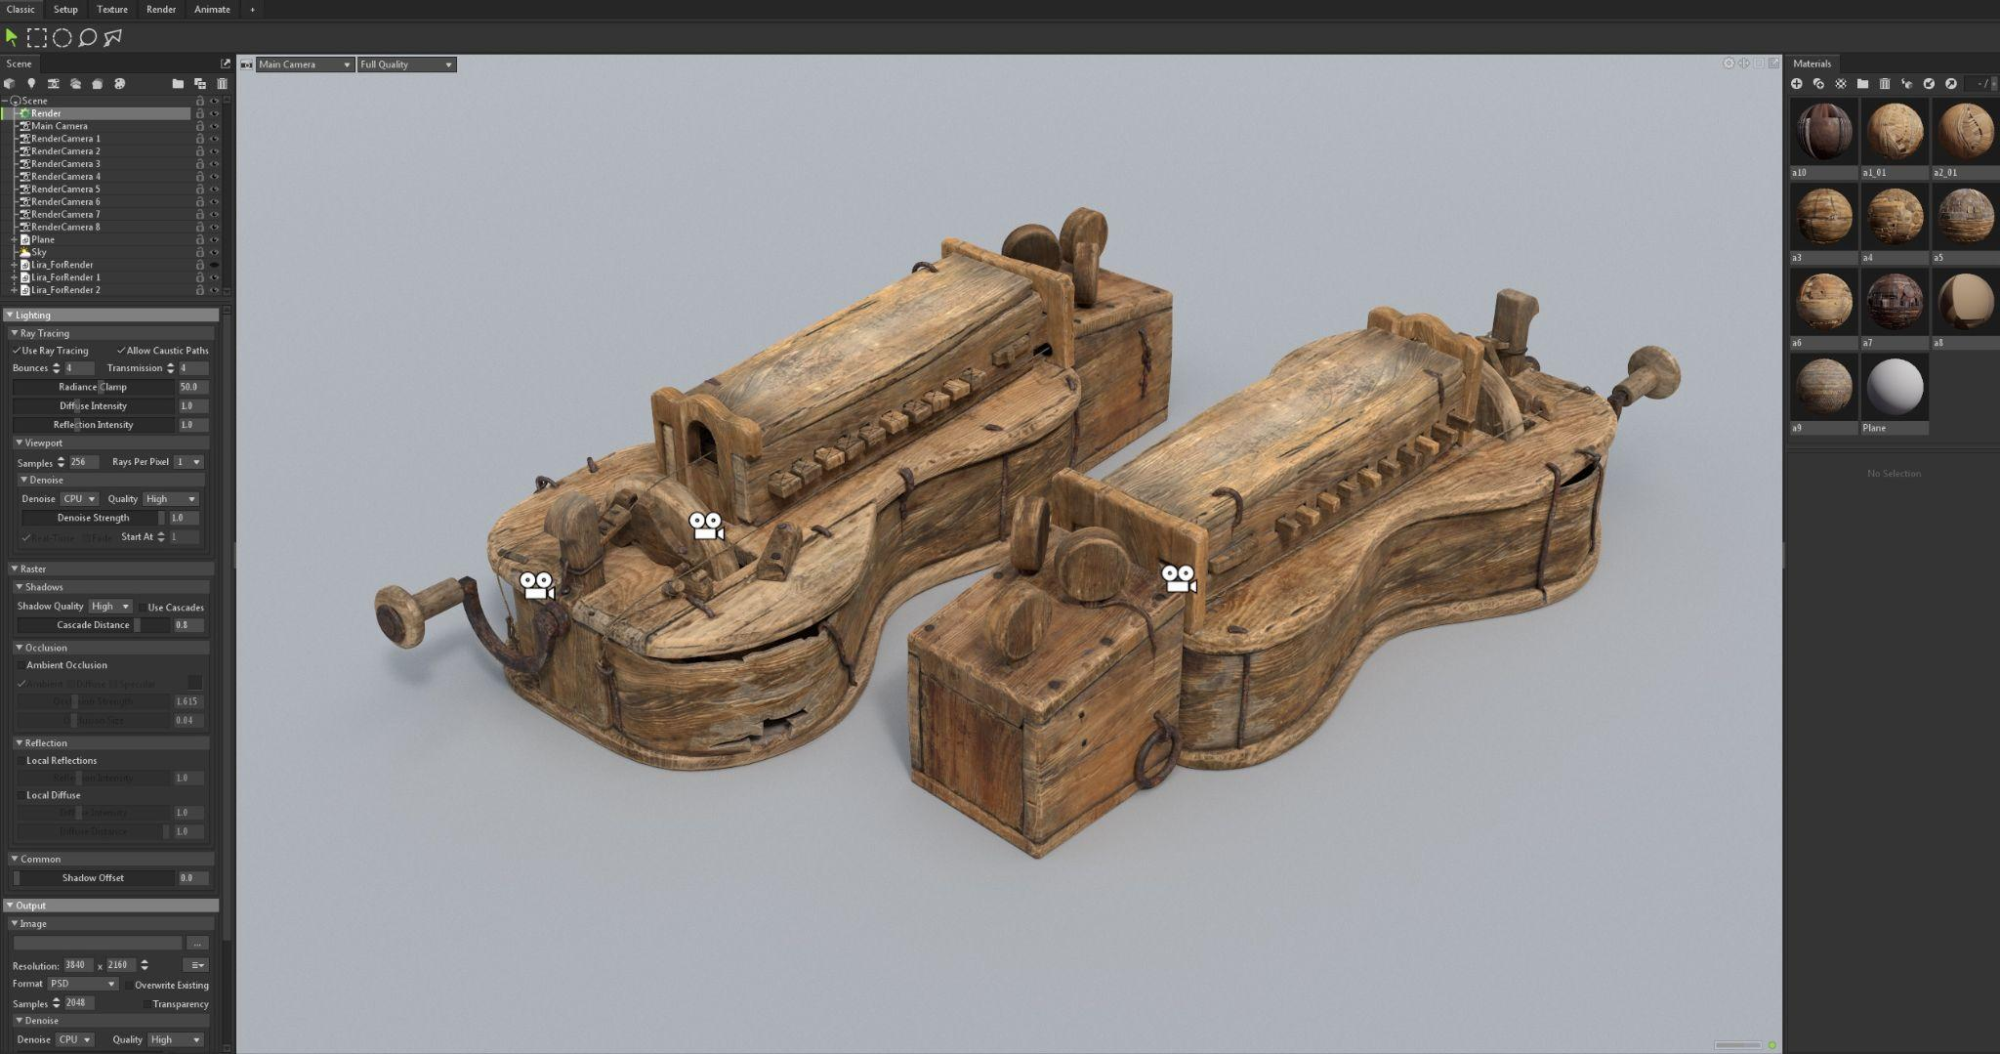
And as you can see, setting up the animation isn’t a complex task. Here is a short video with an example.
Conclusion
Make it a habit to allocate time for personal projects. I also recommend seeking feedback from colleagues or friends on your work, but only if you believe their insights can enhance your project.
While it may be challenging to share works in progress, it’s crucial to remember that when working solo, you may overlook certain aspects.

