
Introduction
Freelance Environment Artist with 5 years experience specialised in hand-painted Props and Environments.
Goals
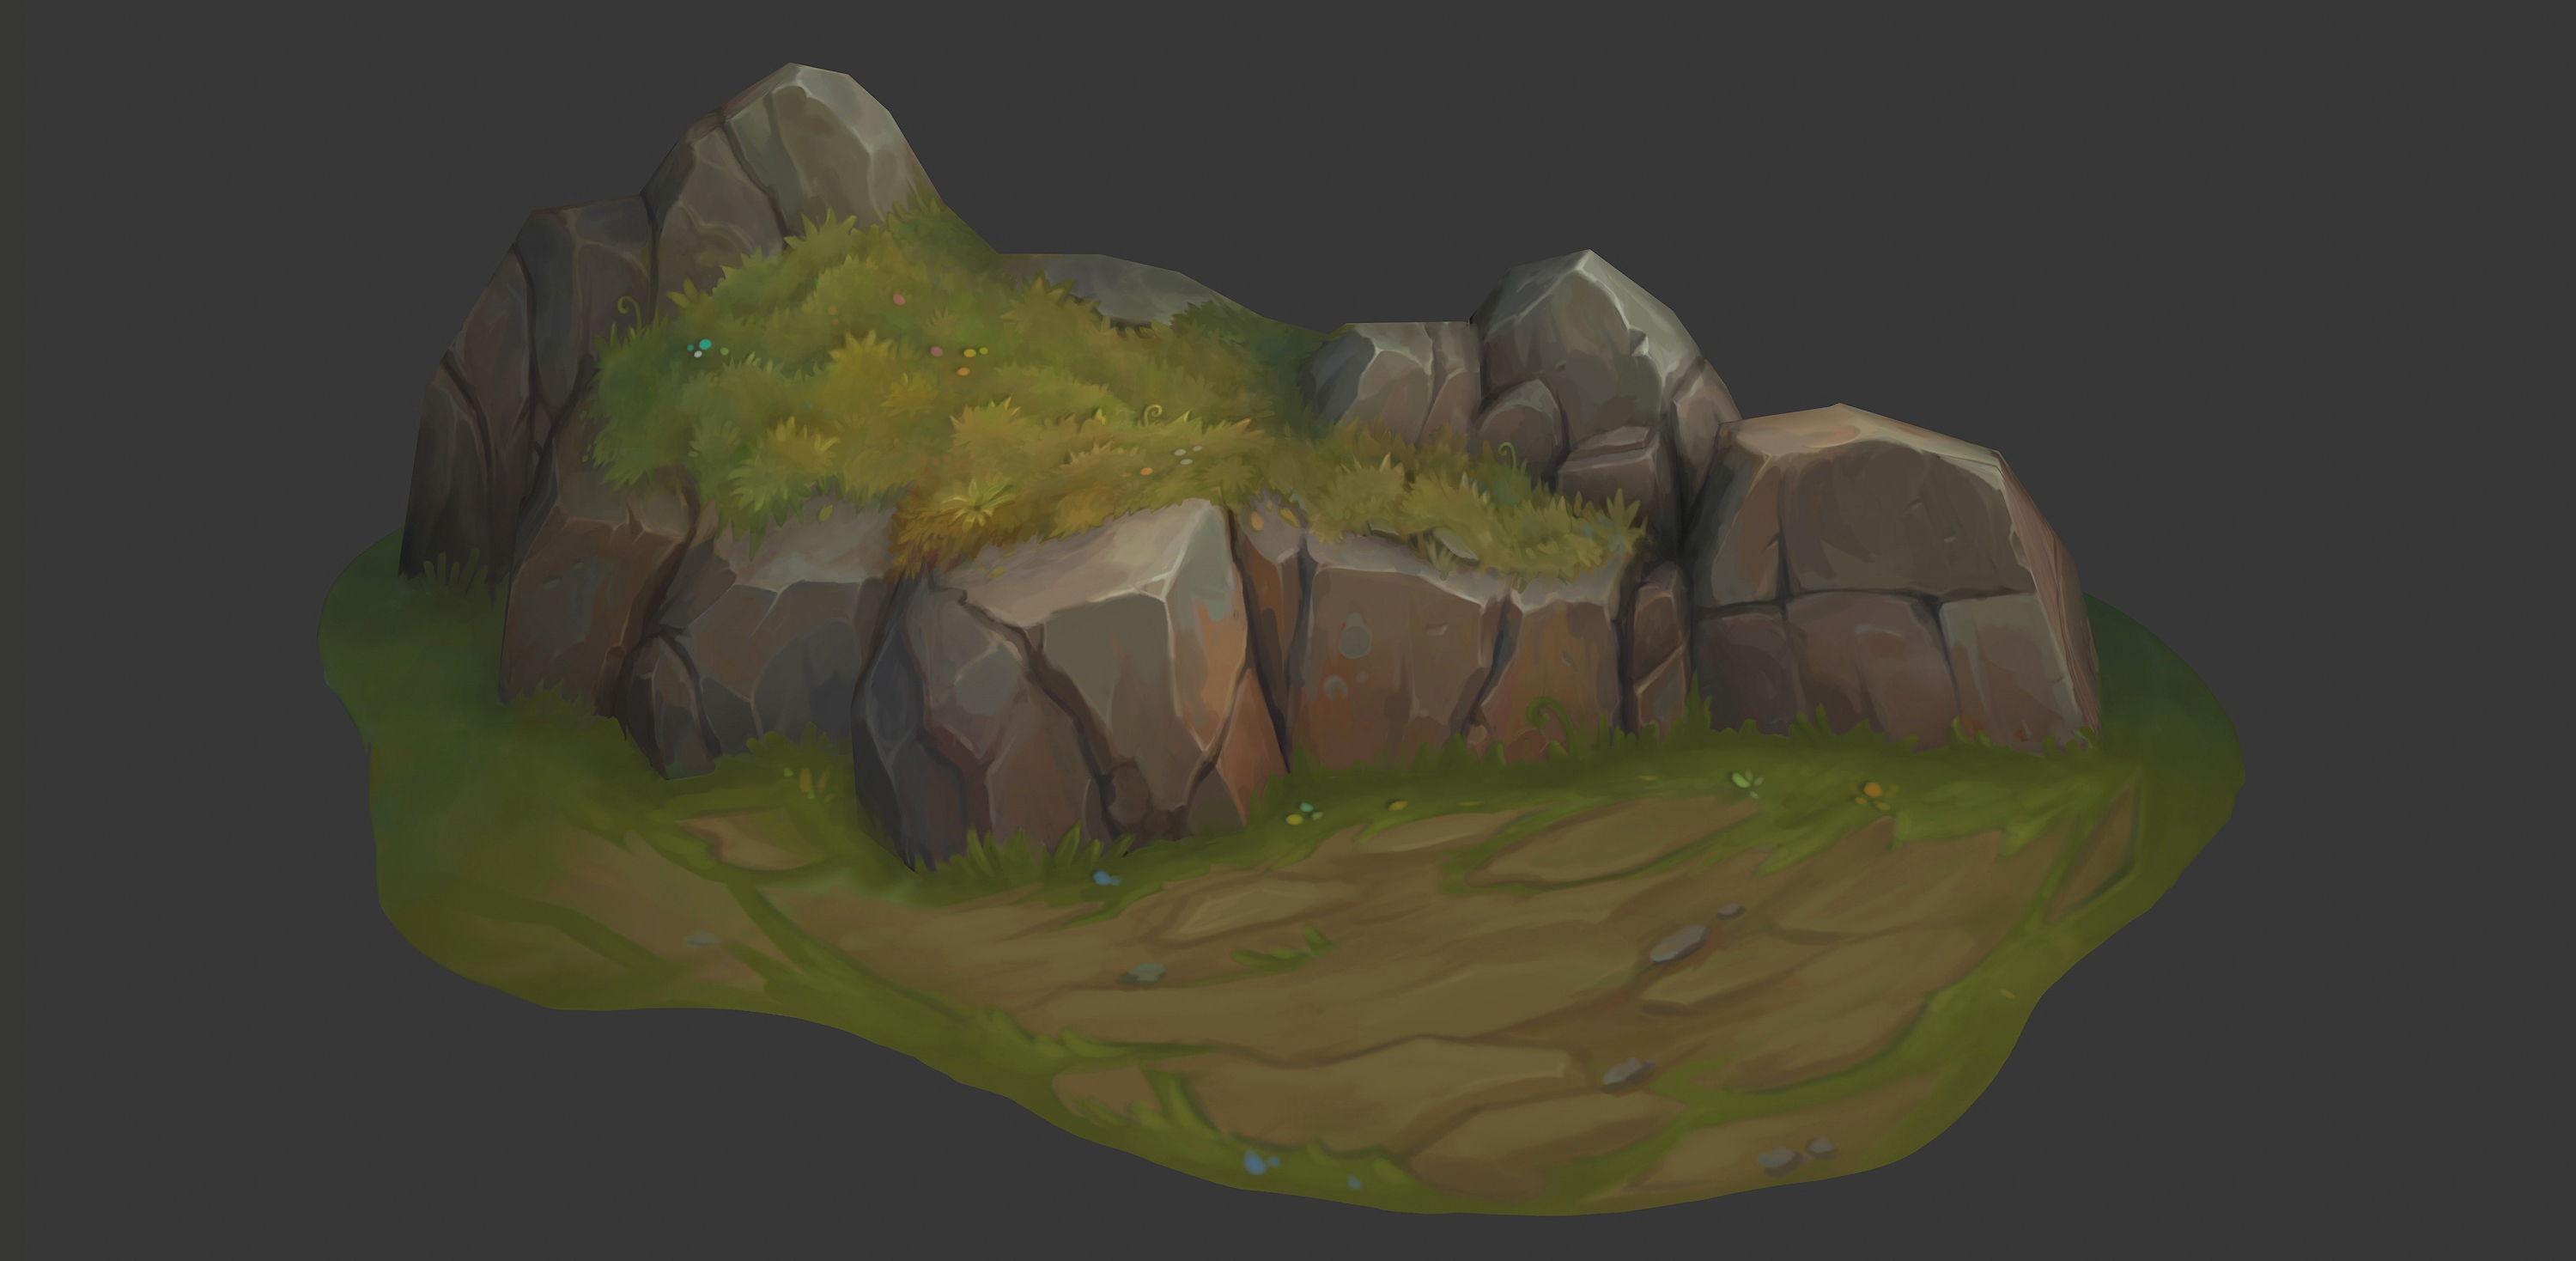
This is a start to a series of material studies and I decided to kick it off with a rock.
Often, I feel we as artists forget that less is more, and we do not focus enough on art fundamentals, so I wanted to get back to basics.
Software
- Blender
- 3D Coat
- Photoshop
- Marmoset Toolbag
References
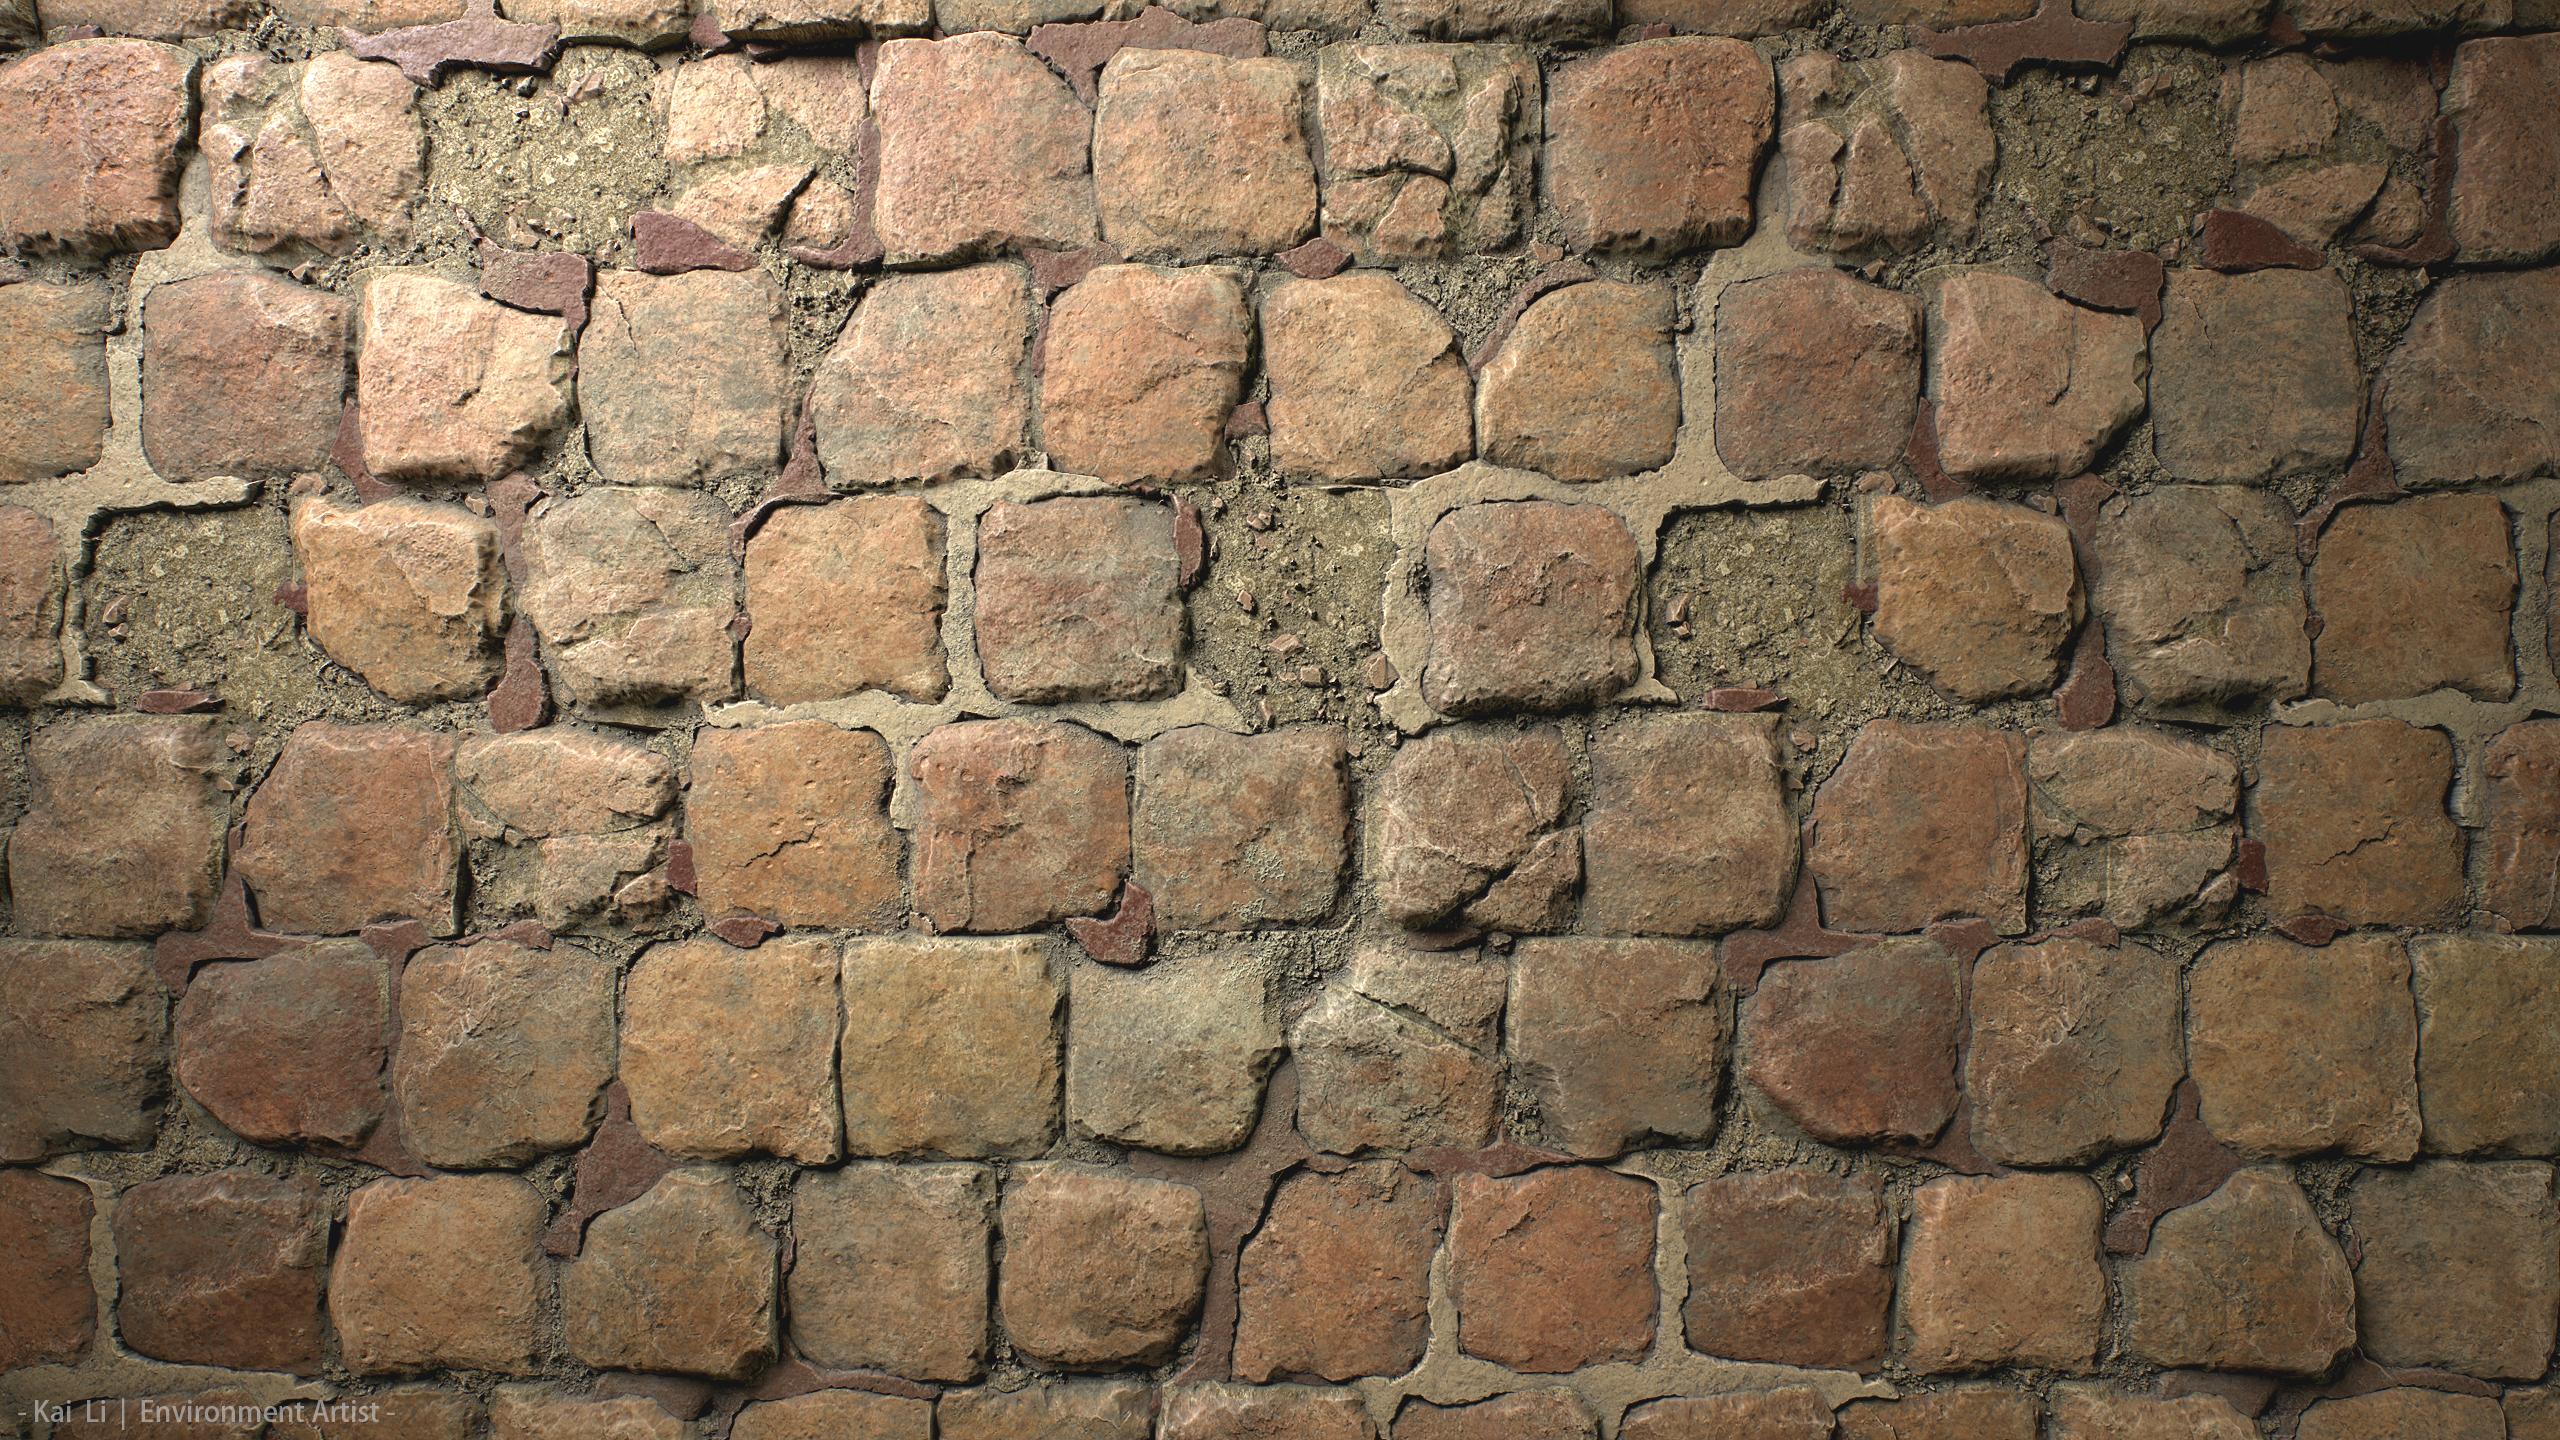
First of all, I needed to find a cool rock. I decided to surf on Pinterest in my spare time and tried to find the rock I was looking for.
I wanted a photo where the rock was located in a natural environment. I used my childhood as inspiration; as someone from the UK, I remembered I used to go to Dartmoor as a kid, and I really loved it!
That narrowed my research, and finally I found the perfect rock! By choosing a realistic photo, it challenged me to be able to go from something very detailed to something more simplified and with a League of Legends vibe.

For the stylized reference, I gathered a load of references from artists that I really aspire to and also from the game League of Legends.
I did a lot of analysis of their artworks, studied their grayscales, tried to understand shape and form, etc. For me this point is really important, and I learnt a lot from it.
I encourage all artists that are learning to hand-paint to try this out.

Modelling
To be honest this wasn’t very important for me, considering my main objective was to study the painting.
I did a quick 2.5D model with little geometry and focused on just getting the main shapes that I needed for the hand-painting. Same for the UVs; it was quite irrelevant. I did a quick unwrap, and that did the job!

Hand-Painting
Now the fun part: painting! Before I started to paint, I tried to narrow down what I could see to really get the shapes right. I did a quick sketch in Photoshop of what shapes I wanted to keep. There were a lot of trials and errors on the sketch, but this was essential to get the right shapes.
Then I started to paint. First, the objective was to block out the forms and main cracks of the rock. I like to use a hard brush for this because it really allows you to see better contrast and clarity. The focus here was to paint the main visuals; this was not the time to get into details. I tend to work far from my pen tablet and unzoom a bit the model; this prevents me from going into tunnel vision mode.
Before any use of colors, I studied my reference by looking at the colors they used and understanding how our eye perceives color, which can be different from the reality. I like to play around with my saturation levels and hues that can bring a lot of color variation.
Once I had a good base, I started to add some details progressively. The difficulty was to not make the rock noisy but still respect the reference. When I was satisfied with the rock, I moved onto the grass and moss.
Again, I went from big details to small. The goal was to make a moss/grass in the style of League of Legends. Once more I studied my references and tried to understand the creative procedure. For the ground I went for a shape that blended with the shapes of the rock. I wanted the ground to guide the viewer’s eye to the focus point.
Something to always consider in painting is that you want detail combined with rest areas. I used this strategy to give a focus point in my rock: the middle part. I used the back and left side of the rock for rest areas.
Another tip is that I always use a layer to make my model in grayscale, which allows me to double check my values and see if everything is working together.

Polish
Once I was happy with the painting overall, I moved onto the final details. For the highlights, I pinpointed them on my focus point and created slight value variations to make them interesting.
You want to avoid having the same values in your highlights; it can make your model boring and flat.
It’s the same principle when it comes to cracks: more contrast will attract the eye, so I reinforced them around the focus point.
Rendering
I like to use Marmoset for the rendering; it’s quick and the unlit material provides a pretty good aspect for hand-painted assets.
I just brought my asset in, applied my base color, adjusted the camera and that was it!
I then brought it into Photoshop for the presentation and did some final tweaks. Be careful: this should be extremely subtle.
You don’t want to over-render it. You want it to stay true to your model in 3D Coat, but just with that extra pop.

Thumbnail
The thumbnail is really important! It is what makes people click on your artwork so take the time to do a great one. I spent a day on figuring out how I wanted to present it, find the right title, font, etc.
I wanted a simple thumbnail with a schoolish title in reference to the term “material study”.
For the camera shot, I chose a relatively big zoom on the focus point of my rock. I find it’s best not to show everything; you want people to stay curious, providing more engagement on your artwork.

General Tips & Tricks
- Take time to study your references; don’t just copy or look at it, you need to try and understand the creative procedure
- Ask for feedback on social media and art communities; I would highly recommend the “Handpainter’s Guild” and “ZugZug studio” Discords
- Understand art fundamentals (shape, color, light…)
- Quick 2D sketches can really help
- Go from big to small detail
- Double check your values
- Create a focal point
- Take time to create a nice presentation and thumbnail
Conclusion
I had great fun creating this little rock and learnt a lot from it. Sometimes something simple is where you learn the most.
I feel like I have leveled up my art fundamentals and I understand more their importance when it comes to hand-painting.
I hope this is a start to some new material studies, so stay tuned! Big thanks to Game Artist for inviting me to write this article and thanks to everyone who helped me out on this project.
Read more articles
You might also like these articles.