
Introduction
Hi, my name is Vitor Moura. I am a Senior 3d Artist working in the game industry since 2007 and a Principal 3d Artist at Aquiris Game Studio in southern Brazil.
Goals and references
The Norse Mug project started when I was on Pinterest and saw a big wooden mug that caught my attention and I thought it would be a nice game prop to make.
At that time, I had finished God Of War (2018), and I was following the beautiful artworks from Assassins Creed Valhalla, so I started researching what kind of visual I would like to achieve.
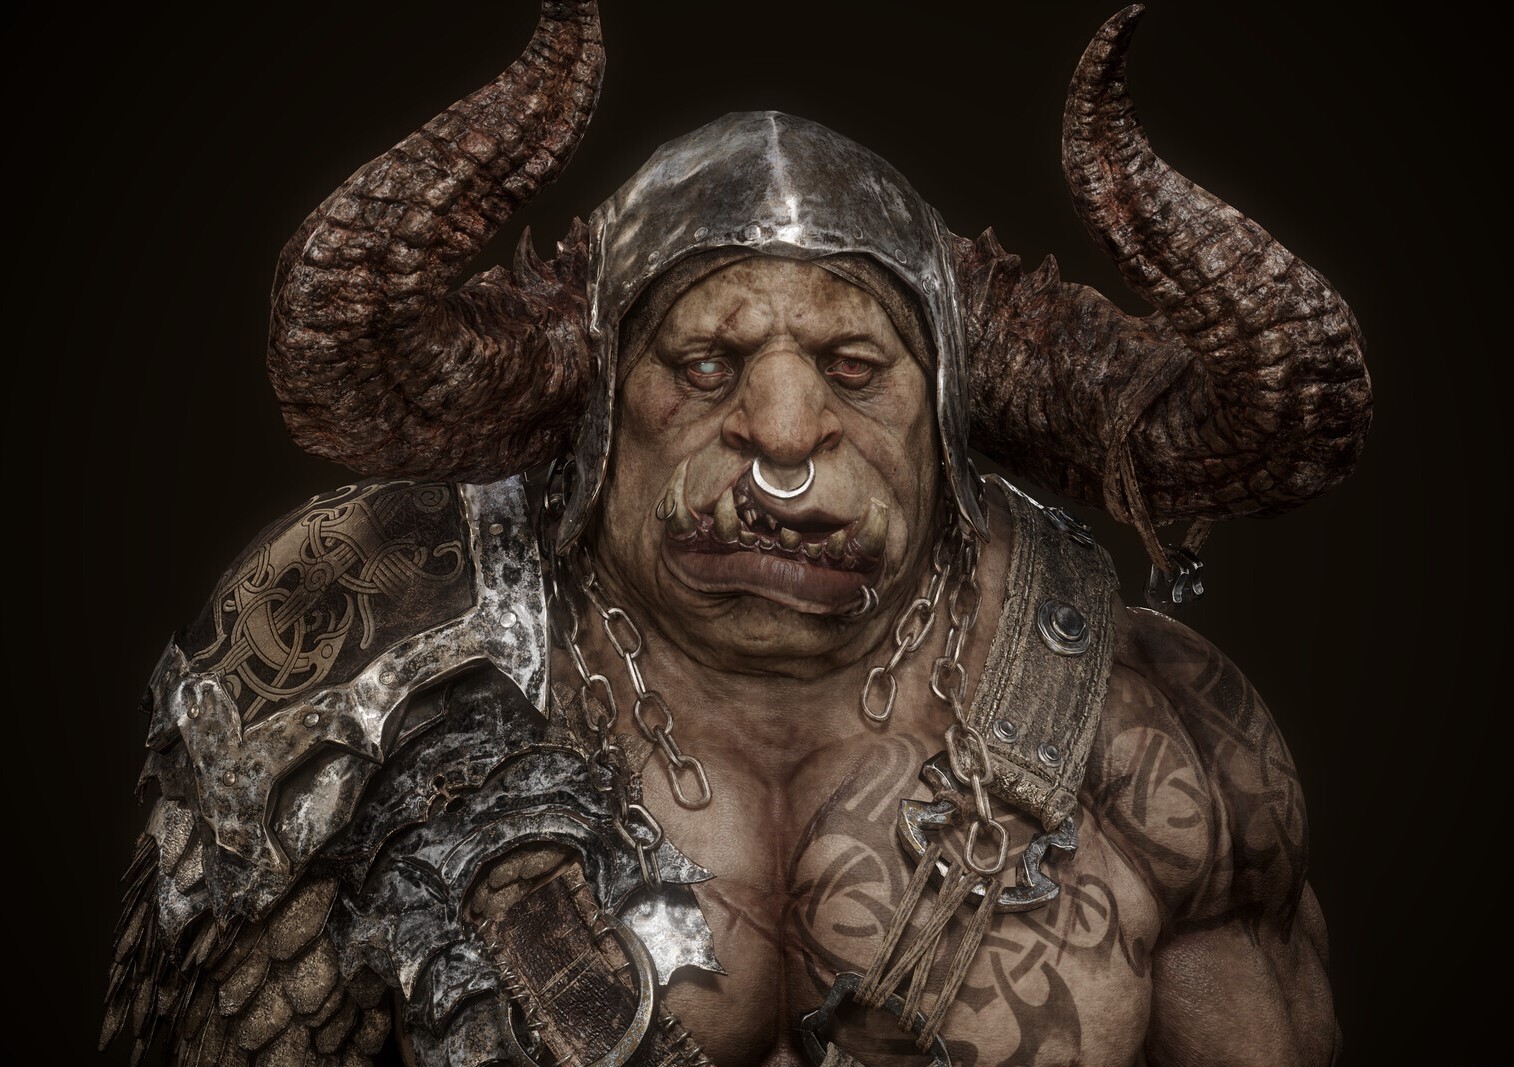
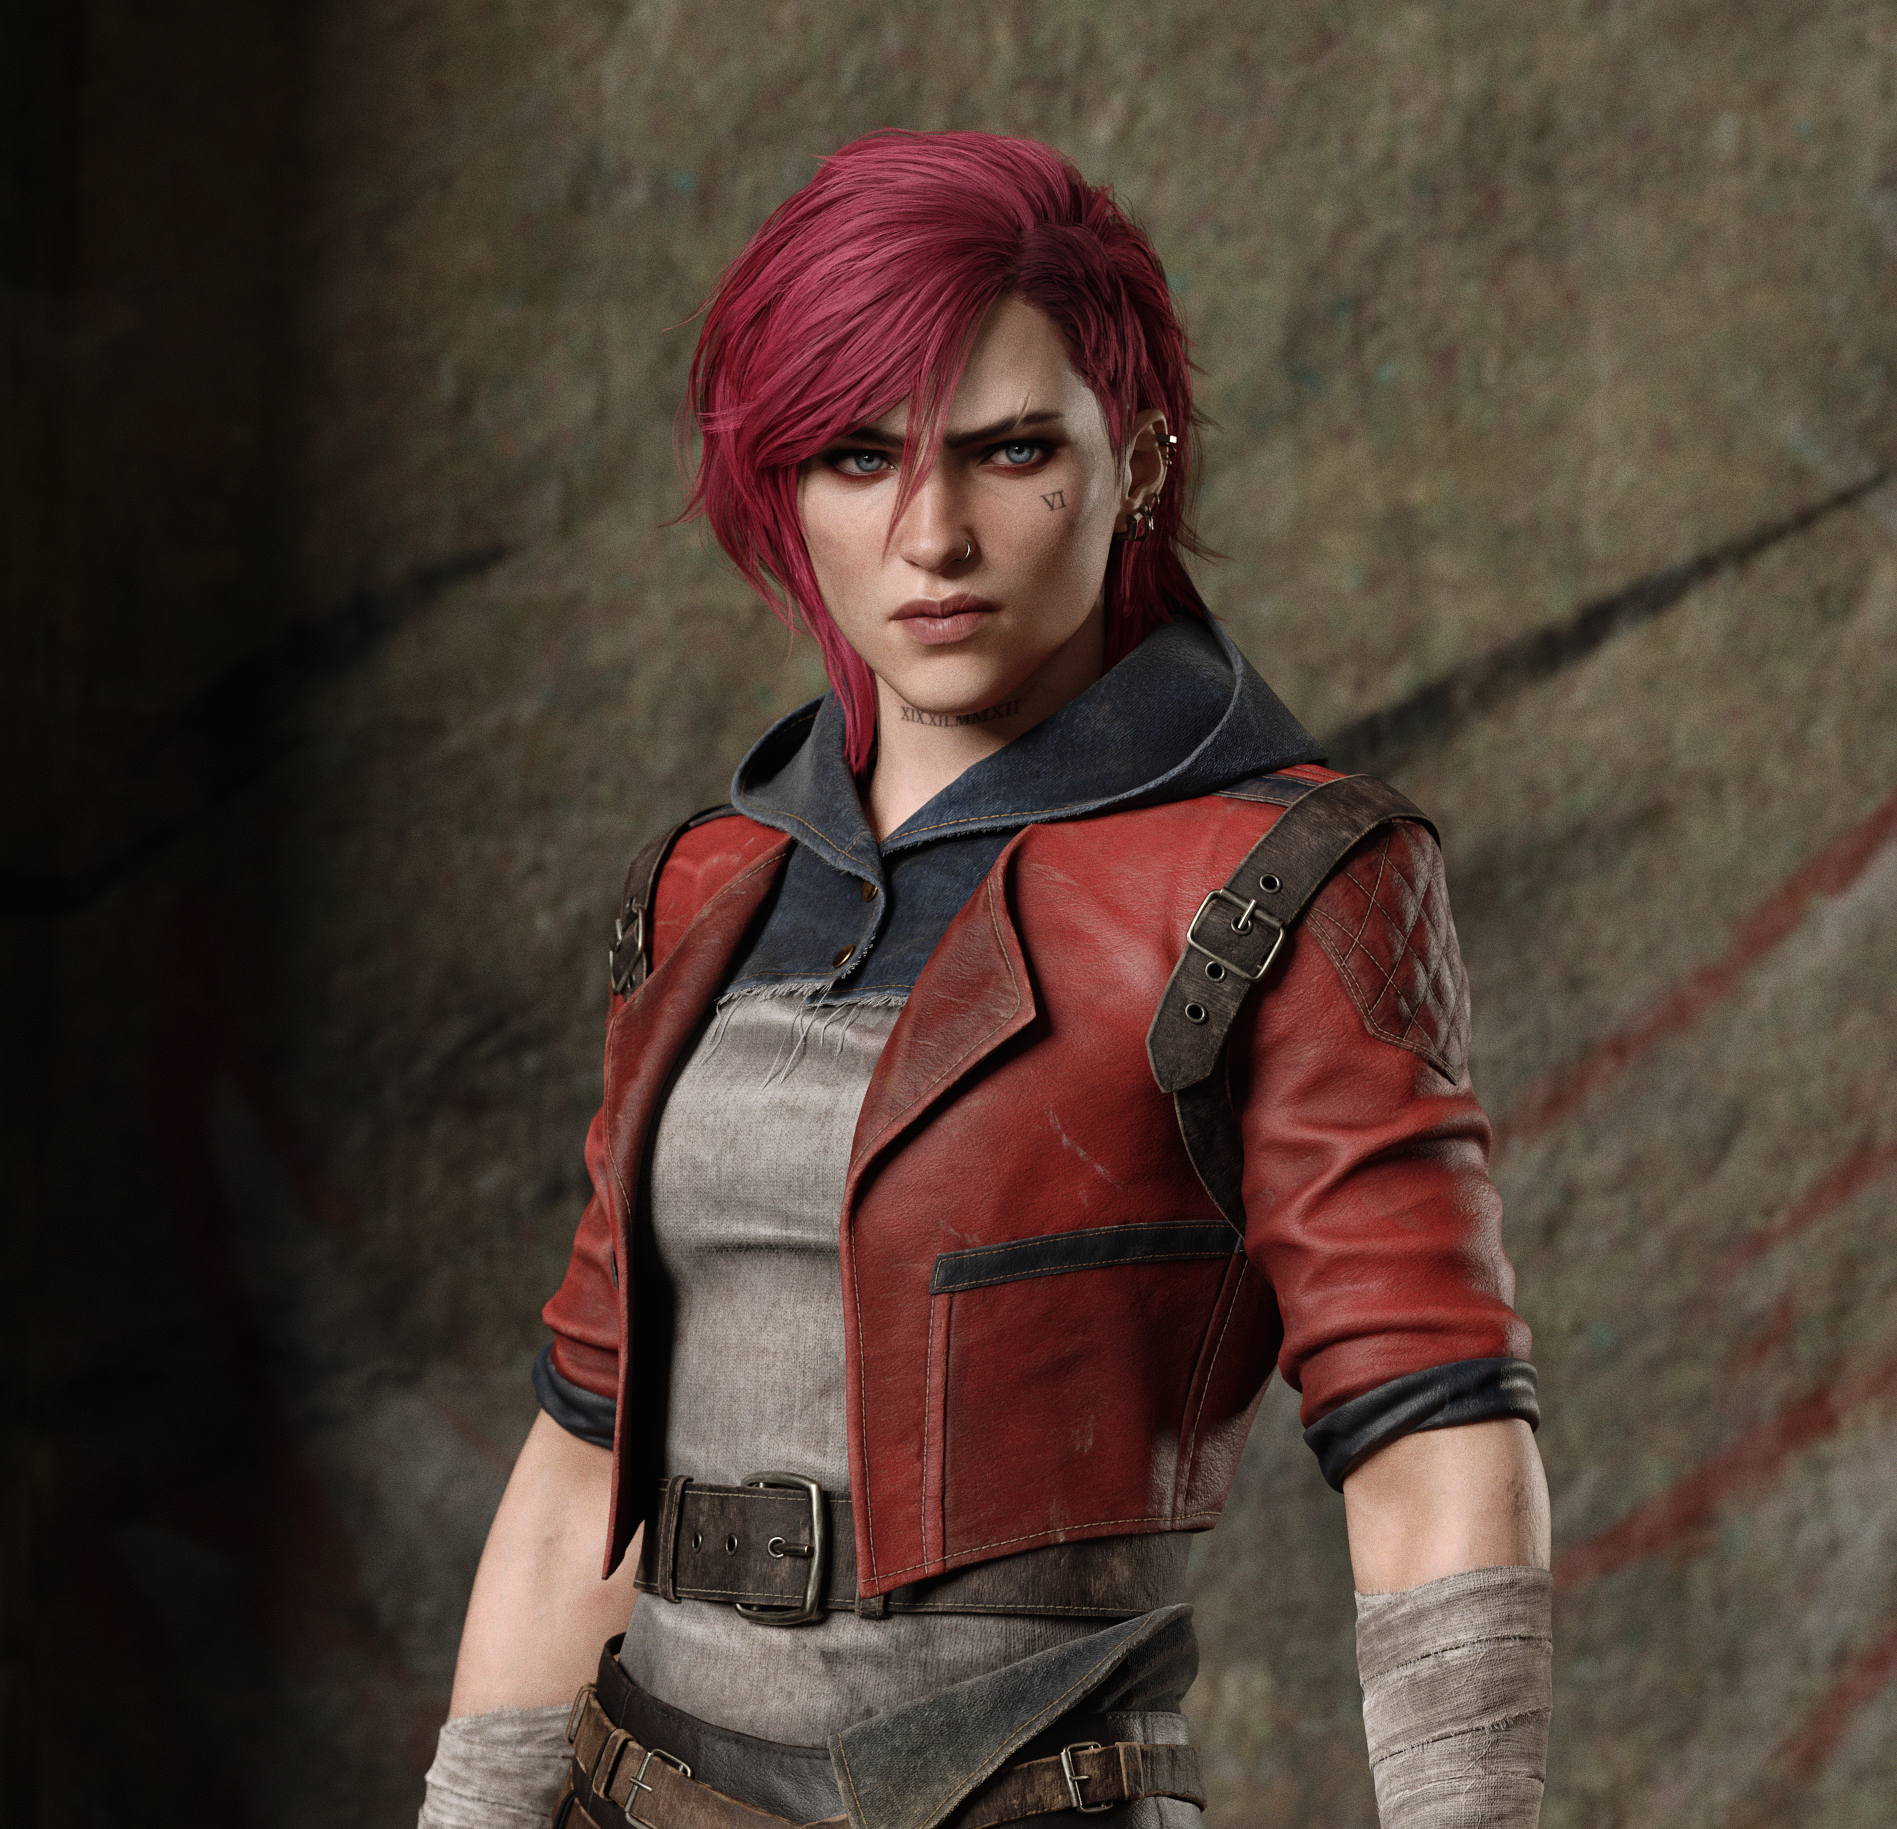
I’m keen on fantasy art and I am a longtime fan of Blizzard games and art styles, as well as a huge fan of Darksiders and Dishonored series visual style, so I picked some references to use as a visual target.
Reference board

Software
When I started the project, I was at my parents’ house spending a week on holiday. I was using an old laptop that I usually travel with, which I had Linux installed because I had always been curious about. Thus, all this project was done on this old laptop from start to finish.

I started collecting references thinking about the project when something else came to my mind, “Why not doing this project using Linux and only open source and free software?”
With that in mind, I started researching what options I had and sorted them out.
PureRef was used to assemble the references
Blender for sculpture, retopology, UVs, and texture paint
Krita to edit the baked and painted textures
Material Maker to make the foam texture procedurally
Godot game engine to render and for the final game-ready prop
I have already been a Blender user for some years, but the other software was completely new to me, and I had to learn how to use them. It was a bit frustrating as expected as I was leaving my comfort zone.
Most software I used is on Steam and I just had to install Material Maker and PureRef from their respective website.
Blocking and Sculpting
I started with a base mesh to find the main shape using the photo references, making separated subdivided pieces already thinking about the sculpting process.

With the base mesh done, I started sculpting.

Here are some images of the subdivided meshes followed by the sculpture version:


With all pieces together, I started detailing the wood parts trying to mix the reference details and to find a good balance between them.

I did not use any custom brushes or alpha textures for sculpting because I just wanted to keep sculpting for as long as I could once I find it such a relaxing process, and I was not in a hurry.
I carried out this project in my free time working for around two hours a week for a few months.
Brushes

Low Poly and Retopology
For the Low Poly, I used the parts I already had from the subdivided base mesh version and started working on the topology.
After that, I separated the mesh according to the sculpted pieces to explode and then to make the bake.


The foam was made using Meta Balls, which were turned into the mesh, and then I made a topology polish.

UV Mapping
The unwrapping process was very straightforward. First, I unwrapped every piece and then distributed the islands manually.

The foam used a cylindrical projection for the vertical and a planar projection for the horizontal parts. By doing so, the texture scroll effect was easier to be made, where I would like to represent the foam going out of the mug. Unfortunately, I did not find a good tutorial about how triplanar projection works inside Godot, so I decided to go this way.

Baking Textures
To start baking, I first exploded the High and Low Poly meshes. Then, I created a new material for the Low Poly mesh with an Image Texture node connected to it to receive the baked information.

Normal Map was the first texture baked, using 1 cm for Extrusion and Max Ray Distance.

The second texture baked was the Ambient Occlusion from High Poly.

Then I baked another Ambient Occlusion texture using the Low Poly mesh itself to have a contact shadow between the different mug parts. For this specific bake, I used a plane mesh at the bottom of the mug to cast some extra information.

Curvature was the last bake done, and for that, I followed this Jayanam’s tutorial, where he shows how to have a nice contrast between the convex and concave parts of the mesh using the Color Ramp node.

After all bakes done, I combined them using Krita to compose the Ambient Occlusion, Curvature, and the Green Normal Map channel together so that I would achieve a little volume in the final Ambient Occlusion texture.

Texture Painting
I started the painting process by combining the Ambient Occlusion with a new texture for the basic colors. Here I filled the varied materials with colors from the references.

After the Basic Color, I connected the Normal Map texture to the shader and created another Image Texture node to start painting the wood. In order to see the result on the viewport, I mixed the textures via MixRGB node.

Similar to the previous step, I added another Image Texture node connecting to the MixRGB node and started painting the metal parts.

With the colors painted, I made the Metallic texture to be used in the engine.

With the paintings done, I organized the shader nodes. On the left, you can see the reference images I used to paint the metal and wood parts.

Composing the Bakes and Painted textures
I assembled the bakes and painted textures together using Krita to achieve the desired results in the game engine.
I started with the Ambient Occlusion.

Albedo was made by using layer groups separated for each material, metal and wood.

For Roughness, I used only filter layers above Albedo.

Foam
The foam was made using some simple node operations inside Material Maker.
I aimed at making a Normal Map, Roughness, and Opacity textures to play with them inside Godot Visual Shader Graph.

Godot
Godot was a completely new experience for me. To start working on it, I first watched a lot of tutorials from gameDev Outpost youtube channel Godot 3 – Getting Started.
After learning a few things, I started importing the meshes and textures and organizing the working folders by using the FileSystem tab, located on the bottom left side of the engine.
Then I started adding the geometry in the scene by dragging them to the viewport. Following that, I created a new WorldEnvironment object and added a Directional Light in the scene to see the asset properly; otherwise, it would appear as a black silhouette.
The mug uses SpatialMaterial, a basic material with all options already sated up, so I just needed to drag and drop the textures in their specific slots and play with the parameters.

The camera was placed in a way that the Mug looked like my main reference. Then I started adding more lights to the scene and changing the WorldEnvironment parameters to have a better render.

Adding a few more lights made the render look better, especially tweaking the WorldEvironment options to look more like the references.

Achieving the results I wanted, it was time to work on the foam.
I would like to have the foam with some animation, with it moving down from the top of the mug to simulate a good taste beer visual.
I did not find great references, but even so, I gave it a try.

Thinking about how the foam animation could work for a favorable effect, I duplicated the top part to use another material with a different flow.

After duplicating the top part, I aligned both meshes with a little space between them not to have z-fight; the only part touching each other was the border loop. To avoid any normal issues, I aligned every vertex normal from the borders according to the vertex normal from the bottom.

After this little trick, I reimported the Foam mesh inside Godot and started working on the shader, this time with the Visual Shader Graph.
The first thing I did was create a new Visual Shader Graph and a new Material, then I connected the Visual Shader Graph on the Material slot.
I started adding some Uniform nodes that allowed me to drag textures or change values directly into the Material slots and not to change them in the Shader itself every time.
So, I plugged some TextureUniform nodes to Alpha, Roughness, and Normal Map slots into the Material, followed by a Color and Metallic Uniform.

This was the first result with the textures dragged into their specific slots.

Then, I worked on the foam contact with the mug, adding an Opacity Mask.

The result was a little transparency in the contact between them.

After that, I started to add a few more nodes for the UV scroll animation.

Next, I added a Fresnel node to help define the foam silhouette.


And finally, I added another kind of Fresnel effect, this time in the emission following this tutorial from Christoffer Sundbom Godot engine Visual Shader Fresnel Effect.

Visual Shader Graph

End Result

The final render was achieved with a lot of back and forward between Krita and Godot in this specific light setup that I was aiming at.
Conclusion
An interesting thing about this project from my point of view was that no matter the software we make art, and it is a good thing to stay out of our comfort zone occasionally and learn new things whenever possible.
As all of it was done by open source and free software, I’m sharing all source files. Feel free to check it out if you want to, by clicking on the link below:
https://www.artstation.com/a/6222100
Just remember that this is intended for educational purposes only, not to be used commercially.
Cheers c[~]
Thanks to Vitor for allowing us to have such an in-depth look at his process. If you liked this prop breakdown and want to see more like it from other inspiring artist’s make sure to follow us on :
https://www.artstation.com/gamesartist


