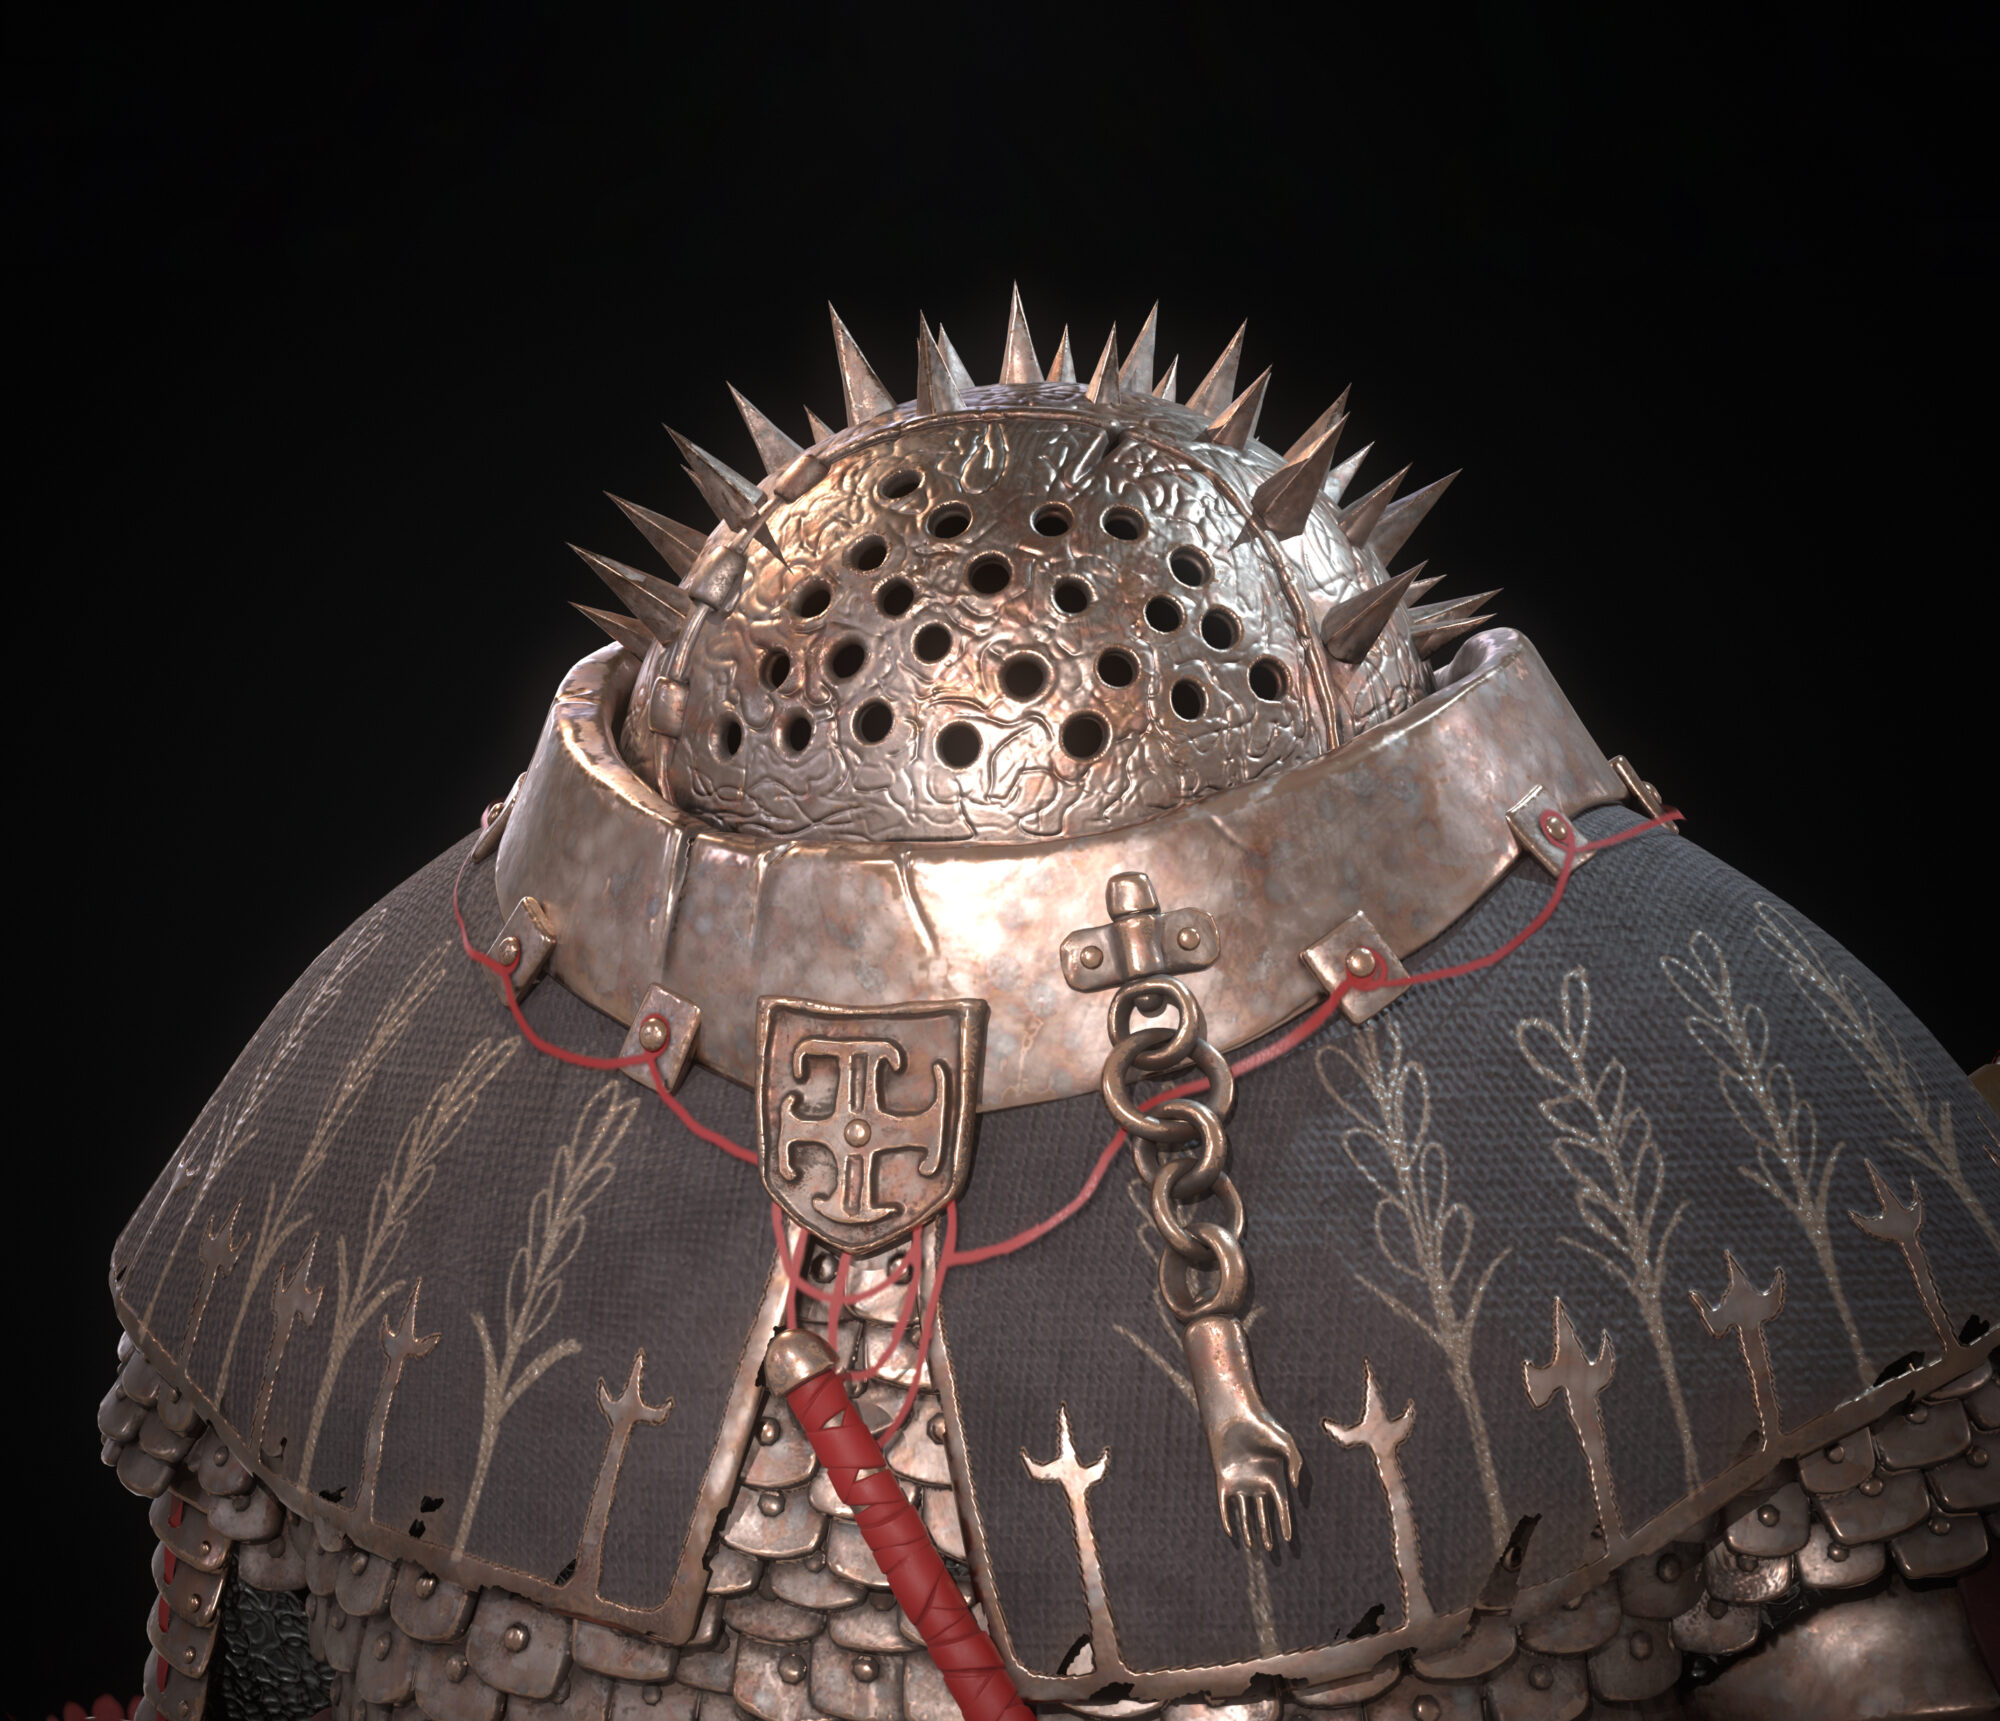
Korea in the 1980s


Introduction
Hello, my name is WoonJu and I am studying 3D backgrounds.
I majored in Western-style painting with a focus on landscape painting but became interested in 3D and decided to create this project.


Project
The sentiment during my parents’ generation in the 1980s, when they were in their teens and twenties, was warm. When they looked at faded photos, they felt nostalgic and spent time listening to the DJ’s radio broadcasts from that time. They often told me that they would record their favorite songs on the radio and listen to them later.
I wanted to give a gift to my parents who still remember that era and create a vivid experience as if traveling back in time to that era. While watching a Korean drama called “Reply 1988” that was set in that time period, I felt that it would be interesting to create 3D backgrounds of the setting from that time.
I made a project called “1980s Korea,” encompassing the 1980s, the era of my parents’ teens and twenties.
References/Inspirations
I started with an apartment from the 1980s and created a large internal structure based on the blueprint of the Eunma Apartment, which has been around since 1979.
Since there was not enough information available on the internet, I went to the Seoul Museum of History to collect real-life materials.
Movies and dramas are good mediums. You can easily find items that were present during that era. If you have a place you want to find, don’t hesitate to approach it.


Project & Goals
This work is my first project. However, I had the desire to handle various tools, so I wanted to approach creating any object in a diverse way.
My mentor, Sangwook Lee, helped me fulfill my ambition.
By the end of the project, I wanted to be able to create anything without fear and become someone who can complete modeling and texturing.
Planning
I completed my project in a total of 1 year and 5 months.
I aimed to complete it within a year, but in the beginning, I took a long time trying to express each object well. However, as time passed, I became faster and was able to capture the characteristics of each object.
With detailed schedule management, I was able to create props accurately and quickly.
I think of daily tasks as puzzle pieces. I felt a sense of accomplishment as I completed my daily tasks, and when it was finished, it felt like the puzzle pieces had come together to create a single work.
Software
- 3DS Max (Modeling: High/Low poly)
- Zbrush (Sculpting large cracks)
- Substance Painter (baking)
- Substance Designer (Tiling texture)
- Substance Sampler (Texture)
- Marvelous Designer (Cloth)
- RizomUV VRS 2022.0 (UV Mapping)
- Photoshop (modifying Textures, creating (Alphas and decals)
- Unreal Engine 5 (Rendering and lighting)
- PureRef (References)
- RealityCapture (Food)
Space Arrangement
I designed my project around three main areas: the kitchen and dining room, the living room, and the student room.

I created large props first to get a sense of the overall feeling. In the beginning, I set up the lighting and saw the first render, and then I added objects to the structure based on the large props, thinking about where to fill and move things around.


Modelling
There was a total of 92 props in the kitchen, 89 in the living room, and 36 in the student room (including 120 books and 60 LP records).
On the first day, I created high and low models, and on the second day, I worked on UVs and baking. On the third day, I completed texturing and continued with the rhythm of the work.
I searched for the actual size proportions and started with a framework in 3ds Max. Objects were created in high resolution in 3ds Max, and sculptures or statues were made in Zbrush. For fabric, I used Marvelous Designer to create high-resolution models.
When creating the low-resolution models, I went back to 3ds Max to clean up the mesh and then used RizomUV to organize the UVs. Finally, I brought everything to Substance Painter for baking and texturing.
Although I was able to UV map in 3ds Max to some extent, I was particularly fond of the Auto SeamsㅣFull AUTO UVs Master Seam Tool Selector features in RizomUV.

The overall purpose was a one-step straightening of the Low. Which was a really convenient process!
Then I did a secondary stretch, manually fixing what needed to be cut and what didn’t, to make sure it was even.
Texturing
I love doing texturing the most because I’m familiar with painting with brushes in real life, so even though grunge maps and the Mask Editor in Substance Painter are great tools for texturing, I prefer directly painting with a brush.

Let me introduce the process of texturing a Korean silver tray that I made. By the way, this silver tray is a useful tool for carrying and moving food, typically used for feasts, ancestral rites, or family meals.
First, I apply a Fill layer with the basic base color.
When texturing, I think the base is the most important. I think it’s important to start with the basic features of the object and texture it accordingly. By thinking about the material when it was first created, such as plastic, metal, glass, fabric, or wood, and expressing it with roughness and color, a richer base can be completed.
I used Grunge and noise textures from Substance Painter and spent extra time making masks in Substance Designer and adding them.
Next, I thought about the textures that should stand out. Like how water that holds light becomes more magnificent when waves ripple on calm surfaces, I added large Grunge textures on a calm base.
As this tray is also useful for carrying hot things, I added textures that looked like they had been charred or peeled off.
Then, I added pictures on top of it.
Finally, I added scratches on the tray according to the traces left by dishes and utensils that had been used frequently.


Throughout the process, I changed the viewing channels to add color naturally and emphasized specific areas in Roughness.
Scope
By the way, I downloaded the plants for free from Bridge and used them to decorate. They were useful for decorating the planters.
I wanted to make everything flow together and look realistic.
In the living room, I imagined a storyline in my mind where the kids were playing Go and hurriedly kicked the Go board to sit down for dinner when their mom called them, causing the Go stones to scatter around. Although the mom had to do more dishes because of the dinner, she would feel happy that the family was sitting together to eat.

Lighting
My mentor Sangwook Lee (https://www.artstation.com/kitaj) helped with the Lighting and materials set up.
My mentor is an exceptionally talented background lighting artist who consistently produces work of the highest quality.
I learned a lot from him, including how lighting can capture people’s emotions with just one setup.
The accuracy of Ray Tracing and Path Tracing is different, and there is a big difference in representing glass materials.
- Reflection of glass / Expression of the refractive index of glass
- Color of glass
- Roughness of glass (Path Tracing is the only method that can represent frosted glass by scattering light more)
Therefore, I chose Path Tracing to create a project like the one in the picture.
For this project, I used Path Tracing.
The reason is that Path Tracing is the most photorealistic rendering among the rendering features provided by Unreal Engine 5. Path Tracing can handle reflections, refractions, translucency, and the blur of shadows based on the distance value very well. Although these can also be represented in Ray Tracing, I chose Path Tracing for the material representation of the glass.
Project Settings
Go to Window inside the Project Settings. Change the Default RHI to DirectX 12 in Targeted RHIs.
(However, this setting requires an RTX graphics card to work.)

Next, go to the Rendering section and look at the Lumen settings. If Lumen is available, check the box for Use Hardware Ray Tracing when available, and under the Hardware Ray Tracing section, check the boxes for Support Hardware Ray Tracing and Path Tracing.


Plugins
Then, go to Plugins and check OptiXDenoise. This will help to further clean up the noise in the rendering.

Finally, to apply the plugin, check Denoiser in PostProcessVolume.

It’s not always beneficial to turn on Denoiser. Depending on the situation, you may need to turn it on or off. When you turn on Denoiser, the image becomes smoother and cleaner, while turning it off can give you a noisy, detailed feeling.

If you haven’t set up anything, you won’t know how long it will take to render the scene with Path Tracing Rendering.
By typing the console command “r.pathtracing. Progress Display 1”, you can see the progress with a red bar and 0 will make it difficult to see the progress.

Living Room Lighting
If you look at the color, you can see a slight yellowish tint rather than a deep red.
This time is around 4-5 pm when the sun is about to set. The time when the sun is setting is a time when shadows are long, and you can see light and shadow well. Therefore, the yellow light comes in and gives a sense of stability.

So I set the Direction Light to tilt.
The light needs to come in deeply so that GI (Global Illumination) can reach deep places, and it also widens the area of the light.
The Direction Shadow Source angle represents the degree of shadow blur.


If you come down from the Direction light, you can adjust the area more qualitatively by enabling Ray Traced Shadows under Cast Ray Traced Shadows in the Advanced section and adjusting the Shadow Source Angle Factor in the Ray Tracing section.
If you look closely at the picture, you can see the shadow of a statue that mimics Hodori, the mascot of the 1988 Seoul Olympics.

I focused on the lighting by moving the lighting angle while focusing on the statue on the TV to make people familiar with this era through the statue and the silhouette shadow of Hodori’s statue.
Kitchen Lighting
The primary lighting in the kitchen was focused on the table area, as the outside light did not reach the kitchen area very well.
The kitchen table light has a shadow that spreads out to the sides due to the diffuse reflection from the bulb, which is set at a color temperature of 2700K. Therefore, I used SpotLight and adjusted the angle.

The yellow-marked area in the SpotLight is where I used an IES texture. IES can be used to create the shape of artificial light sources and achieve a more realistic lighting effect in interiors.


I wanted to create shadows on the ceiling, but since the SpotLight only projects downwards, I also installed a Point Light.
By doing so, I was able to cast shadows on the ceiling and the Point Light reflected the surrounding environment, compensating for the lack of GI (Global Illumination) in the spotlight.

Lighting Conclusion
When looking at a screen, you need to consider how to create a sense of depth and how shadows are cast.
Depending on these factors, the mood conveyed, the spatial perception, and the atmosphere can all be different. It can also vary depending on the angle and what spaces are empty or open. The answer to how to evoke a particular mood and atmosphere depends on your own feelings and intuition.
Project Conclusion
Throughout the process of completing this project, I gained many lessons. I learned that to create a realistic feeling, I needed to think about the flow of the layout, the characteristics of objects, and the density of their environment (such as aging and wear). Additionally, I learned the importance of soliciting feedback from others during the project. By hearing others’ perspectives, I was able to look at the project objectively.
There were many times during this journey when I felt inadequate or even cried due to my perceived lack of skill. However, looking back, I realize that those moments were necessary for me to become who I am now. I encourage you to hold on to your perseverance and hard work. The desired results will surely follow.
Although there are many areas in which I need to improve, I hope this post has been helpful to you in some way.
Thank you for taking the time to view and appreciate my artwork.
Finally, I would like to express my gratitude to GamesArtistUK for giving me the opportunity to share my project.
Artstation: https://www.artstation.com/bbpoppebea
E-mail: [email protected]
Read more articles
You might also like these articles.