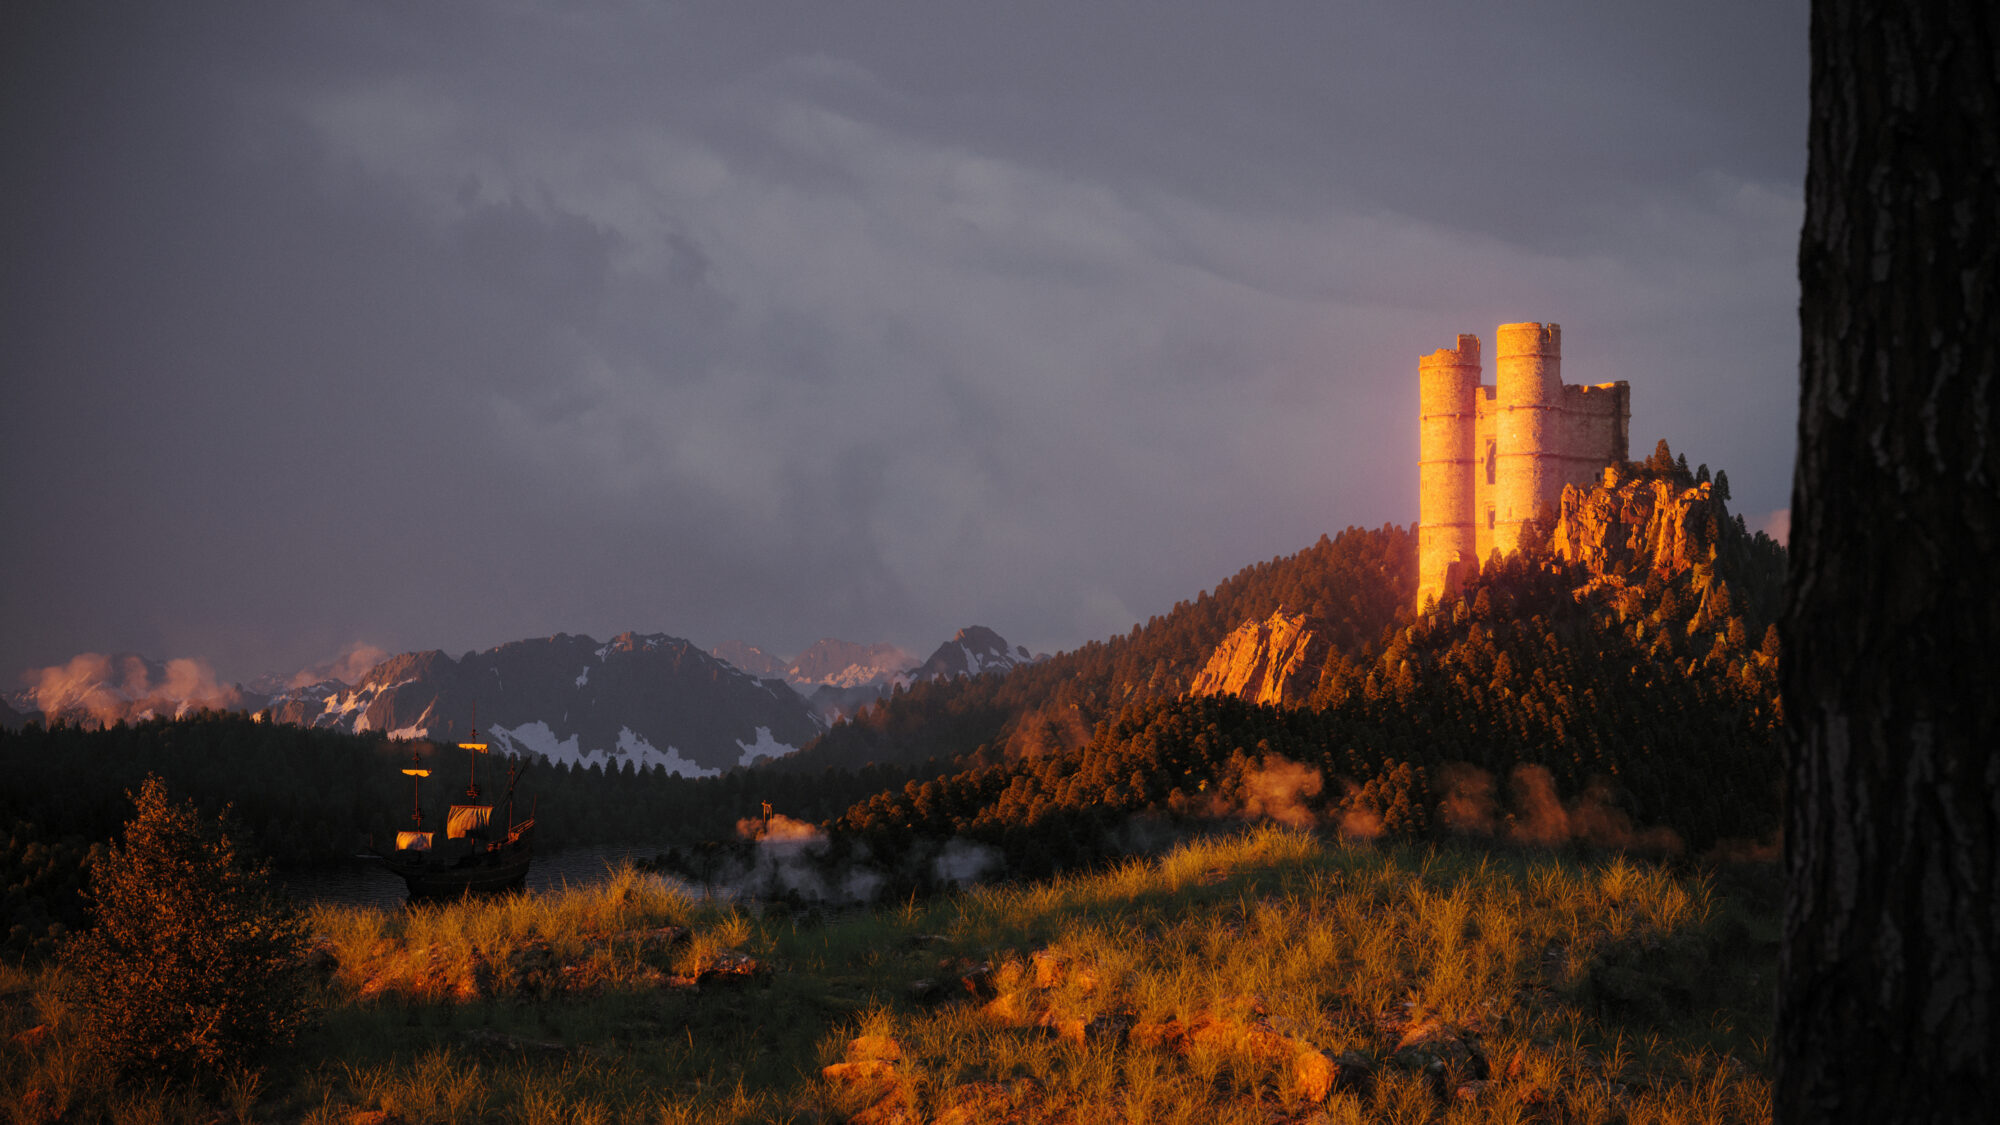
Castle
Introduction
I am a young CGI artist, currently, still majoring in Physics with a year to go.
I started doing CGI as a hobby in 8/2019, since then I have been able to work with some of the finest people I’ve known, mainly in the Arch Viz industry, in Europe, especially Greece and France and in the United States.
Inspiration
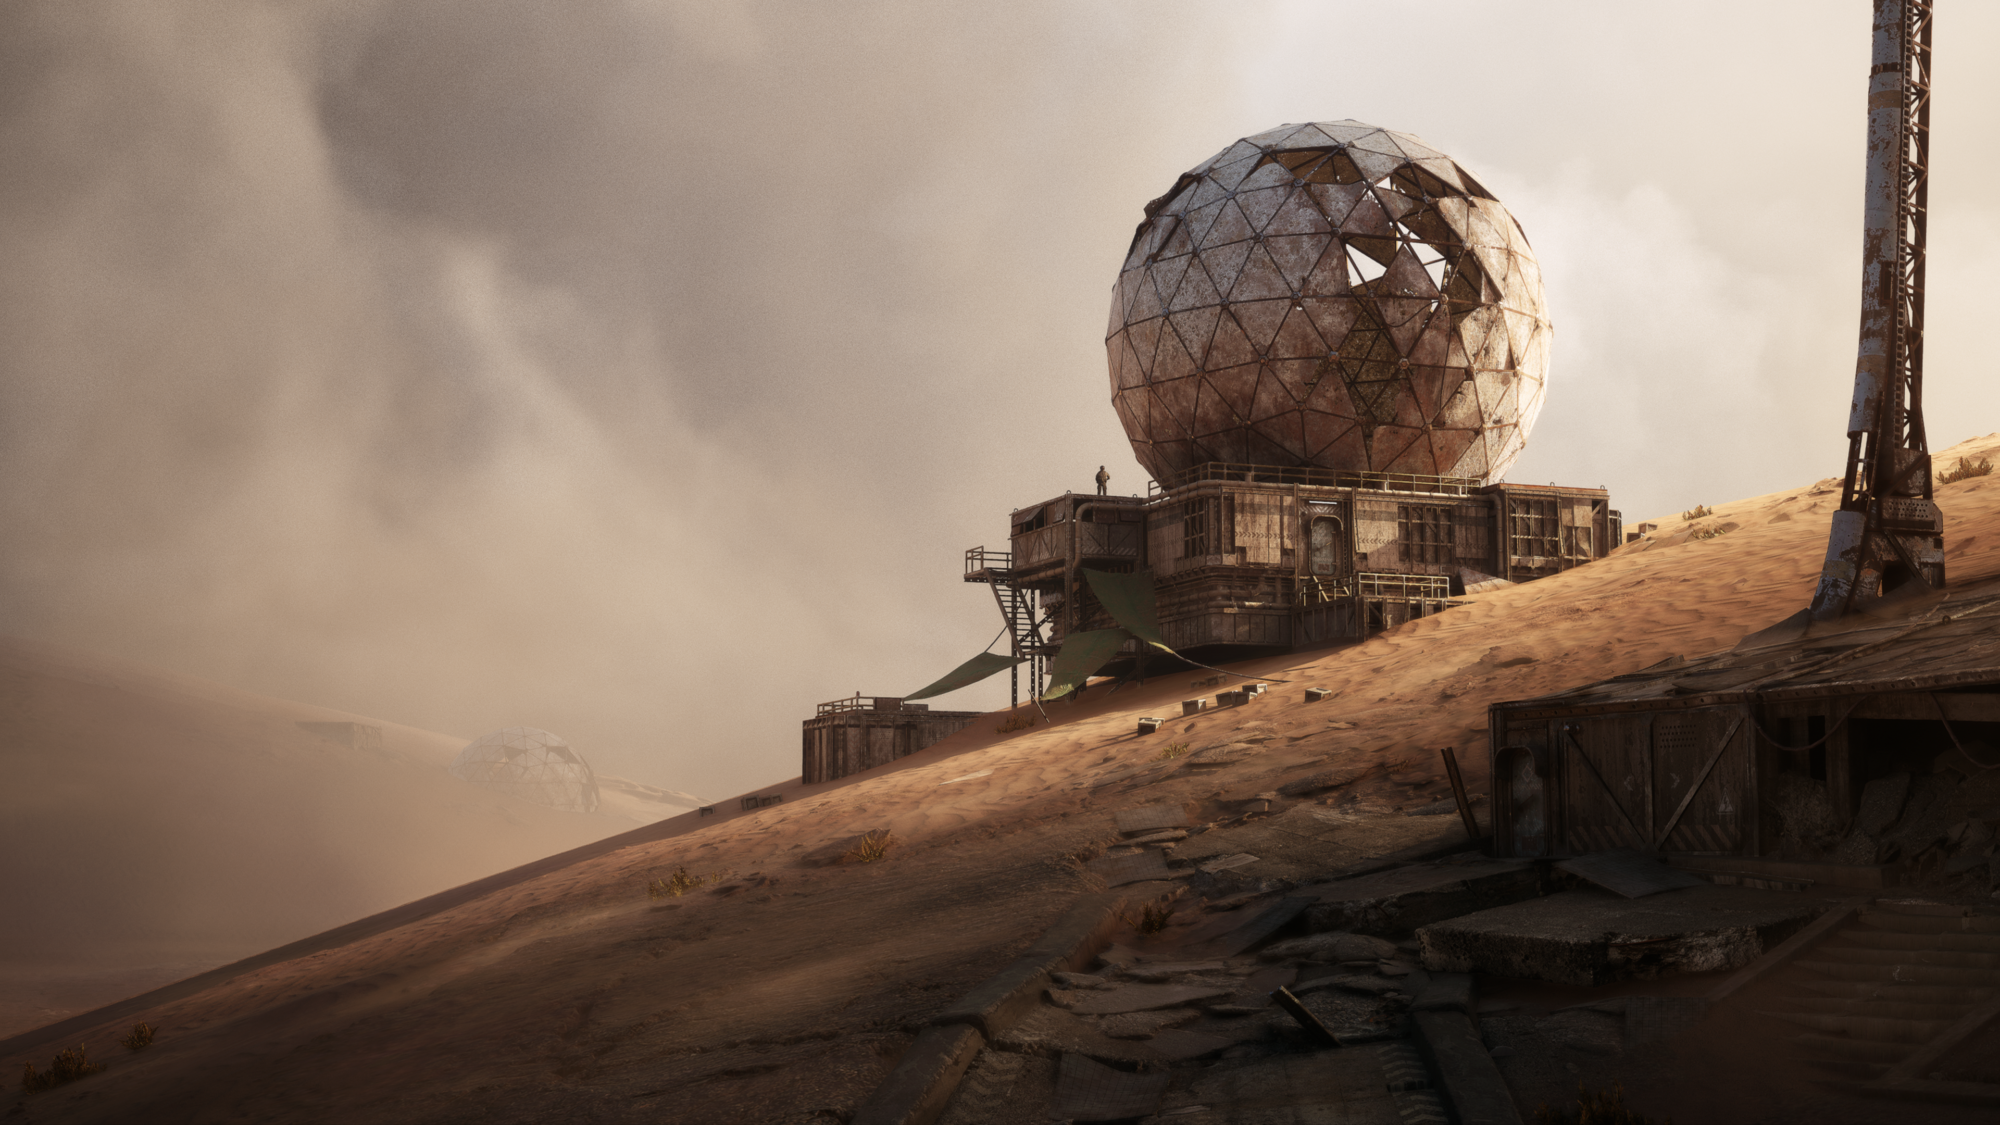
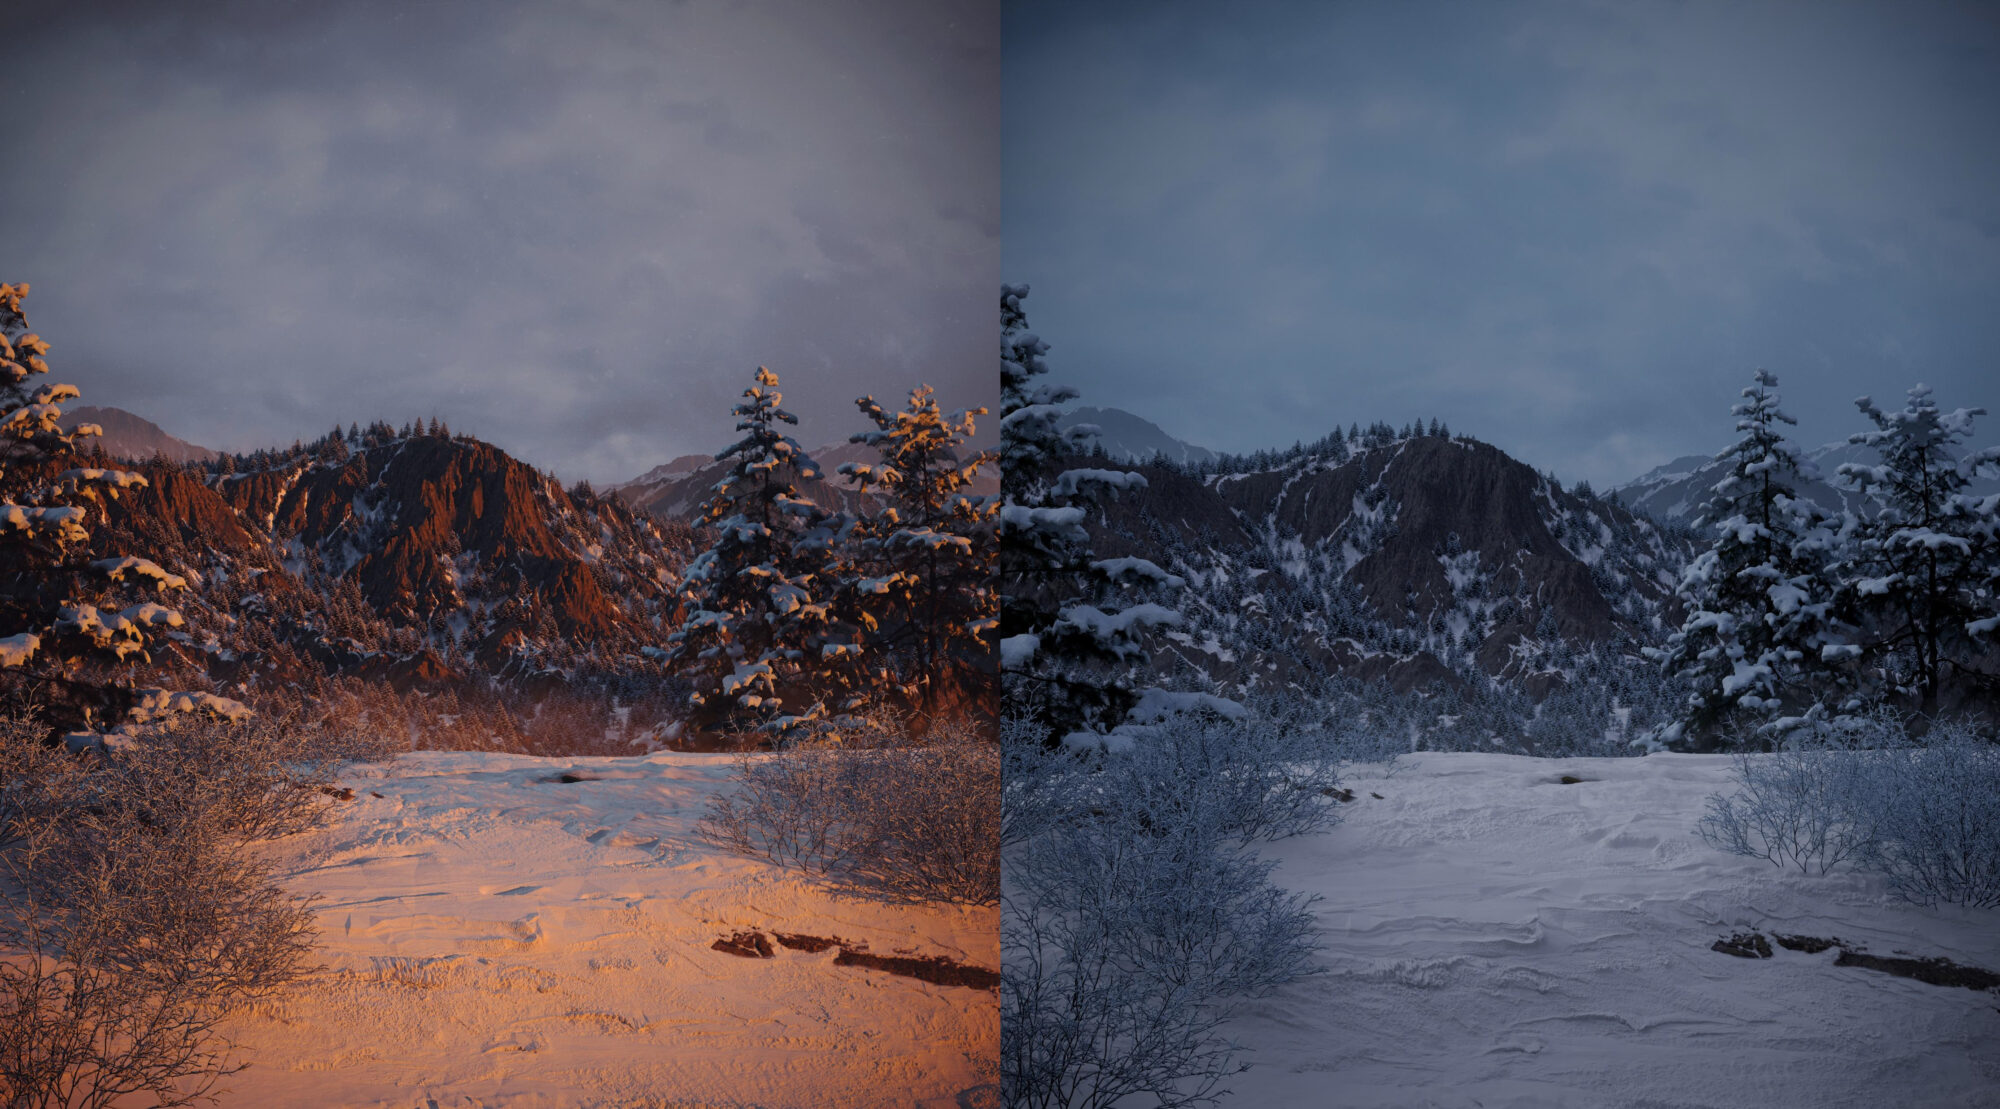
I have always wanted to make a full CGI big scene, mainly a mountain landscape, which I had done multiple times before, with this image below.
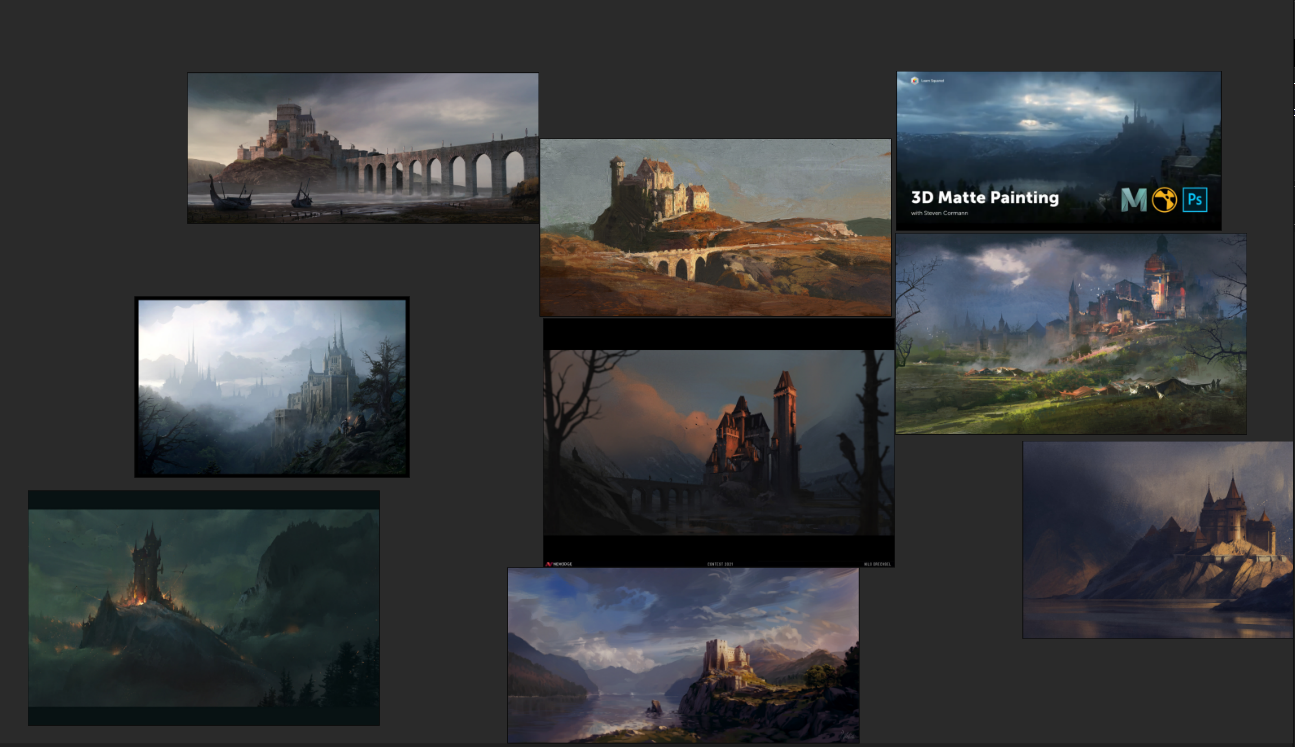
And as such, I started by gathering references, mainly from amazing artists on ArtStation and real-life images from Unsplash and Pinterest. Here is a small image of a set of references I have used for the general mood.
Blocking in the scene
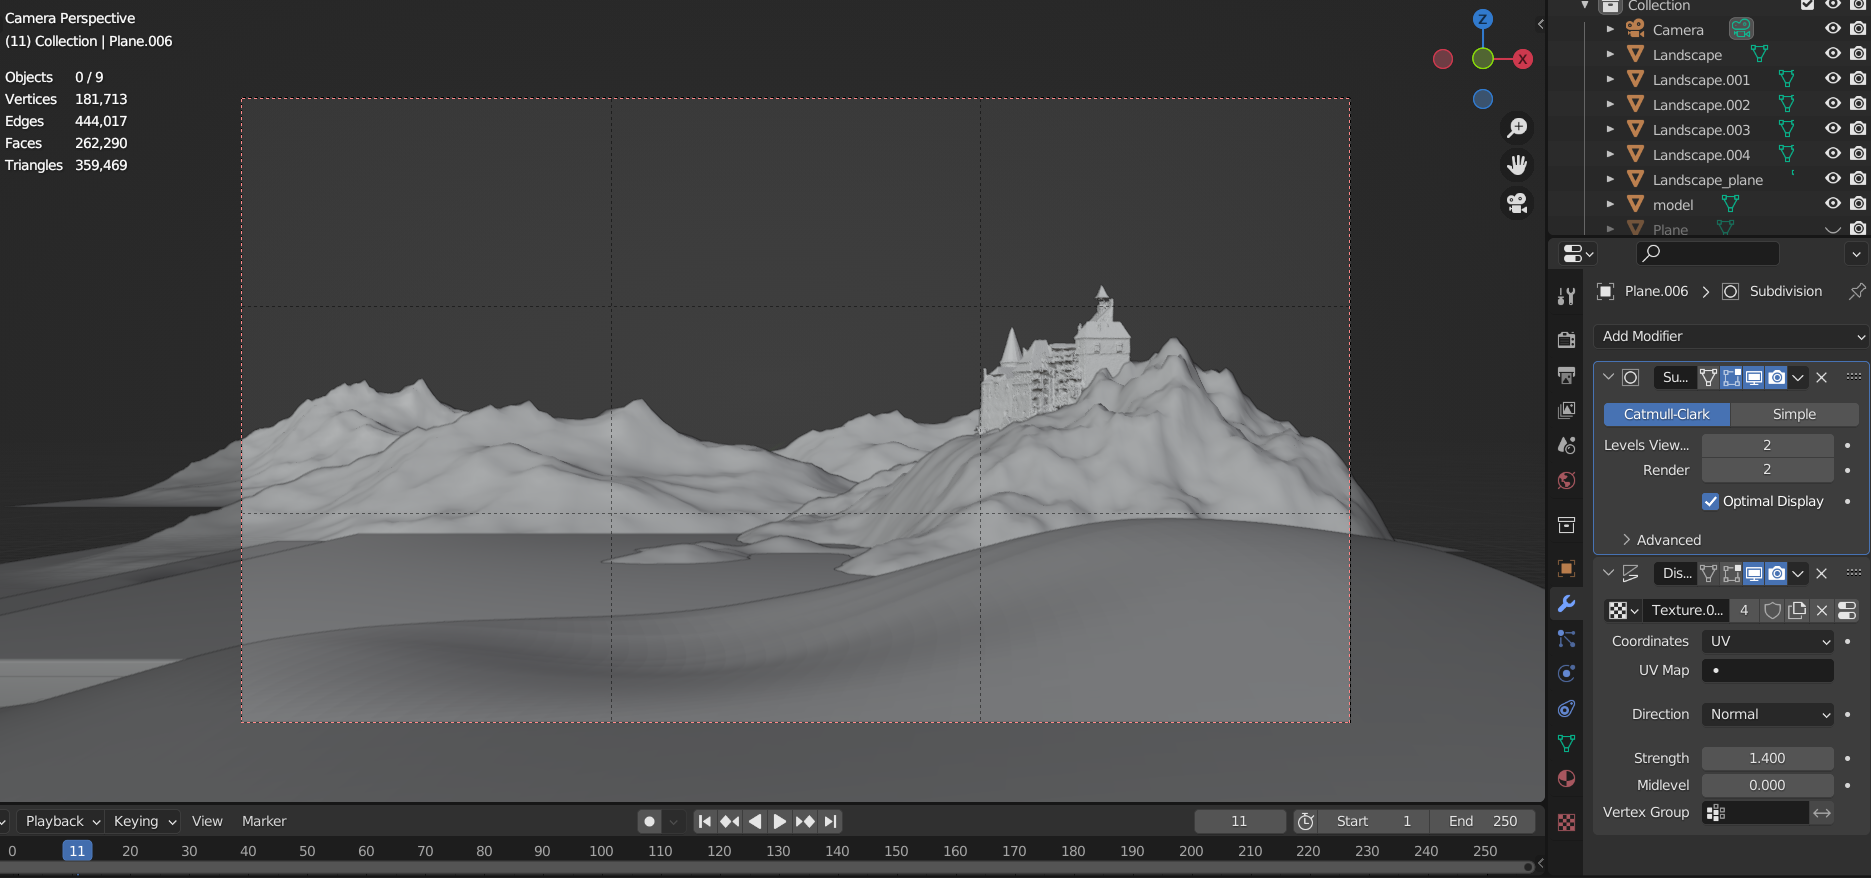
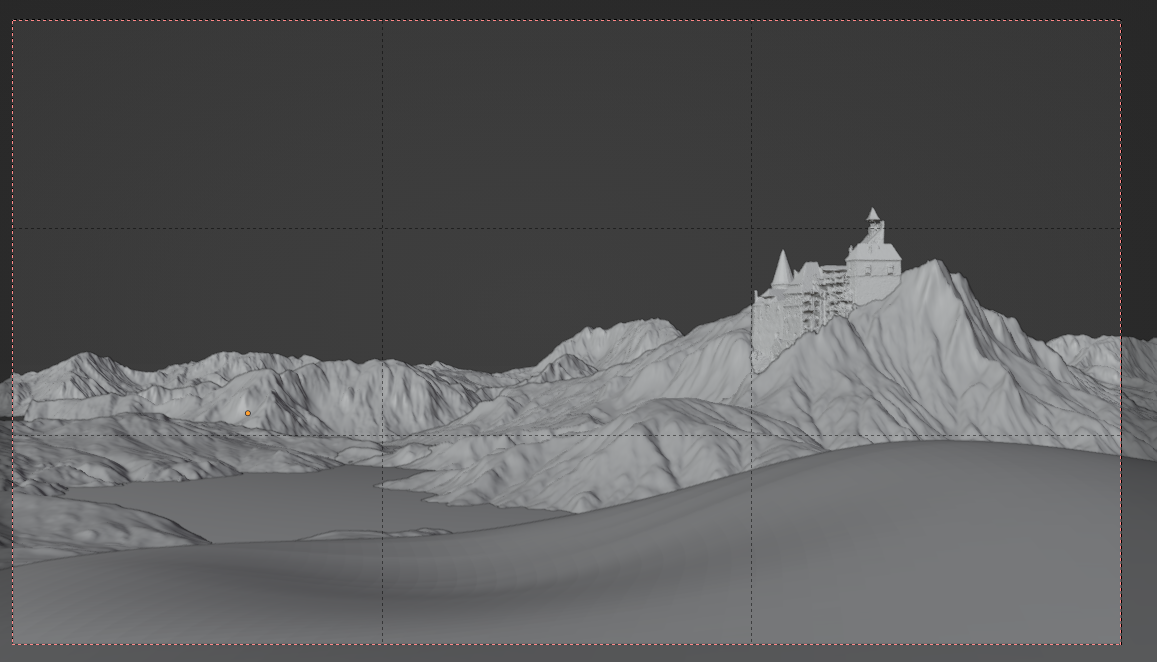
I always do my blocking in Blender, as it’s extremely easy and fast to preview what I am doing and gives me the ability to paint over without leaving the software.
This is the initial block out with simple meshes from the A.N.T landscape addon which comes with Blender natively:
Terrain generating in Gaea
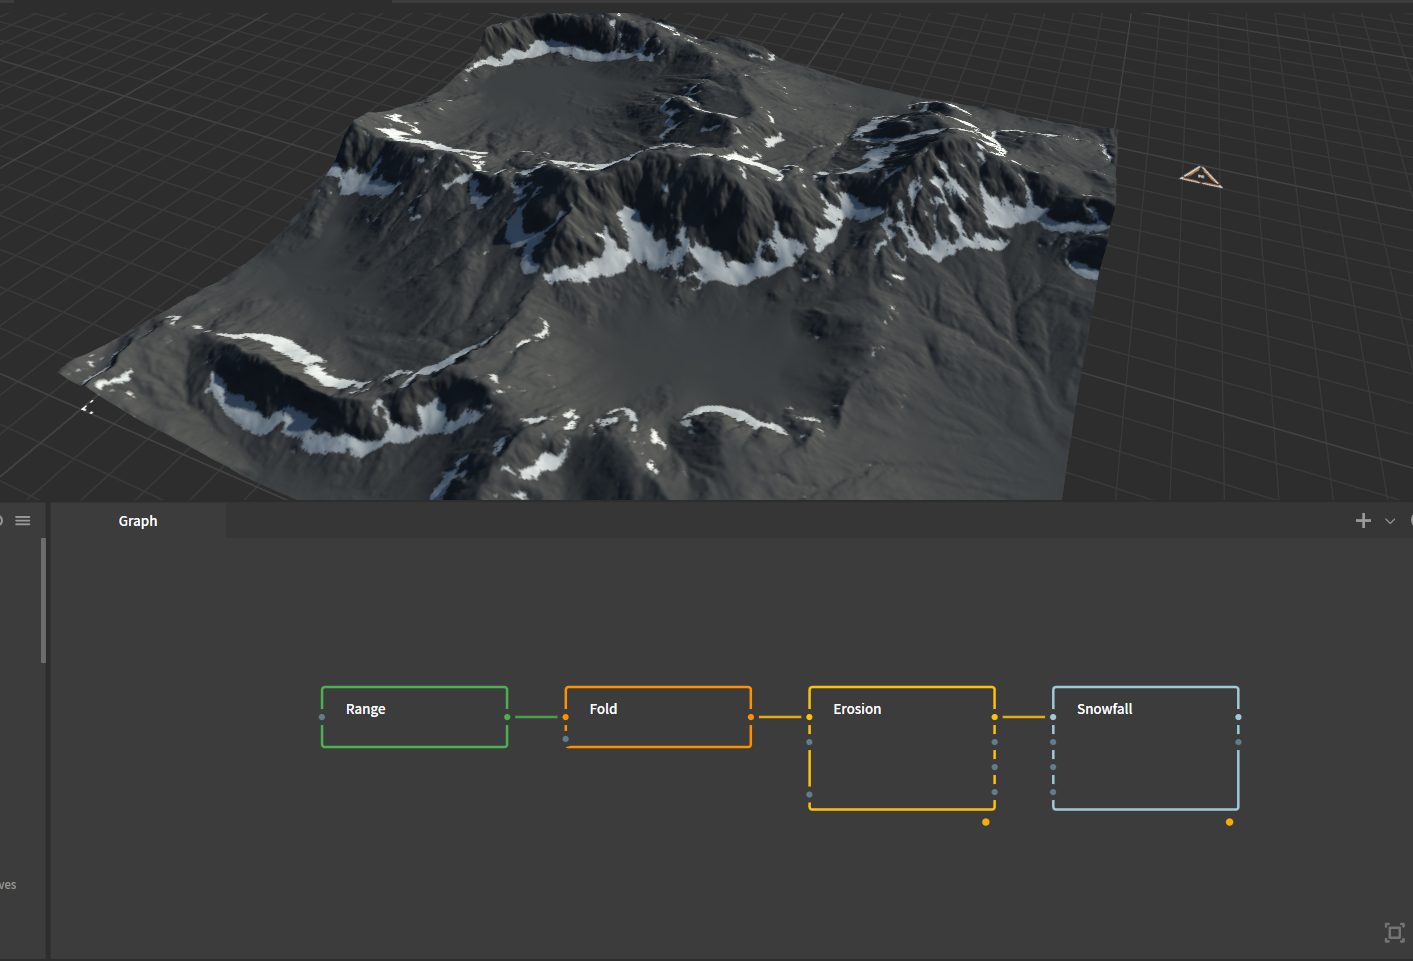
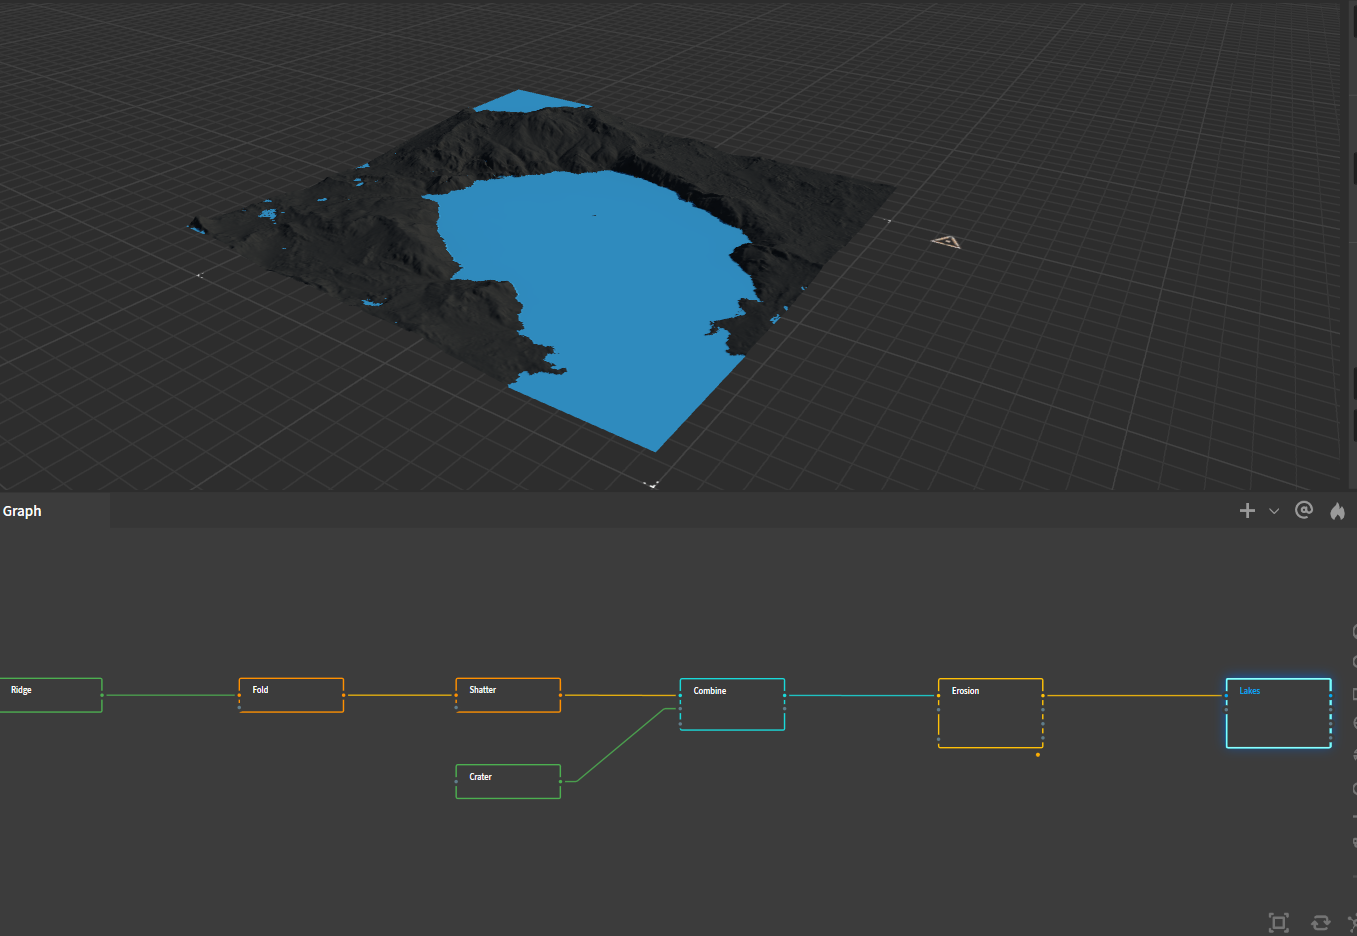
When making landscapes in Gaea, I try to generally keep it very simple, usually less than 12 nodes of geometry, in this case, I’ve had the effect I am going for with 4 nodes.
This keeps it easier to make drastic changes and makes the computing time extremely fast. One tip, play with the seed as much as you want, and if you see something you like, write the seed number down to refer to it later if you don’t find any other seed that you like, don’t go too heavy on the Ctrl+Z command, as it might crash sometimes.
Below is the background mountain node setup.
And here is the Lake setup too, same thing, playing around with the primitives and erosions, it’s a quick and fun process, where you can go crazy with all the options the amazing Gaea team has added to their software.
In this case, I mixed two types of landscapes in order to make the lake, as shown in the image below.
Here is how the scene looks in Blender after the terrain, now its time to choose the lighting setup.
Exporting to 3DS Max and Materials
I typically use FBX, as it’s what’s given me the best result for simple exports, while keeping the scale the same across software and keeping textures, for the most
part, sometimes I like to use alembic as it’s extremely fast and handles tens of millions of polygons.
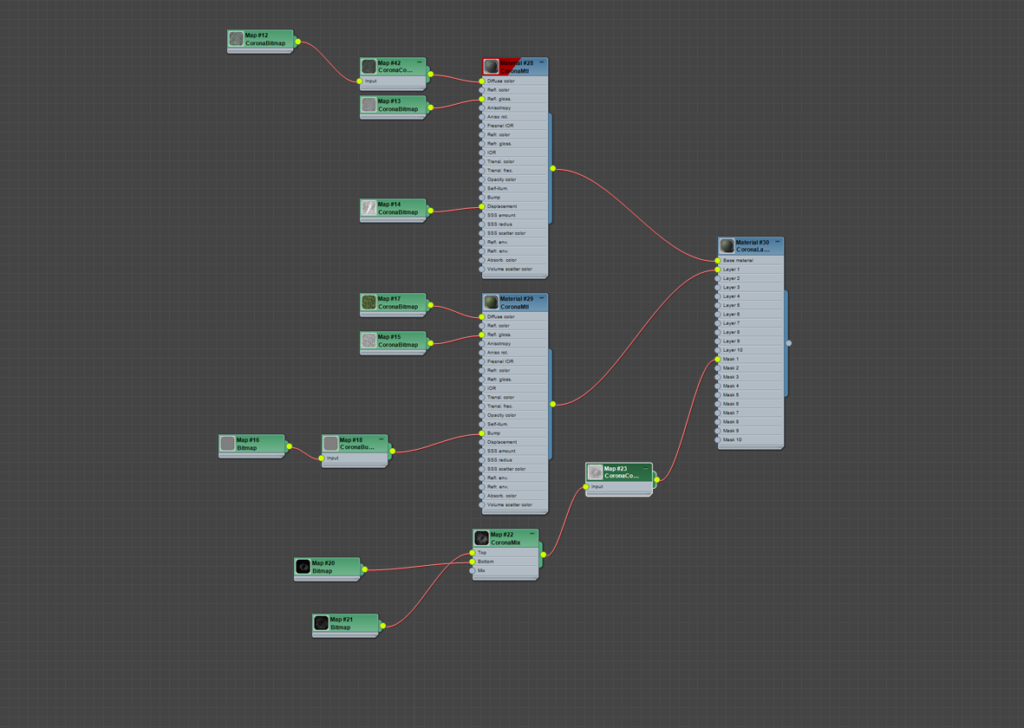
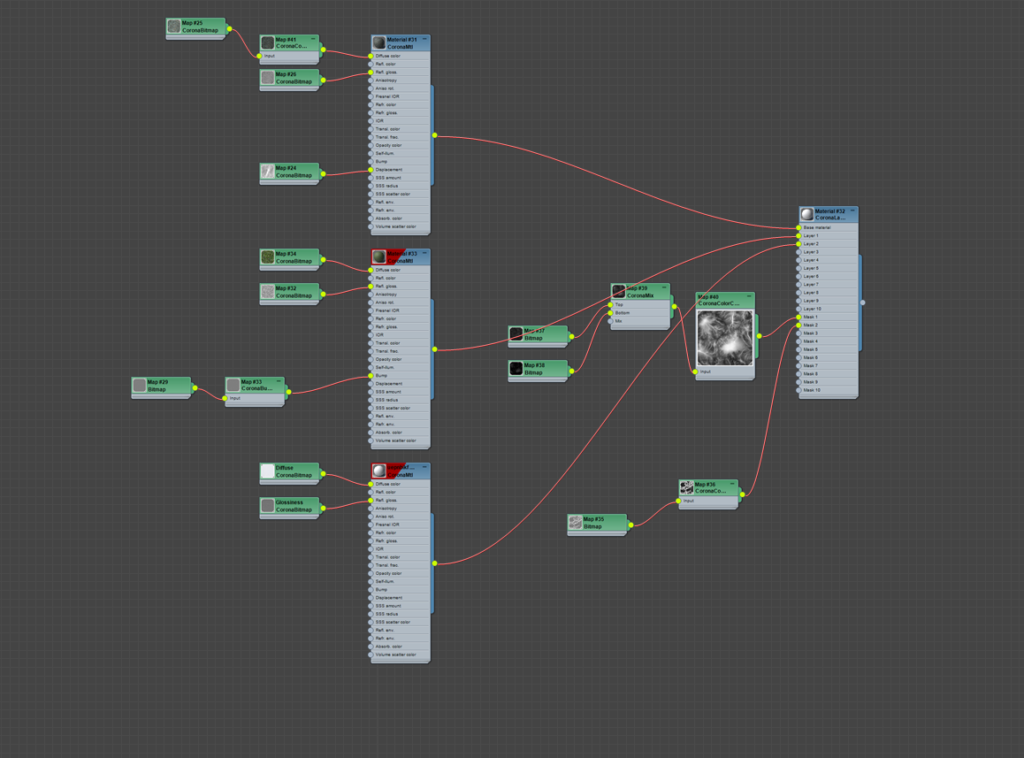
At this stage, I would add a simple white sun to work on my materials. The image down below is the simple material I made utilizing the erosion and wear and tear maps as masks to mix the rock and green materials. Here is a sample of one of the shaders.
Tree scattering
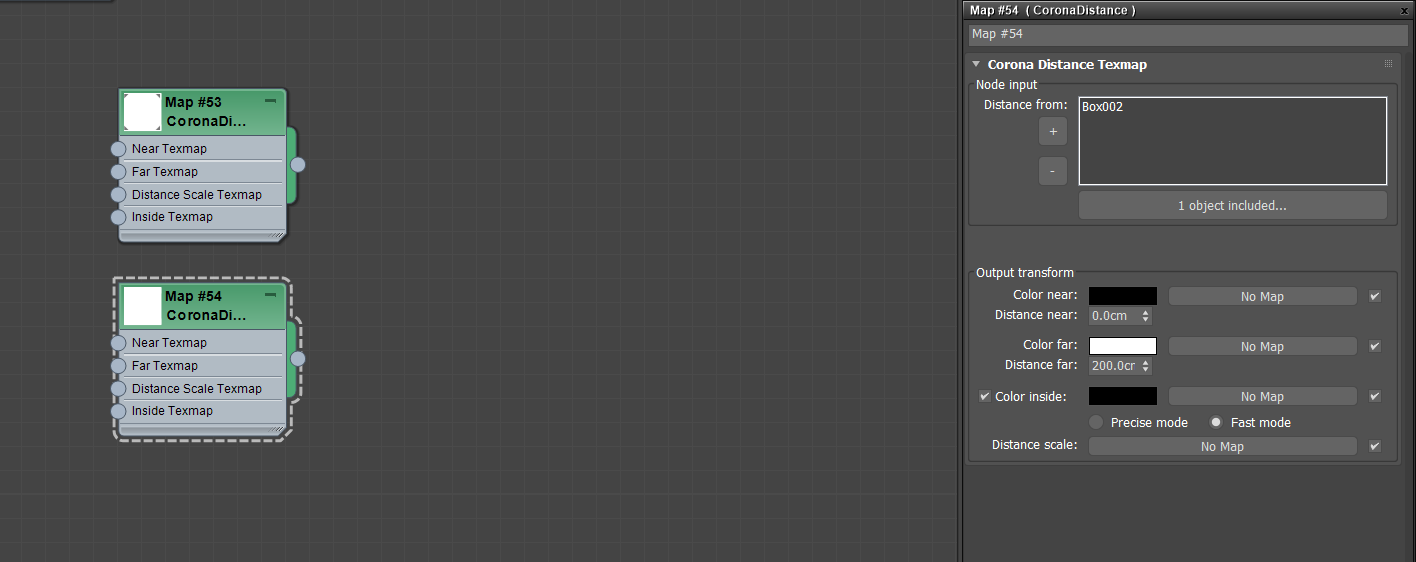
For this scene I opted to use Forest Pack Pro to scatter my trees that I had made a while ago in Speed Tree, those were 3 variants of a simple dark pine and abies tree. I used a simple trick to drive the distribution of the trees since I did not want them to collide with the lake water.
I used the corona distance map and chose the lake water and the lake landscape as the driving geometry, the map is shown below.
Forest Pack Pro did the rest for me practically, however, this could easily be done with any other native scattering solution, like corona scatter or the newer chaos scatter in VRay and Corona.
Detailing the scene
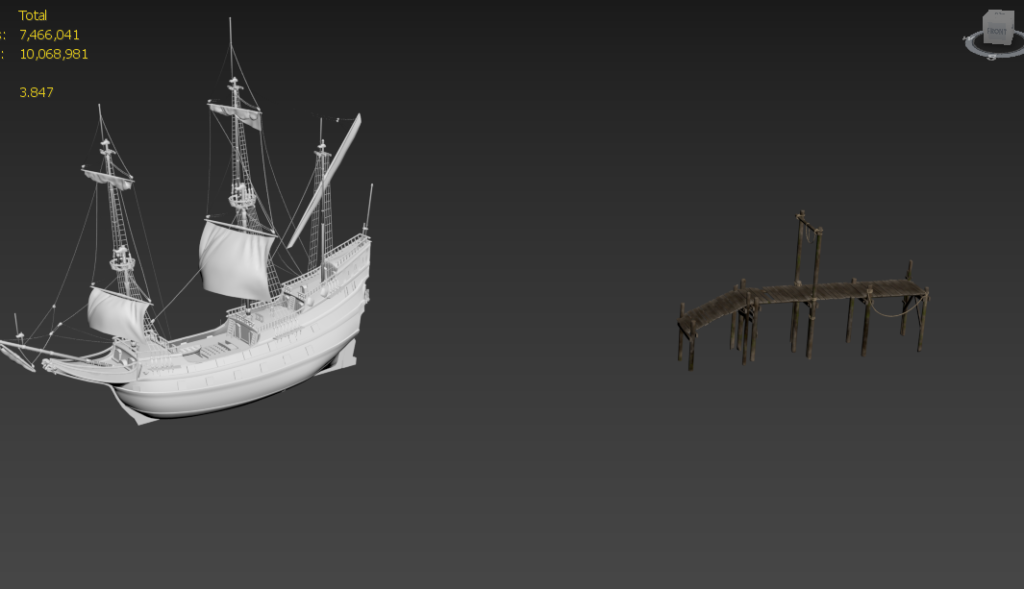
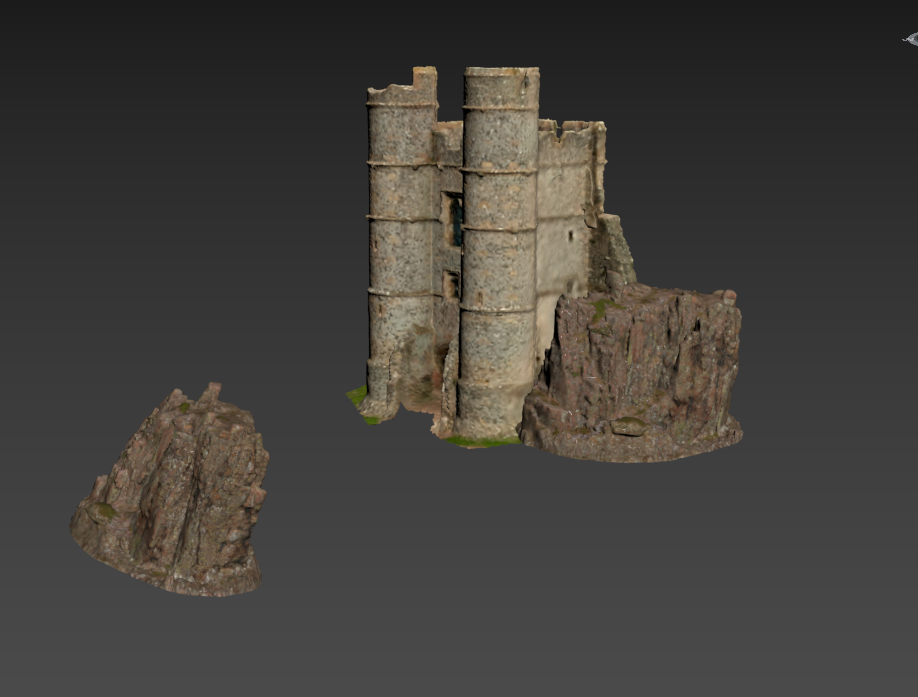
For this one, I did not go as detailed as I usually do, I only added a couple of cliffs from Megascans to add some interest to the terrain and break up the tree generation, I also added a couple of assets, from the site PolyHaven, mainly a ship and a modular wood set, and a couple of assets from Megascans to frame the shot, shown below.
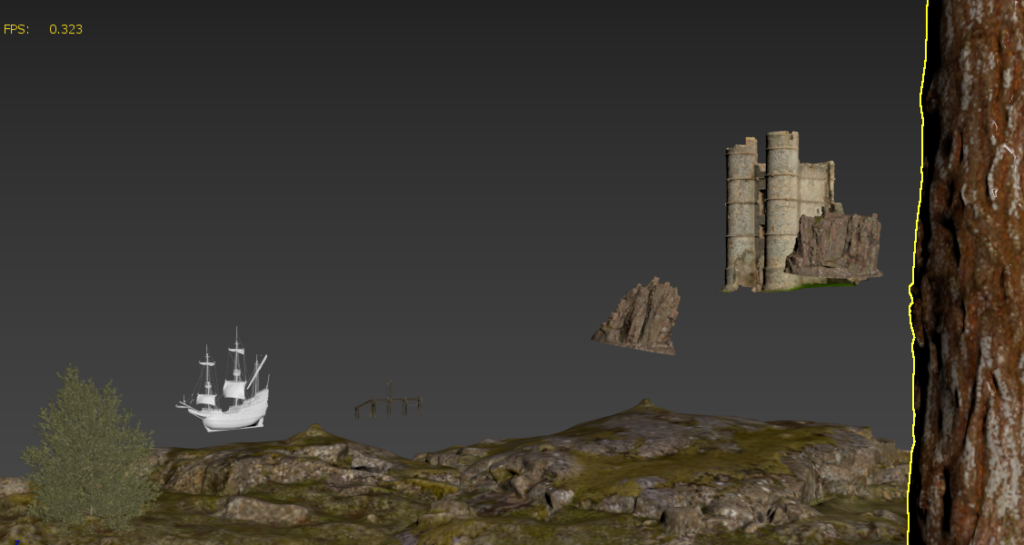
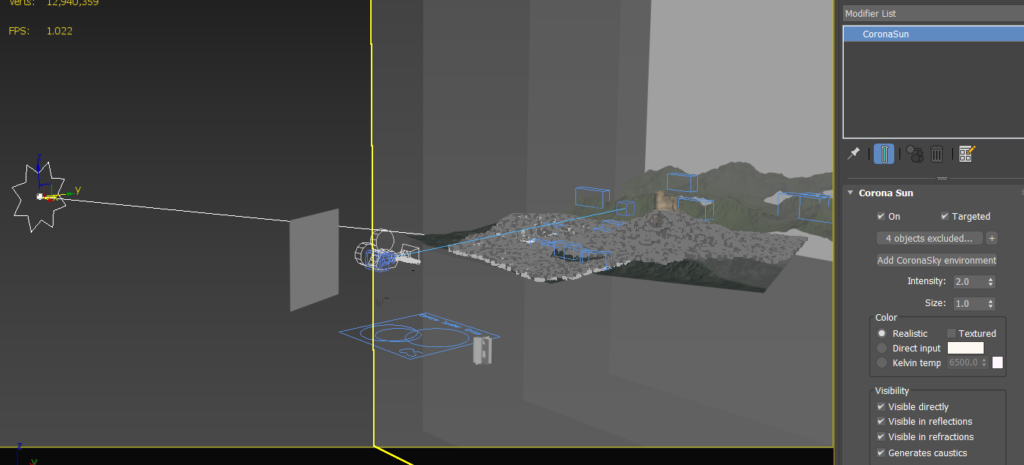
Lighting the scene
The lighting was extremely simple, a simple HDRI from PolyHaven again and a simple sun object, with a couple of light blockers to block the sunlight from the foreground and highlight the mid-ground and the castle.

Volumetrics
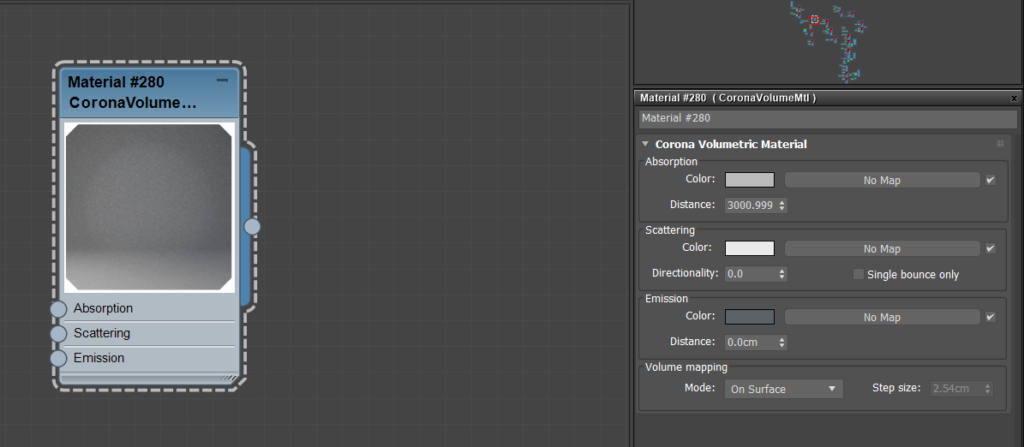
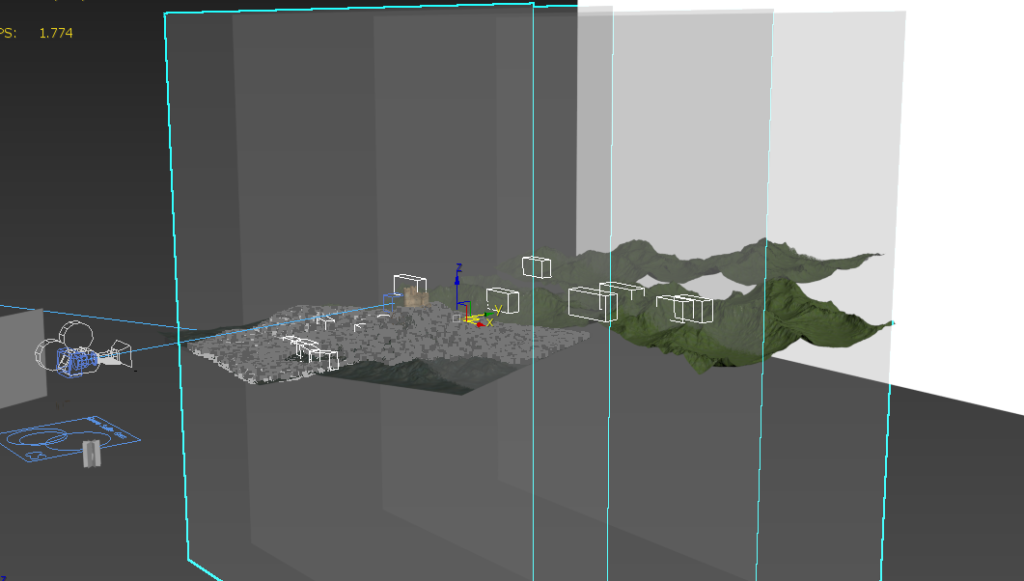
For the atmosphere I went with the old way, using a simple fog material assigned to a bunch of planes in order to give me finer control over the falloff of the fog, I also used a bunch of cloud VDBS which JangaFX were generously sharing for free on their website.
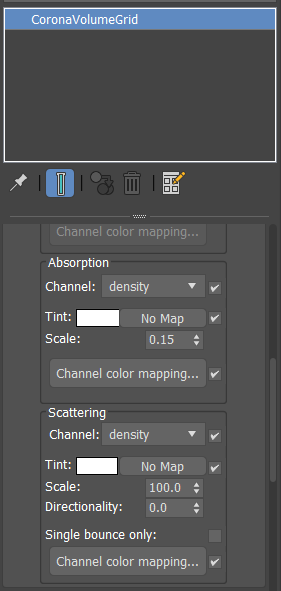
Keep in mind that I excluded the fog planes from being affected by the sunlight as it gave me ugly blown-out highlights, clouds were left intact and the settings of the VDBS are shown below.
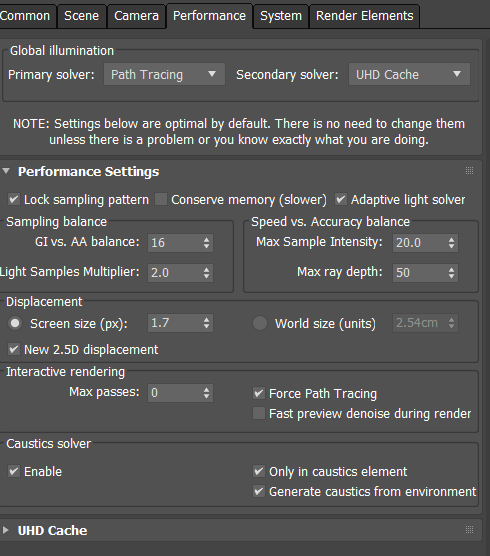
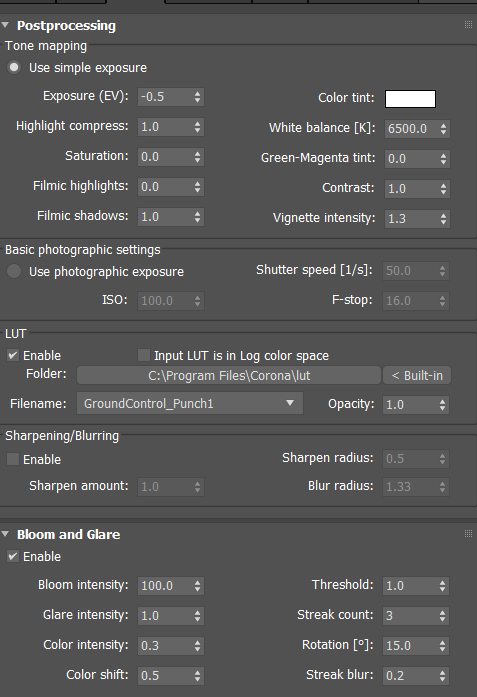
Render settings
In general, the Corona renderer is extremely easy and fast to use, I rarely change any settings at all, but in this case, I changed a couple of things, which are shown below.
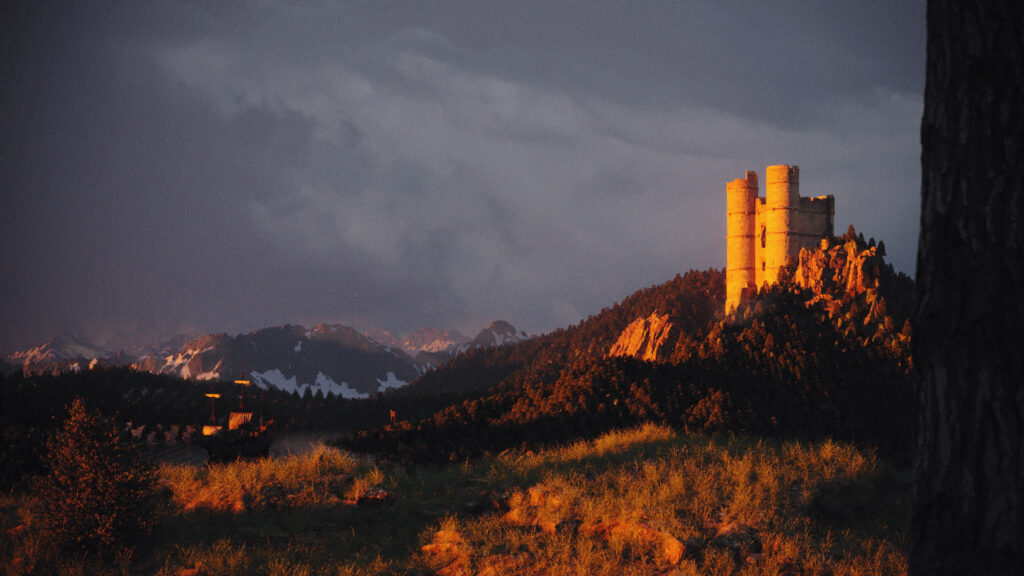
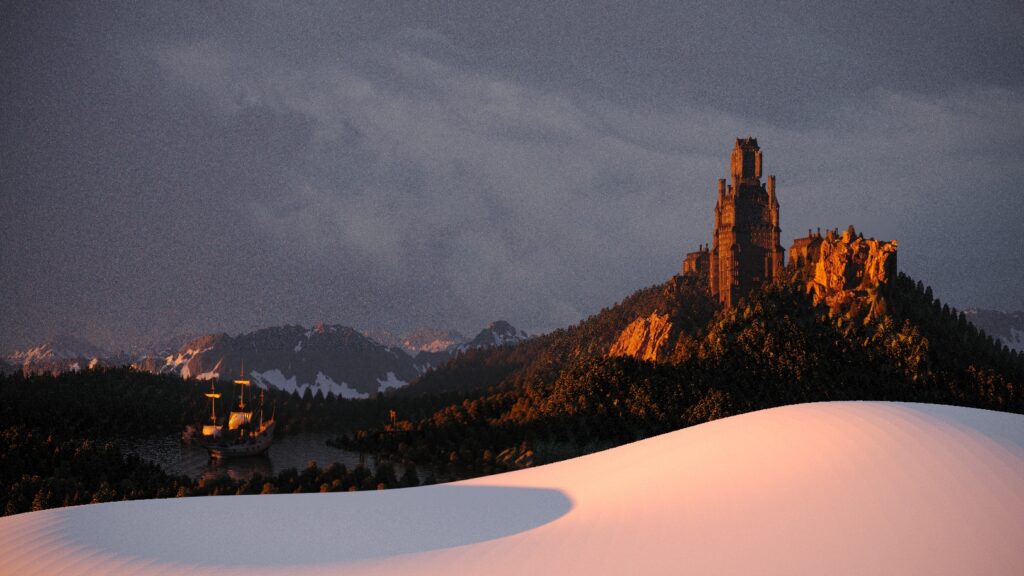
Process Images

Final thoughts
This project was an extremely fun and quick one, it took roughly 3 evenings to get down and it went through multiple creative stages with me changing the castle and the mood, as well as playing with characters to set the scale.
As always, if you have any questions please feel free to drop me a message on my Instagram.
Artstation: https://www.artstation.com/abderrahmanterkawi
Behance: https://www.behance.net/abdulrahmanalterkawi
Instagram: https://www.instagram.com/alter_cgi/
Read more articles
You might also like these articles.