AR-15 SLR

Introduction
Hi, everyone! My name is Danil Mikhailov, and I am an artist specializing in weapons and hard surfaces, working at Studio 801.
Idea
My initial goal was to learn Fusion 360 for confidence, and I’ve always wanted to model an AR-15 or M4A1 assault rifle. Being a big fan of weapons, I’m interested in both their functionality and visual aesthetics.
My aim is to practice modeling and texturing using the Specular-Glossiness PBR pipeline. I hope to achieve a visually striking and aggressively dark result, considering the nuances of texturing and rendering.


References
An incredibly important aspect for achieving a realistic and expressive result. I divide the search for references in my projects into two parts. Firstly, I search for drawings of each element of the weapon, such as the lower receiver, magazine, stock, sight, etc.
Next, I study the object, understanding its mechanical structure and functionality using resources like YouTube, articles, documentation, and manufacturers’ websites.
After collecting drawings, I explore various types of these objects from different angles. In the second case, I look for references for texturing. Various sites, auctions and stores selling these products, as well as YouTube, are helpful in this regard.

Blockout
After searching for the necessary references, the blockout stage begins. At this stage, with the help of Fusion 360, I begin to make each element of the weapon.
For example, a silencer, and so on—each component that makes up the weapon: lower receiver, handguard, butt, bolt, etc.
Special thanks to Duard Mostert for the incredible video footage. Initially, I did this project to improve my CAD modeling skills.
After I have made each part and worked out the large, medium, and small shapes, I need to convert the CAD to polygons.

Recommendation
Also, don’t pigeonhole yourself into one software if you find it easier to create smoother, more organic shapes using Sub-D or another pipeline.
Converting CAD to polygons
Once I’m done with the blockout stage, I need to convert the CAD into polygons. For this, you can use many methods such as Moi 3D, Remesh in Blender, and piXYZ.
In my case, for the high poly, I used piXYZ, but first, we need to import our object from Fusion 360. To do this, select the object and click export. I usually use STEP and IGES formats.

Then in piXYZ, I tessellate the object to the maximum polygon count to ensure ZBrush doesn’t have problems with shading and to provide enough polygons for detailing and smoothing.
Next, using the same principle, I generate a low-poly version by simply selecting the desired polygon count.
Polishing
After we’ve converted our objects into high-poly and low-poly shapes, we need to refine and smooth out the bevels. Importing a high-poly FBX mesh, then processing it with DynaMesh.
I’m not using the standard DynaMesh; it’s different from the regular one in that I can achieve the exact number of polygons using the Polycount slider. I then smooth the bevels using ‘Polish Crisp Edges’.
Next, I will add details like the type of chips along the chamfers, using the example of the lower receiver.

Lowpoly
Next, I start creating the low-poly version. After importing from piXYZ, I clean the geometry by removing unnecessary loops and correcting other errors.
At this stage, there is nothing particularly interesting for me; I’ll simply optimize the grid.

UV Mapping
Next, when we have optimized our low-poly geometry, we need to unwrap it. I use Blender to apply seams along hard edges.
Then, I go to RizomUV, where I align the shells and pack them.

Tips
If you have a crooked or circular line, I highly recommend aligning them linearly.
Select the external edges and use ‘Constraints’ for horizontal or vertical alignment.

Baking
When we have finished the UV mapping, we need to bake the low-poly and high-poly.
I won’t go into detail at this stage because there is nothing unusual here; I bake Normal/AO, and sometimes secondary maps (Curvature/Position, etc.). Secondary maps are often baked into SP.
Texturing
And the most interesting stage for me is texturing.
In my case, I used PBR Specular-Gloss. The choice of the pipeline is not necessary; choose the one you like best and find most convenient.
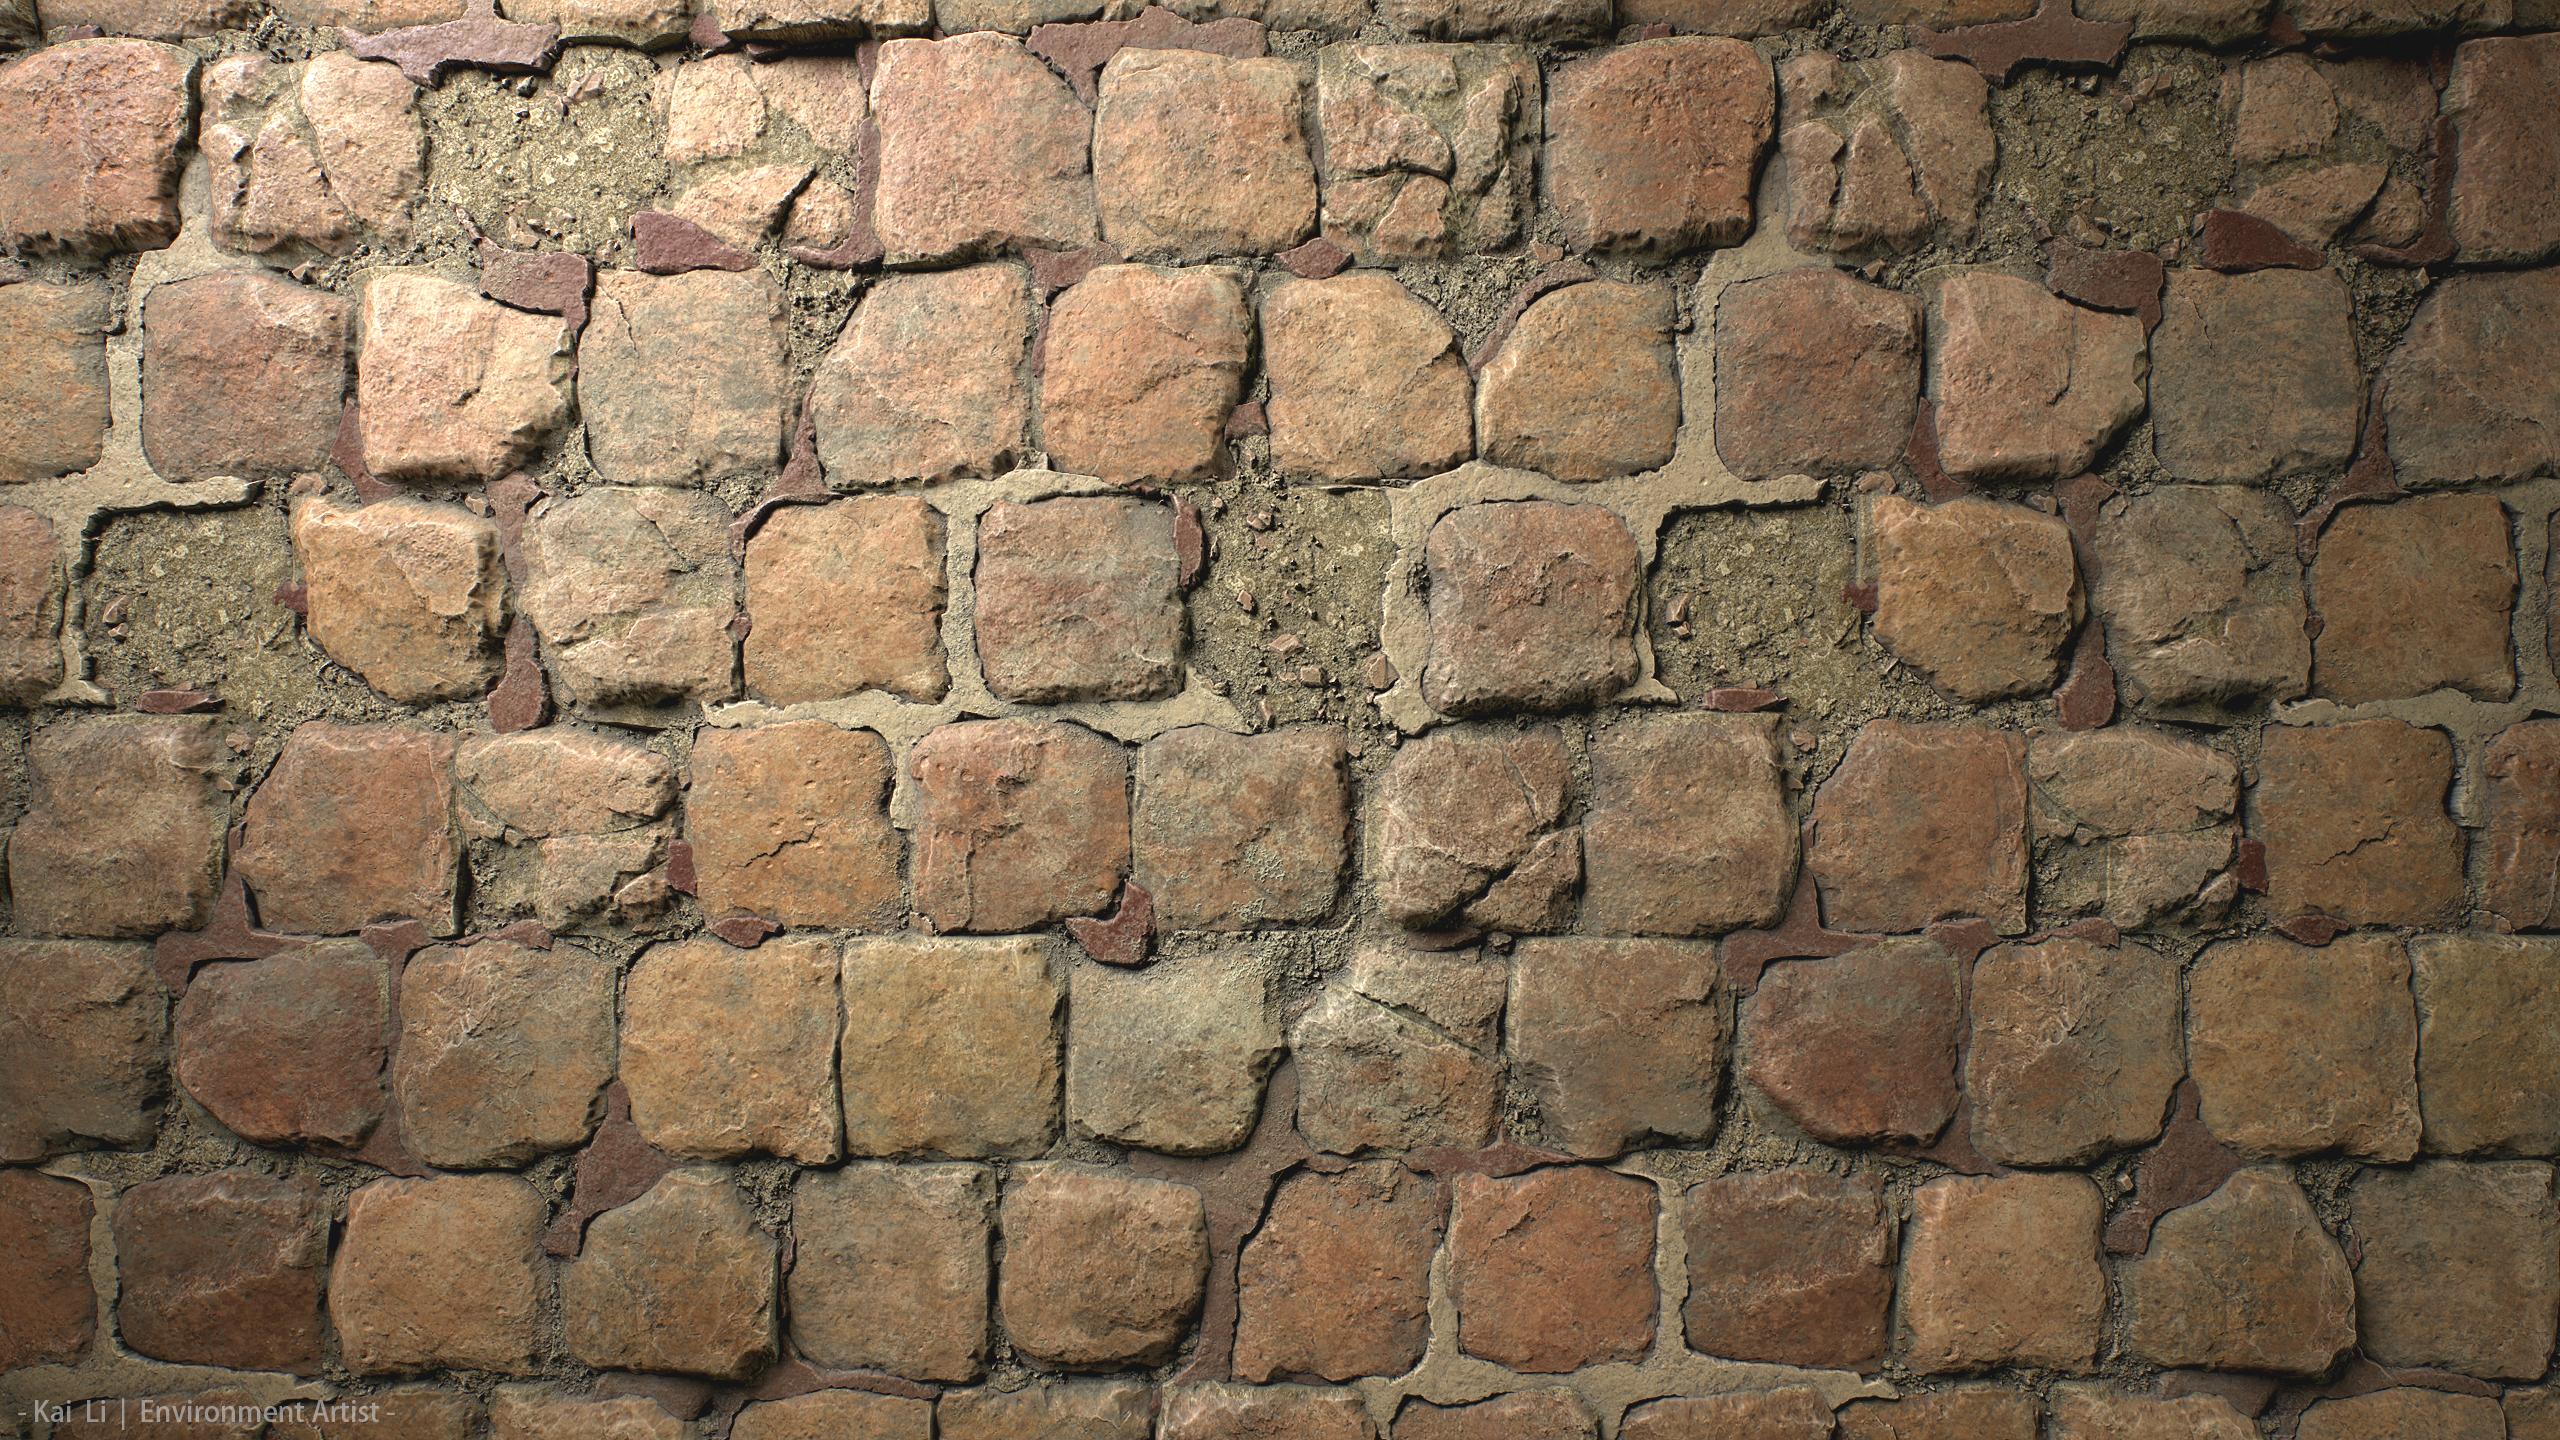
Before we start texturing, we need to understand how much our object was used, the conditions it was used in, how old it is, and what it is made of.
Then, I break down the object based on the materials it was created from metal, polymer, fabric, etc.
I assign basic materials to all objects and then begin detailing them one by one.

For example, let’s look at how a magazine is structured layer by layer. First, I add height elements and decals. Next, I work through each material separately.
We need to add microsurface; it should be present not only in the height channel but also in the diffuse and gloss, as well as in any layer that we add.
Then, I create internal variations and highlight the edges, various drips of wear, gradients, variations in gloss, dirt, and fine details. I draw these using stencils.

Recommendations
I recommend that after finishing, ‘give your eyes a rest,’ and it would be advisable to have someone look and provide feedback.
Perhaps you will discover what you missed.
Rendering
For rendering, I use Marmoset Toolbag. It is very important to set the lighting and camera angle correctly. These are the key things that influence your render. I also like to use ‘ACES’ Tone Mapping.
For lighting, I use two Directional lights, which highlight the contours of the object, and HDRI.

Conclusion
I hope you found this article useful and learned something new. I am glad to share my breakdown with you.
Thanks for your attention!

Read more articles
You might also like these articles.