

Introduction
Hi, my name is Clayton Peterson and I've worked as a 3D Generalist for the last 12 years. Being an avid gamer, I've always wanted to dive into the real-time Environment and Character creation.
4 years ago I started getting more into asset creation for games as well as Unreal Engine 4 and was fortunate enough to be a part of a small team in Cape Town, South Africa working on a few games up until today.
Reference
As with any project, I began with getting as much reference as I could, and since this was based on a bathroom environment from Dishonored, I focused mainly on using as many in-game grabs as I could.
I wanted to keep to the style of the game while giving myself some room to explore my own take on the scene so also looked at some old Victorian houses and bathrooms to get an idea of the designs and nature of these environments.
I added all reference images to a Pure Ref board and kept that open to the side from beginning to end.

Blockout
I start by setting up a Maya project before jumping in, as I prefer to block out all the geometry and meshes in Maya as well as testing textures and layout before getting into the engine.
I then start with a general idea of the space I want to create, keeping to scale and keeping my initial wall and floor meshes to 1 and 2meter cubes/planes/cylinders. Things are pretty simple and loose at this early stage, so I experiment with the size and space, keeping in mind that I’d like this to be an actual room inside a game level.
The player would need to walk around inside and look around the room so I place a 180cm or 6foot human model in the scene as a guide.
I’m not making a very large or intricate scene here either but trying to commit to a pipeline that allows me to follow through on good modular practice. I try and keep everything snapping to the grid- in this case it was 5 units in Maya, which allows everything to snap together in Unreal.

Scale is really important so that everything fits together throughout the pipeline, and also adds more believability to the models/assets and the general surrounding.
Base Lighting
With the initial environment blocked out and some models placed around, I add some basic area lights and directional light in the scene to get a feel for the lighting and mood. This also helps to get a feel for the shape and what everything is going to read like in-game.
I’m also keeping it pretty simple here as this is all planning since the lighting will be changing a fair bit as I go along

Trim Sheets
I start building some trim sheets based on the references I’ve gathered and try getting a feel for what the larger structures will look like.

Trimsheet/Mesh Test
Here I place the modular meshes in unreal and make sure everything snaps together. I also Place a few rough lights around the scene, similar to what I have in Maya just to get some ideas of how the scene will look.


Assets/Detail Models
We move on to some rough models, and I generally decided on just a few hero assets to spend a little more time on. Since this is a bathroom, there is nothing super complex, so I chose the victorian dresser with basin and faucets to look just a little more appealing- also keeping in mind that it could also be re-purposed elsewhere should I choose to make a larger level.
I also pay a little more attention to some of the other models like the bath tub, mirror and larger linen cupboard, which I found were a nice sub-modular asset that can easily be re-used through out the scene.


Materials
I decided to keep the materials fairly simple since I also wanted the scene to be efficient and did not want the shaders to get too heavy or complex. I also wanted to push the pbr texturing a little more so that I got closer to the result I was looking for right out of substance painter- leaving some minor tweaks for unreal.


Most of the shaders were pretty simple and this keeps the scene fairly light (as indicated by the green colours, while red is where we try to avoid), though I decided to push the glass a little here.
Otherwise nothing fancy here really, just a basic pbr set up.
Scene Assembly/Testing
Next we bring in all the assets and assign the materials to everything, making sure that the colours, contrast and over-all textures are well balanced and that I don’t have too many different colours that don’t fit the scene.
I also pay a lot of attention to the roughness and metals, so I’ve spent some extra time playing with the overall roughness variation, while trying to keep it somewhat to style and yet. realistic.

Light adjustments and Details
So next I play around with some lights as I start detailing the scene and dressing it up with a few decals.
This was mainly some rough dirt plaster and grunge alphas that I adjust in photoshop and test as I place around in the scene.

Finalize Lighting
Then it’s time to finalize the lighting, so I spend a fair amount of time to really adjust the lights in the scene, hiding all lights and paying attention to what each light is doing in the scene and again working with reference so that I don’t spend too much time on each light.
This is also a good time to play around with the post process and start dialing in some GI and AO values to push the bounced lighting towards the look I’m going for.

Final Colour Grade
To finish off, I adjust the post process keeping it simple and playing mainly with the global settings. I also use a LUT for final touches.

Some of the bigger challenges I faced was to get all the detailed modular meshes to snap together earlierthis may seem simple enough, but it’s something to keep in mind between blocking out the scene and finalizing on the actual meshes. I’d say to plan it more thoroughly before-hand so that there’s a more transitional workflow and less back and forth.
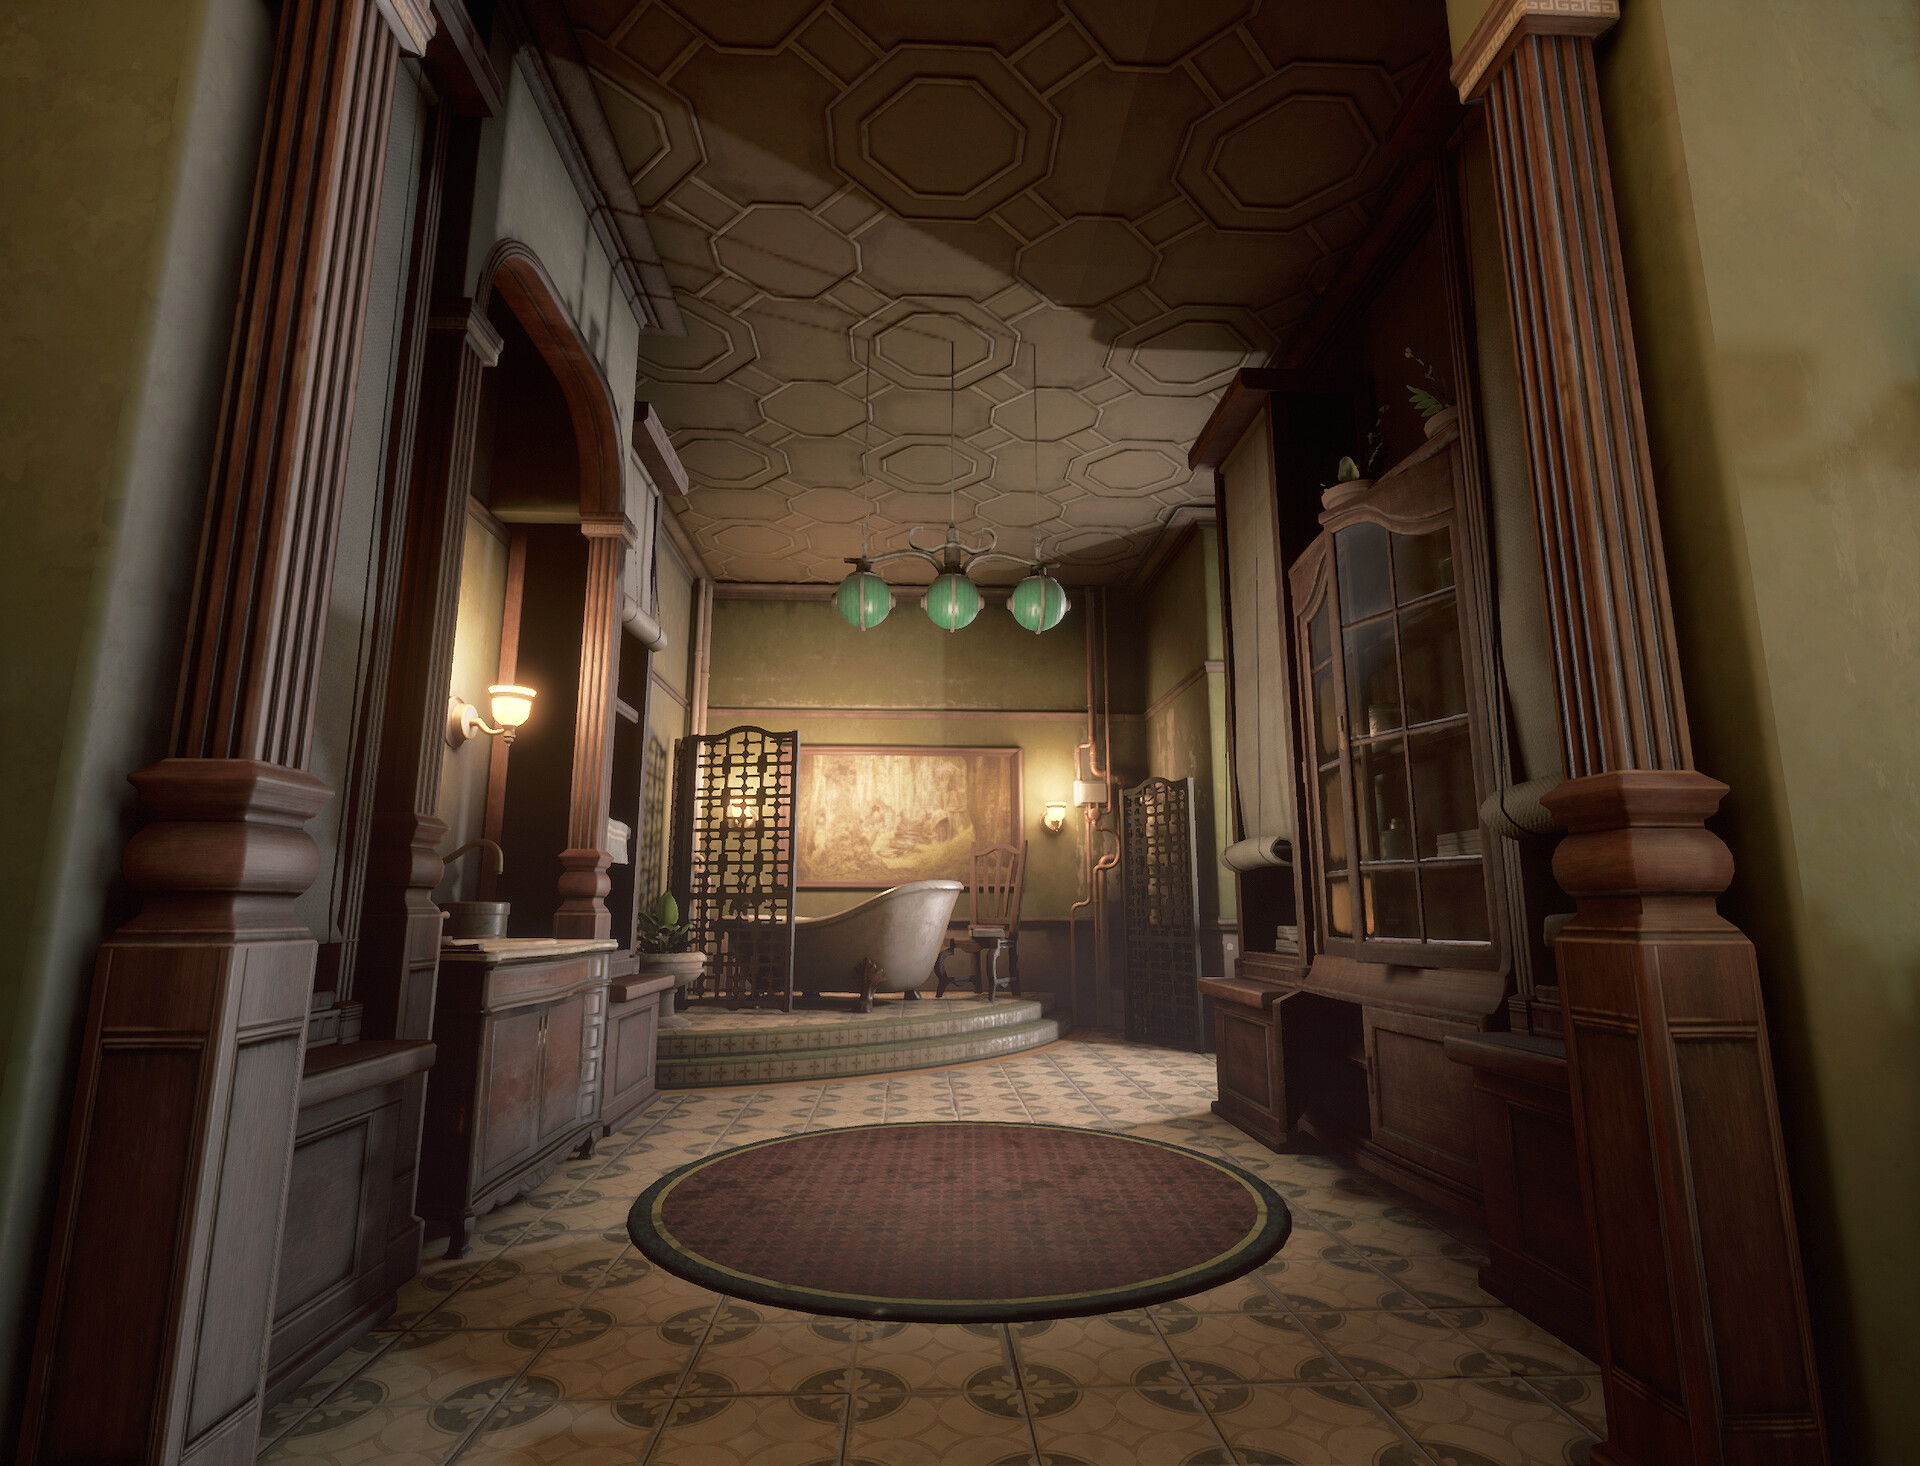
Final Renders


Overall, this was a fun scene to create and was a great learning experience. I hope this breakdown was helpful to read through and I look forward to the next one.
Please check out my Artstation.
Thanks and all the best!

