
Introduction
Hi, Everyone. My name is Donghoon Lim.
I'm from South Korea. I am 27 years old and currently a student on a Game Graphics course at Jeonbuk National University in Korea. After entering university, I started to learn various tools about 3D game graphics.
About this project
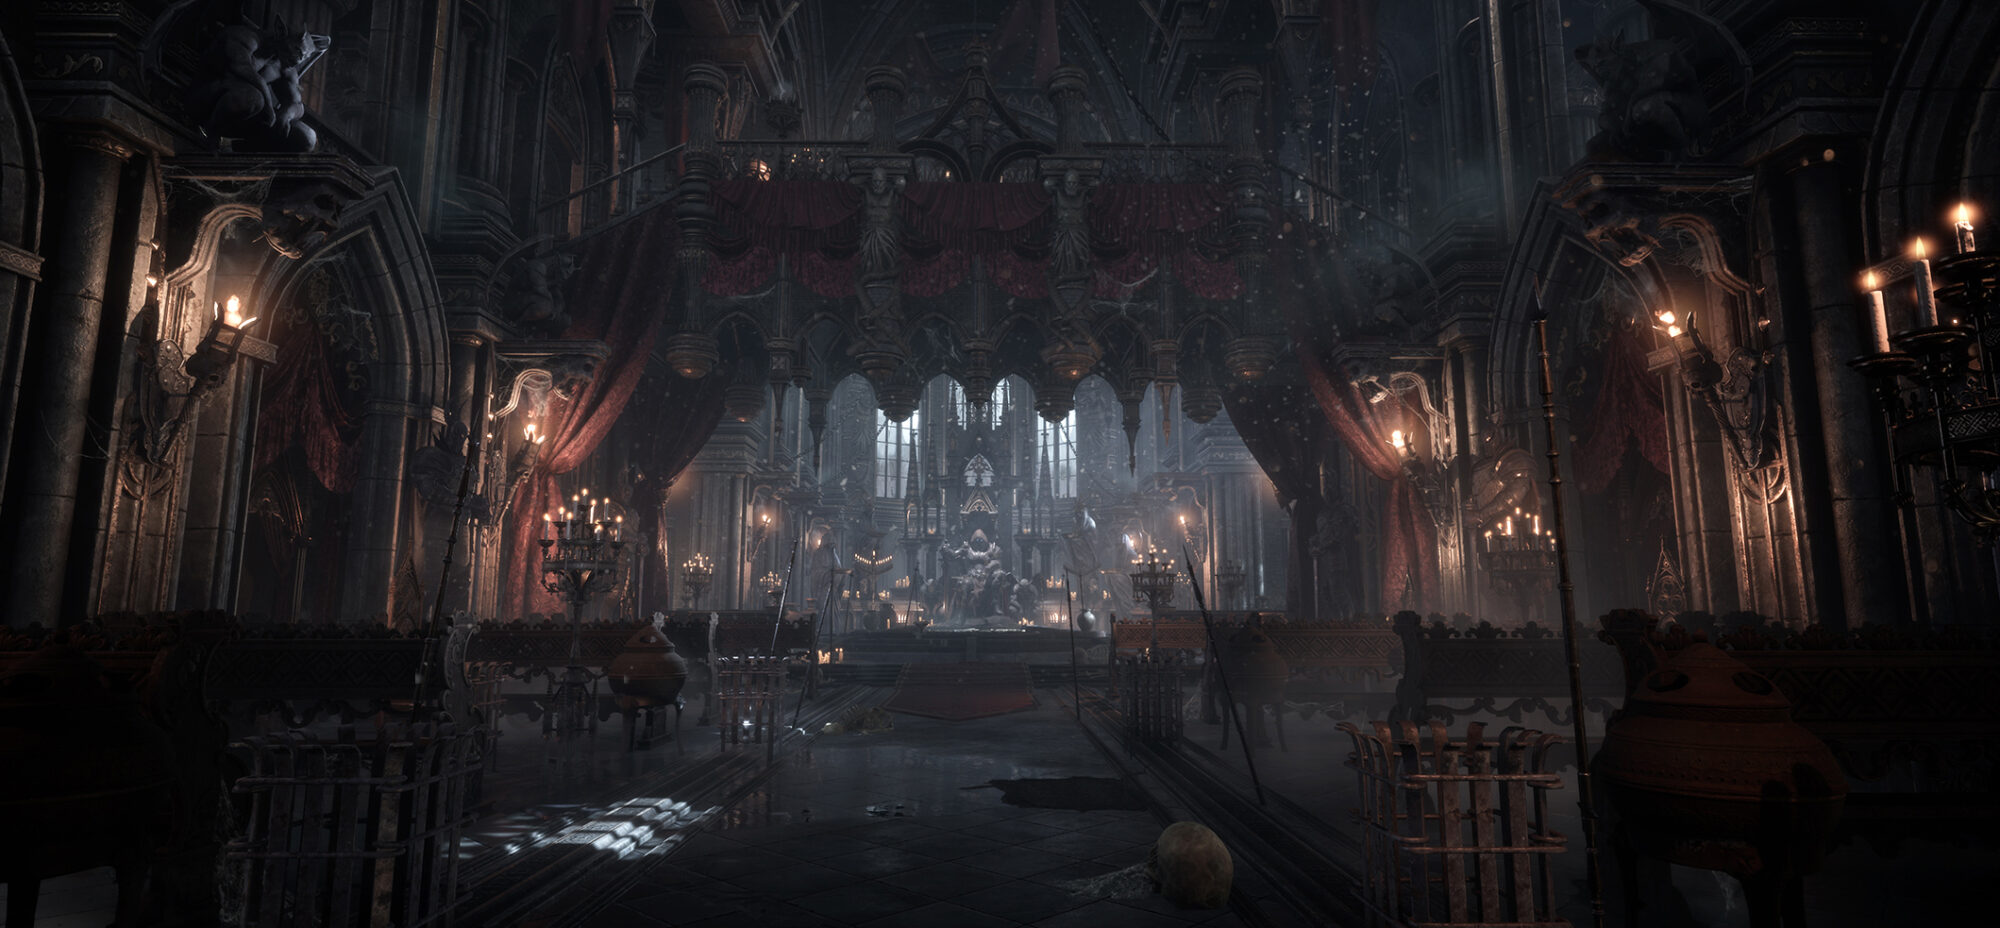
When I was younger, I enjoyed playing Dark Souls. I was fascinated by Dark Soul’s level design and environment design.
Now I’m able to complete the Dark Soul 3 fan art. This work is a remake of Sullivahn’s Cathedral. I’m so happy to share it with you through this great opportunity.
References
First, I needed to look at Dark Soul’s medieval style. As you all know, almost every style of Dark Soul was attributed to the gothic style.
I found various gothic references and collected them. In particular, Sullivahn’s Cathedral was a good place to show the style. I used Pureref, a simple but powerful tool. If you don’t know about this tool, I recommend you try it.
Back to the point, I got a lot of information from Pinterest and google images.
Also, through actual gameplay, I collected various reference data.

Blockout
I think one of the important things in the 3D Environment design is the proper size of the object. Proper scale adds more realism to our imaginary space.
Therefore, we need to proceed with the blockout considering the ideal ratio and size. I used 3ds max for blockout modeling. The blockout modeling was then imported into Unreal 4.
After that, I proceeded with the rough composition and base light setting. At this time, it is convenient to use the player asset, which is provided free of charge at Unreal Market.


Modeling and Sculpting
I made most of the objects in 3ds max and Zbrush. I usually made low poly modeling and hard surface modeling in 3ds max and import it into ZBrush. Then, I added big and small details with ZBrush sculpting.
I love this simple pipeline very much. Before we start sculpting, we have to think of a bigger part first. We should be especially careful not to deform the overall silhouette. Also, you should trim the edges so that they are not too sharp. Small details can be easily expressed using alpha source.


UVing
For the UV part, everything was also done at 3Ds max. As everyone knows, for optimization, UV needs to be dense. So I often used the Arrange Elements function.

Texturing/Substance Painter
Substance Painter has become the most powerful texturing tool in just a few years. It has many advantages. the biggest advantage is the reduction of working hours. After setting up some baking, we prepare for the texturing works. I usually use name baking. It needs to be set at 3ds max in advance.
Let me introduce some of my skills. I could express great scratches on the substance Painter without any extra scratches in ZBrush.
[ fill layer – add black mask – add fill – put grunge scratches rough map into greyscale – adjust the size – add Height and Roughness ]

Also, If you use the cover map, you can easily wear out the edge.
[ fill layer – add black mask – add fill – put curvature map into greyscale – add level – adjust level and opacity – add paint ]
These tips are really used a lot.

Tile map
I made some tilemaps using Zbrush and Substance Designer.


Lighting
I basically used directional lighting. As you know, my work was internal. it created a very dark atmosphere.
I needed to set up point lights for each pillar. Also, I set up spotlights at the main spot. It naturally attracted attention with the main spot.
For the best quality, most lights are set to stationary. However, as the number of lights increased, some used moveable lights. Finally, I added a variety to my work by setting up point lighting in some of the spaces I wanted to emphasize.


Post-processing
The Post-processing process can significantly improve the quality with even a small change. In this process, I adjusted fog and saturation, contrast and gamma values.
If you look at the atmosphere of Dark Souls, you can see that the saturation is very low. Therefore, I also lowered the overall saturation but raised Bloom.
However, If you raise the Bloom value to an extreme degree, it will break the overall balance and you should be careful. Also, I thought the dark side was too black, so I lowered the contrast.
Finally, when the final setting of the fog is completed, it can create a mysterious and wonderful atmosphere.


Conclude
I completed this work over 10 months. Although I had a lot of regrets about this work, I am so happy that many artists love my work.
I hope this article will help you in your development. Thank you very much for reading until the end. If you want to see more images, Please Check out my completed portfolio on my Artstation.