Software
ZBrush – Modeling base mesh + Sculpting Hi-poly
Maya – Retopology + UVs
Substance Painter – Texturing
Marmoset Toolbag 3 – Bakes + Final presentation
Resources Used for this project-
Orb brushes pack – https://gumroad.com/l/nokhw
chainmail brushes – https://www.artstation.com/artwork/aLJW9
Concept & Research
When I was searching for a concept to model for my portfolio piece I came across this Dark Souls style Knight by Semsei.
I loved the idea and decided to make a 3D model out of it.
Now to create a mood/reference board, I just searched for bananas and knights.
I used a very handy program called PureRef to keep all images in one place.

Modeling
Starting right off in ZBrush trying to get a base shape and silhouette on point, especially for the Character Art silhouette, it’s really important to make sure it reads correctly in the
game engine. For the modeling base, I used the ZModeler brush and basic primitive objects in ZBrush, following my handy reference board full of knights and bananas.
After I’m satisfied with the base mesh I unwrap the model and apply some of ZBrush’s surface noise and pattern to help me with the hi-poly details.
Moving to the Hi-Poly, its time I grabbed a real banana and observe it closely to sculpt all the necessary details.
For banana flesh, I used the Orb Rock noise brush, DamStandard, Standard brush along with alpha 58 + noisemaker to get the banana flesh look.
The clothes are sculpted in ZBrush, usually, I would just throw the character in Marvelous Designer, but for this, it was just a quick sculpt.
When sculpting details I always work with ZBrush’s layer system, it helps me control the intensity and variation and also allows me to see how all the stacked details look whilst adjusting accordingly.

And for the banana peel it was pretty much the same workflow I did with the banana flesh, just observe and sculpt. When sculpting details try not to make the model too symmetrical,
adding variations to the brush size and intensity can make it look natural.
It is also very crucial to keep observing reference images to make art look believable.
Now to the metal parts. Adding dents, scratches and weathering on his armour to represent his battle struggles.


Finally, the Hi-Poly stuff is done, the next stop is retopology.
The final game res model is 22k polygons including his shield and sword. (20k for character + 2k for props).
Both retopology and UVs are done in Maya. The character is split into 2 UV sets, 1 x 2048 for props (shield+sword), and 1 x 2048 for the character.


For baking, Marmoset Toolbag 3 is my favourite. It’s fast and it has an in-built cage system for the low poly mesh, that helps me get the clean bakes I need. I baked Normal, Curvature, AO and Alpha Mask for the chainmail.

Texturing
TEXTURING! This is the exciting part!
To make the banana look realistic I sliced and diced a real banana and observed what it really looks like. Starting off with the colour of the object as a base, then building
the layers whilst painting the details. Also, in the process of texturing the character you might have to import the maps into toolbag to see how the painted textures look in realtime, your colour/material is probably not going to look same as it does in the Substance Painter viewport, it’s generally a good idea to keep checking the colour/material in the final engine/render.
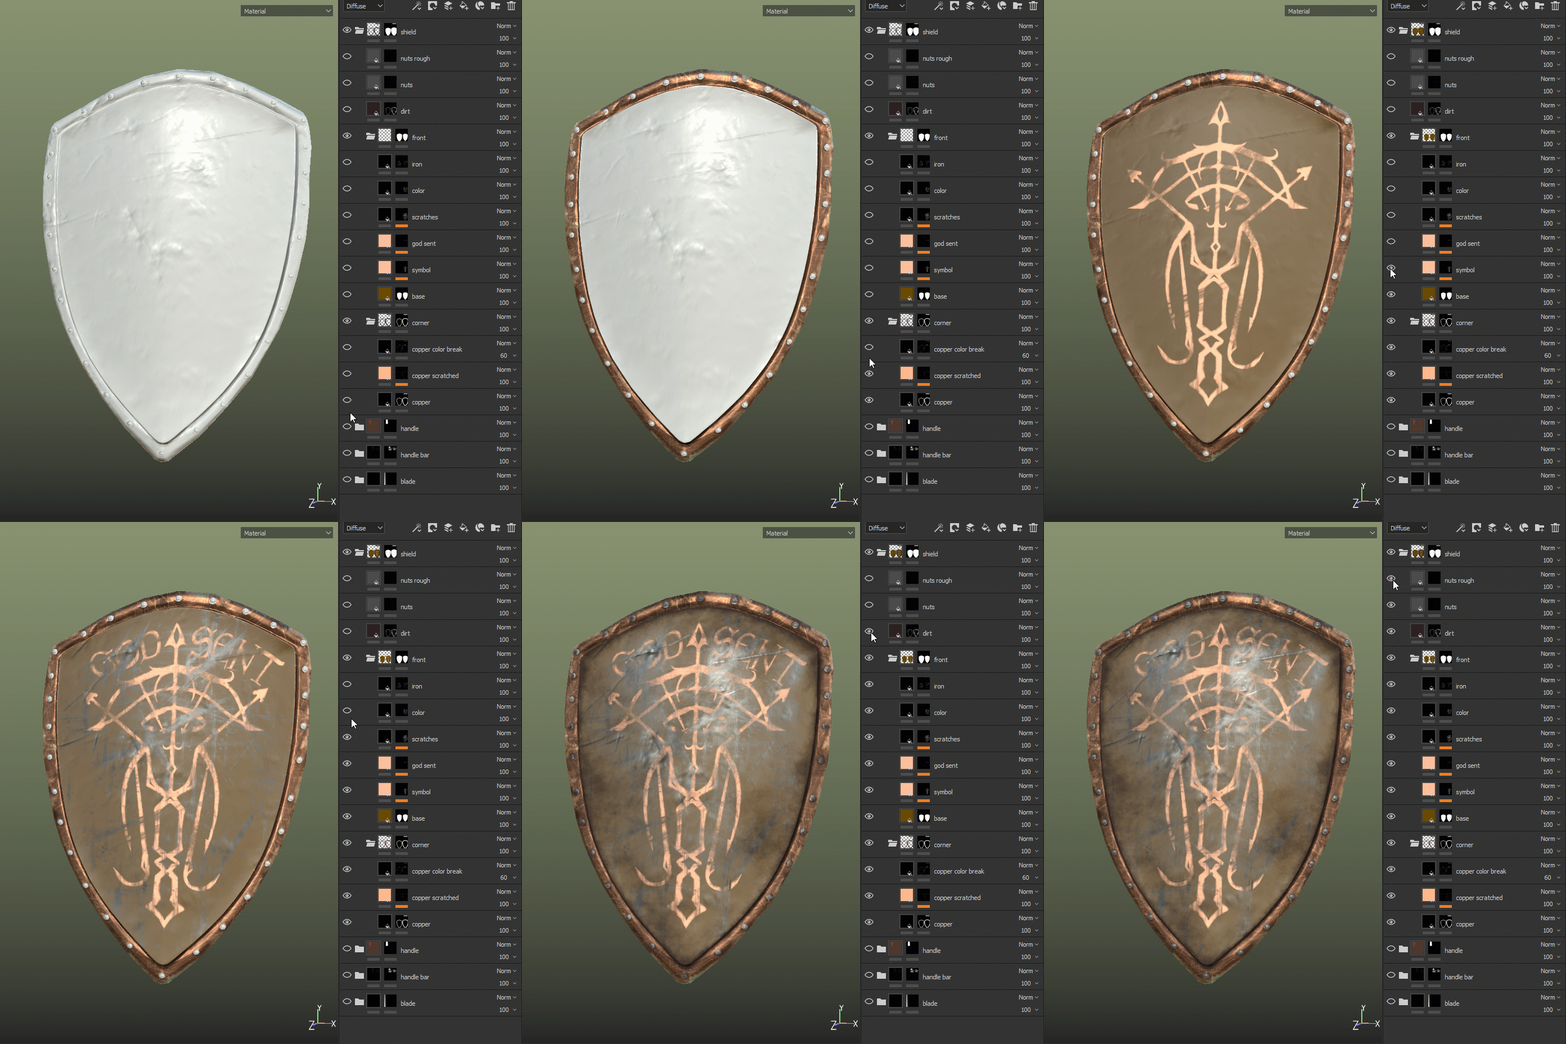
Here’s the breakdown of the texturing process.


Lighting & Presentation
This stage is just as important as the others, presentation can really make it or break it. The light setup for this character is pretty simple, I used the standard 3 point lighting along with few extra Omni and spotlights to light the dark areas.
One more important thing is the pose of the character, a good posed character can really stand out. I used ZBrush’s transpose master to pose the character, it’s just easier than rigging and skinning, it also gives really quick results. I added fog inside Toolbag 3 to set the mood.
And for the final icing on the cake, I scattered some rose petals around him to get the victorious knight look.


Final Shots


Thanks for reading this article! I hope this helps you in your workflow.
I also would like to thank the GamesArtist team for this opportunity.
You can check my other work here on my Artstation


